Ad placeholder
Category:Location screenshots
(Redirected from Category:Location Screenshots)
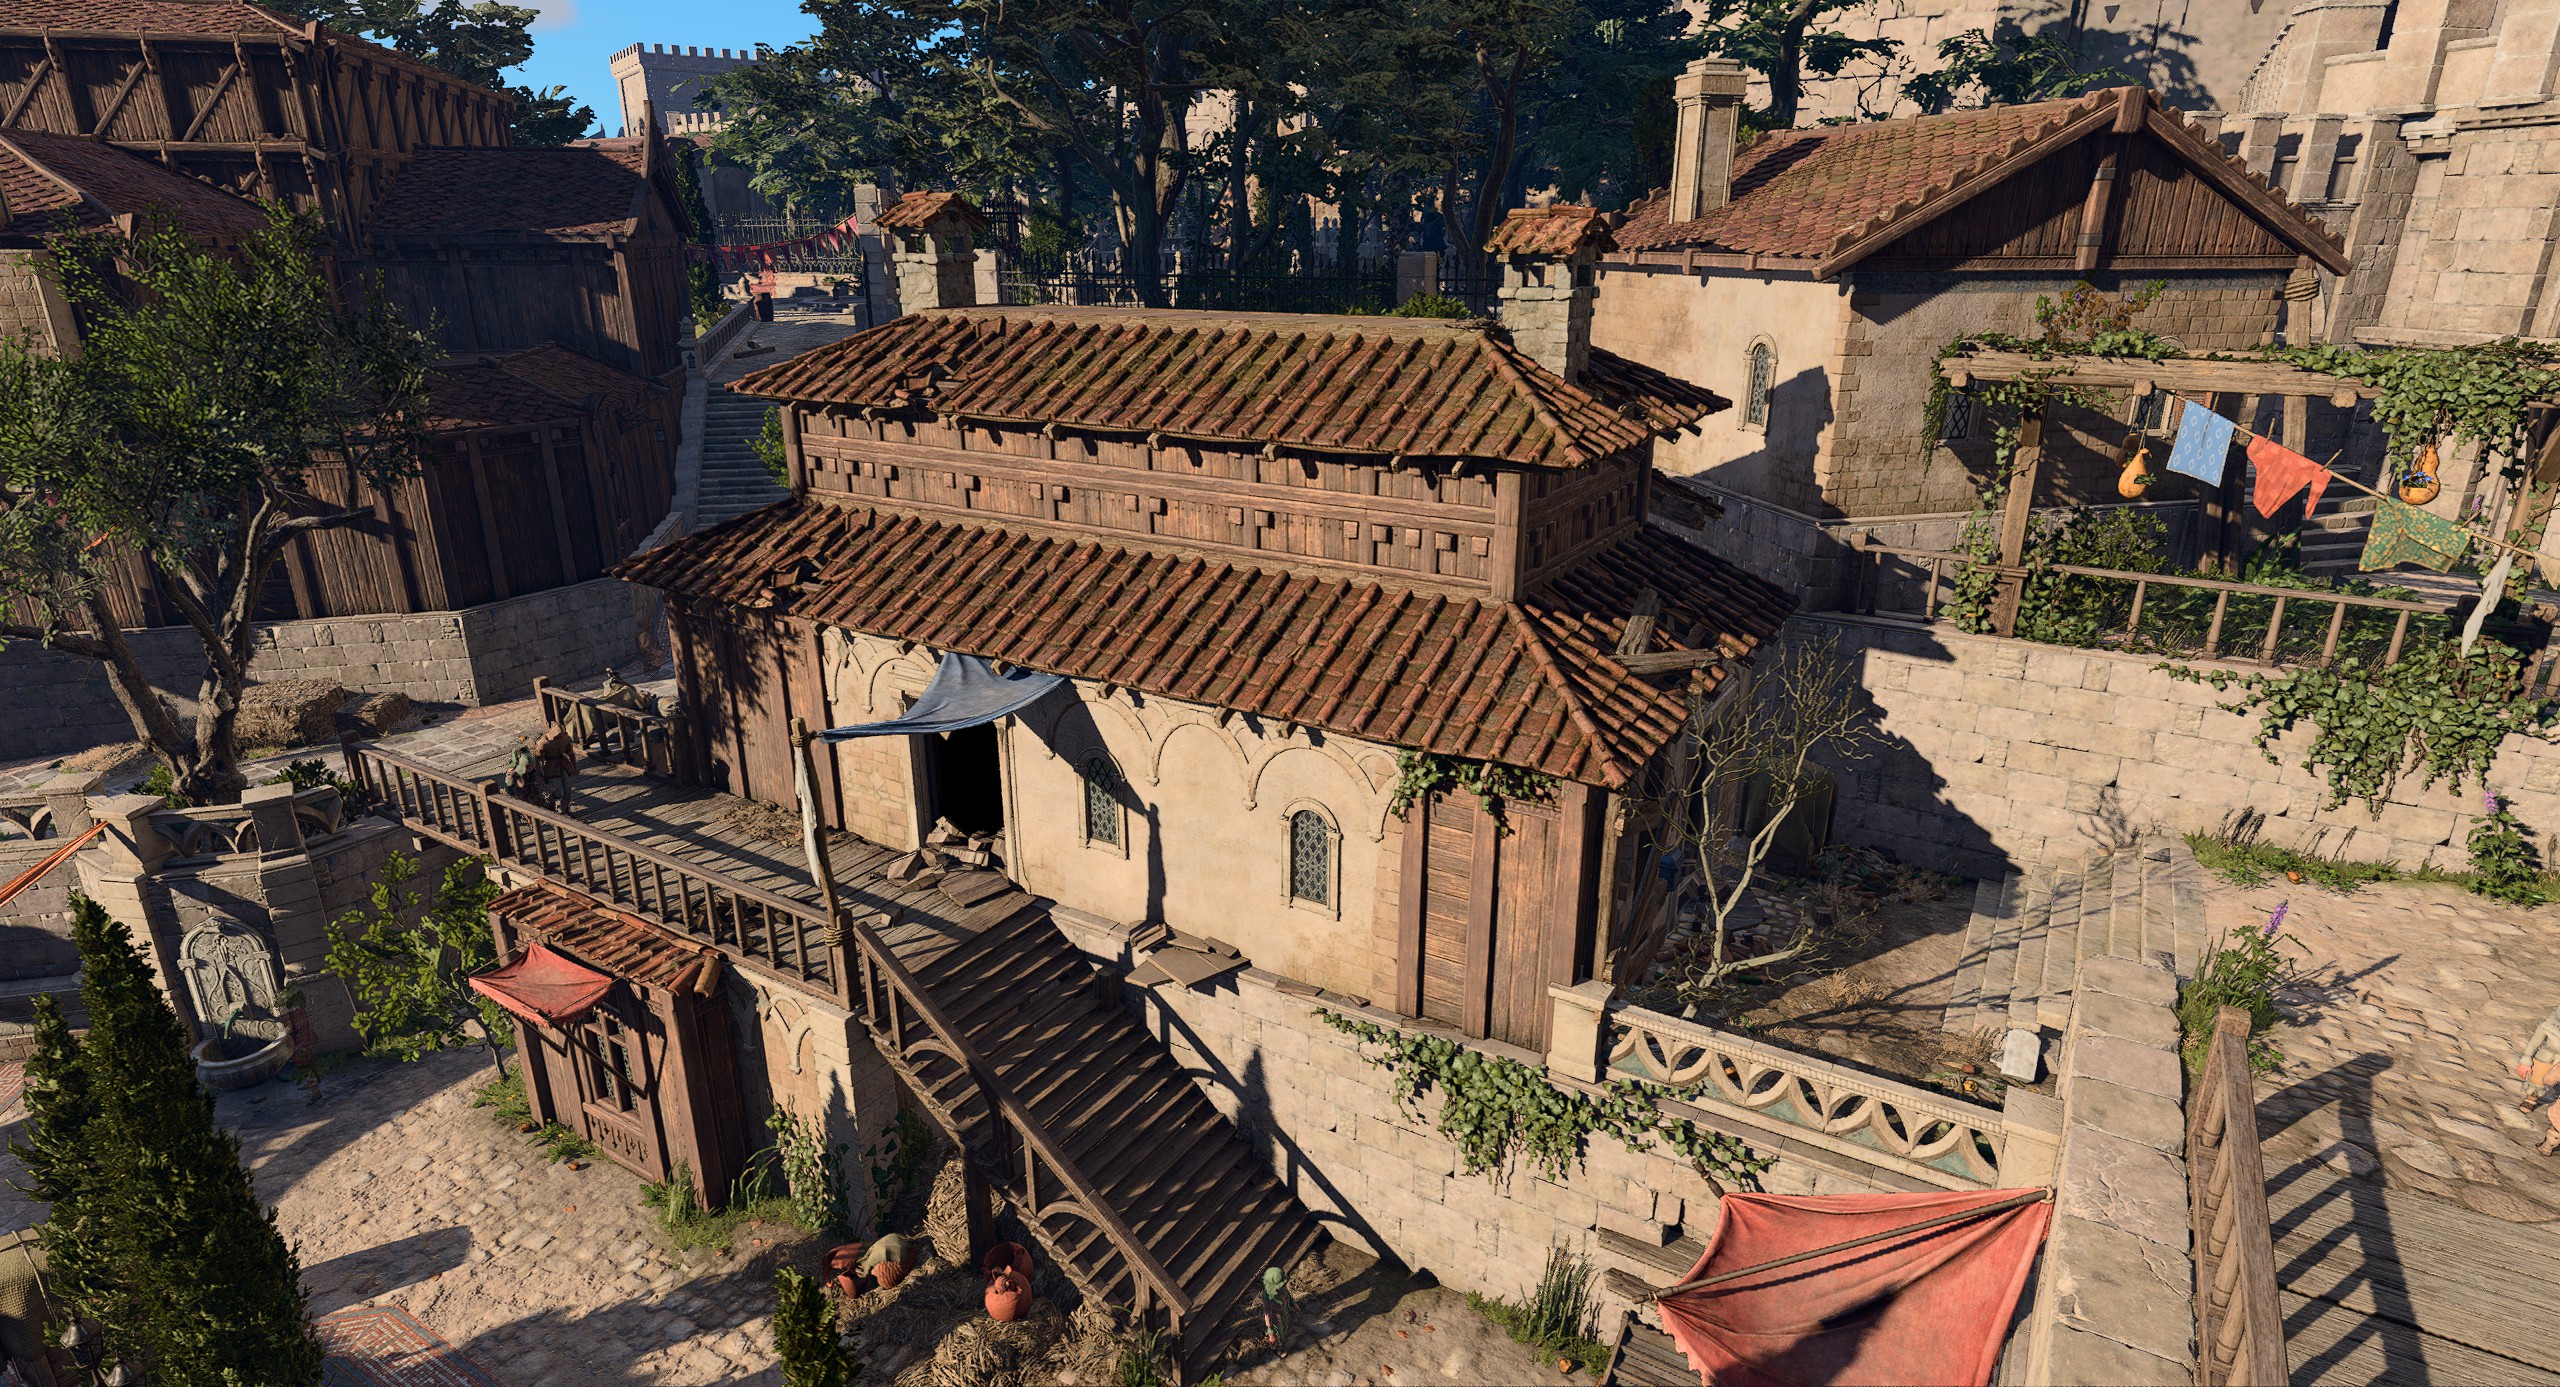
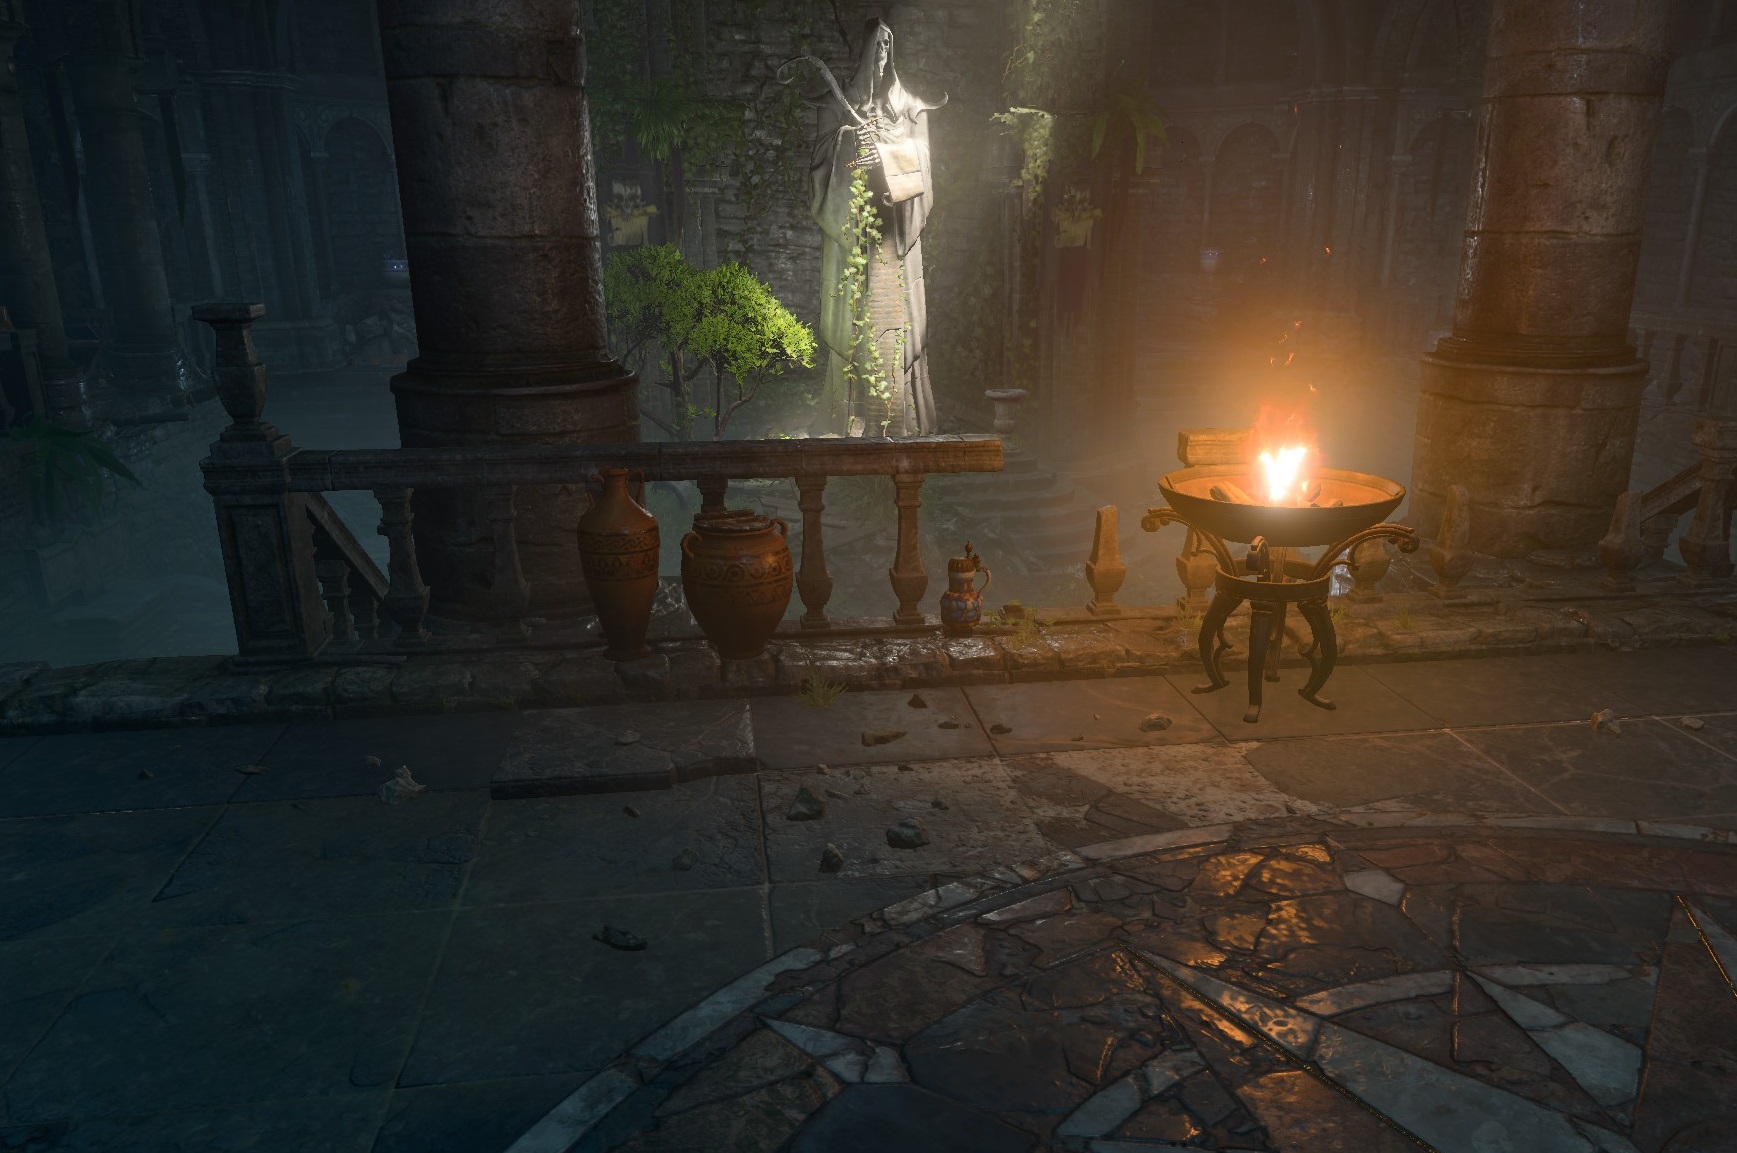
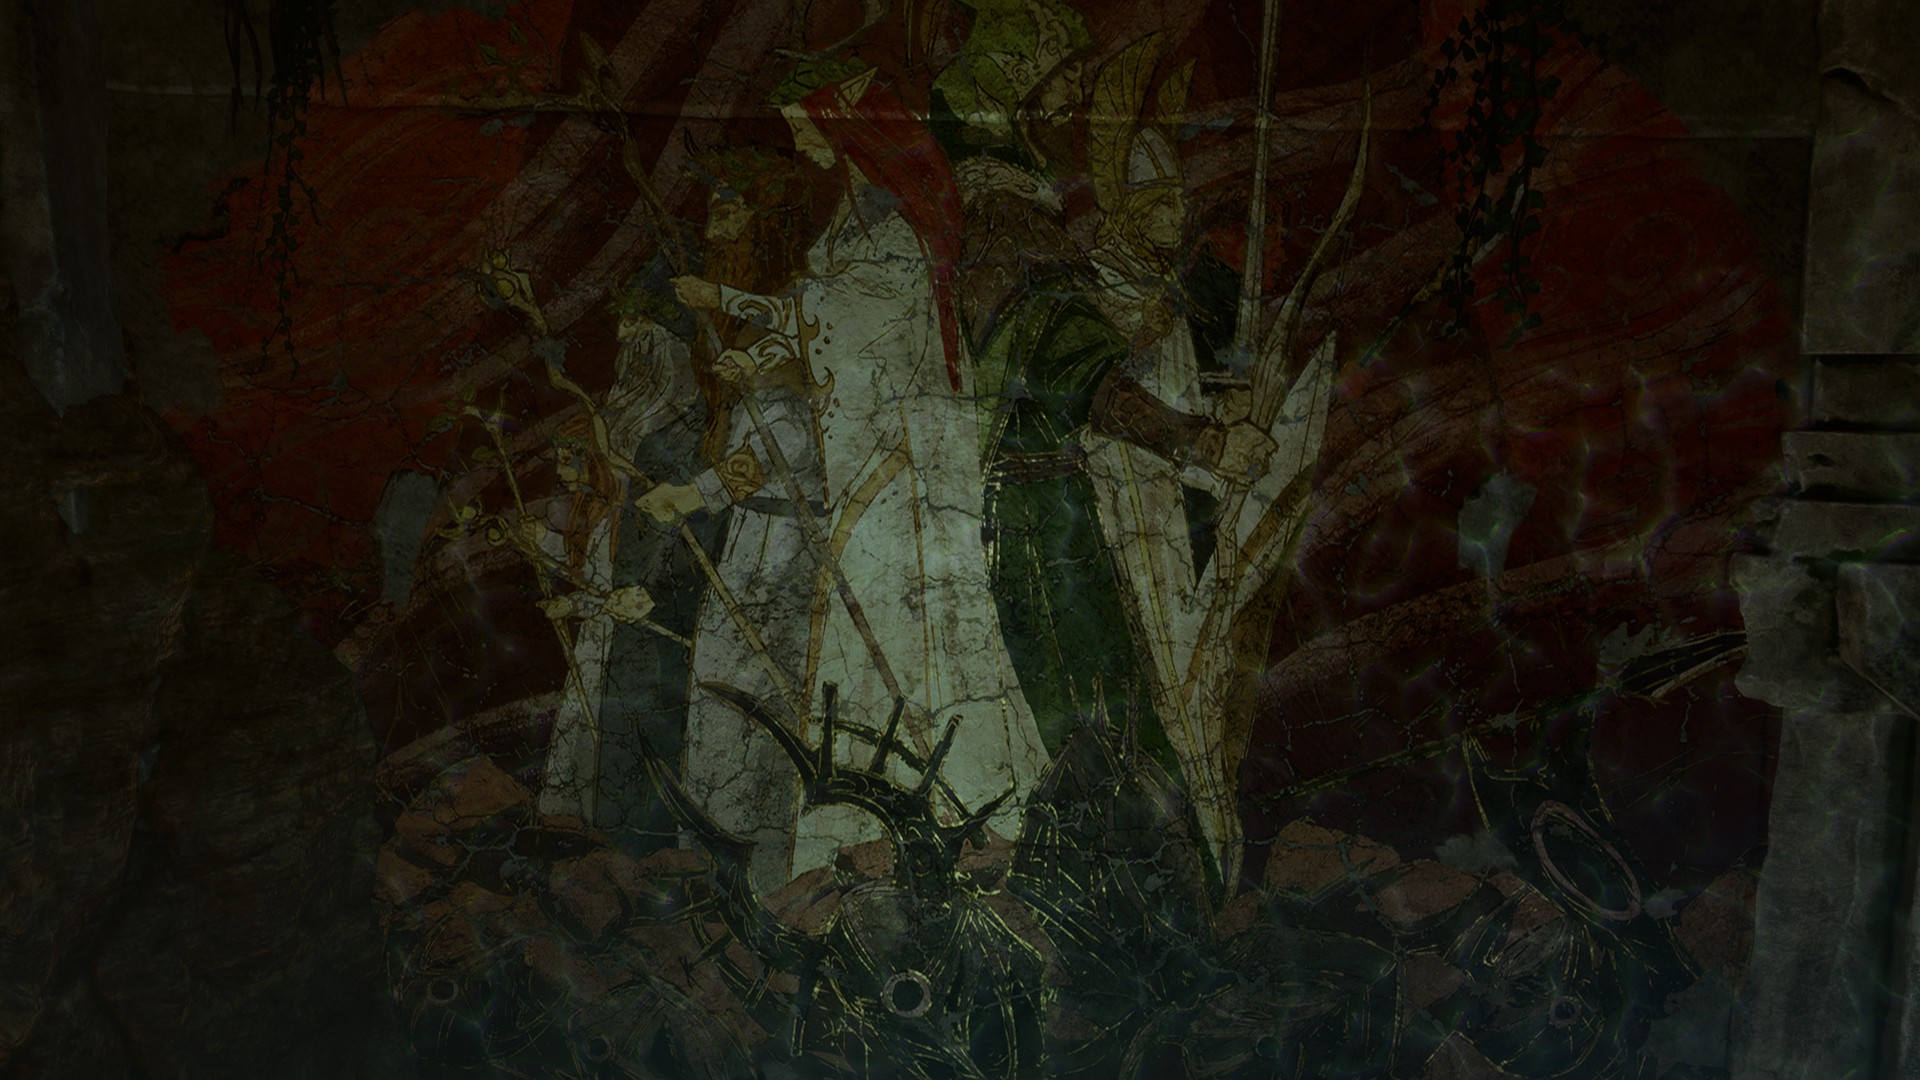
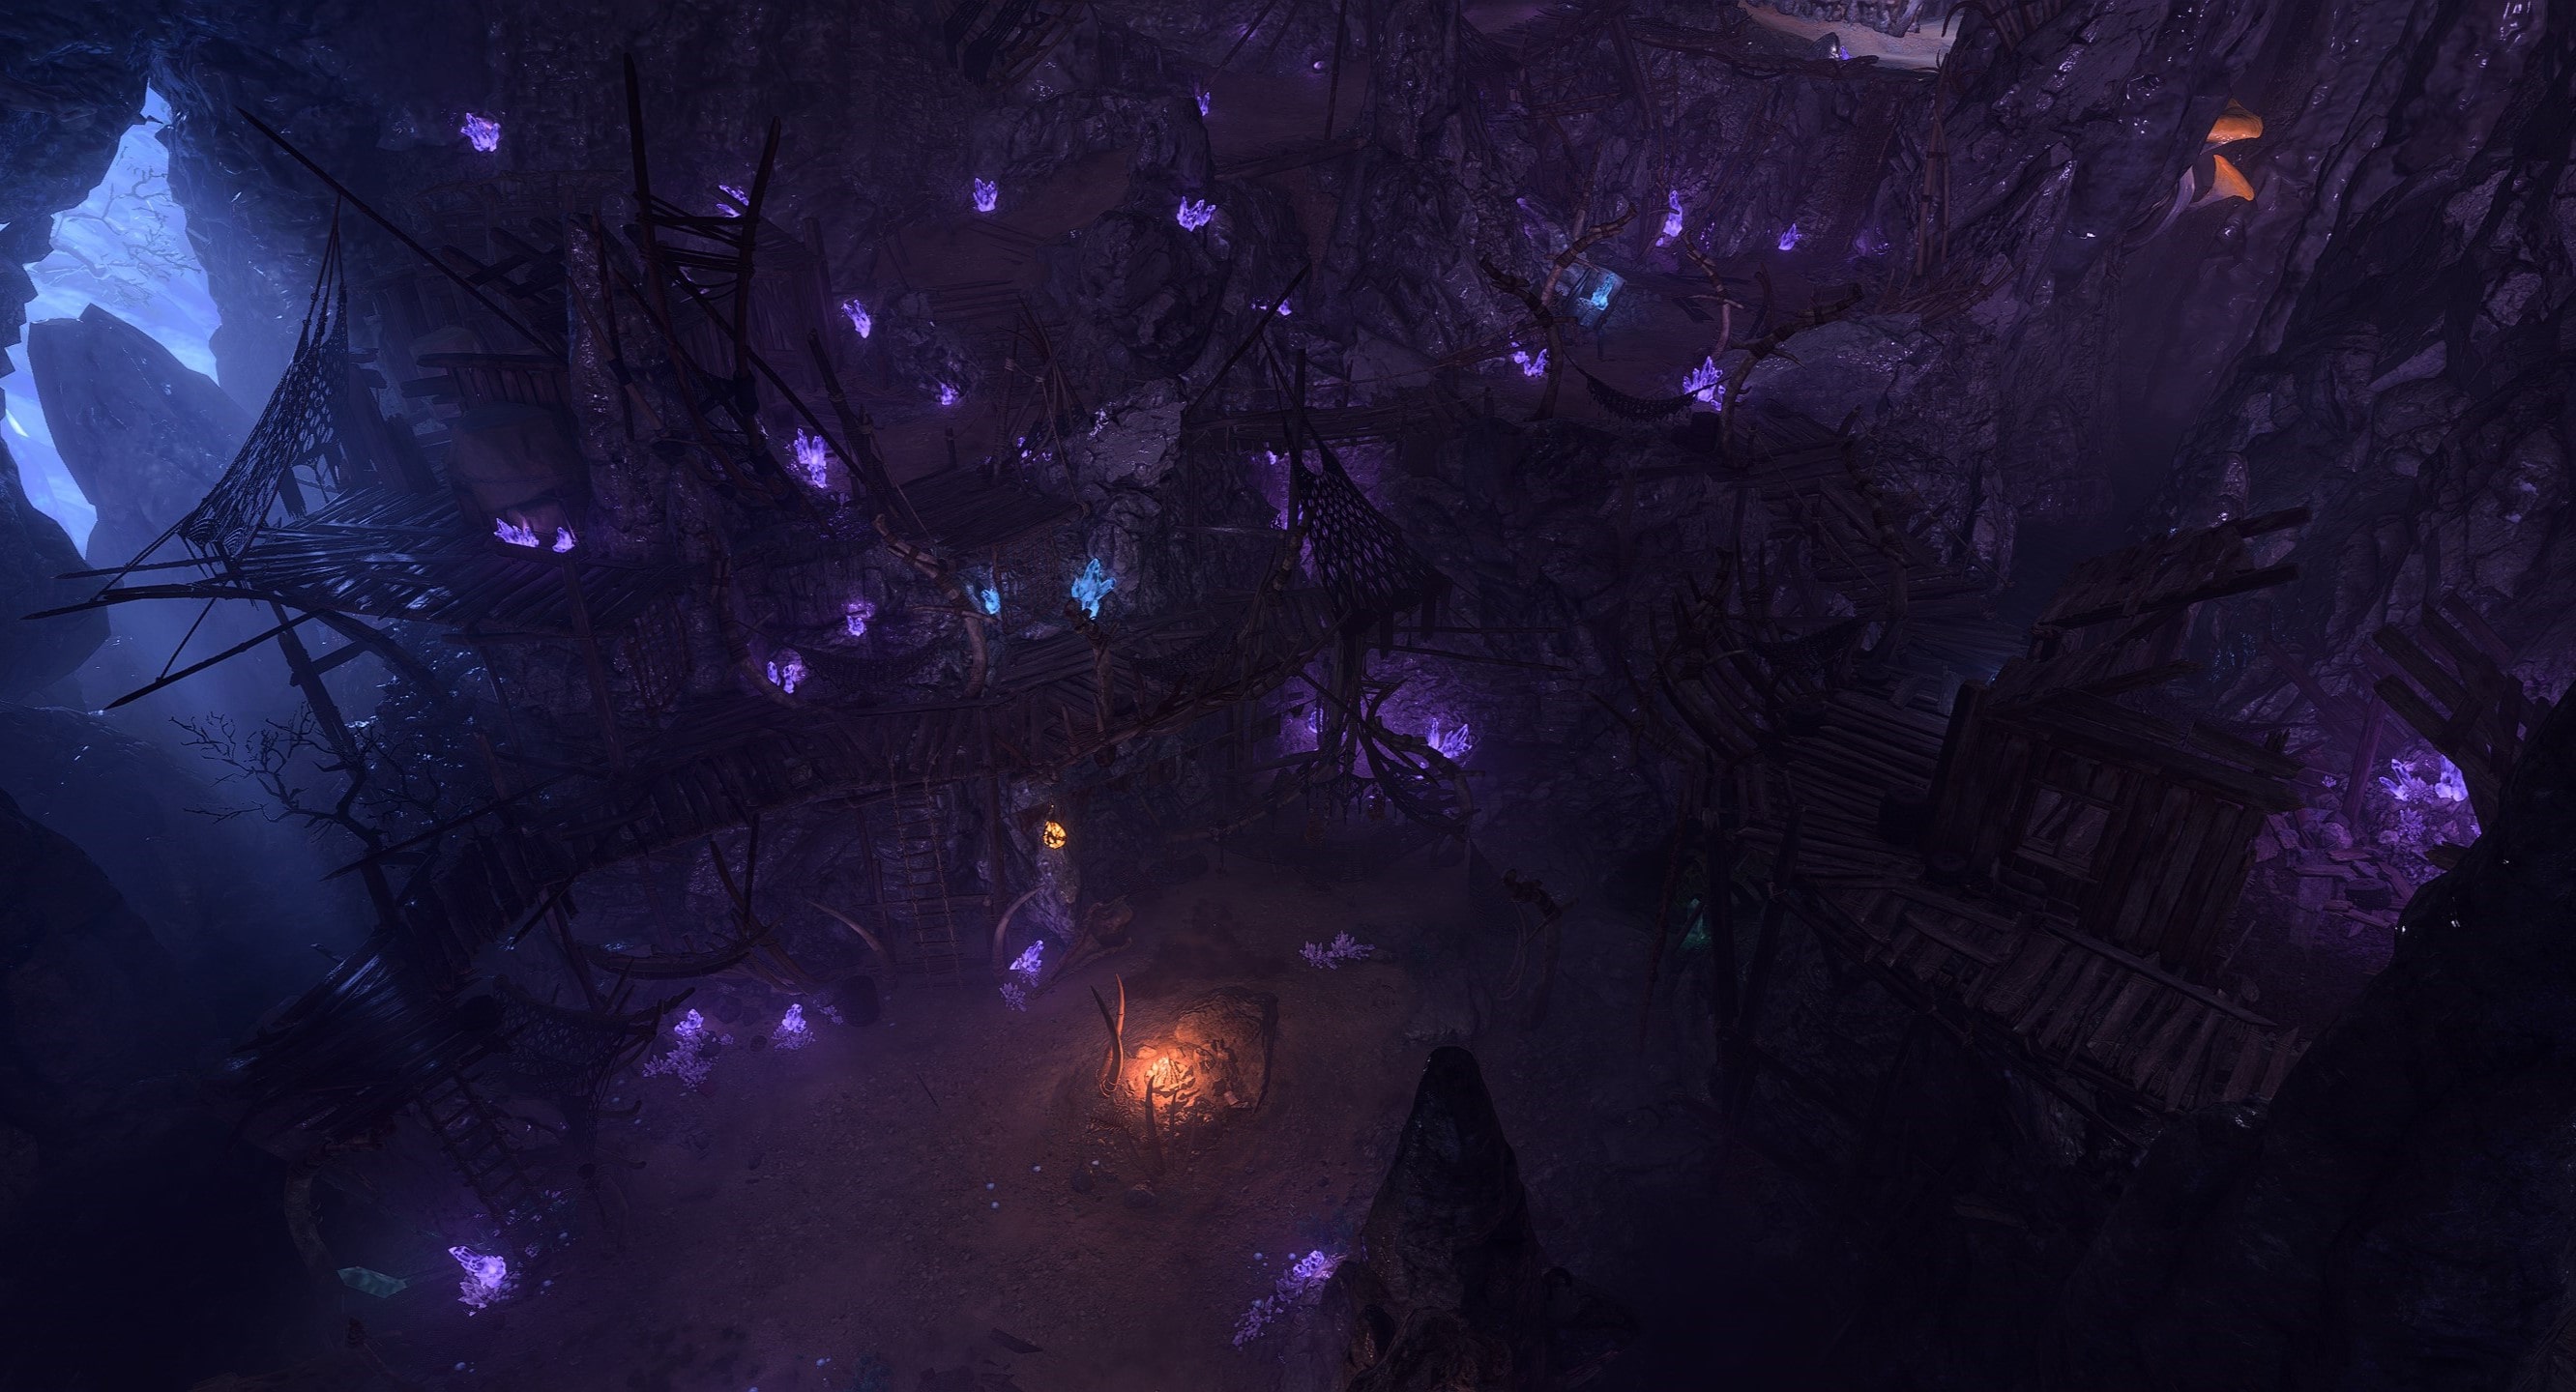
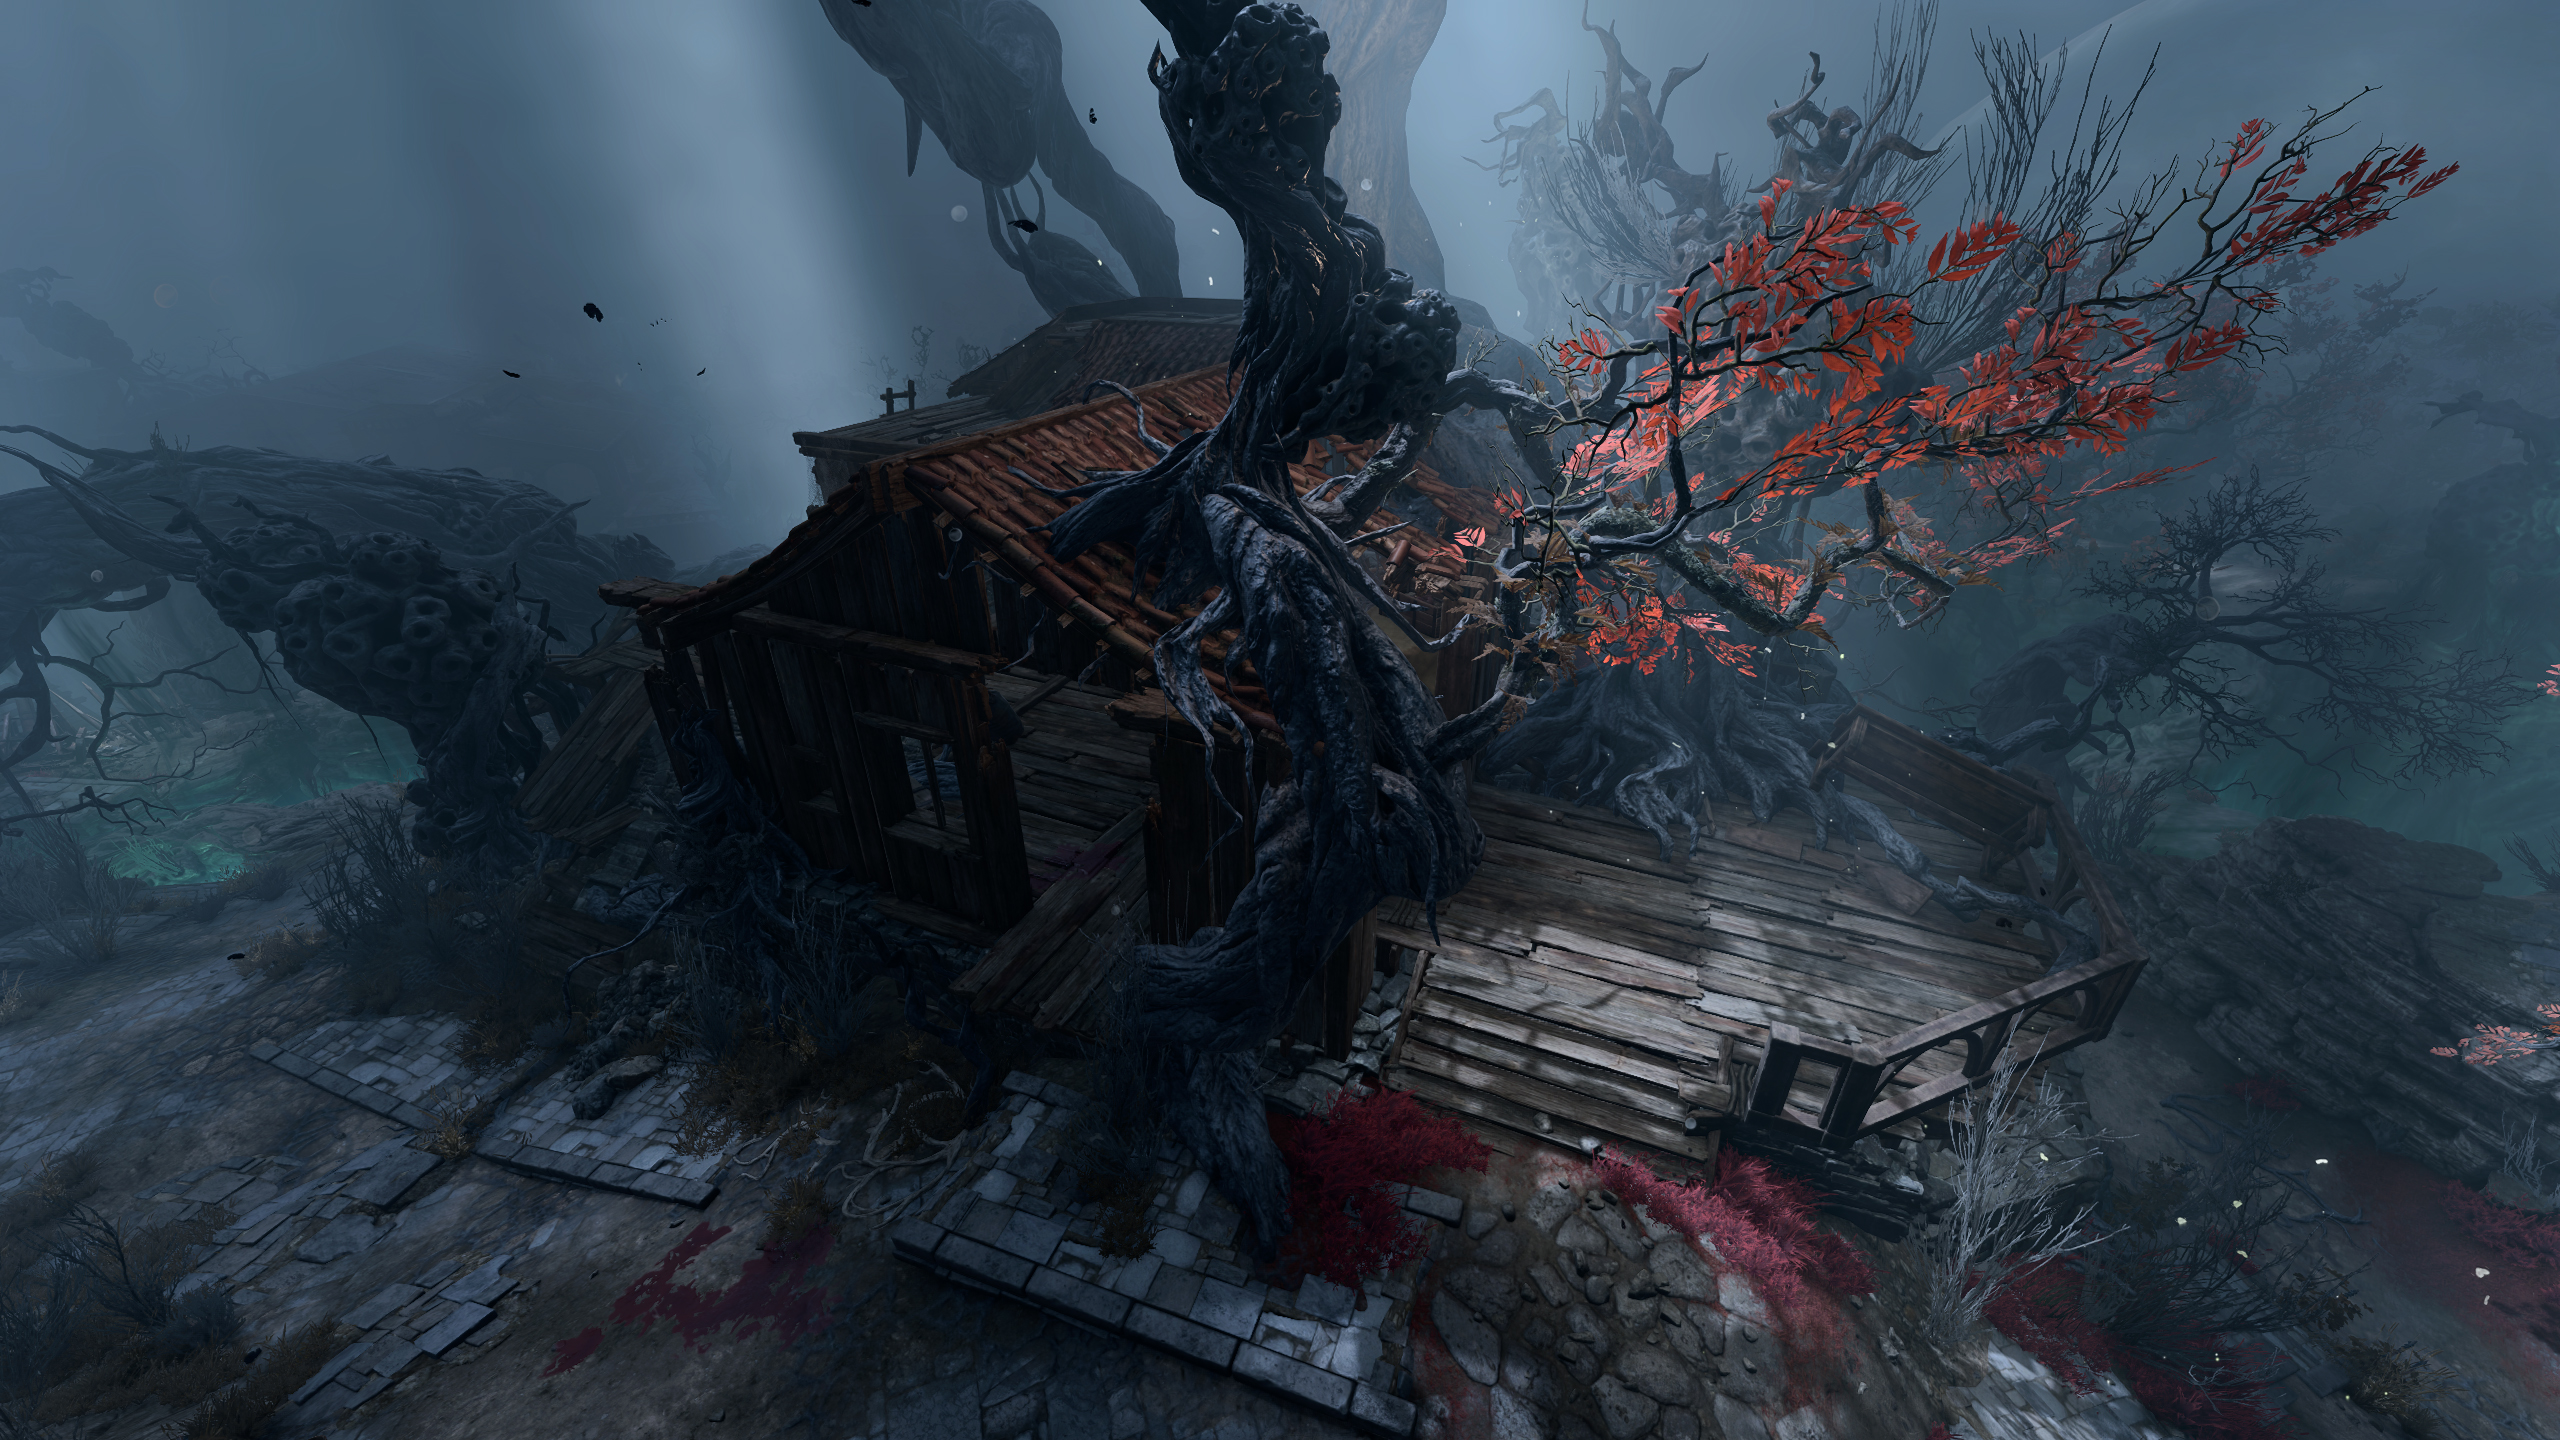
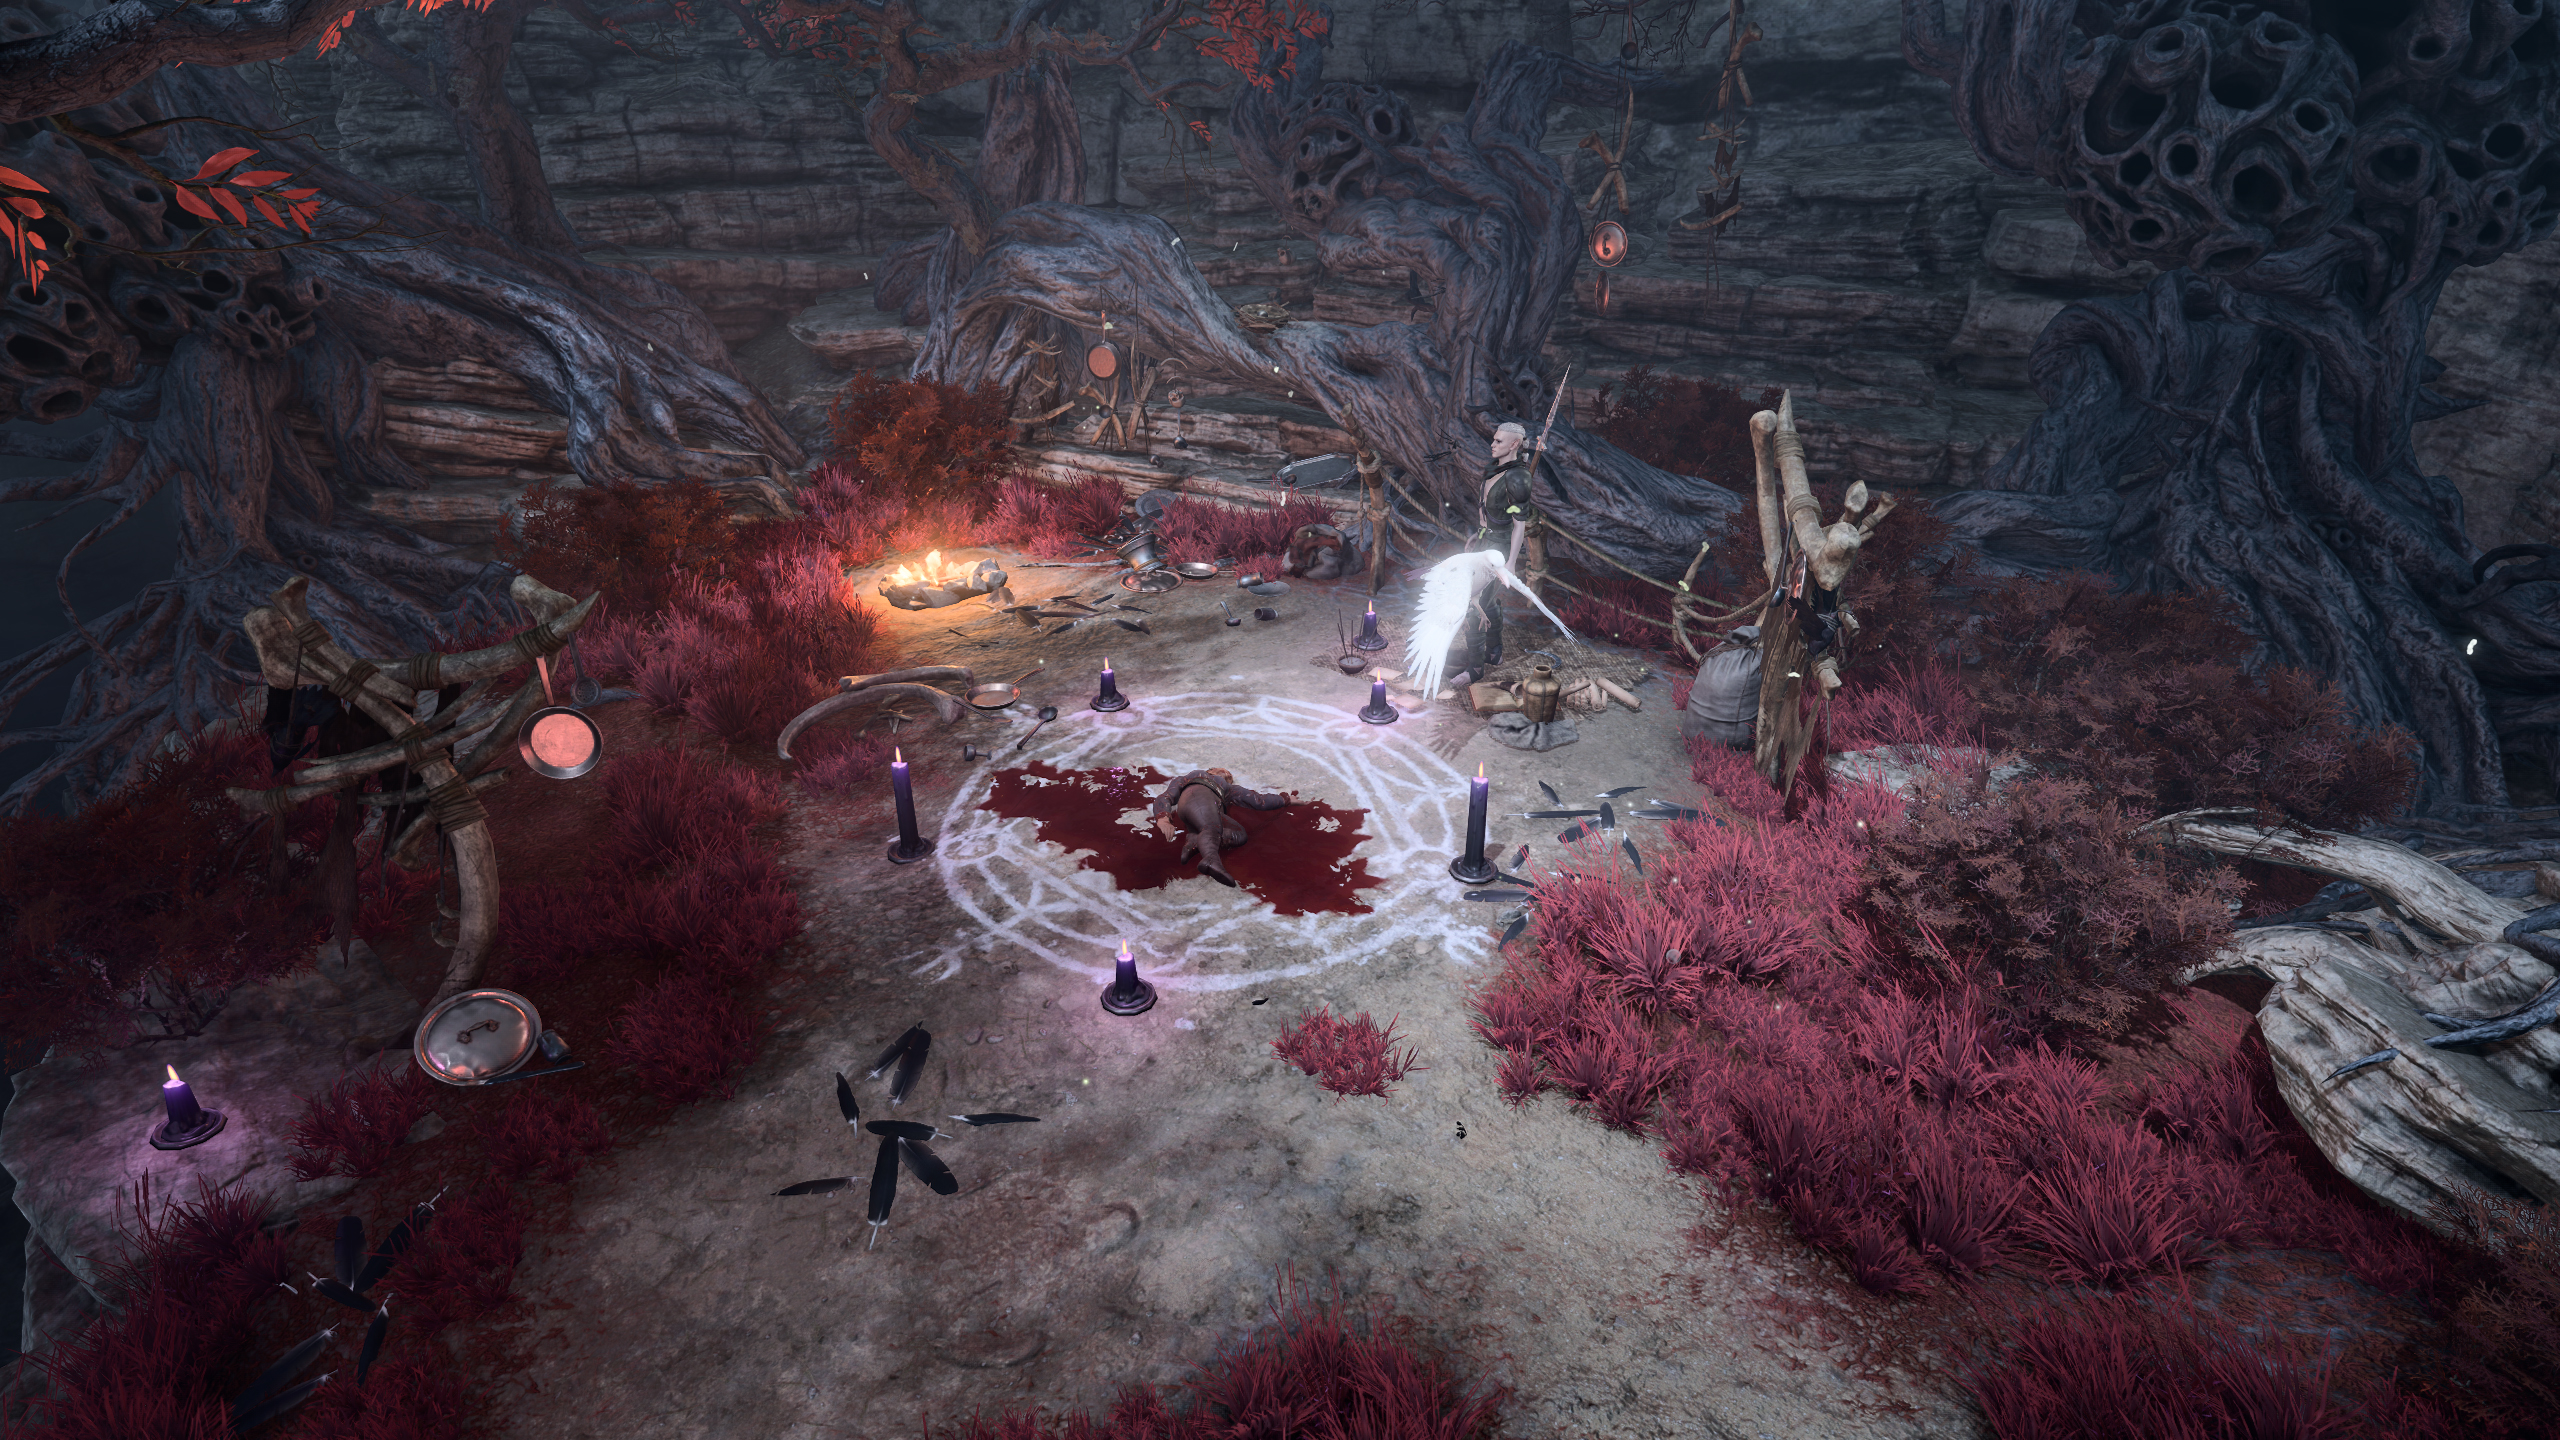
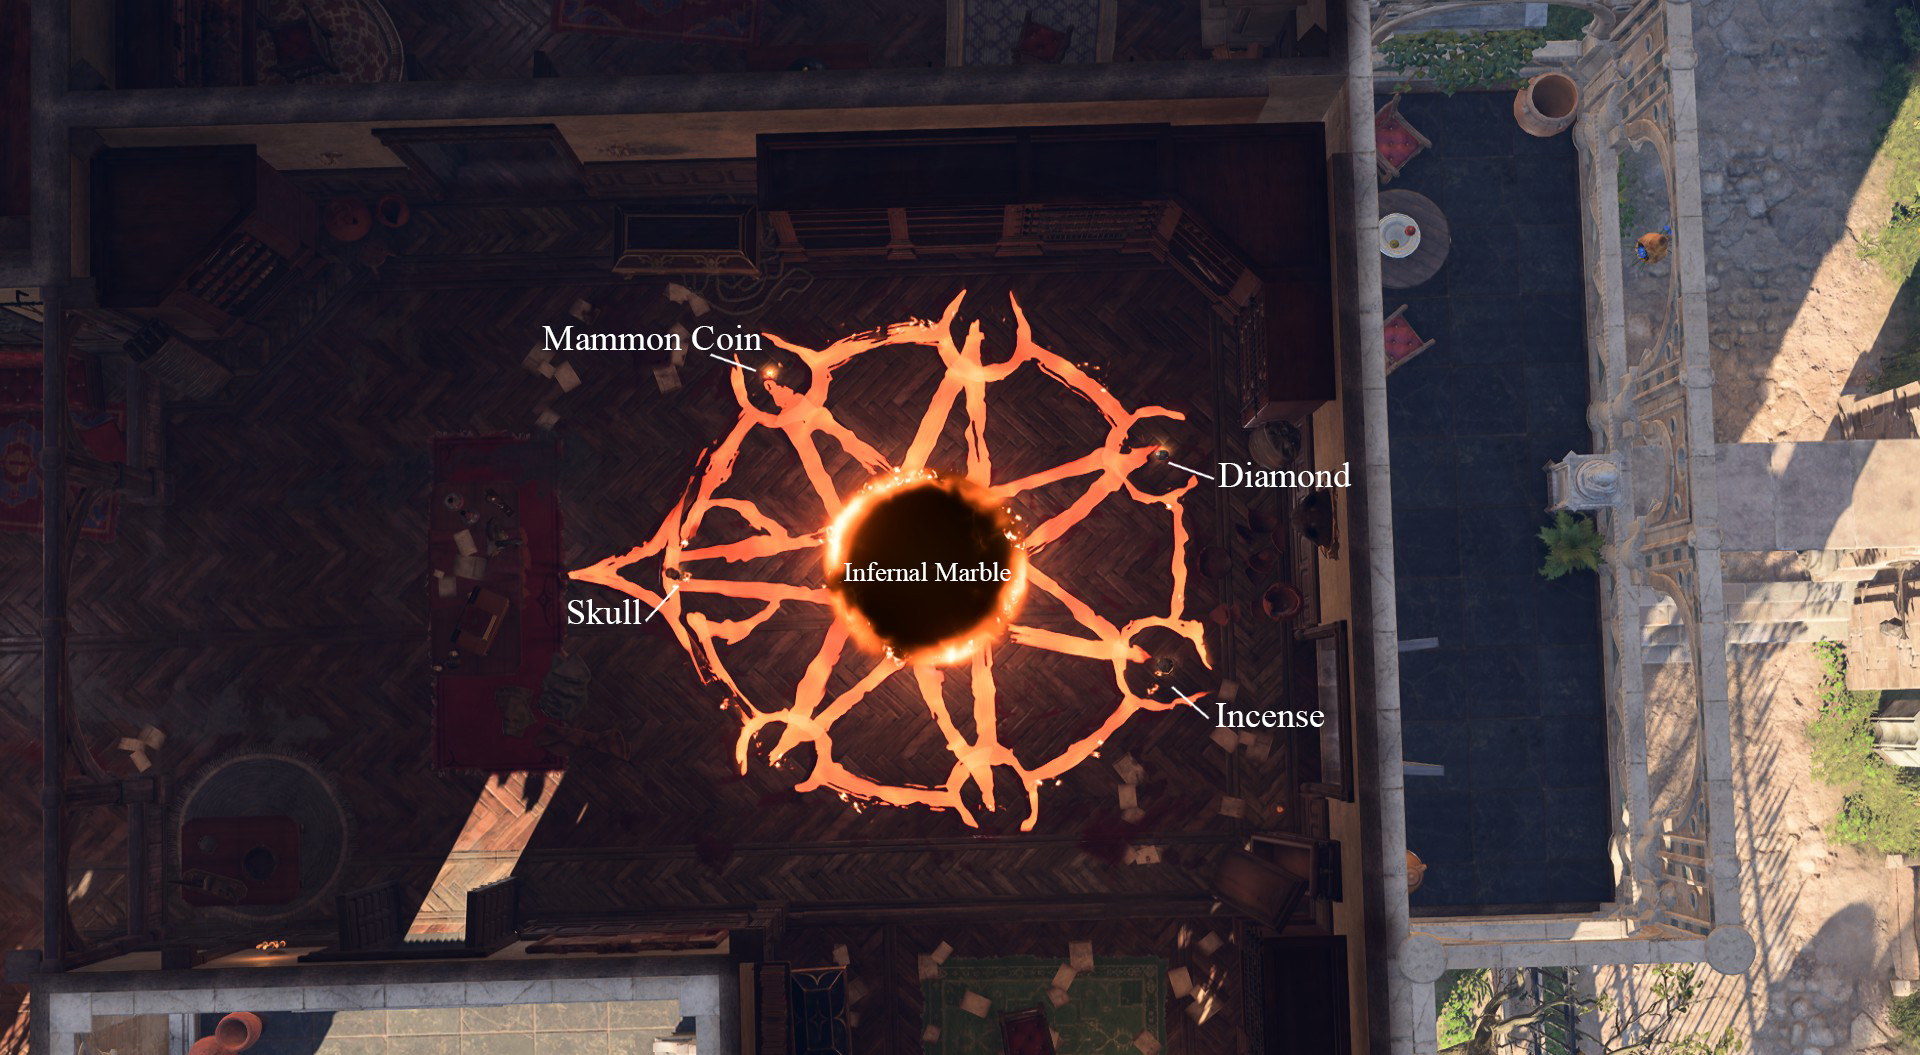
Screenshots of various locations in-game.
Media in category "Location screenshots"
The following 200 files are in this category, out of 454 total.
(previous page) (next page)-
A Deep Hole.jpg 2,560 × 1,440; 933 KB
-
A Mummys Memoir Location.jpg 1,760 × 990; 223 KB
-
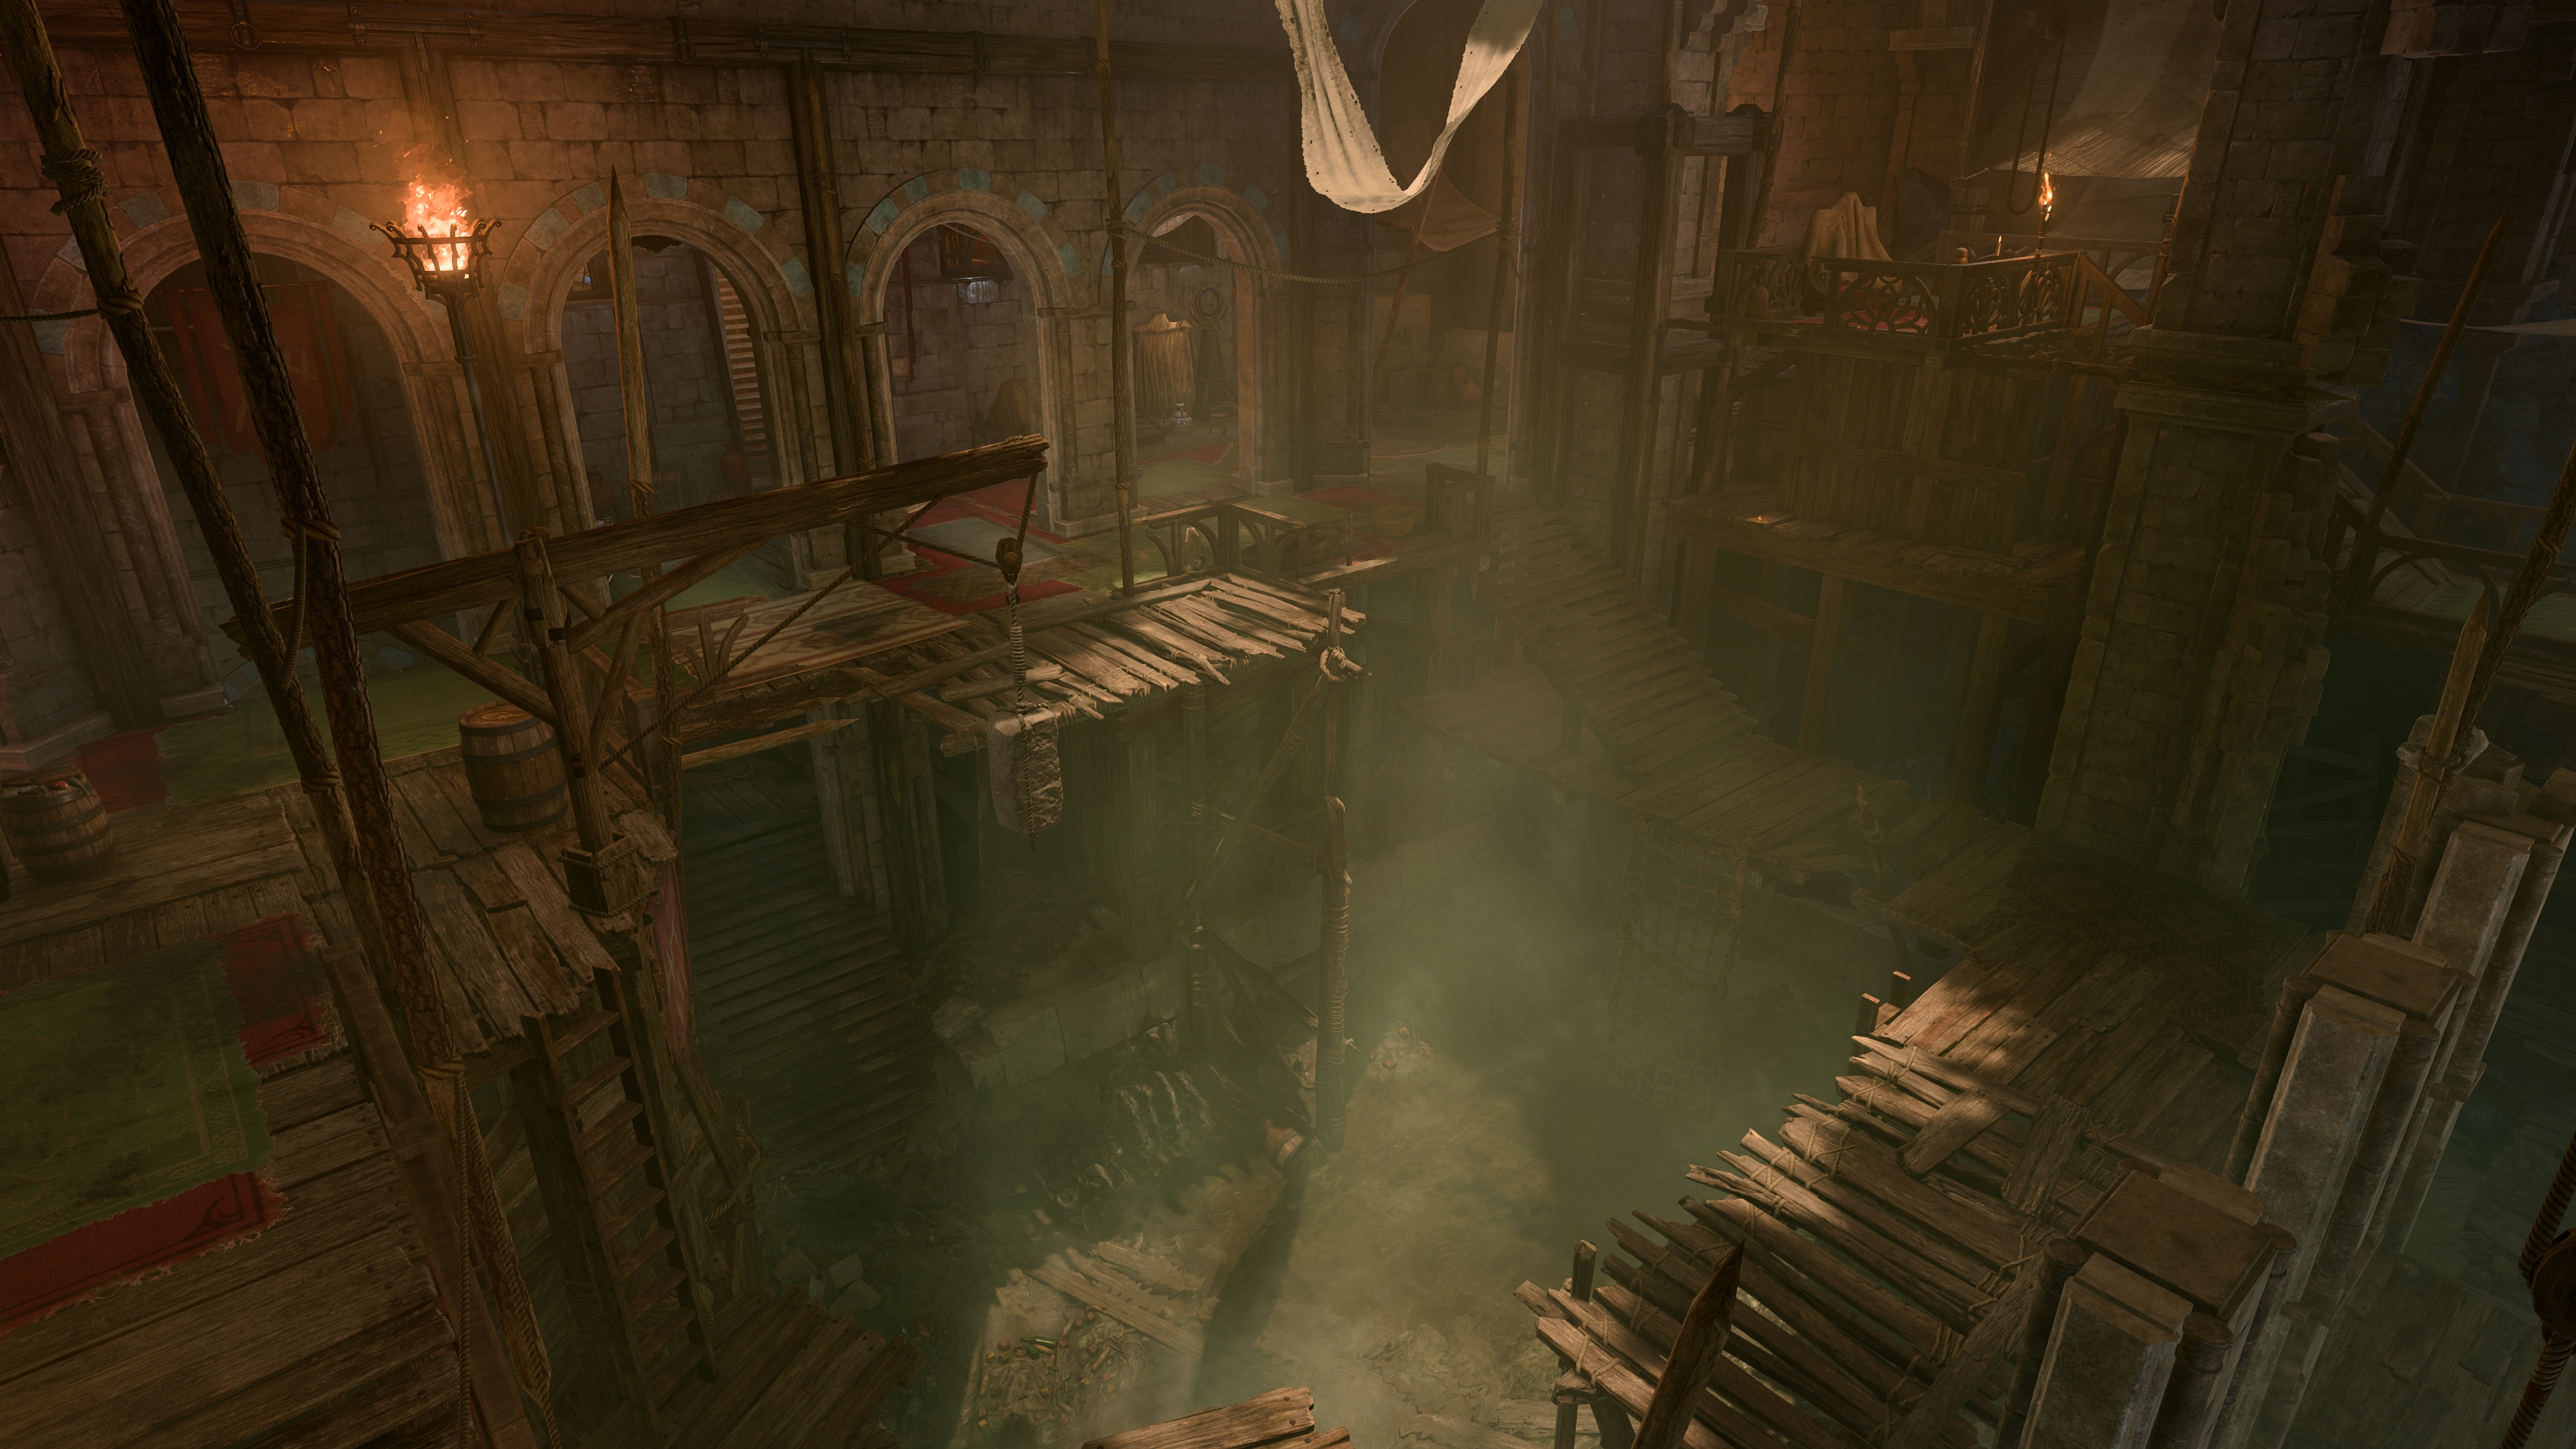
Abandoned Cistern.jpg 2,336 × 1,407; 575 KB
-
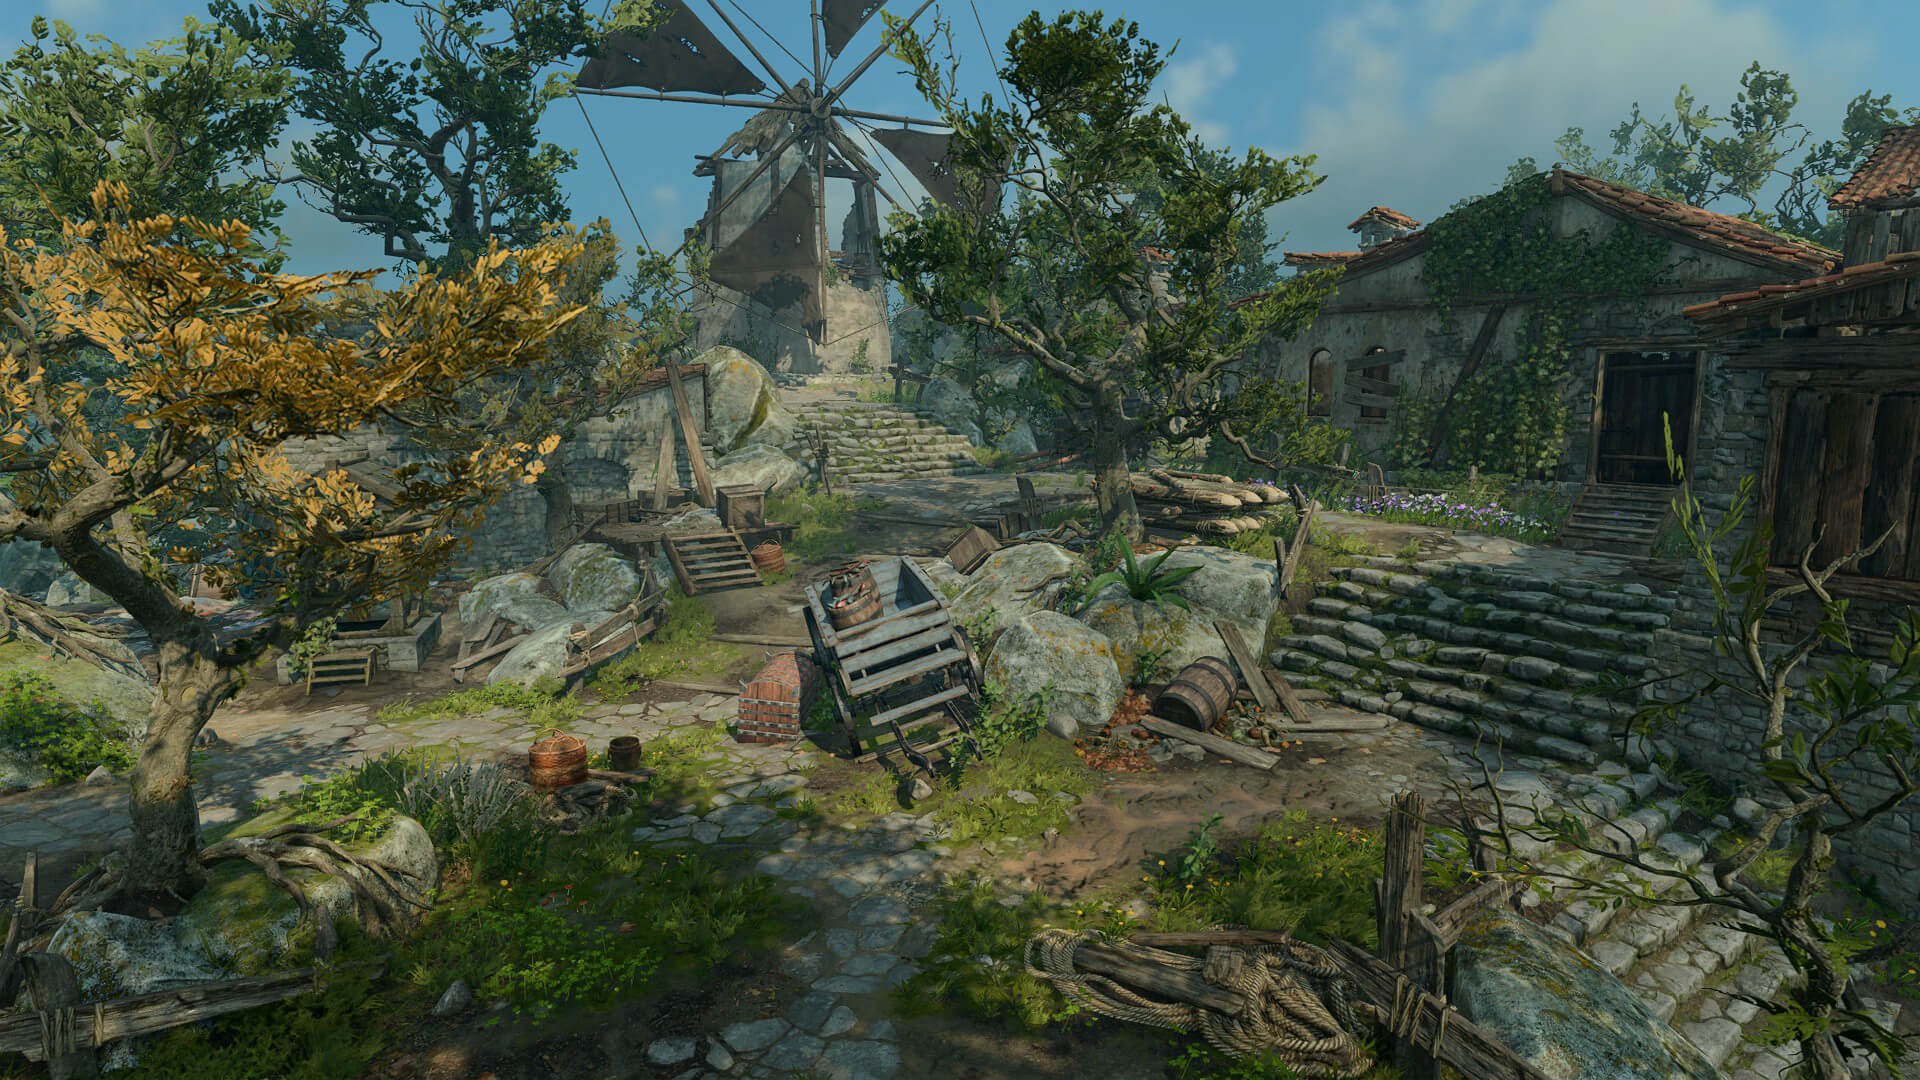
Abandoned Windmill.jpg 2,560 × 1,440; 869 KB
-
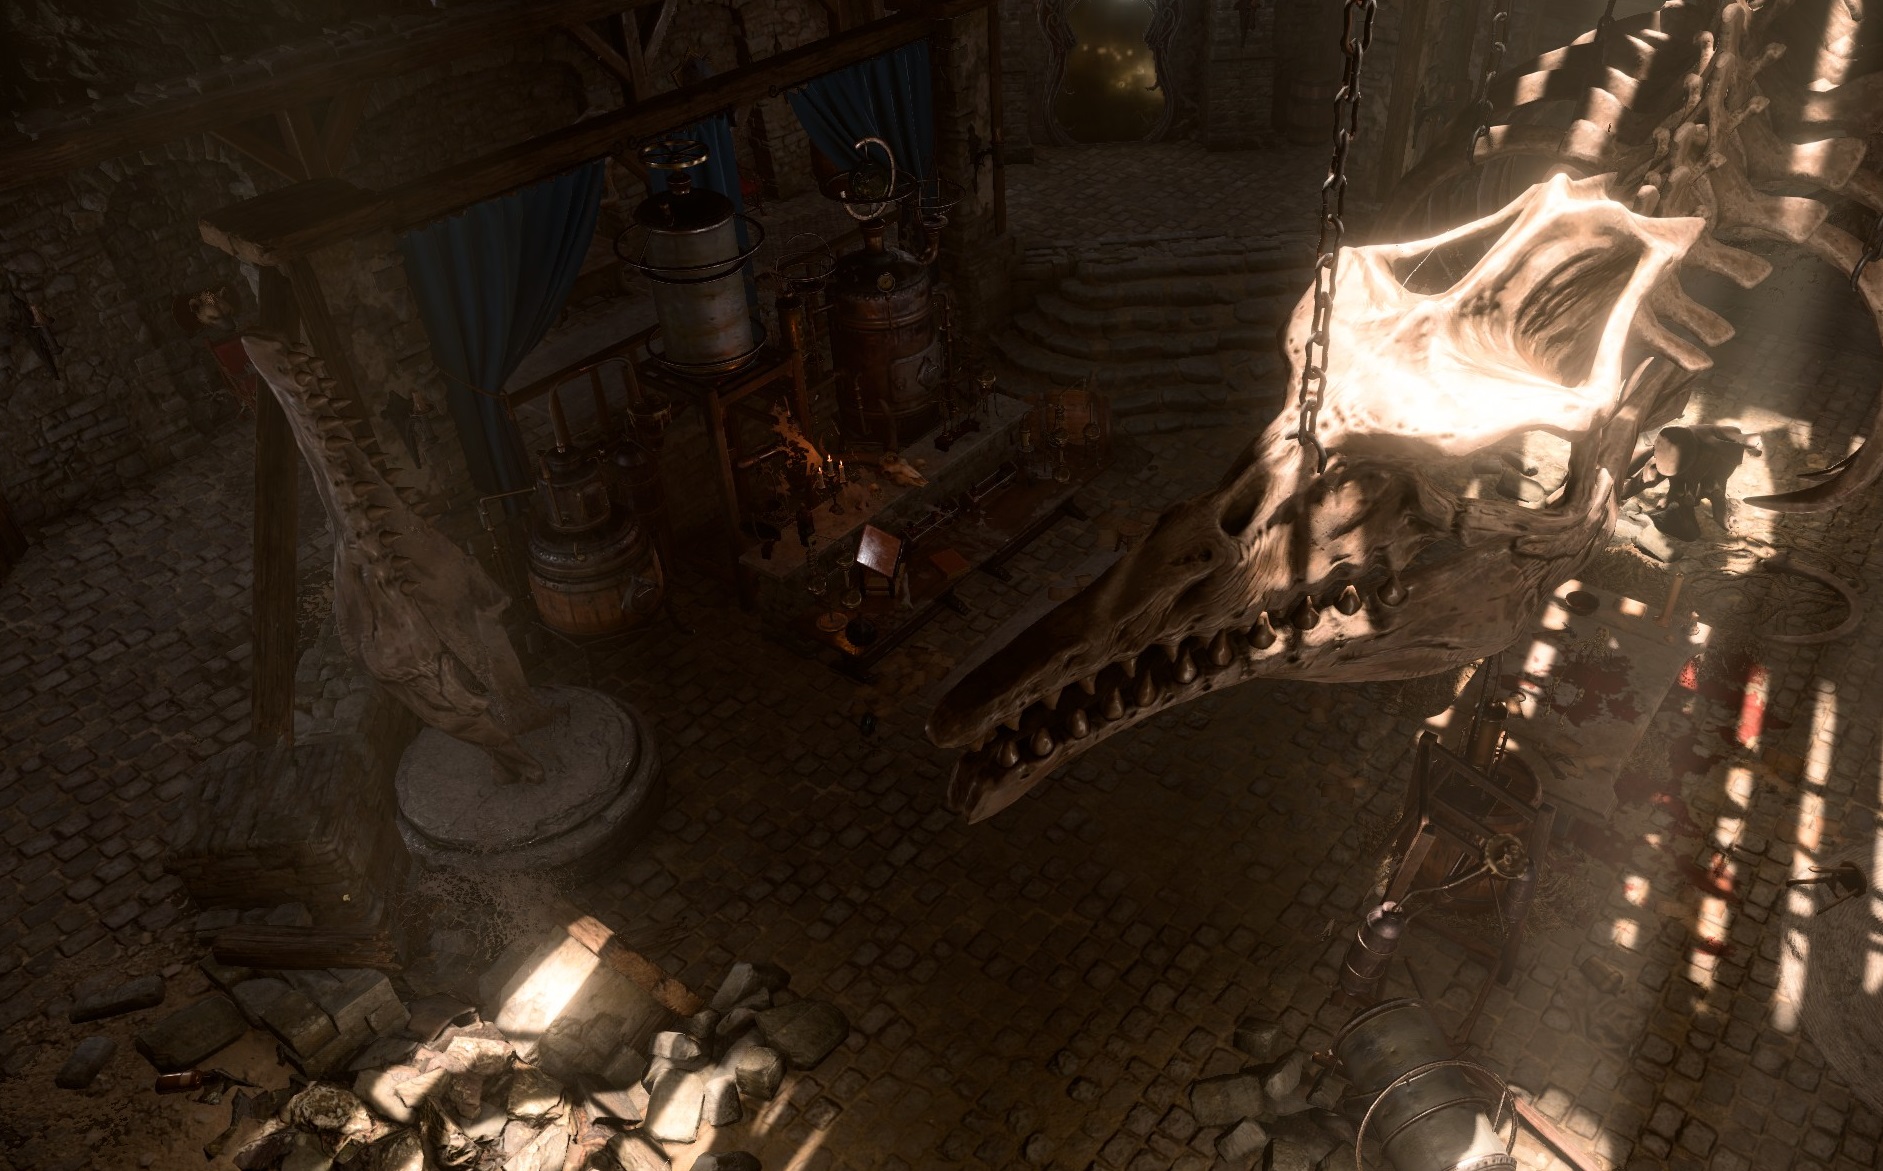
Acrid Workshop.webp 1,422 × 816; 51 KB
-
Adamantine Mould Locations Quest.jpg 1,920 × 1,080; 593 KB
-
Altar-ilmater.png 1,013 × 1,131; 1.42 MB
-
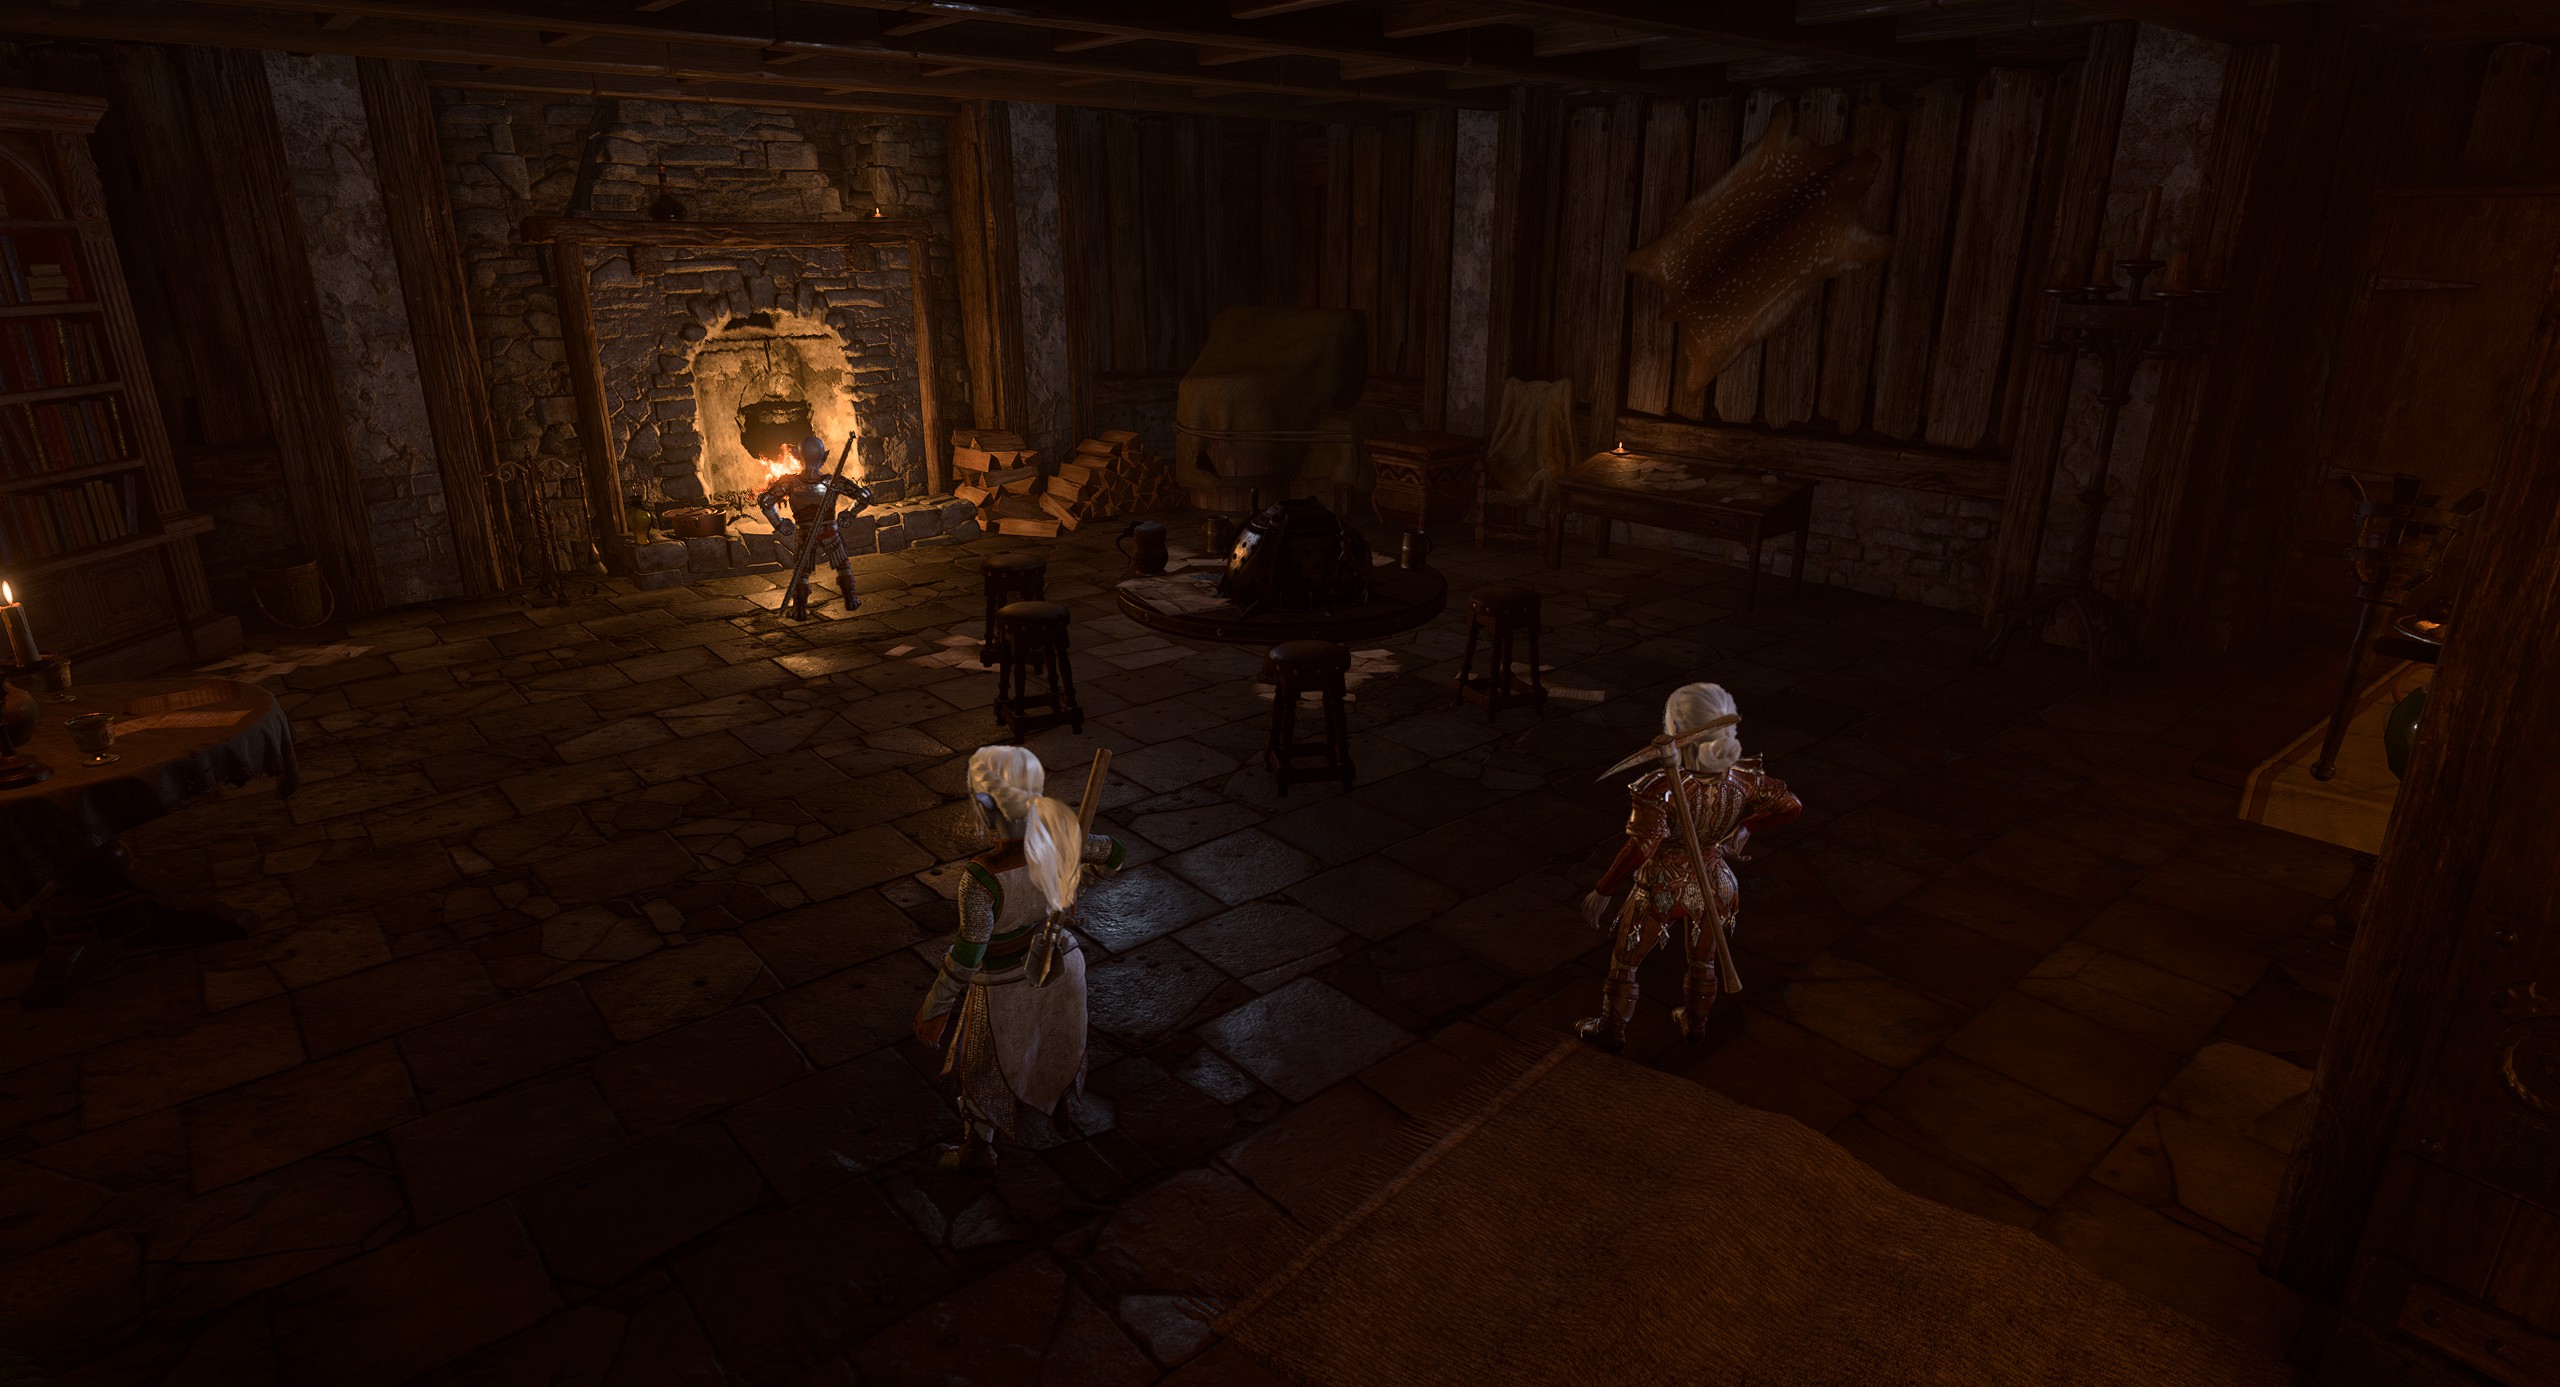
Ancient Abode.webp 1,425 × 816; 58 KB
-
Ancient Lair.jpg 2,336 × 1,407; 522 KB
-
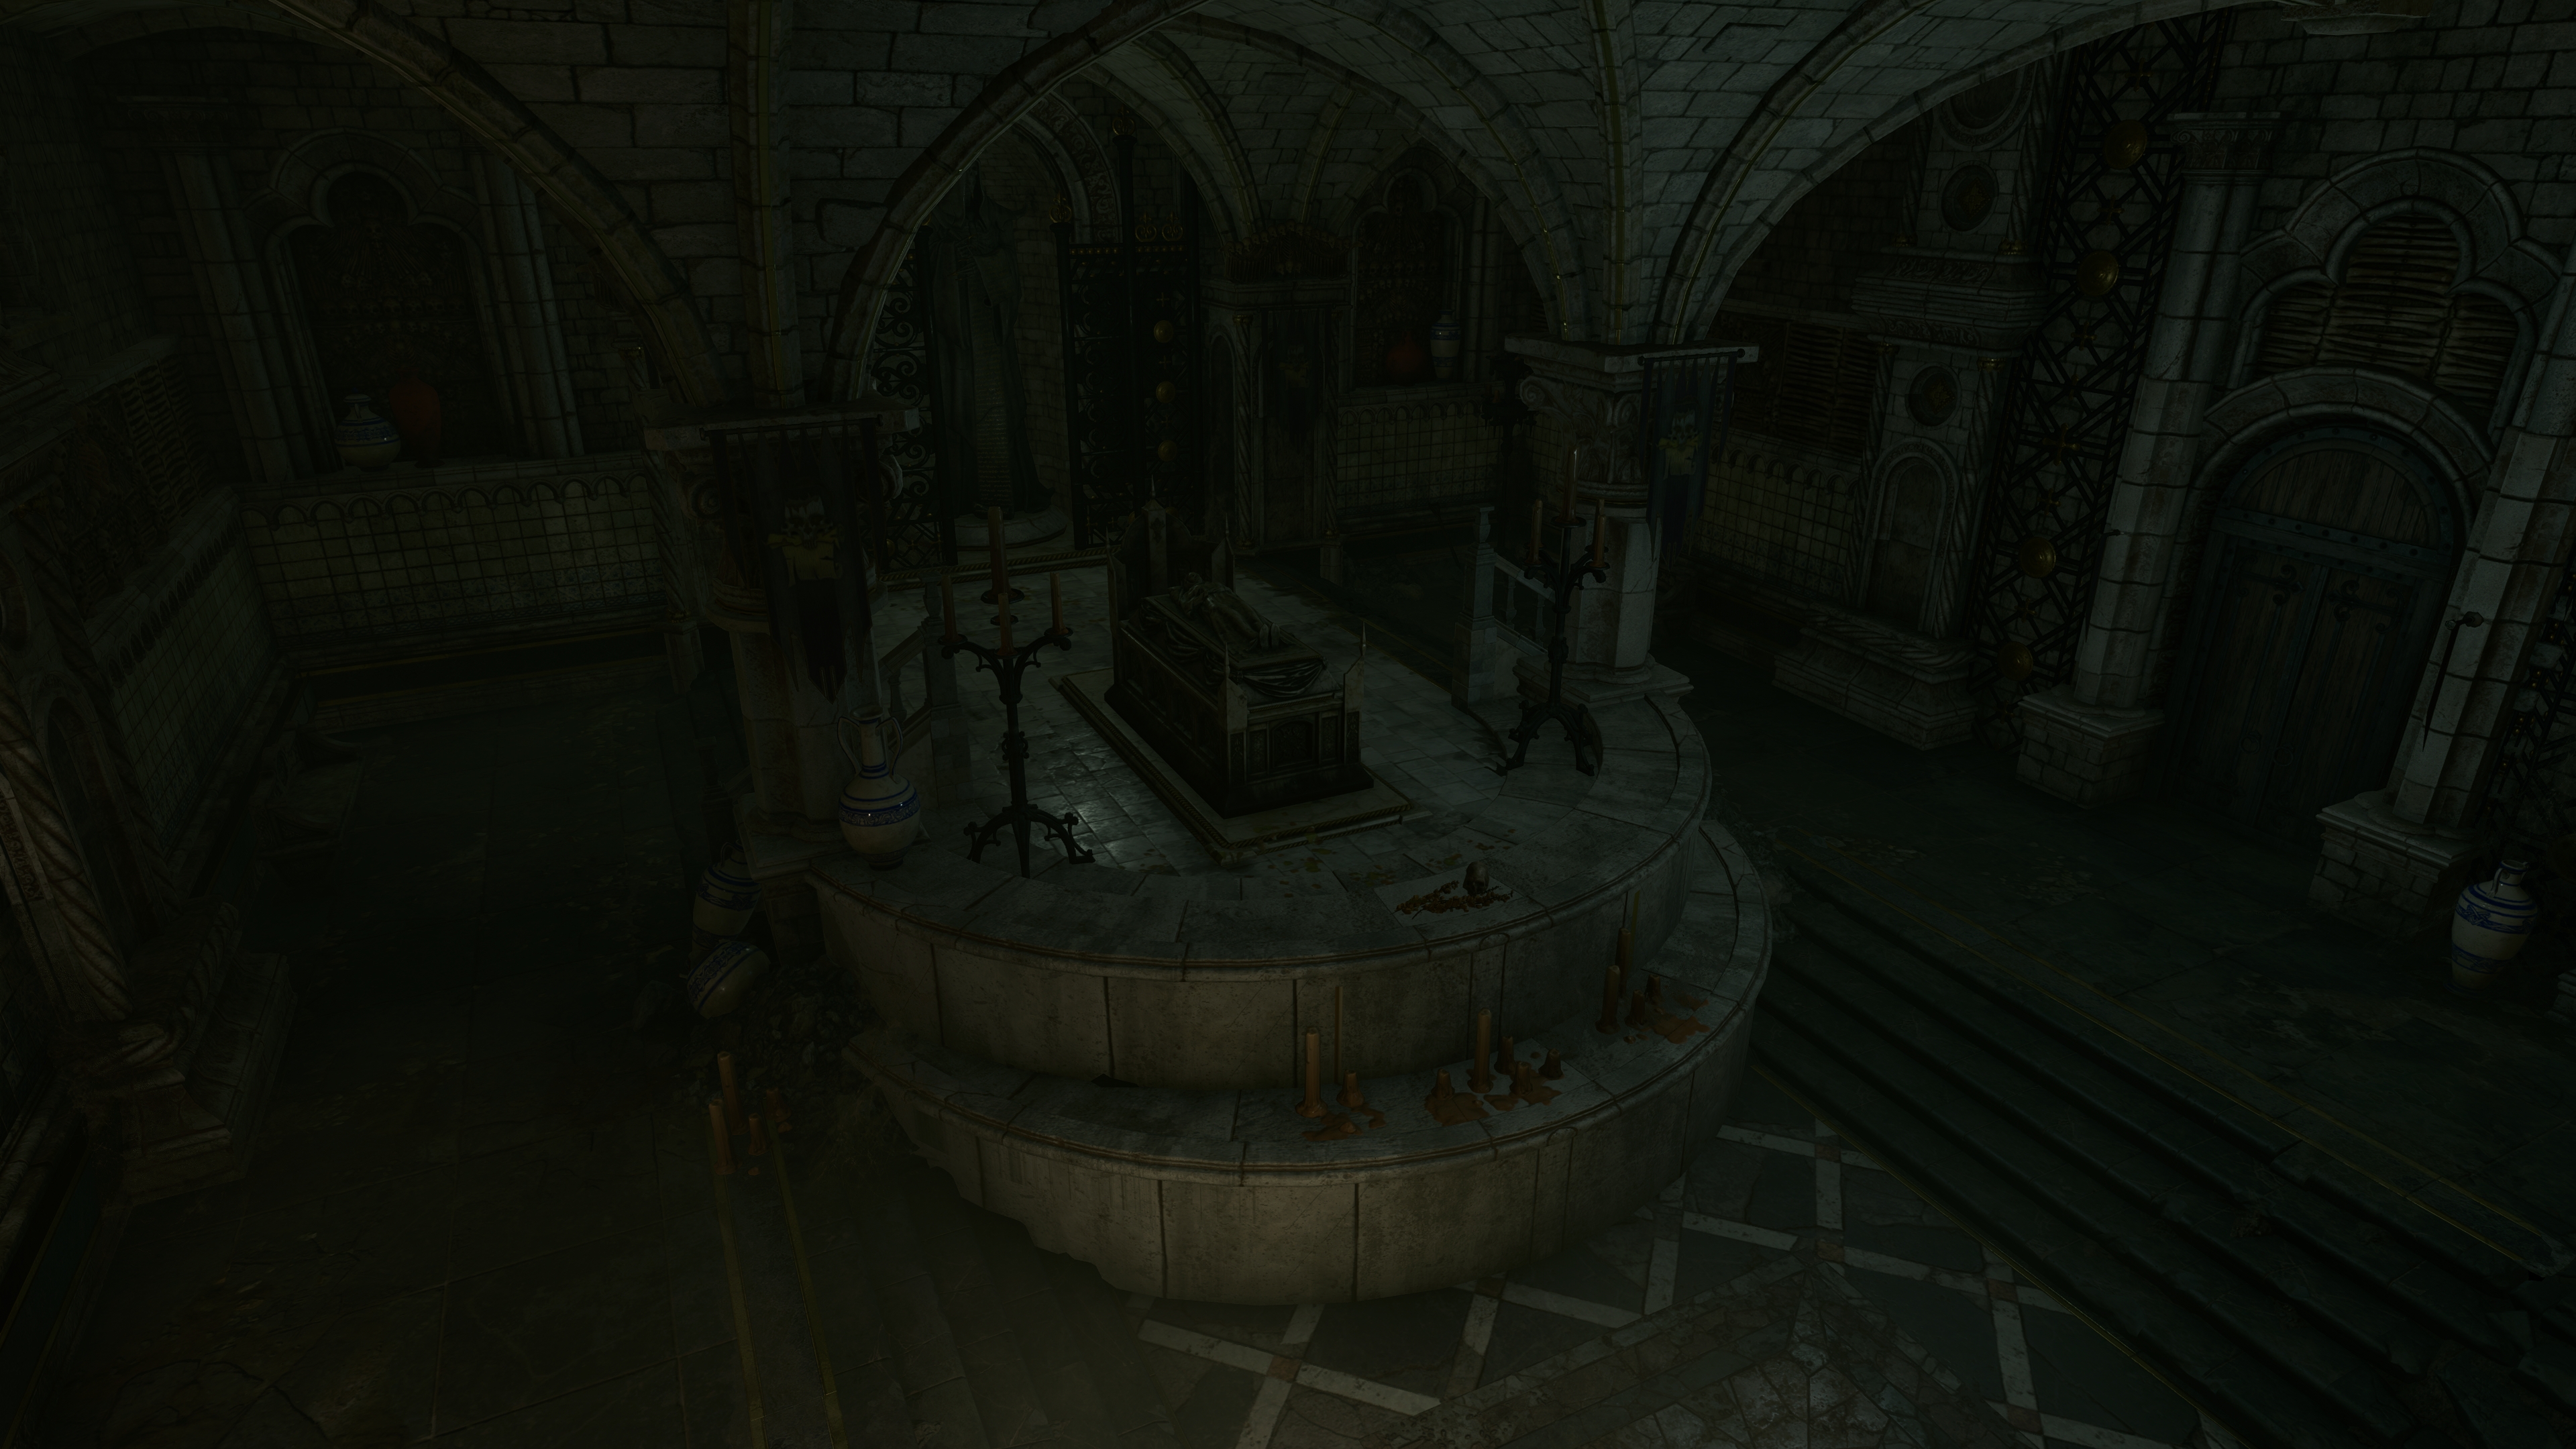
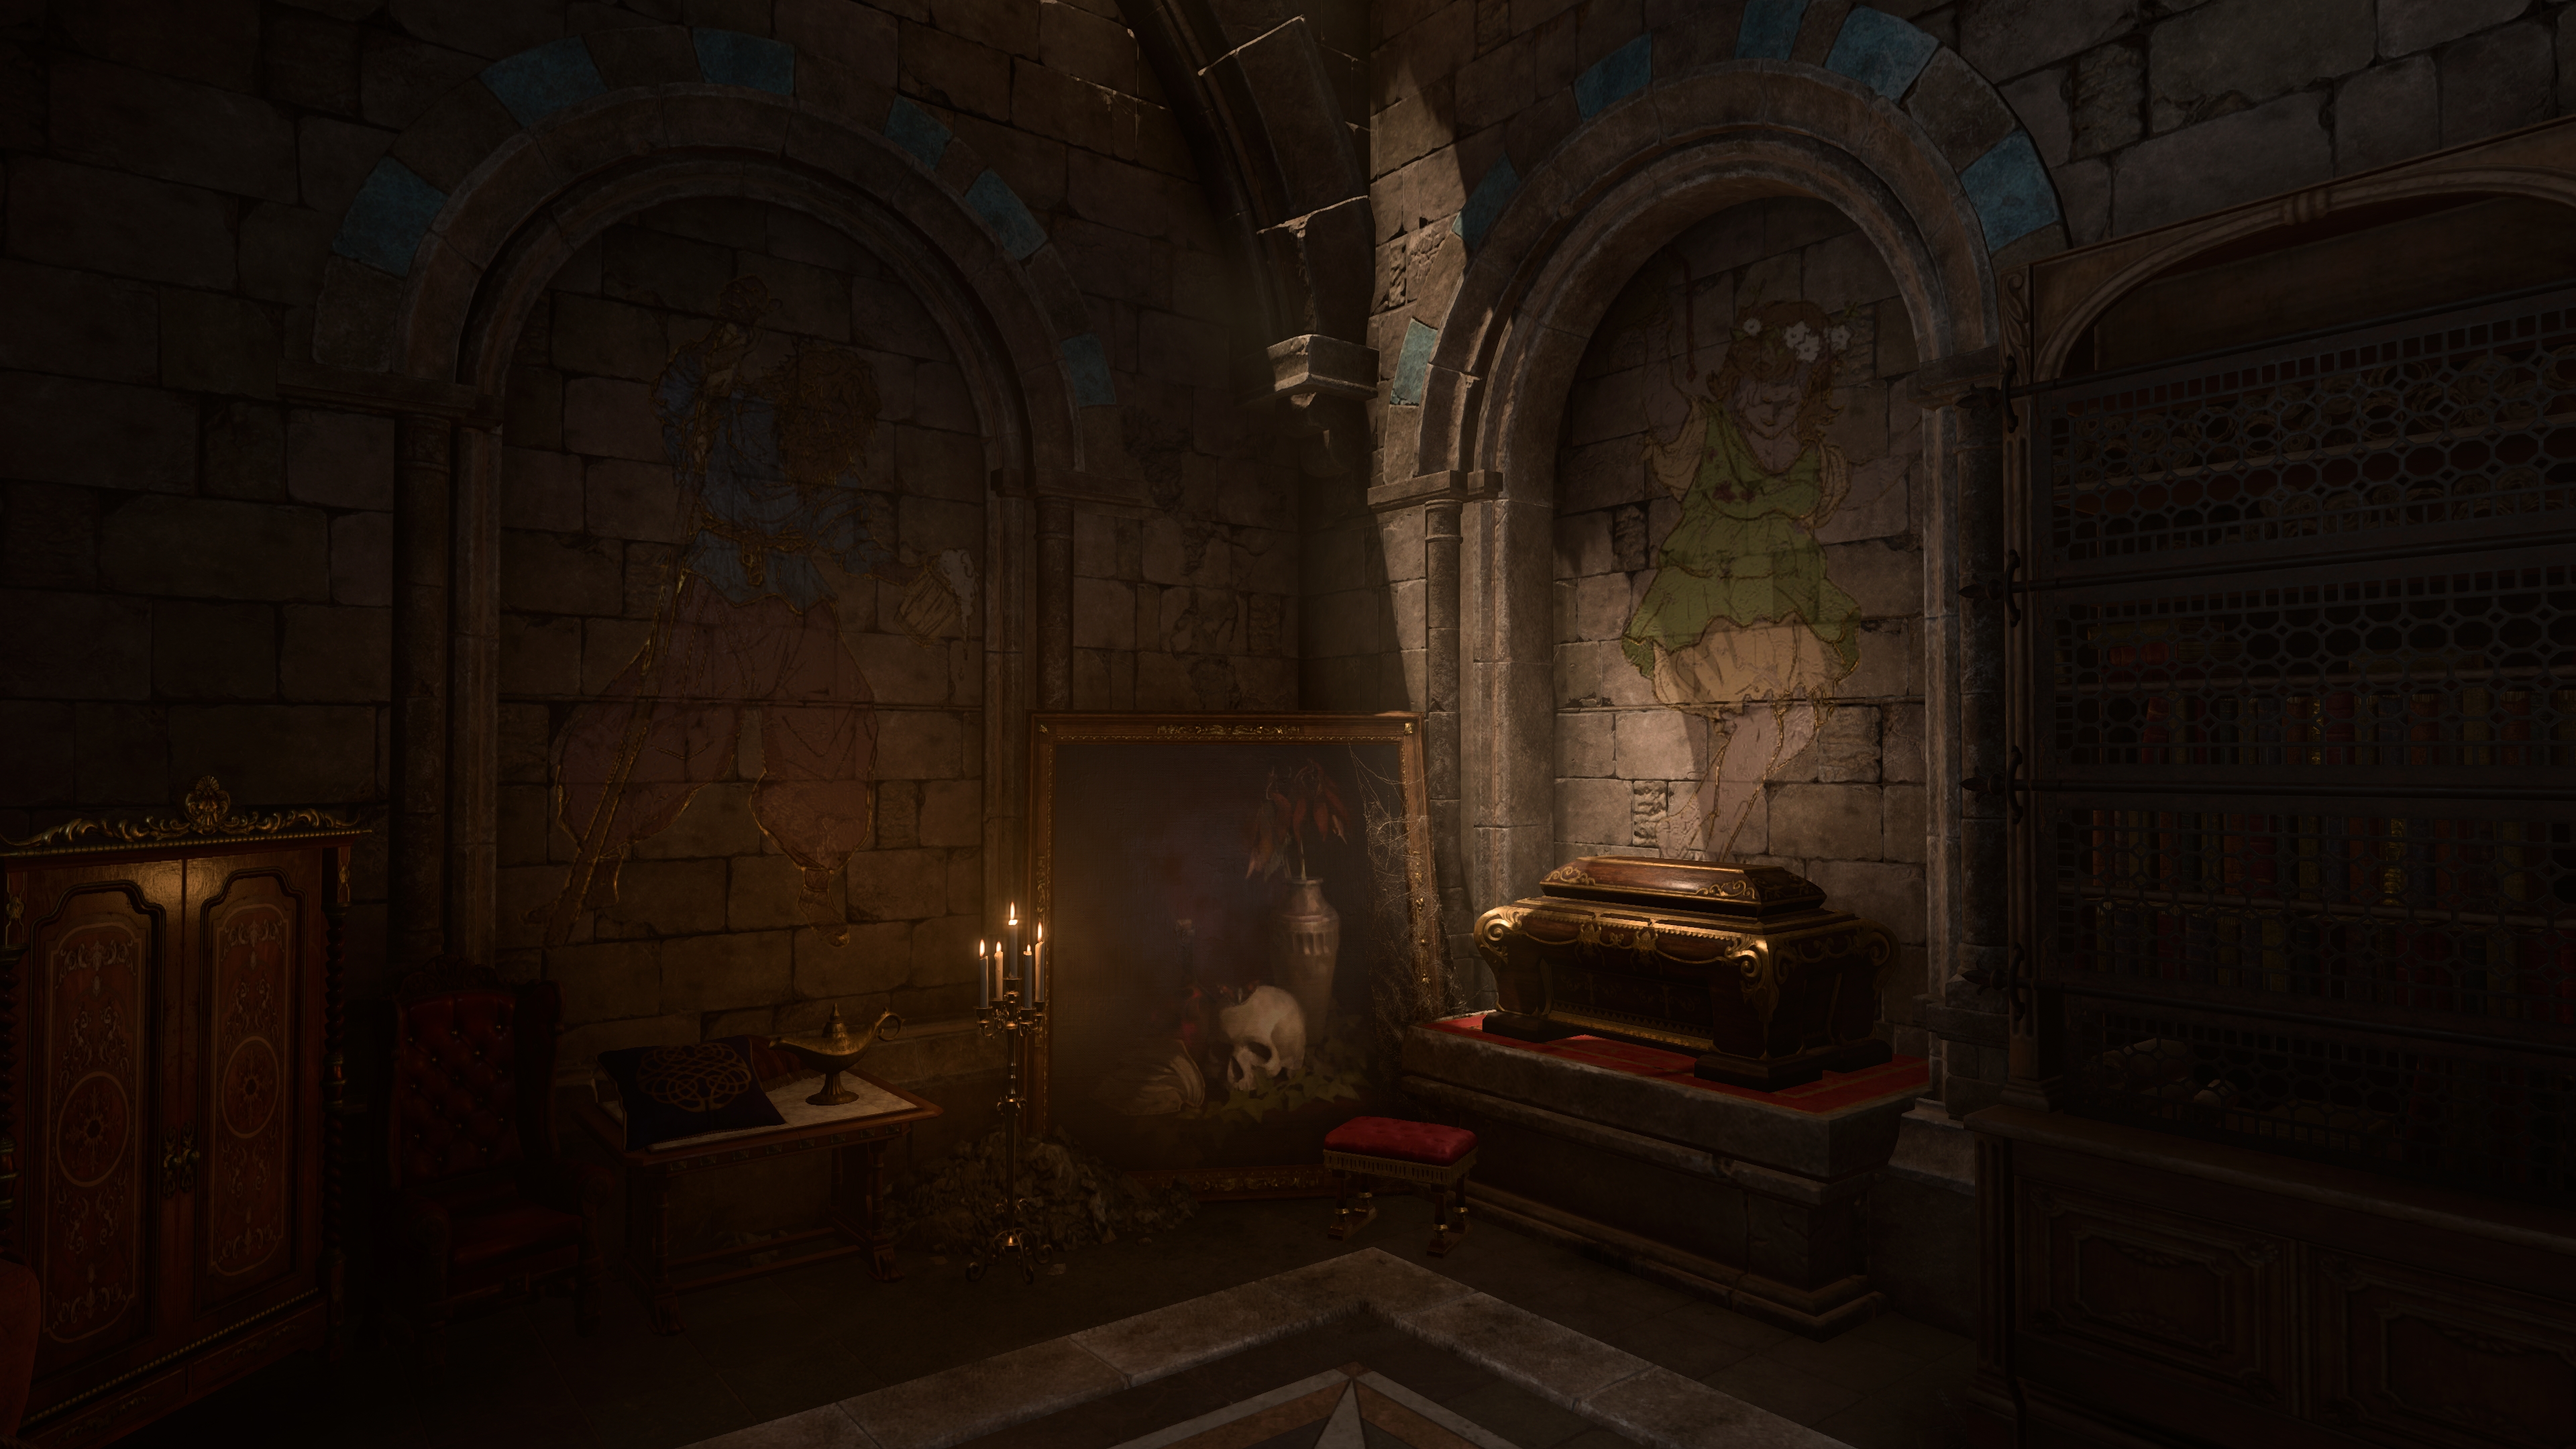
Ancient Mausoleum.jpg 3,840 × 2,160; 3.61 MB
-
Angeliron's Cellar.jpg 2,560 × 1,387; 524 KB
-
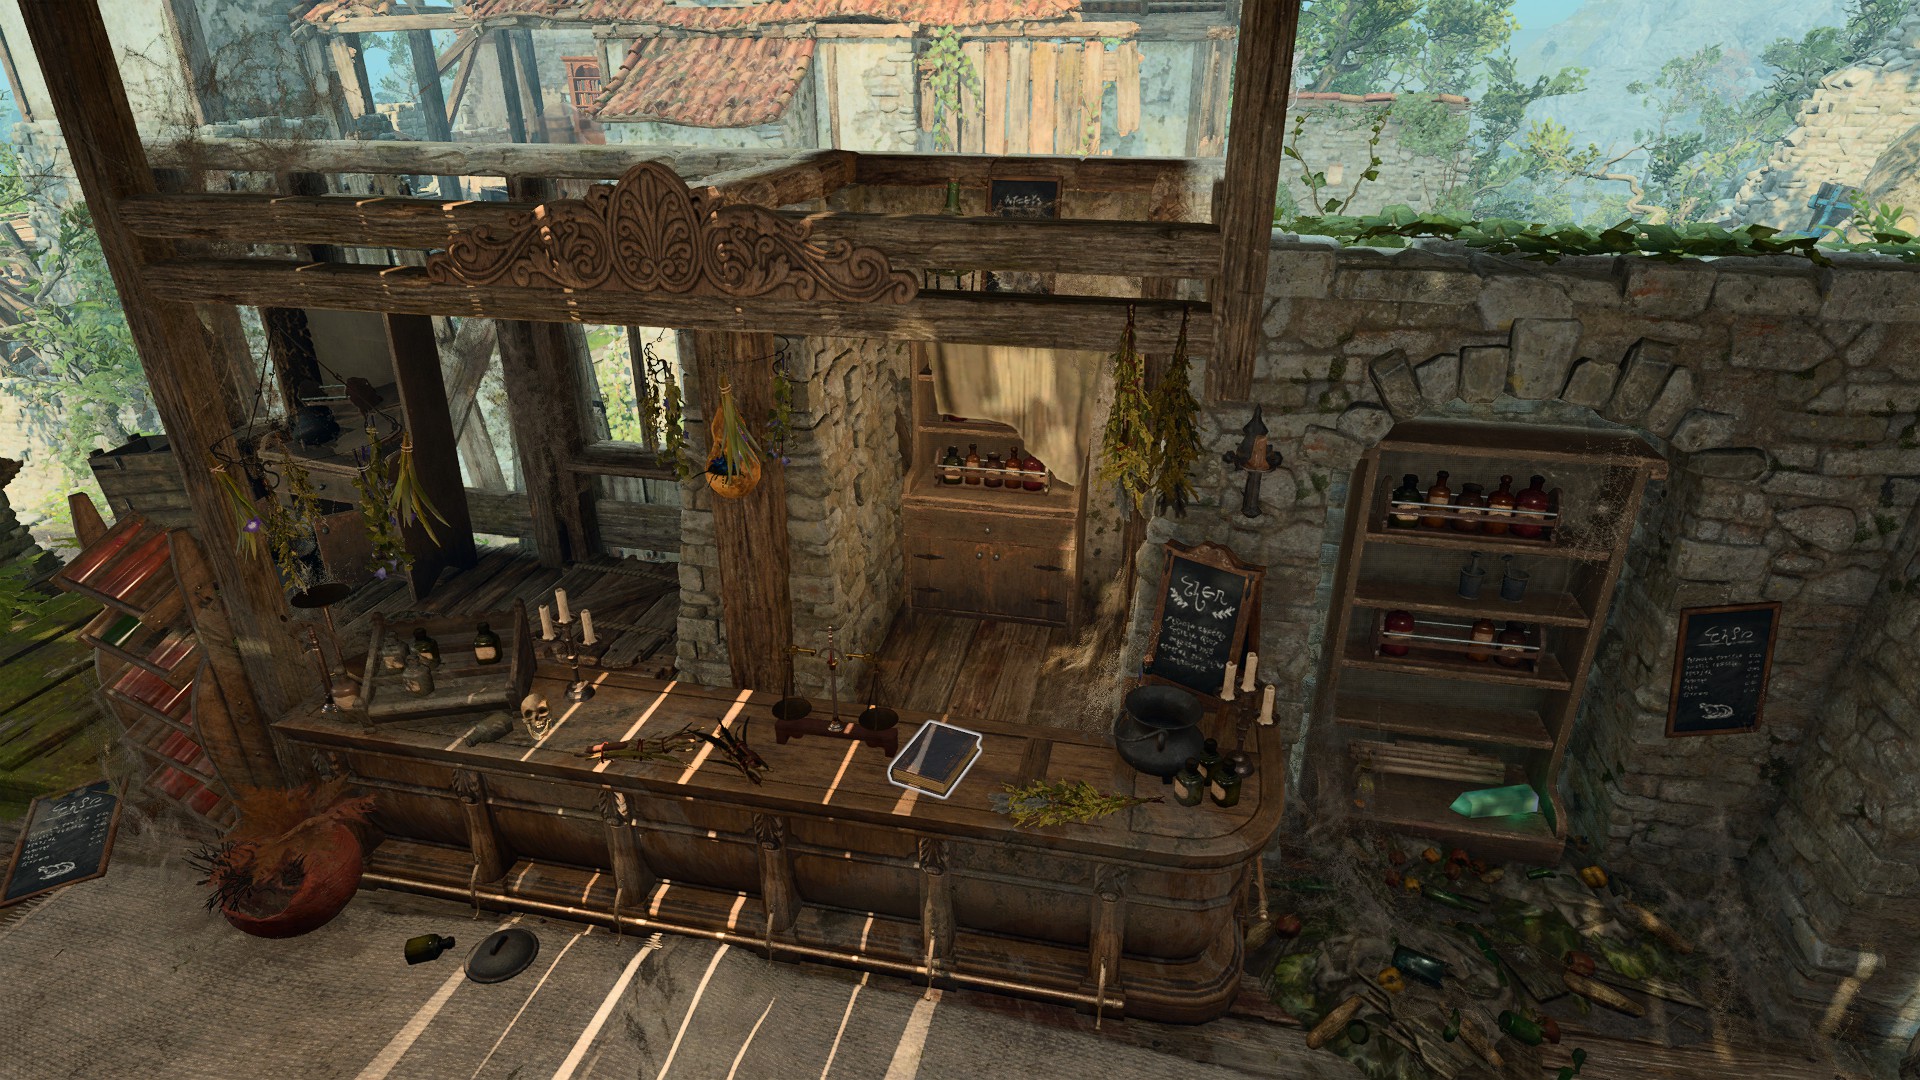
Apothecary Cellar.jpg 1,883 × 1,171; 561 KB
-
Apothecary House Quest.jpg 1,920 × 1,080; 656 KB
-
Apprentice Pack Quest.jpg 1,920 × 1,080; 312 KB
-
Arcane Tower Slate Quest.jpg 1,920 × 1,080; 544 KB
-
Arcane Tower South.png 2,571 × 1,859; 8.47 MB
-
Arcane Tower.jpg 1,185 × 1,044; 117 KB
-
Arcane Turret.jpg 1,994 × 1,182; 454 KB
-
Arfur's Mansion.jpg 2,300 × 1,293; 868 KB
-
Armbrust Home.png 855 × 624; 746 KB
-
Atop the Netherbrain (Action).png 1,920 × 1,080; 3.2 MB
-
Atop the Netherbrain.png 1,920 × 1,080; 3.33 MB
-
Avernus Nautiloid.jpg 1,341 × 792; 208 KB
-
Baldur's Mouth Rooftop.png 3,840 × 2,160; 17.14 MB
-
Baldur's Mouth.jpg 2,560 × 1,440; 1.2 MB
-
Baldurs Mouth Entrance.jpeg 1,760 × 990; 385 KB
-
Baldurs Mouth Newsroom.png 3,840 × 2,160; 13.06 MB
-
Baldurs Mouth Roof.jpg 1,760 × 990; 530 KB
-
Balthazar Slate Quest.jpg 1,920 × 1,080; 264 KB
-
Balthazar's-secret-laboratory.jpg 1,920 × 1,187; 295 KB
-
Barcus Wroot Fireworks.gif 720 × 405; 6.09 MB
-
Barcus Wroot Fireworks.png 3,589 × 1,831; 3.06 MB
-
Barely Legible Letter Barrens Coop.jpg 1,920 × 1,055; 375 KB
-
Barrens Coop.png 2,960 × 1,602; 13.59 MB
-
Basilisk gate crossing.jpg 2,560 × 1,440; 391 KB
-
Beach.jpg 1,983 × 1,183; 578 KB
-
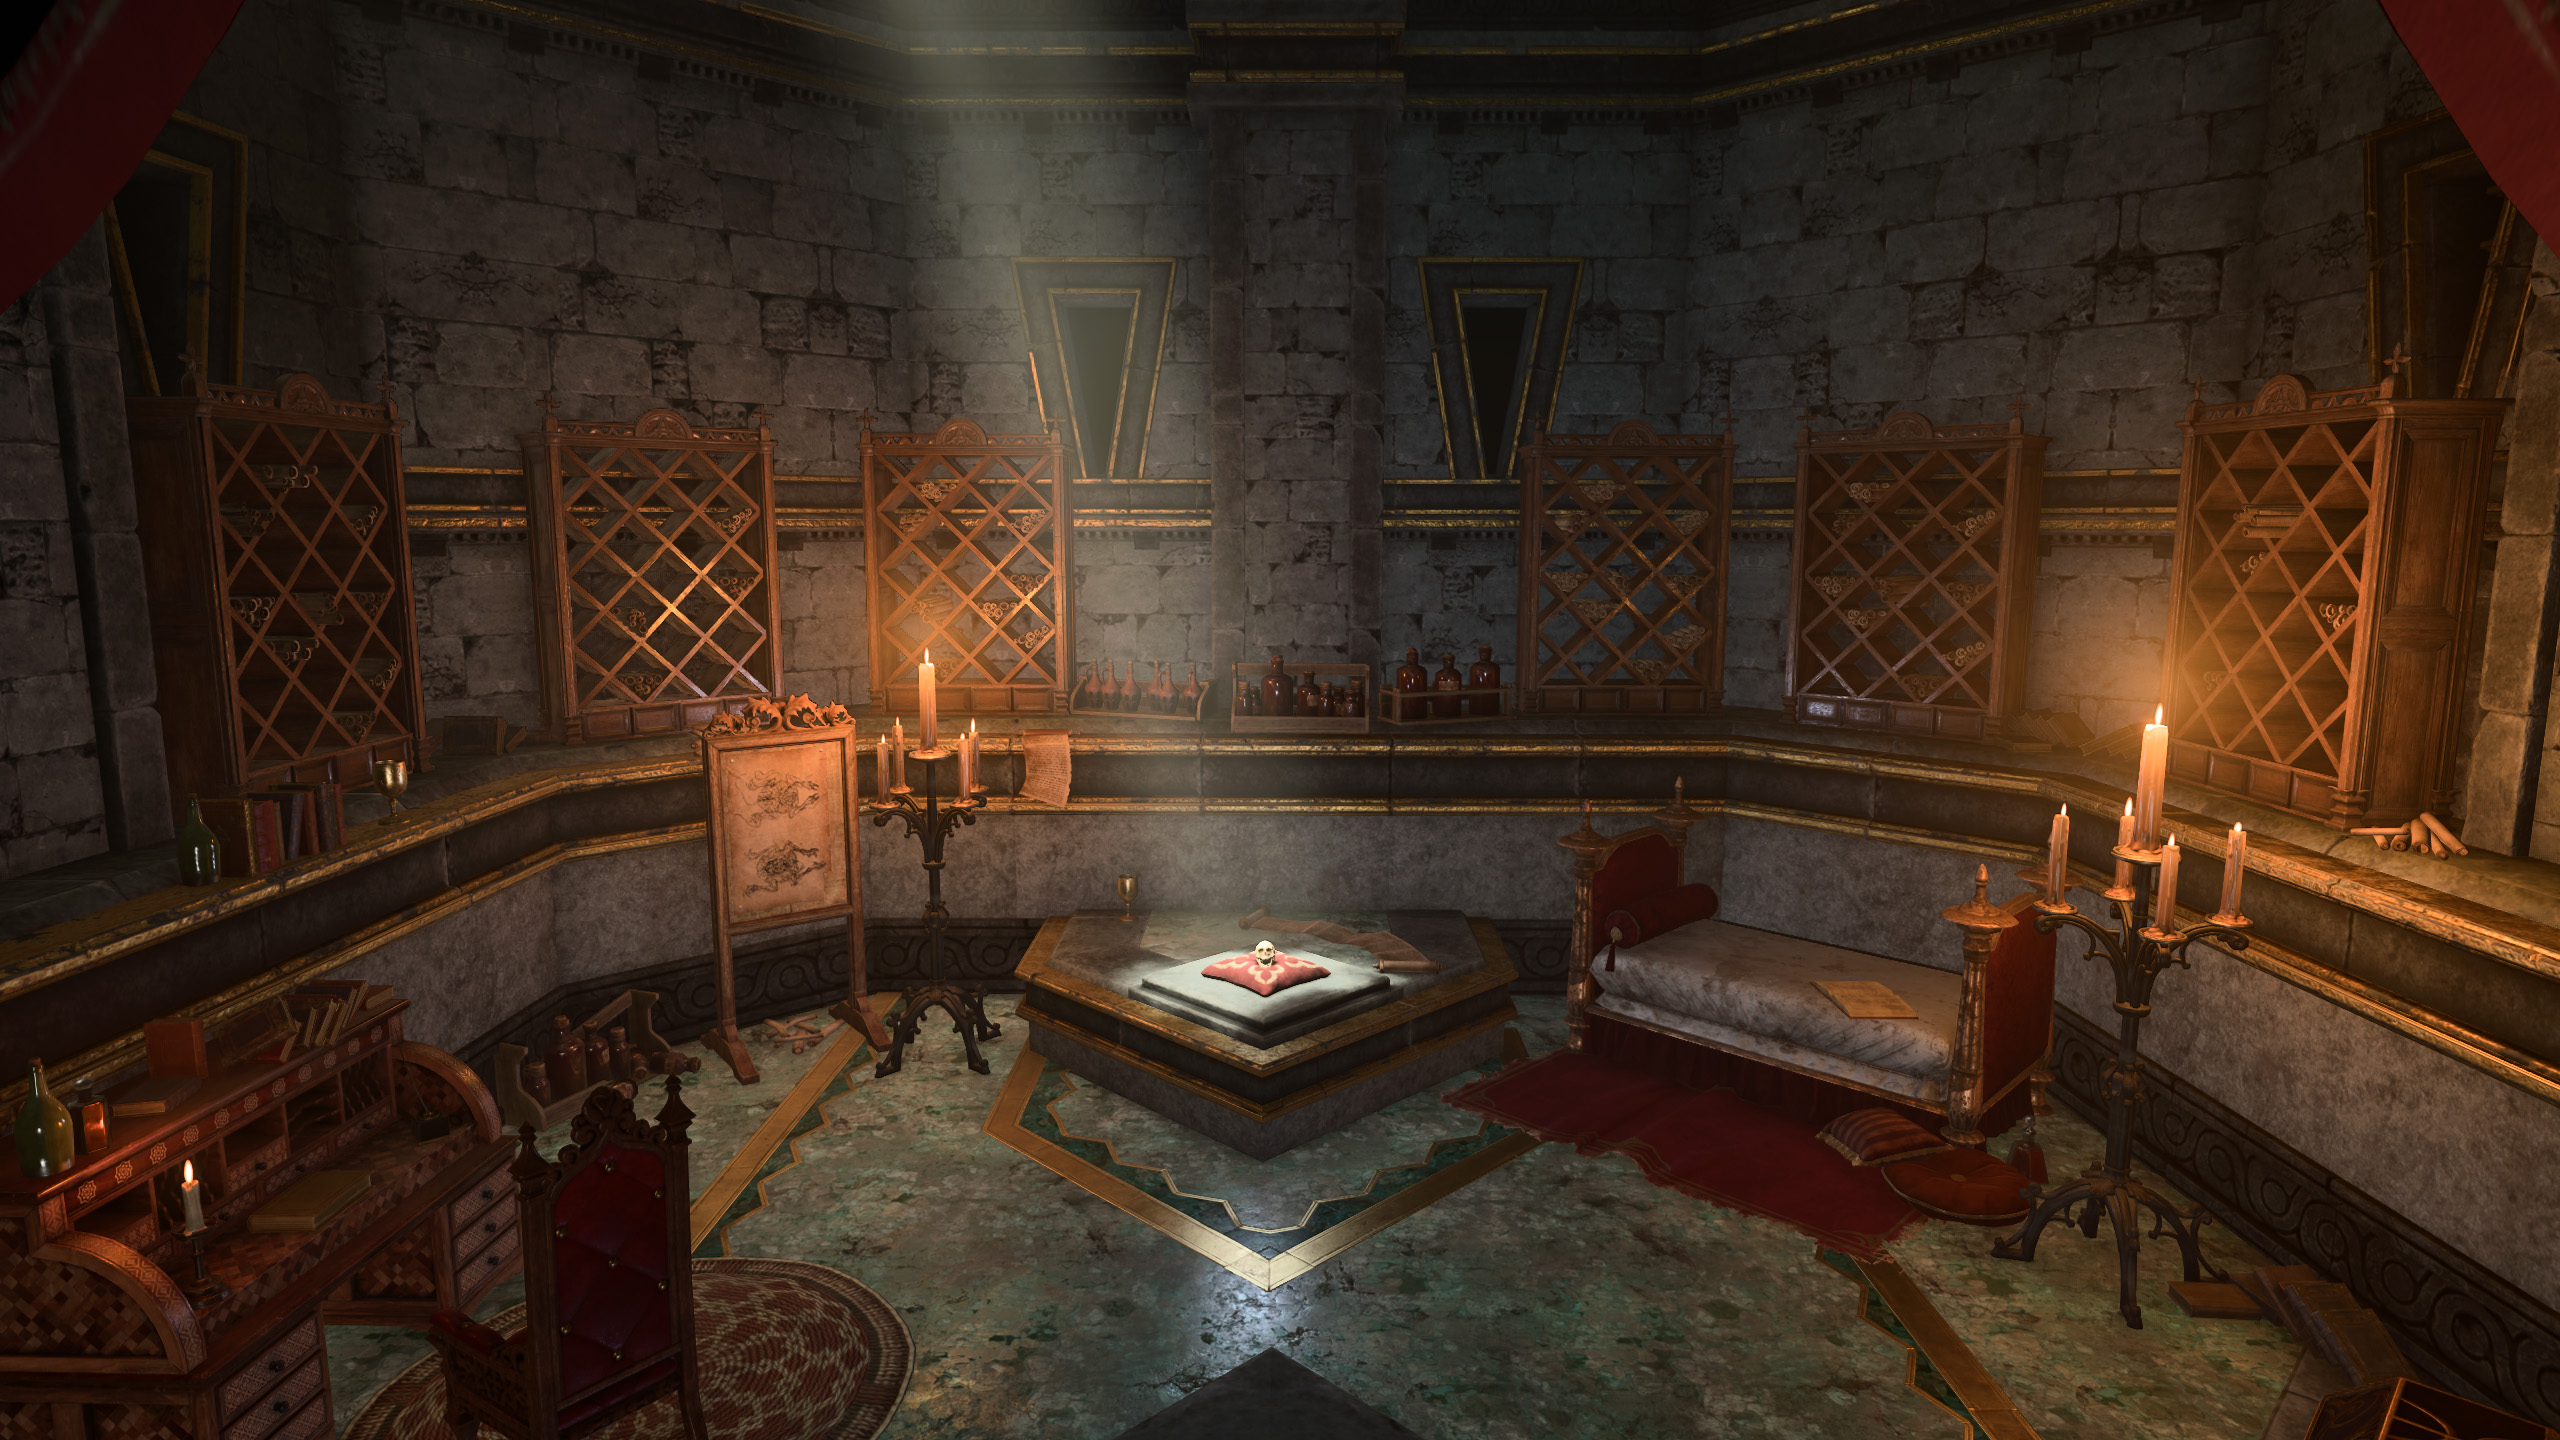
Bedchamber.jpg 1,485 × 897; 187 KB
-
Beehive General Goods.jpg 2,560 × 1,440; 344 KB
-
Bhaal Temple Alcove.png 3,840 × 2,160; 23.77 MB
-
Bhaal Temple Chosen's Room.png 3,351 × 2,072; 19.9 MB
-
Bhaal Temple Entrance.png 3,840 × 2,160; 8.56 MB
-
Bhaal Temple.jpg 2,336 × 1,407; 628 KB
-
Bibberbang Grotto.jpg 2,560 × 1,440; 605 KB
-
BibliophileFront.png 1,452 × 954; 2.47 MB
-
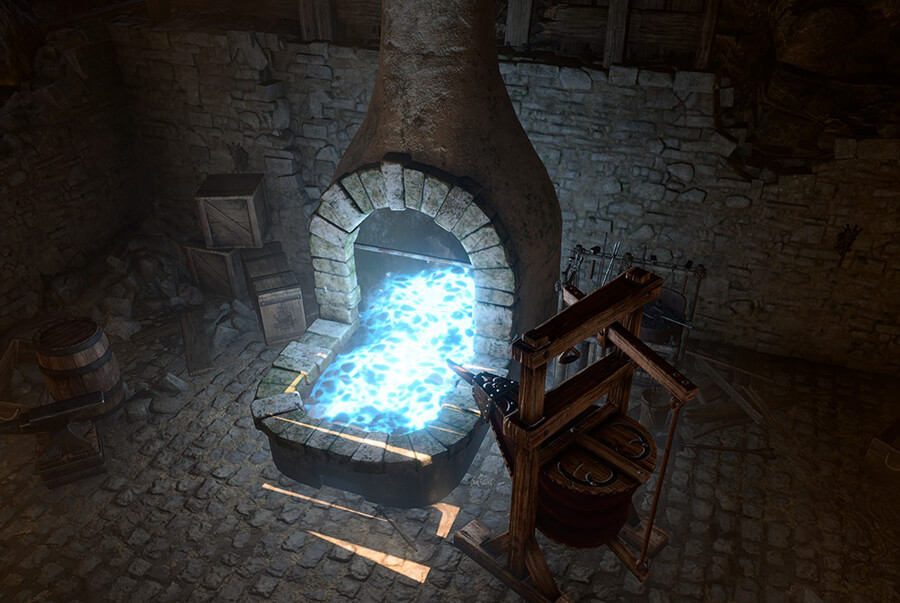
Blacksmiths Forge.jpg 900 × 603; 141 KB
-
Blighted Village.jpg 1,920 × 1,080; 397 KB
-
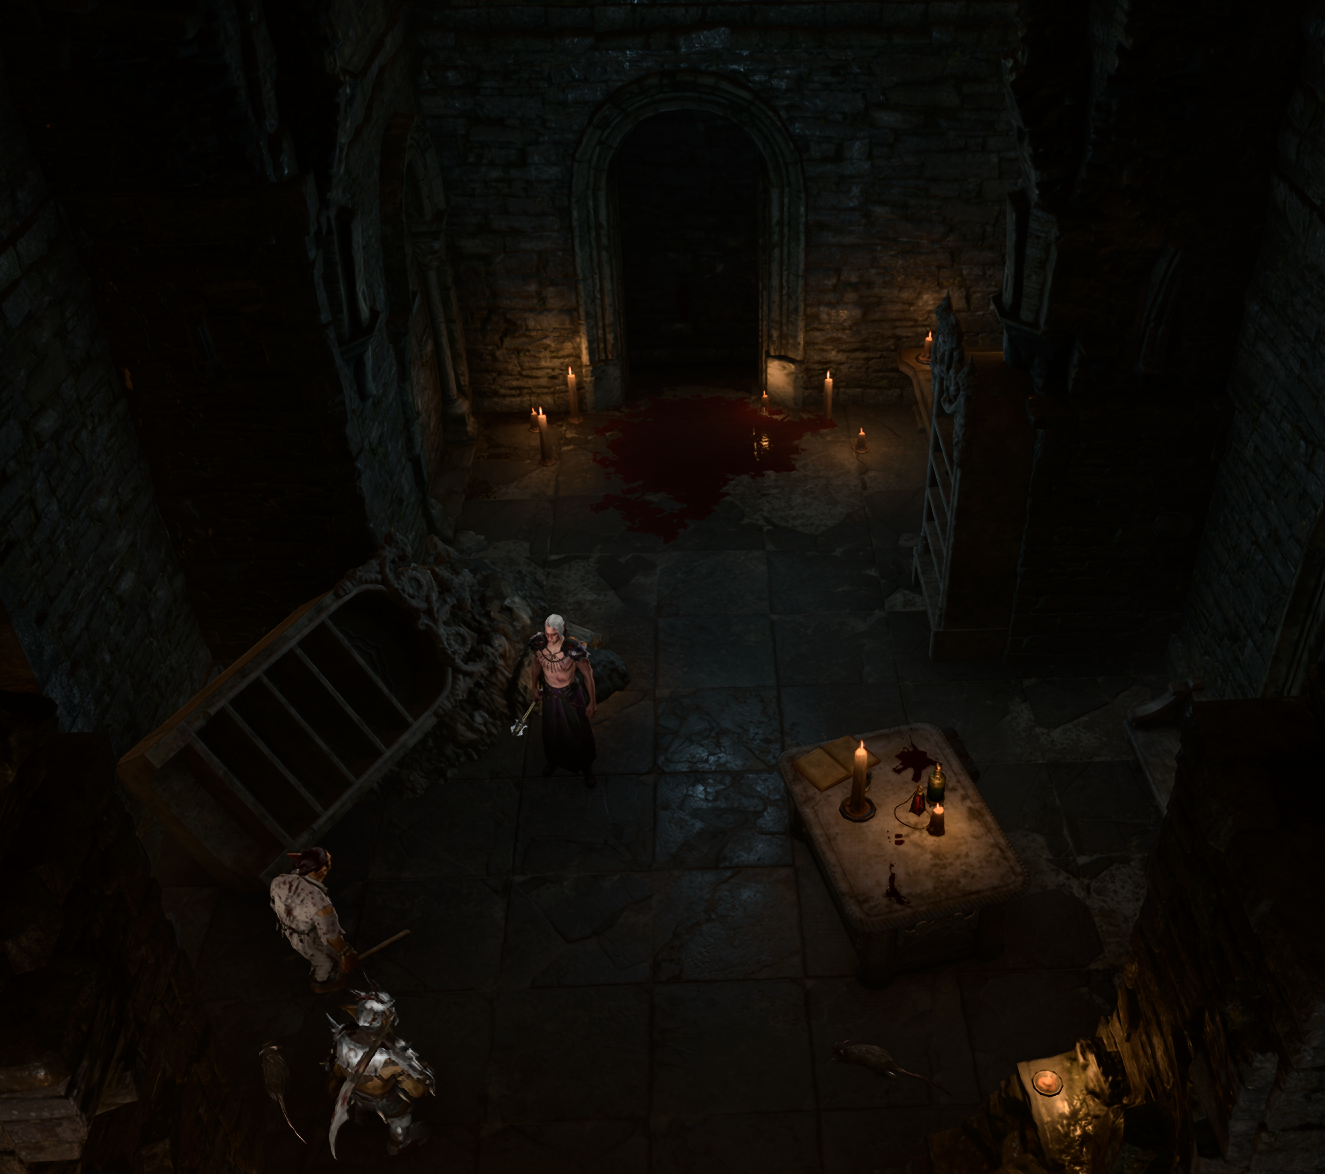
Bloodied Shrine.png 1,325 × 1,174; 2.16 MB
-
Bloomridge Park.jpg 2,560 × 1,440; 855 KB
-
BlurgOmeluumStudy.png 800 × 600; 804 KB
-
Blushing Mermaid Inside.jpg 2,560 × 1,440; 672 KB
-
Blushing Mermaid Outside.jpg 2,560 × 1,440; 1.17 MB
-
Bonecloaks Apothecary.jpg 2,560 × 1,440; 1.23 MB
-
Boudoir Balcony Route.jpg 1,920 × 1,055; 371 KB
-
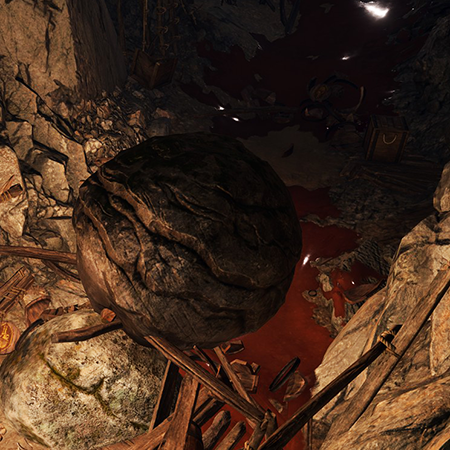
BoulderTrap.png 450 × 450; 373 KB
-
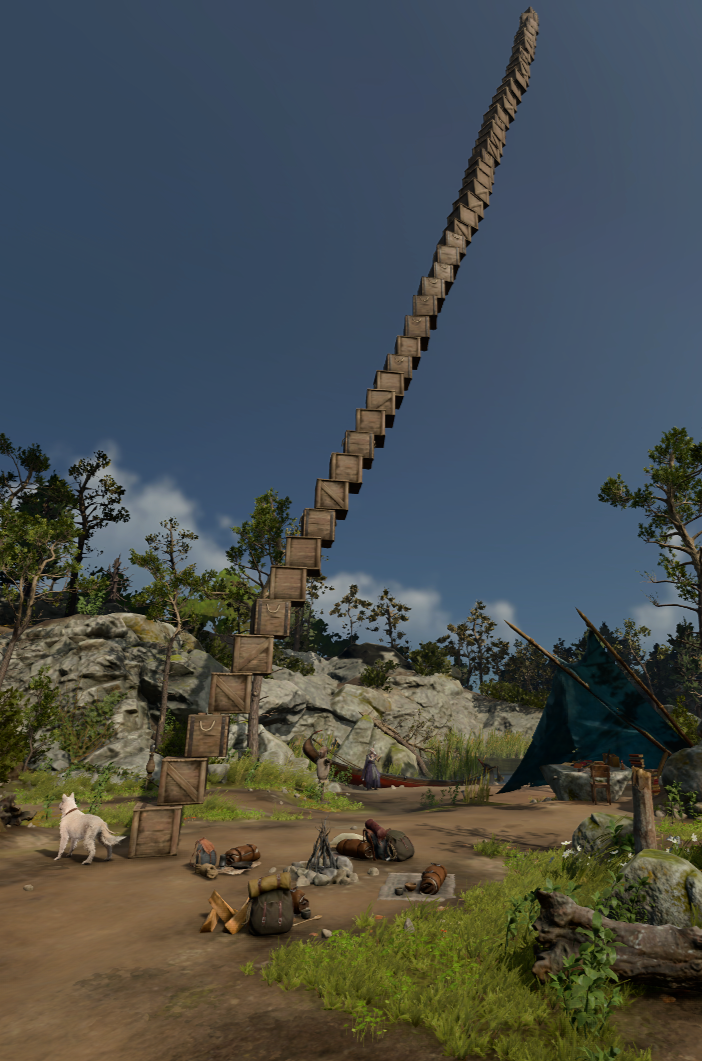
Box Tower (Camp).png 702 × 1,061; 933 KB
-
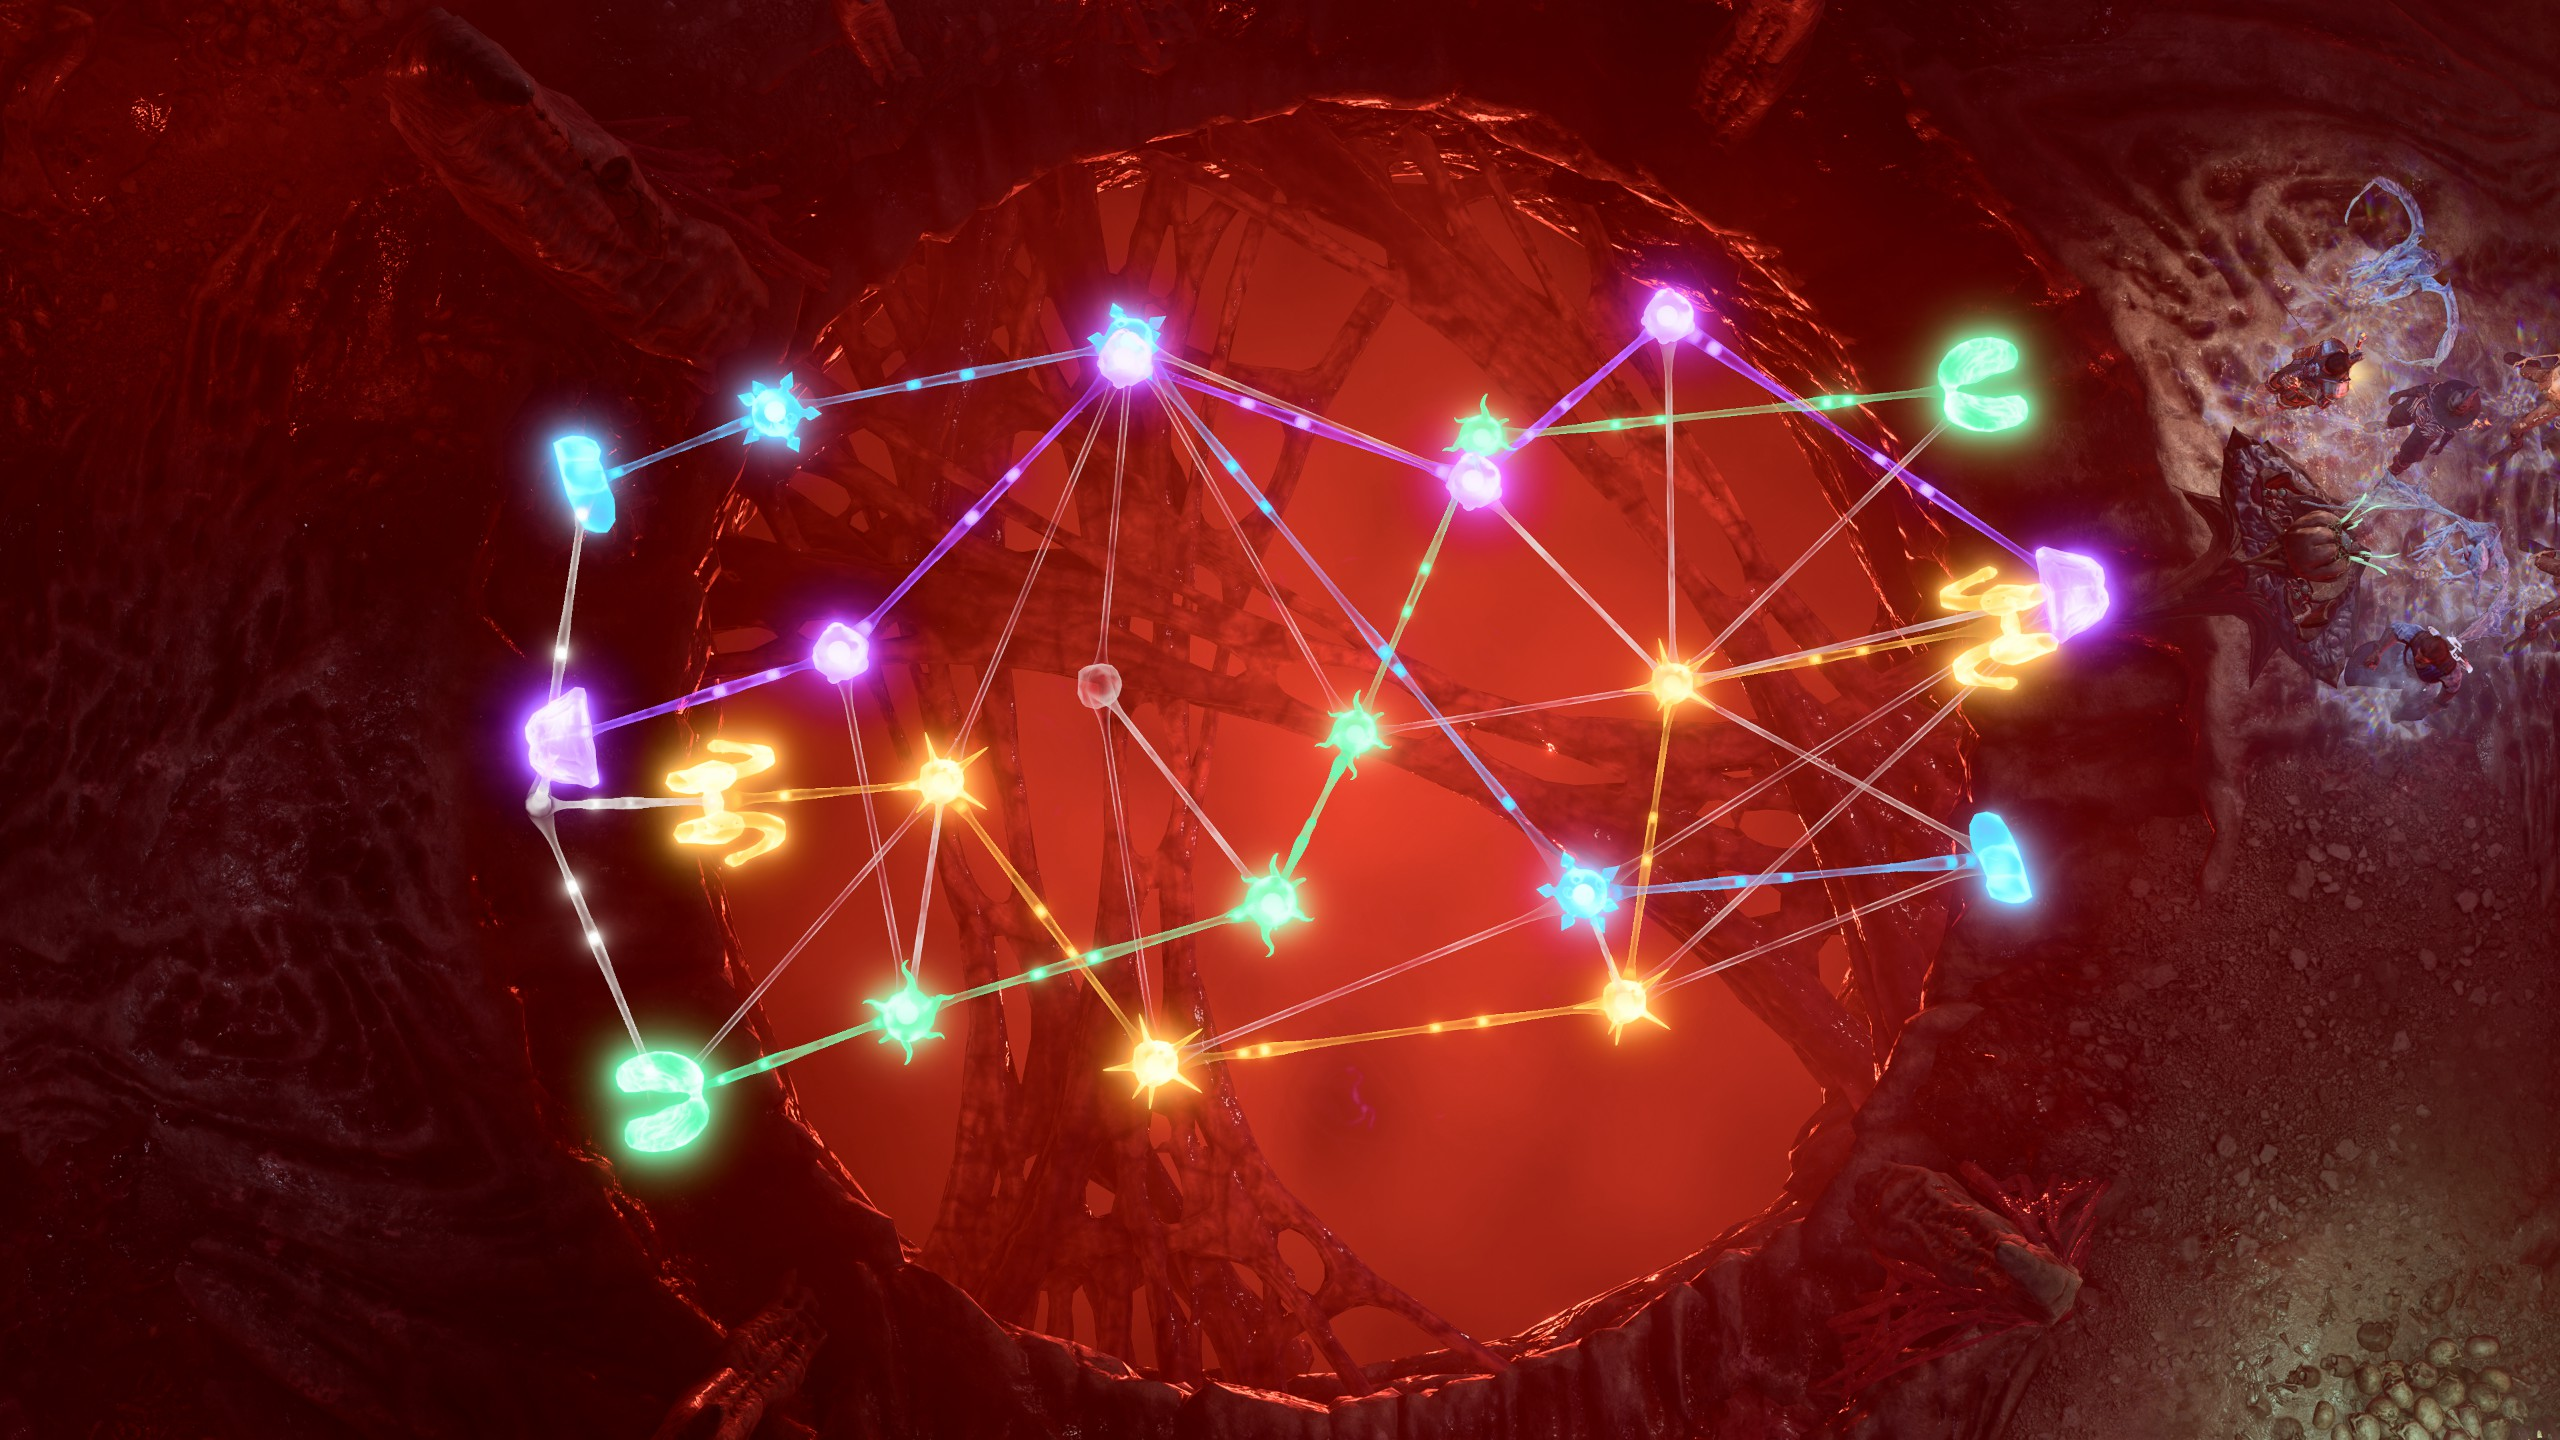
Brain puzzle solution.png 2,560 × 1,440; 4.43 MB
-
Bruc and Pishe's Emporium Cellar.jpg 2,560 × 1,440; 459 KB
-
Bruc and Pishe's Emporium.jpg 2,560 × 1,440; 755 KB
-
CableCar.png 677 × 450; 568 KB
-
Camp Celebration.jpg 3,840 × 2,160; 5.22 MB
-
Camp.jpg 2,095 × 1,195; 847 KB
-
Campsite Basement.png 1,600 × 1,080; 1.92 MB
-
Campsite Night.png 2,561 × 1,856; 8.37 MB
-
Campsite Underdark Grymforge.png 2,559 × 1,855; 7.17 MB
-
Campsite Underdark.png 1,600 × 1,080; 2.25 MB
-
Campsite Underground.png 1,600 × 1,080; 2.09 MB
-
Campsite Wilderness Empty.png 2,561 × 1,856; 9.9 MB
-
Candulhallows Tombstones Entrance.jpg 1,920 × 1,080; 580 KB
-
Candulhallows Tombstones Painting.jpg 1,920 × 1,080; 414 KB
-
CaptainsQuarters.png 648 × 500; 631 KB
-
Carm's Garm Inside.jpg 2,300 × 1,293; 391 KB
-
Carm's Garms Street View.jpg 2,714 × 1,440; 868 KB
-
Cartilaginous Chest on Ravaged Beach.jpg 1,487 × 924; 348 KB
-
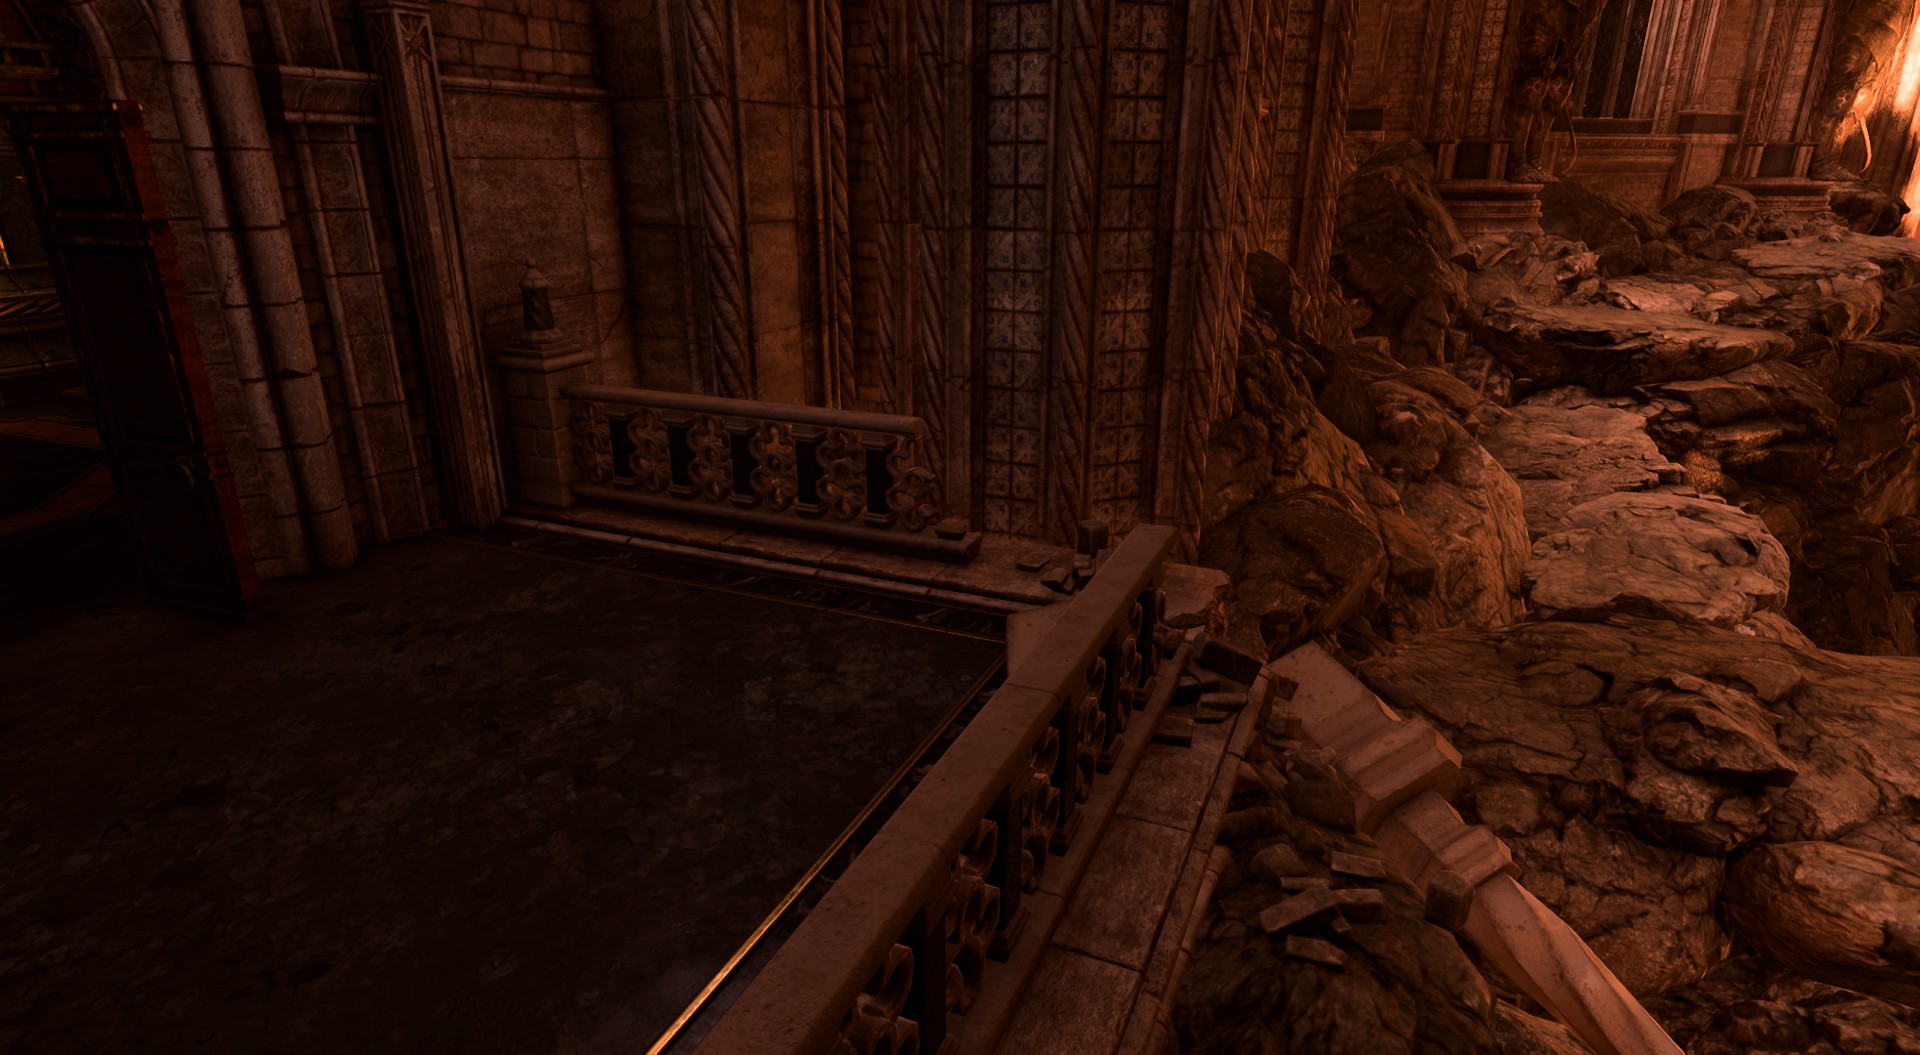
Cave-in.jpg 1,989 × 1,175; 764 KB
-
Cazador Dungeon Cells.jpg 2,560 × 1,440; 696 KB
-
Cazador Dungeon Lower Floors.jpg 2,560 × 1,440; 397 KB
-
Cazador Passphrase Book Location.jpg 1,920 × 1,055; 149 KB
-
Cazador's Room.jpg 2,560 × 1,440; 900 KB
-
Central Watch Tower.png 912 × 828; 1.18 MB
-
Chapel Entrance Ambush.png 1,920 × 1,080; 4.96 MB
-
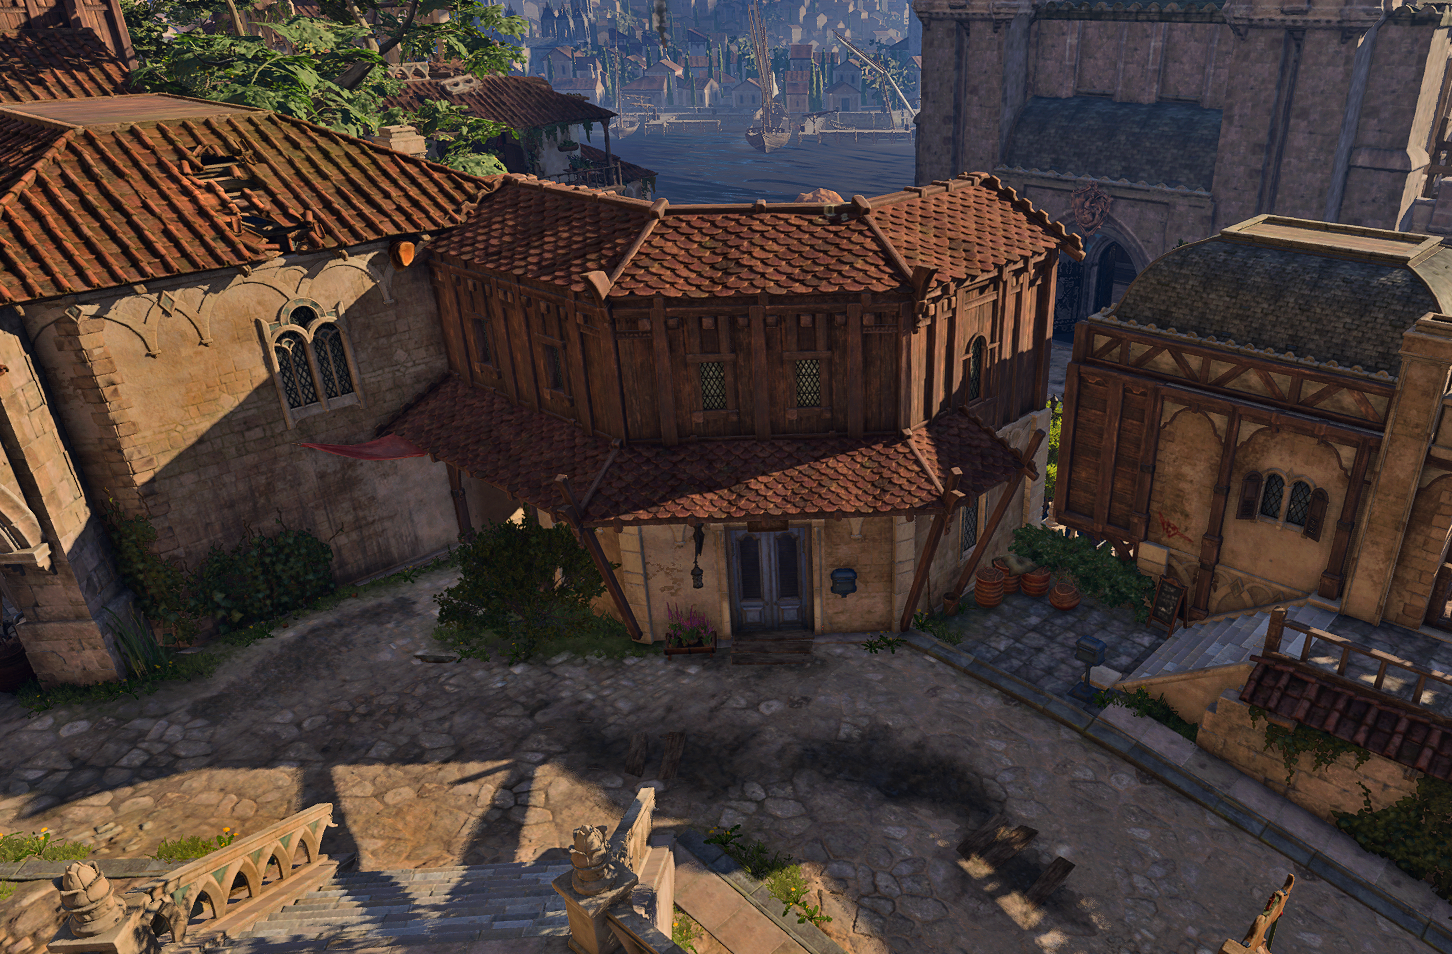
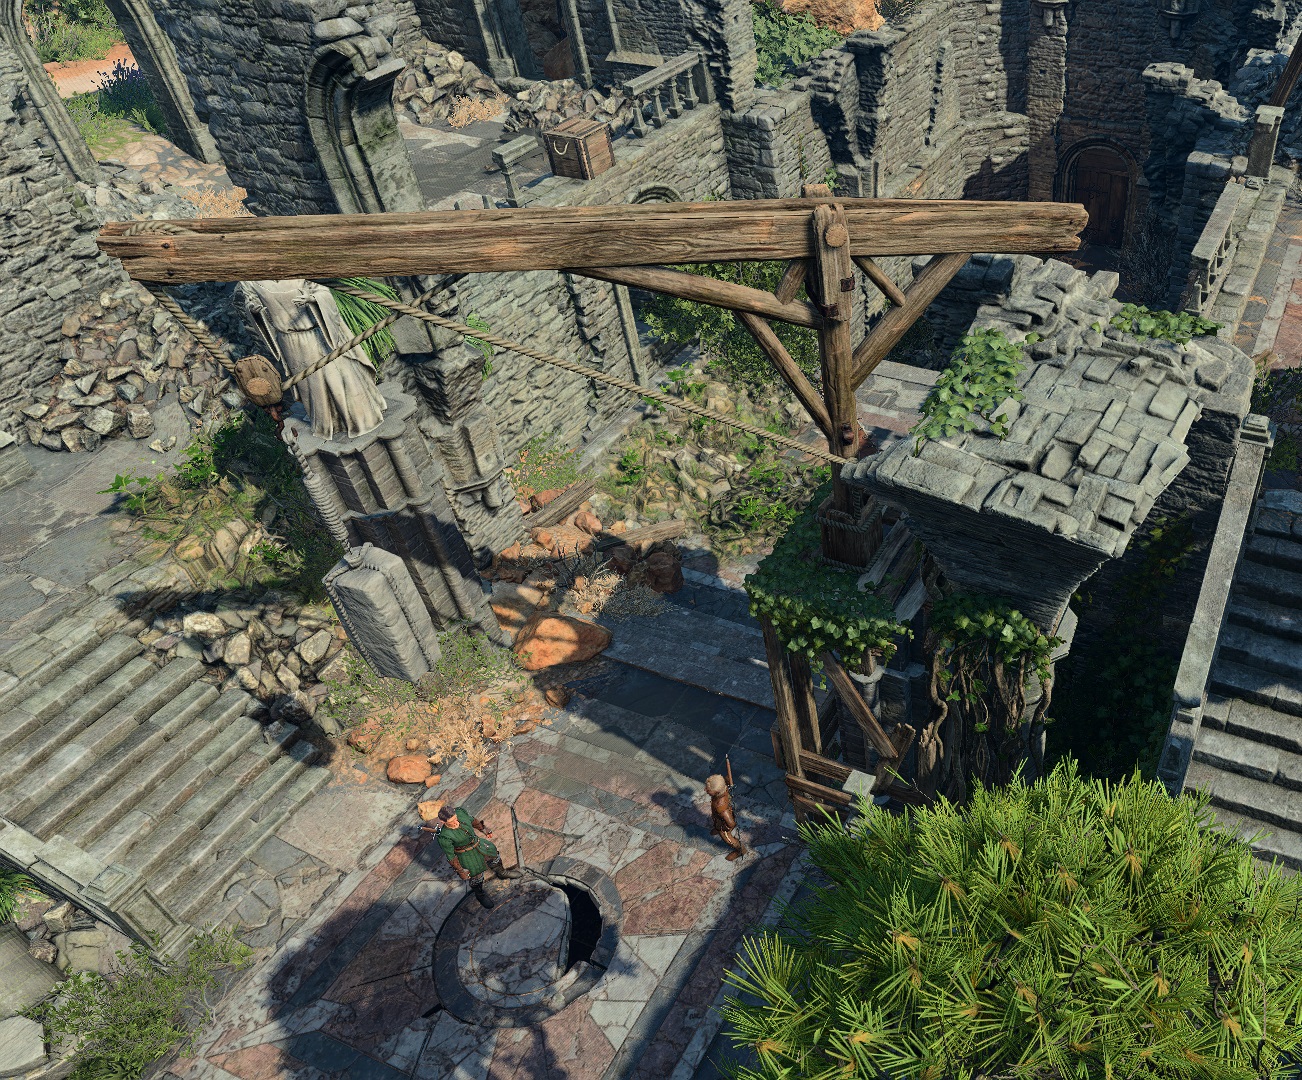
Chapel Entrance Crane Cropped.jpg 1,302 × 1,080; 893 KB
-
Chapel Entrance Hidden Hatch.png 1,920 × 1,080; 5.66 MB
-
Chapel Entrance Northwest.png 1,920 × 1,080; 5.08 MB
-
Chapel Entrance Terrace.png 1,920 × 1,080; 5.29 MB
-
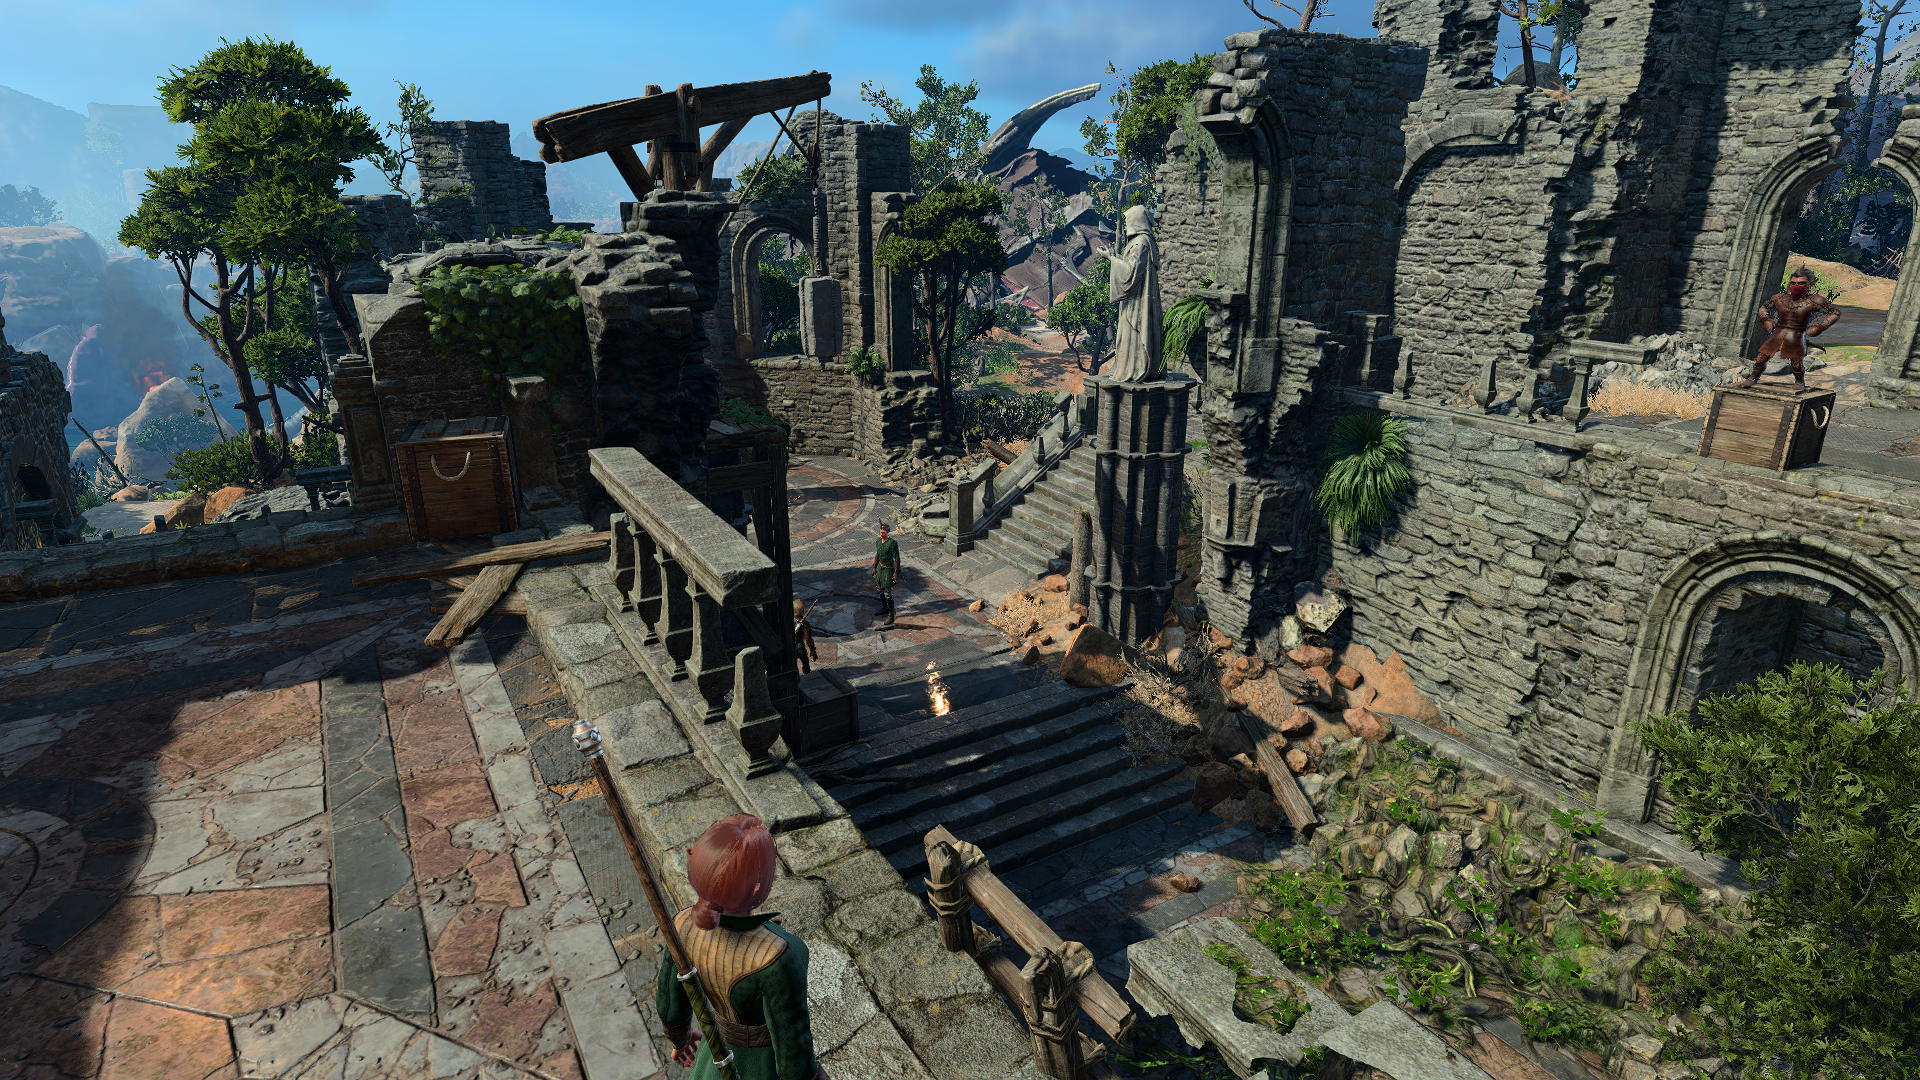
Chapel Entrance.jpg 1,920 × 1,080; 1.24 MB
-
Circus of the Last Days.jpg 3,163 × 1,440; 1.3 MB
-
Cloister of Sombre Embrace Armoury.jpg 1,728 × 1,068; 381 KB
-
Cloister of Sombre Embrace Dormitories.jpg 1,728 × 1,068; 378 KB
-
Cloister of Sombre Embrace Night Orchid Chave.jpg 1,728 × 1,068; 303 KB
-
Cloister of Sombre Embrace Threshold of Loss.jpg 1,728 × 1,068; 280 KB
-
Cloister of Sombre Embrace.jpg 2,560 × 1,387; 840 KB
-
Control the Elder Brain Quest.jpg 1,920 × 1,080; 232 KB
-
Convoy rendezvous point.jpg 2,560 × 1,440; 2.57 MB
-
Counting House Book Code.jpg 1,760 × 990; 279 KB
-
Counting House Docks.png 3,840 × 2,160; 15.12 MB
-
Counting House Tile Puzzle.jpg 1,760 × 990; 605 KB
-
Crack in Wall to Prison.jpg 1,920 × 1,055; 584 KB
-
Cracked Wall (Moonrise Towers).png 1,260 × 1,387; 3.07 MB
-
Creche Classroom.jpg 2,561 × 1,421; 918 KB
-
Creche Doctor's Office.jpg 2,561 × 1,421; 670 KB
-
Creche Hallway.jpg 2,561 × 1,421; 923 KB
-
Creche Hatchery.jpg 2,561 × 1,421; 1.09 MB
-
Creche Inquisitor's Chamber.jpg 2,561 × 1,421; 1.03 MB
-
Crimson Draughts.jpg 2,560 × 1,387; 1.47 MB
-
Dank Crypt.jpg 1,737 × 1,153; 423 KB
-
Danthelon's Dancing Axe.jpg 2,283 × 1,440; 855 KB
-
Dark Justiciar Mural Quest.jpg 1,920 × 1,080; 393 KB
-
Decrepit Sanctuary.jpg 2,560 × 1,387; 841 KB
-
Decrepit Village 2.jpg 2,664 × 1,440; 519 KB
-
Decrepit Village.jpg 2,100 × 1,589; 922 KB
-
Defiled Temple.jpg 1,959 × 1,143; 318 KB
-
DefiledTemple.png 1,000 × 673; 940 KB
-
Devil's Fee (Basement).png 2,961 × 1,553; 13.18 MB
-
Devil's Fee Portal (Active).png 1,500 × 1,000; 1.91 MB
-
Devil's Fee Portal (Illustrated).png 1,500 × 1,000; 1.96 MB
-
Devil's Fee Portal (Inert).png 1,500 × 1,000; 1.6 MB
-
Devil's Fee.jpg 2,560 × 1,440; 283 KB
-
DevilsDen.png 700 × 429; 504 KB
-
DevilsFeeExterior.png 3,840 × 2,160; 16.23 MB
-
DoctorsOffice.png 710 × 500; 576 KB
-
Dormitories.png 617 × 500; 563 KB
-
Dread Hollow South.png 2,581 × 1,856; 6.3 MB
-
Dread Hollow.jpg 1,419 × 813; 220 KB
-
Druid Grove.jpg 2,578 × 1,866; 4.96 MB
-
Druids Chambers.png 2,352 × 1,868; 8.36 MB
-
Duke Ravengard Report.jpg 1,920 × 1,055; 376 KB
-
Dumbwaiter.jpg 1,288 × 1,168; 235 KB
-
Durinbold Mausoleum.jpg 2,560 × 1,387; 649 KB
-
Ebonlake Grotto Overview.jpg 3,034 × 1,440; 555 KB
-
Ebonlake grotto.jpg 1,273 × 931; 129 KB
-
Elerrathins Home.jpg 2,560 × 1,440; 582 KB
-
Elfsong Tavern Overview.png 3,282 × 1,884; 17.72 MB
-
Elfsong Tavern Street View.jpg 2,892 × 1,416; 987 KB
-
Elminster's Library.png 2,560 × 1,440; 6.24 MB
-
Elminsters Library Sharess.jpg 1,920 × 1,055; 362 KB
-
ElminstersLibrary.png 700 × 424; 482 KB
-
Emerald Grove.jpg 1,407 × 891; 176 KB
-
Emperor Storeroom Button.jpg 1,760 × 990; 291 KB
-
Enclave Library.png 2,452 × 1,902; 9.44 MB
-
Facemaker's Boutique.jpg 2,560 × 1,440; 1.28 MB
-
Faith-Step Trial.png 1,787 × 1,949; 5.72 MB
-
Falcao Location.jpg 1,920 × 1,055; 583 KB
-
Festering Cove Kuo-toa.jpg 2,560 × 1,440; 1.83 MB
-
Find Doni Quest.jpg 1,920 × 1,080; 735 KB
-
Flymm Cargo Hatch.jpg 1,760 × 990; 262 KB
-
Flymm Cargo.jpg 2,560 × 1,440; 795 KB
-
Flymms Cobblers.jpg 2,560 × 1,440; 724 KB
-
Foot hatch.jpg 3,440 × 1,440; 1.48 MB
-
Forest.jpg 1,920 × 1,080; 395 KB
-
Forge Jumping Platform Quest.jpg 1,920 × 1,080; 380 KB
-
Forge Misty Step Location Quest.jpg 1,920 × 1,080; 521 KB
-
Forge of the Nine (Basement).png 3,375 × 1,963; 18.99 MB
-
Forge of the Nine.jpg 2,560 × 1,440; 390 KB
-
Forge.jpg 2,001 × 1,199; 486 KB
-
Foundry Roof Hatch.jpg 1,760 × 990; 526 KB
-
Fraygo's Flophouse.jpg 2,560 × 1,440; 969 KB
-
Funerary Book Location.jpg 1,760 × 990; 242 KB
-
Fungus Platform.jpg 1,973 × 1,191; 495 KB
-
Gauntlet Climbable Rocks Quest.jpg 1,920 × 1,080; 255 KB
-
Gauntlet of Shar Lobby.jpg 1,920 × 1,080; 322 KB
-
Gauntlet of Shar Trial Halls.jpg 1,920 × 1,080; 462 KB
-
Gauntlets House Alcove.png 1,920 × 1,080; 2.77 MB
-
Gauntlets House Location.jpg 1,920 × 1,080; 398 KB
-
Gauntlets House Pedestal.png 1,920 × 1,080; 2.64 MB
-
Giant Bird Nest.png 2,544 × 1,839; 7.55 MB
-
Gnarled Teahouse.webp 1,494 × 900; 119 KB
-
GobilnCampView.png 1,758 × 1,080; 3.04 MB
-
Goblin Camp.jpg 1,961 × 1,159; 615 KB
-
Goblin Celebration Altar.jpg 2,962 × 2,130; 4.51 MB
-
Goblin Celebration.png 3,840 × 2,160; 23.77 MB
-
GoblinTunnels.png 1,000 × 691; 1.02 MB
-
Gohumberry Tresp.jpg 1,920 × 1,055; 310 KB
-
Golbraith's Cellar.jpg 2,560 × 1,387; 1.37 MB
-
Gorion Mausoleum.jpg 2,560 × 1,387; 587 KB
-
Grand Design Relief.png 1,120 × 1,000; 757 KB
-
Grand Mausoleum Front Door.jpg 2,560 × 1,440; 718 KB
-
Grand Mausoleum Vestibule.jpg 2,560 × 1,440; 740 KB
-
Grand Mausoleum.jpg 1,920 × 1,440; 2.34 MB
-
Graveyard (Lower City).jpg 2,560 × 1,440; 943 KB
-
Grey Harbour Docks.jpg 2,560 × 1,440; 800 KB
-
GreyHarbourVistaLodge.png 980 × 551; 861 KB
-
Grymforge Hidden Button Quest.jpg 1,920 × 1,080; 339 KB
-
Grymforge.jpg 1,991 × 1,196; 684 KB
-
GrymforgeScape1.png 800 × 545; 441 KB
-
GrymforgeScape2.png 800 × 545; 606 KB
-
GrymforgeScape3.png 800 × 545; 536 KB
-
GrymforgeScape4.png 800 × 545; 504 KB
-
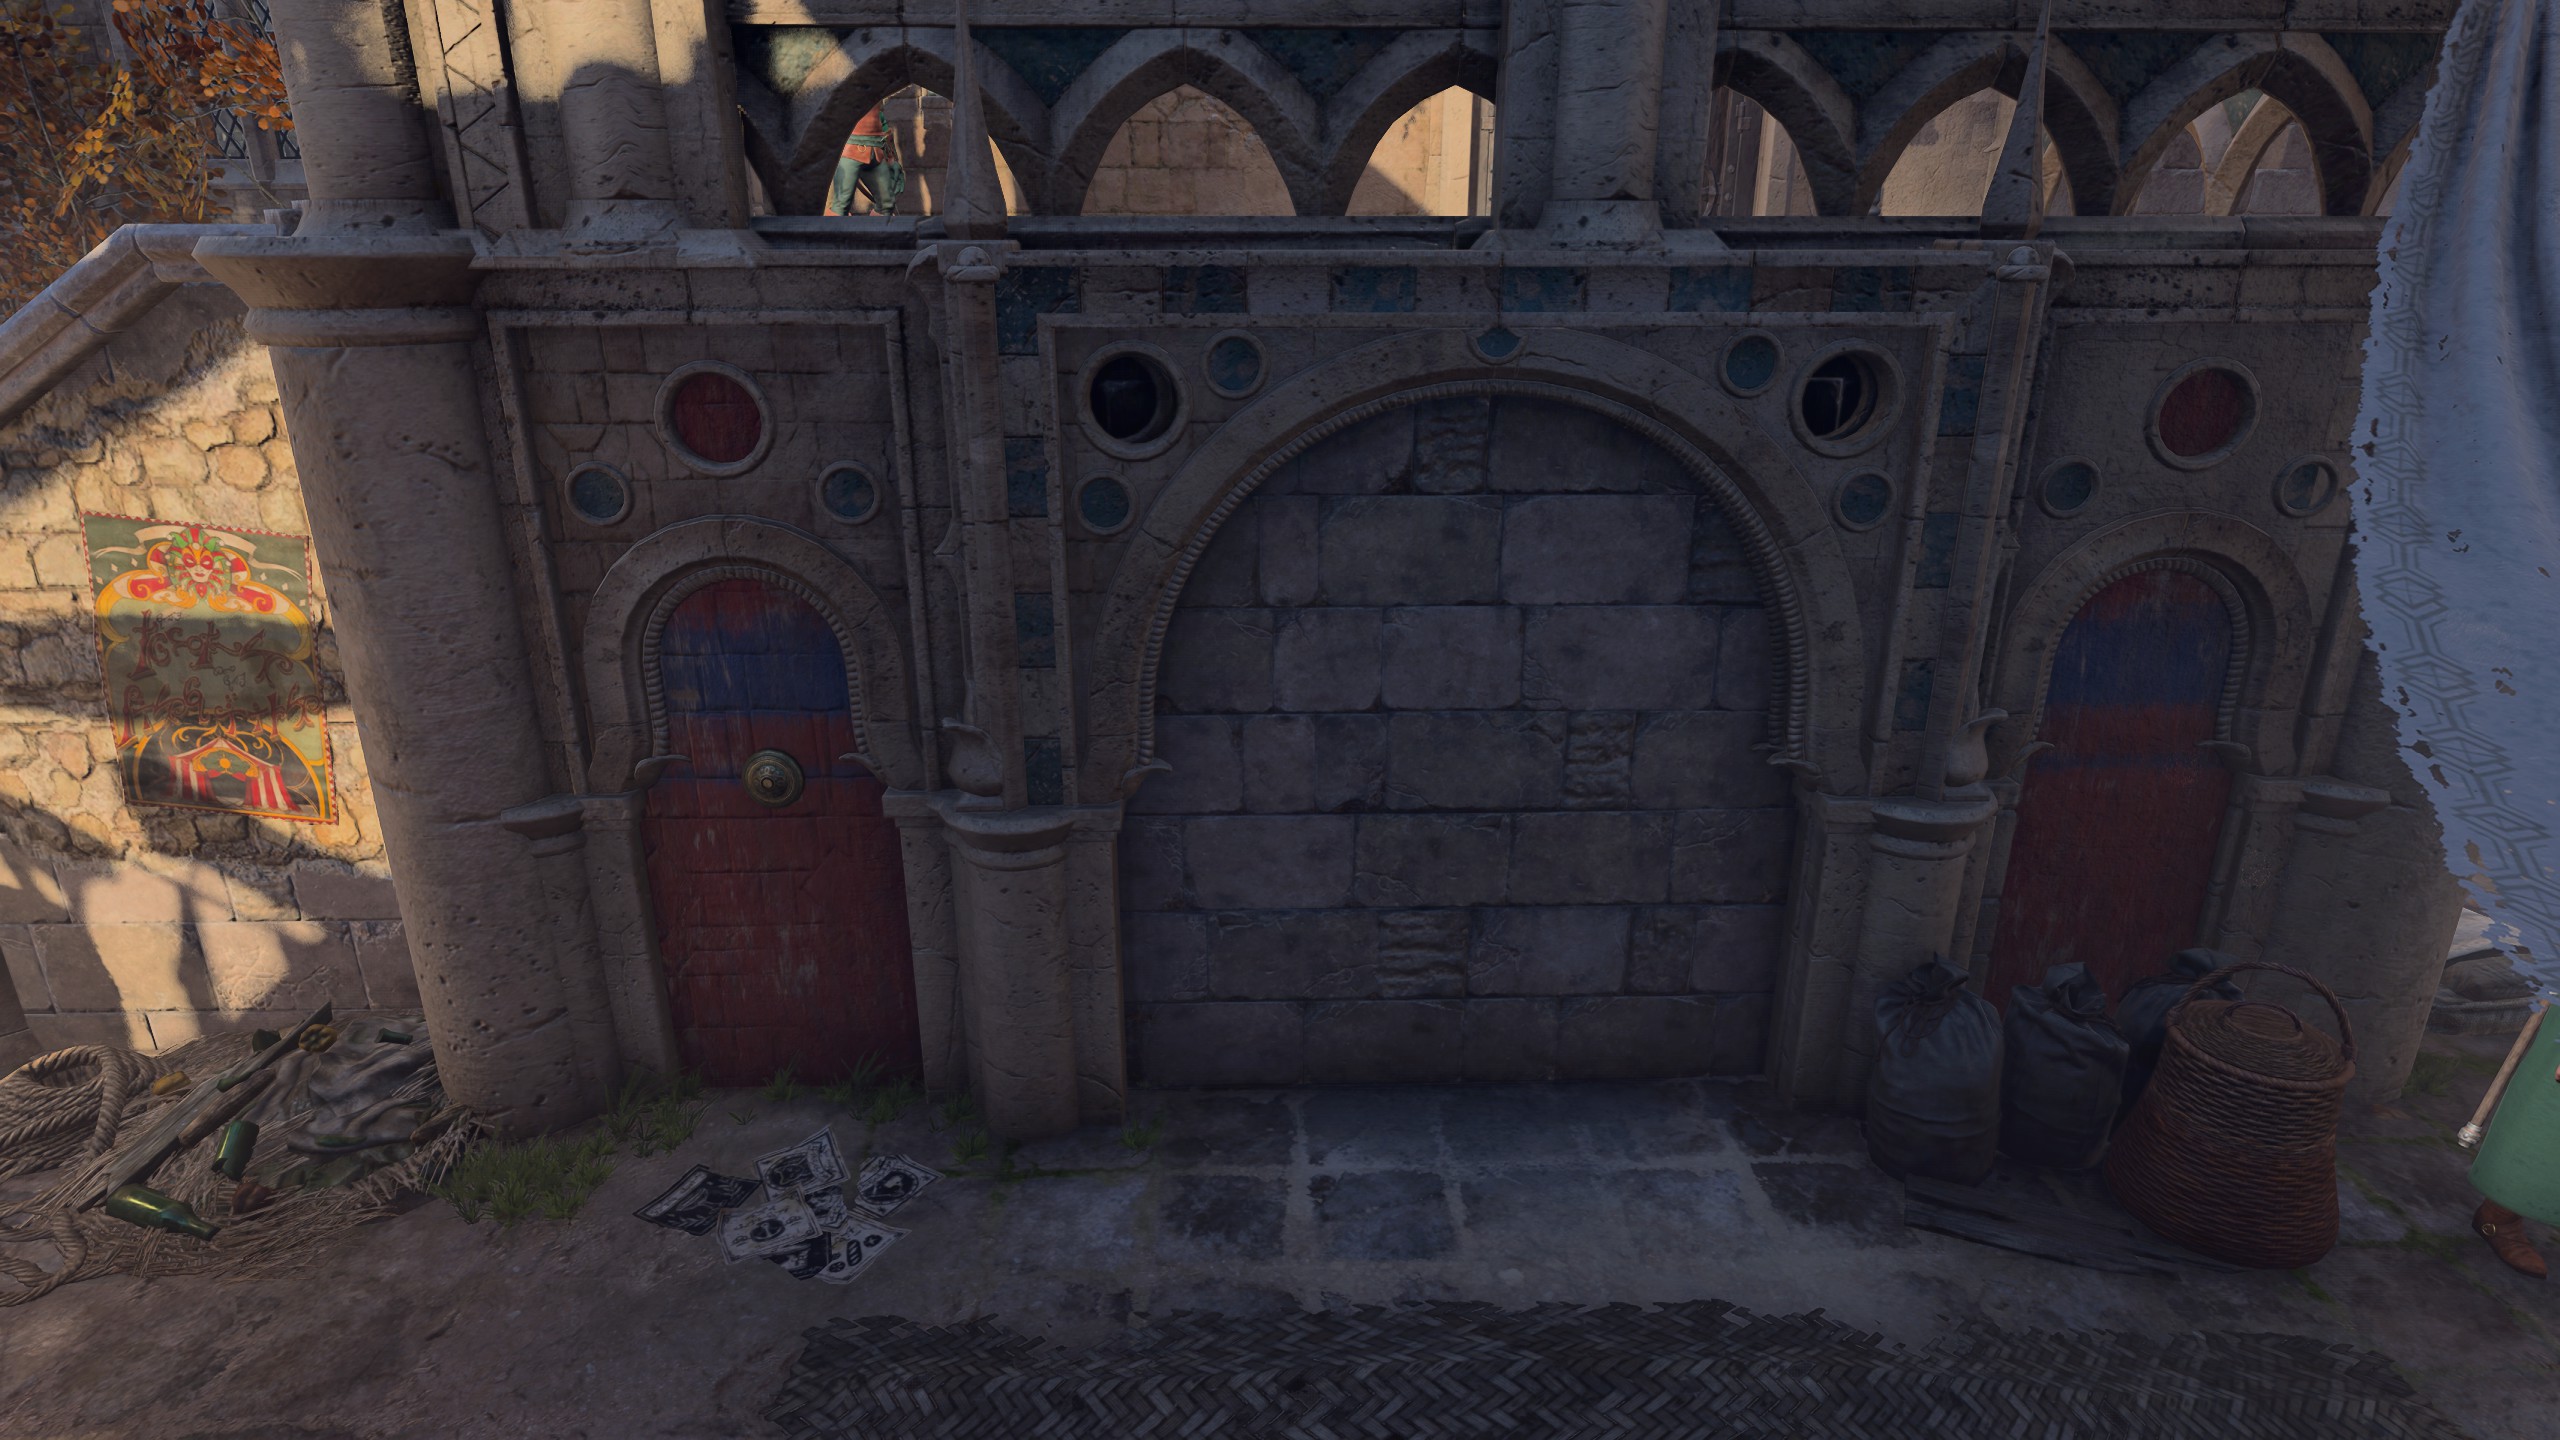
Guild Entrance Hidden.jpg 2,560 × 1,440; 644 KB
-
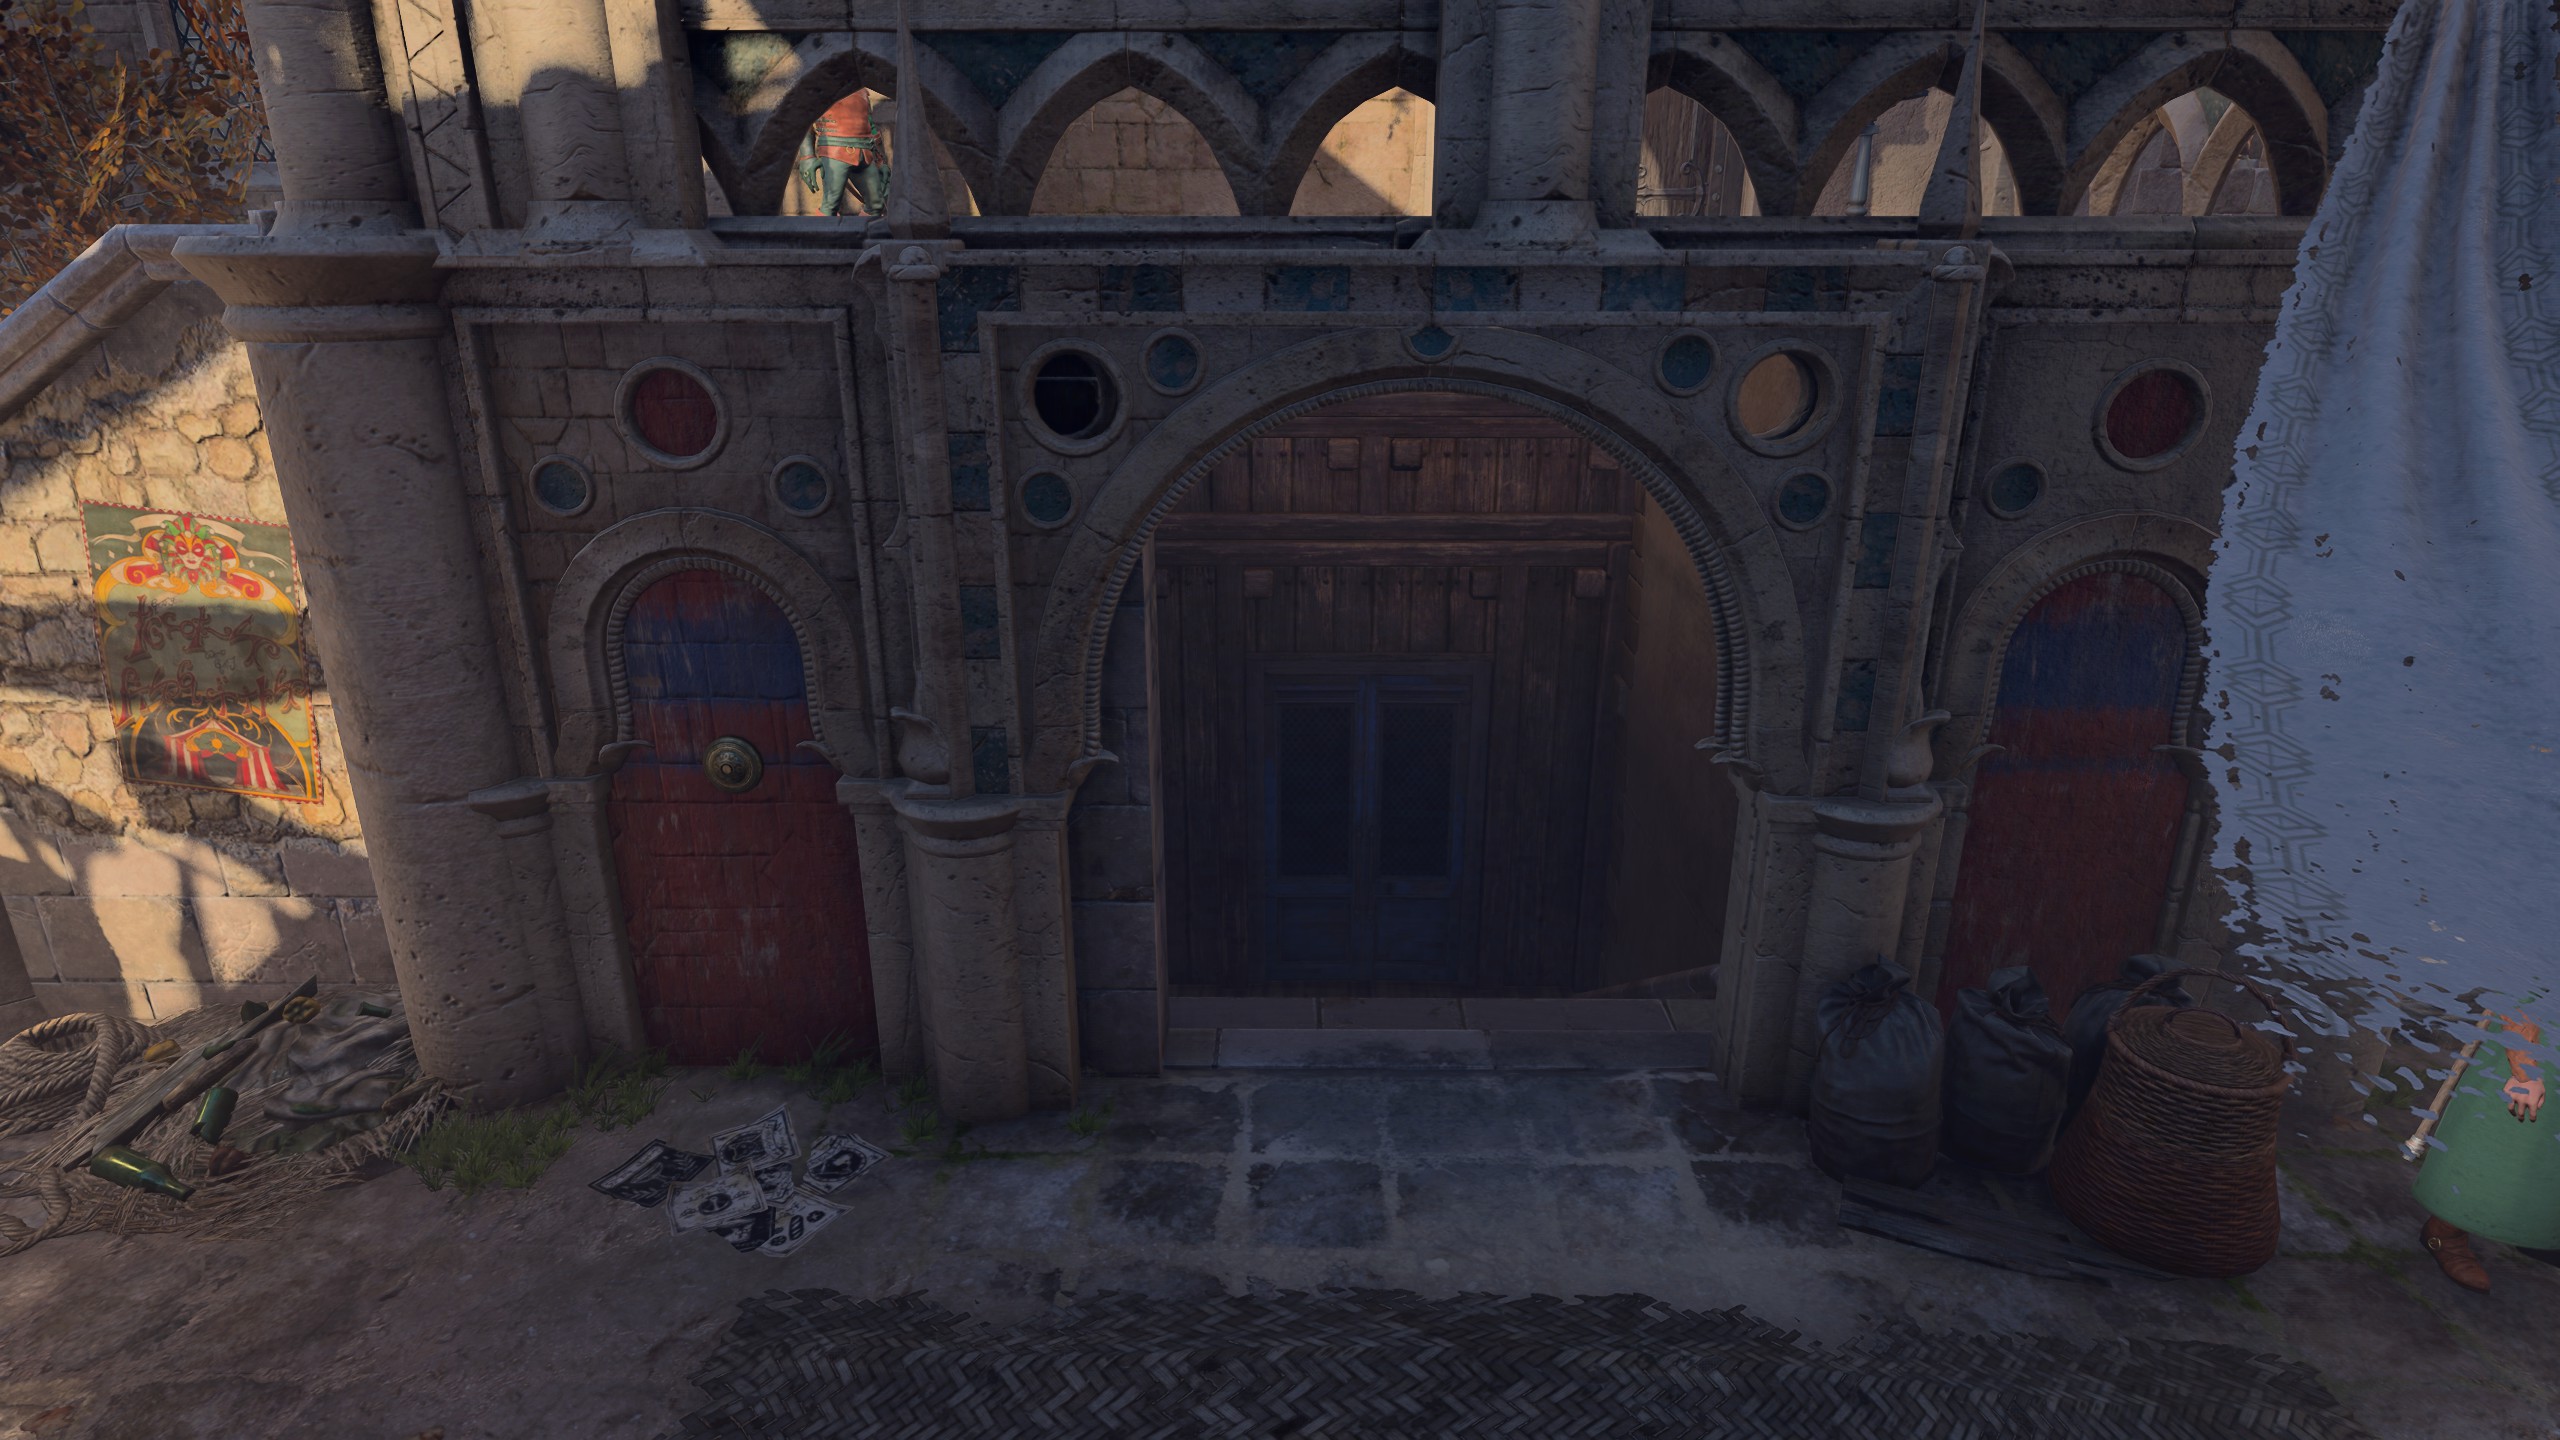
Guild Entrance Revealed.jpg 2,560 × 1,440; 631 KB
-
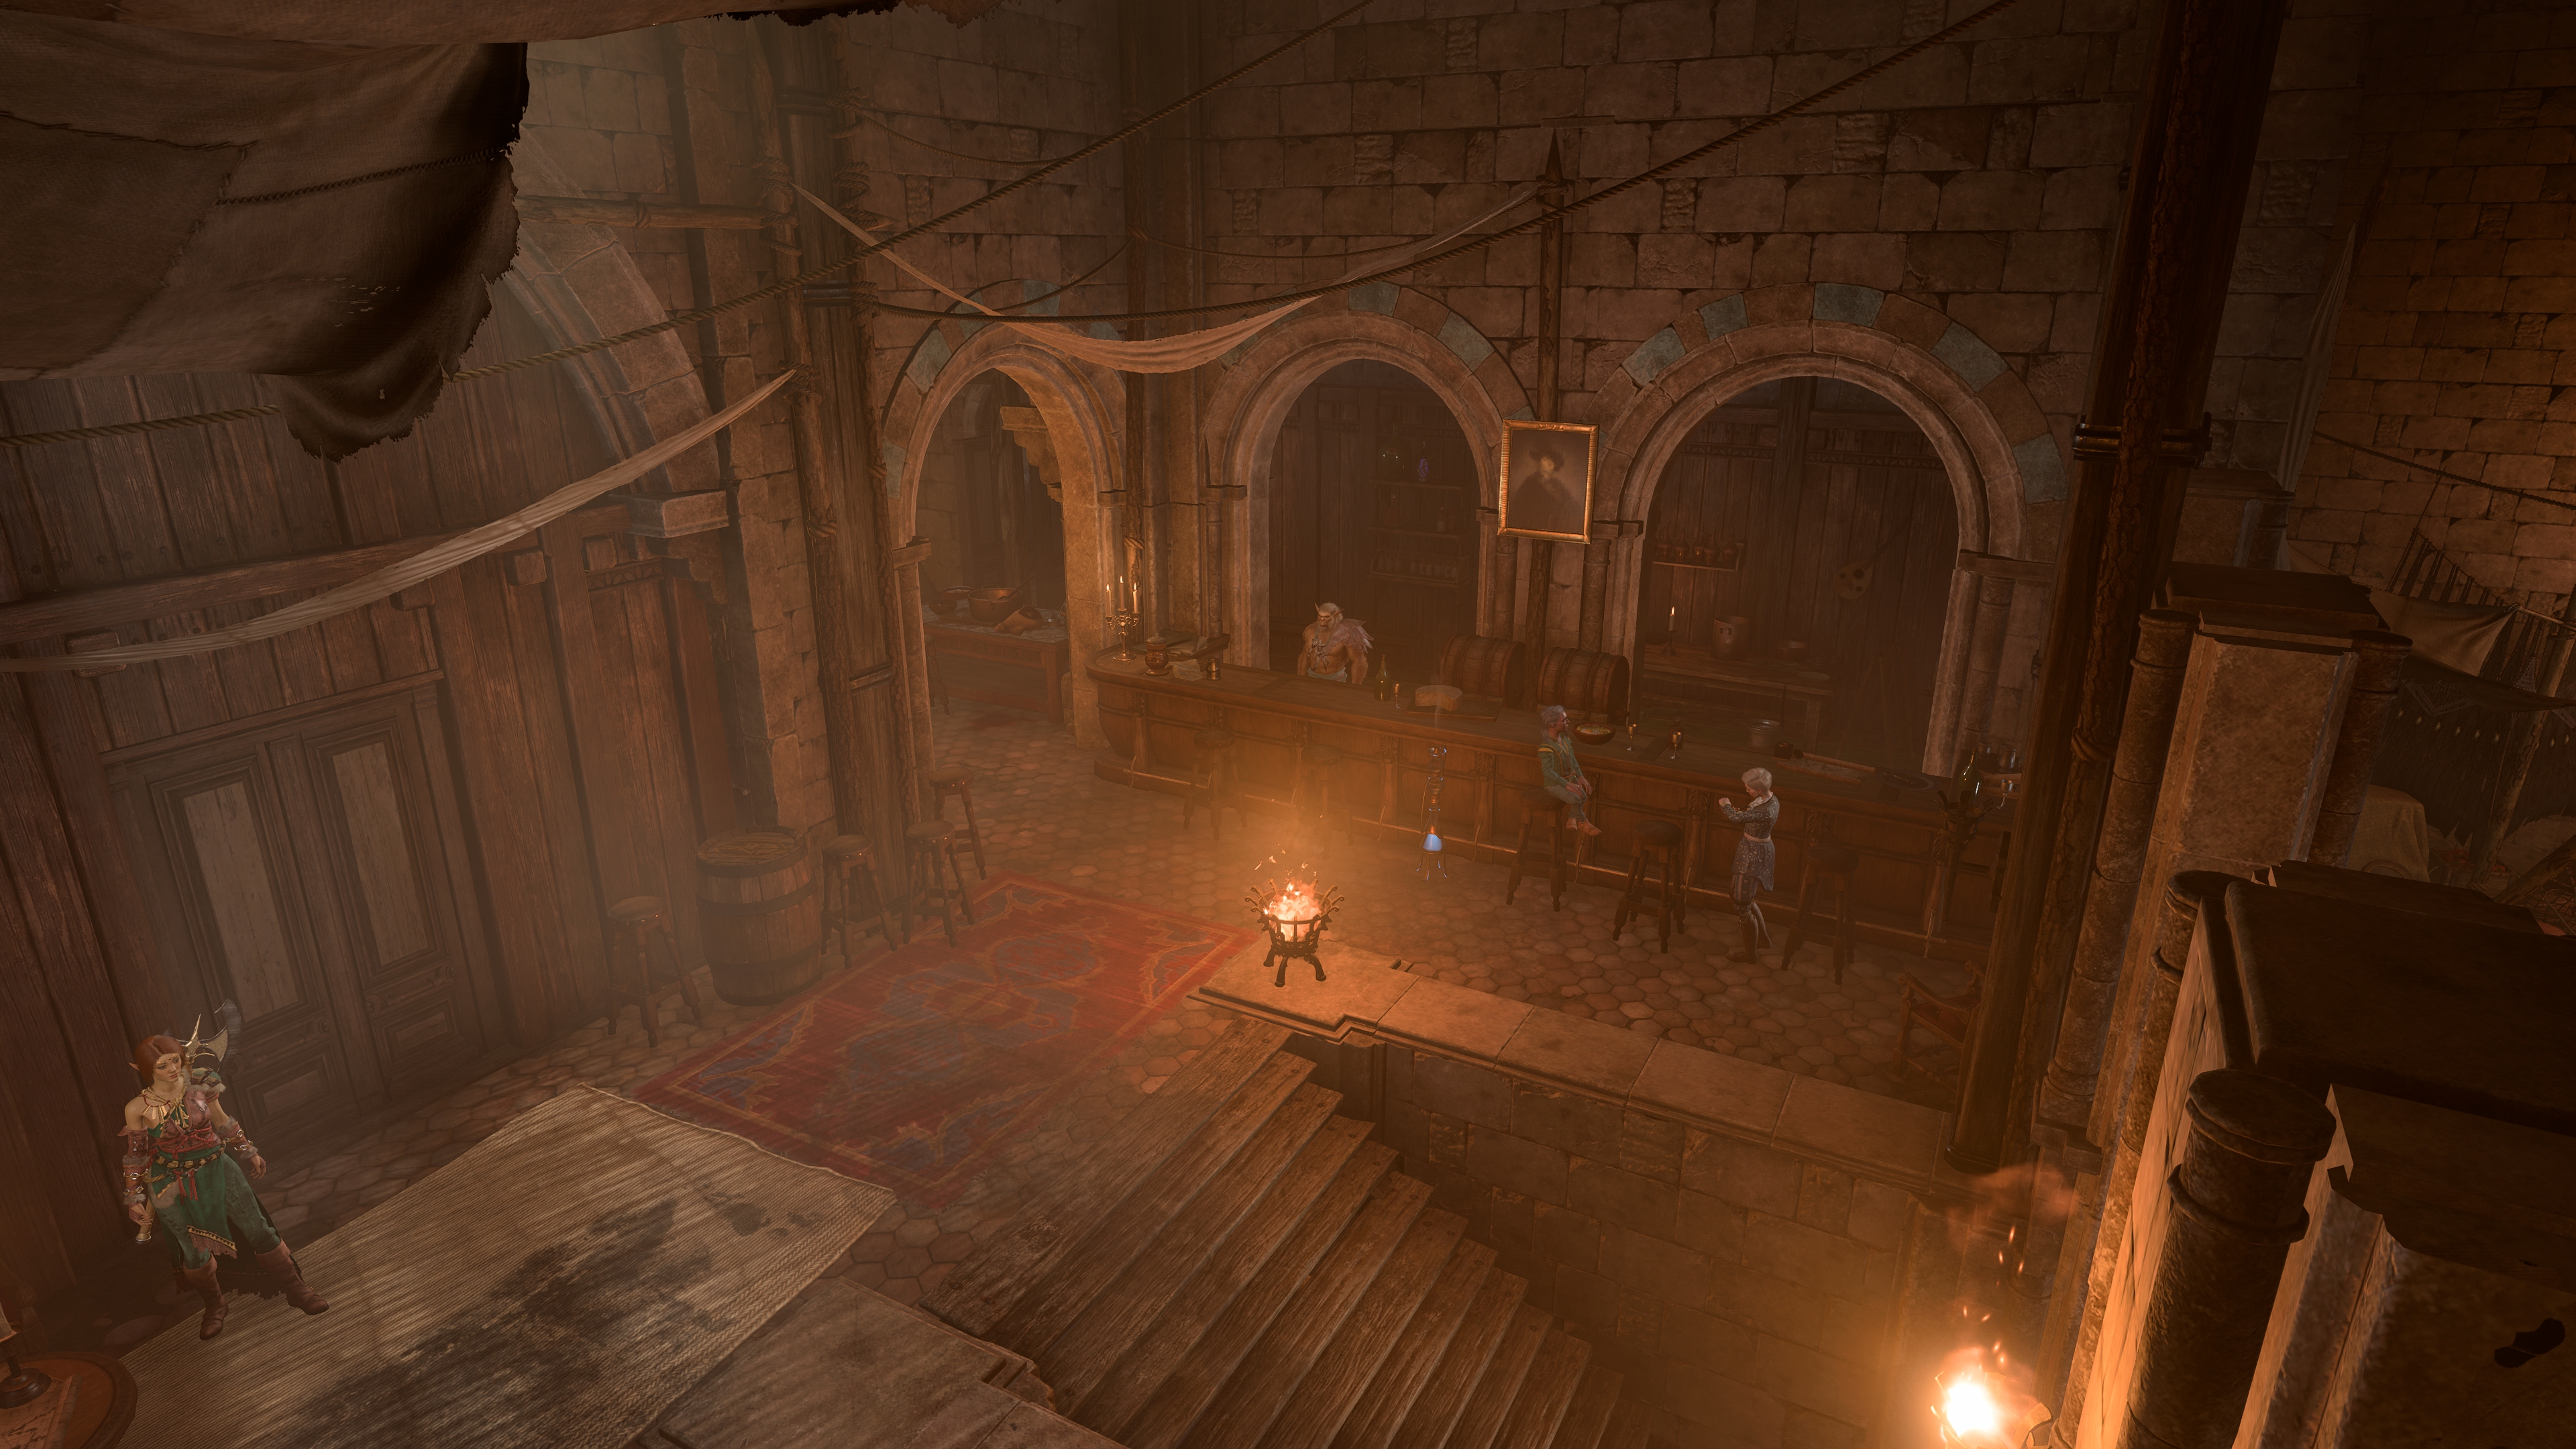
Guildhall Bar.jpg 3,840 × 2,160; 4.67 MB
-
Guildhall Fight.jpg 3,840 × 2,160; 4.42 MB
-
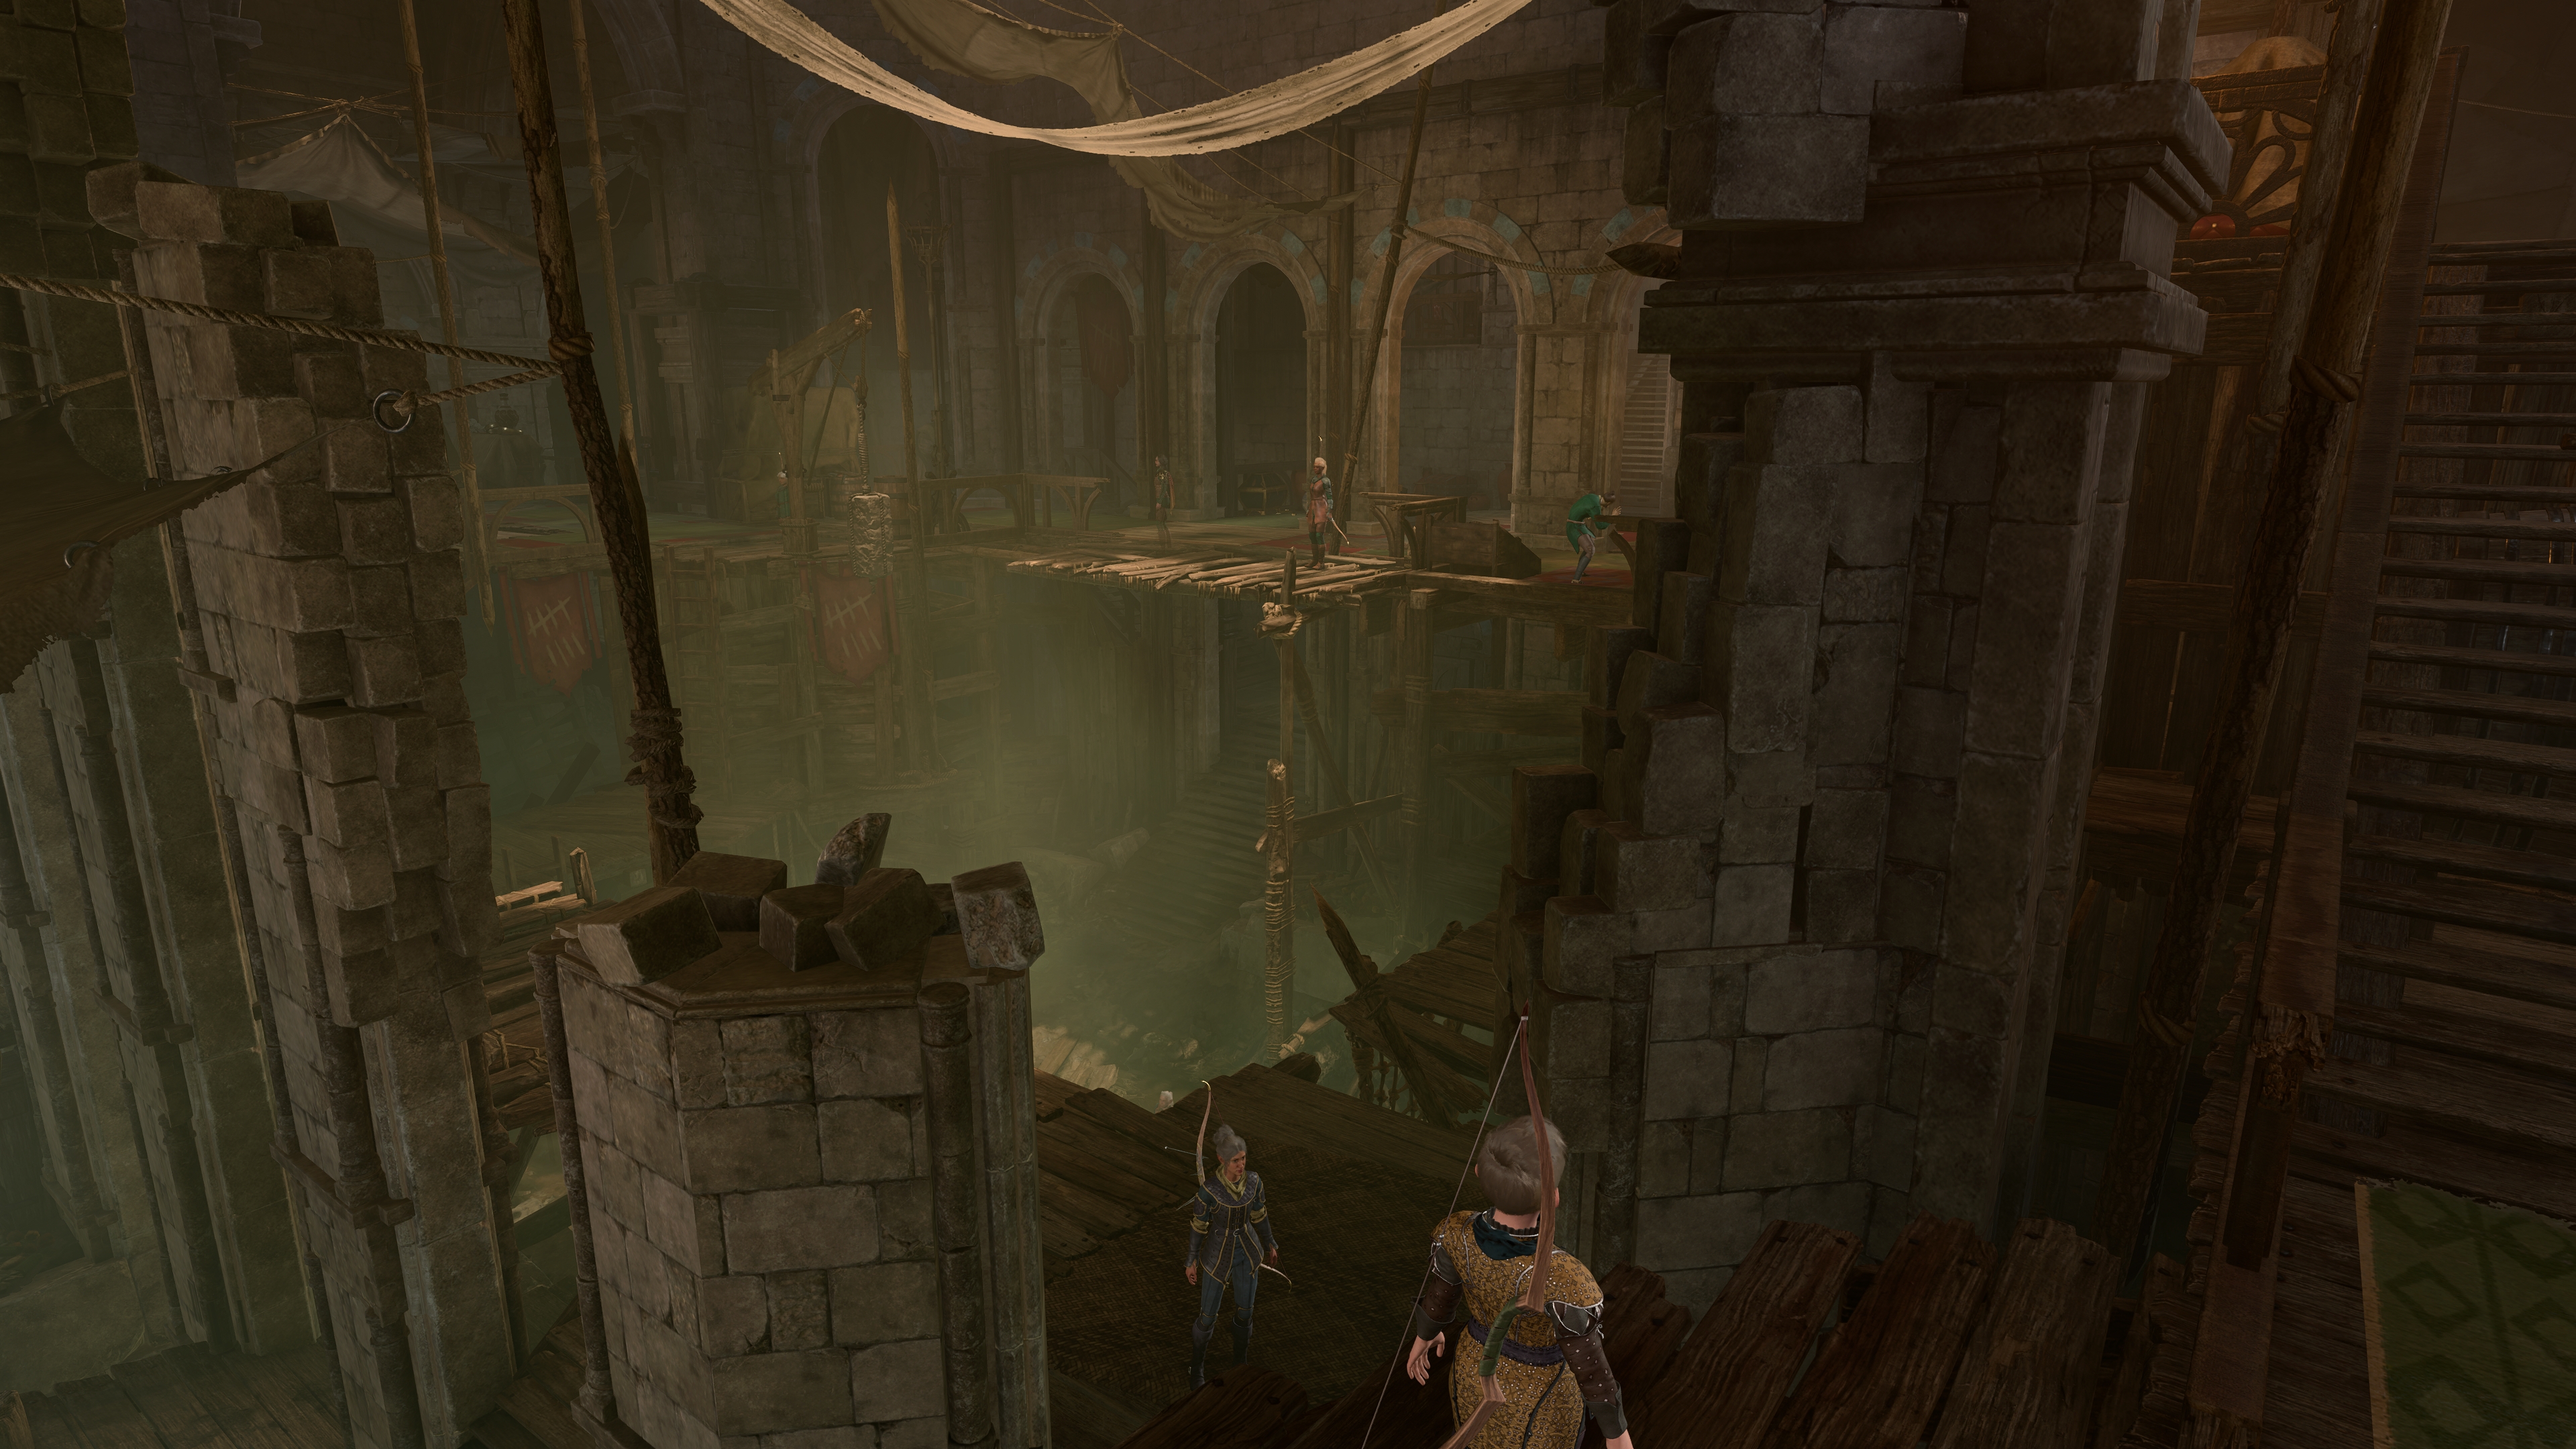
Guildhall Main Area.jpg 3,840 × 2,160; 4.61 MB
-
Guildhall Office.jpg 3,267 × 2,030; 3.05 MB
-
Guildhall Vault.jpg 3,840 × 2,160; 3.79 MB
-
Guildhall.jpg 1,728 × 1,051; 343 KB
-
Gur Camp.jpg 2,560 × 1,440; 1.05 MB
-
Harper Ambush Site.jpg 2,560 × 1,440; 2.31 MB
-
He Who Was Area.jpg 2,560 × 1,440; 3.24 MB
-
Heapside Prison.jpg 2,560 × 1,387; 752 KB
-
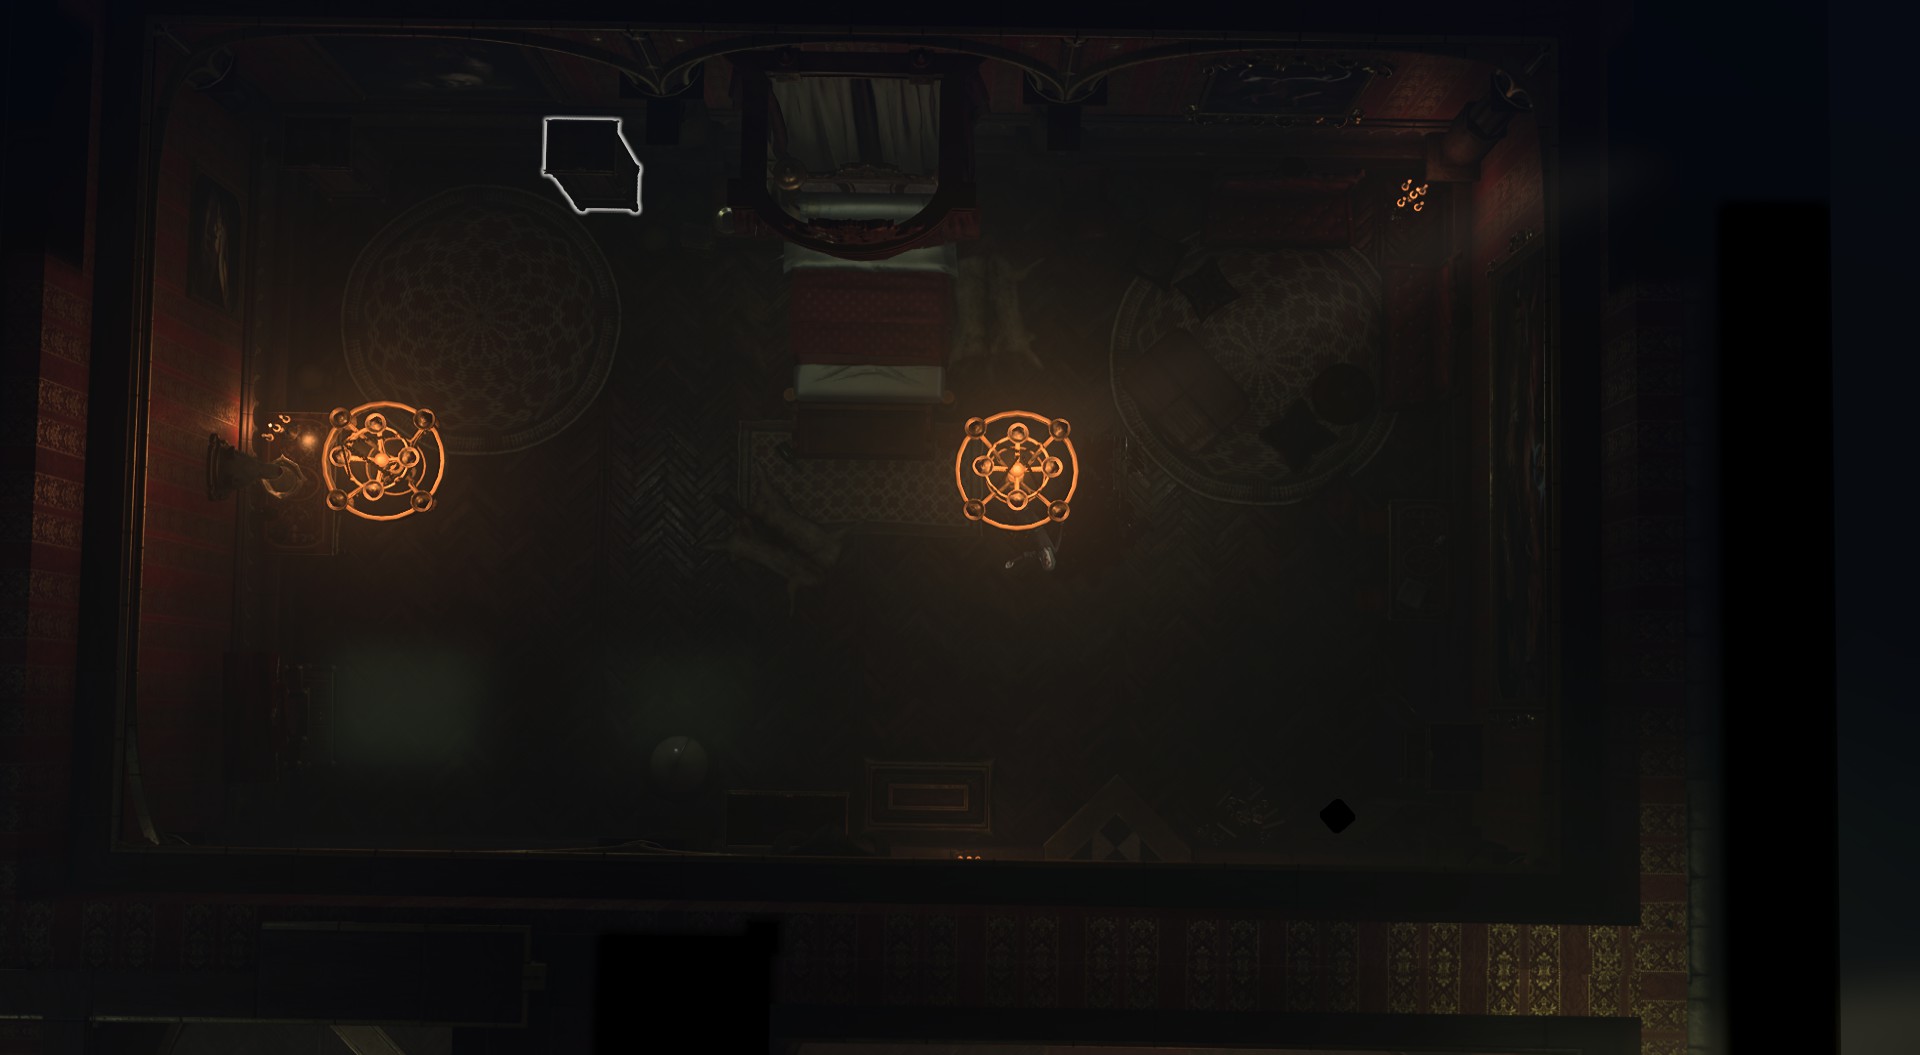
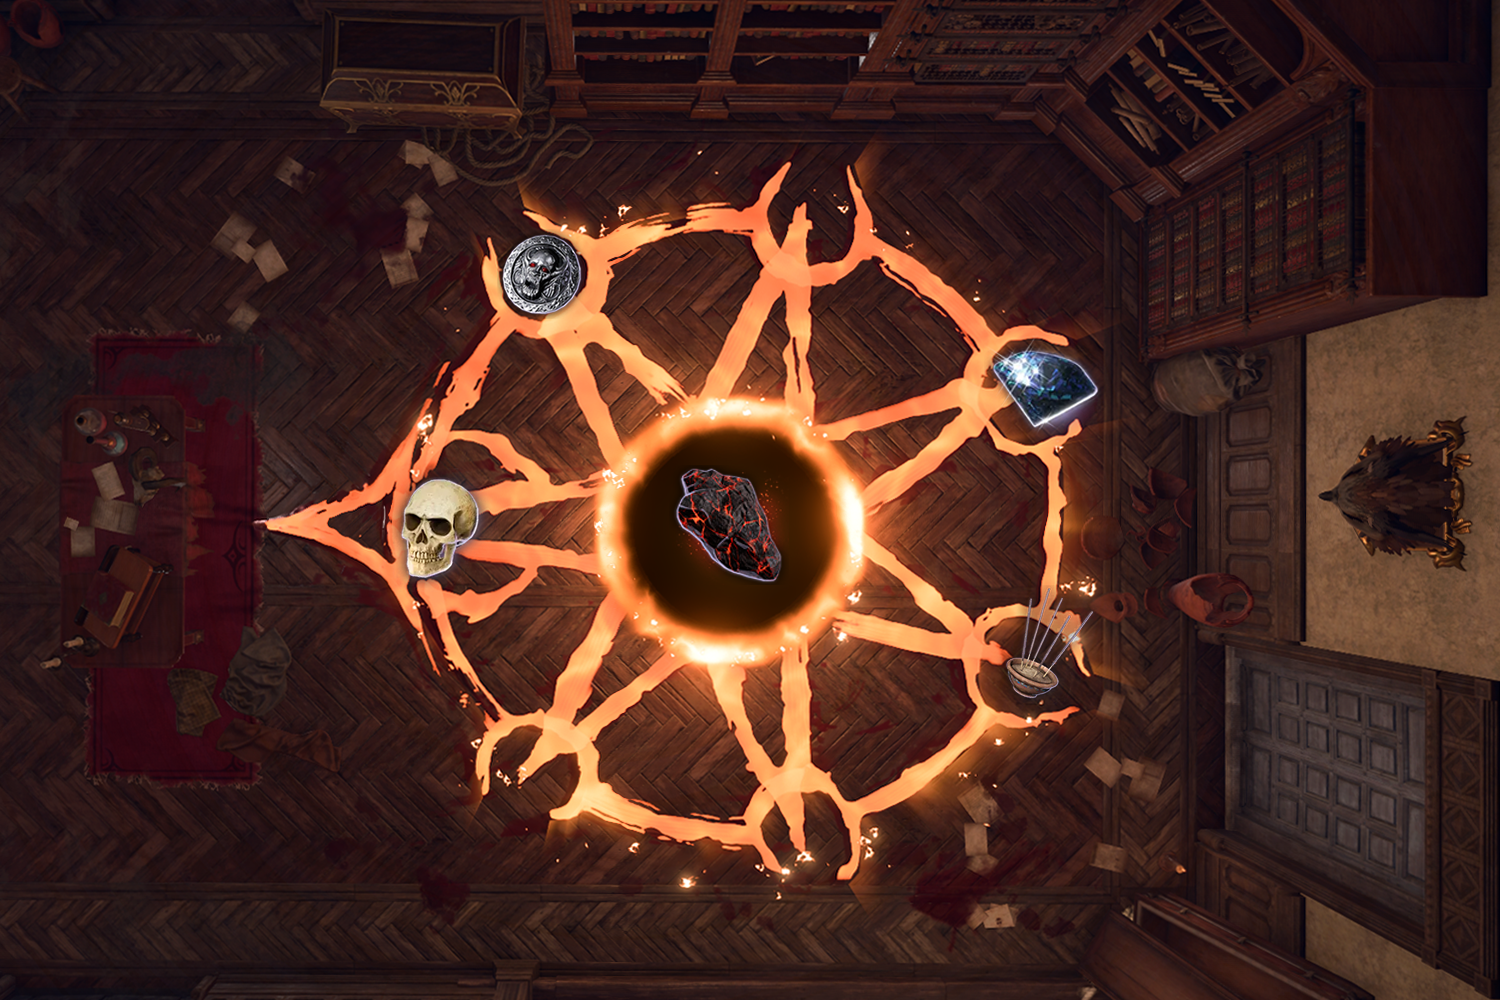
Hell Circle Order.jpg 1,920 × 1,055; 939 KB


.png)


.png)


.png)


.png)
.png)
.png)
.png)


.png)


.jpg)


