Ad placeholder
Devil's Den


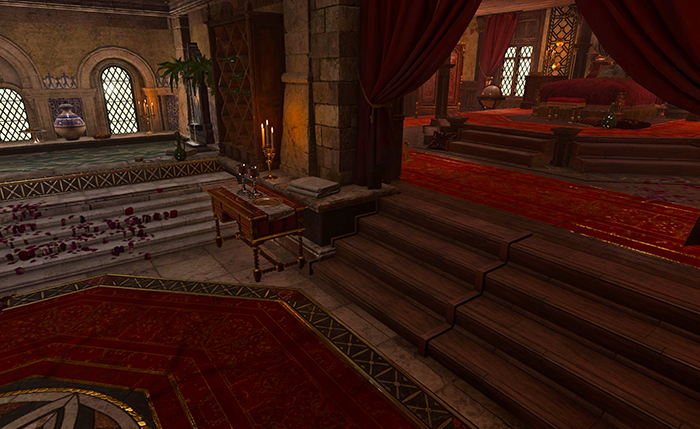
Overview[edit section | visual editor]
Unlike all other thematic playrooms, the Devil's Den is not locked, par for the course. It is decorated in blood-red colours, with flower petals strewn on the floor. The room is a personal parlour of
If 
![]()

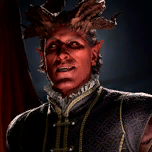
In the conversation, the devil asks the player character to deliver the Crown of Karsus to him after the 
![]()

![]()

Should the party accept Raphael's deal, the devil produces the 

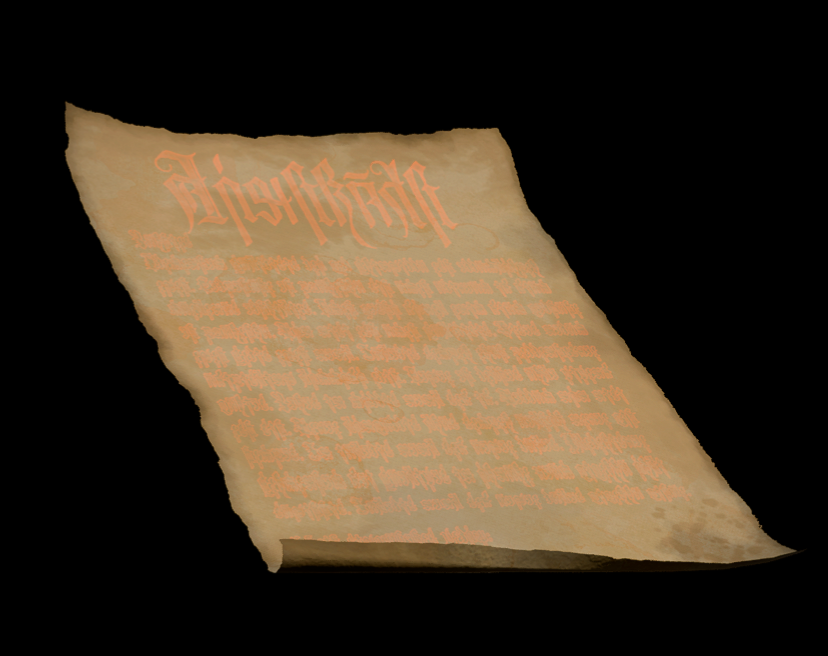
On the desk in the parlour lie three letters, addressed to three different people in Baldur's Gate, presumably Raphael's debtors. All of them contain certain orders aimed at strengthening 
- The


- The

- The
All three missives promise the addressees to cancel their debt upon carrying out said orders.
Regardless of the player character's decision, upon descending to the Sharess' Caress' taproom 
Related locations[edit section | visual editor]
Related Quests[edit section | visual editor]
Characters[edit section | visual editor]


Notable loot[edit section | visual editor]
- Several pieces of slightly more rare camp clothing in the wardrobes


Notes[edit section | visual editor]
- ↑ This can be derived from the


