"We spoke with Mamzell Amira on the ground floor of Sharess' Caress, and she mentioned that the devil Raphael has taken a room on the top floor. What's he doing here? We should pay Raphael a visit and find out."
"We found Raphael's servant Korrilla on the ground floor of Sharess' Caress. She told us her master awaits us on the top floor."
"We found Raphael's servant Korrilla in the Elfsong Tavern. She told us her master awaits us in Wyrm's Crossing on the top floor of Sharess' Caress. We should find out what he wants."
"In Sharess' Caress, Raphael told us he has a means to free Orpheus, the gith imprisoned in the Astral Prism, but we refused to hear any more. If we reconsider, we should talk to the devil again."
"We returned to Raphael to hear more. It seems he has an Orphic Hammer that can break Orpheus' chains, and he'll give it to us if we sign a deal to give him the Crown of Karsus once we've defeated the Absolute threat."
"In Sharess' Caress, Raphael told us he has a means to free Orpheus, the gith imprisoned in the Astral Prism, by using the Orphic Hammer to break his chains. He'll give us the Hammer if we sign a deal to give Raphael the Crown of Karsus once we've defeated the Absolute threat."
Decide to accept or refuse Raphael's deal.
"We refused Raphael's deal, but the devil said he'll still be there if we reconsider. The offer remains open."
"We entered Raphael's House of Hope. The devil will probably be unhappy if he finds us trespassing there."
Decide how to deal with having signed an infernal contract.
"We've signed an infernal contract with Raphael: he's given us the Orphic Hammer, and in exchange we've agreed to give him the Crown of Karsus."
Escape Raphael's House of Hope.
"We have dealt with our contract with Raphael by finding it in the House of Hope and destroying it. Now we must escape, though we may encounter the master of the house first."
Defeat Raphael.
"We tried to escape the House of Hope but were ambushed by Raphael. Time to deal with the devil once and for all."
Quest Complete
"We returned to Sharess' Caress, but Raphael is no longer there. We'll have to find our own means of getting the Orphic Hammer from the House of Hope."
"We made Raphael so angry that he has refused to continue to deal with us."
"We made our own deal with the devil by defeating him once and for all. He will plague mortals no more with his infernal offers."
"We fulfilled the terms of our infernal contract and gave the Crown of Karsus to Raphael."
Mamzell Amira is on the ground floor of Sharess' Caress by the front entrance. When asked what she has to offer, Amira mentions that a devil is in residence Raphael. At the bar, Korrilla can be spoken with; she informs the party that Raphael wishes to speak with them.
At the top floor Raphael is in a room labelled the Devil's Den. If Kith'rak Voss is alive, he is trying to make a deal with Raphael, who sends him away. He does, however, have a proposition for the party. Raphael is in possession of the Orphic Hammer which can break the cage that holds Orpheus. In return, he wants the Crown of Karsus, which is being used to control the Elder Brain.
Raphael's proposal can be rejected or accepted. If rejected, he states he will remain at Sharess' Caress for some time in case they change their mind. If accepted, he creates a Soul-Sworn Contract and the party instantly feels a pang of regret, starting the quest Escape the Deal.
The party can also randomly stumble upon Helsik while exploring the Lower City upon entering The Devil's Fee. Helsik initially sells a number of magical items without revealing her true work. The party can learn about it by walking around her shop. Several items there trigger Arcana checks which, if succeeded, reveal they are genuine artifacts from the Hells. These items are the Monster's Skull at X: -43 Y: 3, another Monster's Skull at X: -47 Y: 2, and infernal gems at X: -25 Y: 5. After these artifacts are discovered, the party can pass a DC 18 PersuasionCheck) to ask Helsik if she is a diabolist.
Alternatively, the party can learn of Helsik's capabilities by exploring the top floor and finding the Coin of Mammon and other objects in the top floor area which reveal she is capable of opening a door into hell.
Additionally, the party can learn of Helsik's diabolist background by reading Report on Activities of Enver Gortash, a note located in the Infiltration Training Room in the lower level of the House of Grief at X: -331 Y: -1595.
Once the party is aware of Helsik, they can find her at the Devil's Fee. Inquiring about Helsik being a diabolist results in her revealing that her true business is not in information or hellish curiosities; she is Mammon's Picklock, Latchkeeper of the Nine Hells. She breaks people into the Hells, for a cost (20,000 gold). On passing a DC 20 PersuasionCheck, she waives the fee in lieu of the Gauntlets of Hill Giant Strength, starting Acquire the Gauntlets for Helsik. Otherwise, she can be persuaded to cut down the fee to 10,000.
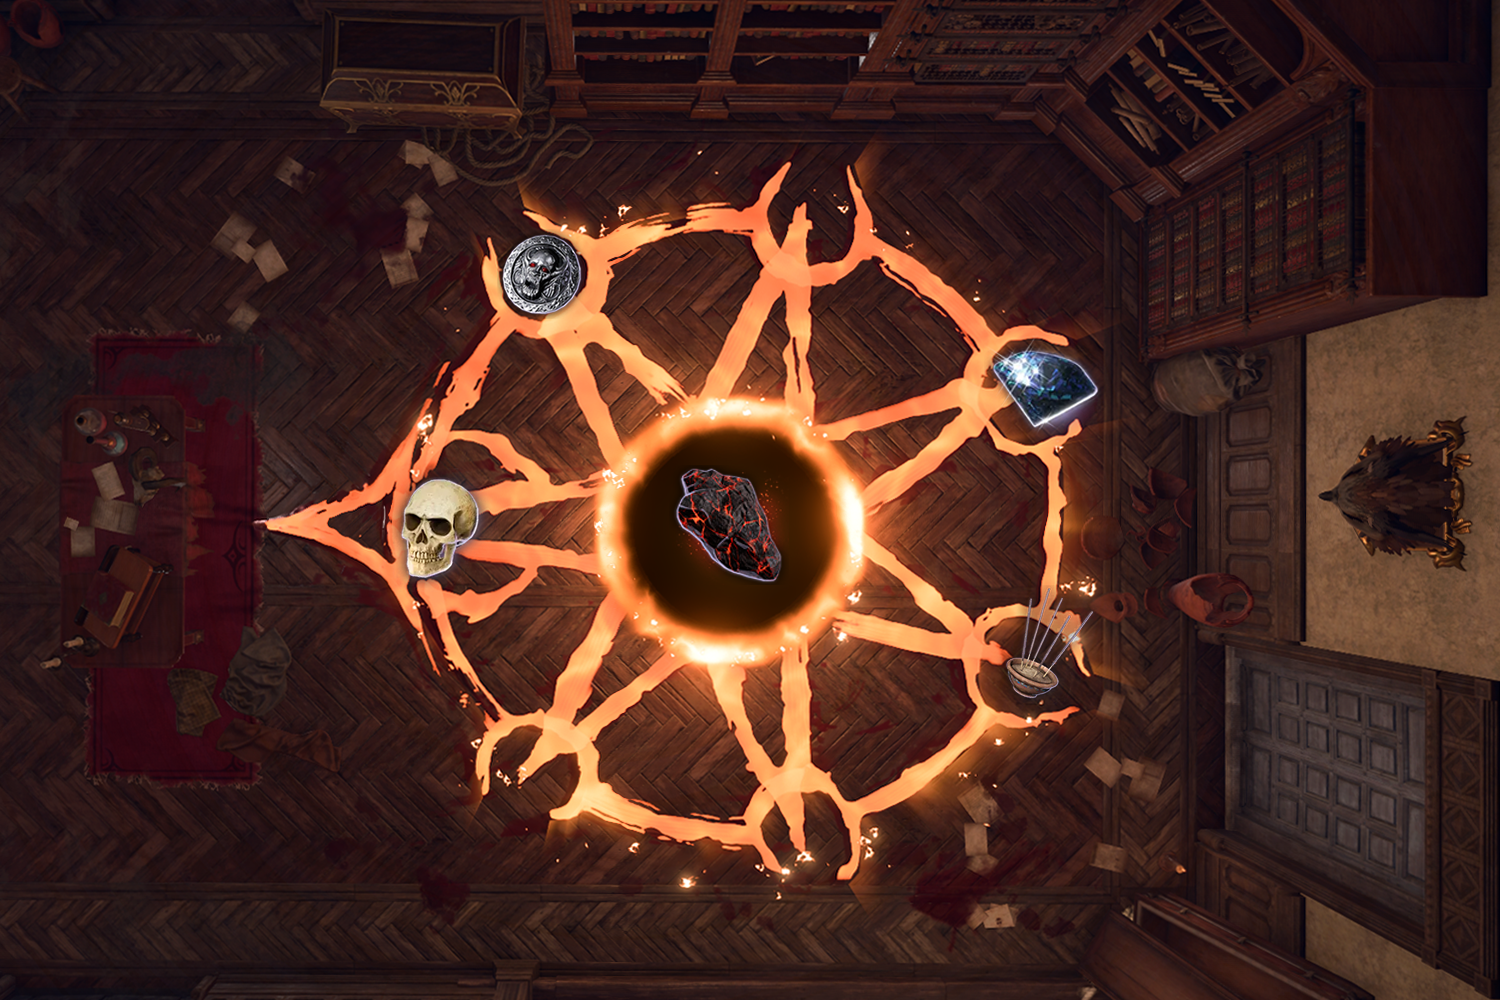
The placement of the ritual items in the circle.
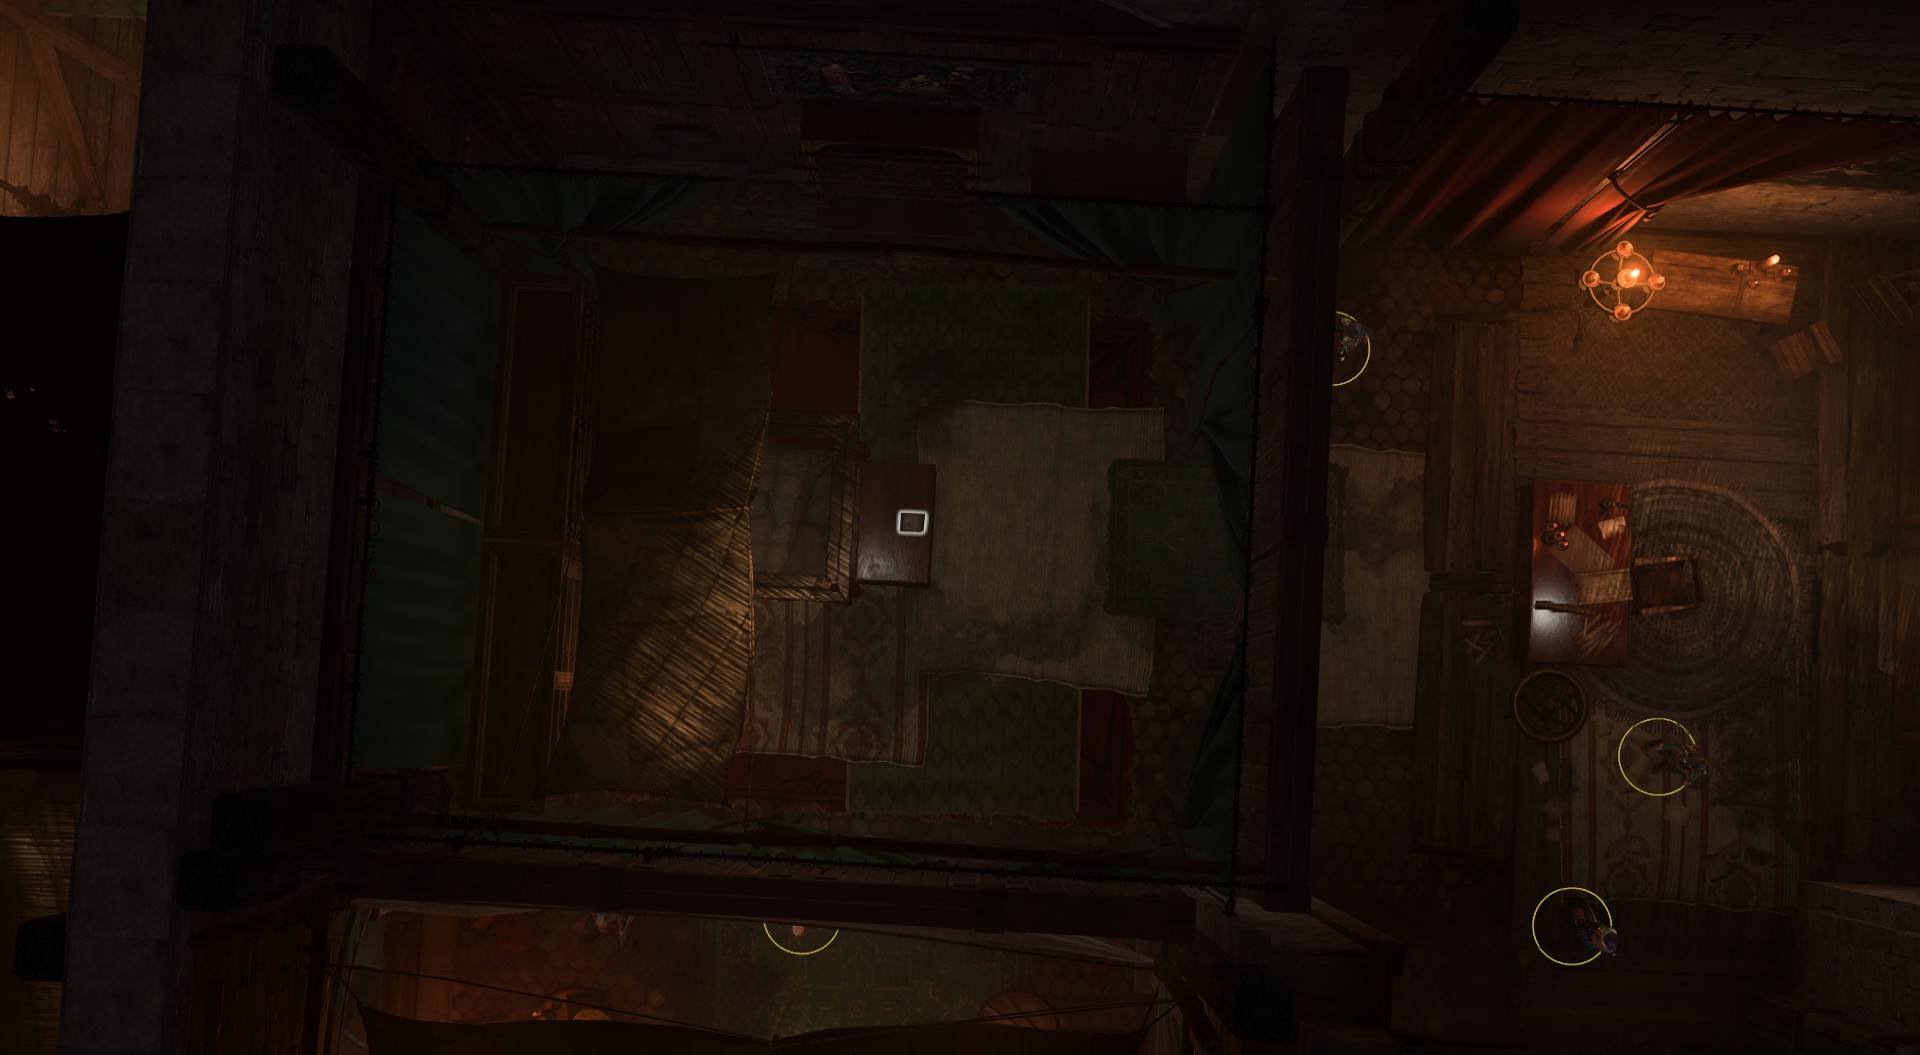
Striking a deal with Helsik, she gives the party all the tools needed to open a portal to Hell. This includes a Grimoire Bound in Imp Skin and a Ritual Pouch with all the necessary items. The party must go upstairs in the Devil's Fee to find a circle in blood, read the Grimoire Bound in Imp Skin to learn the ritual, then place the ritual items in the correct areas. Starting from the point closest to Helsik's diary and going clockwise:
Skull at X: -35 Y: 6
Coin of Mammon at X: -34 Y: 8
Empty spot
Diamond at X: -30 Y: 7
Incense at X: -29 Y: 4
Empty spot
Empty spot
Then, the Infernal Marble must be placed in the center of the circle and a portal to hell opens.
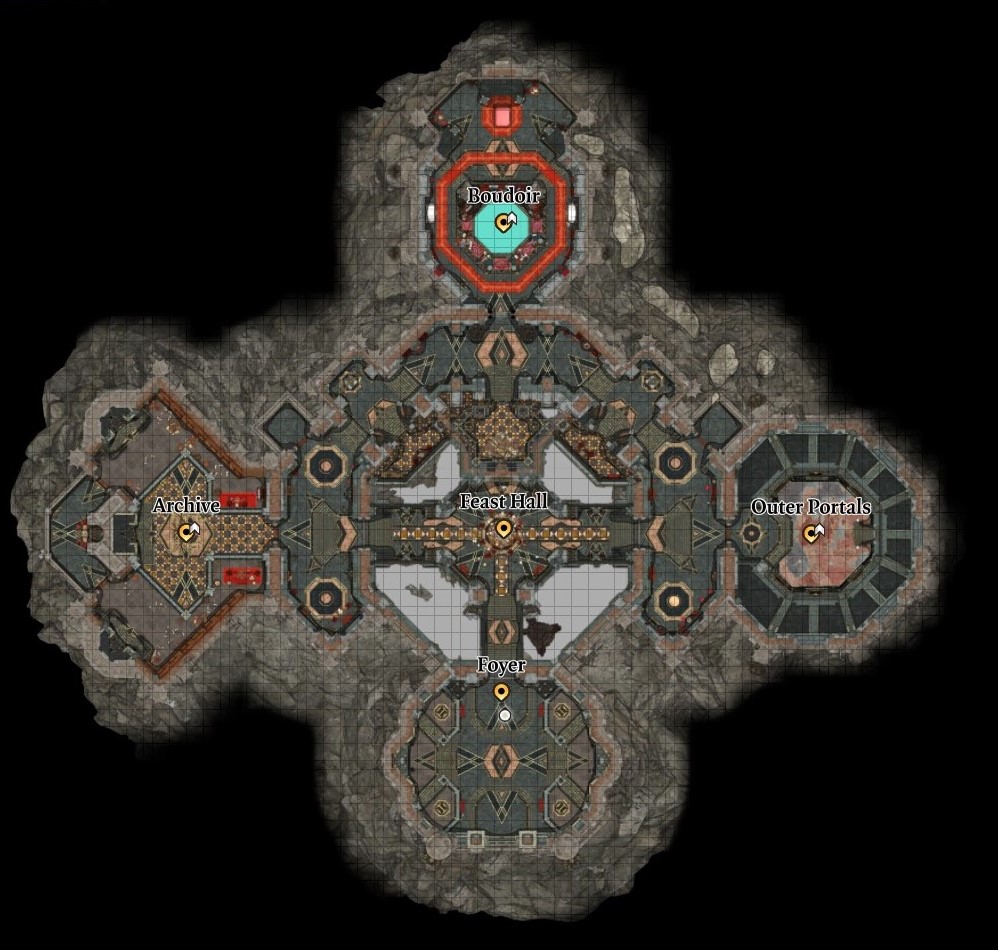
Once inside the House of Hope, a strange dwarf named Hope appears to greet the party. She believes the party is in great danger. She herself is dealing with her jailers, but can be convinced to have her projection remain to assist. If asked, she reveals she is trapped in the prison and only the Orphic Hammer can release her from her bonds. She explains that the party must get past the Debtors and sneak to the Archive to get their Soul-Sworn Contract. To aid the party, she gives them Debtor's Disguises so they can move about the House undetected.
If the party got the Orphic Hammer from Raphael in exchange for the contract, they can go to the prison and free Hope directly. However, this makes the entire House of Hope hostile immediately.
If alive, Mol has a contract in the House of Hope, locked in a room with an Inert Infernal Gem at X: 6481 Y: 2944. Interacting with the gem requires a DC 10 WisdomCheck and a DC 20 ArcanaCheck check to open.
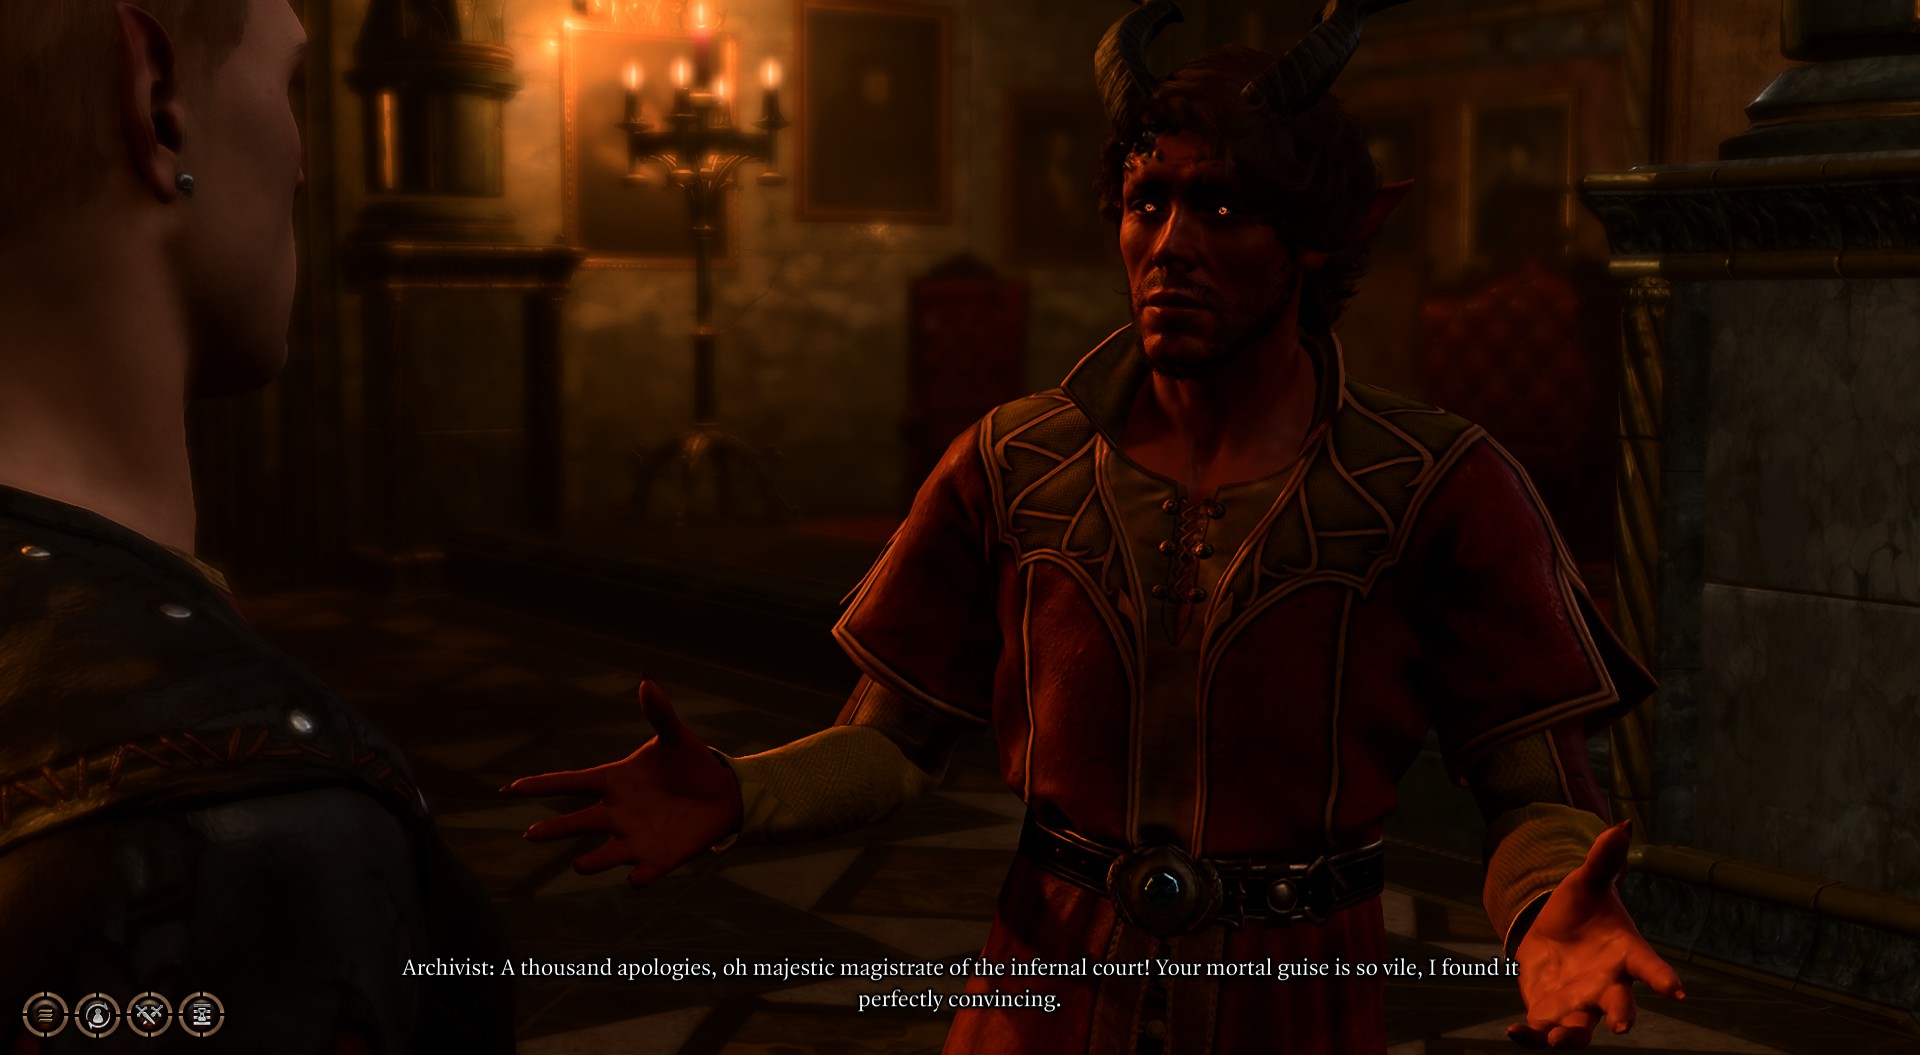
Before entering the Archives, Hope appears once again to warn the party about the Archivist. She says the party must exploit his weakness to get by. Before she can fully explain, the party must pass either a Charisma, Intelligence, or Wisdom check to continue speaking with her. After passing the check, if asked how to deal with the Archivist, she says he fears authority figures. With a DC 20 PersuasionCheck, she reveals he particularly fears Verillius Receptor, a High Inquisitor of Zariel who has official permission to audit Raphael's collection. Verillius' true form is so ghastly and mind-scarring that she takes on guises when she comes to visit. The party can exploit this by pretending to be Verillius. If Hope fails to get out the name, a successful use of Detect Thoughts (DC 10) can be used on the Archivist to reveal her name as well.
The Archivist welcomes "Verillius" to the Archive.
Once inside, the party must pass a DC 15 DeceptionCheck to get the Archivist to fully believe the ruse. Unfortunately, the Archivist cannot give access to the contract, as it is surrounded by an impervious sphere; it requires a magic code that only Raphael has. Instead, he advises the party to wait in the Boudoir until Raphael returns. The Archivist can also relinquish the pass to the Boudoir by passing a DC 25 IntimidationCheck, or by pickpocketing him.
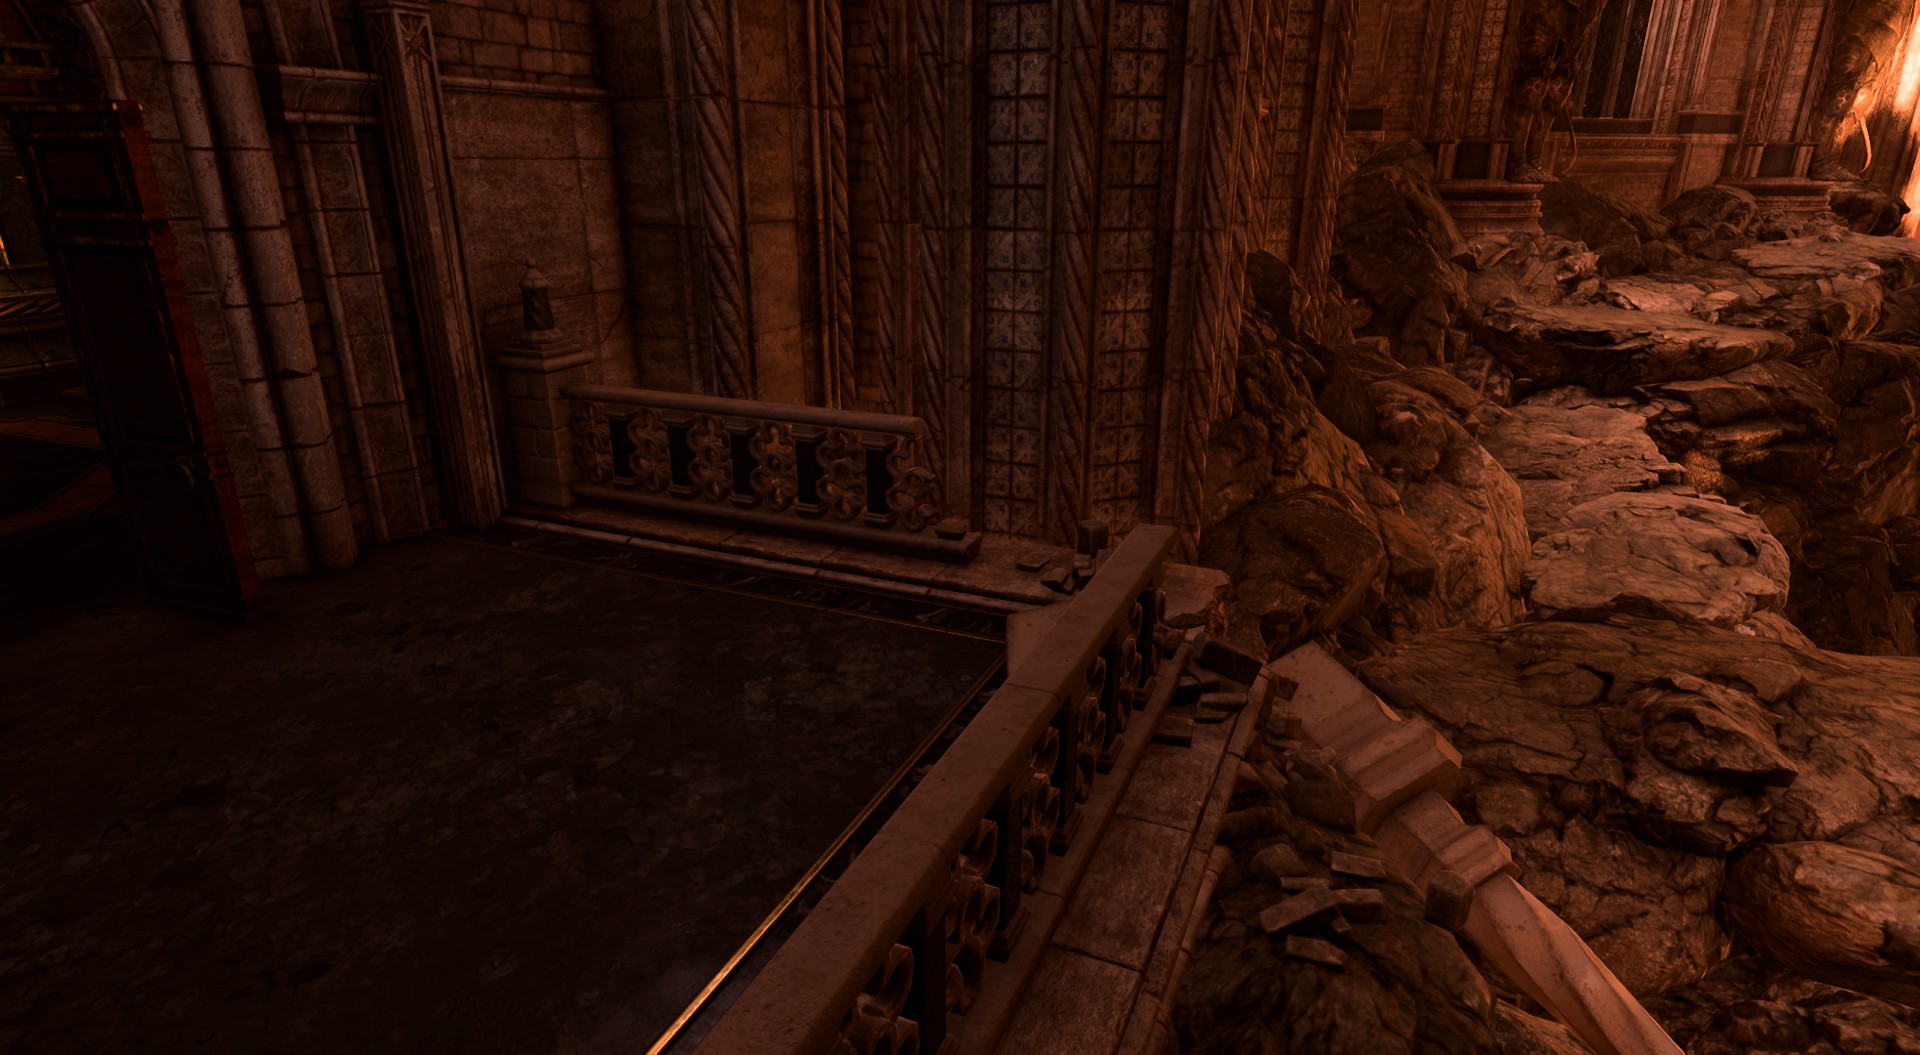
If the Archivist is not successfully deceived or intimidated, information on how to enter the Boudoir can be found in the Outer Portals room at X: -6441 Y: 2920. Nubaldin is cleaning up the room. Speaking with him lets him explain that he once ran the prisons, but was moved to the Outer Portals room after failing to prevent Enver Gortash from escaping. If the party have already killed Gortash, they can tell him this, which delights him. As a reward, Nubaldin explains a secret trick to get into the Boudoir - the party must venture next door to the balcony at X: -6446 Y: 2936 and jump off the stones to enter the balcony of the Boudoir. The party can also find this out without Nubaldin by just exploring the House of Hope.
Jumping on the rocks here leads to the Boudoir's balcony.
Upon entering the Boudoir, the party is accosted by an incubus named Haarlep, who has changed their shape into a perfect copy of Raphael. Haarlep asks why the party is there, but is already aware they seek the contract. Haarlep helps the interacting party member if they agree to "play a game" with him. Agreeing to play the "game" results in the interacting party member taking off their clothes and Haarlep seducing them to give over their mind and body. The interacting party member can insist that only their body may be taken, to which Haarlep agrees and tells them they will always know when an orgasm is experienced by Harleep while in the interacting party member's form. Otherwise, giving over both mind and body results in a Game Over.
Refusing to play makes Haarlep hostile. Additionally, succeeding in a DC 25 ConstitutionCheck during the "game" also makes them hostile. After defeating Haarlep a Key From Raphael's Safe, and Helldusk Gloves can be looted from their corpse. The safe contains the magic phrase needed to steal the contract and several Soul Coins.
The location of Raphael's safe.
Raphael's magic phrase can be pilfered without involving Haarlep, by utilizing Greater Invisibility, Supreme Sneak, or other skills to move towards the giant painting west of the bed. A successful perception check reveals the painting is rigged with a trap; it must be disarmed ( DC 20 Sleight of HandCheck), and then the button below the painting must be pressed. The safe must be lockpicked ( DC 25 Sleight of HandCheck). To avoid a conflict with Harleep, its content must be taken before they notice anything.
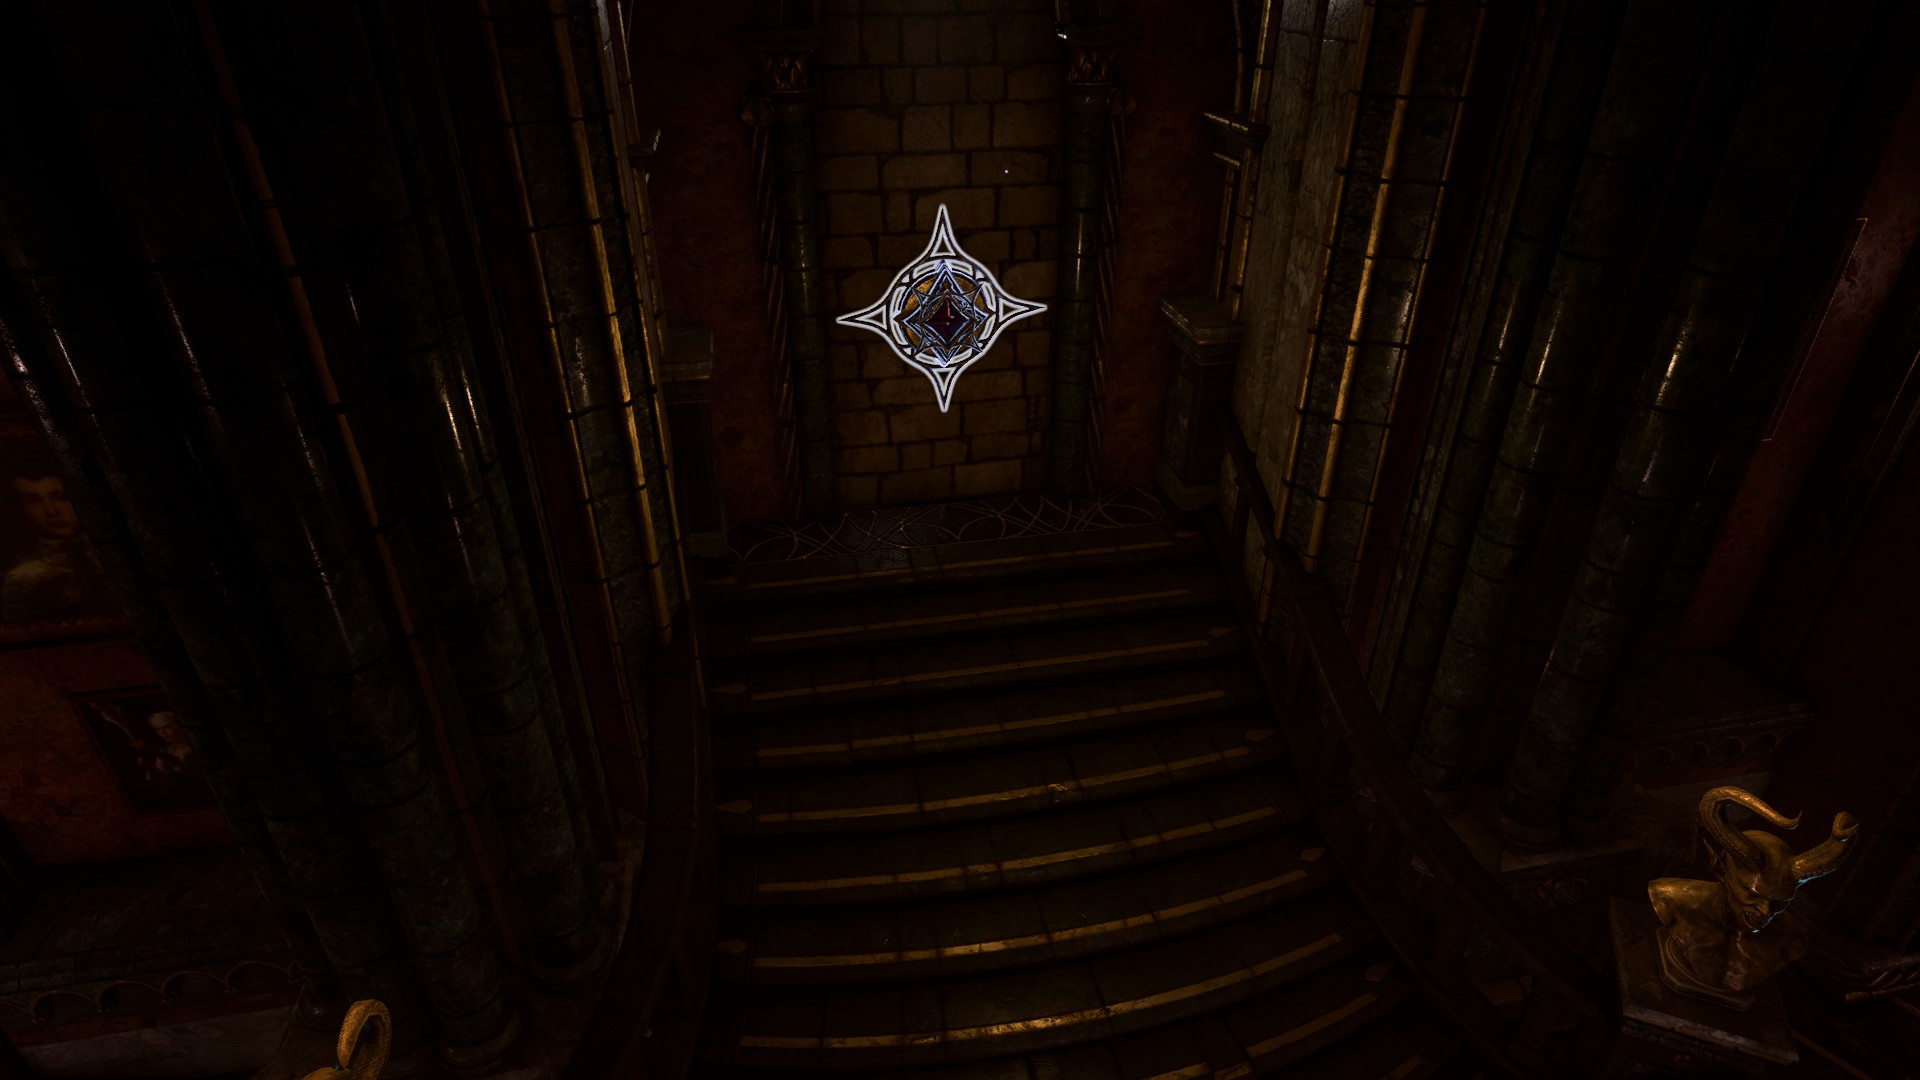
After stealing the Soul-Sworn Contract, regardless how it is done, the Archivist becomes aware of it instantly; he states that the dinner bell has rung for Raphael and the party is the main course. Hope appears one last time to state that everything will be on fire once they leave the Archives. She pleads with the party one last time to come to the prison and smash her chains.
Smash the crystals with the Orphic Hammer to free Hope.
After leaving the Archive, all the residents of the House of Hope turn hostile, including the Eternal Debtors and several Hell Spheres. The latter cannot fit through the doorways leading off the main passage, so falling back through them provides a defensive position to shoot them until they are defeated. On the way to the prison, the party can stop in the Boudoir and use the rejuvenation faucet at X: -6482 Y: 2977 to heal. The entrance of Hope's prison cell is on the eastern side of the House, in a hatch just south of the Outer Portals. Once inside, the party must face two Spectators and a number of Vengeful Imps. A party member must equip the Orphic Hammer and smash the two crystals to free Hope, who joins the party as an Attached Follower.
Once Hope is freed, the party must return to the entrance where the portal is located. Unfortunately, Raphael, Yurgir, and Korrilla are there waiting, surrounded by four Pillars of Souls. Raphael is enraged, and – if one was struck earlier – announces that their deal is over and none of the party is getting out alive. If he was killed in Act Two, Yurgir can be convinced to switch sides through passing a DC 30 PersuasionCheck, otherwise he automatically switches sides if he helped the party find the House of Hope in the first place.
If Korrilla is saved in the final battle by being Knocked Out with non-lethal damage, then Hope acknowledges her sister is still alive.
It is technically possible to tell Hope to go away after she first appears, then ignore her and go forward into the House of Hope. However, once the party is spotted by the Debtors, they immediately sound the alarm and the entire area becomes hostile.
The ritual to open the portal to the House of Hope does not require reading the tome, nor is a prior interaction with Helsik necessary. All required components are located within the Devil's Fee; so long as they are placed correctly within the ritual circle, the portal will manifest regardless of the order in which they are set. Note that if the portal is opened this way, Helsik will have no unique dialogue acknowledging the achievement.
In the room with Mol's contract is a treasure pile that contains 666 gold pieces. Likely a reference to the biblical Number of the Beast.


.png)


 .
.