Modding:Outfit textures
| This page is a modding page, and follows its own rules and standards separate from the rest of the wiki. |
This guide will cover how to make textures for your custom outfits.
Software[edit section | visual editor]
This tutorial requires GIMP and Blender, although you can use any program that can combine channels or save as DDS, such as Photoshop.
What looks good on a flat surface might not look good on a model. You ideally need some software that enables you to paint directly onto the model. Programs such as Blender’s texture paint mode, Armorpaint or Quixel Mixer or of course Substance Painter are worth looking into.
It is recommended to export a copy of the UV map so you can use it as a reference. With your item open in Blender, move to the UV Editing tab. Click UV, select Export UV layout. Tick All UV. You will now have a semi- transparent image to use as a template for your texture.
Overview[edit section | visual editor]

There are four textures in a generic armour item. Sometimes there are 3, as an item has no MSK and all the colour is on the BM (For example, Mizora's outfit). Sometimes 4-5, as an item may have a GM (glowmap).
Basecolour/Base Map[edit section | visual editor]
This controls colour strength. It is flat and white or grey, as colours are overlaid on it via the MSK. The shader for the game is quite powerful so many BM are not very detailed. It will be called a BM if it has no transparency, and BMA if it does. The A stands for alpha, as transparency requires an alpha channel.
Normal Map[edit section | visual editor]

The blue transparent map. This makes the shading engine of the game bounce light off the item in a way that makes the object look like it has more depth than it does. The most important texture.
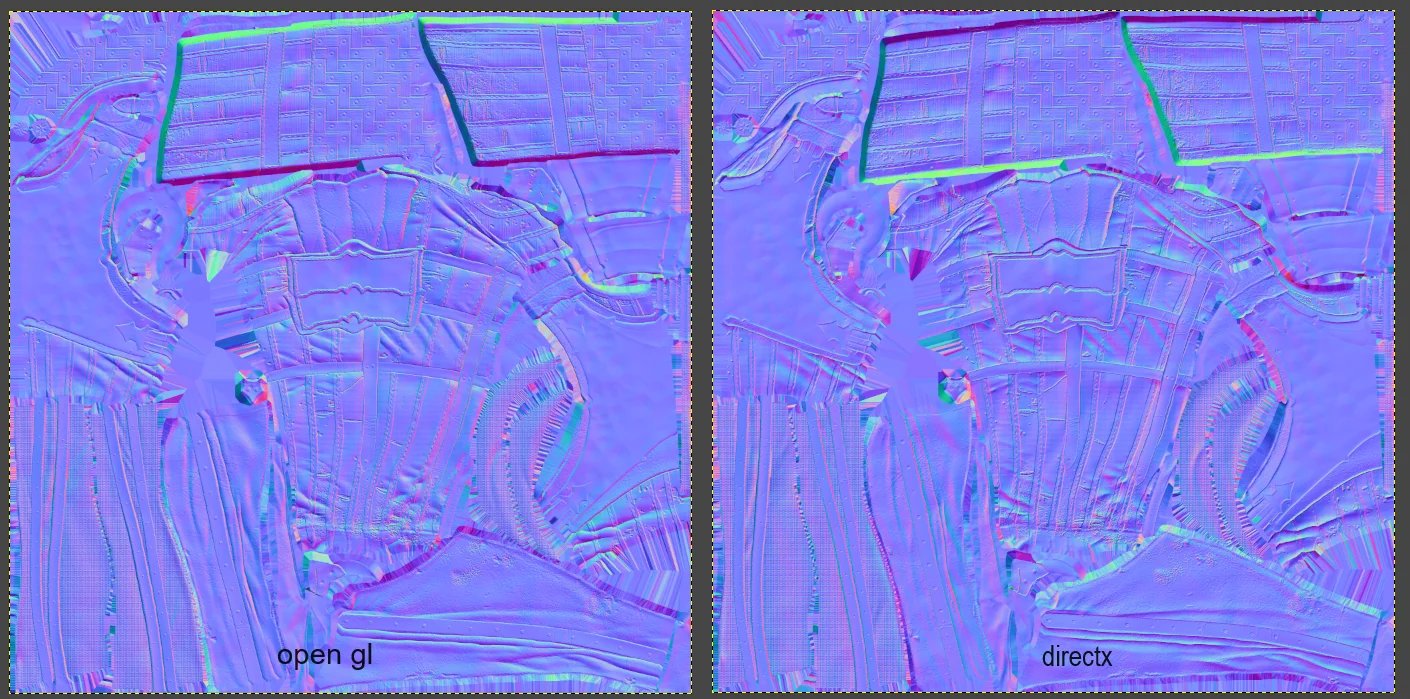
There are 2 types of normal map generally used. One, OpenGL, will look right side out. The other, DirectX, will look inside out (with things such as buttons going in).

BG3 uses a modified version of DirectX, where the red channel (X axis) is put into the alpha channel, as this saves space file formatting.
Channels:
Red - Not used, filled with all black
Green - Y (Green Channel)
Blue - Z (Blue Channel)
Alpha - X (Red Channel)
Physical Map[edit section | visual editor]

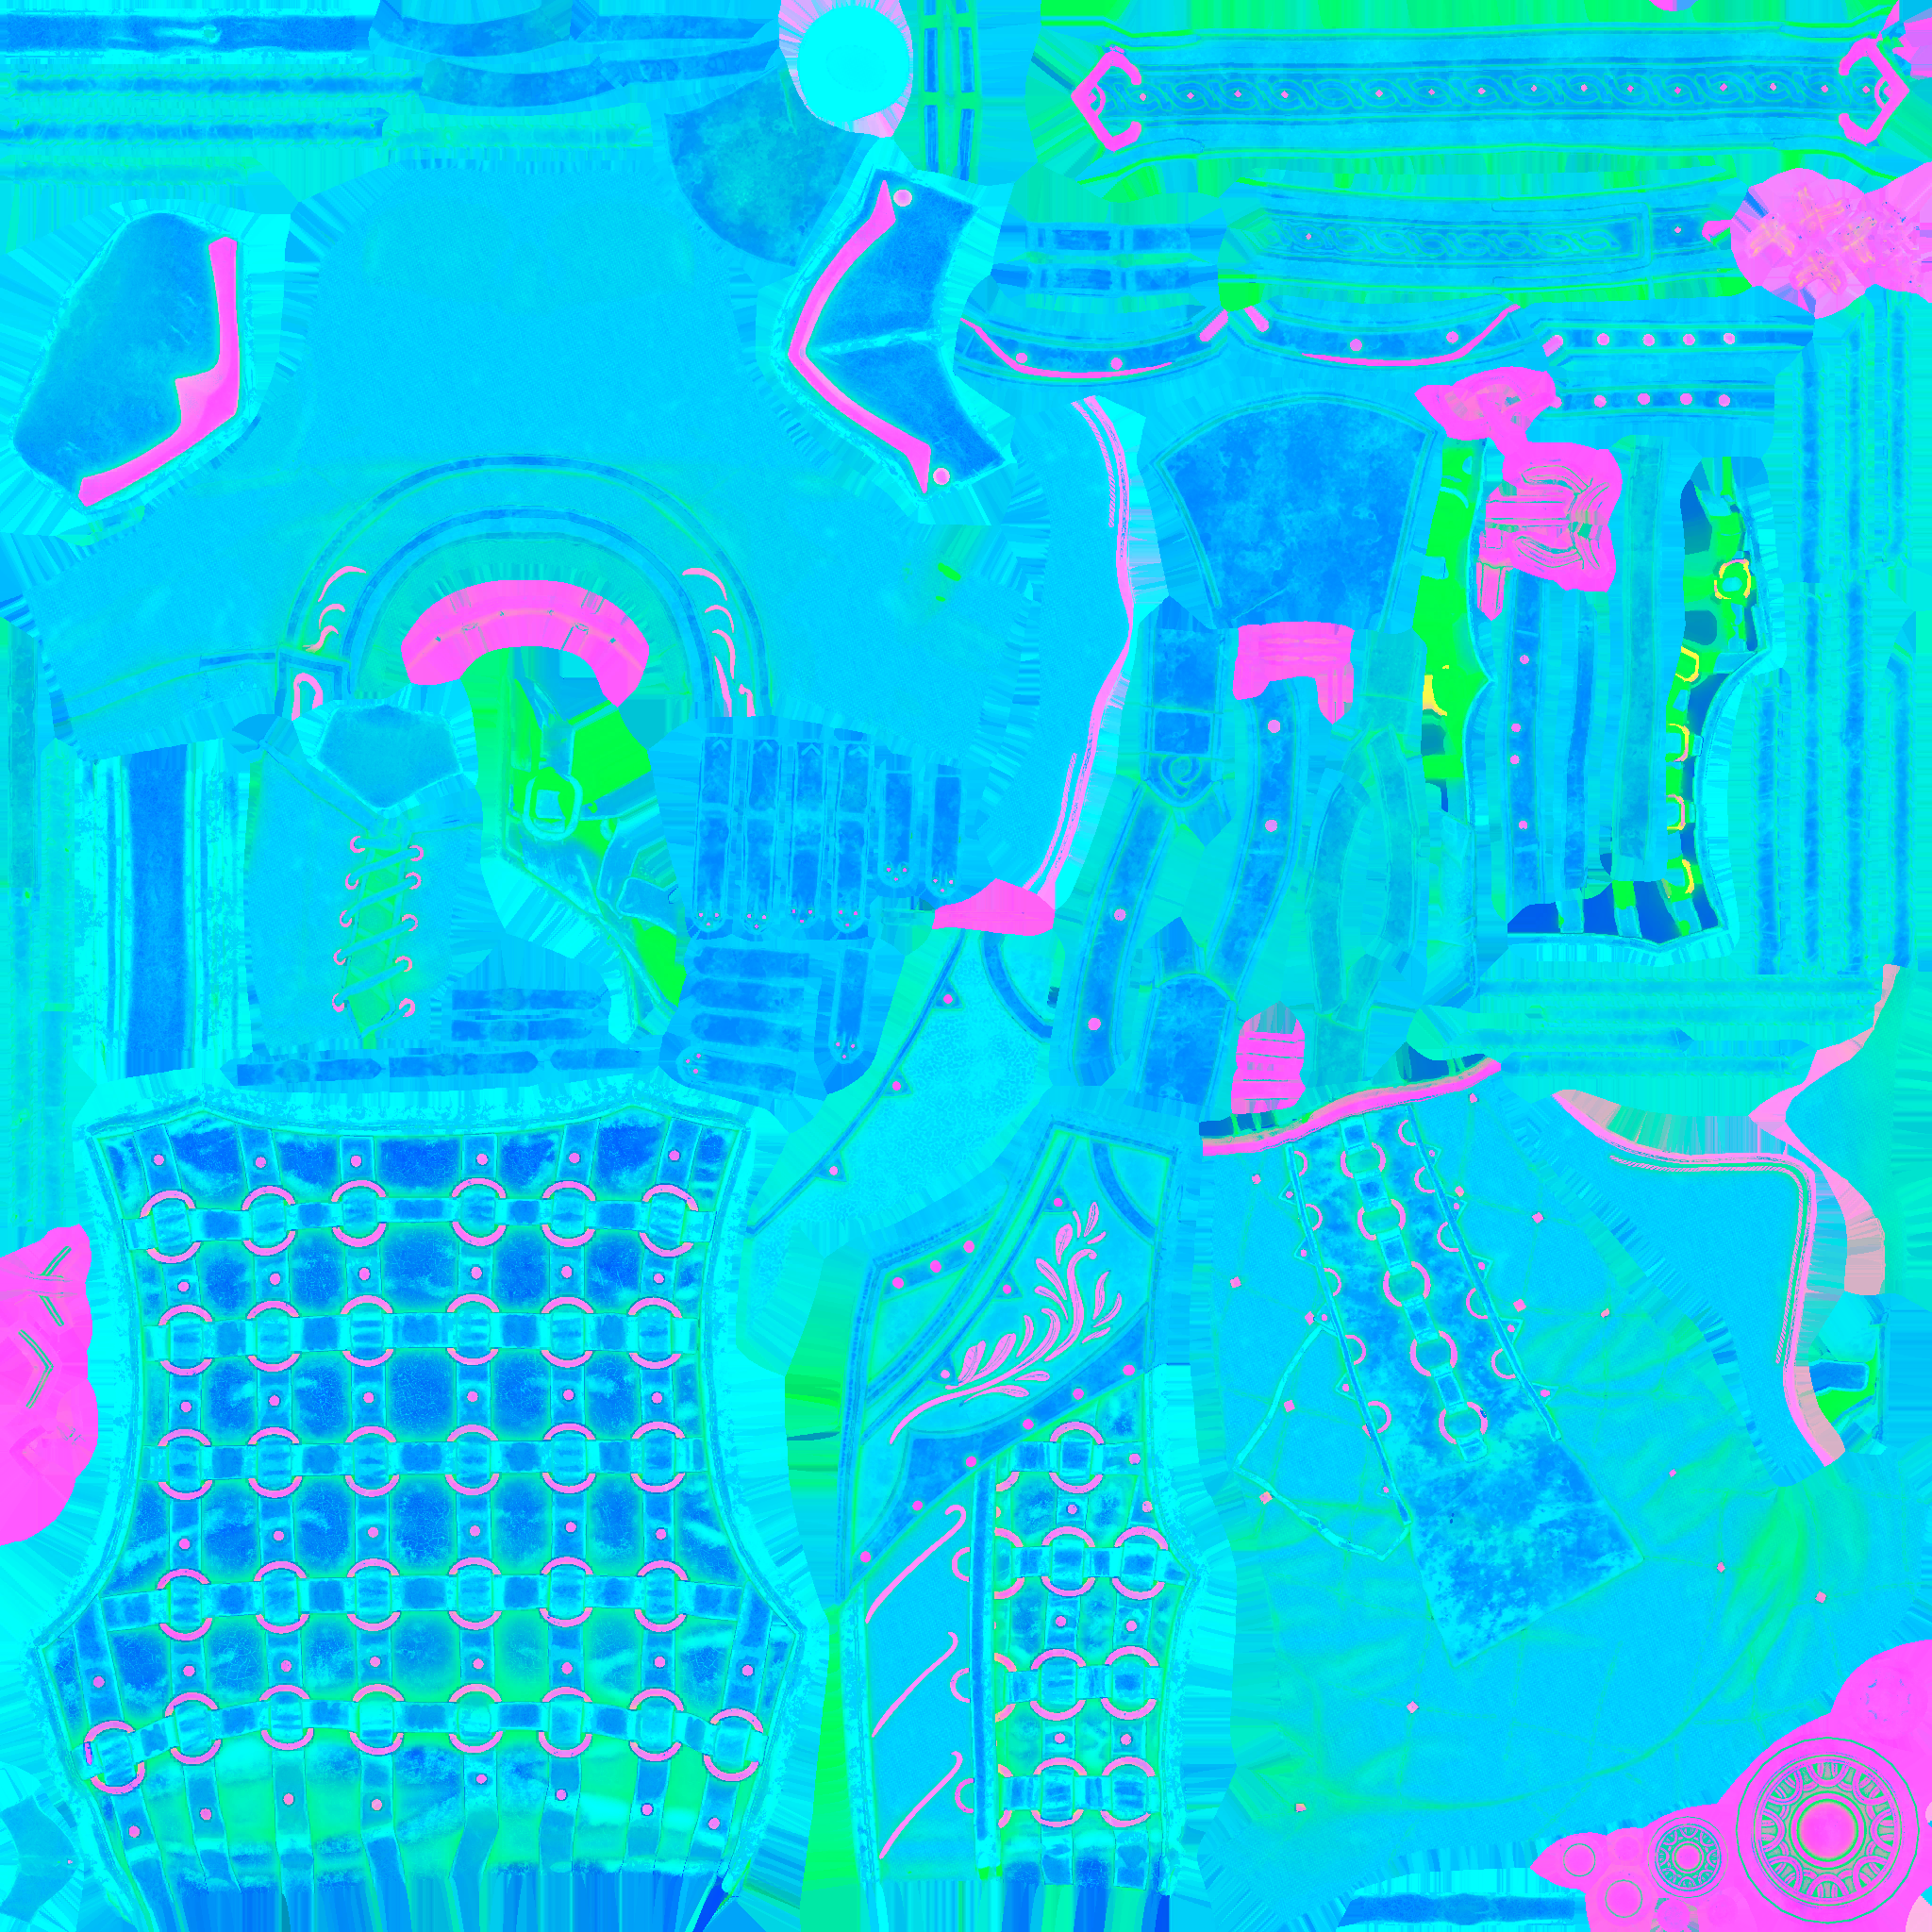
The physical map is 3 maps in one, combined into one image. Easy to spot, it will be pink, green and blue, or some combination of those colours.
Red channel: Metalness[edit section | visual editor]
Decides if an object uses the metallic shader or not.
White sections of this are metal. Black sections are not. You may wish to play around with this- most metal MSKs in the game are not solid white but instead have texture to to make the item more interesting to look at. Some non-metal items, such as gemstones, velvet and silk, also use the metal shader to add shine.
Green channel: Roughness[edit section | visual editor]
Decides what parts of the object are shiny and which aren’t.
The whiter this is, the more matte it is. Darkness adds shine. Add noise for visual interest.
If you make it too white you can get a bug where it becomes shiny.
Blue channel: Ambient Occlusion[edit section | visual editor]
A type of shading/light data.
There are programs that will bake ambient occlusion for you, or it may be baked by your texture creating software.
If unsure, leave this pure white.
MSK[edit section | visual editor]
This decides what colour tints are overlaid via dyes and material presets, giving the outfit different colour choices. Look here for a list of the Mask Colours.
This is where the UV map template we exported is useful, as we can simply trace around the uv chunks to add colour and paste in with our bucket tool.
If you intend to make the entire outfit a solid colour, just make the MSK 4x4 to save space.
Make MSK files with Blender[edit section | visual editor]
You can make a MSK file with Blender by assigning each mesh the correct colour via Materials and exporting this as a texture.
GM[edit section | visual editor]
Rarely an item may have a GM- a Glowmap, which controls its VFX. This is usually black, with white sections to let the glow through.
How to open a texture and extract its files[edit section | visual editor]
First, extract textures from files with multitool. See here for how.
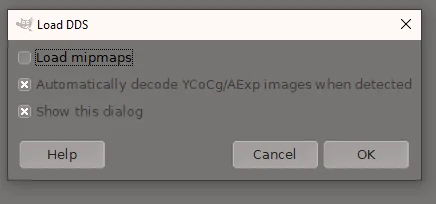
Open these files in GIMP. Uncheck load mipmaps as you don’t need them clogging up the work area, and you are going to create new ones when you re-save it.
Physical Map[edit section | visual editor]
Open the physicalmap first. Go to Colours>Components>Decompose>RGB
This should leave you with 3 seperate channels.
Save each as a PNG. (ensure it is uncompressed for best quality)
BM and MSK[edit section | visual editor]
You can just open and save the BM and MSK.
If the BM has transparency, you may wish to decompose the file and save the alpha channel seperately.
Normal Map[edit section | visual editor]
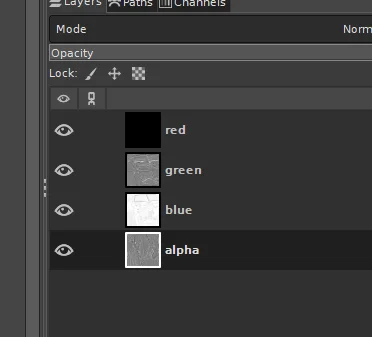
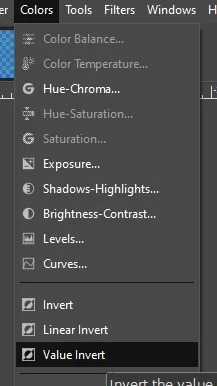
Colours>Components>Decompose>Colour model RGBA
Select the green channel, and Value Invert. This should cause it to flip to ooking rightside out instead of inside out.
Colours>Components>Compose>Select ‘RGB’ and put the alpha channel in the RED slot. It should become purple. Save as PNG.
This is an Open GL normal map. The inverted green channel turns it from DIRECTX to OPENGL. You can overlay PBR materials on it if you choose.
Remember to do all these steps in reverse to export the texture in the right format.
-
You should be prompted with this box.
-
Colours>Components>Decompose
-
Decompose to RBGA. This is important as half the normal map is in the red channel.
-
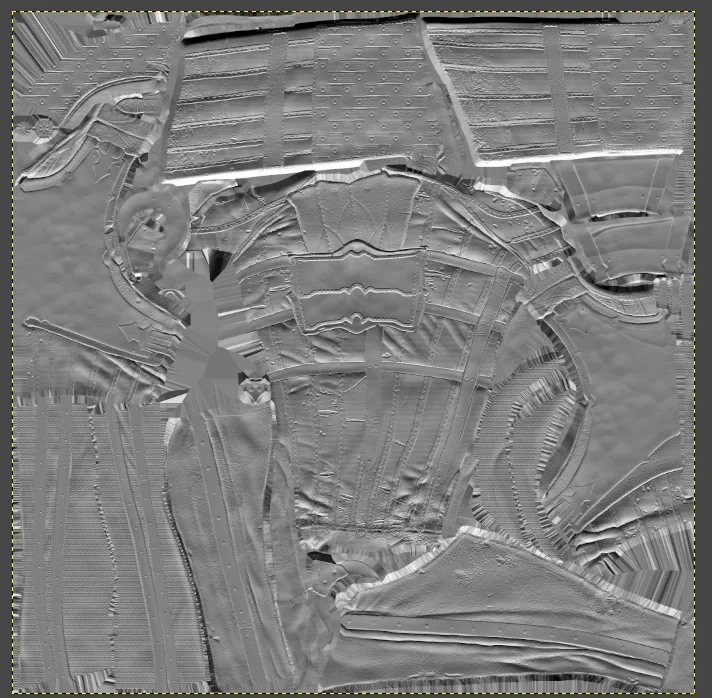
How to invert the green channel
-
Green channel example- invert this to make a normal map OpenGL.


File sizes[edit section | visual editor]
The textures need to be perfect squares, or perfect rectangles. This is because computers work to the power of 2 and prefer things that way. Not remembering this can make people’s games crash.
These rules don't apply to icon items, which go by their own rules.
The game's default textures for most items are 2048x2048 for clothing.
You can also have 2048 by 1024 and so on.
Example sizes:
4, 8, 16, 32, 64, 128, 256, 512, 1024, 2048, 4096
8k textures aren’t presently supported by the game.
Lower than 4x4 pixels will cause the game difficulty, it will not accept a 1 pixel map.
How to save the textures[edit section | visual editor]
-
DXT1 - Use for BM, PM, MSK
-
DXT5- setting for Normal maps and BMA.


Remember your Mipmaps[edit section | visual editor]
You need mipmaps on anything that could move closer or further away to the camera, the only case you don’t need them is static elements like the UI. Things that don’t have mipmaps tend to have an odd ‘static’ to them, instead of a smooth clean appearance.
Textures do not export from virtual textures with mipmaps attached! Even if you are not editing some maps, you need to import them into GIMP and resave with mipmaps to generate new ones.
It is recommended to use Kaiser filter mipmaps as they are sharper than default mipmaps, but any will work.
Tools[edit section | visual editor]
Druu Video Tutorial- contains a section on textures.
Upscaled Clothing Textures- high quality larger versions of the base game textures. Free permissions to use in any mod.
Adobe interview about BG3 textures in Substance -Bringing Life to Legends (note that the MSK colour files in the article are incorrect and shouldn't be colourpicked)
This is normal - article about what normal maps are
Volno texture paint blender toolset
Bounding box software- materialise – For making Normal Maps from scratch
BG3 Normal Map Conversion Photoshop Actions- Automates normal map conversions in Photoshop