Objectives and journal entries may vary pending story decisions and outcomes.
Find a way to protect yourself from the curse.
A deadly curse plagues this land. One wrong step could kill us.
The shadow curse is even stronger in certain areas. We need to find a way to fend it off.
Light protects us from the shadow curse, but its effect is limited. We should find a better form of protection.
A deadly shadow curse plagues this land. Nere had a Moonlantern to protect himself from it. We may need to find something similar if we want to survive.
We found a Moonlantern, a device that can protect us from the shadow curse. Unfortunately, it is broken beyond repair.
We met a drider who carries a Moonlantern that protects him from the shadow curse. If we get one for ourselves, we will be able to travel the deepest parts of the curse unharmed.
One of our companions transformed into a cursed shadow-creature.
We found a note about cultists travelling through the deepest parts of the curse - unharmed. They must have some way to protect themselves. The owner of the note came from somewhere called Last Light.
Defeat the cultists.
While travelling with cultists, they were attacked by the Harpers. We decided to help the Harpers, and fought against the cultists.
The drider dropped his Moonlantern during the fight. It's ours now.
Speak to the Harpers.
We helped the Harpers defeat the cultists.
Reach Last Light Inn.
We helped a group of Harpers who were attacked by shadows. They told us about a place nearby that is protected from the shadow curse.
We learned of a safe haven in the shadow-cursed lands - Last Light Inn. We should pay it a visit.
The Harpers took the Moonlantern, and asked us to meet them at Last Light. They want to introduce us to their leader.
Talk to Jaheira.
We reached Last Light Inn and met Jaheira, the leader of the Harpers. We should see what we can learn about traversing the shadow curse safely.
Get help from the cleric Isobel.
Jaheira told us to speak to a cleric called Isobel for help traversing the shadow curse. Isobel protects Last Light from the shadow curse.
Find stronger protection from the shadow curse.
Isobel granted us Selûne's divine blessing, which can protect us from all but the strongest areas of the shadow curse.
Speak to the Harpers outside Last Light.
Isobel said the cultists can traverse the shadow curse safely - even the deepest parts. Some Harpers are looking into it. We should meet them at the bridge outside Last Light.
Find protection from the shadow curse.
With Isobel gone, Last Light Inn is no longer protected from the shadow curse.
Go to the ambush site.
The cultists have a lantern that protects them from the shadow curse. The Harpers can help us seize it in an ambush. We should meet them at the ambush site.
Talk to the Harpers at the ambush site.
We reached the ambush site. The cultists should be here soon.
Ambush the convoy.
We found cultists bearing a powerful lantern. If we want the lantern, we need to handle the cultists first.
The Harpers were defeated, but we might still find the cultists and the lantern at the ambush site.
We found a note on one of the Harpers. It was orders from Jaheira to take out a group of cultists. We should investigate the ambush site.
Defeat the convoy.
We attacked the convoy of Absolute cultists.
Take the drider's Moonlantern.
We met a drider who carries a Moonlantern that protects him from the shadow curse. If we get one for ourselves, we will be able to travel the deepest parts of the curse unharmed.
Defend the cultists.
We betrayed the Harpers, and allied ourselves with the drider.
Find a Moonlantern.
We decided to join the cultists heading to Moonrise Towers. If we wish to travel without them, we will need to find a way to protect ourselves from the curse.
We reached Moonrise Towers. However, if we wish to travel the shadow-cursed lands ourselves, we will need to find protection from the curse.
Find Balthazar's Moonlantern.
Disciple Z'rell told us that Ketheric's advisor, a man called Balthazar, has a Moonlantern in his chambers. It will protect us from the deepest parts of shadow curse.
Take the Moonlantern.
The drider dropped the Moonlantern. Now's our chance to take it.
We tricked the drider into giving us the Moonlantern and forced him into the darkness. The lantern is ours - as is its protection from the shadow curse.
Quest Complete
The Harpers died. We should retrieve the Moonlantern from them.
We defeated the drider. We can take the Moonlantern and use it to traverse the deepest parts of the shadow curse.
We claimed the drider's Moonlantern. We should now be protected from the shadow curse.
We reached Last Light Inn and met the cleric Isobel. She gave us the Moonlantern from the drider we defeated. We should now be protected from even the deepest parts of shadow curse.
We travelled through the shadow-cursed lands without finding our own Moonlantern.
We found a Moonlantern. This will protect us from even the deepest parts of the curse.
We got a Moonlantern and discovered that it was powered by the magic of a pixie inside. We decided to release her. In return, she gave us a bell that can protect us from the deepest parts of the shadow curse.
After entering into the Shadow-Cursed Lands, the party are presented with an abundance of torches, and encouraged to carry them by either a Harper or a goblin depending on how Travel to Moonrise Towers was resolved. The reason why becomes abundantly clear as the party are exposed to the shadows and take 2d4Necrotic that doubles with every turn. The party must find a way to traverse the area safely. If a party member loses all their hitpoints while cursed, they gain the Umbral Influx status and, if they are not helped, are resurrected as an undead creature and attack the party. The party member can be saved by defeating them and then resurrecting them again.
If the party used the Rosymorn Monastery Trail route, as part of Travel through the Mountain Pass, then a goblin greets them and asks if they are the True Souls who the goblin is expecting. The goblin tells the party to grab a torch, stick to the light as much as possible, and go to the rendezvous point to wait for the guide to Moonrise Towers. This starts Follow the Convoy.
If approaching the rendezvous point, an orc named Kansif asks if they have what is needed to summon the guide. To summon the Drider guide, Kansif explains that a special lyre is needed - the Spider's Lyre. This lyre can be looted off Minthara's corpse if she was killed or knocked out during Defeat the Goblins, gifted by Minthara if she was sided with during Raid the Grove, or by rescuing Nere in Free True Soul Nere and siding with him. Once the lyre has been produced, a DC 16 PerformanceCheck is prompted, but the result is the same whether it is passed or failed - the guide just makes a snide comment if it was played poorly. If the party do not have the lyre, then they can summon the guide using illithid powers ( DC 14 WisdomCheck). Additionally, Barbarians, Sorcerers, Bards, Clerics, and Paladins all have special dialogue to summon the guide.
The guide in question is a Drider named Kar'niss. He owns a functioning Moonlantern and has been tasked with shuttling cultist initiates to Moonrise Towers. He can lead the party there. Once agreeing, Kar'niss takes off and the party must remain in the glow of his Moonlantern to stave off the shadow curse.
During the trek, a group of Harpers ambush the convoy. The party can betray the convoy and help the Harpers, or fight alongside the convoy in the hopes of being more convincing at Moonrise Towers. If siding with the Harpers, they take the drider's Moonlantern and refer the party to the Last Light Inn. If avoiding making Jaheira hostile at the Inn, then the party can get the Moonlantern by speaking with Isobel. If sticking with the convoy, then Kar'niss safely guides the party to the front entrance to Moonrise Towers.
If the party had already been at the Last Light Inn and avoided making Jaheira hostile at the Inn and sided with the Harpers, the harpers question the party after defeating the convoy and demand "Jaheira's godsend" explain their presence: the party can either blame the ambush for ruining their infiltration ( DC 16 PersuasionCheck) or lie that they were captured by the convoy ( DC 16 deceptionCheck). Failing either turns the ambushing Harpers, and only them, hostile. Succeeding either results in the Harpers handing over the Moonlantern.
Kar'niss brings the party to Moonrise Towers safely as promised, and party members with the Noble background receive the Odd Entourage inspiration, but he does not relinquish his Moonlantern.
In order to acquire the Moonlantern, the party must earn it by appeasing a specific disciple, Disciple Z'rell. After a cutscene with Z'rell and Ketheric Thorm, the party are tasked to dispatch some goblins and then meet with Z'rell upstairs. Speaking to her lets her telepathically connect with the party to see how the goblins died. Next, she tries to figure out if the party are loyal to the Absolute. The player character can attempt to distract her with romantic thoughts of their love interest ( DC 14 PersuasionCheck), fill their mind with fake love for the Absolute ( DC 14 DeceptionCheck), distract her with their hunger for power, or use a special dialogue for Monks, Rogues, or Fighters.
If successful, Z'rell gives the party a new task - tracking down Balthazar, a servant of Ketheric Thorm who the cult has lost contact with. He was last seen at the Thorm Mausoleum. Z'rell gives the party a key to his room and instructs them to take a Moonlantern and touch nothing else. The room is on the same floor, past the library. The Moonlantern is in a box near a wooden desk in the centre of the room, south of the telescope. While in Balthazar's room, Gale can make a special Moonlantern as part of Balthazar's Experiment. However, this lantern does not provide the protective function of a Moonlantern.
If the party used the elevator in Grymforge as part of Travel through the Underdark, they encounter some Harper Scouts, led by Harper Lassandra. The Harpers are suspicious and order the party forward, when a harper named Yonas is overwhelmed by a Shadow and transformed by the shadow curse. A fight breaks out between the newly transformed Yonas, seven Shadows, and the Harpers.
After the battle, Lassandra thanks the party and urges them to carry a torch, as it is enough for the edges of the Shadow-Cursed Land. She tells them there is one place safe from the curse, the Last Light Inn, and marks it on the map. If avoiding hostility with Jaheira, she introduces the party to Isobel who grants a Blessing of Selûne to stave off the lesser affects of the curse. After this conversation the cultist are no longer present near the exit of the Rosymorn Monaster Trail, and Follow the Convoy is not available anymore. If the party protect Isobel in Resolve the Abduction, a group of Harpers led by Branthos state that they are preparing to ambush a cultist convoy. The party can either go with the group immediately or catch up with them later, as the ambush site is marked on their map. The party must talk to Branthos at the ambush site to begin the ambush.
Once the convoy arrives, the party can attack immediately or hang back. If staying hidden and keeping watching, the drider kills Vez, one of the goblins in the convoy. From there, the party can signal the Harpers to attack or stay hidden.
If staying hidden the following dialogue options occur:
Clear your throat to make yourself known.
[STEALTH] Try to fade into the background until they pass. (DC 14)
[ROGUE] [STEALTH] Try to blend into the shadows, letting them pass you by. (DC 14 )
Succeeding the stealth checks lets the harpers start the ambush on the convoy themselves. After the fight, the party must loot the drider's corpse to get his Moonlantern.
Failing the stealth check triggers a passive DC 16 WisdomCheck. Passing the Wisdom check makes it possible to telepathically connect to Kar'niss and talk to him. Otherwise, failing the Wisdom check starts combat immediately.
Alternatively, selecting "Clear your throat to make yourself known." allows the interacting party member to speak with Kar'niss without having to pass any checks.
Through dialogue options, the party can turn on the Harpers and fight alongside Kar'niss, signal the Harpers to attack, or attempt trick Kar'niss into handing over the Moonlantern without combat.
The drider recognizes the party as True Souls and asks how they survived the shadows. Selecting Shadowheart's option or any of the Cleric options leads to combat. Selecting "The Absolute protected me" or any other class based options lead to the first check:
[SHADOWHEART] Lady Shar protects me - I do not belong to your Queen.
[EVIL CLERIC] My god does not fear the shadows - I do not belong to your Queen.
[NEUTRAL CLERIC] My god's favour protected me - I do not belong to your Queen.
[GOOD CLERIC] I am not one of hers - divine light guides my footfall.
The Absolute protected me.
[BERSERKER] ROAR.
[BARBARIAN] ROAR.
[FIGHTER] Takes more than shadows to put someone like me down.
[MONK] I have tested my mind and body beyond to its absolute limits - I do not fear the darkness.
[WIZARD] With the aid of my mind and my magic, for I am a master of both.
[PALADIN] I swore an oath - a powerful one. It will take more than darkness to end me.
[BARD] You know what they say - a ballad a day, keeps the darkness away!
[OATHBREAKER] No higher forces protect me - I survived by my own tenacity.
[DRUID] I am a guardian of nature - and in return nature protects me.
[RANGER] Navigating dangerous terrain is second nature to me.
[SORCERER] I burn with pure arcana - how on earth do you survive?
Kar'niss can then be convinced to handover the Moonlantern. To unlock the drow related option, the The interacting party member must be a real drow:[1]
[DROW] [DECEPTION] The Absolute guided me here. She said a mere drider was not worthy - that I must take your lantern. (DC 14 )
[BARD] [DECEPTION] Our wondrous Queen dropped me a message - she said you need to give me that lantern. It's very important. (DC 10 )
[ROGUE] [DECEPTION] You're holding my lantern. The Absolute said you had to give it to me. (DC 14 )
[DECEPTION] The Absolute guided me to you. She said I was to take yours. (DC 14)
If the sorcerer option "I burn with pure arcana - how on earth do you survive?" was selected in the previous dialogue, or the interacting party member asks Kar'niss about the lantern with "Lantern? Is that what protects you out here?" or learned about Moonlantern from Nere and selected "I would use the drow Nere's lantern, but it broke" after picking "The Absolute protected me", an alternative set of options is available instead:
[BARBARIAN] [INTIMIDATION] No - that lantern is mine, by order of the Absolute. Give it - now. (DC 14 )
[MONK] [INTIMIDATION] That lantern is mine - by order of the Absolute. Drop it, or I'll shatter your spine as the wind breaks a twig. (DC 14 )
[WIZARD] [SORCERER] [INTIMIDATION] That lantern is mine - by order of the Absolute. Drop it, or I'll boil your brain inside your skull. (DC 14 )
[INTIMIDATION] The Absolute has asked me to carry the lantern. Hand it over. (DC 14)
The interacting party member can convince Kar'niss that the convey does not need the Moonlantern's protection or intimidate him to give up the lantern:[2]:
[BARBARIAN] [INTIMIDATION] GO. NOW. (DC 14 )
[OATH OF VENGEANCE] [INTIMIDATION] Question me again, and I will drag you into the darkness - screaming. (DC 14 )
[INTIMIDATION] The Absolute wants you to go. Now! (DC 14)
[CLERIC] [DECEPTION] I am both a True Soul and a cleric. I've blessed you with the power of the Absolute - you'll be safe. (DC 14 )
[WIZARD] [DECEPTION] Securus! There - you now carry the blessing of the Absolute. You'll be safe. (DC 14 )
[BARD] [DECEPTION] Vale, idiotae! There - you now carry the blessing of the Absolute. You'll be safe. (DC 14 )
[SORCERER] [DECEPTION] (Wave hands.) There - you now carry the blessing of the Absolute. You'll be safe. (DC 14 )
[DROW] [INTIMIDATION] If we were in the Underdark, I would split you open, drider. Leave before I change my mind. (DC 14 )
[RANGER] [DECEPTION] I know dangerous terrains - you'll be fine if you stick to the path. Trust me. (DC 14 )
[DECEPTION] The Absolute has blessed you. You will be safe. (DC 14)
If the interacting party member is able to convince Kar'niss to give up the lantern, the members of the convoy reluctantly walk into the shadows without protection and eventually succumb to the shadow curse, avoiding a combat encounter and earning the praise of the Harpers. If the convoy is defeated in this way, its members can later be found in Shadow-Cursed Undead form in Reithwin Town south of the statue of Ketheric Thorm which houses the Sharran Sanctuary.
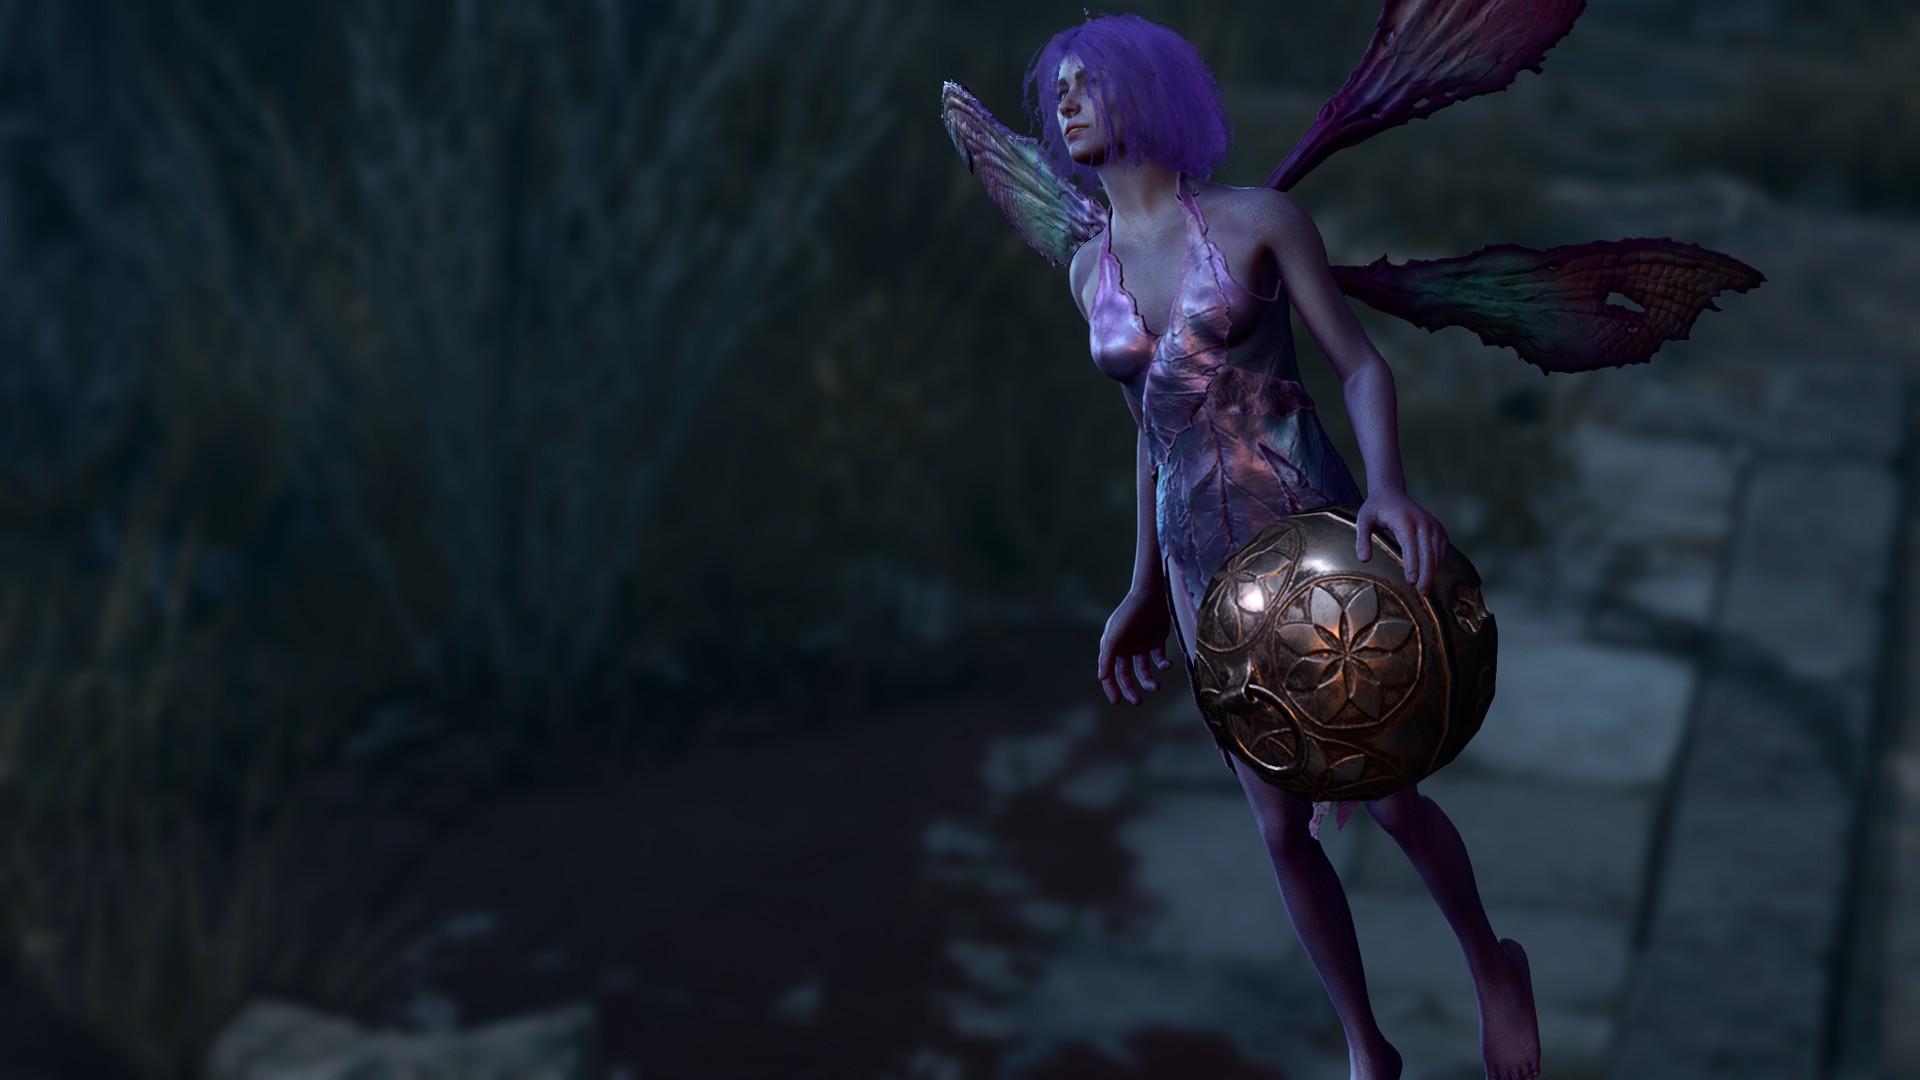
Dolly Thrice provides a solution to the shadow curse.
If having obtained Kar'niss' lantern, a pixie speaks out to the party and begs for her freedom. If freeing her by using the action Inspect Moonlantern, she introduces herself as Dolly Dolly Dolly. In return for freeing her, the party can ask for her help with the shadow curse. She gives them a Filigreed Feywild Bell, which grants a Pixie Blessing that staves off the curse. The Pixie Blessing can only be obtained by freeing Dolly Thrice from Kar'niss' Moonlantern. From any other moonlanterns there no other trapped pixies can be freed. In comparison to the Moonlantern, which has a limited range and takes up a weapon slot, the Pixie Blessing affects all party members and requires no item to be equipped.
↑Disguise Self does not work here since the game checks for the REALLY_DROWELF tag rather than the DROWELF tag.
↑ Unlike in the first check, this time Disguise Self can be used to unlock the Drow option since the game checks for the DROWELF tag, not the REALLY_DROWELF tag.


