Ad placeholder
Sharran Sanctuary

| Reithwin Town | ||||
| House of Healing | ||||
| ↑ | ||||
| The Waning Moon | ← | Sharran Sanctuary | → | Reithwin Tollhouse |
| ↓ | ||||
| Moonrise Towers | ||||
Overview[edit section | visual editor]
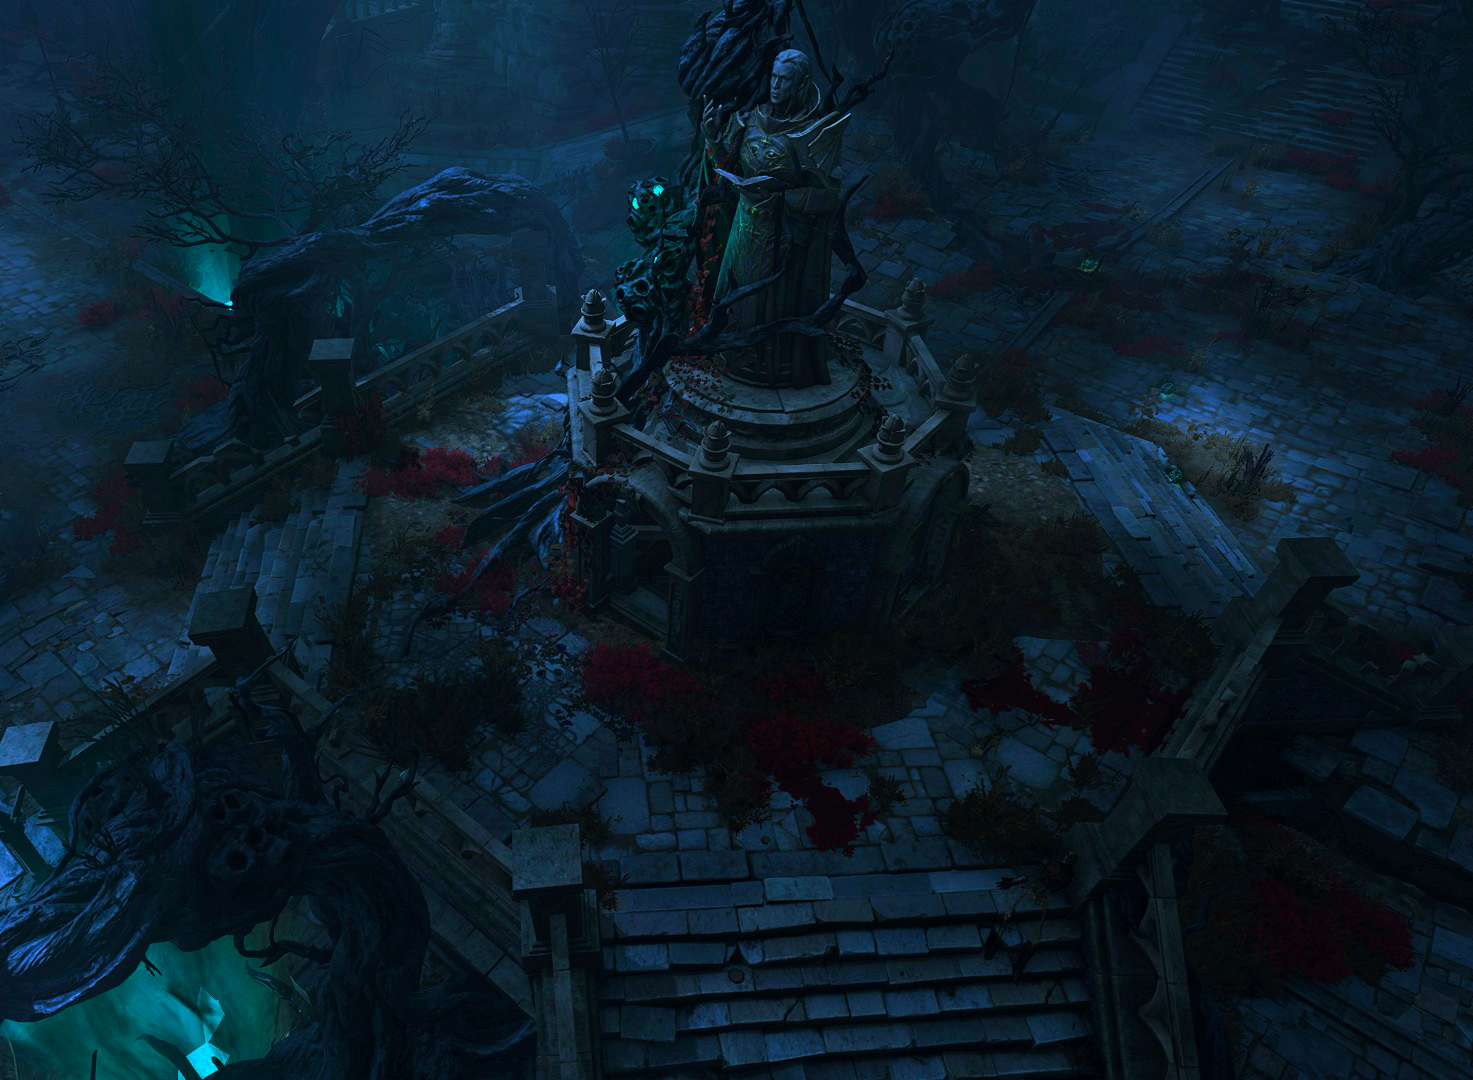
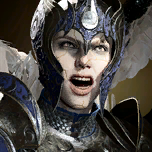
The Sharran Sanctuary is a hidden subterranean location in the middle of Reithwin Town in Shadow-Cursed Lands. Unlike the Gauntlet of Shar, located under the Grand Mausoleum, it is only a small fane dedicated to ![]()
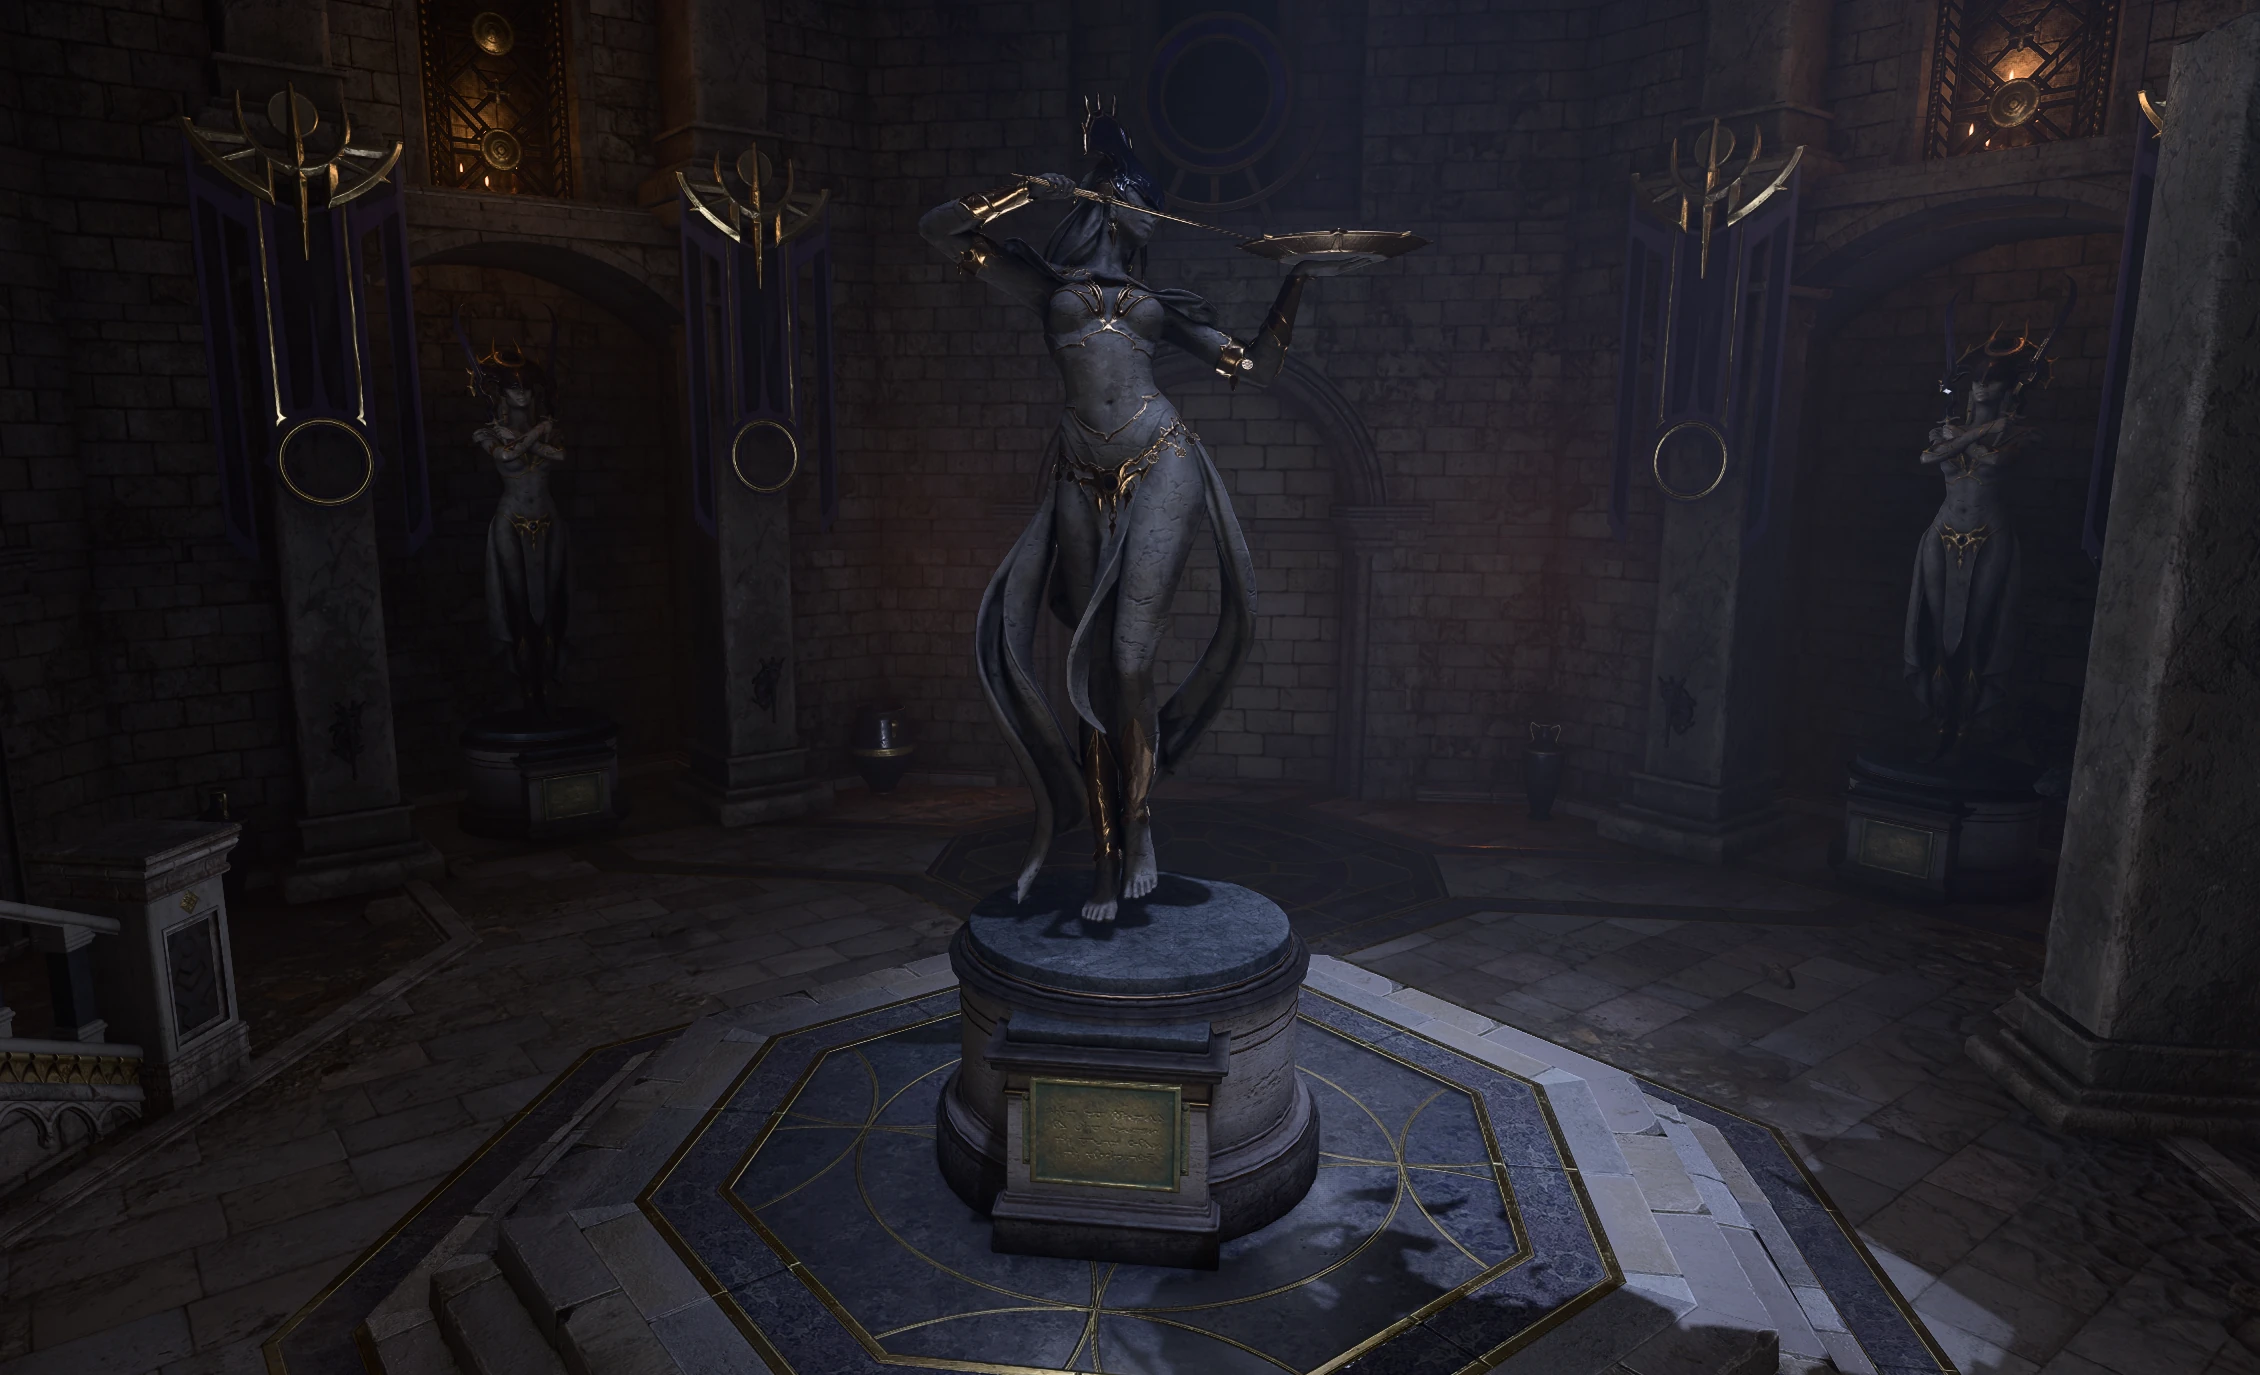
The entrance to the sanctuary is in the basement of the large statue of 

Central Square Encounters[edit section | visual editor]
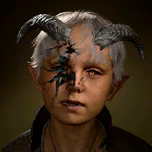
When the party approach the central square for the first time, they are attacked by a pack of shadow-cursed creatures: three 

![]()
If the party have already resolved the encounter with the ![]()

![]()
Later on, the central fight with 
![]()
Access to the sanctuary[edit section | visual editor]

As the party approach the statue basement and circle around it, three 
| “ |
|
„ |
Upon doing this, the southern side of the basement moves down, opening a hidden staircase which leads down into the sanctuary.
Solving the riddle grants one or more of the following inspirations:


The Dark Lady's ritual[edit section | visual editor]
The sanctuary keeps the Shadow Curse at bay, and party members comment on this. Down the stairs stand three interactable statues of Shar.[2] Each statue offers a question and may provide a unique blessing of ![]()
- South-eastern statue: "Do you think yourself wise enough to be granted Shar's blessing?"


- North-eastern statue: "Do you accept Shar's test of your intellect?"

- Central statue: "Are you bold of heart and sharp of tongue? Can you turn any and all to the Dark Lady's cause?"

A ![]()
The following Classes have ![]()


“A faerie chuckle echoes in the corners of your mind. Your patron knows a thing or two about turning people.„
Failing a saving throw instead results in a debuff condition which also lasts until the next Long Rest:

Also, upon a failed check as well as attacking any of the statues, three guardians appear: a 


Succeeding all three saving throws opens a door to a hidden chamber. Inside is an altar to Shar; interacting with it allows the party member to perform a blood sacrifice ritual to the goddess if a passive
Performing the ritual also grants the following inspirations:

The ![]()


Taking the dagger also yields disapproval from Shadowheart, unless she is the one picking it up.
Special Interactions for Shadowheart[edit section | visual editor]
While remaining loyal to ![]()
However, if Shadowheart interacts with the statues after freeing the 
Creatures[edit section | visual editor]


Loot[edit section | visual editor]
Notes and References[edit section | visual editor]
- ↑ Convincing Kar'niss and his entourage to cast themselves unprotected to the shadows is only possible if the party initially sided with the Harpers.
- ↑ The text of the tablets at the each statue's pedestal is the same, written in

- ↑ This applies even to Clerics of


- ↑ The Hexblade Subclass was added in Patch 8 and thus does not have a unique line.
- ↑ Shadowheart succeeds automatically regardless of whether she remains loyal to Shar or rejected her.