Ad placeholder
Grand Mausoleum

| Reithwin Town | ||||
| Gauntlet of Shar | ||||
| ↑ | ||||
| Grand Mausoleum | ||||
| ↓ | ||||
| Reithwin Town | ||||

Overview[edit section | visual editor]

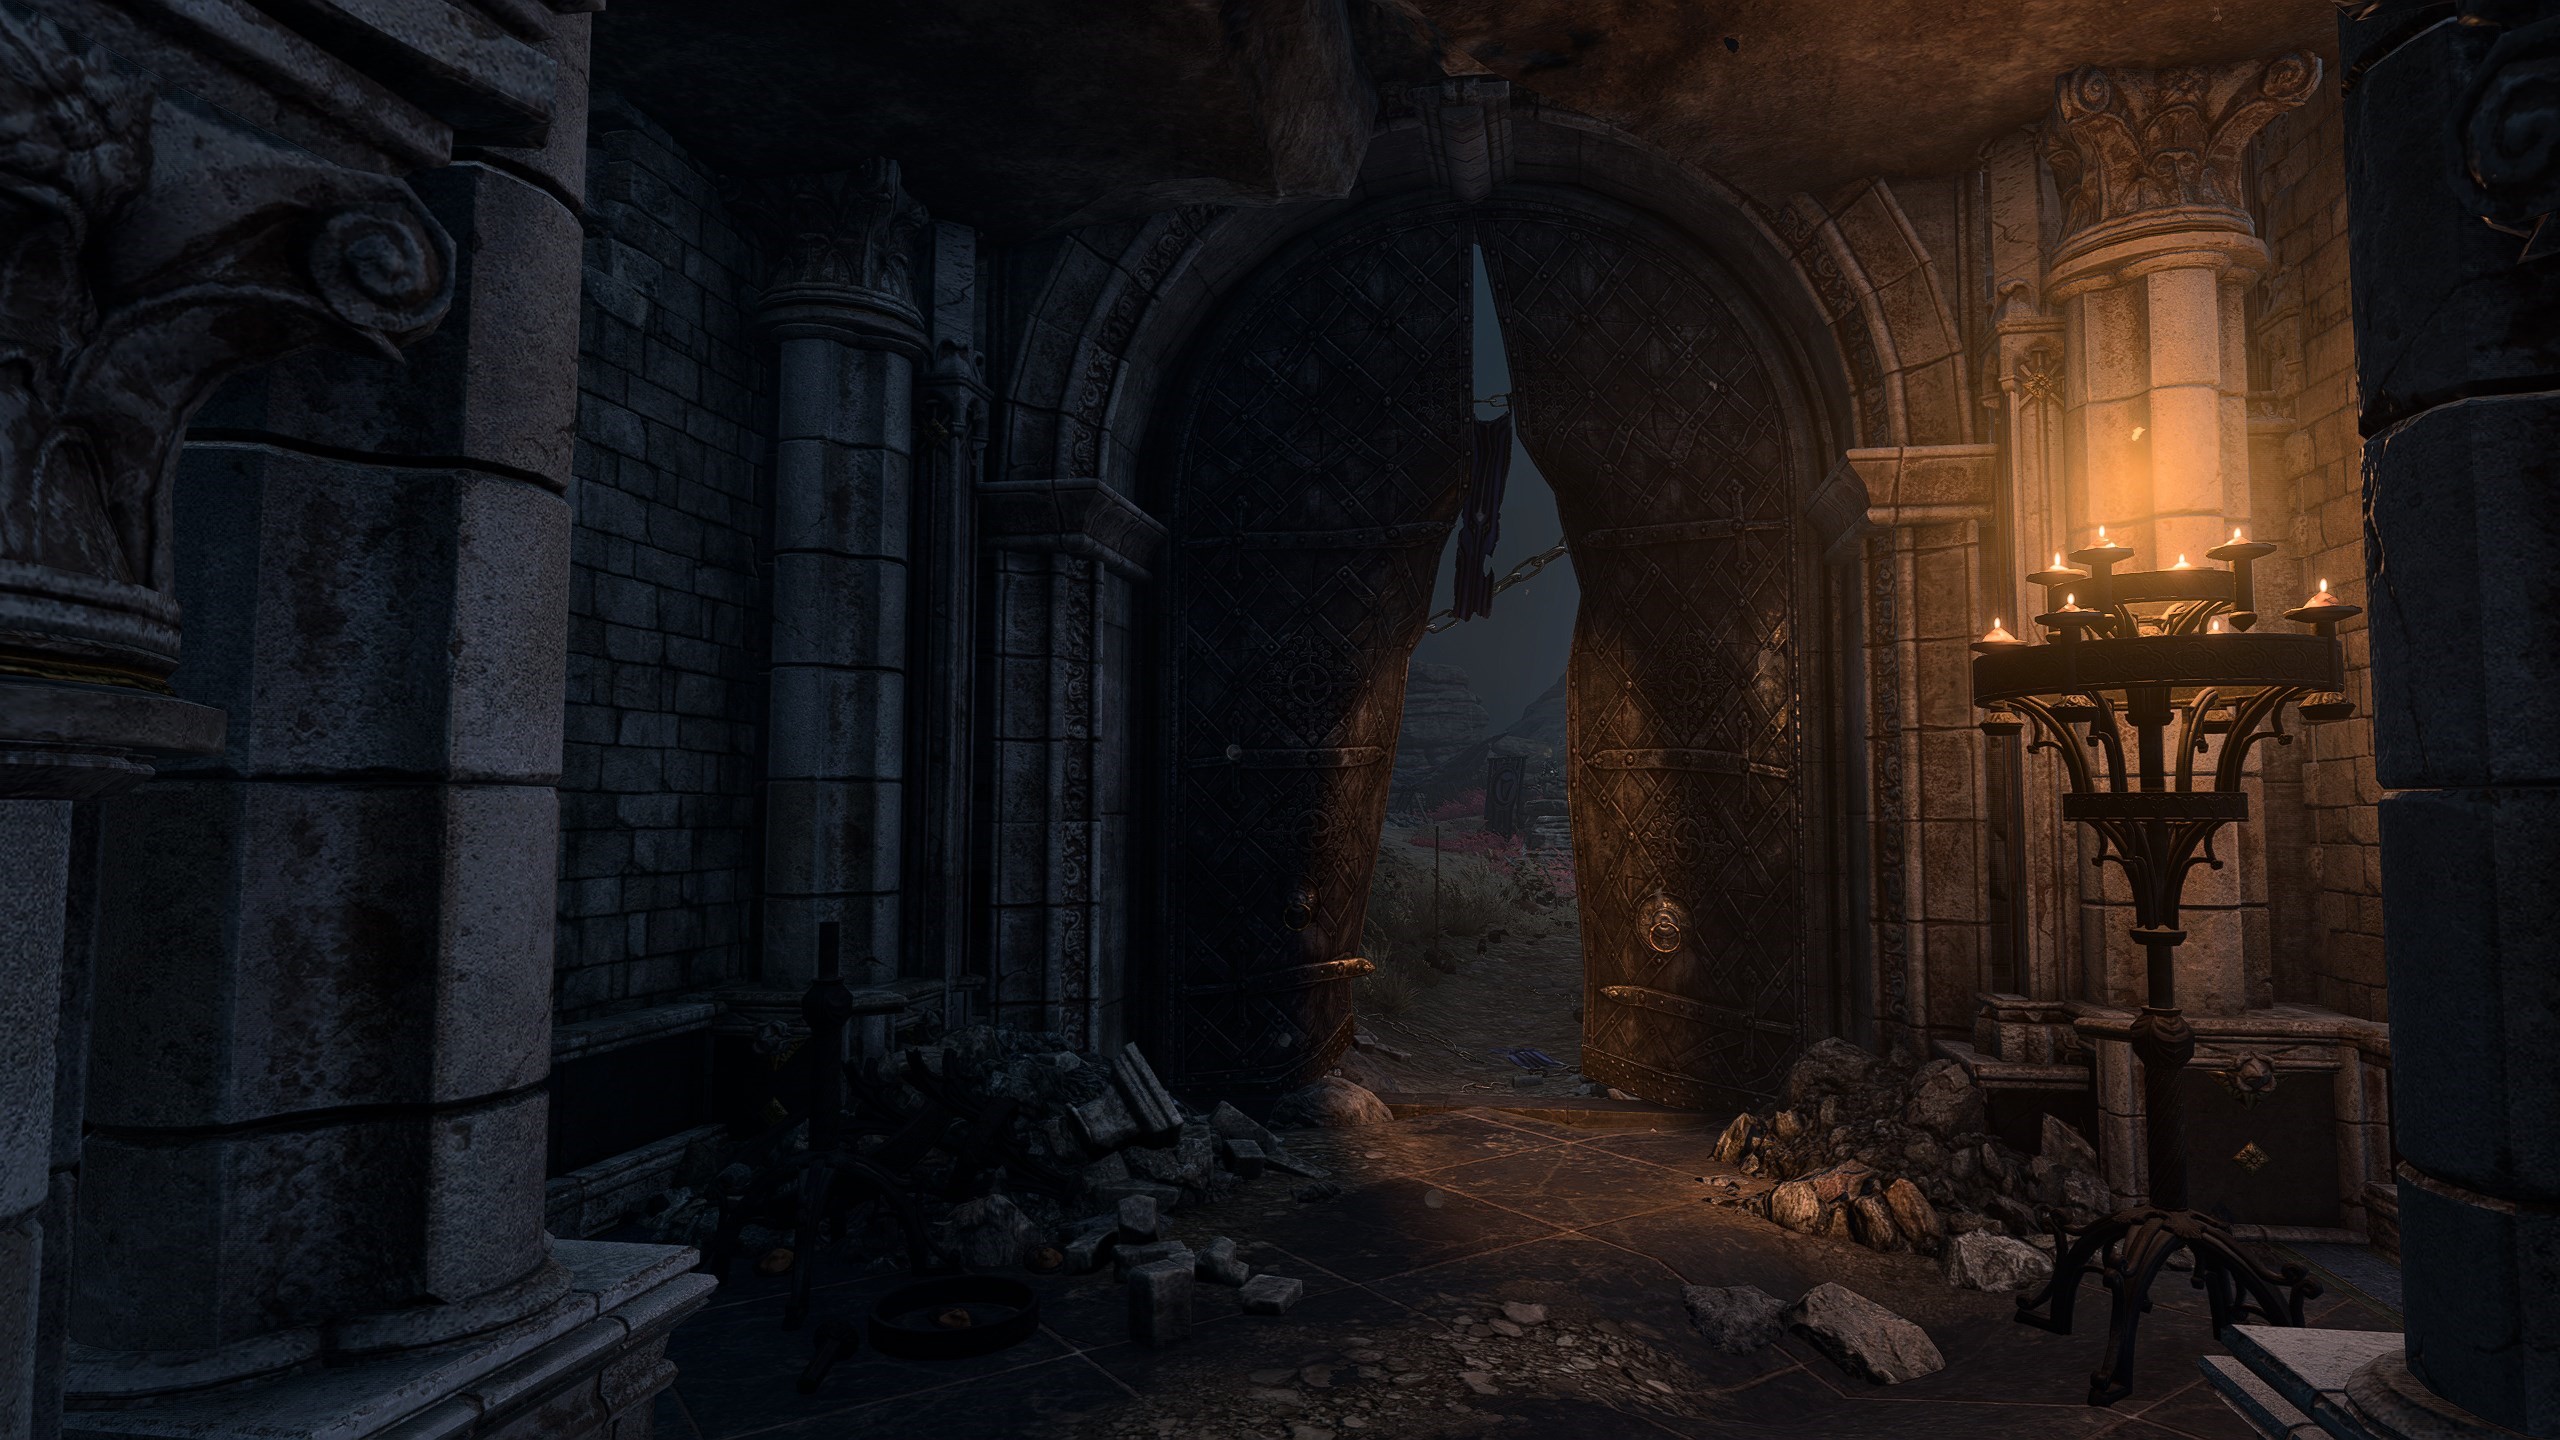
An ancestral burial place for the Thorm family is located at the far end of the graveyard. It is actually a large, cavernous area inside the rock, separated from the world with a high, cast-iron gate.
Inside are the tombs of 


Unbeknownst to most, the Thorm Mausoleum also keeps the entrance to the Gauntlet of Shar -- an ancient temple where the Dark Justiciars honed and proved their martial mettle and utter loyalty to the goddess ![]()


In the heart of the temple Ketheric Thorm hides his greatest treasure: the relic which helps him sustain immortality. Ketheric's closest disciple, a necromancer by the name 
Access[edit section | visual editor]
The Grand Mausoleum can be accessed from several points:
- From the Reithwin Graveyard heading its most northern path and climbing up a small slope
- From the roof of House of Healing Library using the arborous vine at X: -192 Y: 62
- After leaving the Ominous Crevice, climbing up a cragged rock and some cliffs westward
Regardless of the path used, the party eventually come out to a small clearing in front of high cast-iron gate built straight into a rock side. The gate is entangled with silvery chains crossing it several times, adorned with Selûnite sigils. However, it is clear that thick metal is cambered from powerful blows when somebody – or something – made its way out.
Exterior[edit section | visual editor]
At X: -174 Y: 102 are five graves seemingly made in haste. If party members interact with the grave markings near each one, a passive 
![]()


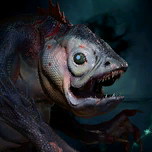
![]()
Raphael calls this creature a personal enemy and asks the party to dispose of it for him, starting the ![]()
If Astarion is present, the dialogue with Raphael may shift to the scar markings on the vampire's back. In this case, several options are possible, depending on whether Astarion is played as an origin or is a companion:
- Companion
- In this case, the aforementioned rolls can be freely failed without any consequences:
- If the party have already met Raphael in the Last Light Inn and Astarion asked about the scars, Raphael then lays killing his enemy as a condition for giving information on the matter.
- If the party did not speak to Raphael in the inn,[2] the devil turns the conversation to Astarion's scars himself, just like he would have done in the Last Light Inn, with the result same as above.
- Origin
- If Astarion is played as origin, it is necessary to succeed both checks to ever get the quest from Raphael, otherwise, he disappears without saying a word about the beast.
- Without passing both checks, the option for origin Astarion to ask about the scars does not appear, regardless of whether the party spoke or did not speak to Raphael in the Last Light Inn.
If Astarion is ![]()
Fisher's shack[edit section | visual editor]
As mentioned above, one of the paths to the Grand Mausoleum comes westward from the exit from the Ominous Crevice.
If the party comes down the cliffs northeast the crevice exit, they find a dilapidated fisher's shack with a wooden chest inside and a note from someone by the name Ellis on the floor.
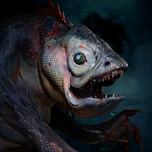
A pack of Cursed Kuo-Toa led by a 
![]()
![]()
At X: -132 Y: 113 an unlocked painted chest contains a random arrow and minor loot.
Interior[edit section | visual editor]

Past the iron gate is the sequence of connected chambers with several large sarcophagi and shelves with funerary urns. The inner decoration of the mausoleum presents a strange combination of symbols of various deities: frescos on the wall depict ![]()
Near Melodia's tomb stands a talking skull called the Herald of Balthazar. It asks any trespasser to leave the mausoleum. However, the herald 'assumes' that the only possible intruders could be 


![]()
On the altar in the smaller hall to the west is the second volume of Ketheric's diary. The backpack behind the altar here contains random alchemical ingredients and scrolls.
Upon entering the eastern hall, party members roll a passive ![]()
![]()
.png)
On the altar in this hall lies a ![]()
On the way to the northern chamber is a table with the ![]()
The northern wing features another sarcophagus, but clearly opened carefully, with no clear graverobbing intentions. The plaque under it tells that it was the resting place of "Isobel Thorm". The party's comments here depend on whether they have met
The room is littered by various types of traps requiring a
The walls of this chamber are adorned with three frescos with buttons under each one. To move further in the mausoleum, the buttons below the three paintings around the room must be pressed in the correct order. The instructions given by Ketheric himself to Balthazar, as the aforementioned Stained Book hints, order to move "from splendour, to tragedy, to infamy":
- "Moonrise Towers" painting, representing his origin as a worshipper of

- "Grief" painting, representing the loss of his family
- "General" painting, representing his rise as a crusader for

Successfully solving this puzzle grants the inspiration ![]()
![]()
This opens up two movable walls on both sides of the third painting, revealing the next chamber with a large disc. The disc is adorned in Sharran style and is actually an elevator operated via a glowing Traversal Gem. Interacting with the Traversal Gem on the lift takes the party to the Gauntlet of Shar - and to the secret of Ketheric's relic.
While inside the Grand Mausoleum, all party members receive ![]()
![]()
Waypoints[edit section | visual editor]
This location contains the following waypoint:
Related locations[edit section | visual editor]
Related quests[edit section | visual editor]
Characters and creatures[edit section | visual editor]


Loot[edit section | visual editor]


Hidden Treasure[edit section | visual editor]
- At X: -170 Y: 100 (requires

- At X: 273 Y: -818 (requires
- At X: 260 Y: -863 (requires
Related literature[edit section | visual editor]
Notes and references[edit section | visual editor]
- ↑ Of all possible companions at this point, only

- ↑ It is possible only before the forces of the Absolute's attempt to abduct Isobel from the inn; when the assault starts, Raphael disappears from the building.
- ↑ If the check is successful, the narration lines upon interacting with bone-assembled totems change to reveal Ketheric's worship of Myrkul.
- ↑ Despite the description and the party's comments, Ketheric is pictured on this mural in armour and with shield which betray his current devotion to Myrkul.
