Ad placeholder
Travel through the Mountain Pass

Travel through the Mountain Pass is a sub-quest of ![]()


![]()
Objectives[edit section | visual editor]
Objectives and journal entries may vary pending story decisions and outcomes.
Walkthrough[edit section | visual editor]
NOTE: It is not necessary to choose between exploring the Underdark and the Mountain Pass. Both can be visited before going to the Shadow-Cursed Lands.
If the party meet with ![]()
![]()
![]()
If the party side with ![]()
Entering the Mountain Pass[edit section | visual editor]
There are several ways to enter the Rosymorn Monastery Trail. Only one of these paths needs to be pursued to enter the Pass.
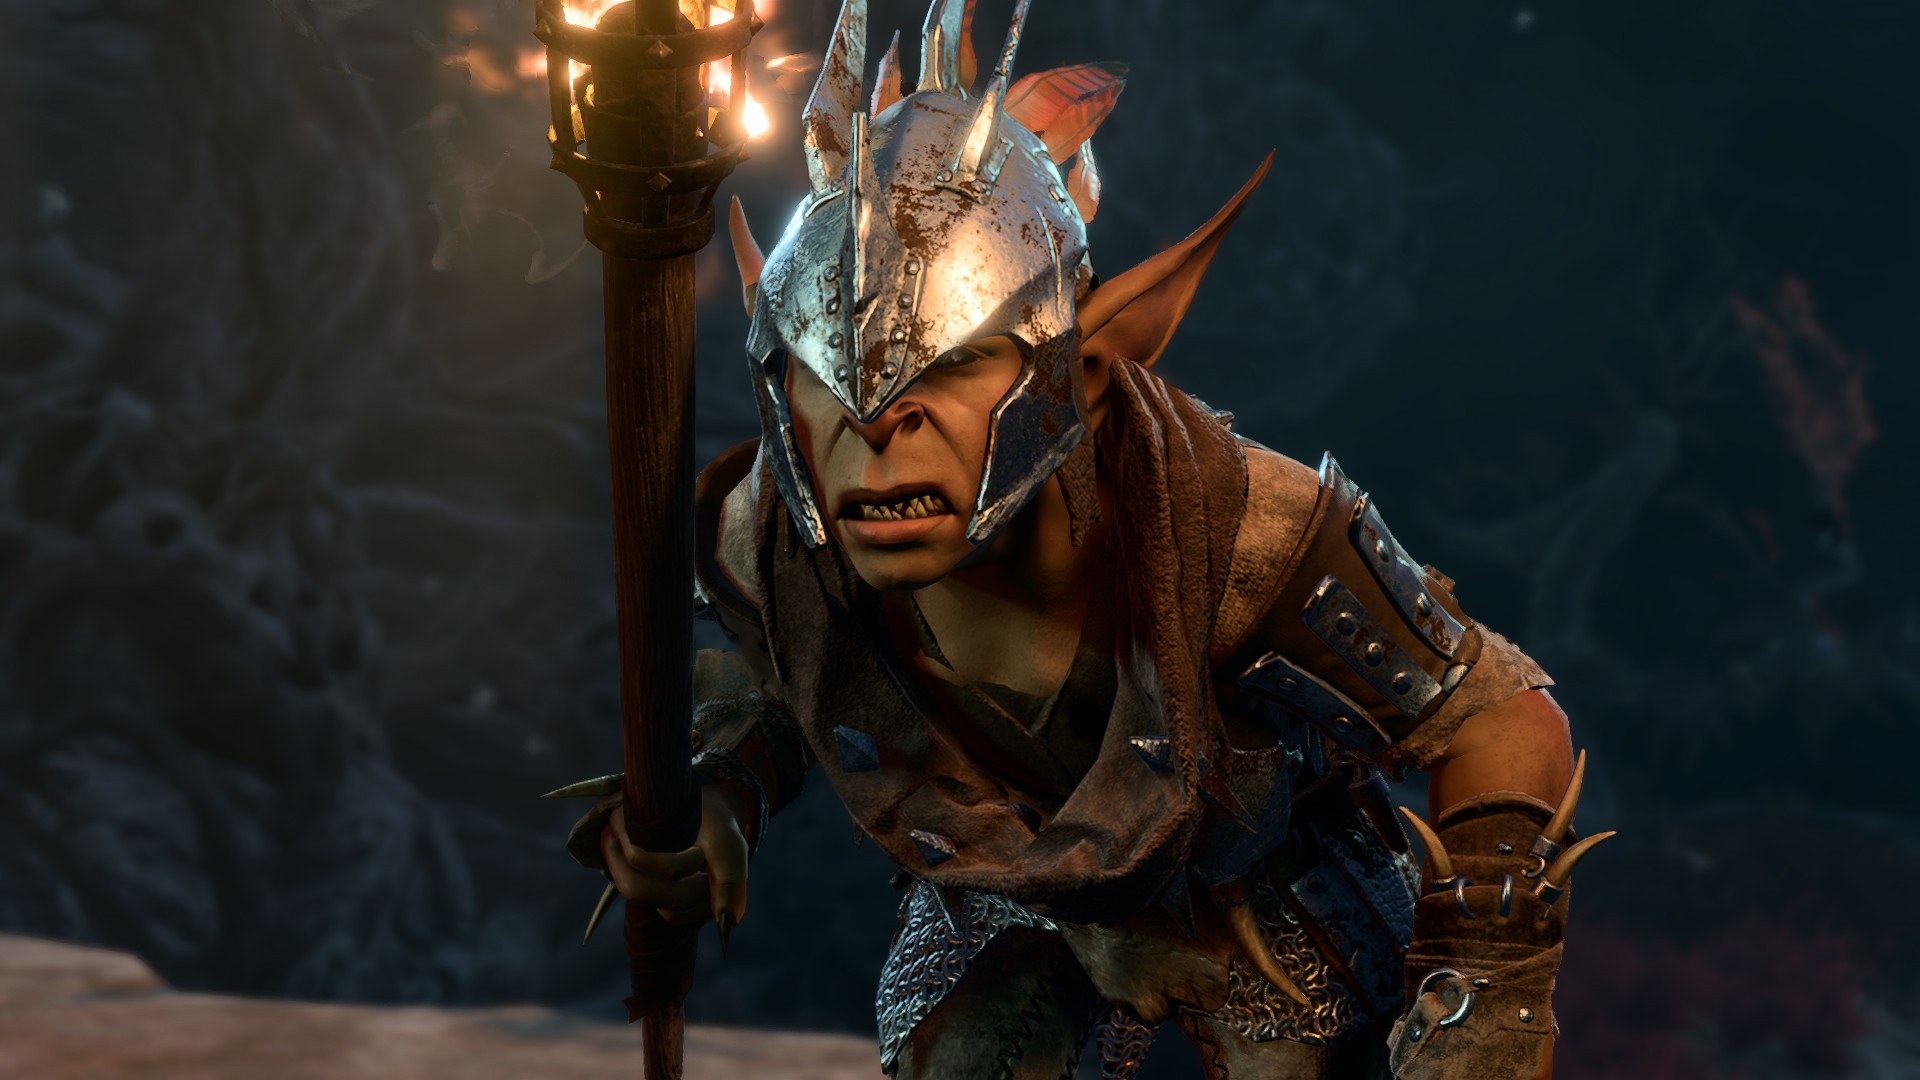
The Goblin Camp[edit section | visual editor]
From the front gate of the camp, where Sentinel 


There are various check-point encounters on the path to the proper Goblin Camp and several methods that the party can use to approach these, including but not limited to:
- Carrying out a frontal attack
- This approach may lead to turning the entire camp hostile if an alarm drum is successfully sounded.
- Using a mixture of diplomacy checks, such as Intimidation and Deception
- Alternatively, a player character can brute force through all diplomacy checks by utilizing

- Drow, or characters disguised as one via the

- Alternatively, a player character can brute force through all diplomacy checks by utilizing
- Avoiding the check-points through Stealth or finding an alternative path (i.e. approaching the camp from the North-West)
- Saving


The Risen Road[edit section | visual editor]
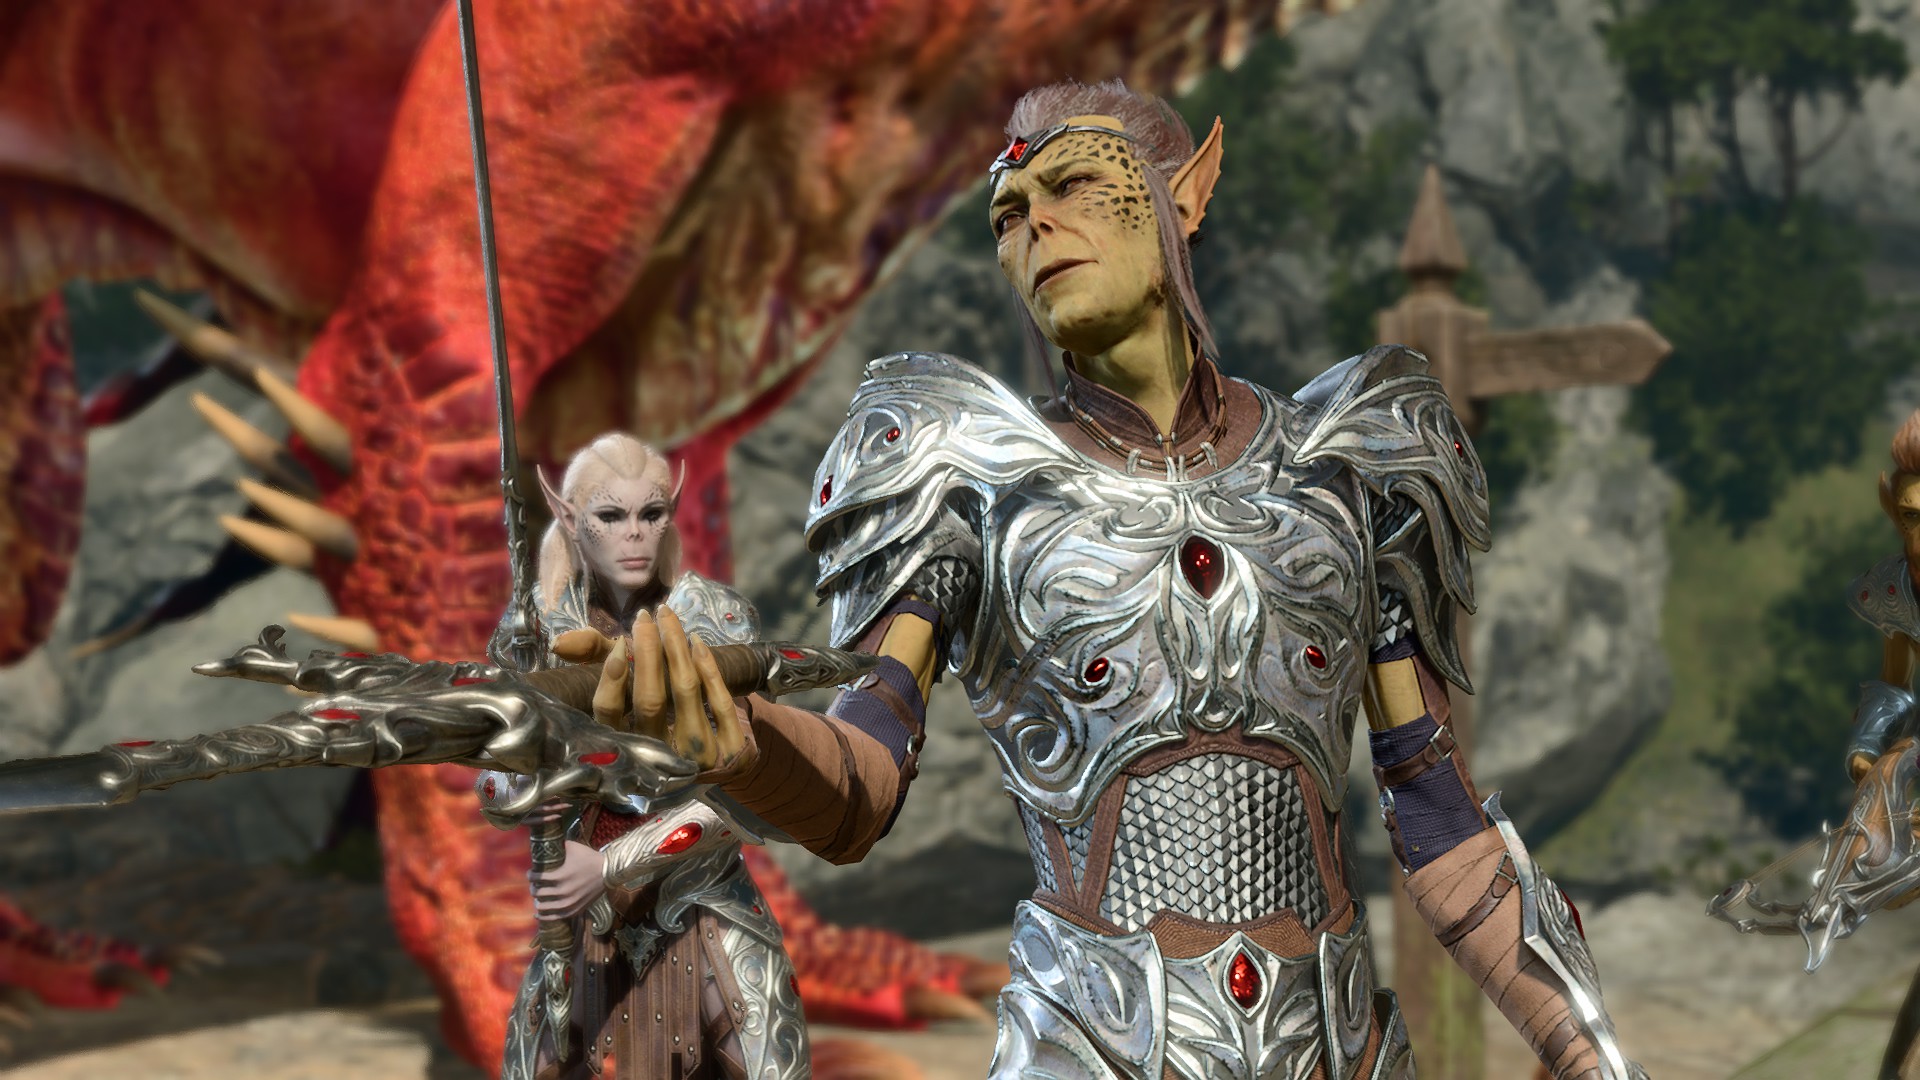
The path to the Rosymorn Monastery Trail is west of the Risen Road. If the party choose this route, they must face a githyanki patrol at X: -101 Y: 555 led by 
![]()

As the party approach the patrol, the githyanki are arguing with a group of Flaming Fists. Suddenly, a red dragon comes down from the sky and sets the fists aflame. If 
Lae'zel Speaks with Voss[edit section | visual editor]
If
- Nod to Lae'zel. Go ahead.
- I will be speaking on her behalf, gith.
Choosing the first option allows Lae'zel to speak, and Voss reveals the search for a githyanki artefact. He asks if Lae'zel has seen anything like that.
- Mouth a silent command to Lae'zel: 'truth'.
- Mouth a silent command to Lae'zel: 'play along'. (DC 10)
- Produce the odd artefact. You're looking for this, I take it?
- I have my own mandate. Time to die, gith.
If anything but the second option is chosen, the githyanki become hostile. Otherwise, he commands Lae'zel to go to the crèche and aid the search for the artefact.
Origin Character Speaks with Voss[edit section | visual editor]
If Lae'zel is not in the party, Voss asks why he should not run them through.
- Silently hold his stare and discreetly prepare to attack. (DC 15)
- You would've done so already if you didn't want something from me first. (DC 10)
- I just want passage - if I have to go through you, so be it. (DC 15)
- I don't know you. I pose no threat. (DC 15)
Succeeding in any of the checks and Voss remains neutral.
- I'll help if I can.
- You'll need to start from the beginning - what is this weapon you're after?
- Produce the artefact. Ask if this is what he seeks.
- I might know something. But it'll cost you.
- Say nothing.
Whatever the party say, unless the party produce the artefact, Voss tells them to be silent, while doing rapid hand gestures:
- Do nothing.
- Silently interpret the meaning of the gestures. (DC 10)
Succeeding this check and choosing to resist the probing through passing 
- I could help if you let me live - search for this weapon perhaps. (DC 15)
- You ought to just leave. You've no right to decide my fate. (DC 15)
- Why are you hesitating, then? Try it, I dare you. (DC 15)
- A corpse is useless. But a living informant might unearth something.
- Read his thoughts.
- Don't be too hasty. I could prove very useful.
Passing of any of these checks avoids conflict with Voss. He tells them to go to the crèche - ahead, at the Rosymorn Monastery Trail. Otherwise, if Voss become suspicious that the party is infected with tadpoles or carries the artefact, he flies off on his dragon and orders the githyanki soldiers to kill the party. 


At the Mountain Pass[edit section | visual editor]

Once the Rosymorn Monastery Trail has been entered, the party must continue north along the road until there is a fork in the road by the Trielta Crags Waypoint where the party must venture on the westward fork. The party members are attacked by two Death Shepherds, a Ghast and four Ghouls. After the attack, they must continue moving west, and then south, to reach the entrance to the Shadow-Cursed Lands at X: -143 Y: -129.
There are several additional quests in the Rosymorn Monastery Trail, including a story-relevant quest - ![]()
![]()

![]()
![]()
Entering the Shadow-Cursed Lands begins Act Two and serves as an event horizon for Act One, causing many unfinished quests related to these areas to automatically complete and / or fail (notably |
For more details, see time-sensitive activities.
Notes[edit section | visual editor]
- Both the Rosymorn Monastery Trail and the Underdark have unique quests and loot. For the most complete playthrough, it is recommended to explore all of the Rosymorn Monastery Trail, Underdark, and Grymforge before venturing to the Shadow-Cursed Lands.