Ad placeholder
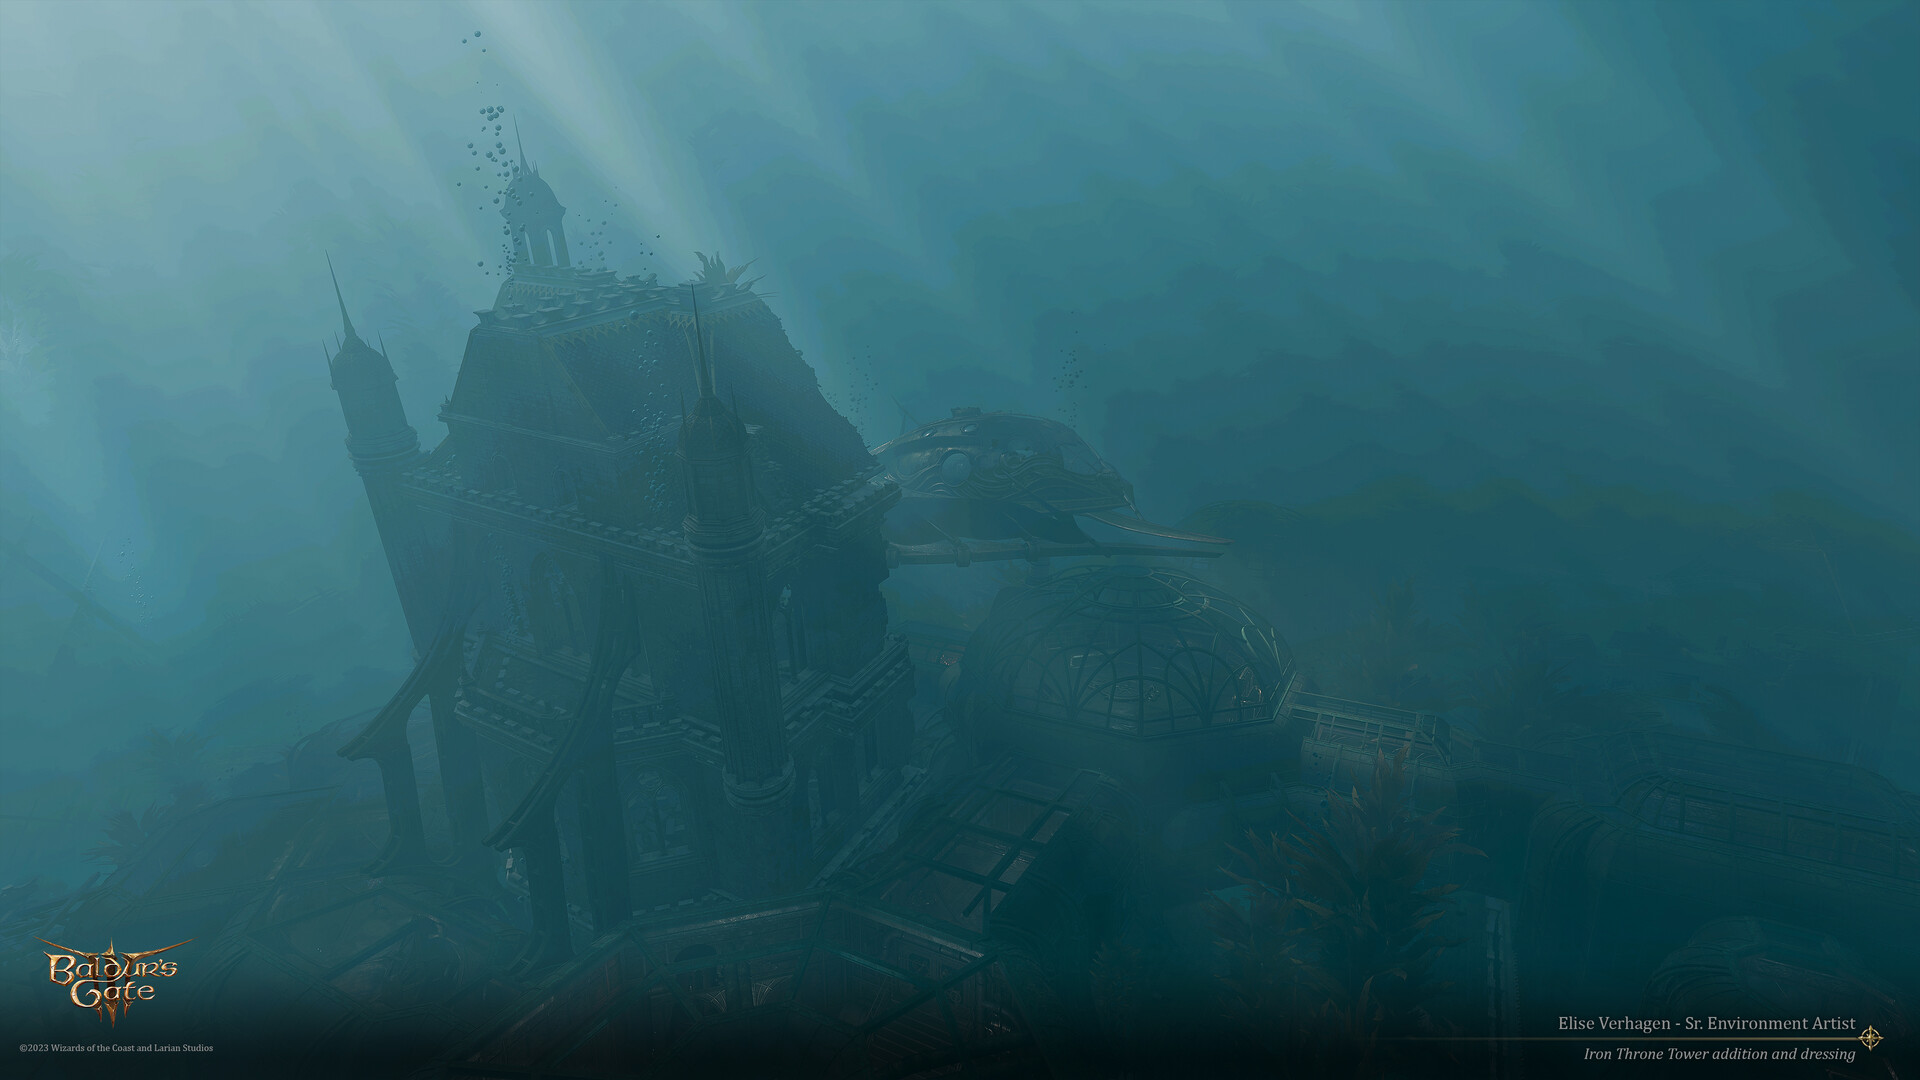
Iron Throne

| Lower City | ||||
| Flymm Cargo | ||||
| ↑ | ||||
| Iron Throne | ||||

“I would rather yank Tiamat's tail than travel beneath the water again. <...> I have something of a feline nature – I do not like getting wet.„
Overview[edit section | visual editor]
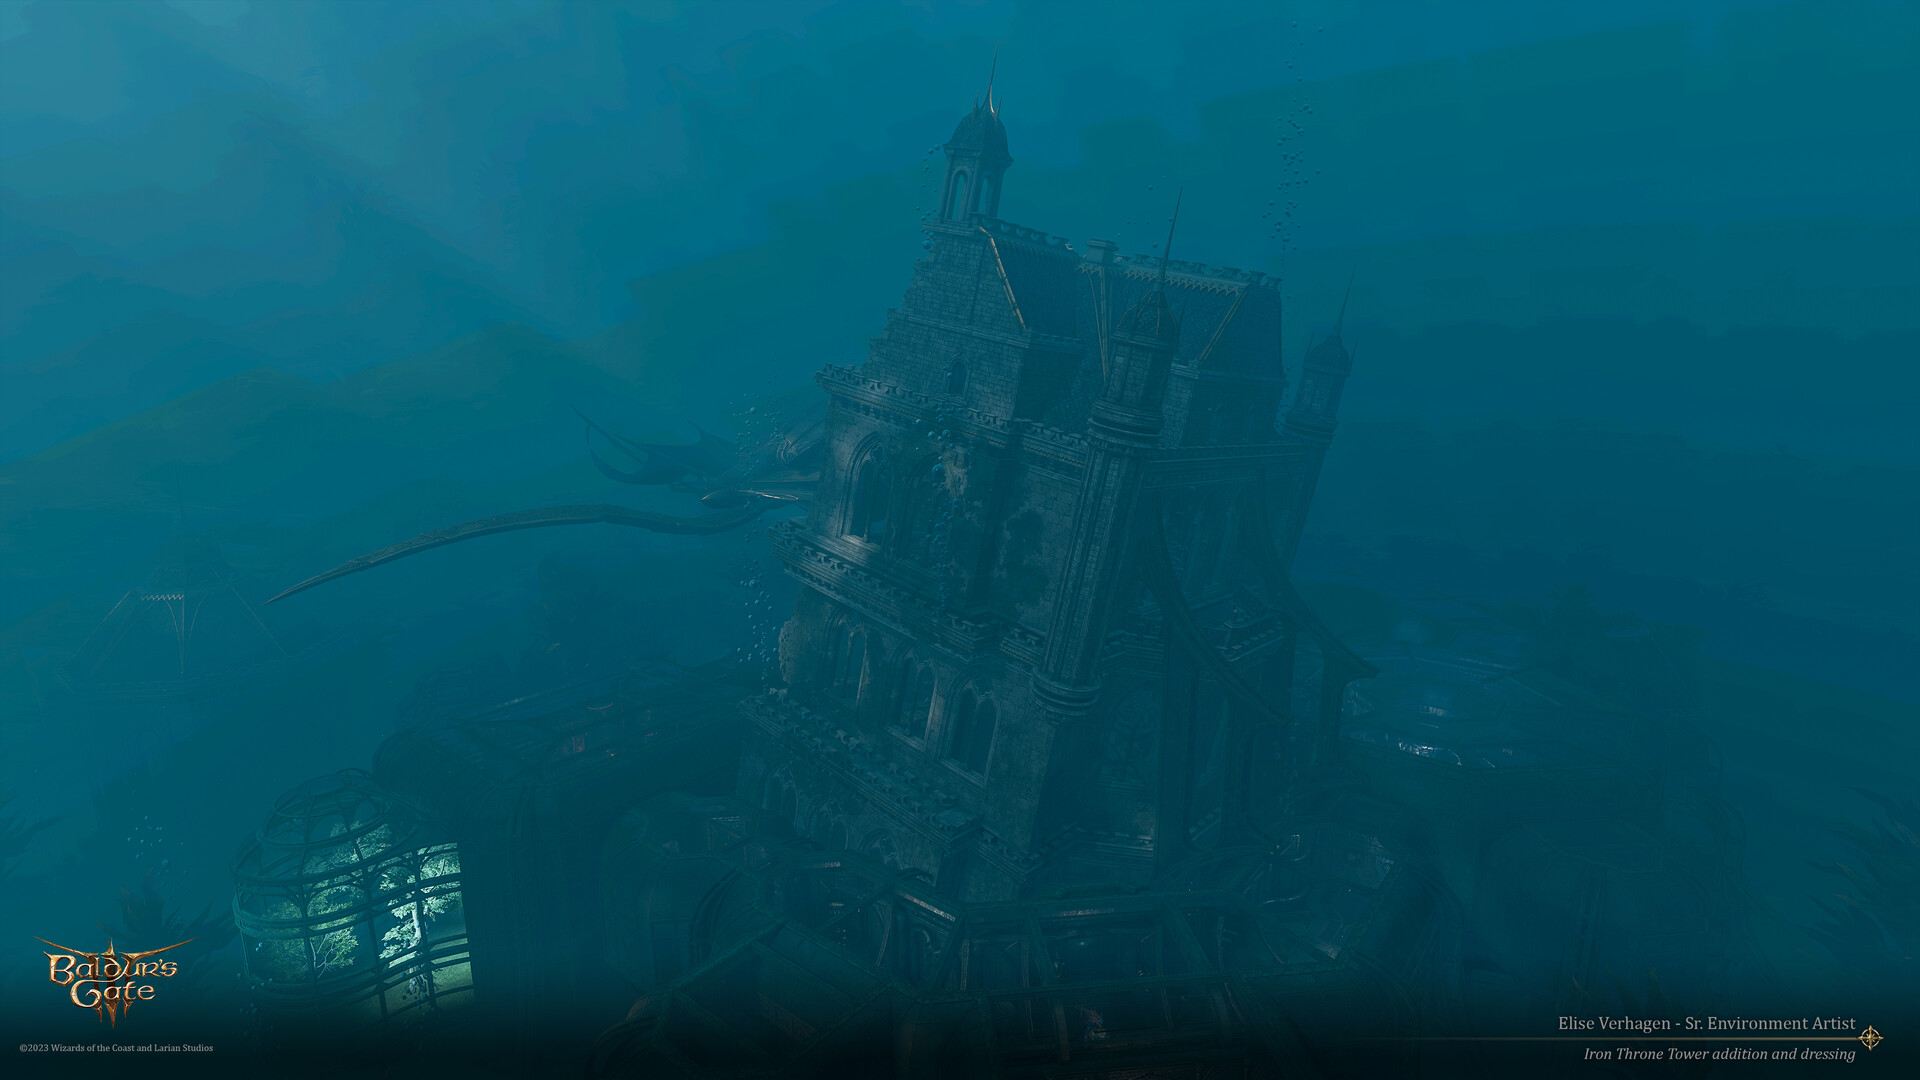
The Iron Throne is an underwater facility, secretly built on the orders of 
![]()
History[edit section | visual editor]

(by Elise Verhagen)
About a century prior to the game events, a bulging building named "The Iron Throne" stood near the Grey Harbour Docks and served as a headquarters for the Baldurian branch of the namesake organization specializing in armsdealing and mercenary services, lead by 
When Enver Gortash needed a totally secluded place for preparing his power-wielding projects, he rediscovered the ruins of the building and arranged the installation of the underwater prison around its upper floors. The construction used parts manufactured at the Steel Watch Foundry and delivered to the site via the Submersible, and the whole process was overseen by Gortash's follower 
Access[edit section | visual editor]
The submersible is the only way to reach the Iron Throne and return alive. It is moored in the sub-aquatic docks of Flymm Cargo in the Grey Harbour Docks. To locate the possible starting point of the route, the party must progress either ![]()
![]()
The docks can also be discovered by exploring the Lower City Sewers, using the "Greasy, Smelly Way Up" at X: -158 Y: 835.
Once the party enter the submersible to reach the Iron Throne, they cannot fast-travel or return to the Campsite to rest. The Iron Throne is unreachable if the Steel Watch Foundry is destroyed before visiting it.
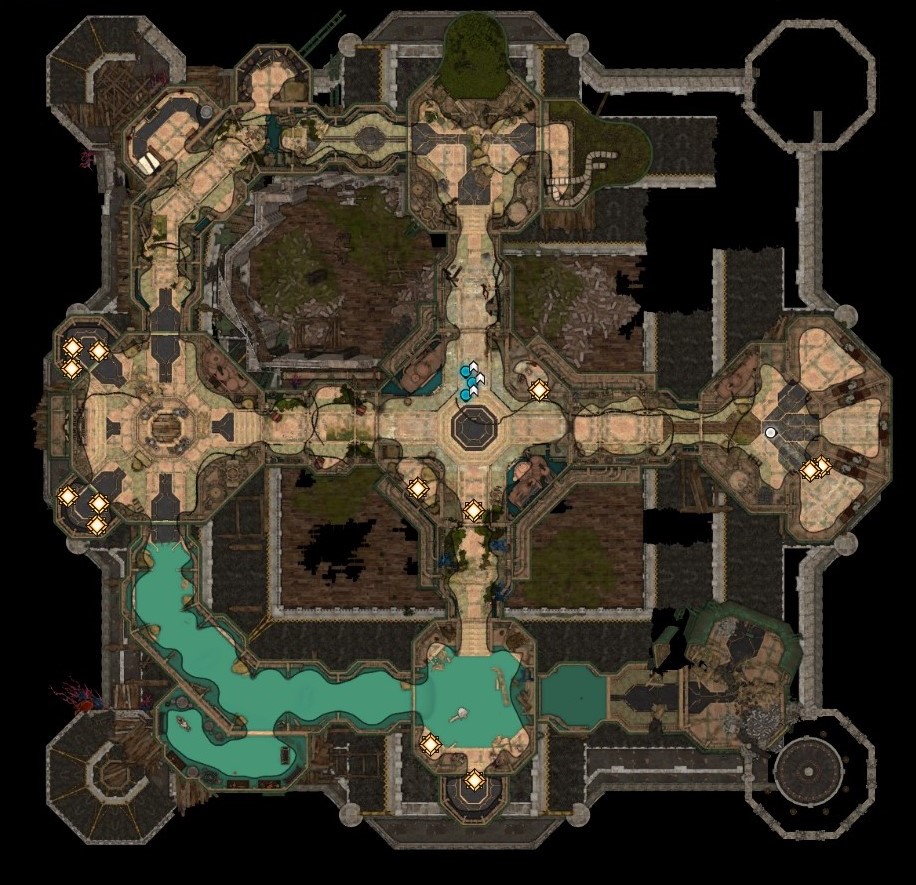
Building layout[edit section | visual editor]

The submersible docks at the upper dome of the sub-aquatic facility, which apparently serves as a sluice chamber. Another ladder leads below, to the prison itself.
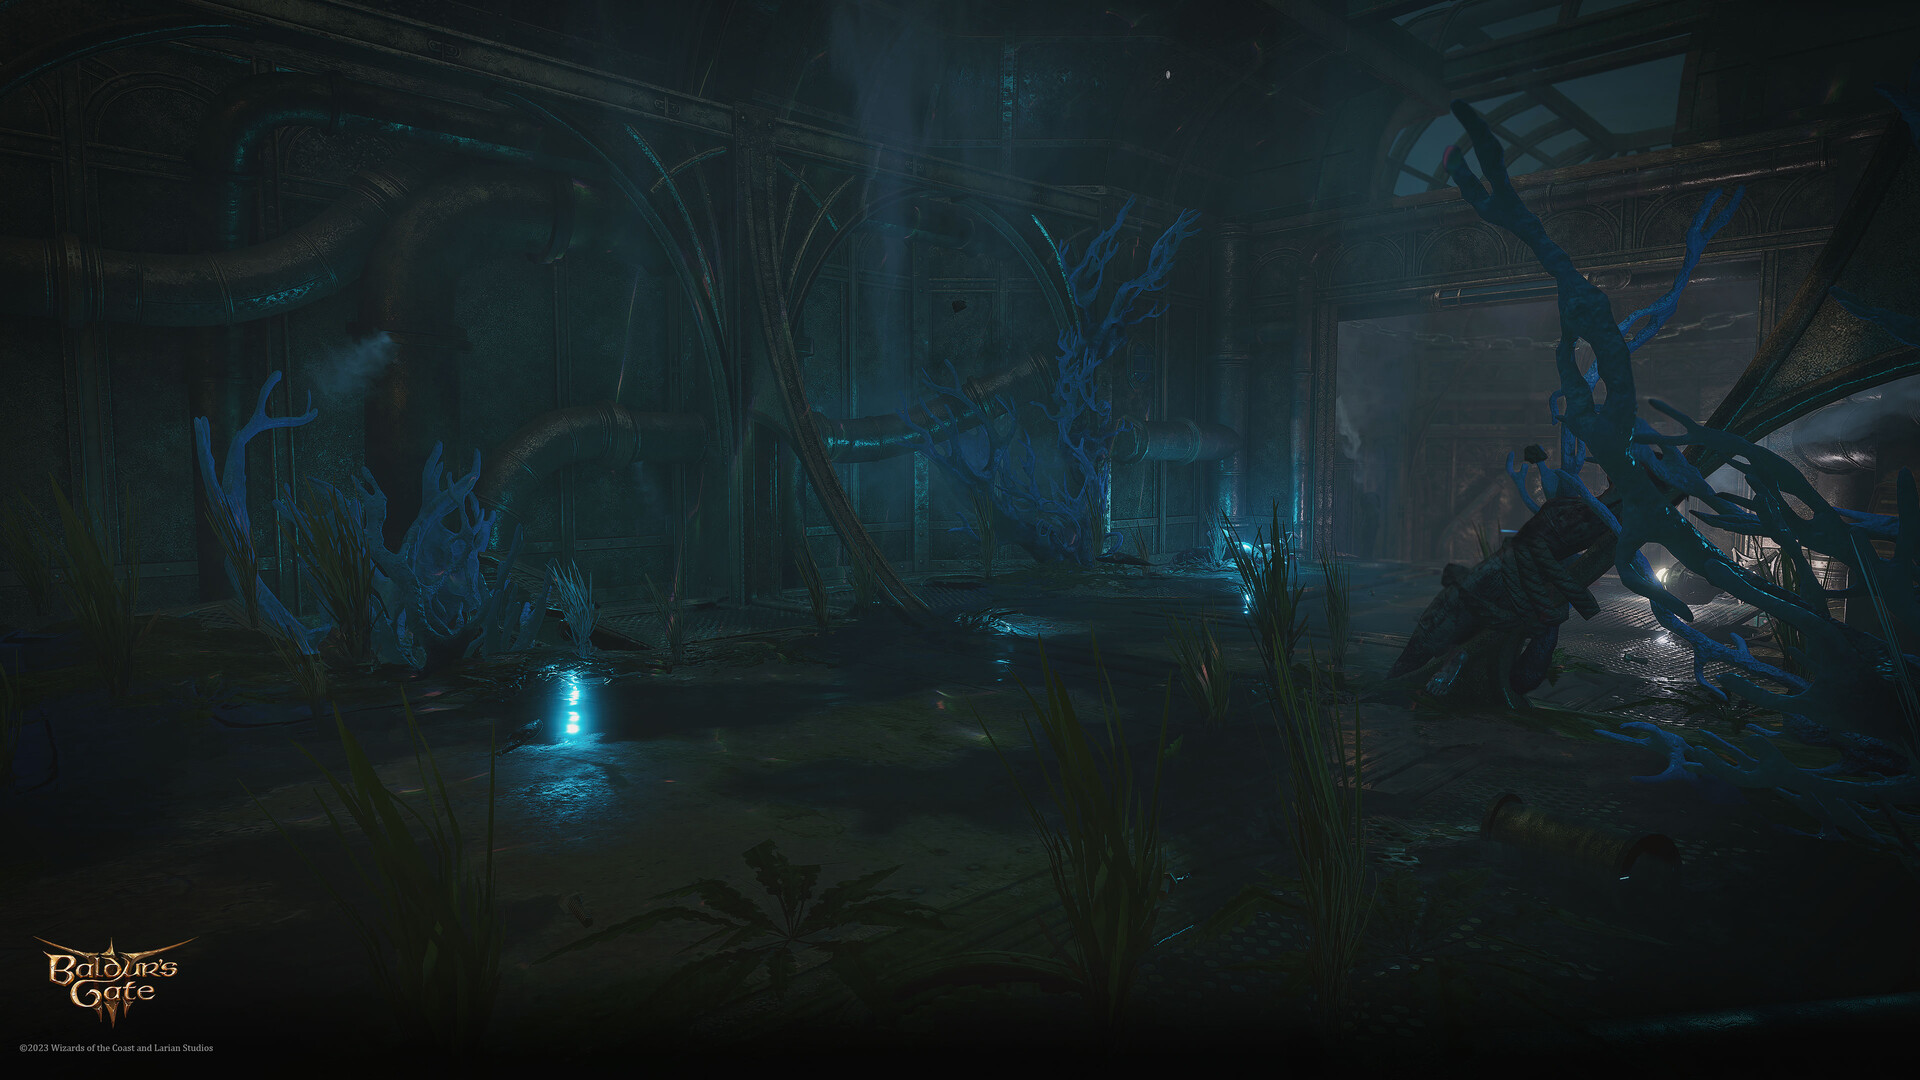
The prison is made up of a central area with four tunnels leading off in each cardinal direction. Eastward and westward tunnels lead to the cell wings, southward is the half-flooded laboratory wing with several cells for the test subjects as well, and the northern one was apparently reserved for the personnel.
The tunnels have ![]()
![]()
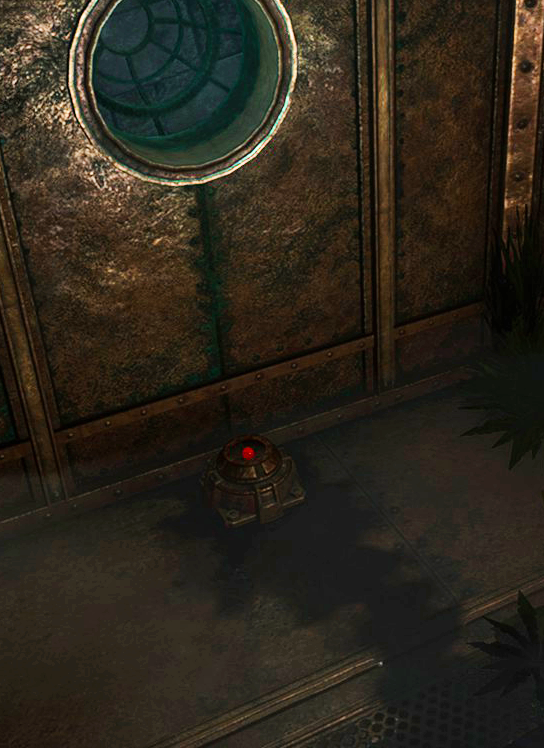
All tunnels also have a pair of heat detectors, located between the doors. If these detectors are destroyed, or suffer any ![]()
![]()
![]()


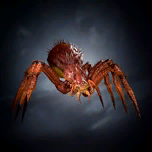
The prison is guarded by hostile 
![]()
![]()
The Sahuagin stop pursuing any prisoners or party members who ascend the ladder from the prison to the sluice chamber. They can, however, end their turn at the foot of the ladder, blocking the way up to the submersible.
Cells[edit section | visual editor]
There are nine cells throughout the prison, each locked by a ![]()
Two prisoners in one of the cells in westward wing are already dead.[3] Their corpses are labelled as "Civilian", and do not count for the purposes of completing the quest or obtaining corresponding inspiration (see below). Also, 
There are thirteen Gondian hostages in total who can be freed from the cells, and (possibly) two more prisoners as part of other quests which may be active due to the party's previous choices in-game. Their locations are marked by ![]()
Involvement[edit section | visual editor]
Visiting the Iron Throne is a part of ![]()
![]()
![]()
![]()
On the way to the Iron Throne, Enver Gortash speaks to the party via a screen in the submersible console. The party can choose to dock at the prison or to return to the docks. If they choose to dock, Gortash triggers the explosion which eventually collapse the building, burying everybody left inside, and the bargain with Gortash (if striken) is considered terminated.
![]()
Arriving at the Iron Throne triggers a countdown, its duration depends on the difficulty level: 8 turns on Explorer, 6 turns on Balanced, and 5 turns on Tactician or Honour. When the countdown concludes, any characters who have not returned to the submersible die instantly, possibly failing their respective quests. Characters must climb up into the sluice chamber to be considered as saved. Party members and prisoners who die either during the escape or due to the structural failures are washed up on the small beach south of Old Garlow's Place. Dead party members can be revived as usual after the survivors leave for the surface.
The game can be put in turn-based mode before leaving the submersible, allowing the party to apply limited duration conditions, such as weapon coatings, before the turn counter starts.
Gondians[edit section | visual editor]

(by Tim Wilmsen)
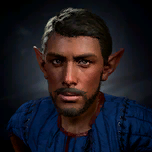
There are thirteen Gondian hostages (including one human) located in various parts of the prison. The parentheses in the following list indicate the number of Gondian prisoners in each area; Ravengard and Omeluum are counted separately.
- Central area (3): Two cells with a single hostage in each, and

- Western wing (6): Two cells with three hostages in each of them. The wing is guarded by two Sahuagin, and has the doors leading to the corridors to the northern and southern wings, which are initially locked (require


- Southern wing (2): One prisoner is locked in a cell. Another one,


- Eastern wing (2): Two prisoners are locked in a separate cell. Duke Ravengard may also be present here, depending earlier choices and events.
- South-west: If Omeluum is present, he will reside here. Accessible from the southern wing, or through a locked door from the western wing.

Once freed, the hostages take no actions besides ![]()
![]()
As soon as a Gondian hostage reaches the ladder from the sluice chamber to the submersible, their portrait is removed from the Initiative Tracker. This can be somewhat misleading, as the animation resembles removing a portrait due to the character's death. Attached followers (if present) remain in the Tracker until the end of the mission.
Omeluum[edit section | visual editor]

![]()

Omeluum is in the far end of the southern (lab) wing, strapped to a lab cot in a room with several workbenches. It must be freed with the ![]()
![]()
In the corridor which leads to Omeluum's cell is another Bubbling Emergence, which activates when any party member approaches it. The Sahuagin who emerge from them go to the southern cells if they have no closer targets.
Omeluum's ![]()
If present, Omeluum connects to the player character's mind immediately upon descending to the sluice chamber, telling them of the purpose of the Iron Throne and of the 
Automated dialogue with Omeluum, if any occurs, launches the countdown after it ends, which is another reason for finishing all preparations before descending from the submersible into the sluice chamber.
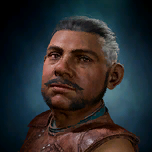
Duke Ravengard[edit section | visual editor]

(by Tim Wilmsen)
If 
![]()

![]()
Depending on the duke's condition, Mizora offers Wyll to either reveal his location or to resurrect him in exchange for Wyll's soul, forever bound to her and Zariel, with the alternative remaining the same – to break the pact immediately.
Duke Ravengard is kept in a separate cell in the eastern wing. If still alive, he has low HP, depending on the difficulty level (35 HP on Explorer, 29 HP on Balanced, 21 HP on Tactician and in Honour mode[verify]). He has the ![]()
If Wyll broke his pact with Mizora, she appears here and attempts to kill the Duke: once he leaves the cell, she gives him the ![]()
![]()
![]()


The party can help the Duke to survive or avoid the spiders by a variety of means:
- Healing (all available options)
- Granting protective effects (prioritizing on

- Boosting the Duke's mobility or teleporting him out of the spiderlings' reach
Means such as ![]()
![]()
![]()
![]()
![]()
![]()
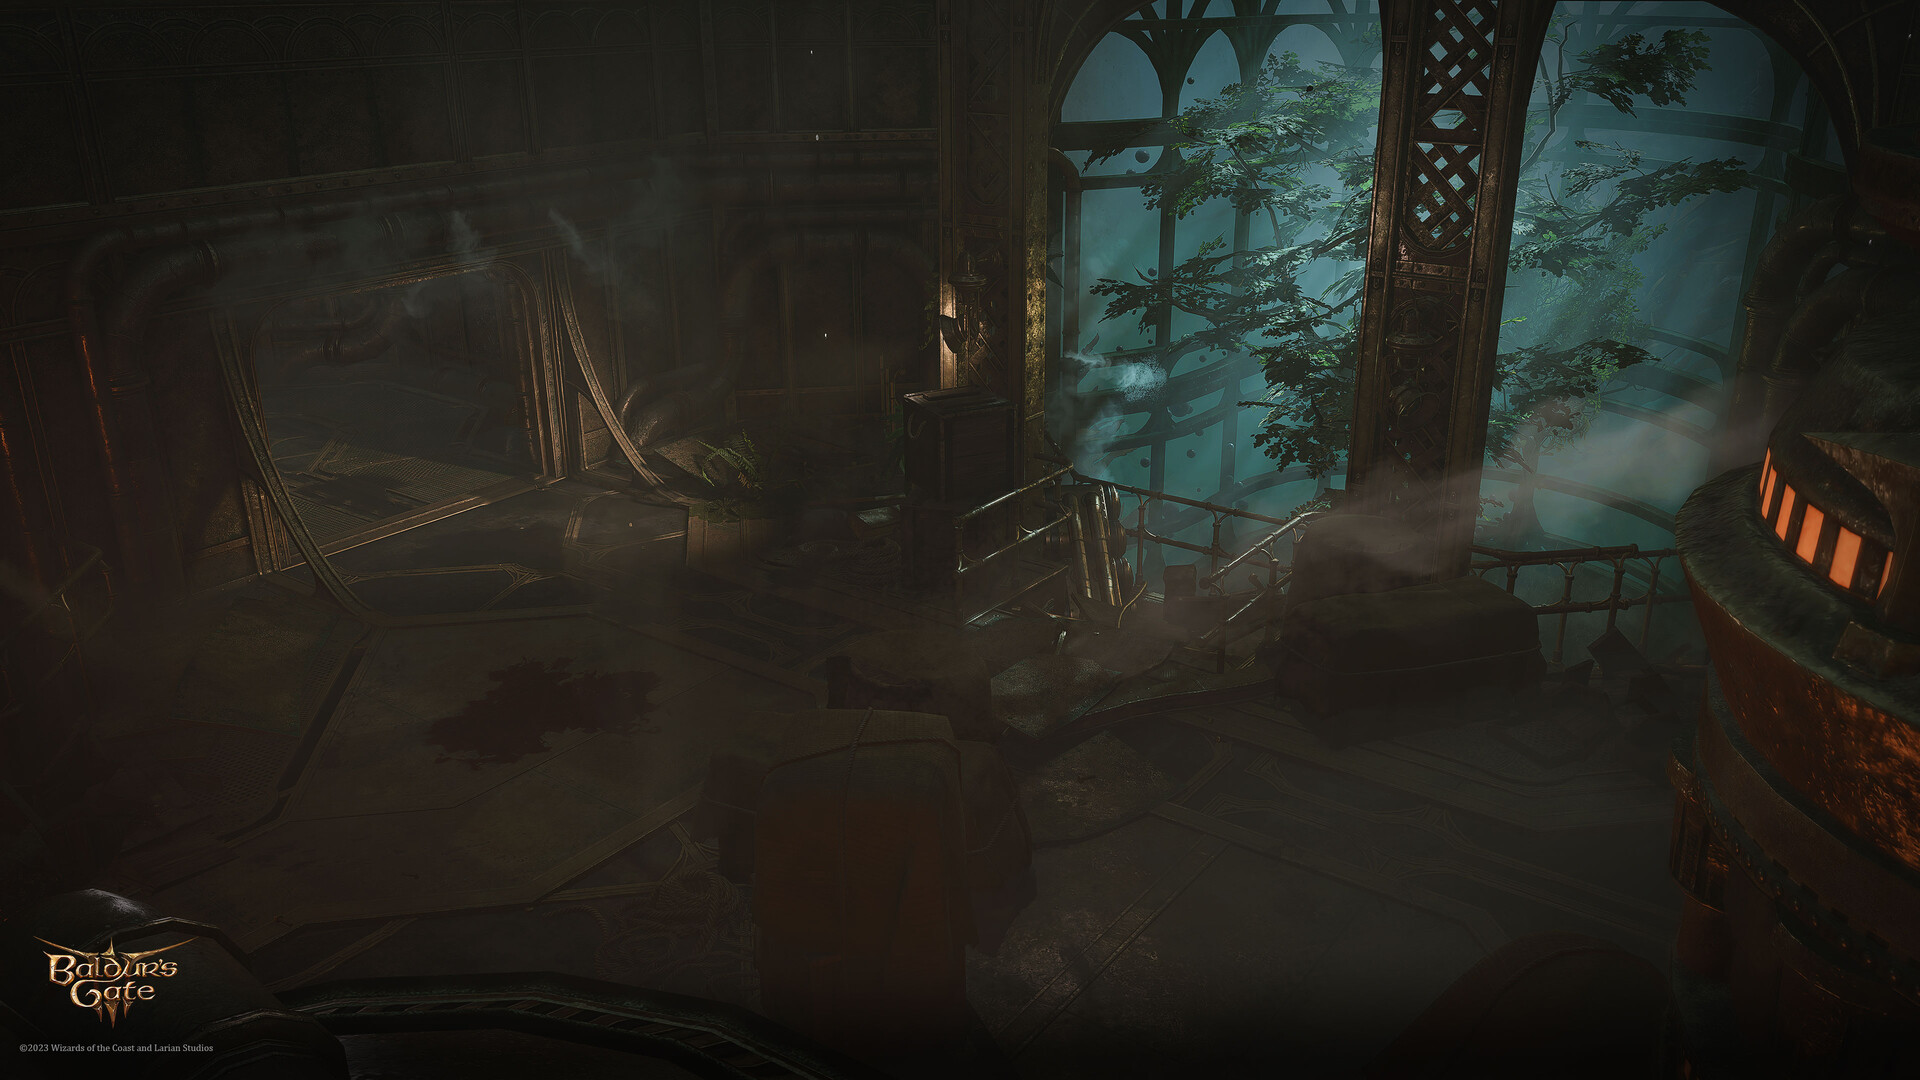
Northern wing[edit section | visual editor]
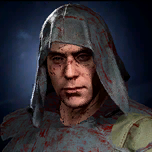
The northern wing was apparently used by the prison staff. In the room behind the northern tunnel at X: -16 Y: 96 lies the corpse of ![]()
The northeastern appendix of this wing does not contain any significant or useful items.
Tactics[edit section | visual editor]


Due to the limited number of turns and a rather vast area to be explored, the party must distribute their efforts and spend their actions carefully. This subsection (and the talk page) contains some advice on how to do so:
Increasing mobility[edit section | visual editor]
- Class actions such as


- For Partial-Illithid characters, their

- For Partial-Illithid characters, their
- Abilities like


- Items such as


- Spells such as


- Any items and abilities which protect party members from being


- Summons acquired via


- Summons acquired via
- Omeluum can

Increasing the number of actions[edit section | visual editor]
- Using


- However, the


- However, the


- Attached followers can free up a party member's action by opening or closing doors, protecting hostages, attacking guards or simply interposing themselves between threats and prisoners; many summons cannot interact with objects, but can still activate doors by attacking their levers


Operating cell levers and tunnel doors[edit section | visual editor]
- Pulling a lever by hand to open a door does not cost an action. However, hitting a lever with any ranged attack or even an explosive blast causes it to open the door immediately. Spells like


- All levers should be activated with at least two to three turns remaining. The prisoners in the farthest cells should be released first, as they cannot escape to the submarine in only one turn without some method of mobility-boosting.
- Strategically sealing Glasshouse Doors once an area is clear of prisoners, either by activating their levers or setting off their fire detectors, can effectively neutralize Sahuagin without expending actions to kill them. Keen on preventing prisoners to escape, Sahuagin often move to intercept them at the ladder via the shortest route and start attacking the doors, which is usually futile as they cannot do enough damage.
- The southern area containing Sahuagin spawn points is particularly worthwhile to seal off with doors as soon as the two Gondians held there pass the tunnel; Omeluum can then teleport itself and its rescuer to safety.
Inspirations[edit section | visual editor]
Upon docking at the Iron Throne the following inspirations are given:


Depending on the rescue mission outcome and on the party's previous choices, one or both of the following inspirations can also be earned:


Related locations[edit section | visual editor]
Related quests[edit section | visual editor]
Characters[edit section | visual editor]
Notable[edit section | visual editor]


Prisoners[edit section | visual editor]


Creatures[edit section | visual editor]


Loot[edit section | visual editor]
Notable items obtained in this location, whether looted, purchased, or obtained as a quest reward:
Related literature[edit section | visual editor]


Gallery[edit section | visual editor]
-
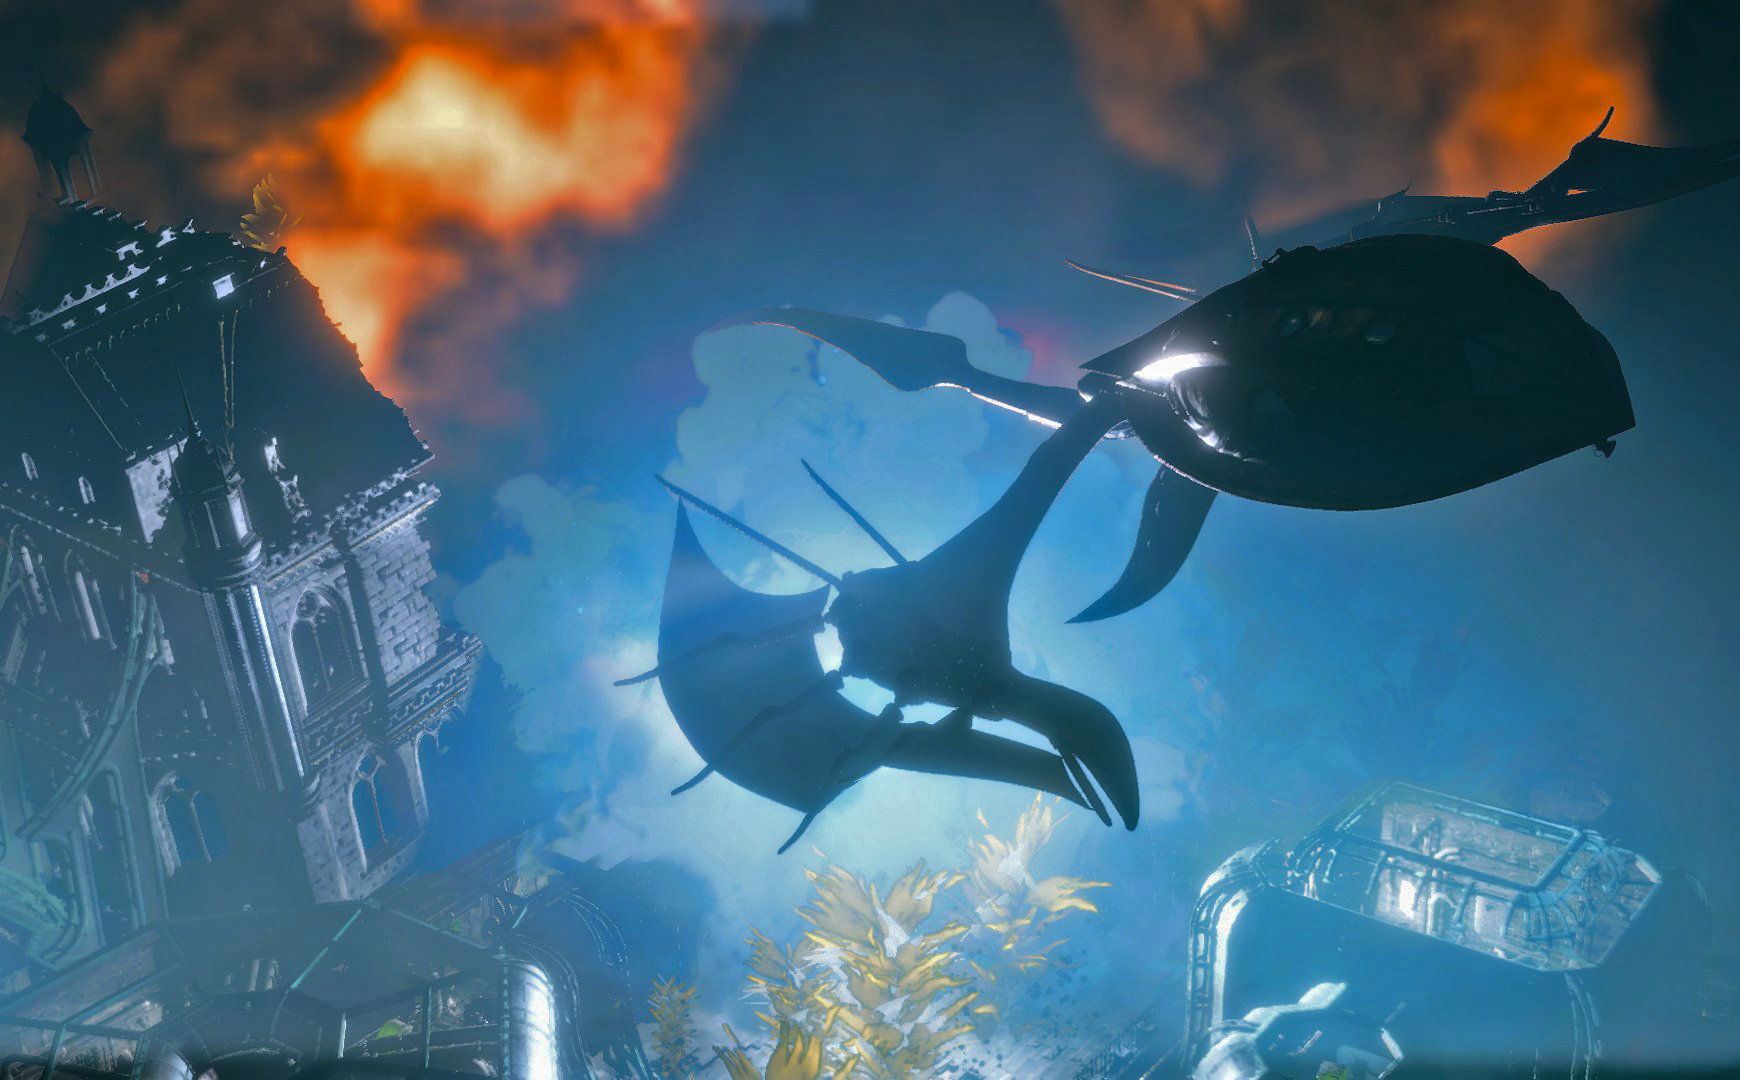
The prison facility built adjacent to the building
(by Elise Verhagen) -
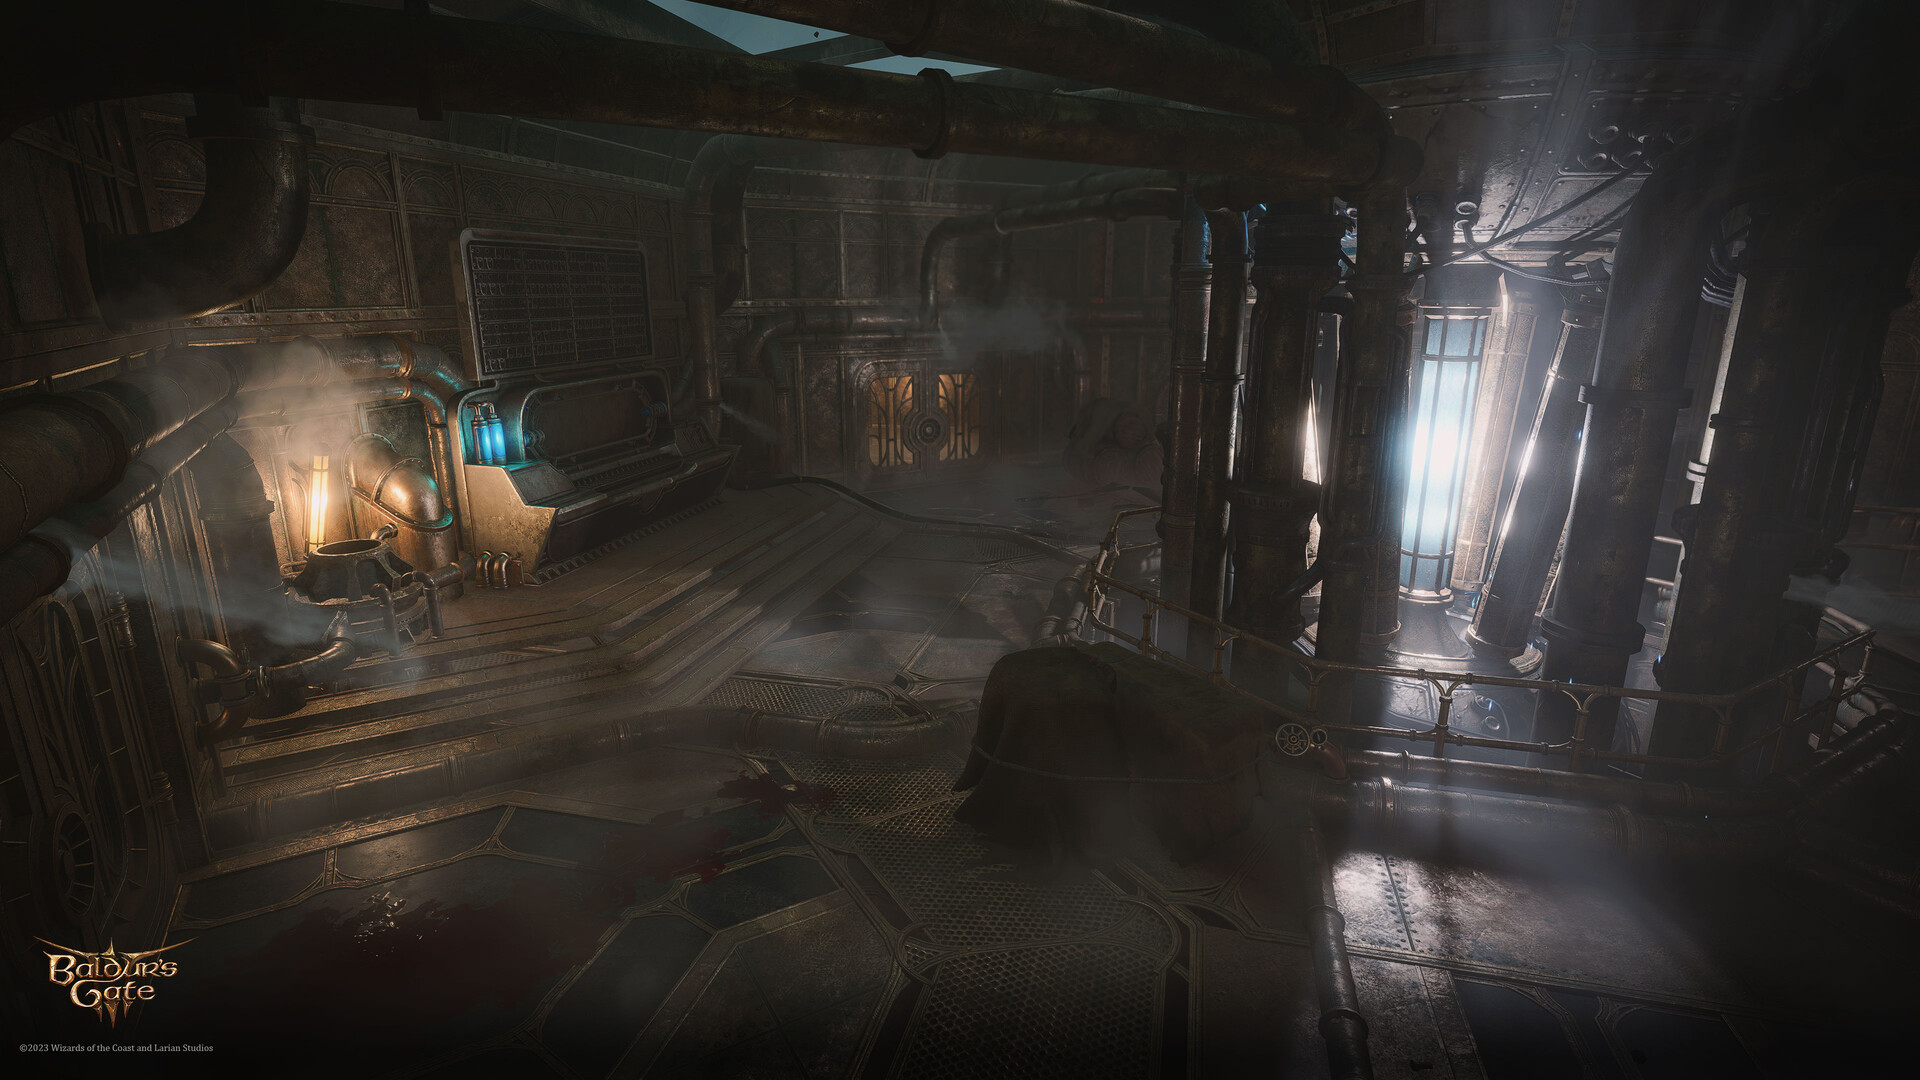
A destroyed, waterlogged wing of the Iron Throne
(by Tim Wilmsen) -
The staff wing of the underwater prison
(by Tim Wilmsen)


Notes and references[edit section | visual editor]
- ↑ As stated in

- ↑ As stated in

- ↑ The two corpses are those of a rock gnome and a human. Presumably, it is they who can be seen through the Scrying screen in the Security Office of the Steel Watch Foundry.
- ↑ The backpack may contain items the party sold to Omeluum in Act One. Looting it does not cause any reproach from the illithid, and the items can be sold again to any merchant.
- ↑ This is also the subquest for

- ↑ Enver Gortash connects to the submersible just before docking at the Iron Throne.
External links[edit section | visual editor]


