Ad placeholder
Ramazith's Tower


“I knew Lorroakan amassed knowledge like a dragon with its hoard, but never could I have imagined such wealth.<...> Study and catalogue it... Then share it with the Realms. After all, it does little good collecting dust in an old tower.„
Overview[edit section | visual editor]
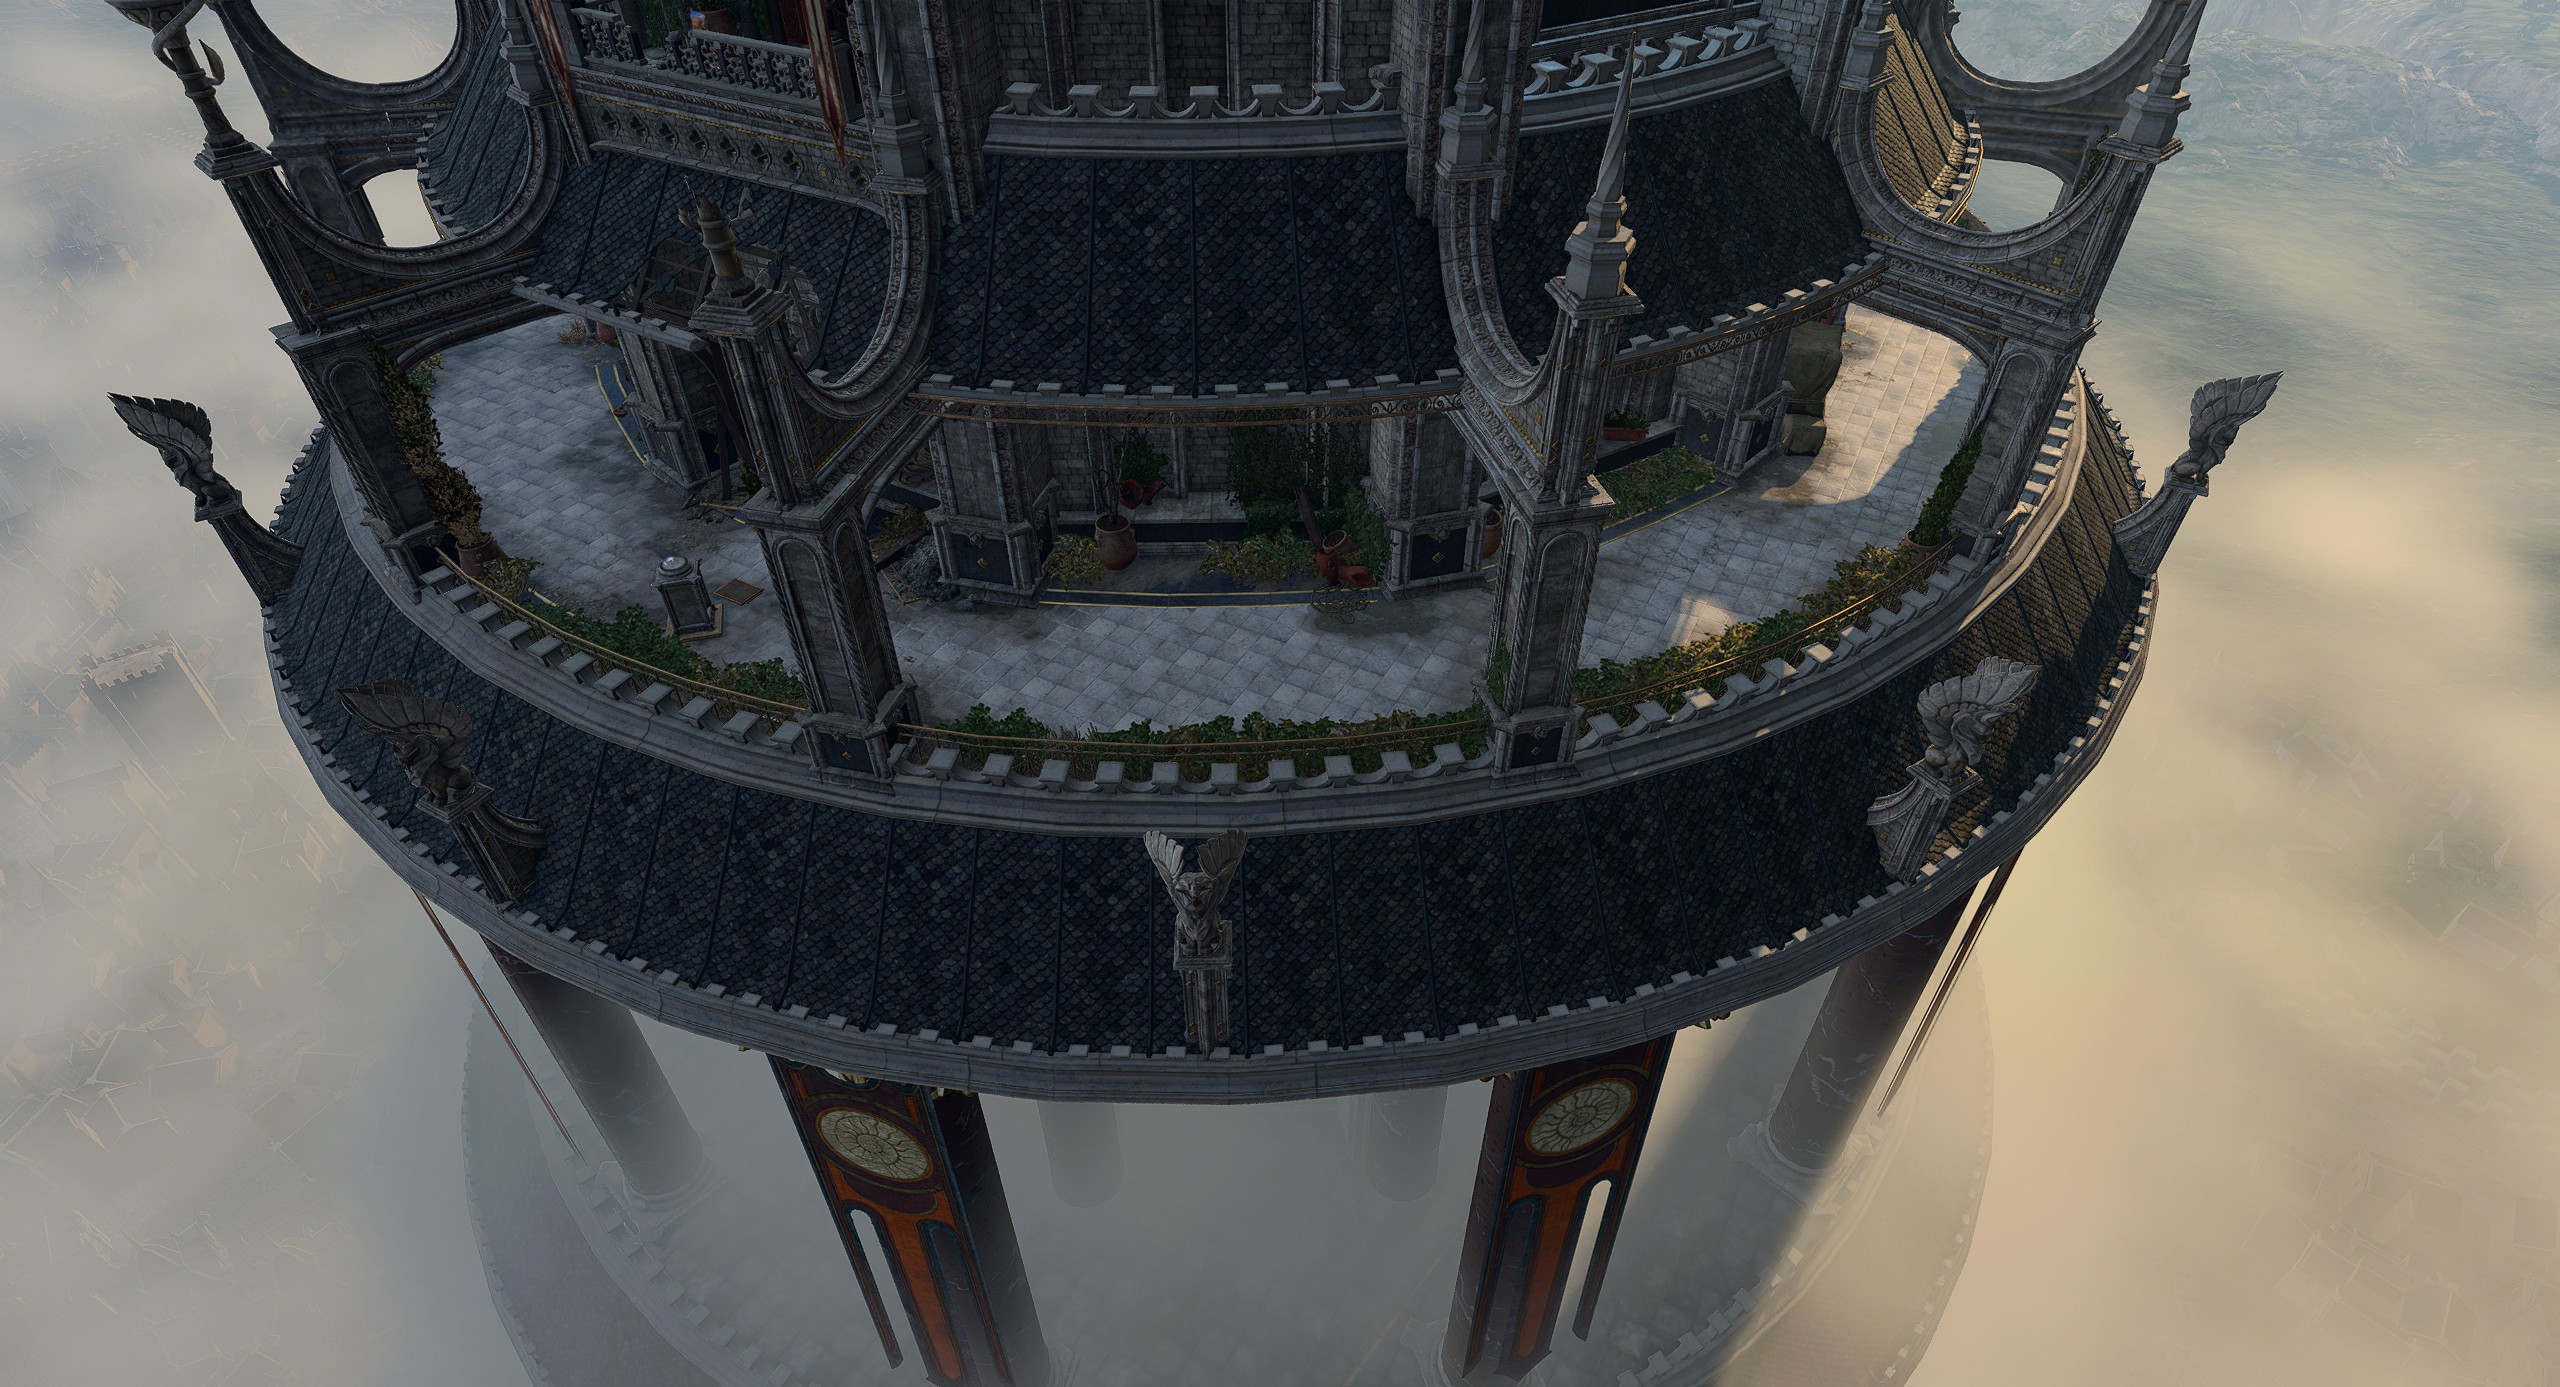
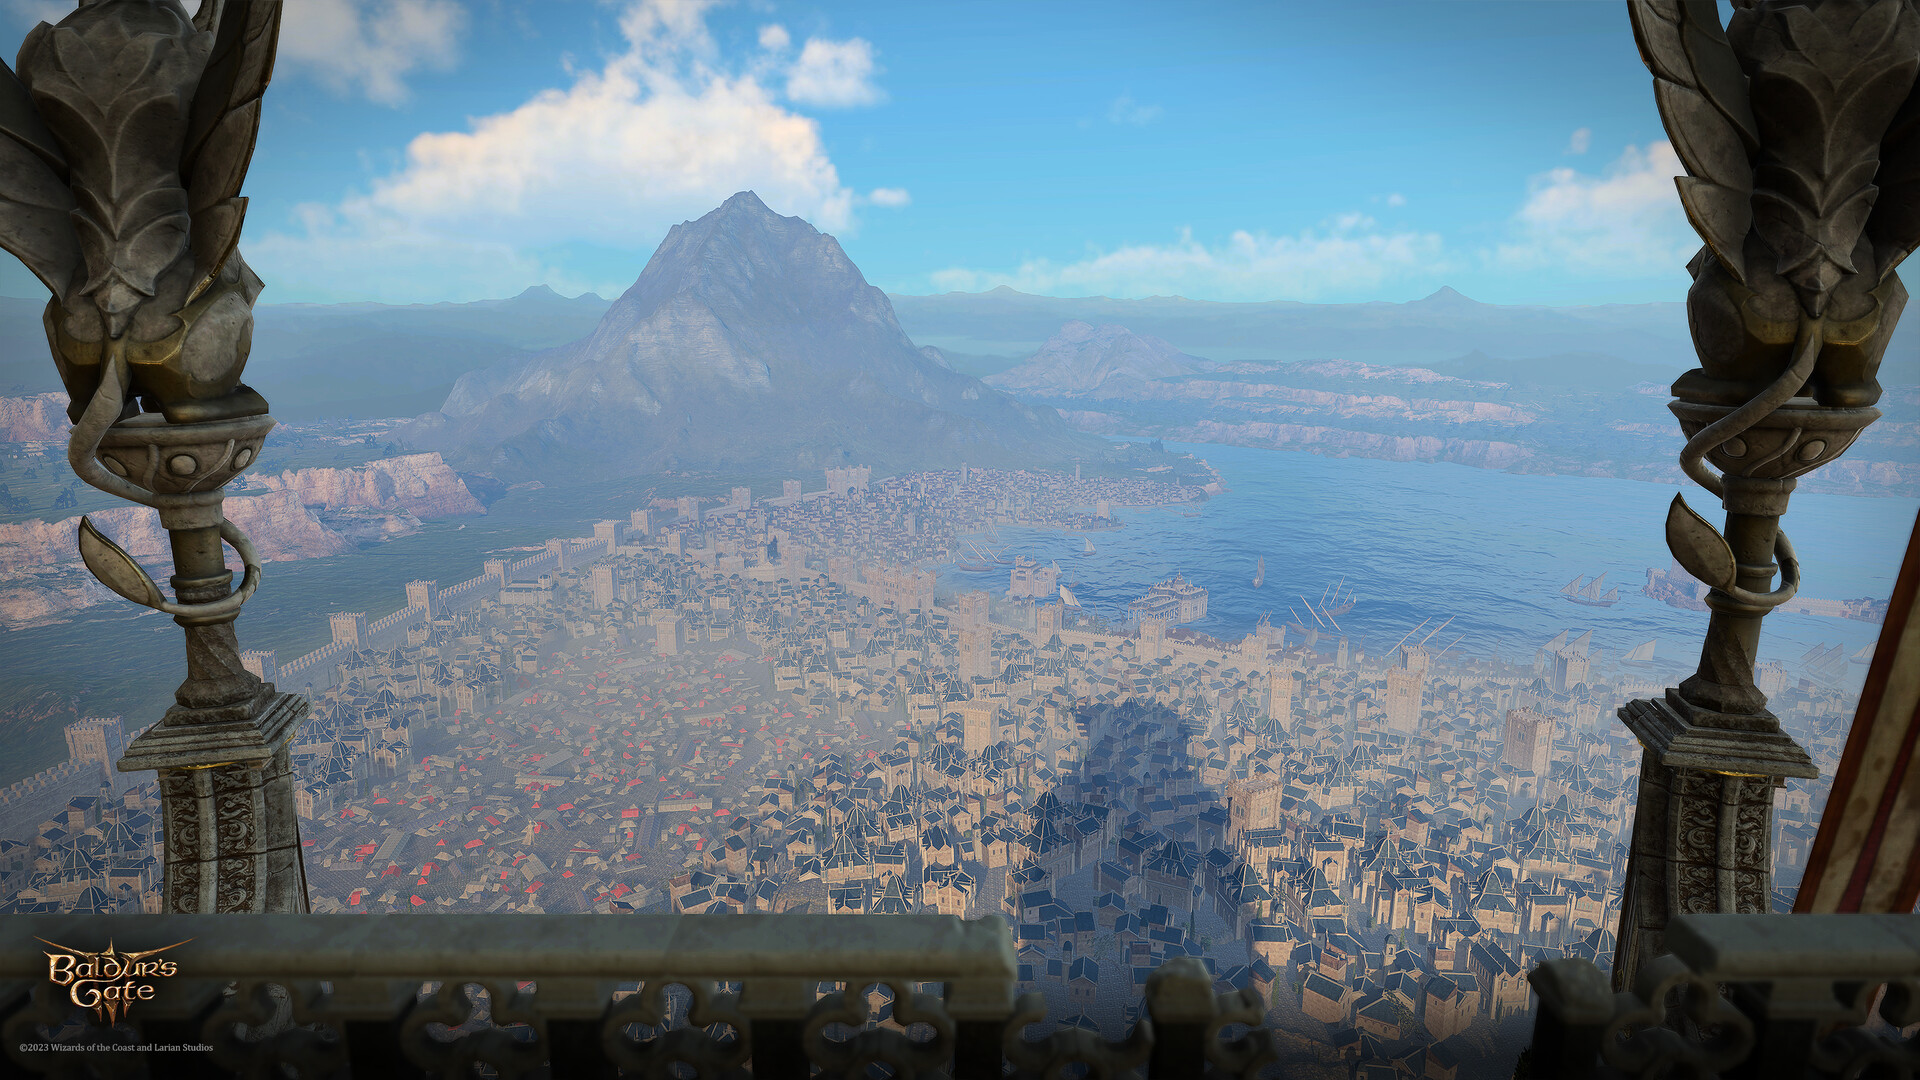
Ramazith's tower is a major landmark of the city of Baldur's Gate, located in its Temples district. Its silhouette is clearly seen on the initial loading screen of the game. The tower is round and resembles a pagoda with its several concentrical levels decreasing in diameter from foundation to the top. Within the playthrough only three inner levels of the tower are accessible, as well as a balcony which encircles one of them and offer a marvellous vista on the whole city.
The tower is connected to the magical shop of Sorcerous Sundries and to its vault, where the most precious items are stored. It is the location where the quest ![]()
![]()
History and access[edit section | visual editor]
As the tower name suggests, it was built by a famous wizard ![]()
![]()

The tower can be accessed only through a portal from the first floor of the Sorcerous Sundries. When they reach this part of the shop for the first time in a playthrough, they encounter 
![]()
The portal transports the party to the top floor of the Ramazith's Tower.
Building layout[edit section | visual editor]
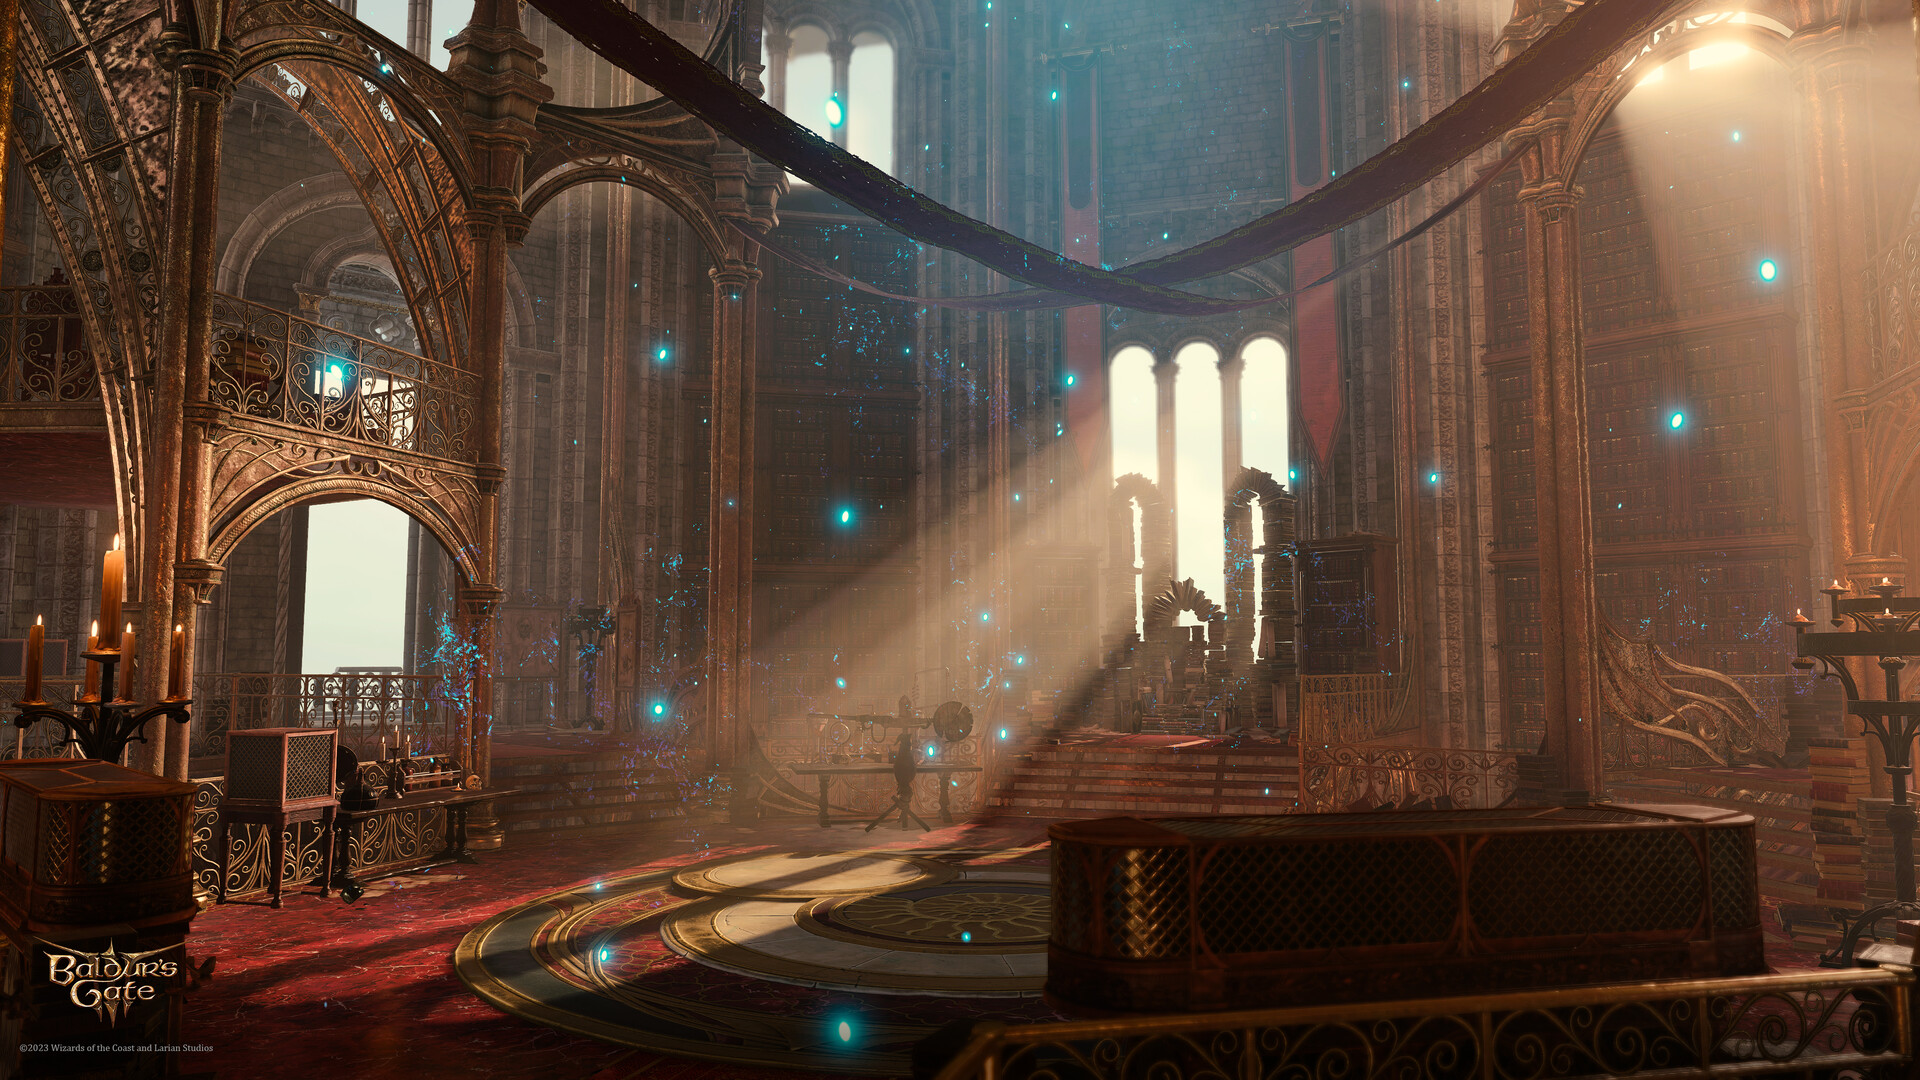
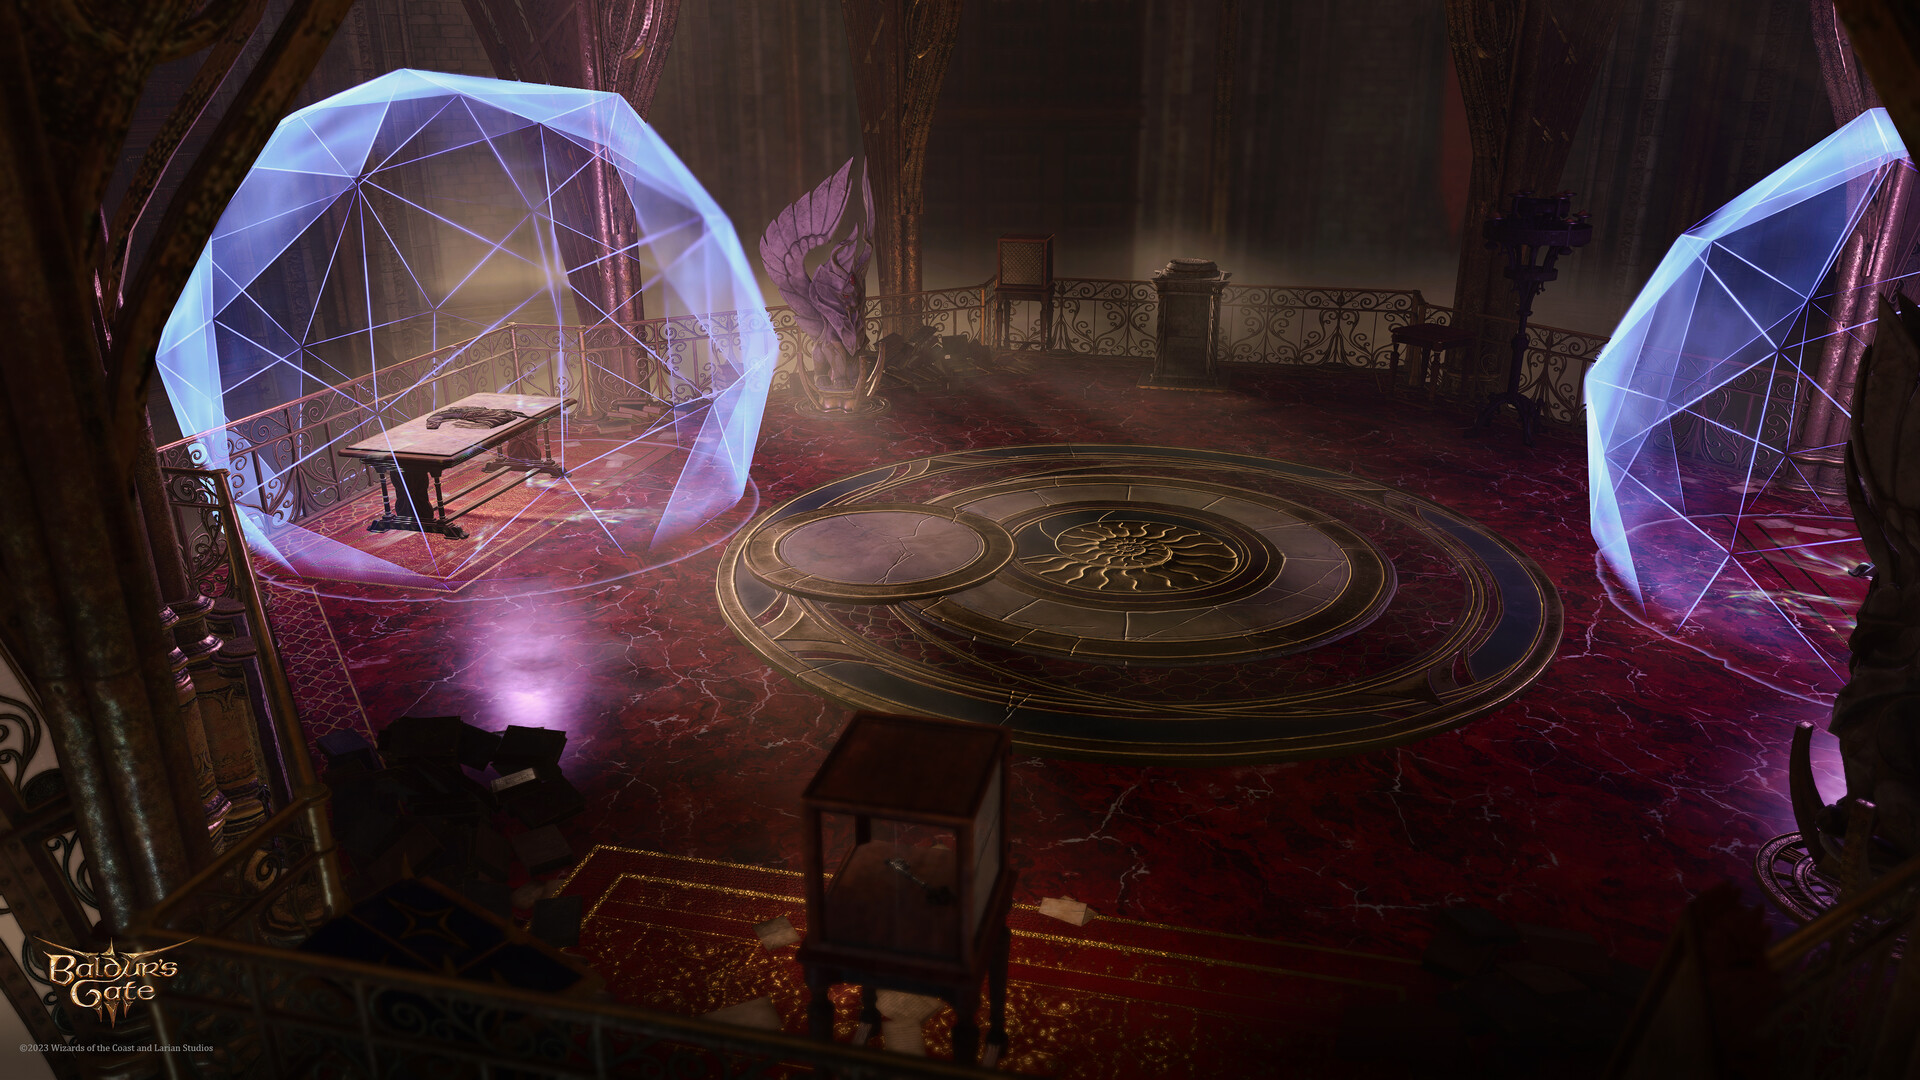
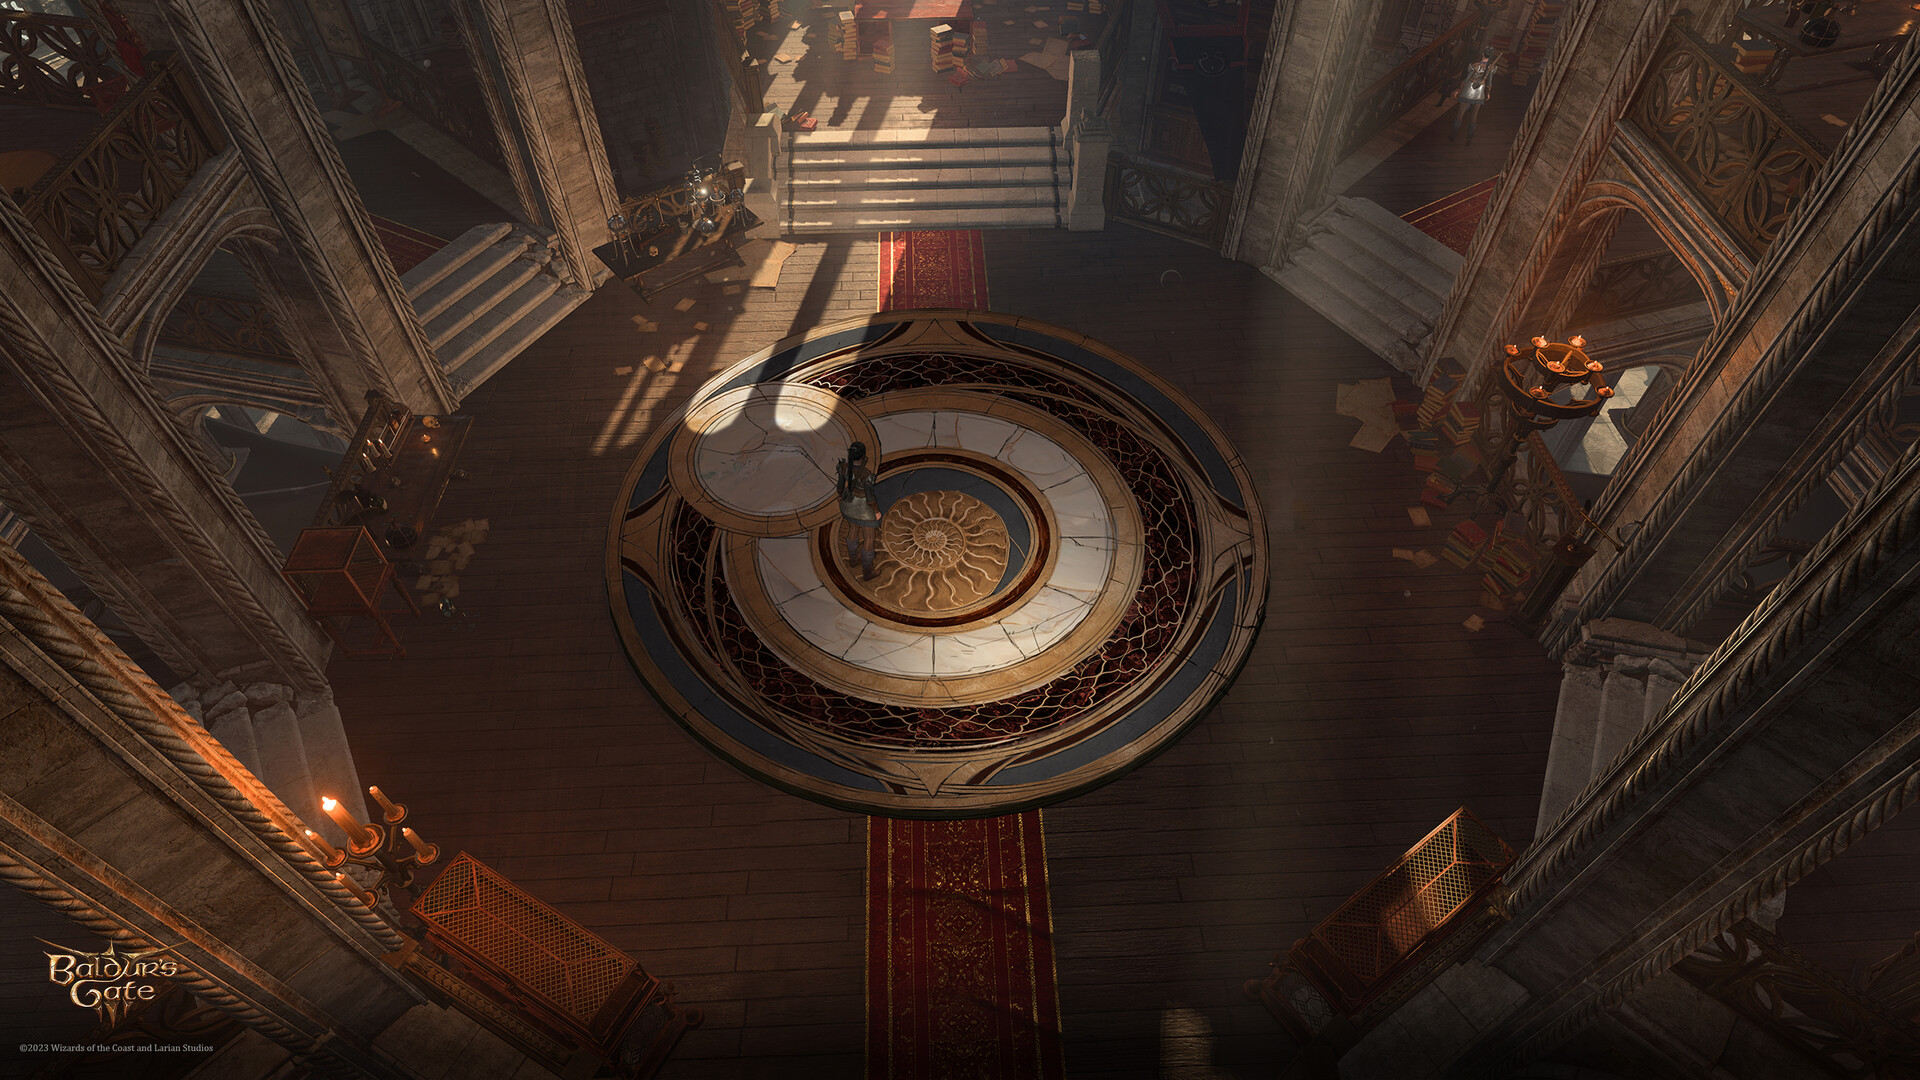
Top floor[edit section | visual editor]

(by Stimona Milanova)
The party arrive at the top floor of Ramazith's Tower via a portal in Sorcerous Sundries. Afterwards, they can return to the shop via the same portal.
The top floor is a large, lavishly decorated round area, with walls lined up with seemingly endless bookshelves. Unfortunately, neither the shelves nor stacks of books around can be interacted with. On the tables and counters are various alchemical, astronomical, and magical devices.
The top floor has several points of interest (listed here moving clockwise from the portal):
- At X: 4988 Y: 705 is an exit to the balcony, which can be used to move to the outer area of the middle floor of the tower via spells like


- At X: 4980 Y: 705 several pieces of furniture are magically suspended in the thin air. They also can be used as a bridge to jump down to the middle lever. However, if Lorroakan is alive, the furniture is red-outlined; jumping down is considered a crime.
- At X: 4977 Y: 693 is a runic circle prepared for the Nightsong, harmless for any other character to step over.
- The top floor features two small grounds above the main level, which can be reached via ladders at X: 4977 Y: 693 and X: 4975 Y: 719. On the former is a Gilded Chest with gold and random Valuables, while the other has no remarkable items.
- Around the top floor are five small display cases and two large ones, which may contain random precious gems or Rare potions. One of the large cases in the centre ground always keeps a

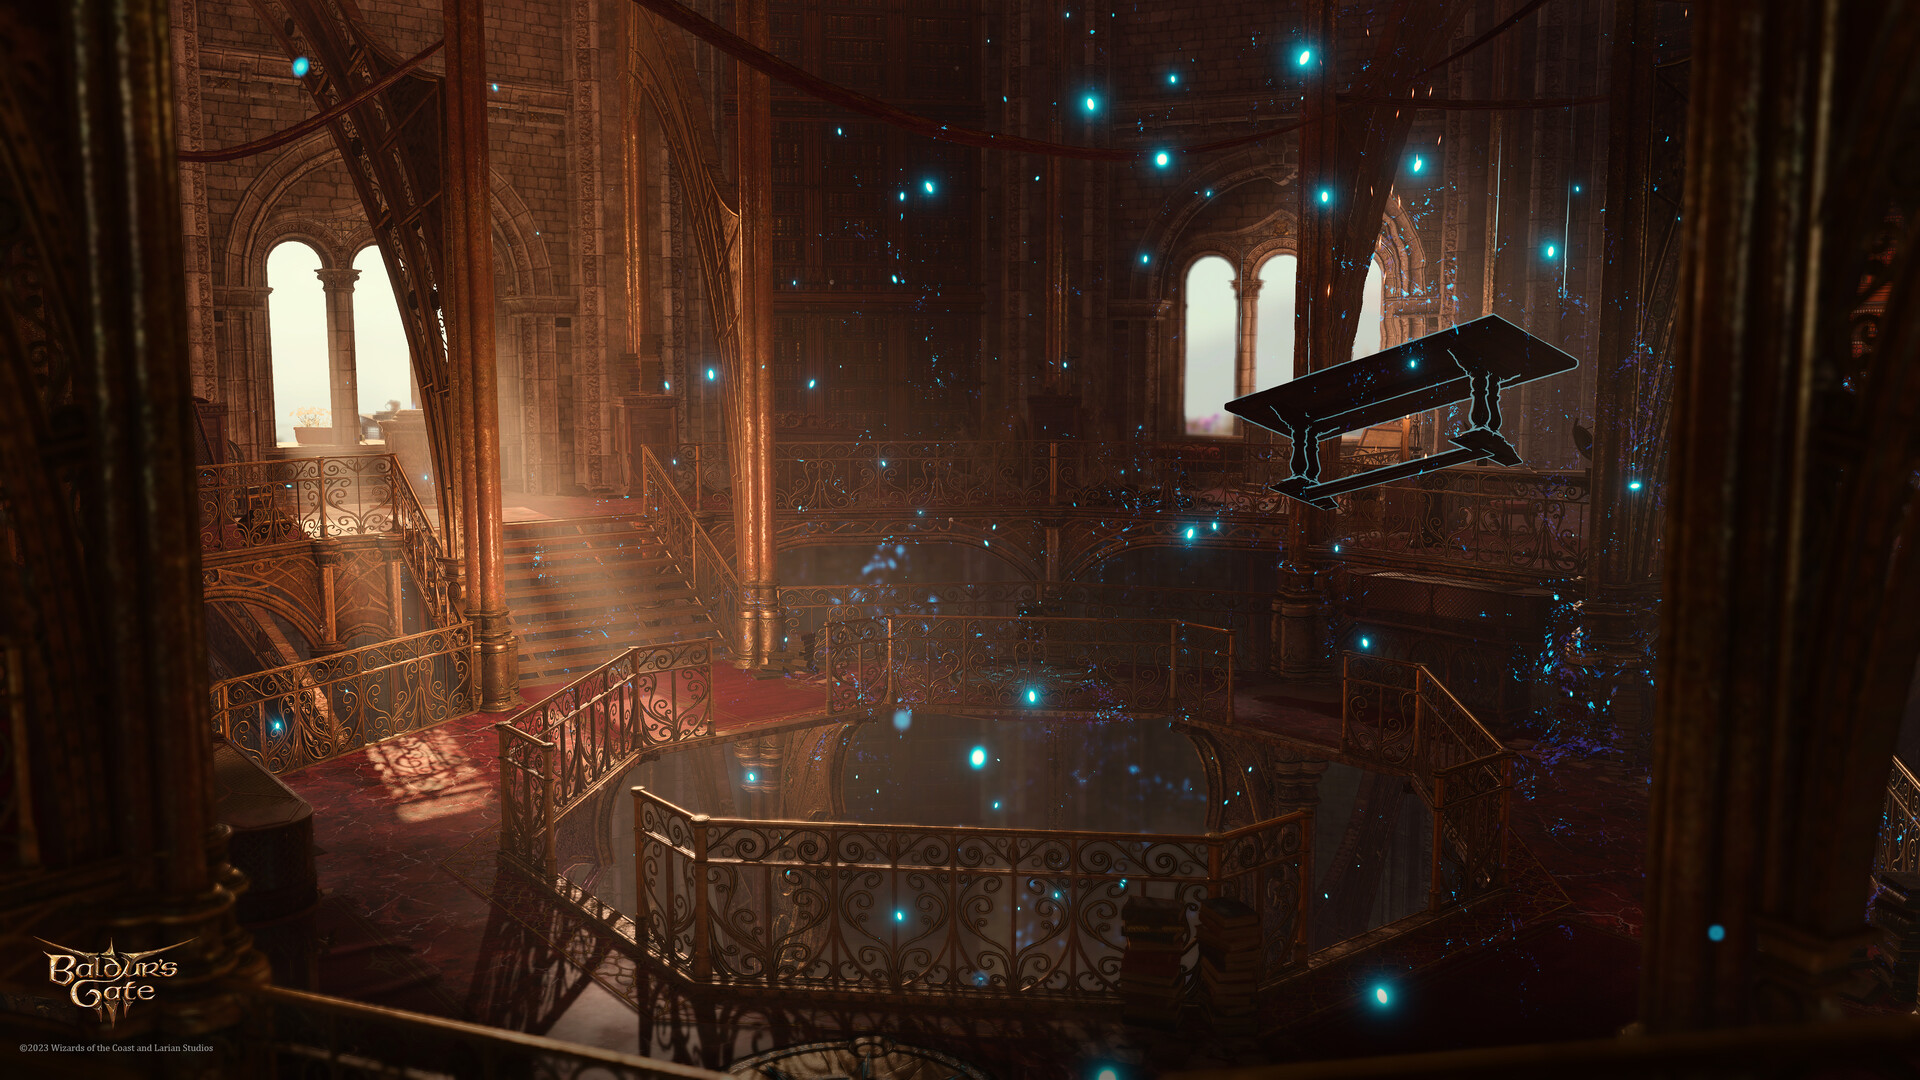
Middle floor[edit section | visual editor]

(by Stimona Milanova)
The middle floor consists of an indoor inner area and an outdoor outer ring. It can be reached by jumping down an aforementioned series of floating furniture, or using spatial movement spells from the top floor balconies. The inner area also consists of two concentrical rings connected with gilded metal stairs.
When exploring this area, using the ![]()
![]()
The floor is densely trapped with ![]()

Around the area are several unlocked showcases, Opulent Chests and smaller Gilded Chests, which may contain gold, valuables, random alchemical ingredients and potions, as well as random arrows and very rare spell scrolls.
The outer ring is available either via jumping through the windows on this floor or after demolishing the barricade at X: 4962 Y: 691. Two ![]()
![]()
![]()
Weave Buttons[edit section | visual editor]

(by Stimona Milanova)
Five pillars are scattered around this floor, each with a 'Weave Button' on the top and a plaque in front of them, which can be revealed with ![]()
- At X: 4962 Y: 718 the Below button teleports the party to the bottom floor.
- At X: 4954 Y: 704 the Cleanup button activates gas vents around the room.
- At X: 4977 Y: 719 the Security button activates Arcane Cannons.
- At X: 4979 Y: 693 the Vault button teleports the party member who pressed it to the Sorcerous Vault. There is no way to teleport back to the Ramazith's Tower from there.
- The only pillar on the outer ring at X: 4995 Y: 706 is labelled as Artillery and fires a fireball from the top of the tower.
Bottom floor[edit section | visual editor]

(by Stimona Milanova)
The bottom floor is accessible via the Weave button marked "Below" on the middle floor. It can not be reached by jumping down from the middle floor; there is an invisible barrier blocking the way.
This floor features two ![]()
![]()
![]()
![]()
Two stone statues labelled as Aspects of Athkatla are actually traps connected to these levers. If an Arcana check on a lever is failed, the statue casts ![]()
A nearby display case is trapped (![]()
![]()
![]()
![]()
There is also a Weave button marked Above that teleports the party back to the middle floor.
Involvement[edit section | visual editor]
When the party teleport into the tower for the first time, a cutscene starts, showing Lorroakan and his retinue. The wizard is idling time while he awaits someone to bring him information on the 


The cutscene spills into a dialogue with Lorroakan, where they can inform him of the Nightsong's fate or bargain with him about bringing her to the tower. They can also deceive the wizard to win some time to make the ultimate decision. The layout of the dialogue directly depends on the party's choices in the end of Act Two.
The party can also ask Lorroakan about the reasons he wants to lay hands on the "relic" and even make him to show the means he plans to use towards this end. If Gale is in the party, he chimes in and the two exchange mutually contemptuous phrases concerning true immortality.
If Dame Aylin survives the events of Act Two and resides in the party's camp, she can be later informed about Lorroakan and his true intentions. In this case, she storms out of camp and moves to Ramazith's Tower. There, the quest ![]()
The party has options to side with Lorroakan or with Dame Aylin. Either way, the fight begins. If the party side with Aylin, she and 
![]()
![]()
If the party betrays Dame Aylin to Lorroakan and later tells Isobel about this in camp, Isobel runs away to save Aylin, and her corpse can be found in the Ramazith's Tower after a long rest.
The party's ultimate choice between siding with Lorroakan or with Dame Aylin may grant one or more of the following inspirations:


Also, choosing surrender Dame Aylin to Lorroakan (regardless of bargaining about it with him prior) is considered an oathbreaking action for Paladins of the Crown and Paladins of Devotion.
Rolan's fate[edit section | visual editor]
If 


Rolan takes over the tower if he survives and the party side with Dame Aylin to complete ![]()
![]()
If the party side with Lorroakan, but he is defeated in the battle, Rolan decides to capture Aylin himself. However, the task is beyond his strength: after a long rest, the party can find Rolan's corpse in Ramazith's tower and a ![]()
If the party choose to attack Lorroakan themselves, Rolan instead confronts the party after Lorroakan is defeated, demanding to know what happened. To avoid another fight with Rolan, the party must succeed either a
Related locations[edit section | visual editor]
Related quests[edit section | visual editor]
Characters[edit section | visual editor]


Creatures[edit section | visual editor]


Loot[edit section | visual editor]
Related literature[edit section | visual editor]
Gallery[edit section | visual editor]
-
Ramazith's Tower can be seen from almost any corner of the city
-
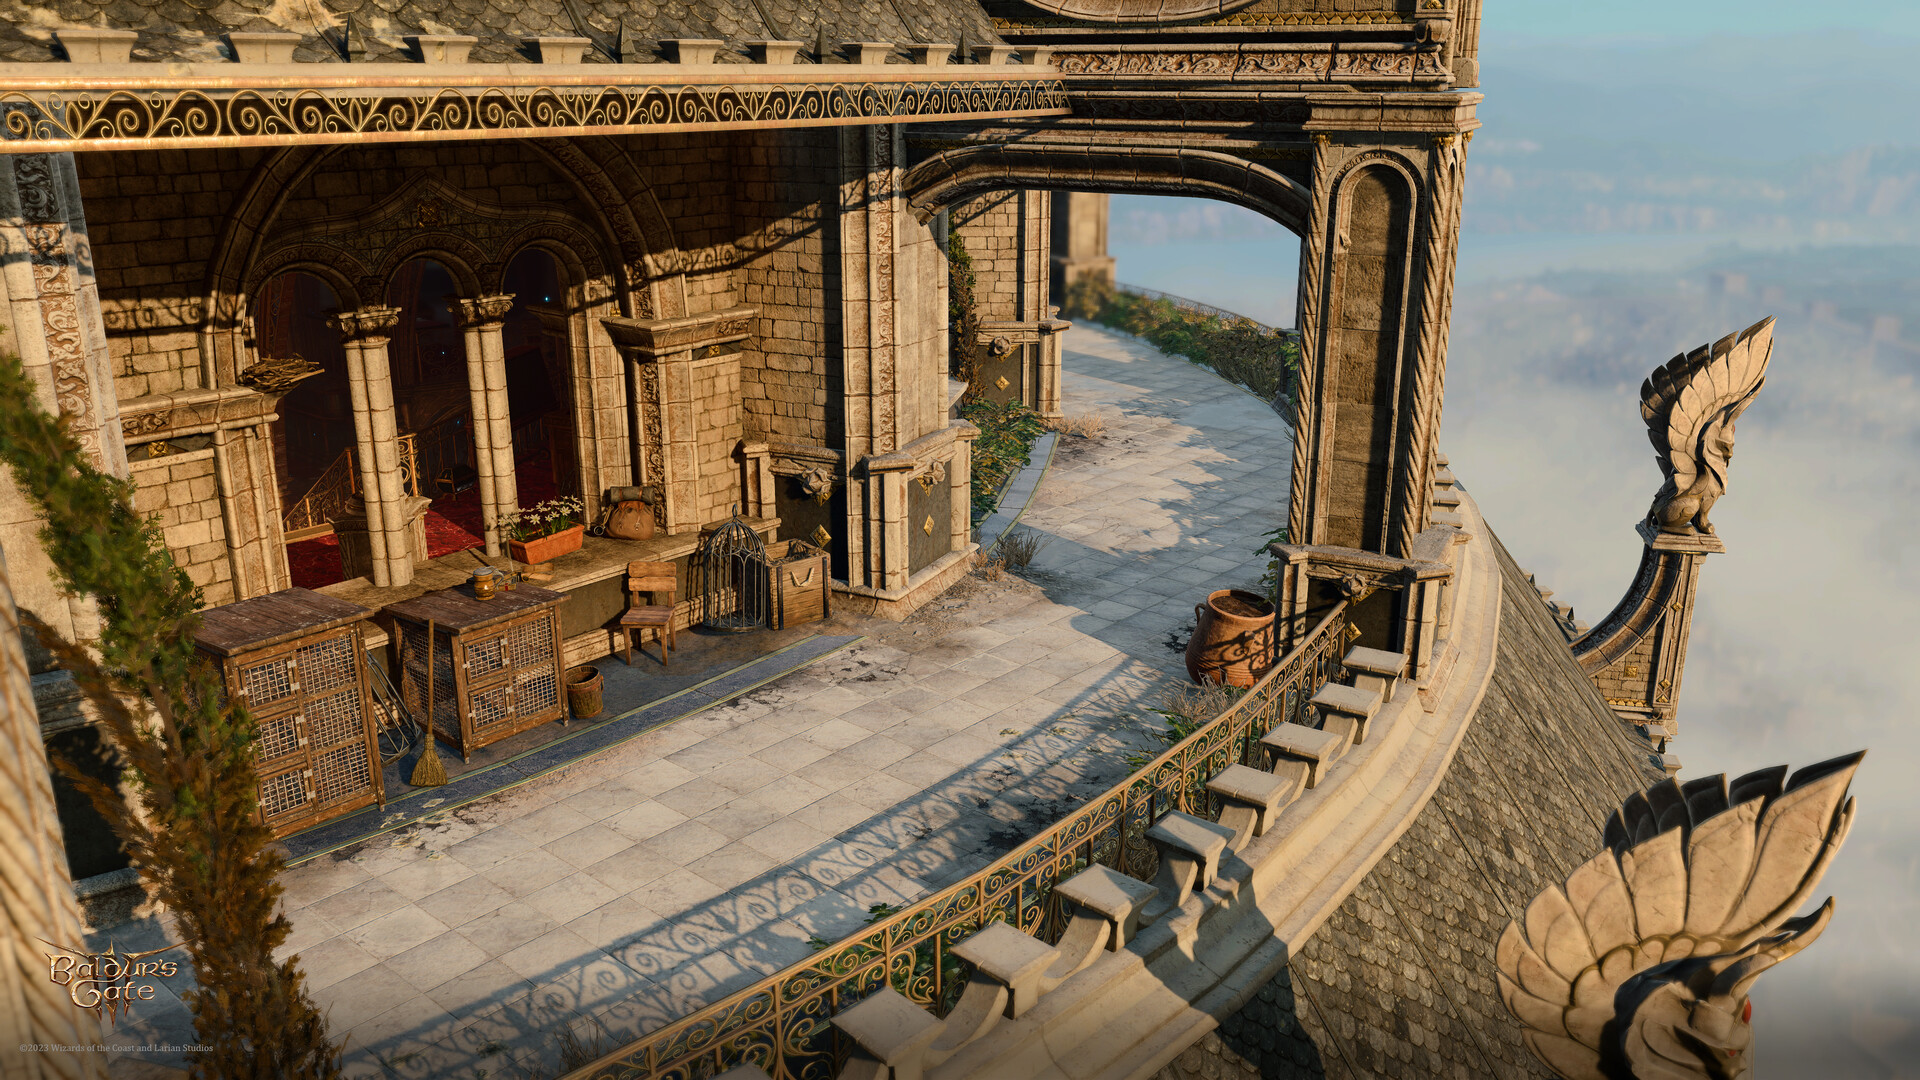
The view from the tower.
Both the Upper and Lower City can be seen from here -
Concept art by Châu Nguyễn Thị Hoài


Notes and references[edit section | visual editor]
- ↑ A book titled


- ↑ If

- ↑ Rolan also relates about moving Cal and / or Lia to live in the tower, all of whom can be met afterwards inside.
- ↑ 4.0 4.1 This character appears if Rolan becomes the new owner of Ramazith's Tower.
- ↑ Isobel's corpse appears if she died in attempt to save Aylin.
- ↑ 6.0 6.1 This item can be looted from Isobel's corpse.


