Ad placeholder
Mason's Guild

| Reithwin Town | ||||
| Grand Mausoleum | ||||
| ↑ | ||||
| House of Healing | ← | Mason's Guild | ||
| ↓ | ||||
| Reithwin Tollhouse | ||||

Overview[edit section | visual editor]
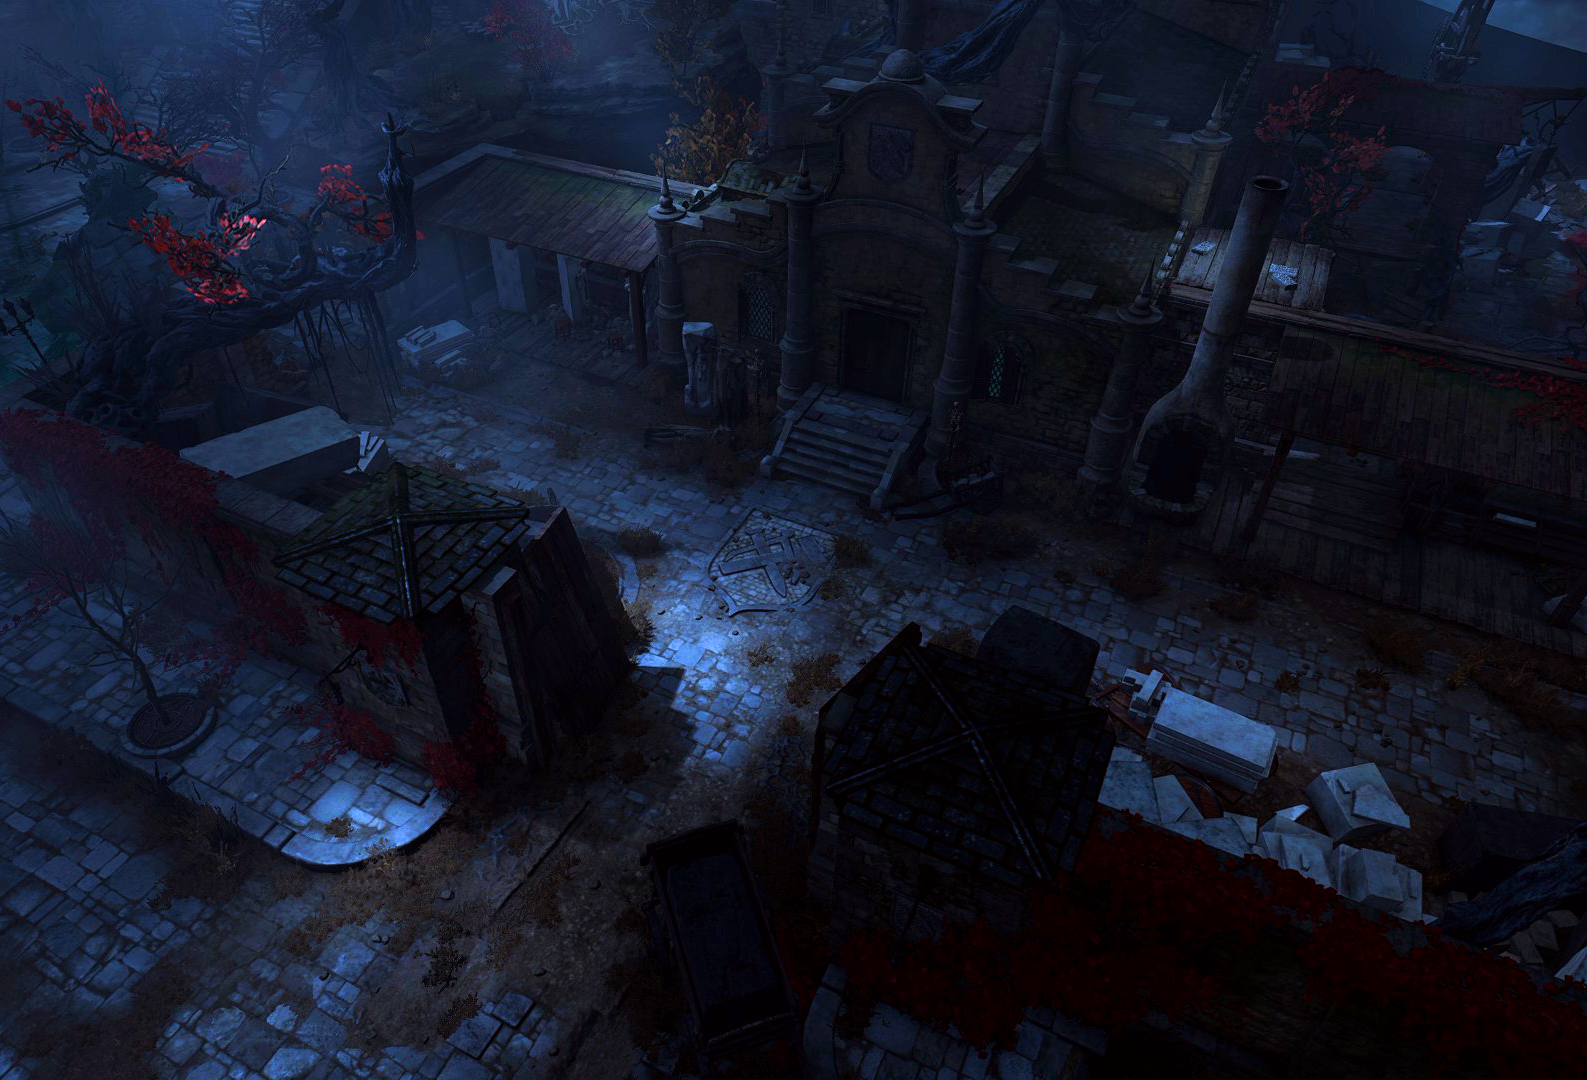
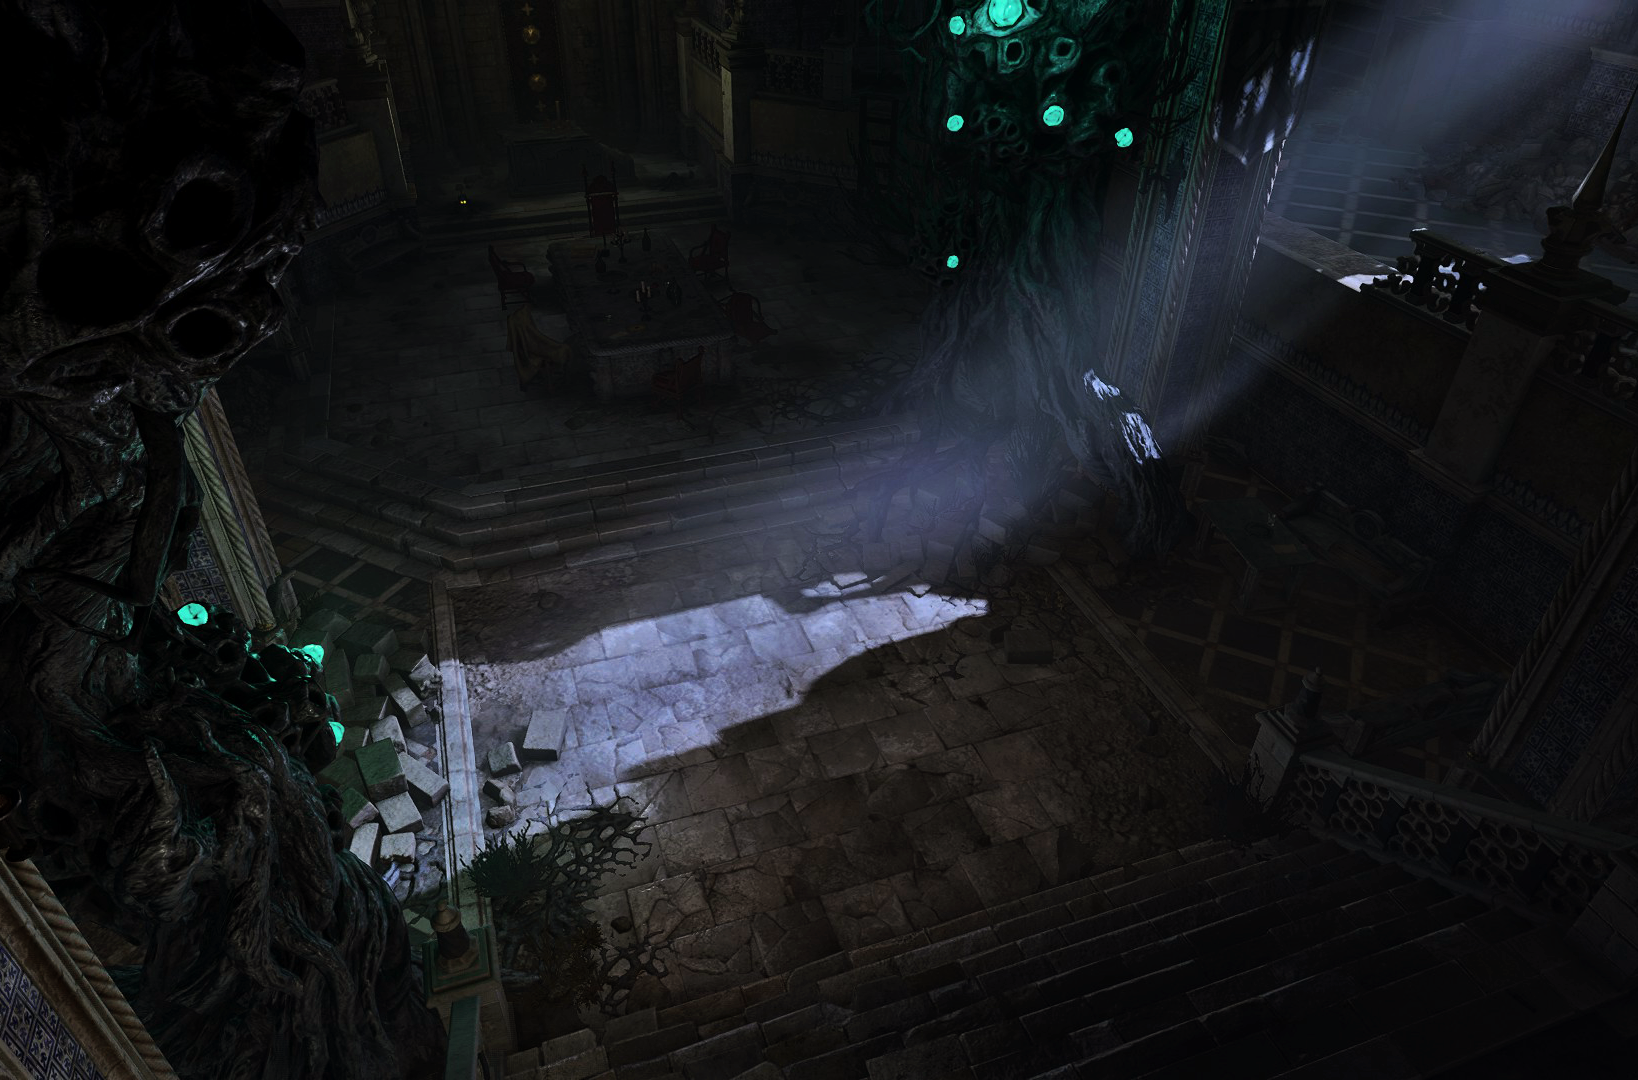
The Mason's Guild with its extensive yards takes up the north-eastern part of Reithwin Town. It is a formidable building itself, and the stoneworks all around the city are evidence of the craftmanship of its past members. Both yards of the guild are cluttered by untouched blocks of stone, as well as half-chiselled statues and plaques.[1] It is separated from the town main by several gates, and its backyard opens onto the bank of the sidestream of the Chionthar. Across it, the shining dome of the protected Last Light Inn can clearly be seen.
After the Selûnite resistance was revealed and uprooted, their apparent leader 
![]()
![]()
Access[edit section | visual editor]
The Mason's Guild can be accessed from several points:
- Using the ruined bridge starting on Ruined Battlefield at X: -59 Y: -22 and passing the eastern gate
- Using any of two gates leading from the Reithwin Town streets or its central square
- Walking along several arborous vines trailing from various points of the Reithwin Graveyard
Main building[edit section | visual editor]
When first approaching the Mason's Guild, the party can briefly see 
Inside the main building of the guild the party can find the ![]()

![]()
![]()
![]()
![]()
In the farmost room of the main building at X: -117 Y: 31 on a workbench lies a set of ![]()
![]()
![]()
![]()


On the main building's roof at X: -113 Y: 0 stands a heavy chest with gold, and at X: -115 Y: 22 lie two skeletons. One of them carries alchemical ingredients, while the other has some gold and a ![]()
At X: -129 Y: 23 on the side balcony is a Control Wheel which services an elevator to descend into the cellar. From there, the party can reach the Mason's Guild basement. Another way to reach the cellar is the Ornate Hatch in the corner at X: -127 Y: 26.
Mason's Guild Basement[edit section | visual editor]

Inside the basement at X: 129 Y: -692 a successful ![]()

Upon opening, the movable wall section reveals a secret passage with a threatening ![]()
Heading forth and to the left, the party can see a reinforced gilded chest at X: 104 Y: -700. The chest weighs 250 kg and is scripted as such that it cannot be picked up or moved no matter the strength of any who attempt to do so. A ![]()
Behind the trap section is a door to a large Mason's Hall with a lowered central part and two galleries along both sides. In the end of the central part is a long stone table where the members of the Selûnite resistance appear to have held their covert meetings.
Approaching the table (approximately halfway to the table, regardless of using the galleries or the central part), causes five 

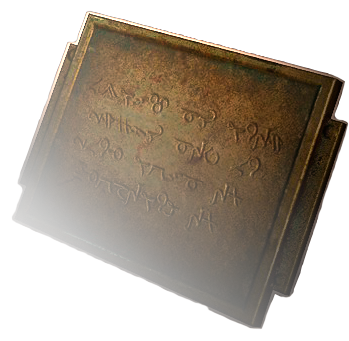
On the table is the ![]()
![]()
![]()
Behind the altar is a trapped gilded chest (requires a ![]()
![]()
On the eastern gallery at X: 123 Y: -739 a ![]()
![]()
![]()
![]()
![]()
![]()
Related quests[edit section | visual editor]
Creatures[edit section | visual editor]


Loot[edit section | visual editor]
Related literature[edit section | visual editor]
Notes and references[edit section | visual editor]
- ↑ It is possible works in progress were abruptly abandoned with the advent of the Shadow Curse.
- ↑ While there is no hard evidence that Morfred was executed by Sharrans, circumstantial evidence makes this likely:

- In front of the guild entrance are two skeletons impaled on pikes. Upon interacting, the narrator prompts a line: "Let this be a warning - those who defy Shar's will shall suffer darkness without her blessing."
- There are synopses to the dialogue files concerning the bones (TWN_Masonry_AD_MasonApprentice_01.html)
- ↑ Using AoE spells that cover the book may destroy it, ultimately locking the party out of completing the quest.
- ↑ The set of scrolls and potions in these chests is fixed, therefore, it is one of the few reliable places to obtain a Scroll of Knock.