The Selûnite Resistance remains in the Shadow-Cursed Lands.
Investigate the Selûnite Resistance is a quest in Act Two of Baldur's Gate 3. It can be started by reading the Investigation Notes on Inquisitor Verzen Wranlock's skeleton or reading the note in the Potter's chest in the Ruined Battlefield. During the quest, the party can discover that rebels were collaborating with the Mason's Guild against Ketheric Thorm.
Objectives and journal entries may vary pending player decisions and outcomes.
Investigate the abandoned potter's workshop.
We found the old notes of a Sharran inquisitor. She had been investigating rumours of clandestine Selûne-worship in the region, and had been following a lead to an abandoned potter's workshop. Perhaps we should look for it.
We found a stash of Selûnite relics in the abandoned potter's workshop, as well as a note suggesting there may be more at Last Light Inn.
Investigate Last Light Inn.
It looks like there was a burgeoning Selûnite resistance to Sharran control of the region a hundred years ago. We should investigate further in Last Light Inn.
We found a stash of Selûnite relics in Last Light Inn. It seems the innkeeper's owner, a mason called Morfred, was the leader of a resistance movement against the Sharrans.
Investigate the Masons' Guild.
The Mason's Guild seems to have been the centre of the Selûnite resistance in the area. We should seek it out and investigate further.
Quest Complete
We reached the Masons' Guild and found the writings of Morfred, leader of the Selûnite resistance. He was determined to fight on against the Sharrans however he could, even if it cost him his life.
We continued on our journey without completing our investigation into signs of Selûnite resistance.
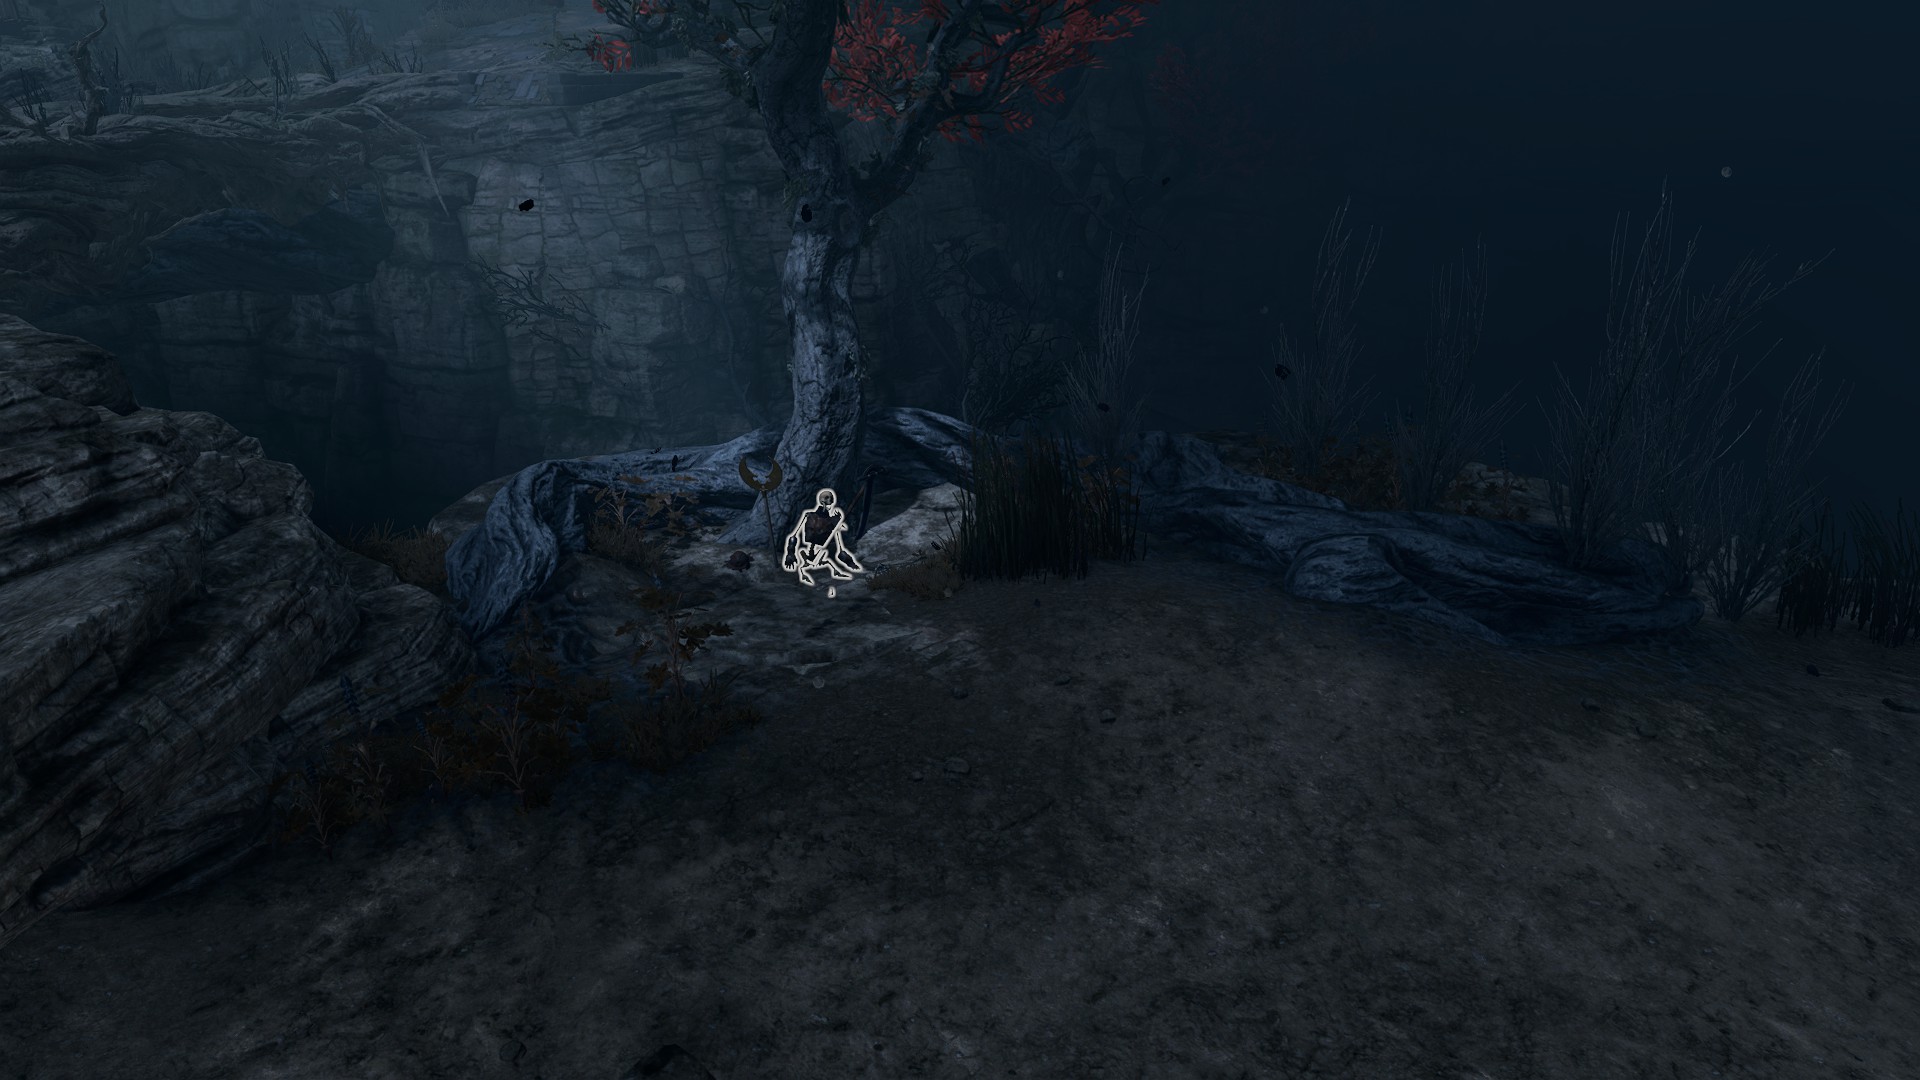
At the Ruined Battlefield, there is a skeleton of the Sharran Inquisitor Verzen Wranlock at X: -35 Y: -88. Looting the corpse provides a book of Investigation Notes which reveals that the Sharrans were investigating a former potter's workshop that was acting as a hideout for Selûnite holdouts. The book offers coordinates to the house, which is to the north, also at the Ruined Battlefield.
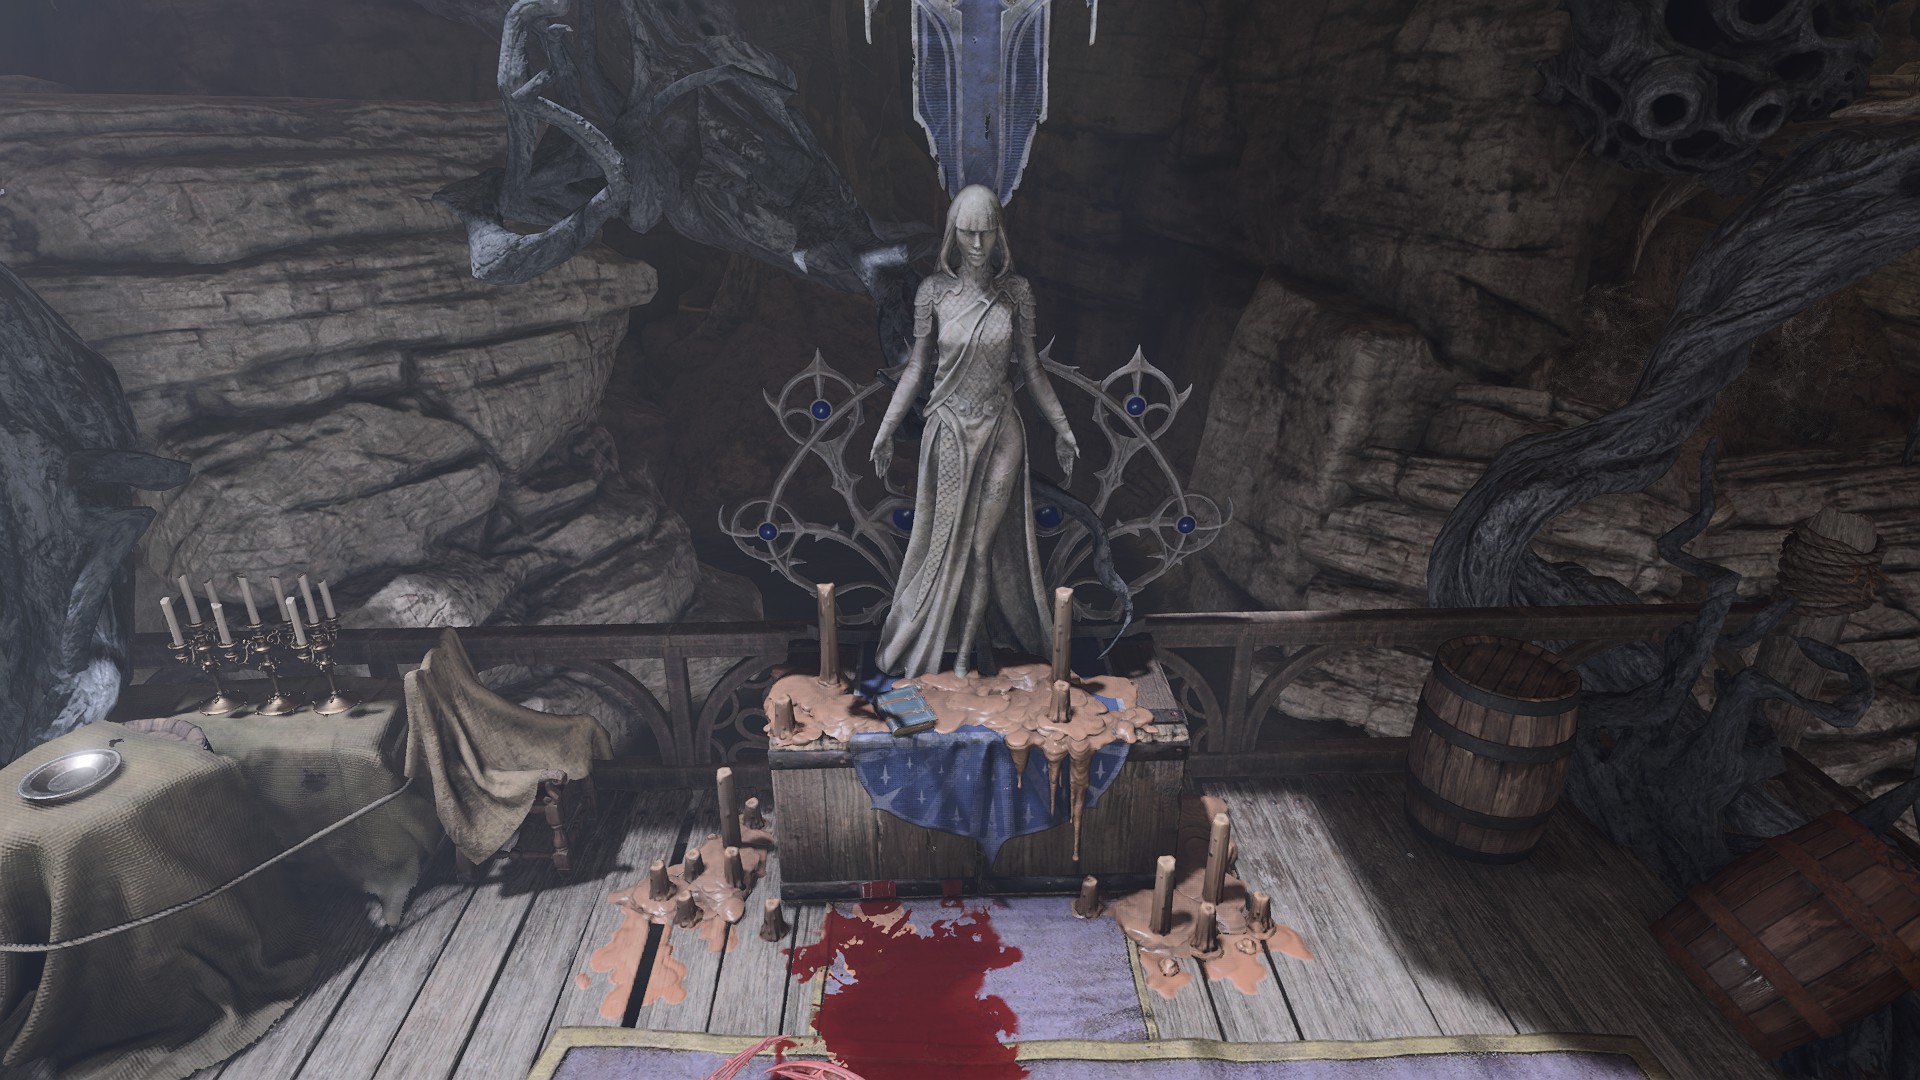
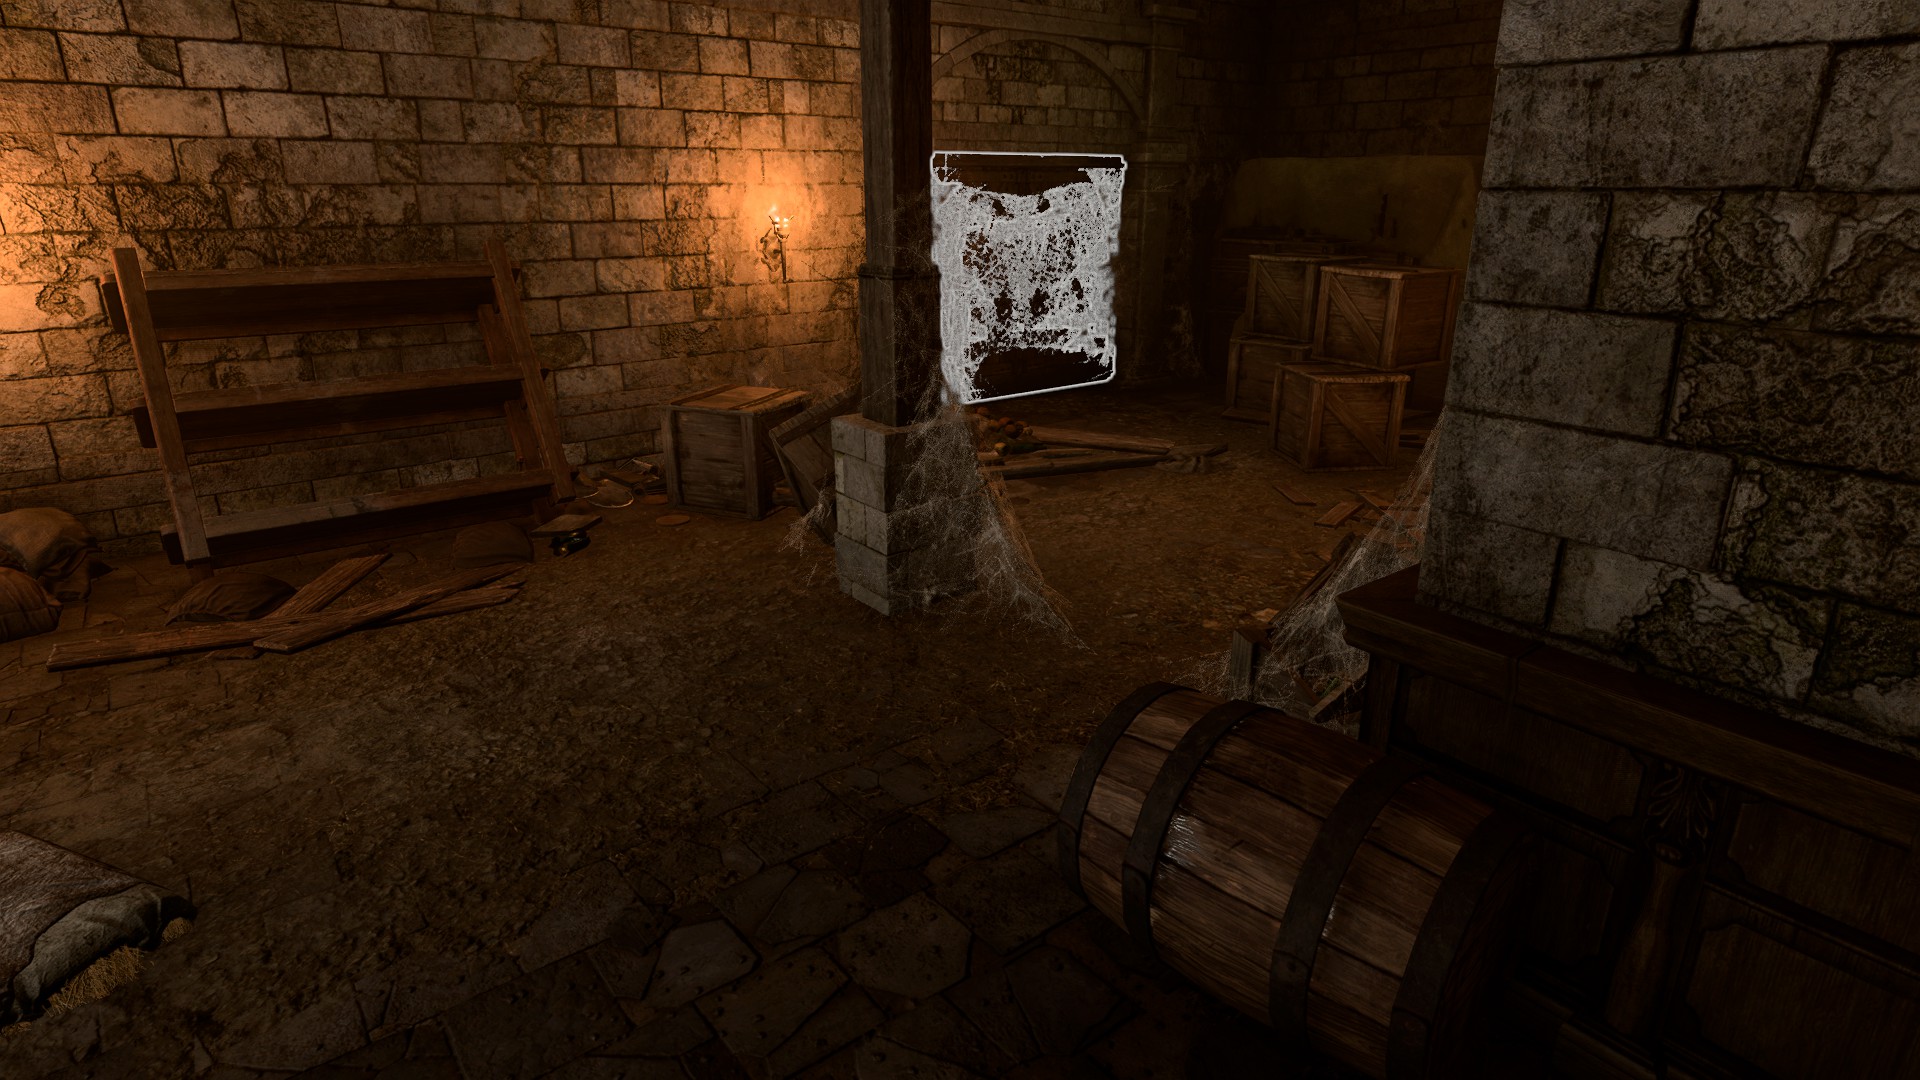
When approaching the potter's house, a group of Meazels attack. After dealing with them, the party can find the Potter's Chest at X: -52 Y: 11 and lockpick it ( DC 14 Sleight of HandCheck). Alternately, the key to the chest can be found at X: -34 Y: 13 by passing a Perception check. The chest holds a Sêlunite note referring to the Last Light Inn as another source of Selûnite rebellion. The party must go to the northern end of the Inn, to the docks, to find an entrance to the Last Light Inn - Cellar at X: -47 Y: 144. Once inside, there is a set of Double Oak Doors at X: 28 Y: -724 covered by crates. After moving or destroying the crates the door can be opened. Within this room is a cracked wall to the west - the party must destroy it with force damage to continue. Once inside, seven Meenlocks attack the party. After the battle, the party must move east to the Selûnite shrine. On the stone bench next to the statue is Halfred's Note, which indicates the rebels were collaborating with the Mason's Guild to take down Ketheric Thorm. Reading the note advances this quest.
It is possible to skip first few steps and directly fight with the Meenlocks if climbing down the roots found in the abandoned house by the river just east of the Last Light Inn (the party would need full protection from shadow curse from the Moonlantern or the Filigreed Feywild Bell).
The webbed door in the Last Light Cellar.
While at the Last Light Inn, the party must head to the ground floor to speak to Mattis. Asking him if he sells anything special, lets him mention a strange key that Mol gave him and told him not to give away easily. The key can be bought from Mattis outright for 1,000 gold, or he can be convinced into giving it to the party.
I'd like to buy it from you.
Mattis
This is a, ahem, valuable piece, so it's gonna cost a lot. And that is non-negot... non... the price isn't changing!
That's way too little. Here. Keep the change.+1+1+1-1+1
You drive a hard bargain, but it's a deal.
[DECEPTION] Mol said I could have it. (DC 14)
Mattis
No she didn't.
[DECEPTION] Yes she did. (DC 6)
[CHARISMA] Yuh-huh. (DC 6)
[INTIMIDATION] Give it or I'm telling Mol on you. (DC 6)
[PERSUASION] If it was worth any coin, do you think Mol would have given it to you? (DC 14)
Mattis
I mean... maybe.
[INTIMIDATION] Hand it over. Now. (DC 6)
[PERSUASION] Mol knows it'll be safer with me - and so do you. (DC 6)
[INSIGHT] With all the other fabulous things you've found in this inn, why hold on to a dusty old key? (DC 6)
[ROGUE] [PERSUASION] Look - give it to me now, or I steal it later. The former is less embarrassing. (DC 6 )
If he gives it up, the party receive a Tower-Shaped Key. If for any reason Mattis is not at the Last Light Inn, the key can instead be found in a pouch covered in cobwebs behind the main bar.
After obtaining the key, the party must travel to the Mason's Guild, which is north of the Reithwin Town Waypoint. Inside the building there is an Ornate Wooden Hatch which leads to the basement at X: -127 Y: 27. Alternatively the party can use the elevator on the upper floor to get down to the basement. Passing a DC 10 PerceptionCheck reveals a Keyholed Herald on the western wall. The keyhole can be lockpicked or opened by using the key from Mattis. Moving southwest unveils what remains of the resistance - a Wraith and several Shadows.
Reading the Mason's Log at X: 108 Y: -748 reveals how the the mason made a deal with a Raphael the man who was no man to wipe out Ketheric's Dark Justiciars in their stronghold. This completes the quest.


