Ad placeholder
House of Healing

| Reithwin Town | ||||
| Grand Mausoleum | ||||
| ↑ | ||||
| Baldur's Gate | ← | House of Healing | → | Mason's Guild |
| ↓ | ||||
| The Waning Moon | ||||

Overview[edit section | visual editor]
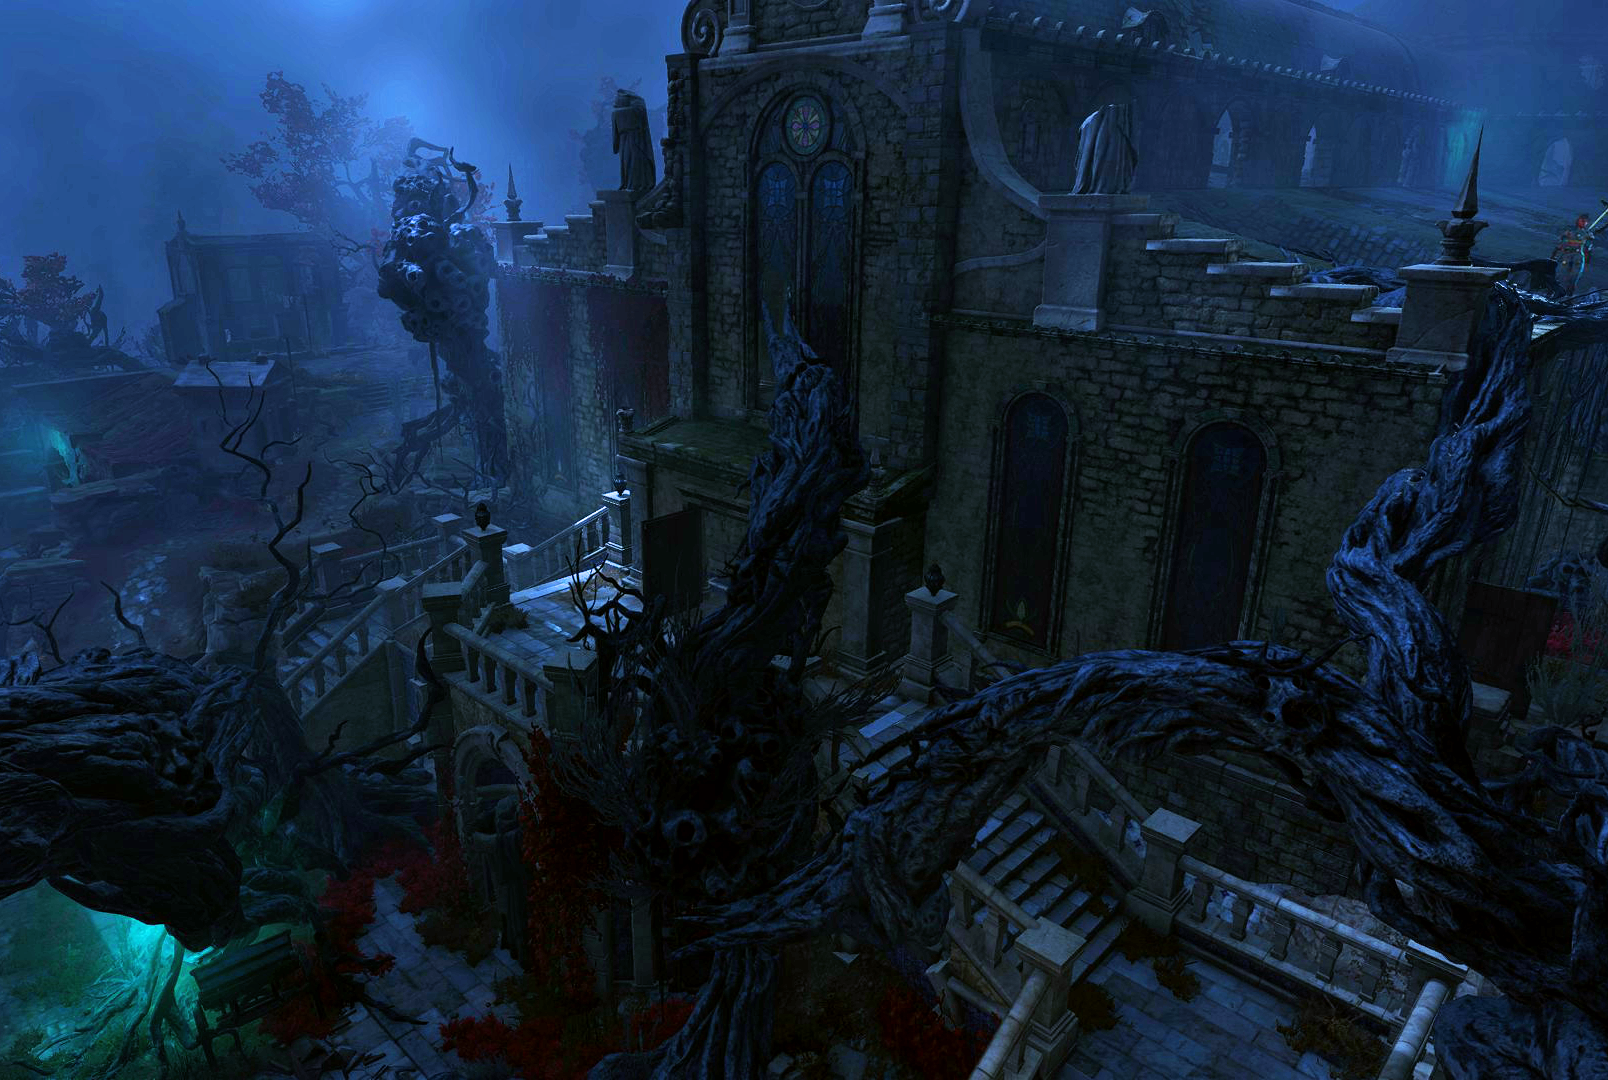
The House of Healing occupies the north-western corner of the town. It is a long two-storied building ending with a round hall; the second floor is only used above the round part, where the hospital library is kept. Along its northern and eastern side, a large graveyard outspreads, edging the riverbank. To the west is the morgue.
The House includes a hospital ward, an annex with a children's ward, and most noticeably, a large operating theatre which bears a strong resemblance to anatomical theatres of old, used to dissect cadavers. It is staffed entirely by undead nurses, and led by the residing surgeon 
Exploring the House of Healing is crucial for progressing the ![]()

Hospital sections[edit section | visual editor]
Hospital ward[edit section | visual editor]

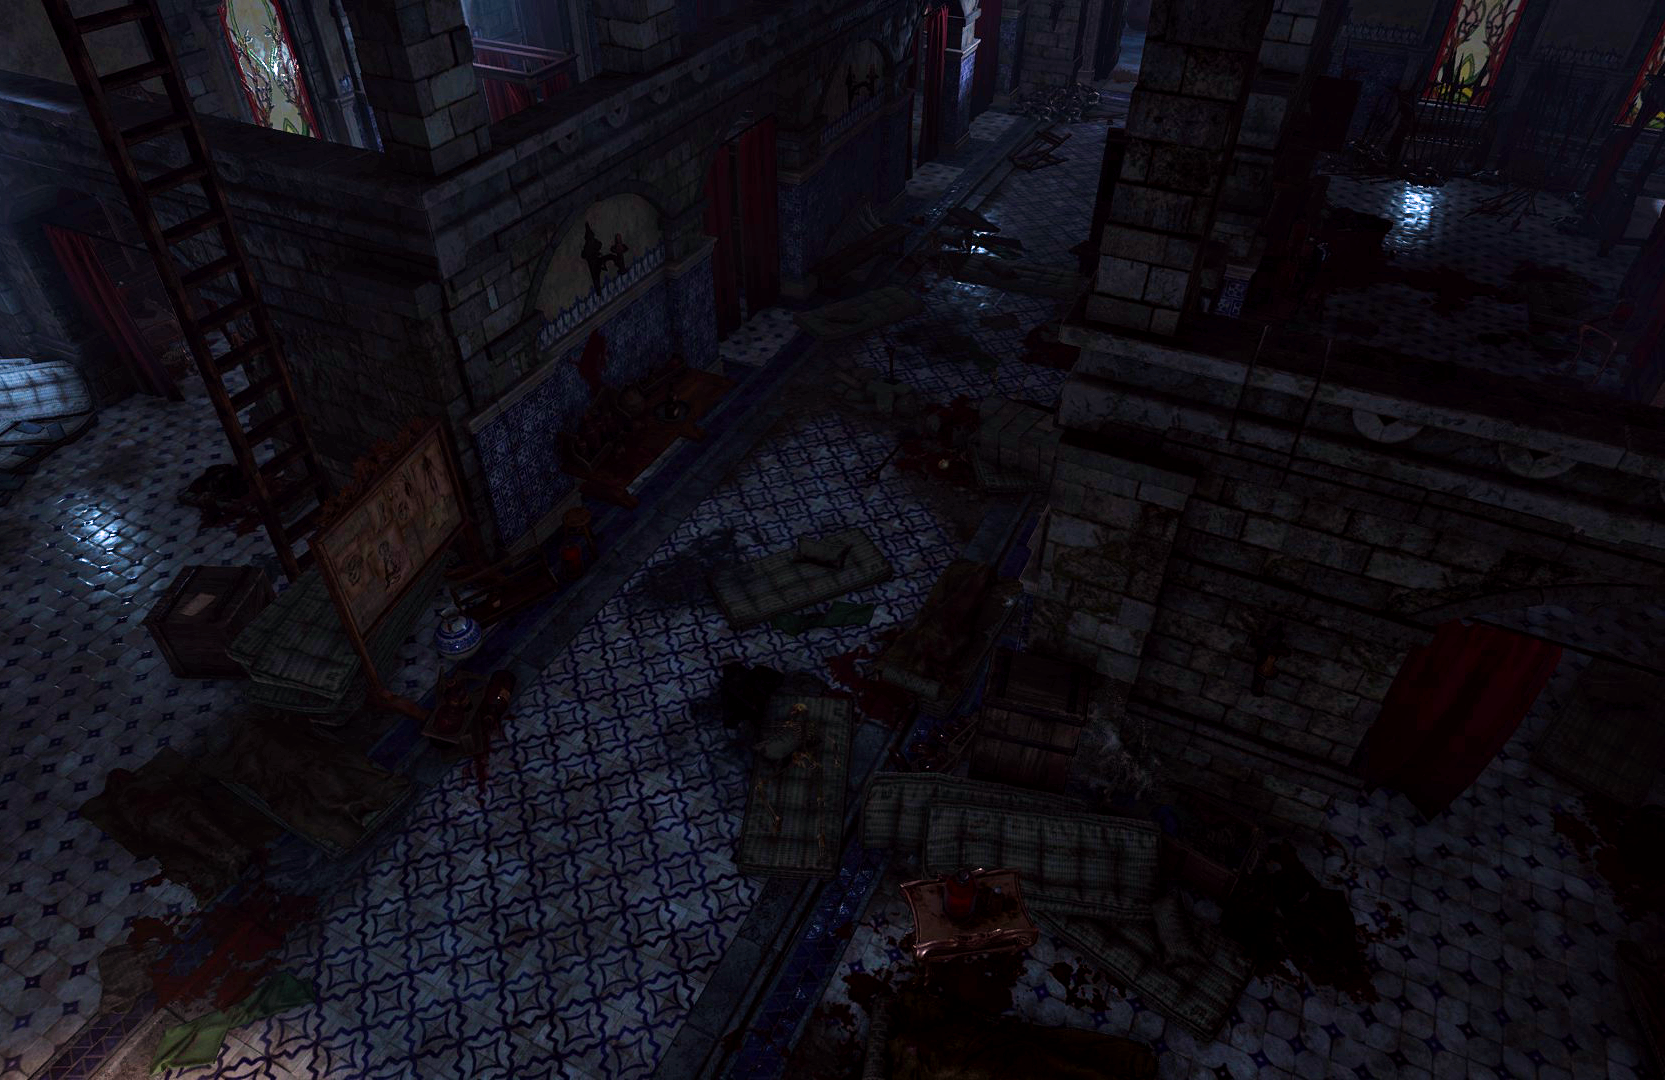
The main hospital ward is a rectangular hall ending with two spiral stairs leading to the upper level of the operating theatre. Beneath them is the double door for moving in survey targets (and moving out the remains). The hall also has smaller galleries along both sides with doors opening into the graveyard (western) and into the children's ward (eastern).
The main ward is tended by 


Sinda's locked counter and the heavy chest beside it, both red-outlined, contain some alchemical ingredients. The key to the counter can be looted or pickpocketed from Sinda.
Behind Sinda at X: -210 Y: 0 on a mattress lies a skeleton carrying ![]()
The opposite (eastern) gallery is cluttered with bookcases and various medical equipment. Three ![]()
![]()
This gallery has a door which leads to the children's ward. The children's ward has an exit into the graveyard, and the gallery is far enough from Sinda's reception. Thus, this way can be used to enter the House of Healing - bypassing any need for ability checks at the entrance.
Children's ward[edit section | visual editor]
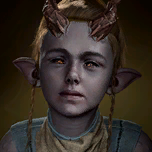
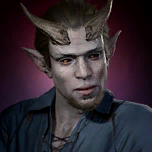
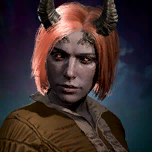
The children's ward is a separate room adjacent to the eastern part of the hospital, with its own small yard opening into the graveyard. However, sick children are no longer present; the only two occupied cots carry the corpses of 


![]()
Both tieflings' bodies are available to ![]()
Near the bodies stands 
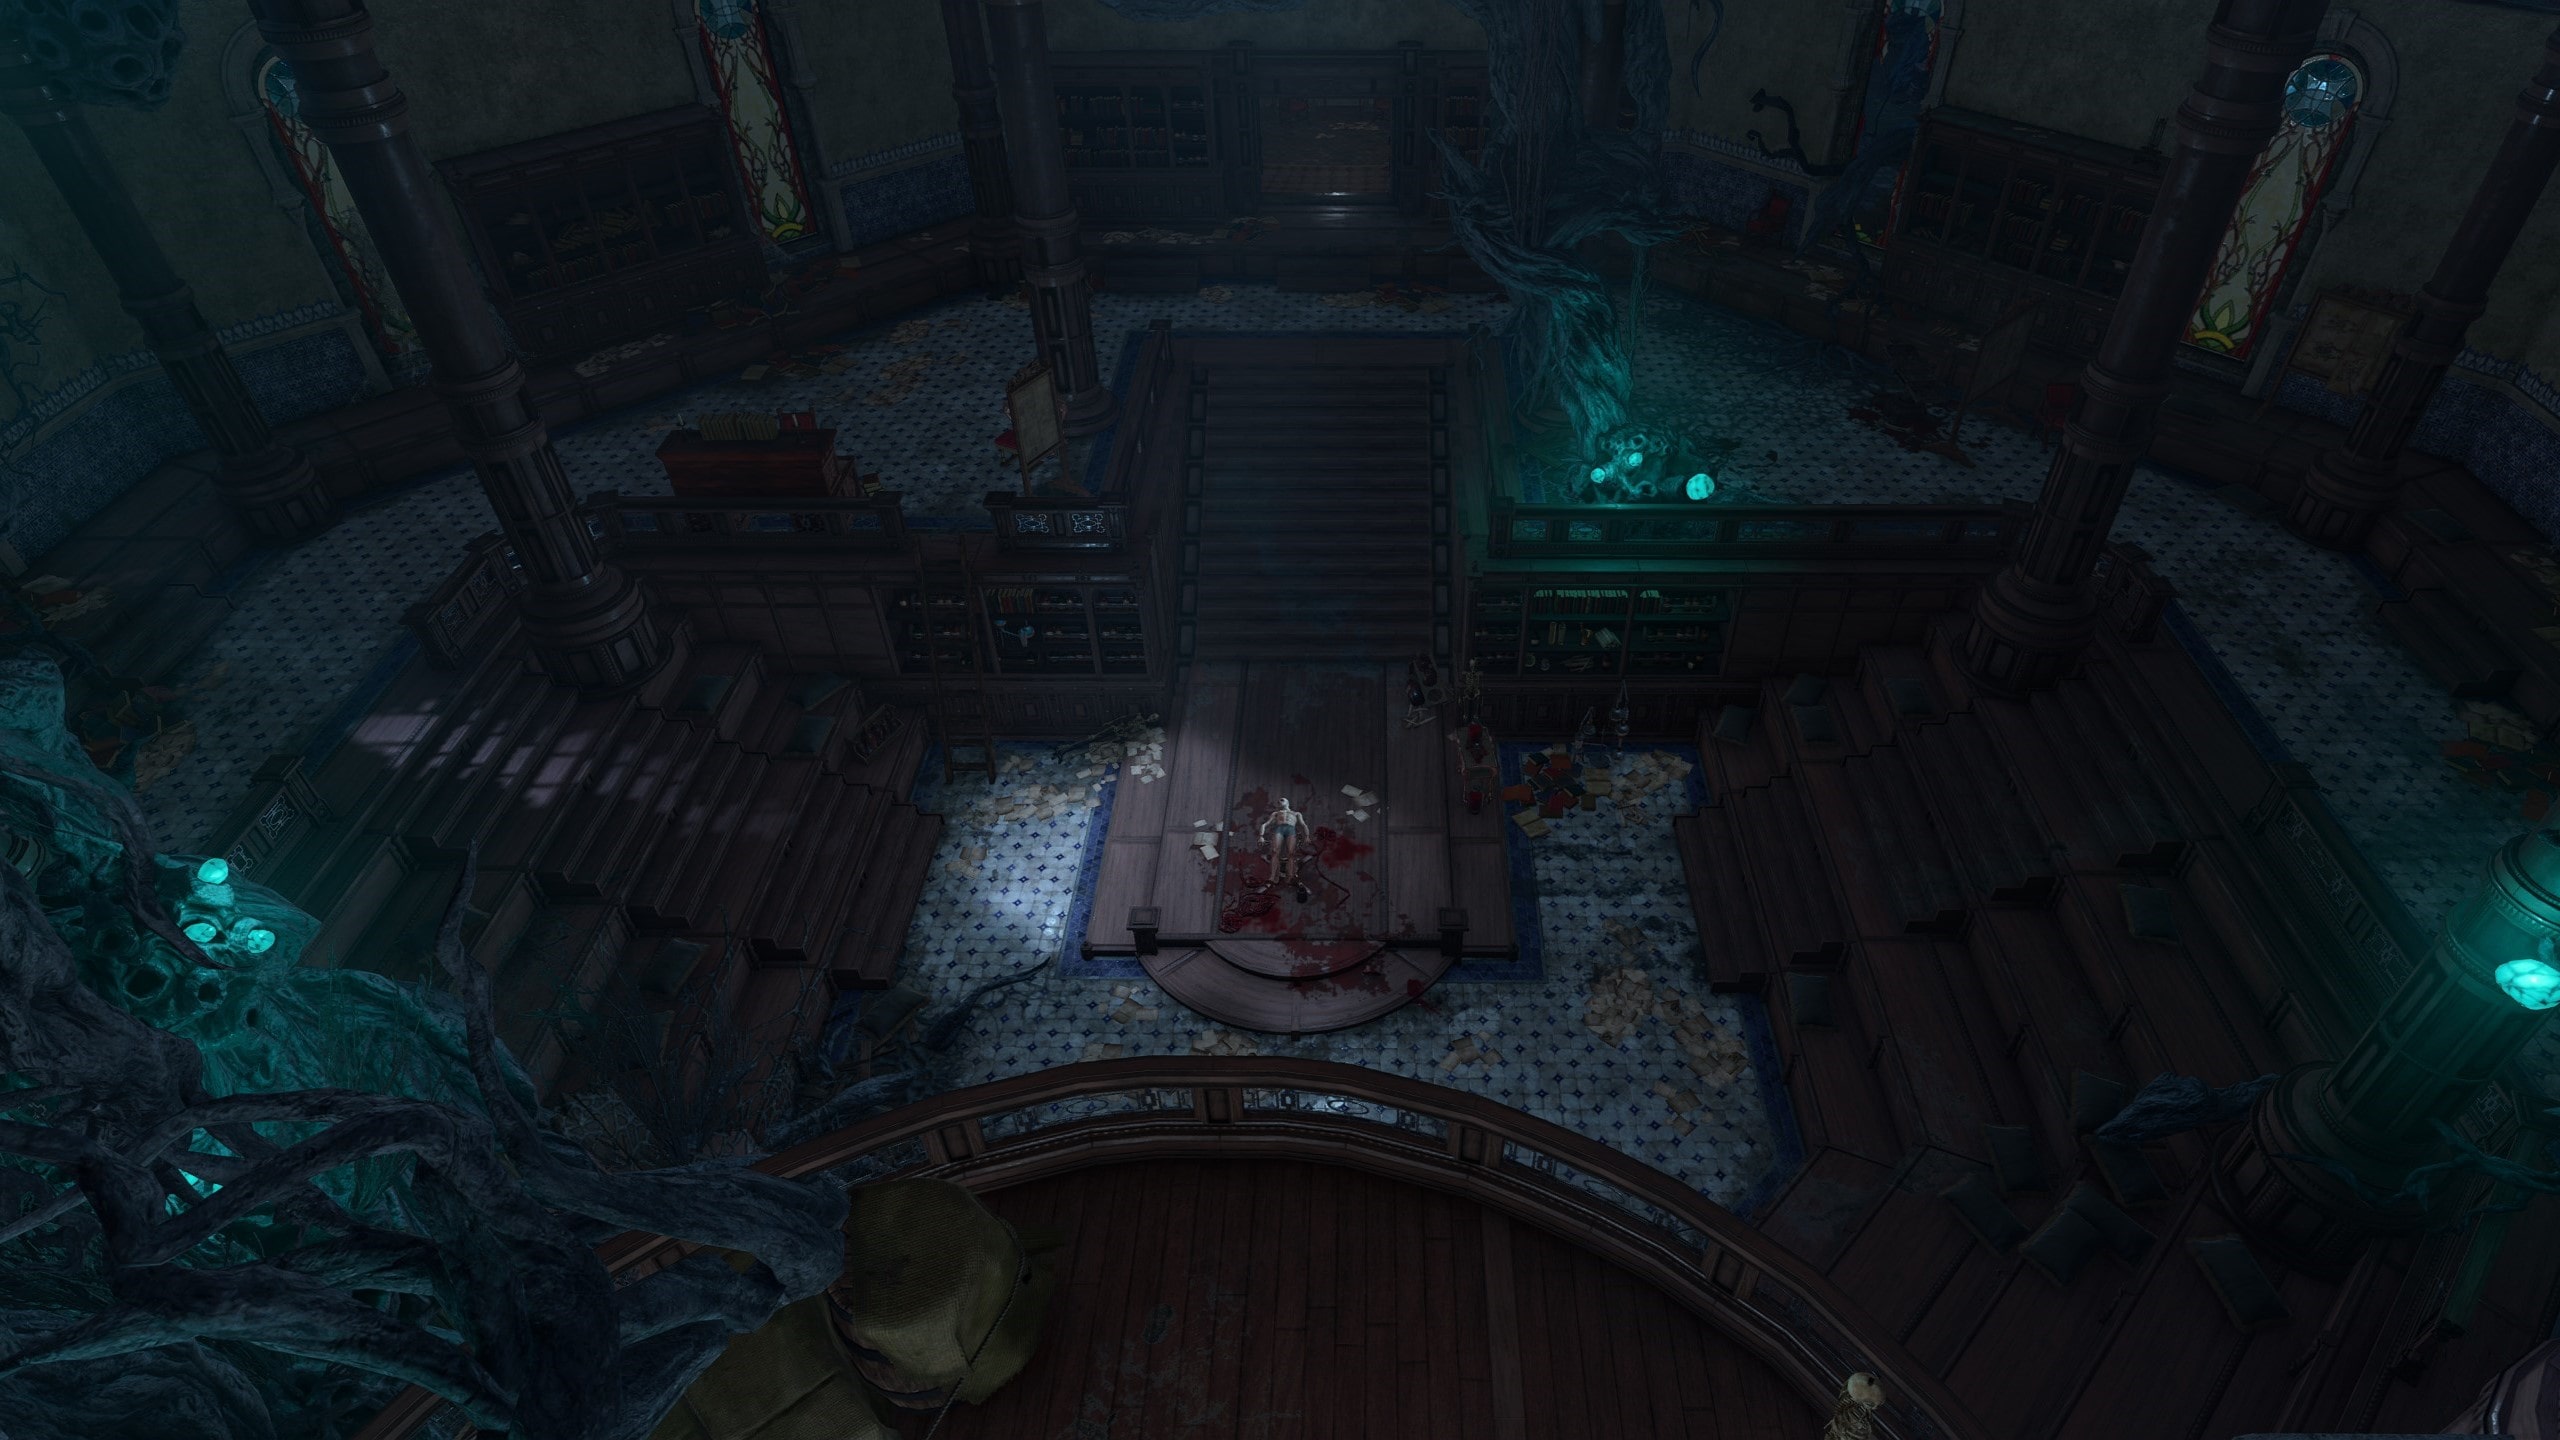
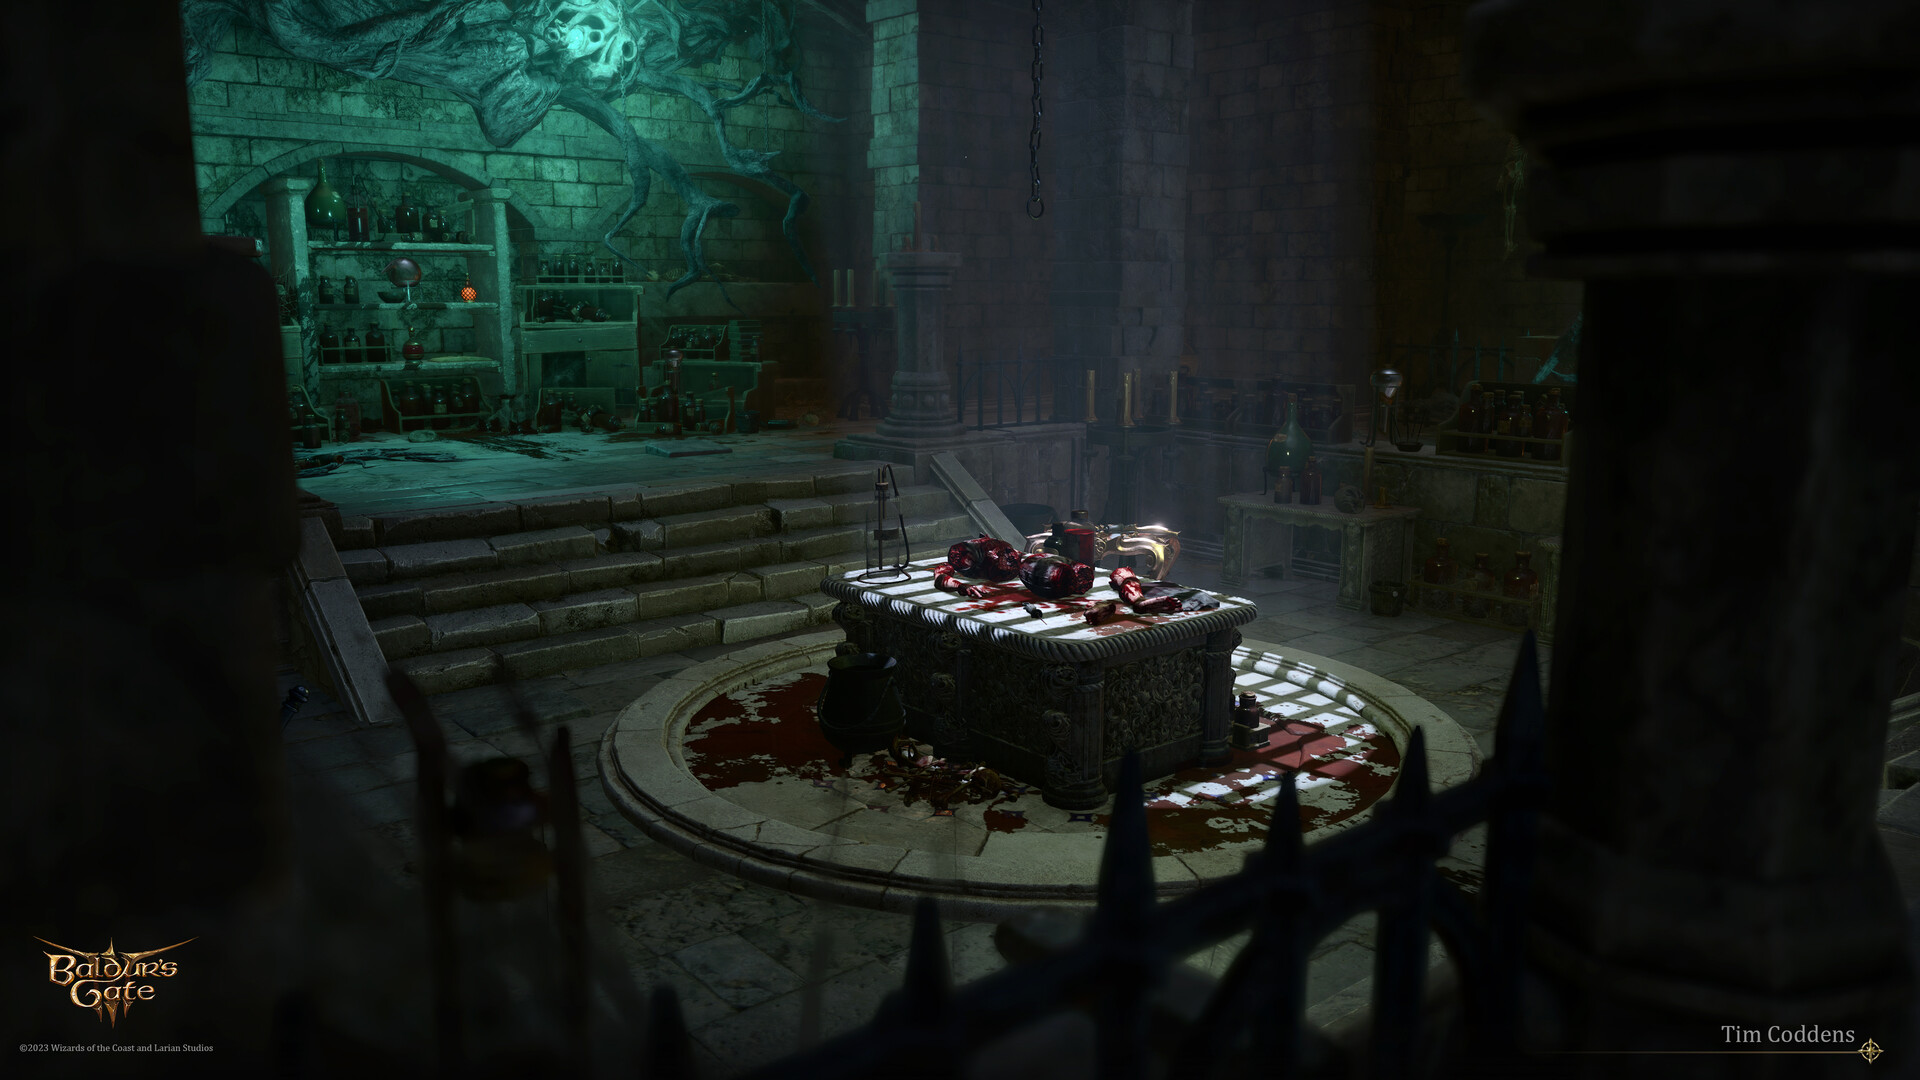
Operating Theatre[edit section | visual editor]

The round northern section of the building encompasses the operating theatre, with wooden stairs for observers leading up to the huge bookcases along the walls. The aforementioned spiral stairs from the hospital ward lead to the upper level and to the elevator at X: -199 Y: 26, which can be used to reach the Hospital Library (see below).


Malus Thorm's office is the small room just north of the operating theatre. It has two locked exits into the graveyard which can be opened with the ![]()

![]()
![]()
Approaching the surgeon and his nurses starts an automated dialogue with various ability checks with DCs ranging from 14 to 21, which eventually allow to convince surgeon to submit a suicide by surgery, either disposing of nurses first or sparing them. If any of checks is failed, Malus Thorm attacks the party, the nurses siding with him.
Depending on the layout of the conversation and its outcome, the following inspirations may be granted:


Also, the following inspirations can be earned, if not received earlier:

Talking to Malus Thorm, revealing his story and defeating him is a necessary component as well for further obtaining the following inspirations:


Finally, the assisting nurses each carry one of four special surgical tools: an ![]()
![]()
![]()
![]()
![]()
![]()
![]()
If Malus Thorm is killed, and his nurses are not, they ascend to the upper level of the theatre and wander there, remaining neutral to the party. Also, several nurses can be found there already dead by the time the party exlpore the location. After the surgeon is dealt with, his body can be looted for the ![]()
![]()
![]()
Hospital Library[edit section | visual editor]
The hospital library occupies the top floor of the House of Healing above the operating theatre. It can be reached by several paths:
- Walking up the arborous vines near the children's ward to the hospital ward roof. This way, the party may run along the roof or enter the area above the ward through broken windows. Inside a

- Using the elevator between the hospital ward and the operating theatre. The entrance to the library is locked and requires a

- Series of roots tangling up from the upper level of the operating theatre at X: -193 Y: 59 allow the party to enter the library from inside.
There are two locked gilded chests in the library at X: -203 Y: 57 and X: -211 Y: 43, both requiring
If the party walk on the operating theatre roof from the library, they can loot another bird nest at X: -220 Y: 45.[3] Also, a vine "bridge" at X: -190 Y: 62 allows to reach the Grand Mausoleum.
Reithwin Graveyard[edit section | visual editor]


The graveyard surrounds the House of Healing from the north and is adjacent to the river. It has several possible points of entrance:
- The Main entrance via a cast-iron gate at X: -152 Y: 20
- A side door from the alley leading to the morgue (see below) at X: -219 Y: 16
- Several arborous vines leading from the Mason's Guild (back balcony, back yard, and the outer-yard appentice)
- Numerous exits from all rooms of the House of Healing building, except the library
The graveyard features numerous tombstones, some of which are interactable objects. When interacting, the Narrator prompts an epitaph, which may be found to be rather amusing, ironic, or even sarcastic. There are also several charnels, two of which can be entered and looted:
- At X: -160 Y: 47 behind a locked gate (requires

- At X: -155 Y: 64 an unlocked charnel has the

- At X: -146 Y: 42 a


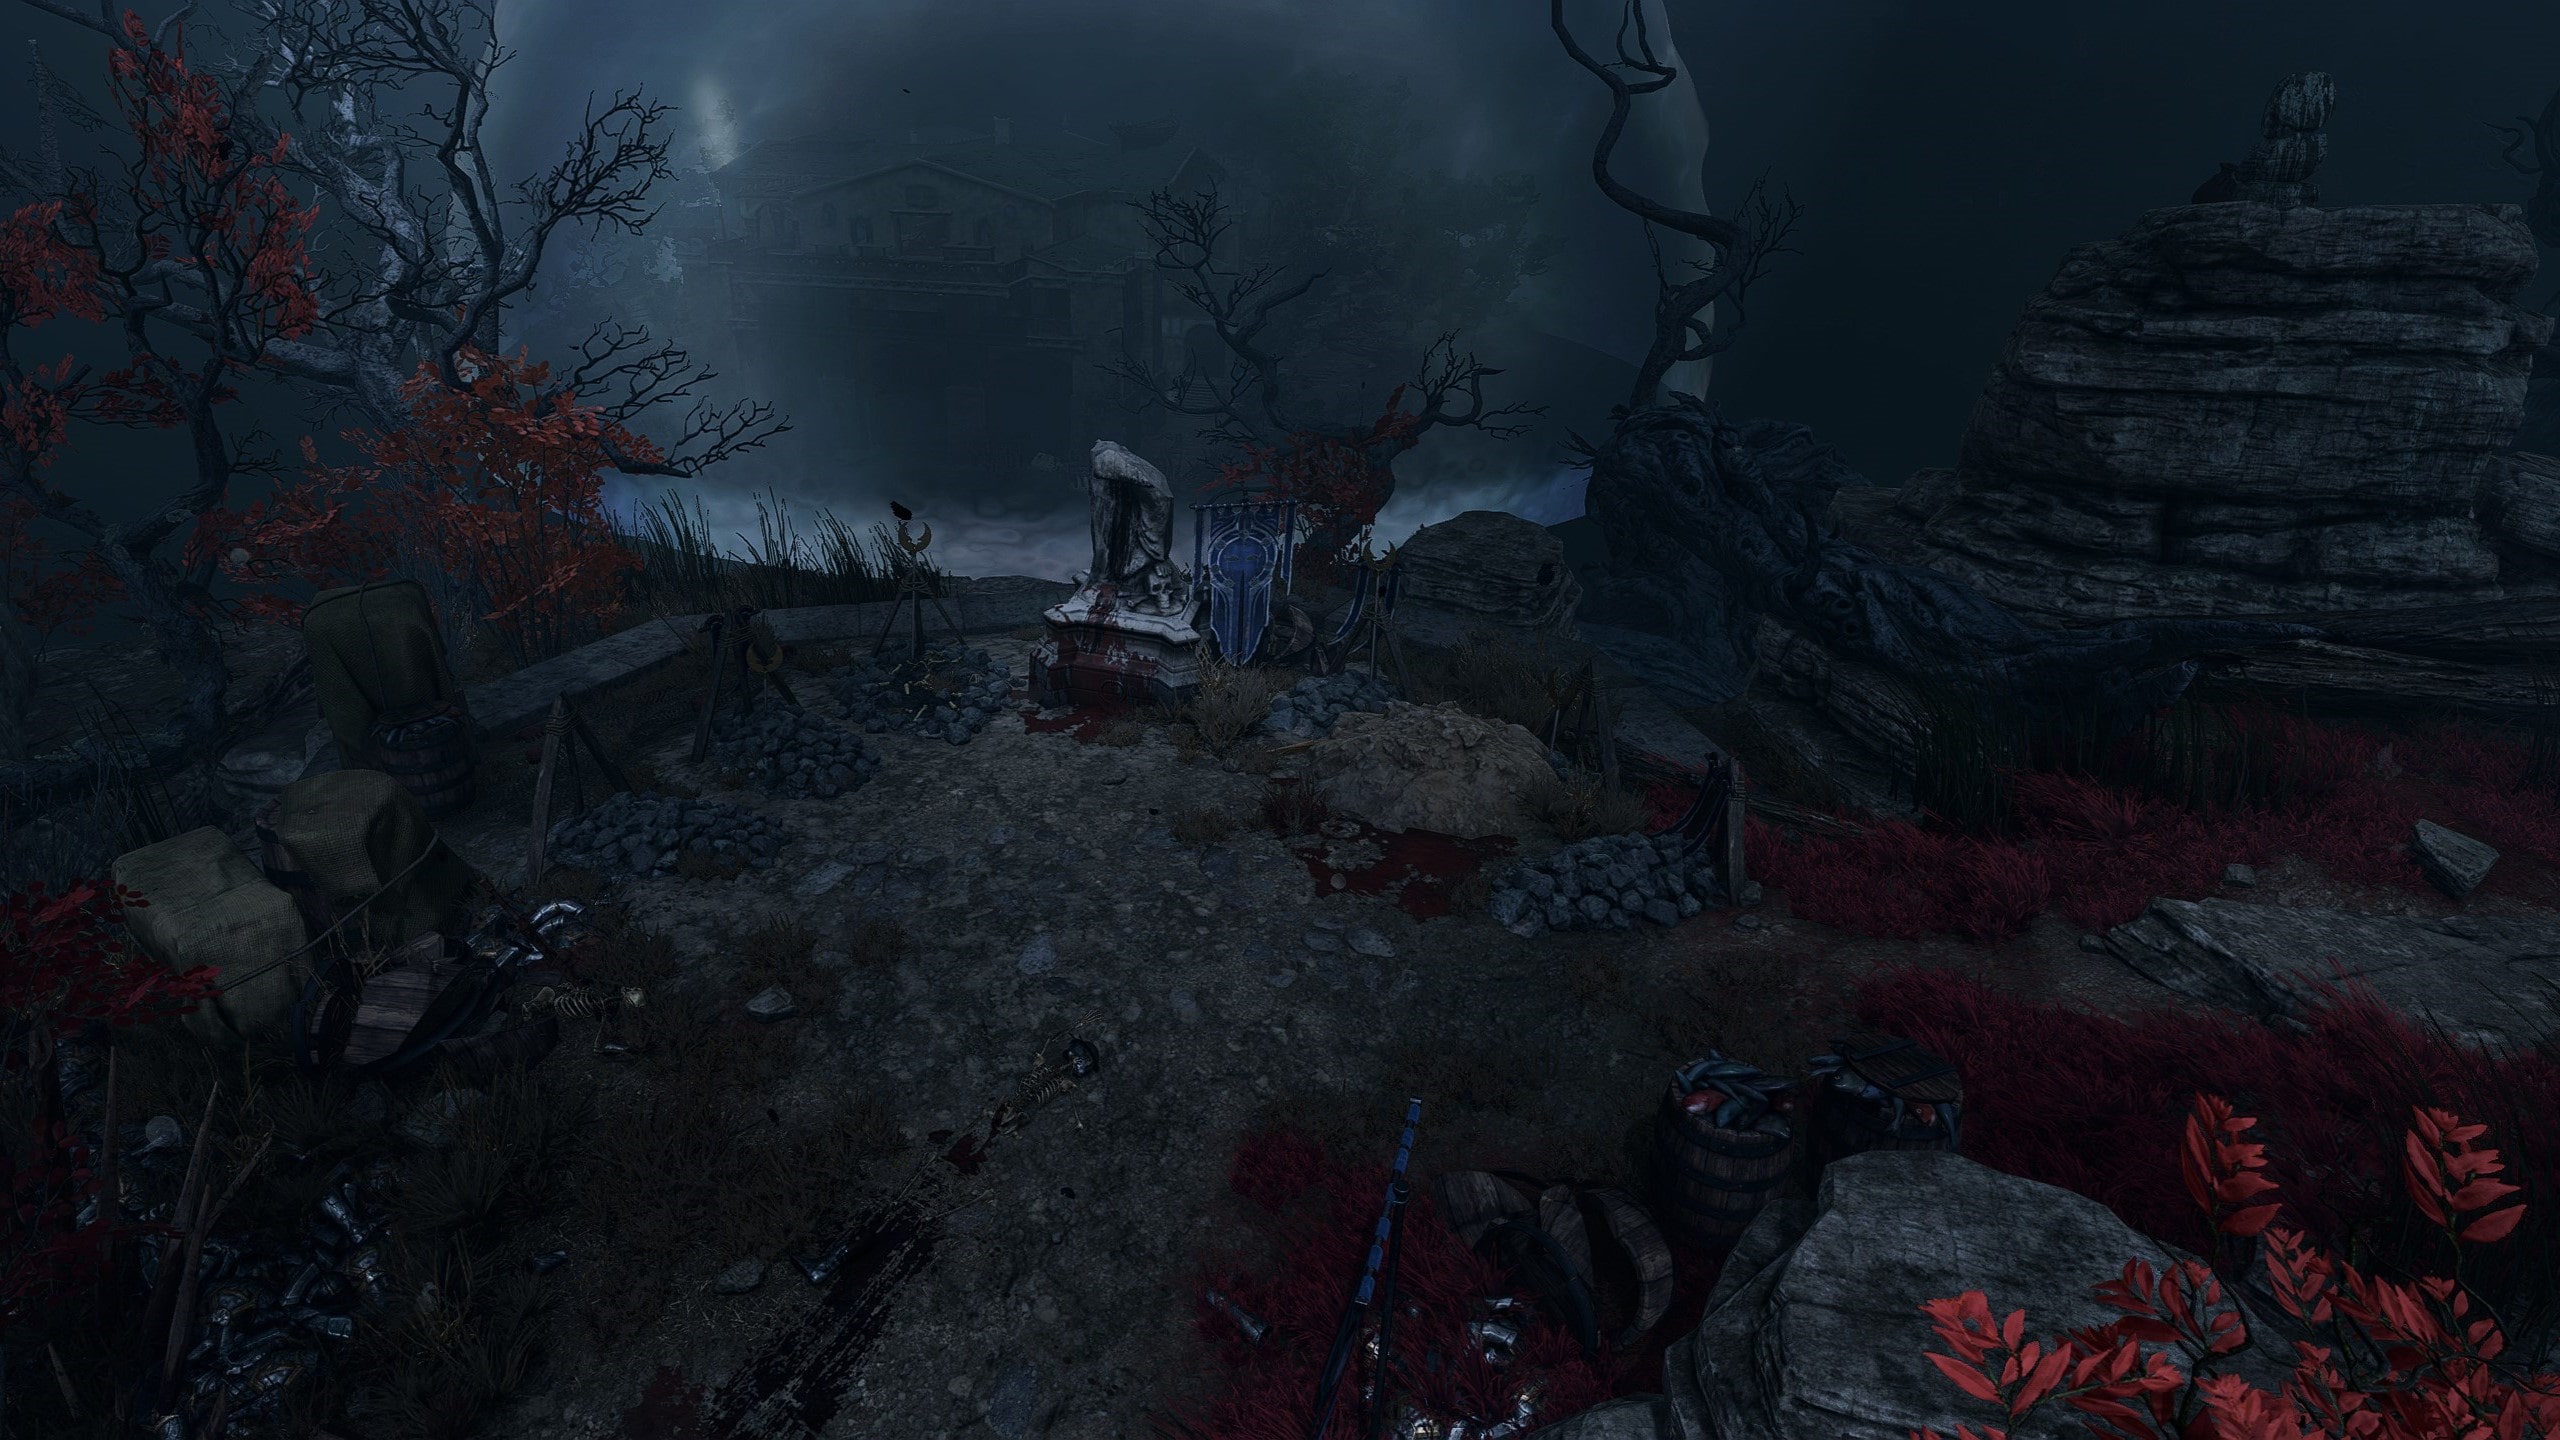
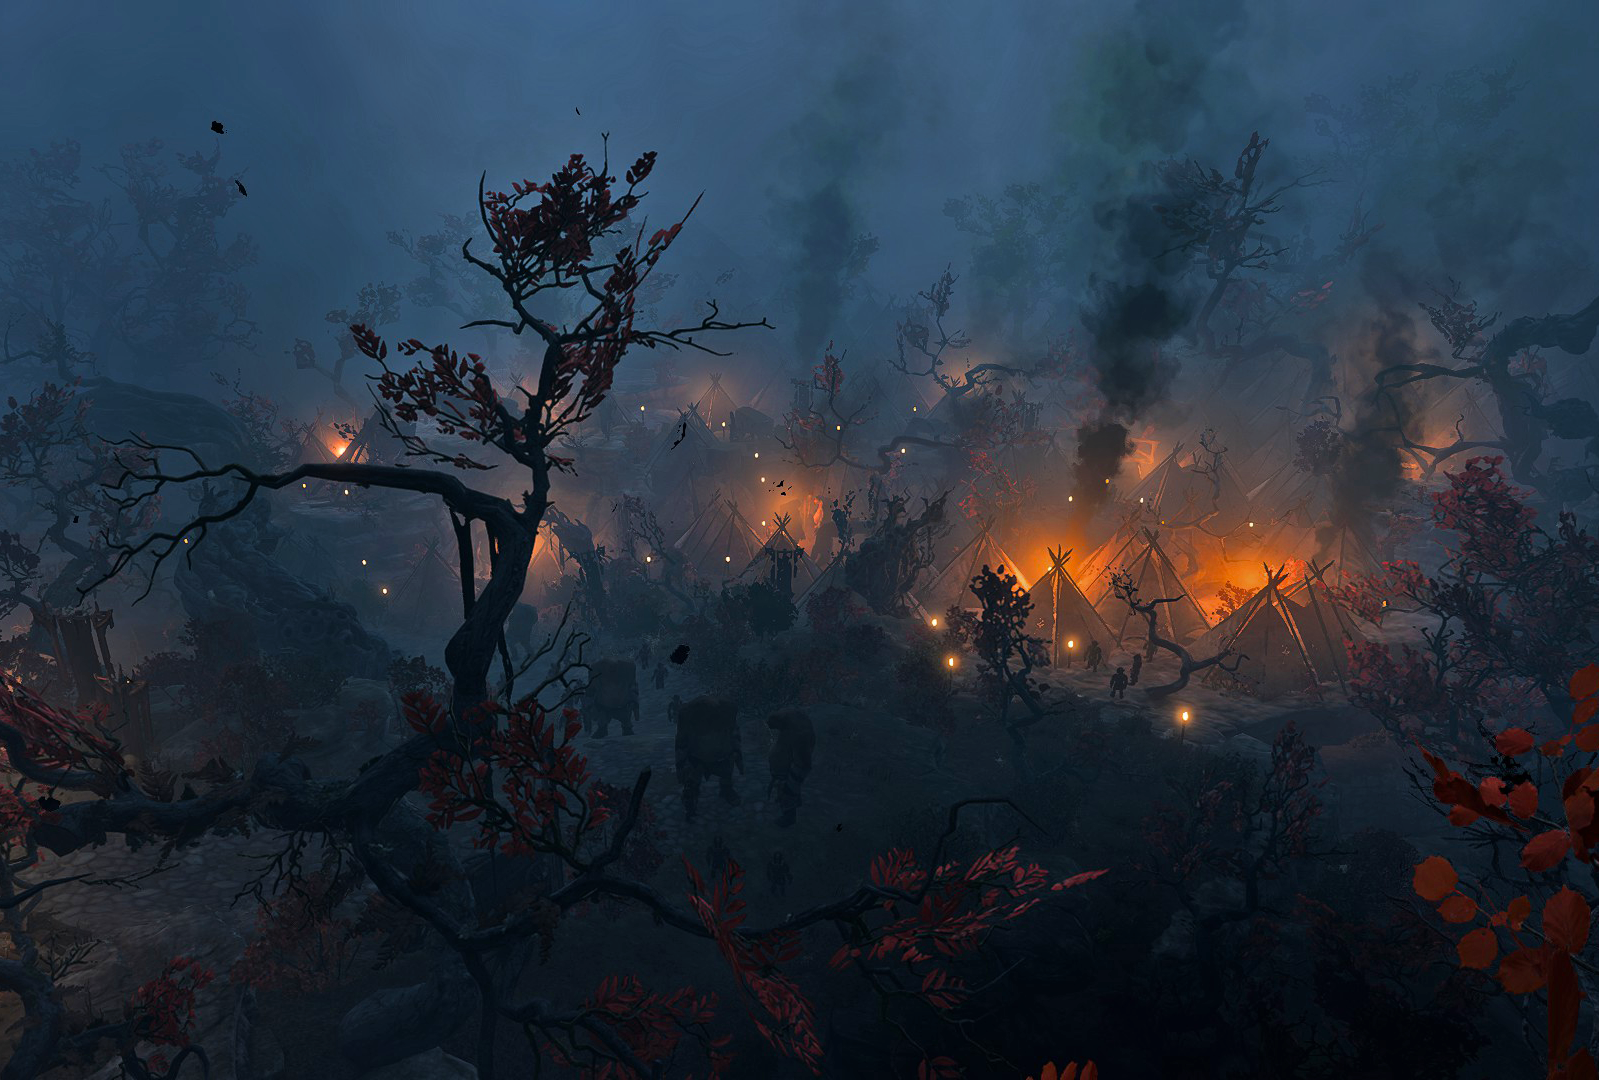
If the party have not yet resolved the main events of the Act Two, from the stone ledge starting at X: -235 Y: 54 they can look at the vast camping of the army of the Absolute. Moving further along the ledge, they can find a pair of skeletons at X: -252 Y: 38. One of them can be looted for the ![]()
![]()
Should 
![]()
![]()
![]()
If the party welcome the girl, she runs away, leaving the Shadows entangled and neutral to the party; they can be killed at will. Arabella's parents can be found dead in the children's ward of the hospital (see above). Agreeing to shelter Arabella in the camp gives the ![]()
![]()
Morgue[edit section | visual editor]


Paved path to the morgue starts from the side door of the hospital ward next to the operating theatre. It is guarded by a pack of undead: two 

Entry Hall and Main Hall[edit section | visual editor]
Entering through the main entrance leads the party into the entry hall of the morgue. At X: 82 Y: -998 a successful ![]()
![]()
Behind the large double doors lies an ambush-in-waiting by three 

![]()
The door to small mortuary workshop without any vents is at X: 50 Y: -992. Inside lies the corpse of a 
![]()
![]()
Reading ![]()
Across the door to Olam's room is the entrance to the Ominous Crevice (see below). It can be opened by picking the lock with a
Laboratory[edit section | visual editor]

Straight across the entrance is the Laboratory presumably used by Malus Thorm for experiments before the Shadow Curse fell. His ![]()
![]()
![]()
![]()
At X: 9 Y: -981 is a locked, trapped chest containing the ![]()
Among the bottles on the shelves of the bloodbank, an ![]()
![]()
![]()
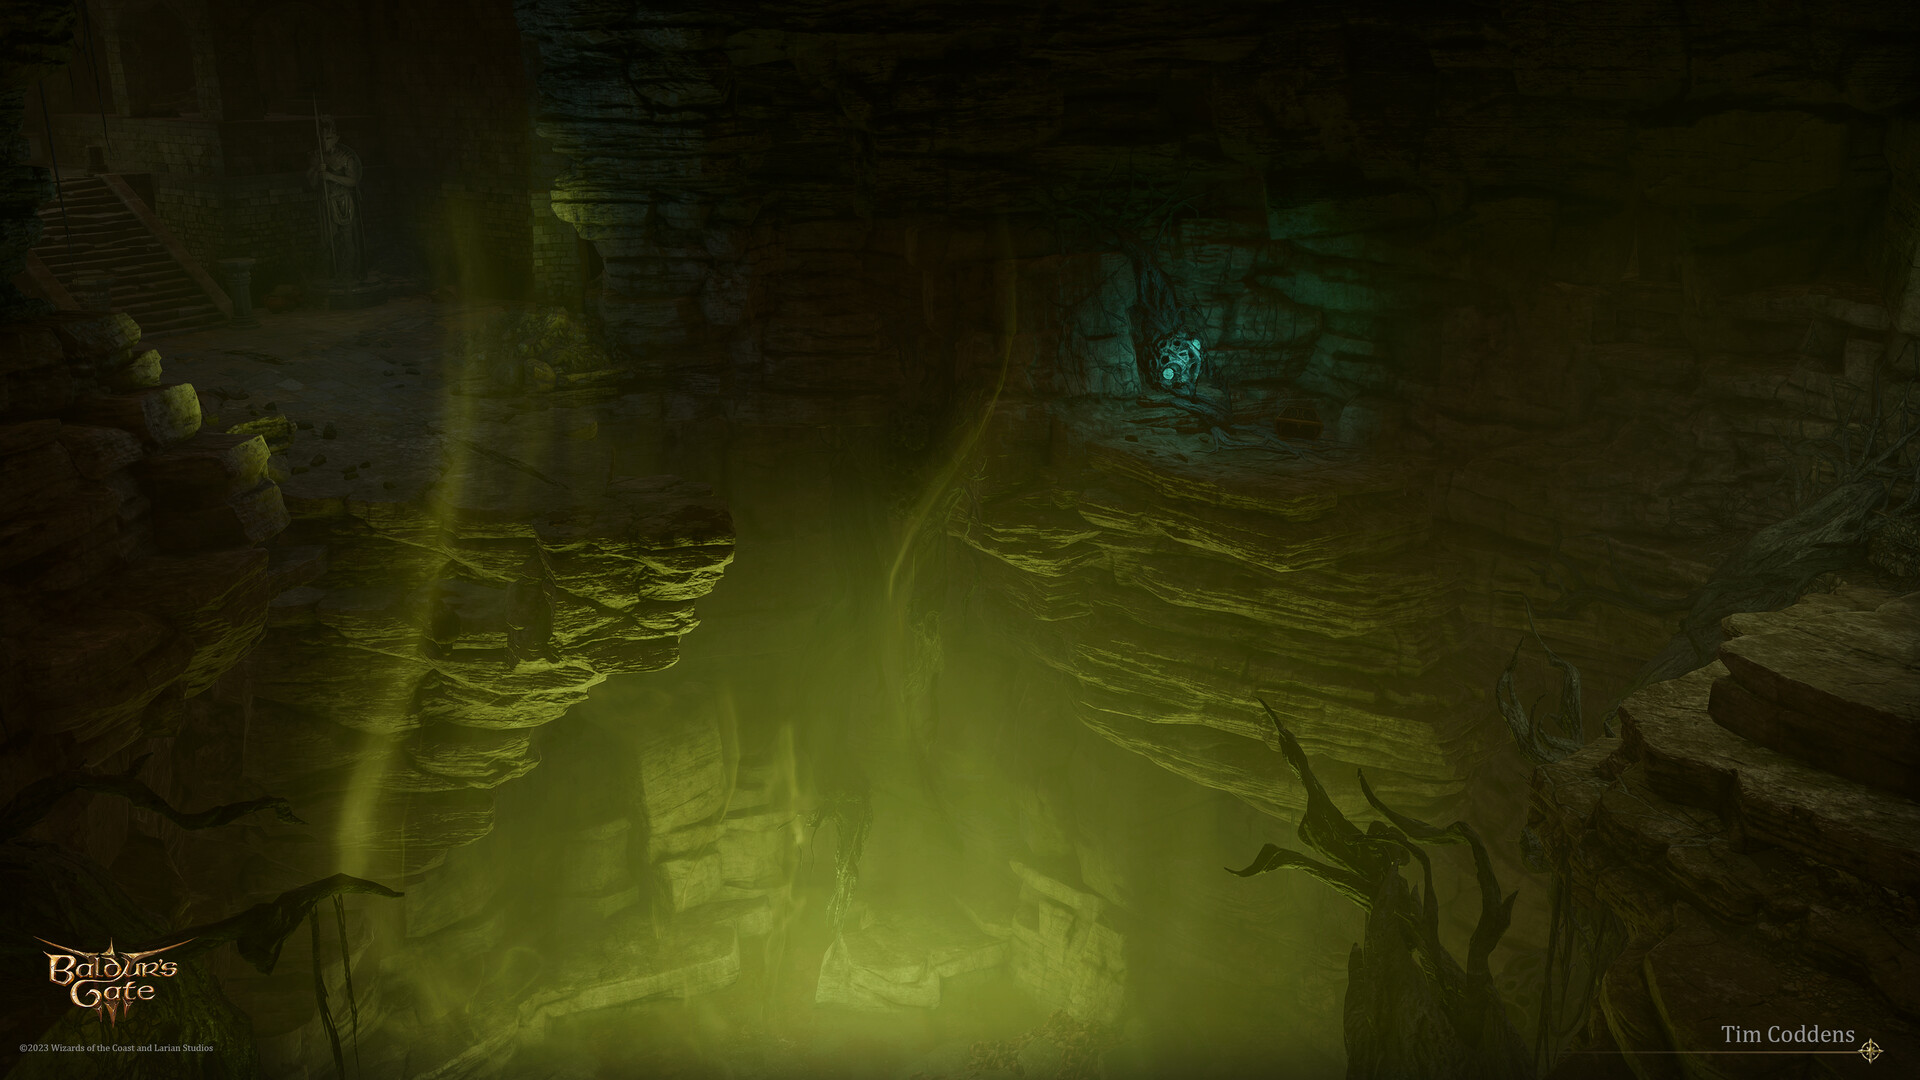
Ominous crevice[edit section | visual editor]

The crevice is hidden behind the metal door at X: 45 Y: -973. Unless two levers are used (the aforementioned one in the laboratory and the one near the door) it requires ![]()
![]()
![]()
If the party descend to the bottom of the pit, a 

![]()
At X: -29 Y: 930 on the ledge opposite to the exit the ![]()
To the north, the path leads out of the pit to the small patch of land. From it, the party can climb up several rocky cliffs westward to reach the Grand Mausoleum, or descend further to the rivershore with the dilapidated fisher's hut.
If the party cross this area in opposite direction (from the Grand Mausoleum), a button on the statue --at X: 42 Y: -969 opens the door to the Morgue.
Related quests[edit section | visual editor]
Characters[edit section | visual editor]
Undead[edit section | visual editor]


Tieflings[edit section | visual editor]


Other[edit section | visual editor]


Creatures[edit section | visual editor]


Loot[edit section | visual editor]
Quest Items[edit section | visual editor]
Other Notable items[edit section | visual editor]
Buried Treasure[edit section | visual editor]
- At X: -258 Y: 28 (requires
- At X: -265 Y: 15 (requires
Related Literature[edit section | visual editor]


Achievements[edit section | visual editor]

Notes and References[edit section | visual editor]
- ↑ This option is not available to Shadowheart, if played as an Origin or if chosen to start the dialogue. She still earns the inspiration if any other party member succeessfully uses it.
- ↑ Convincing him to submit to nurses' cure does not grant this inspiration.
- ↑ Near the nest lies a miscellaneous item named "Shadow Fungus". If picked up, it goes into the Alchemy Pouch, but cannot be used in any way, as it is the only such item within the walkthrough; possibly a discarded alchemical ingredient.
- ↑ It is also possible to disarm all the vents in advance before the fight covertly - for example, combining


