Ad placeholder
Discover the Artefact's Secrets

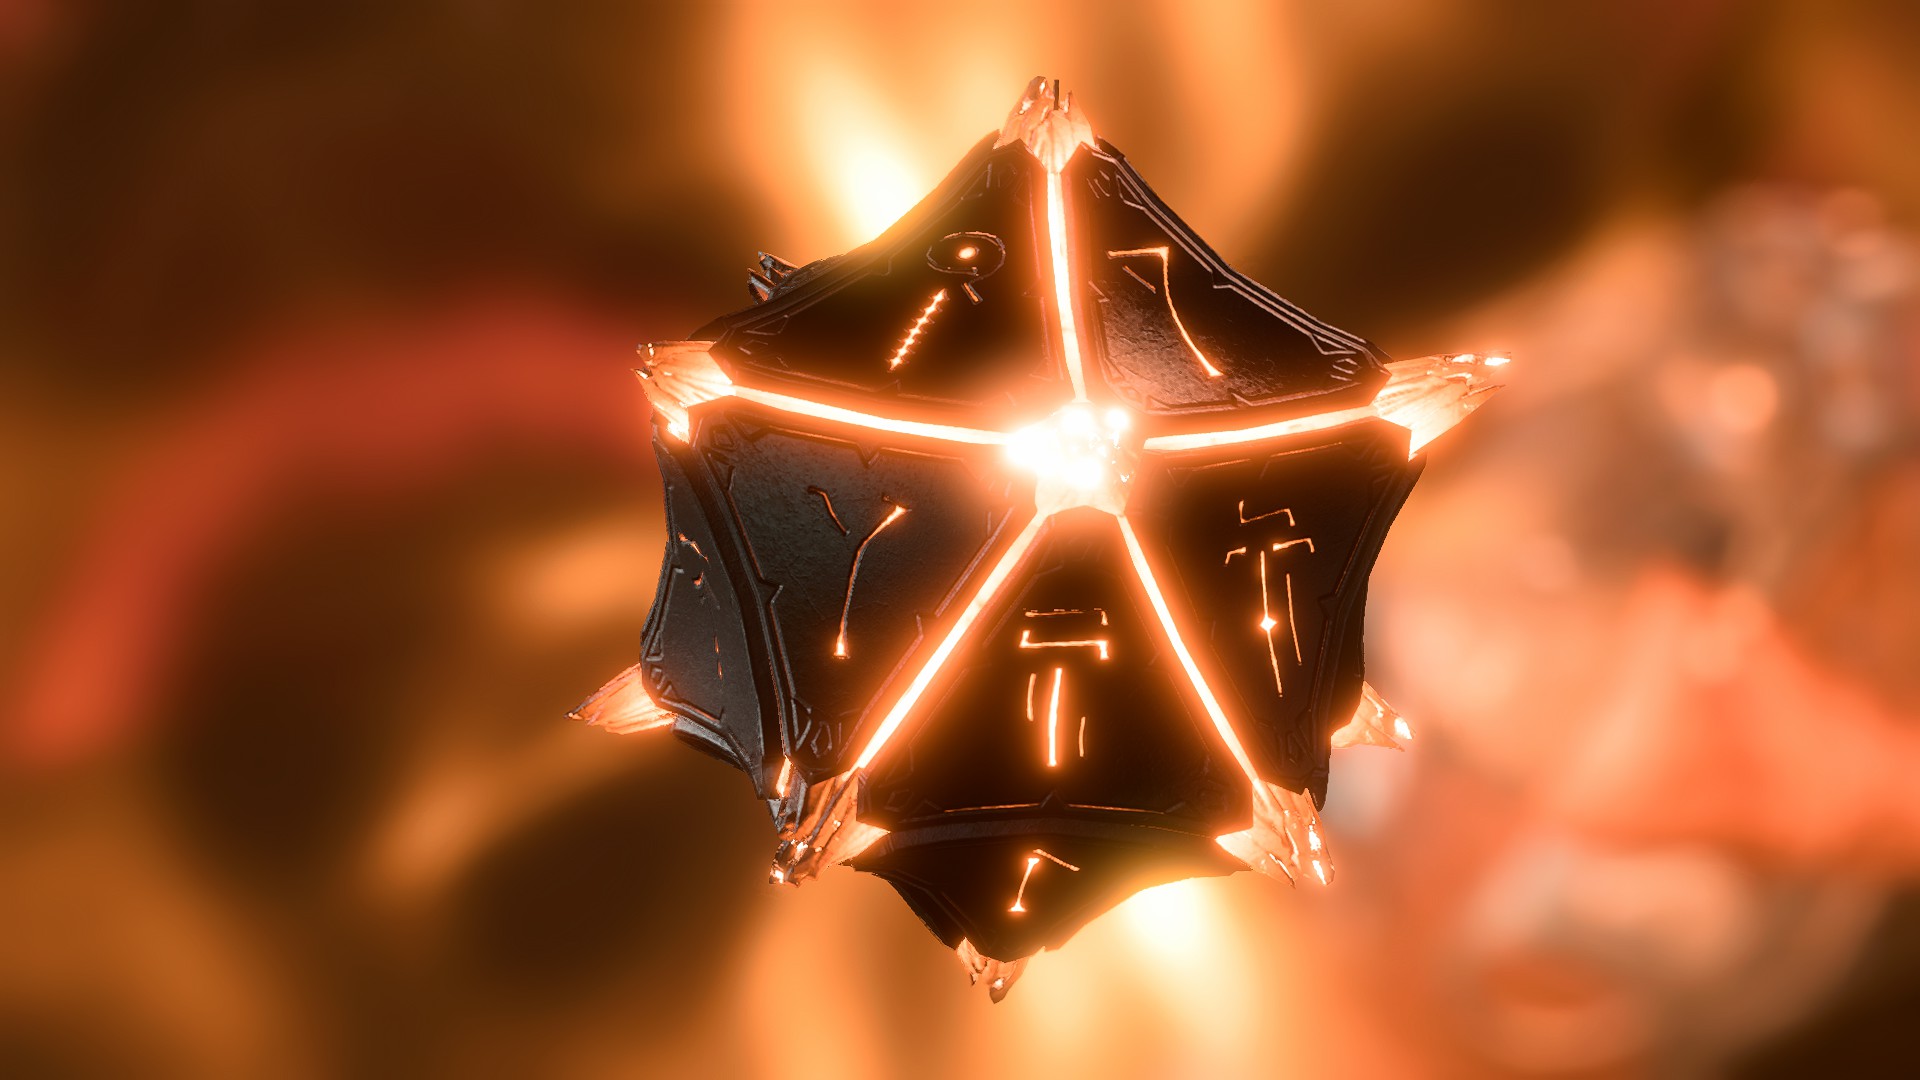
Discover the Artefact's Secrets is a Quest in Act One of Baldur's Gate 3. It is added after you spot the strange artefact in Shadowheart's possession, after the Prologue.
Objectives[edit section | visual editor]
Objectives and journal entries may vary pending story decisions and outcomes.
Walkthrough[edit section | visual editor]
Discovering the Artefact[edit section | visual editor]
The artefact can be discovered as early as the Prologue, with 
![]()
The Goblin Camp[edit section | visual editor]

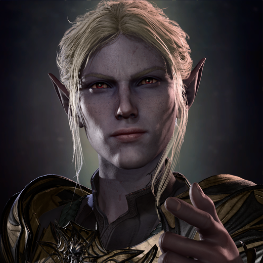
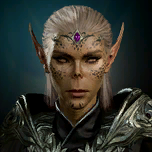
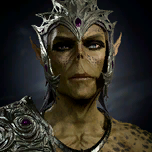
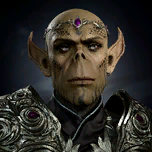
Once the party arrive inside the Goblin Camp, they are wracked with a powerful vision of three individuals - a male elf in armour, a handsome younger man, and a pale young woman. The voice proclaims they are her Chosen and the party must obey them. Before the voice can overwhelm the party, the artefact springs to life and shields them from the voice's influence. Shadowheart can be asked about the artefact, but she only knows that she was sent on a mission to retrieve it and return with it to Baldur's Gate. If Shadowheart has not been recruited, she begs to join the party, as she knows she is being hunted for the artefact. The party can either recruit her or kill her.
In the Goblin Camp, within the Shattered Sanctum, the party can learn that The Absolute cultists are seeking the artefact by speaking with 

![]()
The Githyanki patrol[edit section | visual editor]
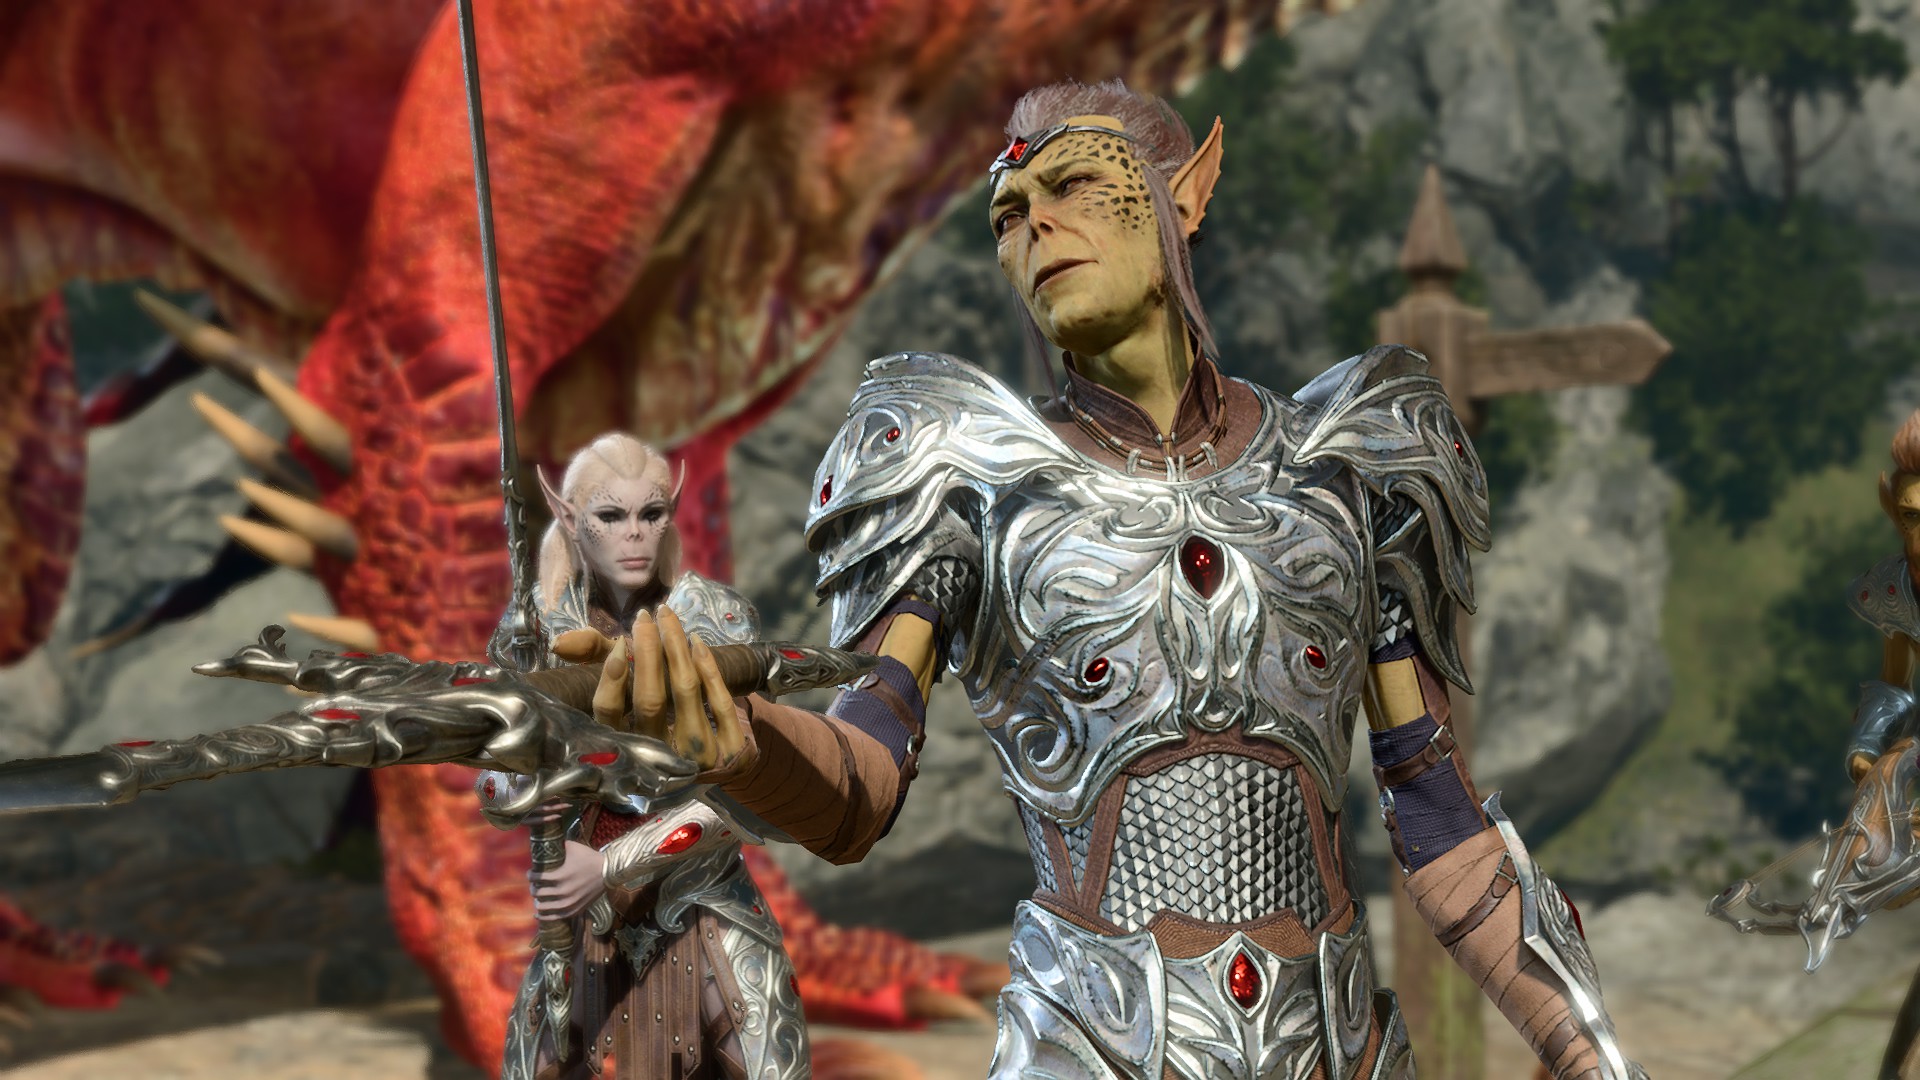
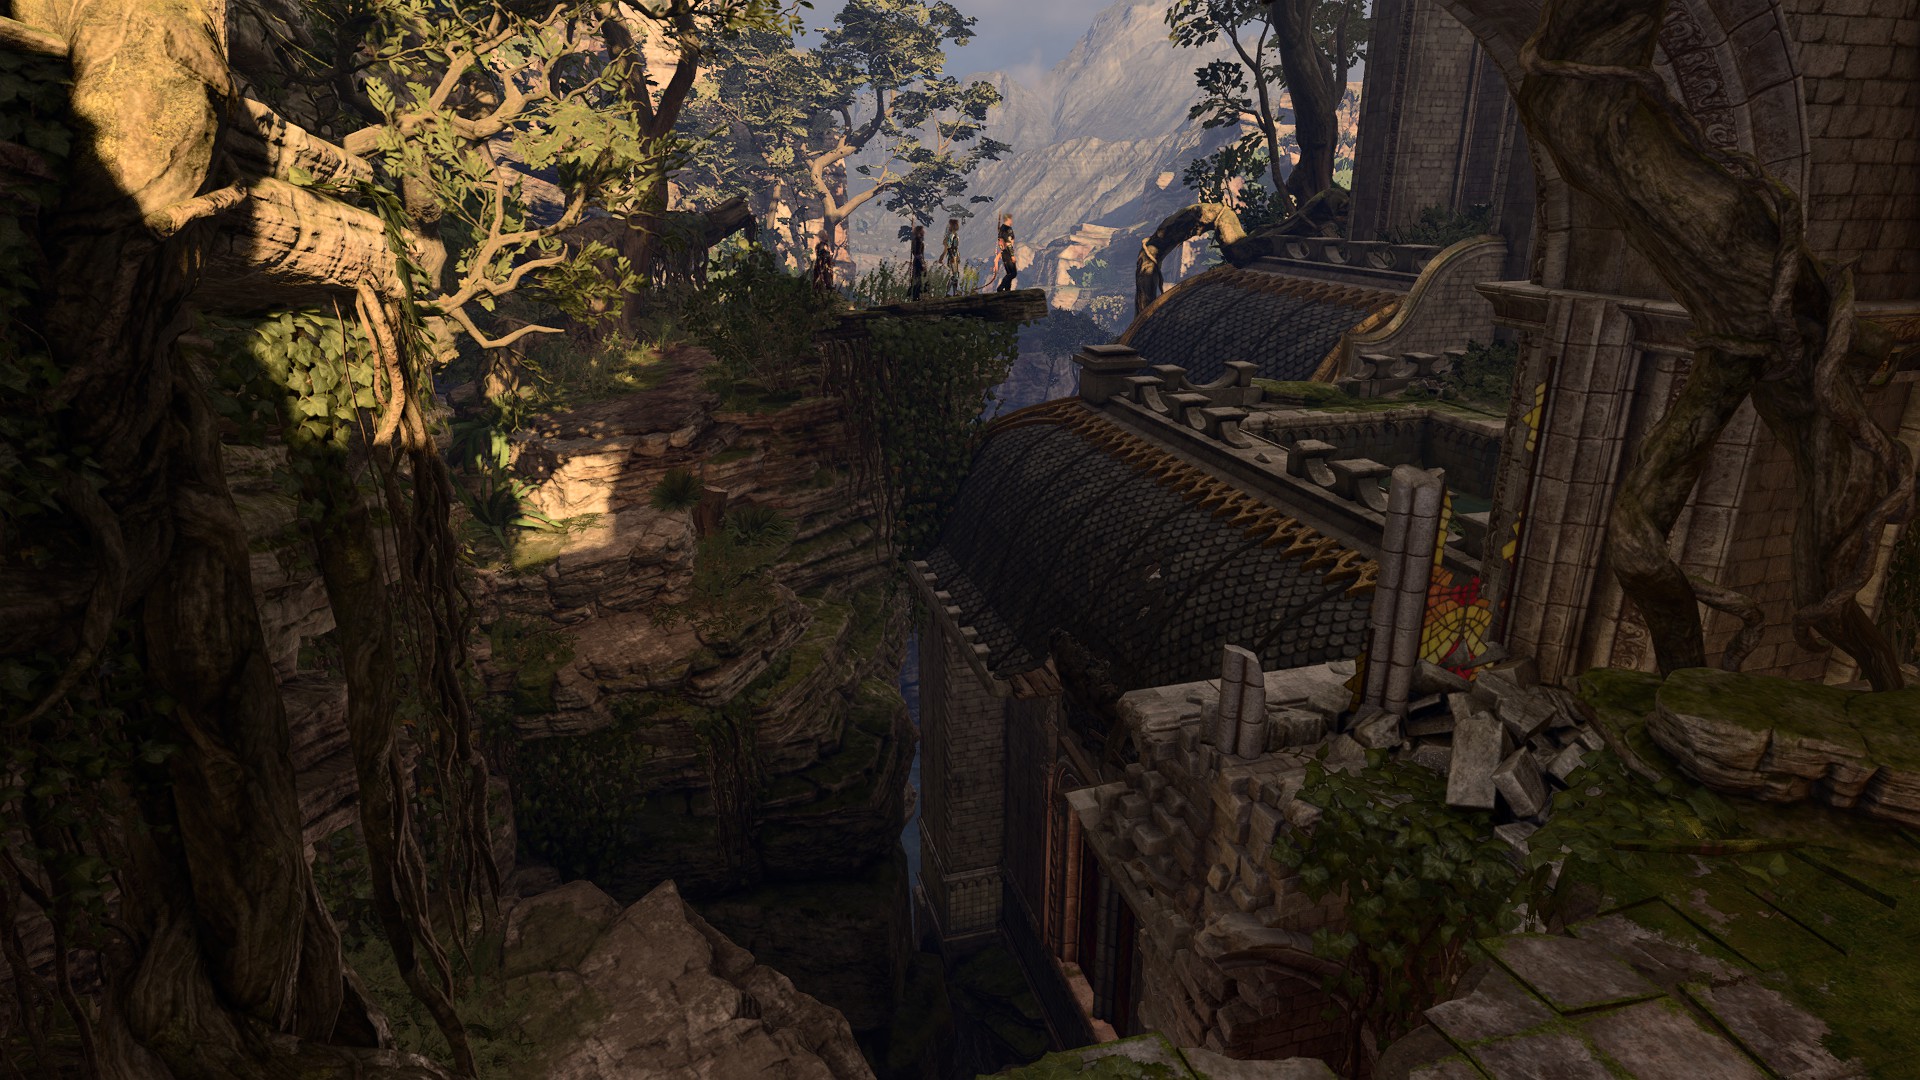
The githyanki patrol X: 101 Y: 555 can be encountered west across the Risen Road. They are arguing with a group of Flaming Fists. Suddenly, a red dragon comes down from the sky and sets the fists aflame. If 

For more detailed information, see Voss/Transcript.
Lae'zel speaks with Voss[edit section | visual editor]
If Lae'zel is in the party, the conversation can become much simpler.
- Nod to Lae'zel. Go ahead.
- I will be speaking on her behalf, gith.
- I will be speaking on her behalf, gith.
- I will be speaking on my kin's behalf, Kith'rak.
Choosing the first option to allows Lae'zel to speak, and Voss reveals that they search for a githyanki artefact. He asks if Lae'zel has seen anything like that.
- Mouth a silent command to Lae'zel: 'truth'.
- Mouth a silent command to Lae'zel: 'play along'. (DC 10)
- Produce the odd artefact. You're looking for this, I take it?
- I have my own mandate. Time to die, gith.
- Your death is at hand, traitor!
If a non-Githyanki character is speaking and selects anything but the second option, the githyanki become hostile. Otherwise, Voss commands Lae'zel to go to the crèche and aid the search for the artefact. If Shadowheart is in the party, she becomes very nervous, as she knows she possesses the artefact they seek.
If Shadowheart was killed and the only party members present are Githyanki, the narrator's lines are still roughly the same, but instead of Shadowheart being nervous, some of this nervousness is experienced by the player character.
Githyanki character speaks with Voss[edit section | visual editor]
This may have different outcomes for a Githyanki Origin character, vs. a Character disguised as a Githyanki.
If Lae'zel is in the party, her usual preamble still happens. It is necessary then to select options that equate to "I will speak for her" for this sequence to trigger.
Voss tells the party that they are unknown to him and asks for an explanation:
- Show deference. Bow and explain that you are lost.
- I am no crèche hatchling. Do not speak to me as one.
- Tell him about your parasite and ask for help.
- Indeed. I came from the crèche.
Voss becomes the friendliest to the party if they choose the 2nd option.
If the only characters present are Githyanki, and the player character carries the artefact, the narrator says a few lines to indicate that the Artefact is what Voss seeks.
The following options are available with no [Githyanki] prefix attached.
- I need to know more. What is its appearance? Its purpose?
- I don't know of such a weapon.'
- Produce the artefact. Ask him if this is what he seeks.
Selecting option two, then three, causes Voss and his Githyanki to depart peacefully.
Origin character speaks with Voss[edit section | visual editor]

If Lae'zel is not in the party, and there are no Githyanki characters present, Voss asks why he should not run them through.
- Silently hold his stare and discreetly prepare to attack. (DC 15)
- You would've done so already if you didn't want something from me first. (DC 10)
- I just want passage - if I have to go through you, so be it. (DC 15)
- I don't know you. I pose no threat. (DC 15)
Succeeding in any of the checks causes Voss to remains neutral.
- I'll help if I can.
- You'll need to start from the beginning - what is this weapon you're after?
- Produce the artefact. Ask if this is what he seeks.
- I might know something. But it'll cost you.
- Lie. Claim you saw bandits loot a wreck, then set off to the west.
- Say nothing.'
Whatever the party say, unless the party produces the artefact or remains silent, Voss tells them to stand still, while doing rapid hand gestures:
- Do nothing.
- Silently interpret the meaning of the gestures. (DC 10)
Succeeding this check and passing another 
- I could help if you let me live - search for this weapon perhaps. (DC 15)
- You ought to just leave. You've no right to decide my fate. (DC 15)
- Why are you hesitating, then? Try it, I dare you. (DC 15)
- A corpse is useless. But a living informant might unearth something.
- Read his thoughts.
- Don't be too hasty. I could prove very useful.
Success with any of these checks prevents conflict and Voss lets the party live. He tells them to go to the crèche - ahead, at the Rosymnorn Monastery Trail. Otherwise, if Voss become suspicious that the party is infected with tadpoles or carries the artefact, then he flies off on his dragon and orders the githyanki soldiers to kill them all. 


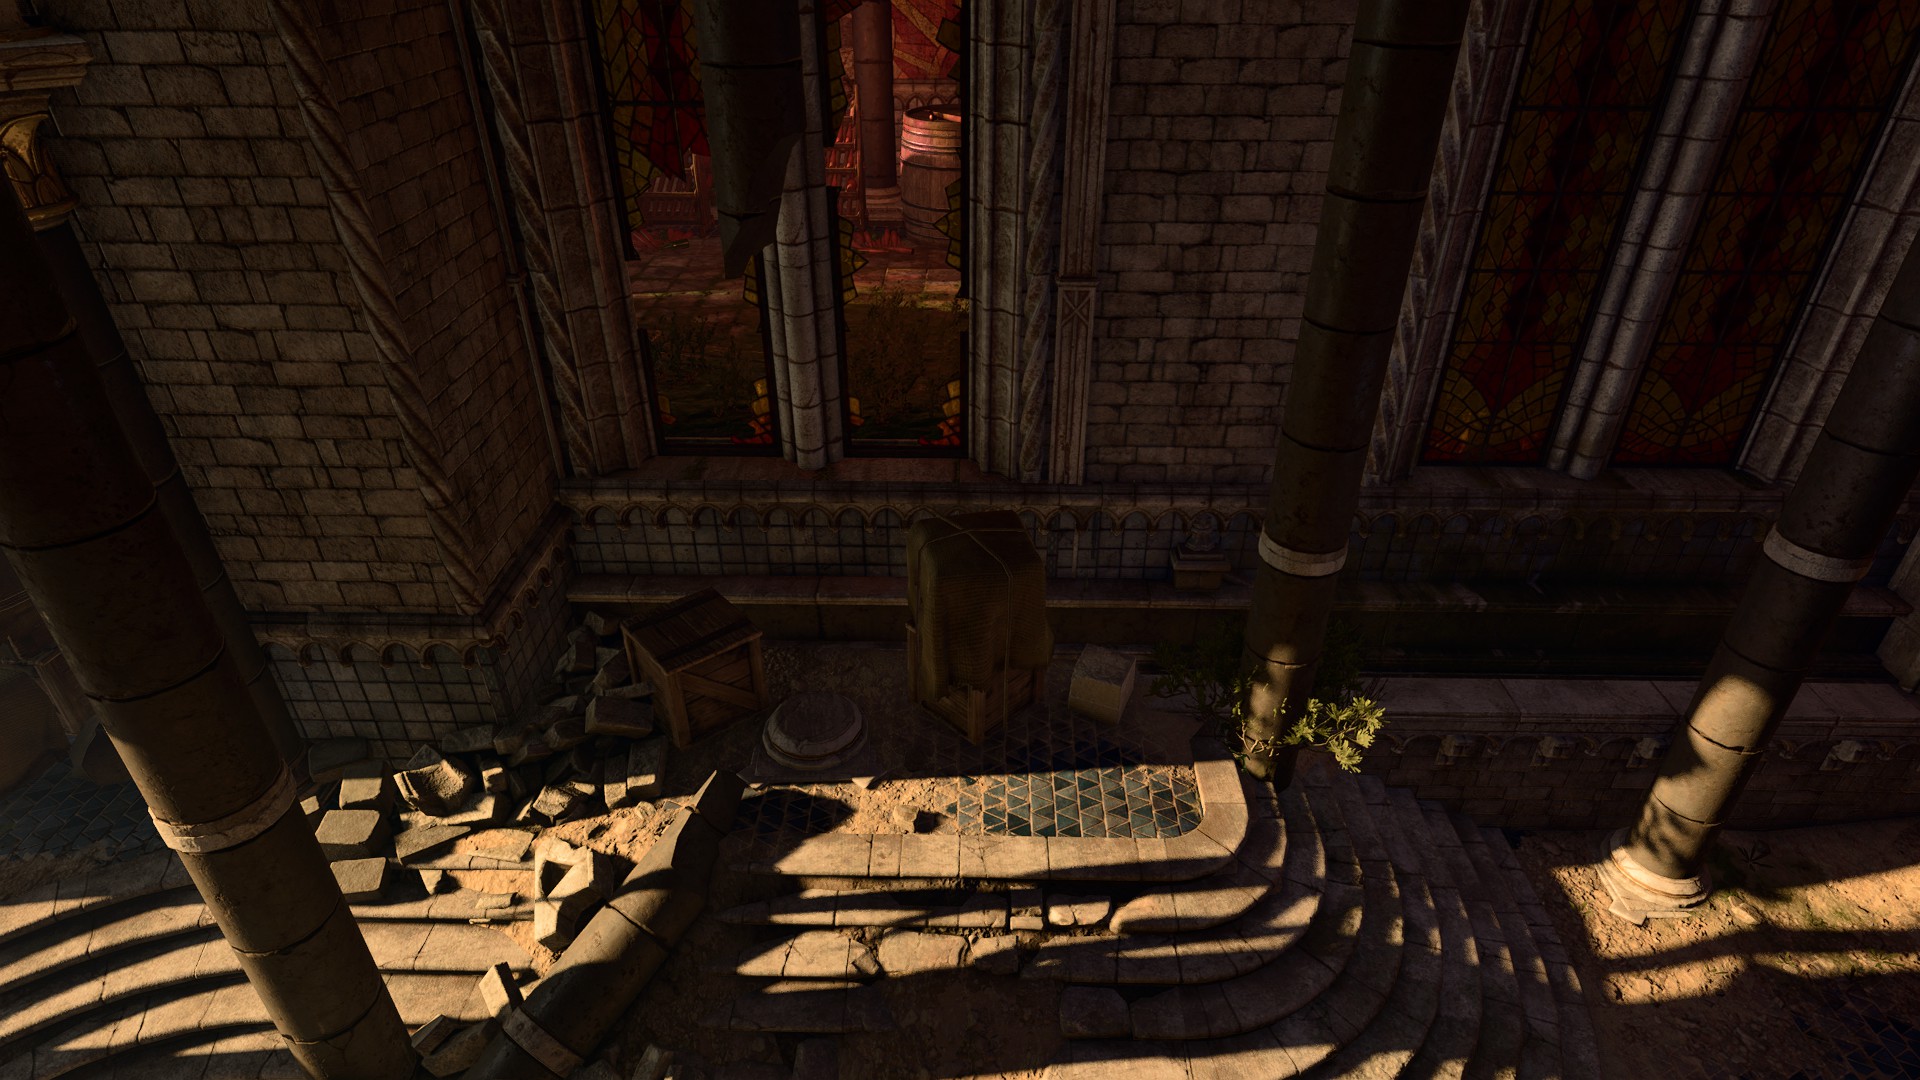
Accessing the monastery[edit section | visual editor]

The Rosymorn Monastery is accessed from the Rosymnorn Monastery Trail. The party must find the Cable Car Wheel at X: -47 Y: -74 and succeed in a
The party must follow the path east until a cutscene triggers where a pair of githyanki warriors have captured a trio of Absolute cultists searching for Moonrise Towers. Afterwards, the githyanki close the Rosymourn Monastery doors behind them with the cultists in tow. Unfortunately, the doors are locked and magically enchanted, making lockpicking impossible. There are broken windows which can be climbed through at X: 64 Y: 31 just west of the doors. Once inside, there are a number of drunk 
Alternatively, the party can choose to attack through a prompt in the bottom left corner of the screen. The doors remain open, allowing quicker and easier access to the Crèche below. The party only must defeat the githyanki, as the cultists have either escaped, or been escorted below.
The Githyanki Crèche[edit section | visual editor]

From upper floor, the party must:
- Move north up the hall, jump across the gap to the west, and then move north
- Proceed West to find a set of crumbling stairs and jump past the gaps to follow the stairs down
- Move and destroy the barricade on the western wall
- Move North through the oak door
- Proceed West past the statue of Lathander
Once this is done, a lever can be found on the wall X: 78 Y: 49 which opens the monastery doors, and can make reentering the monastery easier.
After moving west, the party must follow the stairs to north to reach the Monastery Basement at X: 74 Y: 80 where Crèche Y'llek resides. The githyanki are suspicious to outsiders, though Lae'zel can smooth the way without any checks if she in the party.
The party can also gain access by persuading, intimidating, or deceiving the guards.
Captain's quarters[edit section | visual editor]
In the Captain's Chambers is 

![]()
![]()
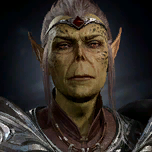
Facing the Inquisitor[edit section | visual editor]
Once the party enter the Inquisitor's Chambers, Ch'r'ai bids them to talk to him. If they do not, he inevitably becomes hostile. If he is spoken with, he reveals that he is very familiar with their movements. If the party raided the Druid Grove in ![]()
![]()

The Inquisitor demands the artefact. The party can ask questions or attempt to hand it over, which leads to ![]()


![]()
Facing the prism inhabitant[edit section | visual editor]
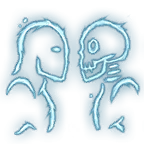
Once inside the prism, the Dream Visitor speaks to the party and announces that they will only speak to the leader of the party. If entering the "cave" where the Dream Visitor is, they reveal that the power which they use to protect the party was stolen from the githyanki. Additionally, the Visitor knows a secret which can threaten Vlaakith's empire, but depending on the party's selected choices, the exact nature of this secret is not always revealed during conversation.
Choosing a path[edit section | visual editor]
Regardless of the player character's chosen responses, the conversation with the Dream Visitor always results in the same way: the Dream Visitor offers a blade to the player character, and may also kneel down if this sequence occurs "later" in the conversation.
The player character has to choose between two options: "spare" the Dream Visitor, or "kill" them. If a third dialogue choice is present, selecting that option still brings the conversation back to this choice.
The choice here greatly affects the tone of all future interactions the player character has with the Dream Visitor.
If the player character chooses to "spare" the Dream Visitor, then they continue to treat the player character with similar trust and friendliness in future interactions. If the player character attempts to "kill" the Dream Visitor, then the Visitor does not actually die, and this creates a lasting rift in the Dream Visitor's trust of the player character. The Visitor then begins treating the player character with much more derision and overall hostility in future conversations.
Discussing with Lae'zel[edit section | visual editor]
After the visit, the player character returns to explain what happened and Lae'zel also demands to know. She can be told that the Visitor could not be killed (if an attempt was made), or that Vlaakith has been hiding things from her people. The party must depart the Astral Plane and return to the Material Plane. If the Inquisitor was not already dealt with, he then attacks the party, as he never intended for them to leave alive. After this, the entire crèche becomes hostile and the party can fight their way through, attempt to sneak out, or use the Secret Stairway from the ![]()
A camp visitor[edit section | visual editor]
Once the party safely escapes the Crèche, Kith'rak Voss comes to visit at camp. He says that he has come to aid the party and is aware that Lae'zel and the party have the Astral Prism. Voss believes that within the Prism is the seed of Vlaakith's demise. The party can either spare Voss, who tells the party to meet him at Sharess' Caress in the city, or kill him, and claim the information from his corpse. This choice heavily impact's Lae'zel's quest, ![]()
The truth revealed[edit section | visual editor]
At the very beginning of Act Three, the party receive an additional quest - ![]()
Companion approval[edit section | visual editor]
In conversation with Ch'r'ai W'wargaz:
- Producing the artifact


- "What do I get in return?"


- "How do you know so much about me?"

- "You can't trust him Lae'zel."


In conversation with Vlaakith:
- Waving politely at Vlaakith or Stay standing, exactly as you are.
- Kneeling:
- Agreeing to kill the occupant of the artifact:
- Refusing to kill the occupant of the artifact:
Bugs[edit section | visual editor]
- If entering the Crèche from the cliffside entrance, the quest objective to talk to the captain immediately appears, even if the party have not yet heard anything about a captain or even have not spoken to anyone in the Crèche at all.