Objectives and journal entries may vary pending story decisions and outcomes.
Explore Rosymorn Monastery.
"We learned that a powerful holy relic, the Blood of Lathander, could be somewhere nearby. We should keep an eye out for it as we explore the monastery."
"We learned from a dead pilgrim that a powerful holy relic, the Blood of Lathander, could be somewhere nearby. We should keep an eye out for it as we explore the Monastery."
"We found a note from a Lathander worshipper about a precious relic called 'The Blood' hidden somewhere in Rosymorn Monastery. Perhaps we can find it in our exploration."
Find the true Blood of Lathander.
"A fake artefact in Rosymorn Monastery was disguised as the Blood of Lathander - we should keep looking for the true relic."
Explore the Secret Chamber.
"We moved some ancient Lathanderian statues and a secret passageway opened - we should see what lies within."
Find a purpose for the Dawnmaster's Crest.
"We found an oddly shaped crest that belonged to a high priest of Lathander. Perhaps it can help us find the Blood of Lathander?"
Get past the Secret Chamber's Lathanderian traps.
"Very elaborate traps block our path down this passageway - whatever sits at the end must be worth protecting."
Retrieve the relic.
"We bested the Secret Chamber's traps - we should see what they were guarding."
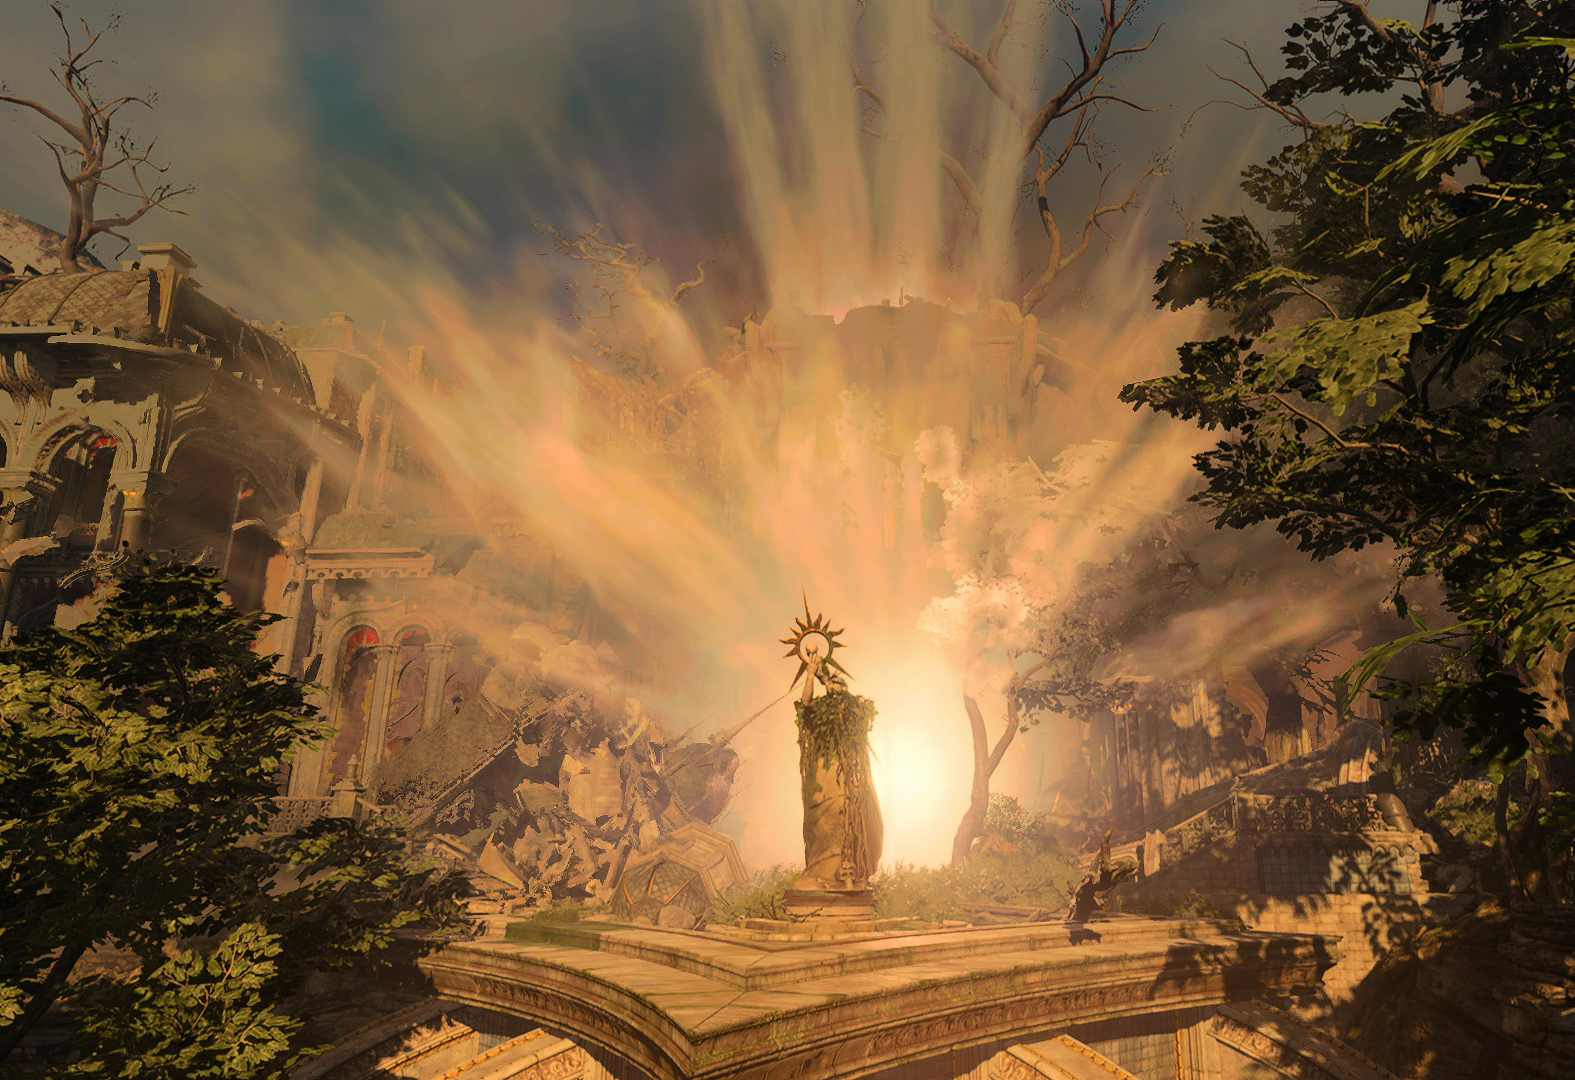
Escape the exploding Rosymorn Monastery.
"We took the Blood of Lathander and sprung a trap that will destroy the Monastery, Crèche Y'llek underneath it, and us if we don't stop it or escape."
Quest Compete
"We disarmed the Monastery's powerful trap, saving Crèche Y'llek and ourselves - and escaped with the Blood of Lathander."
"We escaped the Monastery's powerful trap with the Blood of Lathander in tow - but Crèche Y'llek was destroyed in the process."
"We used the Dawnmaster's Crest to safely retrieve the Blood of Lathander - Morninglord be praised."
"We left the Blood of Lathander somewhere deep within Rosymorn Monastery."
The broken door to the Monastery leads the way in.
The Rosymorn Monastery is accessed from the Rosymorn Monastery Trail. The party can find the Cable Car Wheel at X: -47 Y: -74 and must pass a DC 15 StrengthCheck to summon the cable car. Then the party can climb on the cable car and use the wheel to move towards the Monastery. Following the path east triggers a cutscene triggers where a group of githyanki warriors shoot down some cultists. Unfortunately, the Rosymorn Monastery Doors are locked and magically enchanted, but there are broken windows which can be climbed through at X: 64 Y: 31 just west of the doors. Once inside, a number of drunk Kobolds must be dealt with to continue - one holds the Ceremonial Mace. Picking it up starts this quest.
One way to obtain the Blood of Lathander is to acquire the Dawnmaster's Crest. To do this, the party must have (or acquire) three weapons: a mace, a warhammer, and a battleaxe. The party can find ceremonial versions of all three items, but also can use any version of these weapons (i.e., a Battleaxe). Completing the puzzle bestows the beneficial effect Morninglord's Radiance on all active party members. Alternatively, passing a passive DC 10 PerceptionCheck reveals the hidden chamber containing the crest, and a DC 30 Sleight of HandCheck can unlock it, bypassing the puzzle, but also the beneficial effect Morninglord's Radiance.
The Ceremonial Mace can be looted from Kobold Looter on the ground floor X: 40 Y: 28. An alternative Mace can be found to the southeast on the upper floor, by accessing the gravesite of Dawnmaster Stockhold at X: 127 Y: -5.
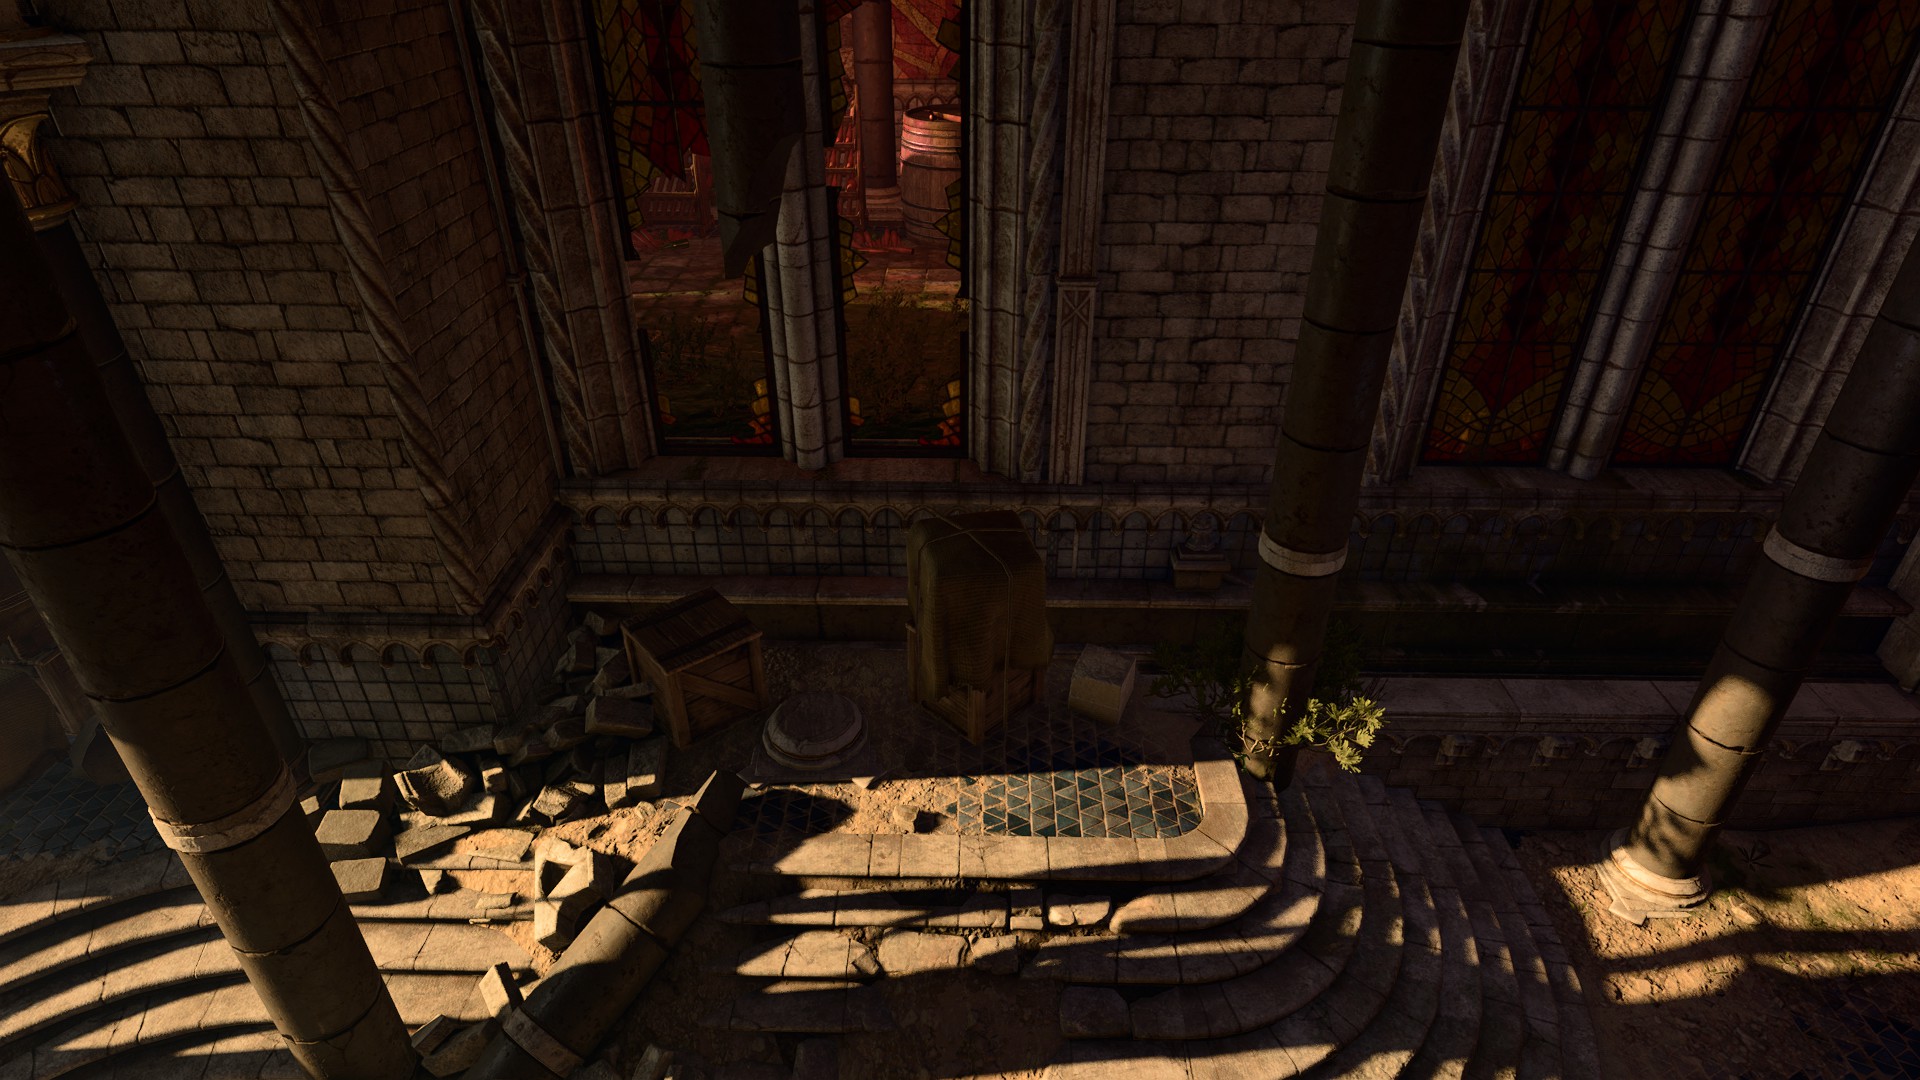
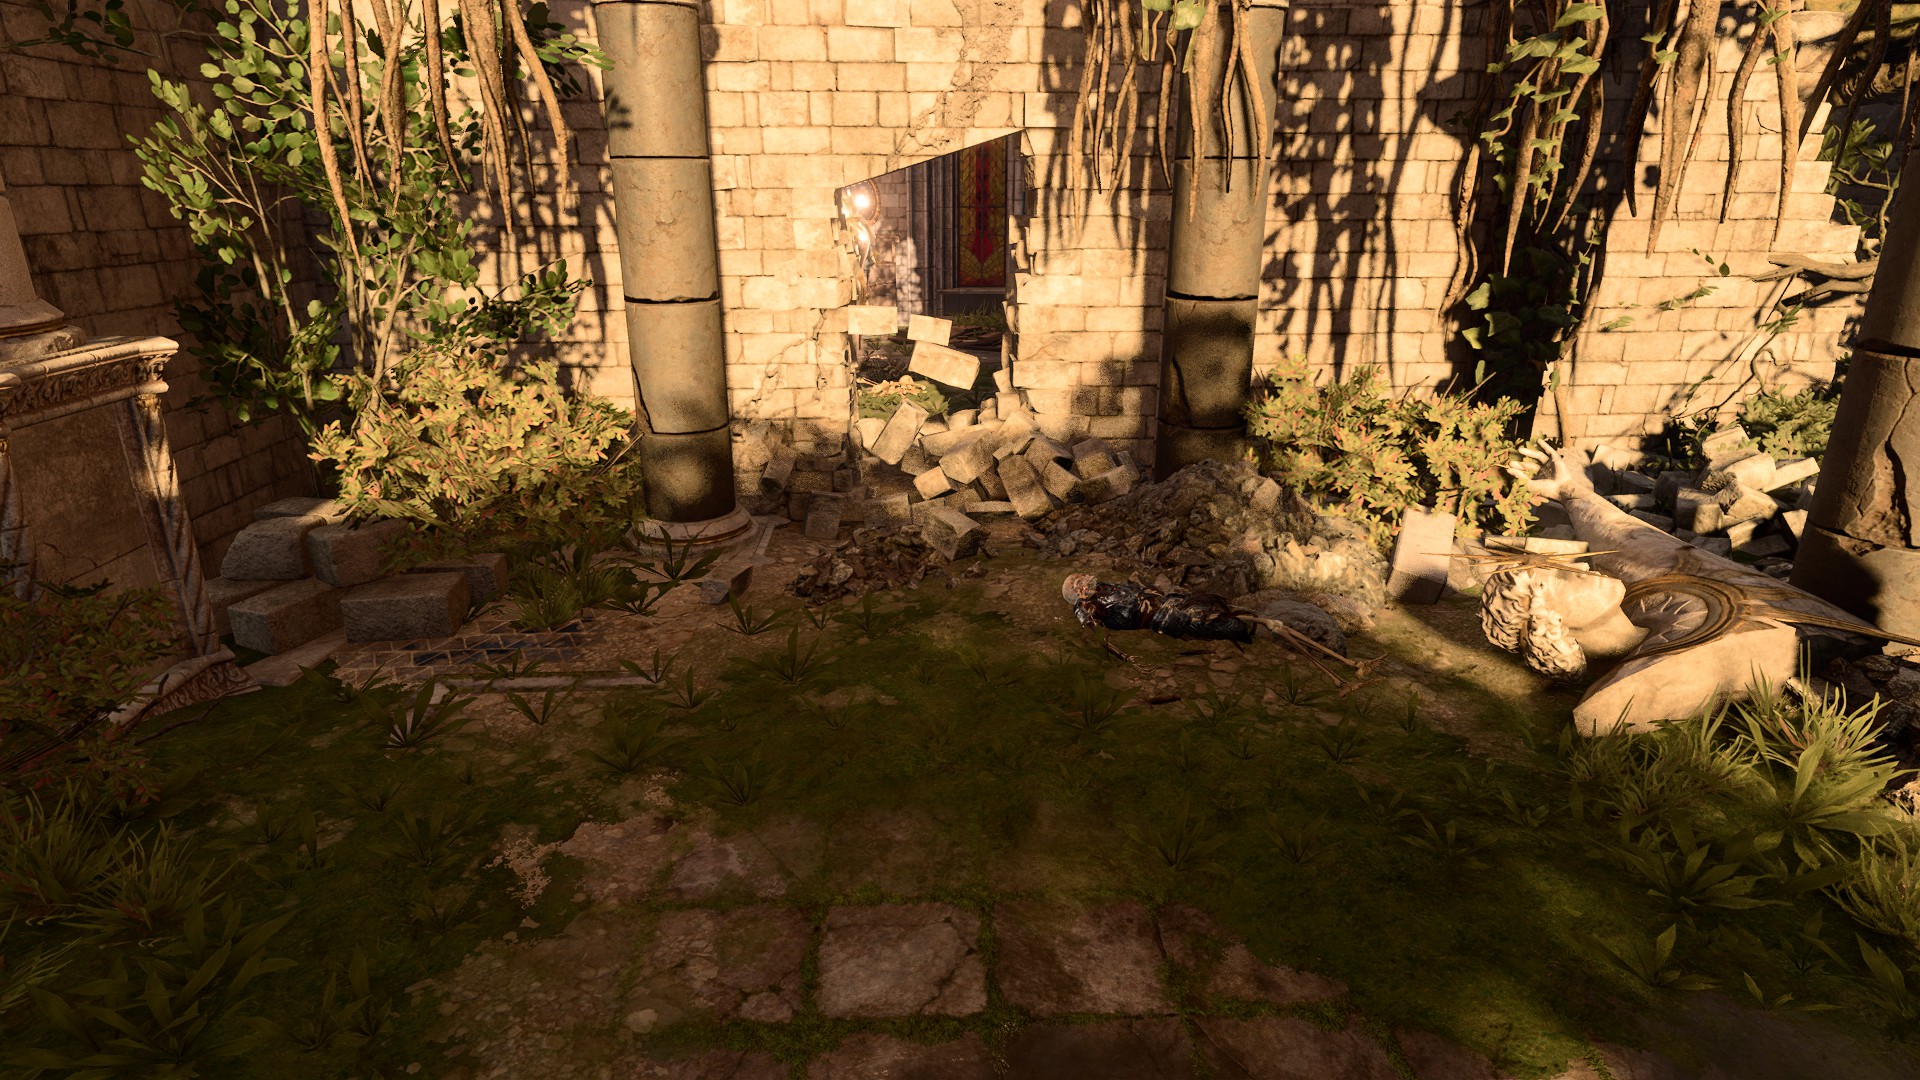
From the Kobold room, the party must move north to the giant crack in the wall, then jump up the rocks to get higher up on the Monastery. Once atop of the rocks, traverse (e.g., jump) across to the Monastery's roof. If the party move south-east, they can find an enchanted door at X: 95 Y: 46. The door can be lockpicked ( DC 15 Sleight of HandCheck) and the barricades can be jumped over. Otherwise, the wall to the south can be destroyed with force or bludgeoning damage at X: 106 Y: 38. Inside is a Guardian of Faith. On the ground below it is the Ceremonial Battleaxe. Picking it up causes the Guardian to attack.
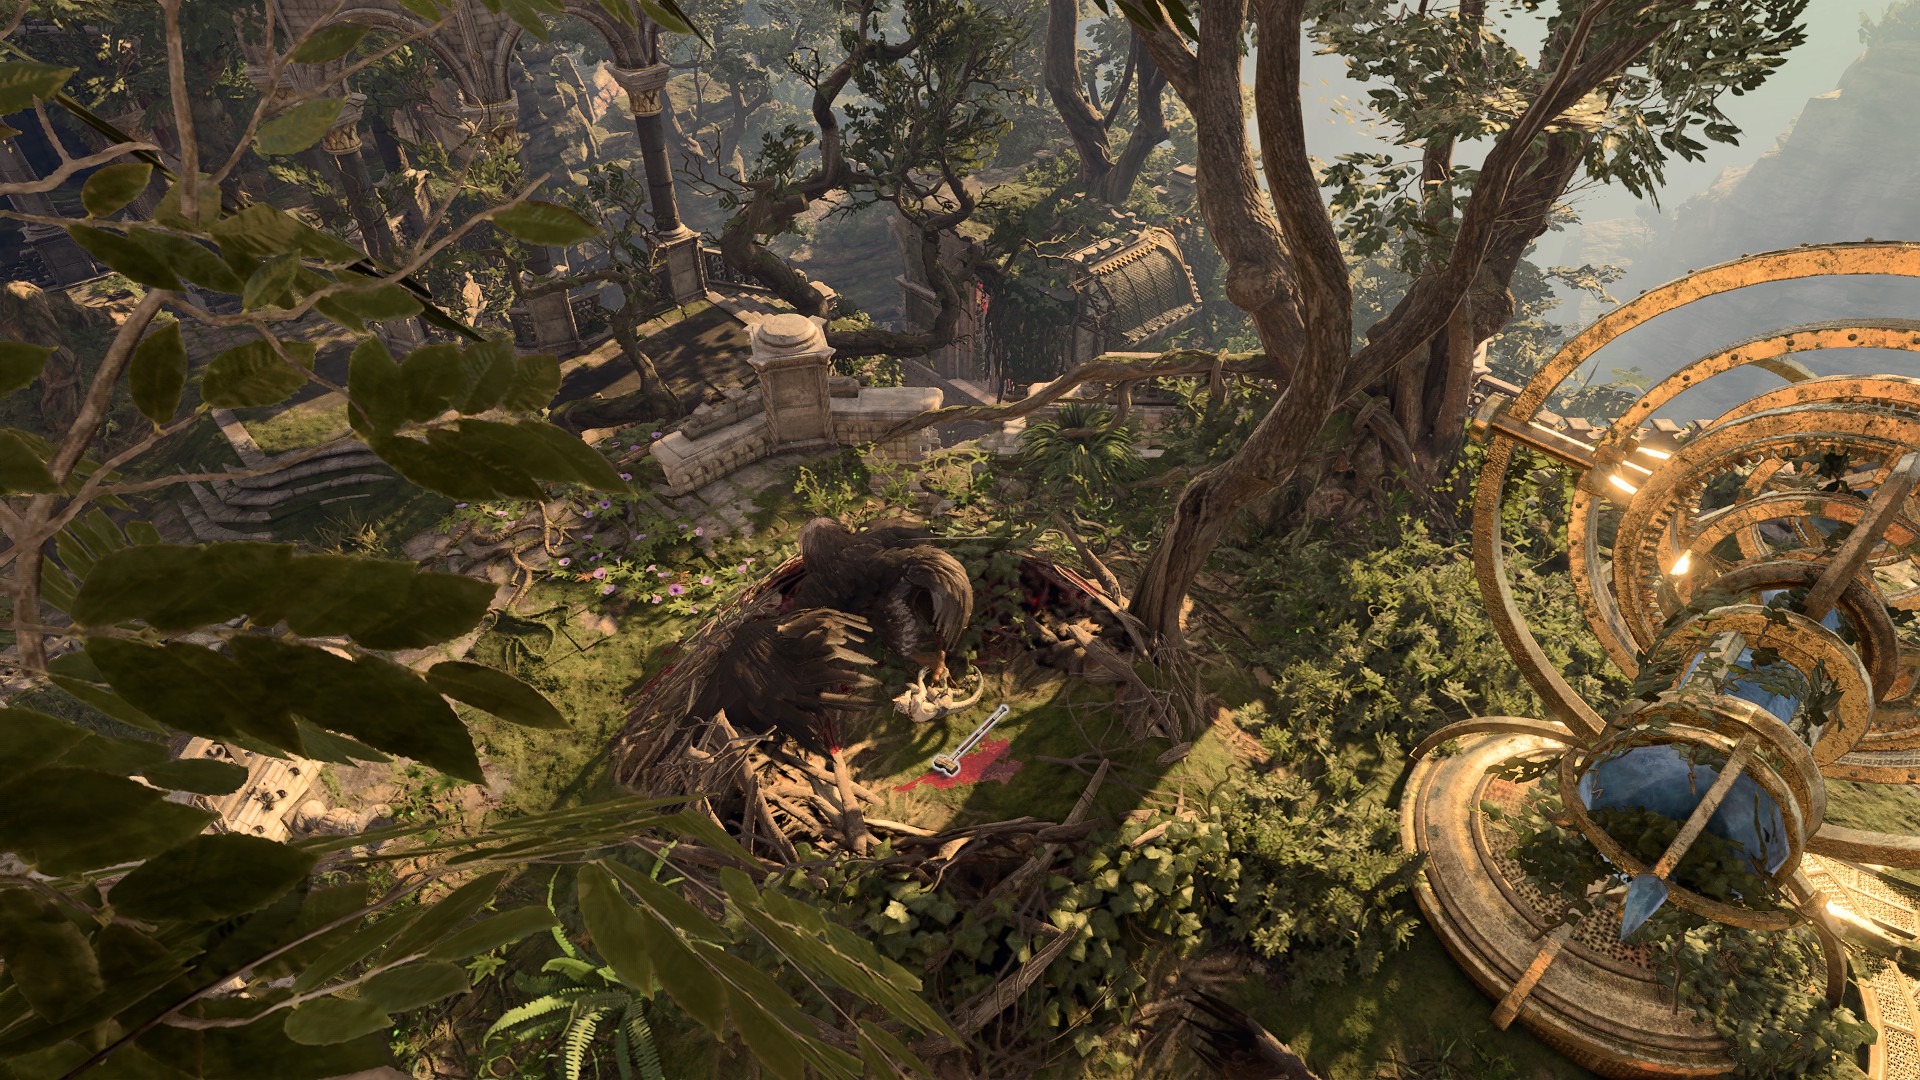
The Ceremonial Warhammer is on the topmost floor of the Monastery, in the centre of a Giant Eagle's nest. There are two sets of Knotted Roots which can be climbed - one to the north at X: 54 Y: 55 and one to the west at X: 89 Y: 41.
Once the party arrive on the roof, an eagle warns the party off, requiring either a DC 18 Animal HandlingCheck or a Persuasion check with Speak with Animals to continue peacefully. The eagles still attack if party members move too close to the nest. Using Fog Cloud or Darkness along with Invisibility, allows party members to sneak and grab the warhammer while the eagles are unaware. Alternatively, the party can kill the giant eagles and pick up the warhammer afterwards.
On the same floor as the Guardian of Faith is a room with a giant stained-glass window at X: 74 Y: 68. Examining the window indicates which Dawnmaster uses what weapon, although one of the panels is now too shattered to discern the weapon there.
An optional hint is down the hall; northeast, are a set of two doors at X: 54 Y: 41 where crying can be heard. Upon opening the door, nine Gremishkas attack. Once defeated, the party must move to the southwest corner of the room. By lockpicking the gated area, they can find a book The Parables of Dawnmaster Vaseid, which shows Dawnmaster Vaseid, wielding a battleaxe.
There are four stone tables with plaques, which list the names of the Dawnmasters. One of them is already complete, with a Ceremonial Longsword laying there. The party must drag and drop the weapons to the correct tables:
Dawnmaster Seed
Warhammer
Dawnmaster Stockhold
Mace
Dawnmaster Vaseid
Battleaxe
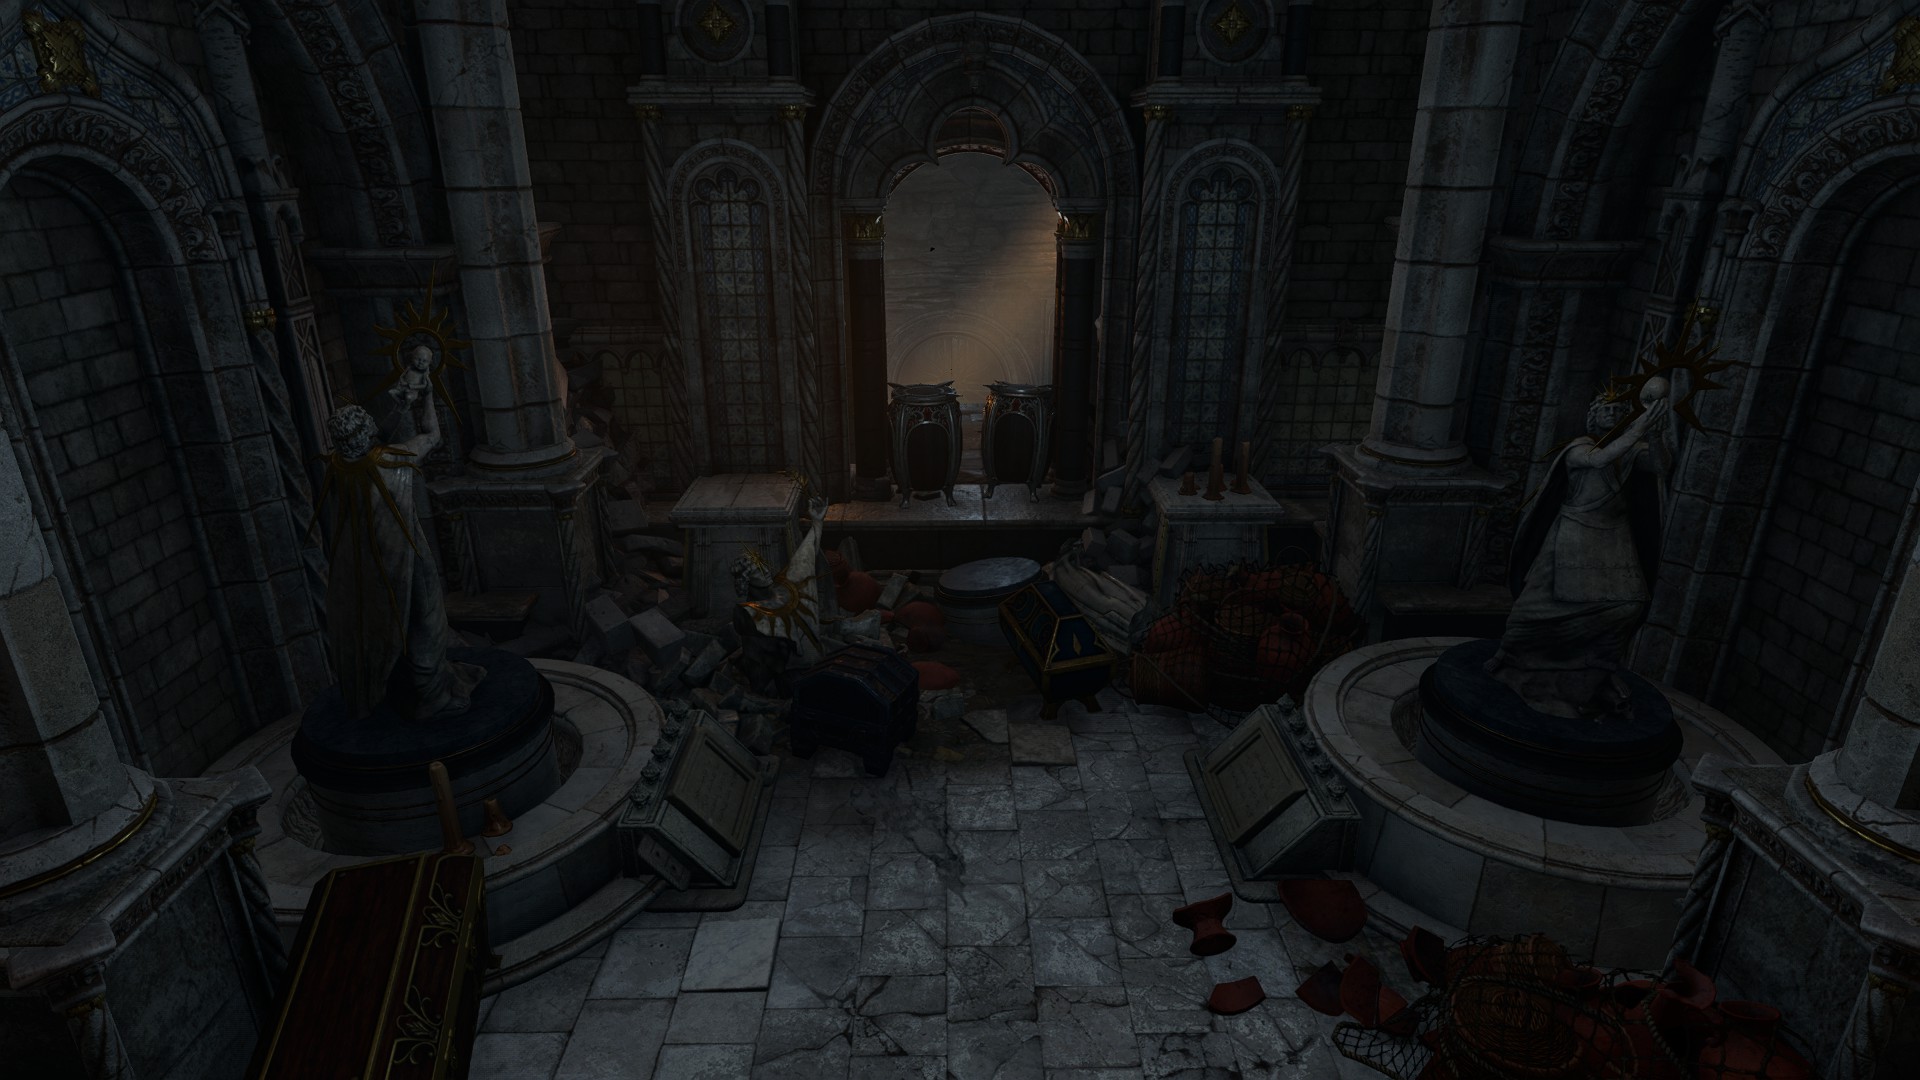
Once the weapons are placed on the correct tables, a secret section of the wall opens up with a pouch that contains the Dawnmaster's Crest and Note to the Next Dawnmaster. Completing the puzzle bestows the beneficial effect Morninglord's Radiance upon all members the party.
Placing the weapons on the correct tables grants 35 experience. Reading the note progresses the quest and grants 30 experience.
The correct orientation for the statues.Overview of puzzle.Climbing the rocks to get to the next area.The second Energy Source.
From the stained glass room, the party must move south up the hall, and then traverse (jump) across the gap to the east, where the enchanted door was. They must then move further south, then east to find a set of crumbling stairs. Jump past the gaps to follow the stairs down. Once down the stairs, the party must move north to a barricade on the western wall, then destroy it to walk through. Head north through the oak door and keep moving west past the statue of Lathander. A lever is on the wall at X: 78 Y: 49, which opens the monastery doors and can make re-entering the monastery easier. Reading the plaque Holy Blood of Lathander under the statue progresses the quest and grants 30 xp.
After moving west, if the party follow the stairs to north, they can reach the Monastery Basement at X: 74 Y: 80 where Crèche Y'llek resides. The githyanki are suspicious of outsiders, but if Lae'zel is present, she can smooth the way without any skill checks. The party can also gain access by persuading, intimidating, or deceiving the guards.
The party must then enter the Captain's Chambers, where the Kith'rak of the creche is arguing with an Inquisitor. The way forward is blocked by a shield, generated by a Githyanki Barrier Disruptor at X: 1390 Y: -757. A Gith Shard is needed to open the way, which is carried by Kith'rak Therezzyn. It is possible to steal it, or fight the Kith'rak to gain the shard. Alternatively, presenting the Mysterious Artefact to Therezzyn and the Inquisitor results in her opening the way for the party. Inquisitor Ch'r'ai recognises the party and tells them to enter.
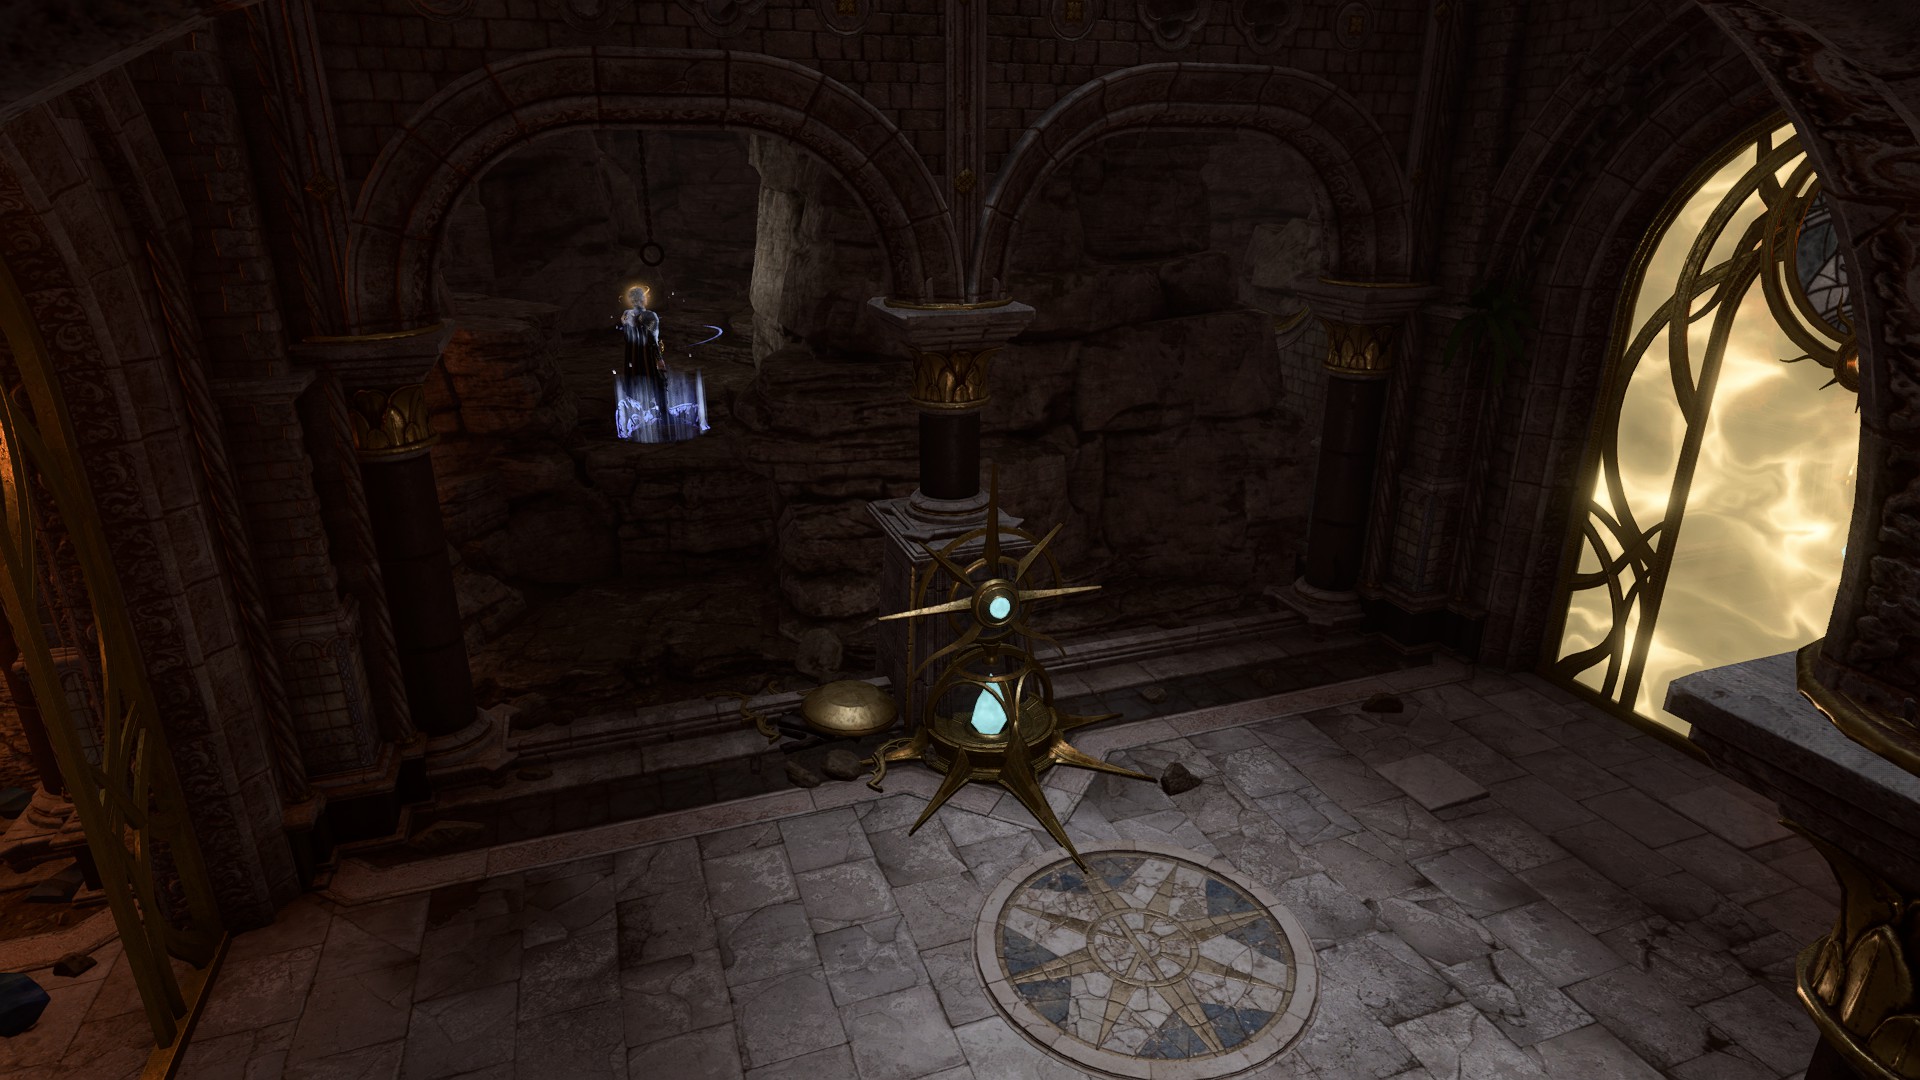
In the Inquisitor's Chambers, the Inquisitor, Ch'r'ai W'wargaz is waiting to speak to the party. For this quest, it is possible to ignore him to avoid making the crèche hostile by moving straight to the western hallway X: 1330 Y: -660. Two statues here must be rotated - the southern one requires a passive DC 25 AthleticsCheck check to move and must be turned westward, while the northern one must be turned eastward. If the Athletics check is failed, the statue can be covered in Grease or attacked instead. A path opens in the wall with some barrels which can be jumped over, moved aside, or destroyed. Entering the hallway grants the party 30 exp. The party must then proceed west to the Secret Stairway. The Energy Source crystal on the south side of the barrier can be destroyed with ranged attacks.
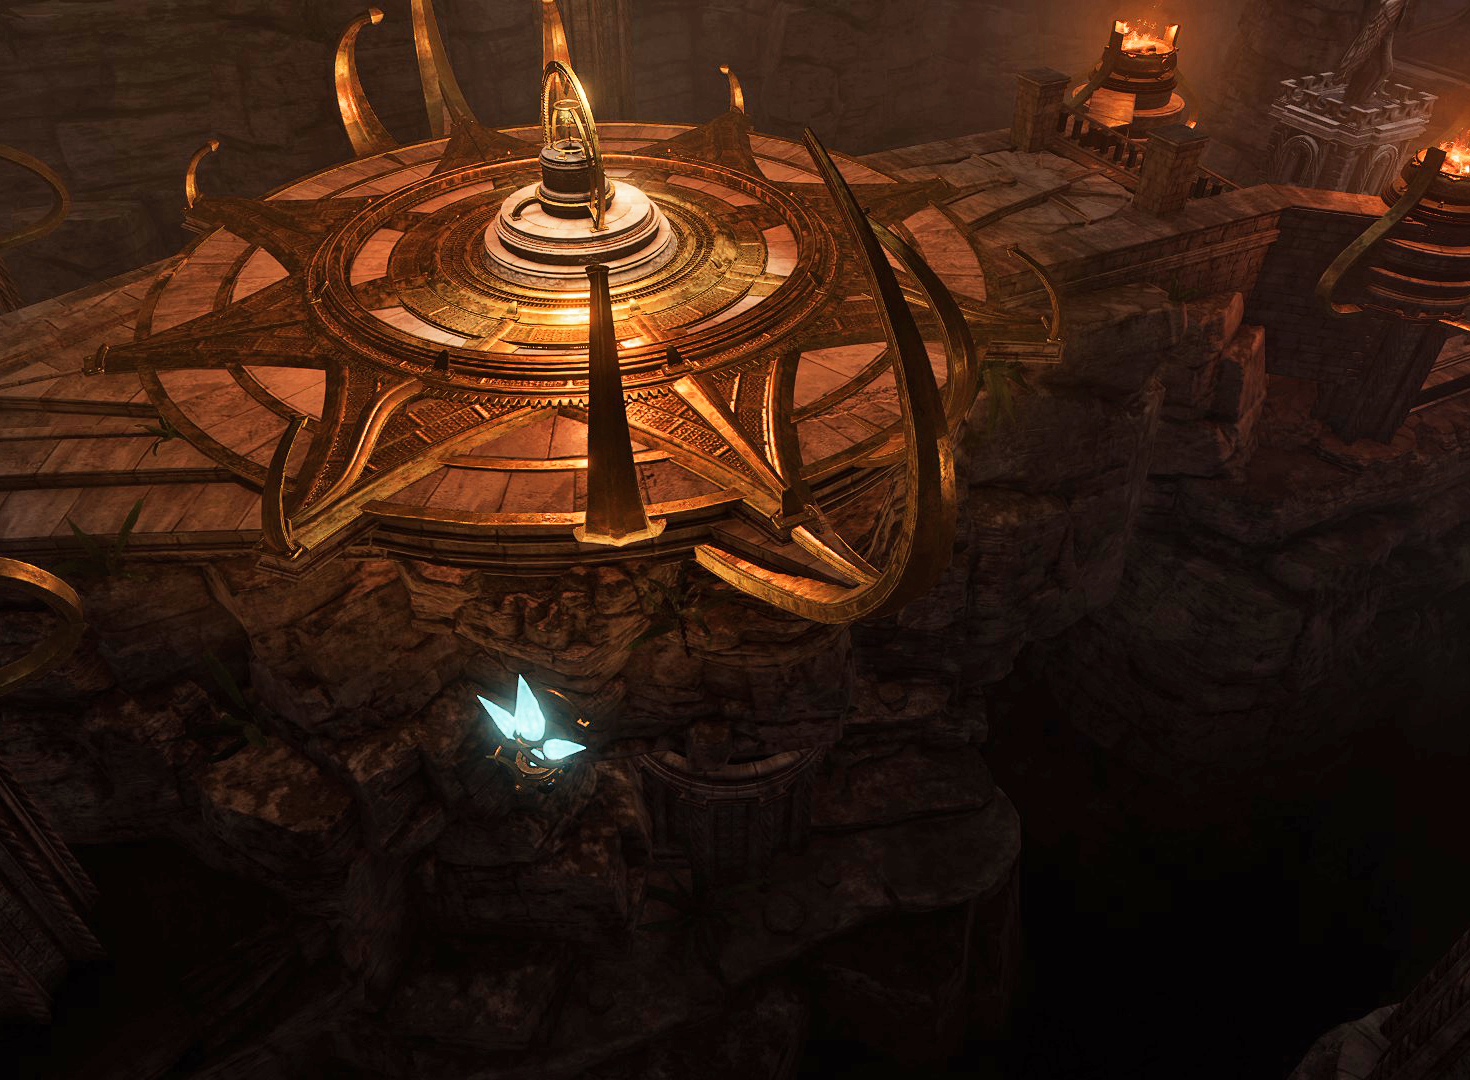
In the next room is a Dawnbreaker which shoots out pulses to knock the party away. Turn-based mode automatically activates, allowing the party to run up to and disarm it with a DC 14 Sleight of HandCheck. Unfortunately, the path forward remains blocked. The party must head to some nearby rocks and climb them, then follow the path around to find another energy source at X: 1118 Y: -790; alternatively, the energy source can be destroyed with tracking spells such as Magic Missile without climbing the rocks. The final energy source is on the rocks to the north.
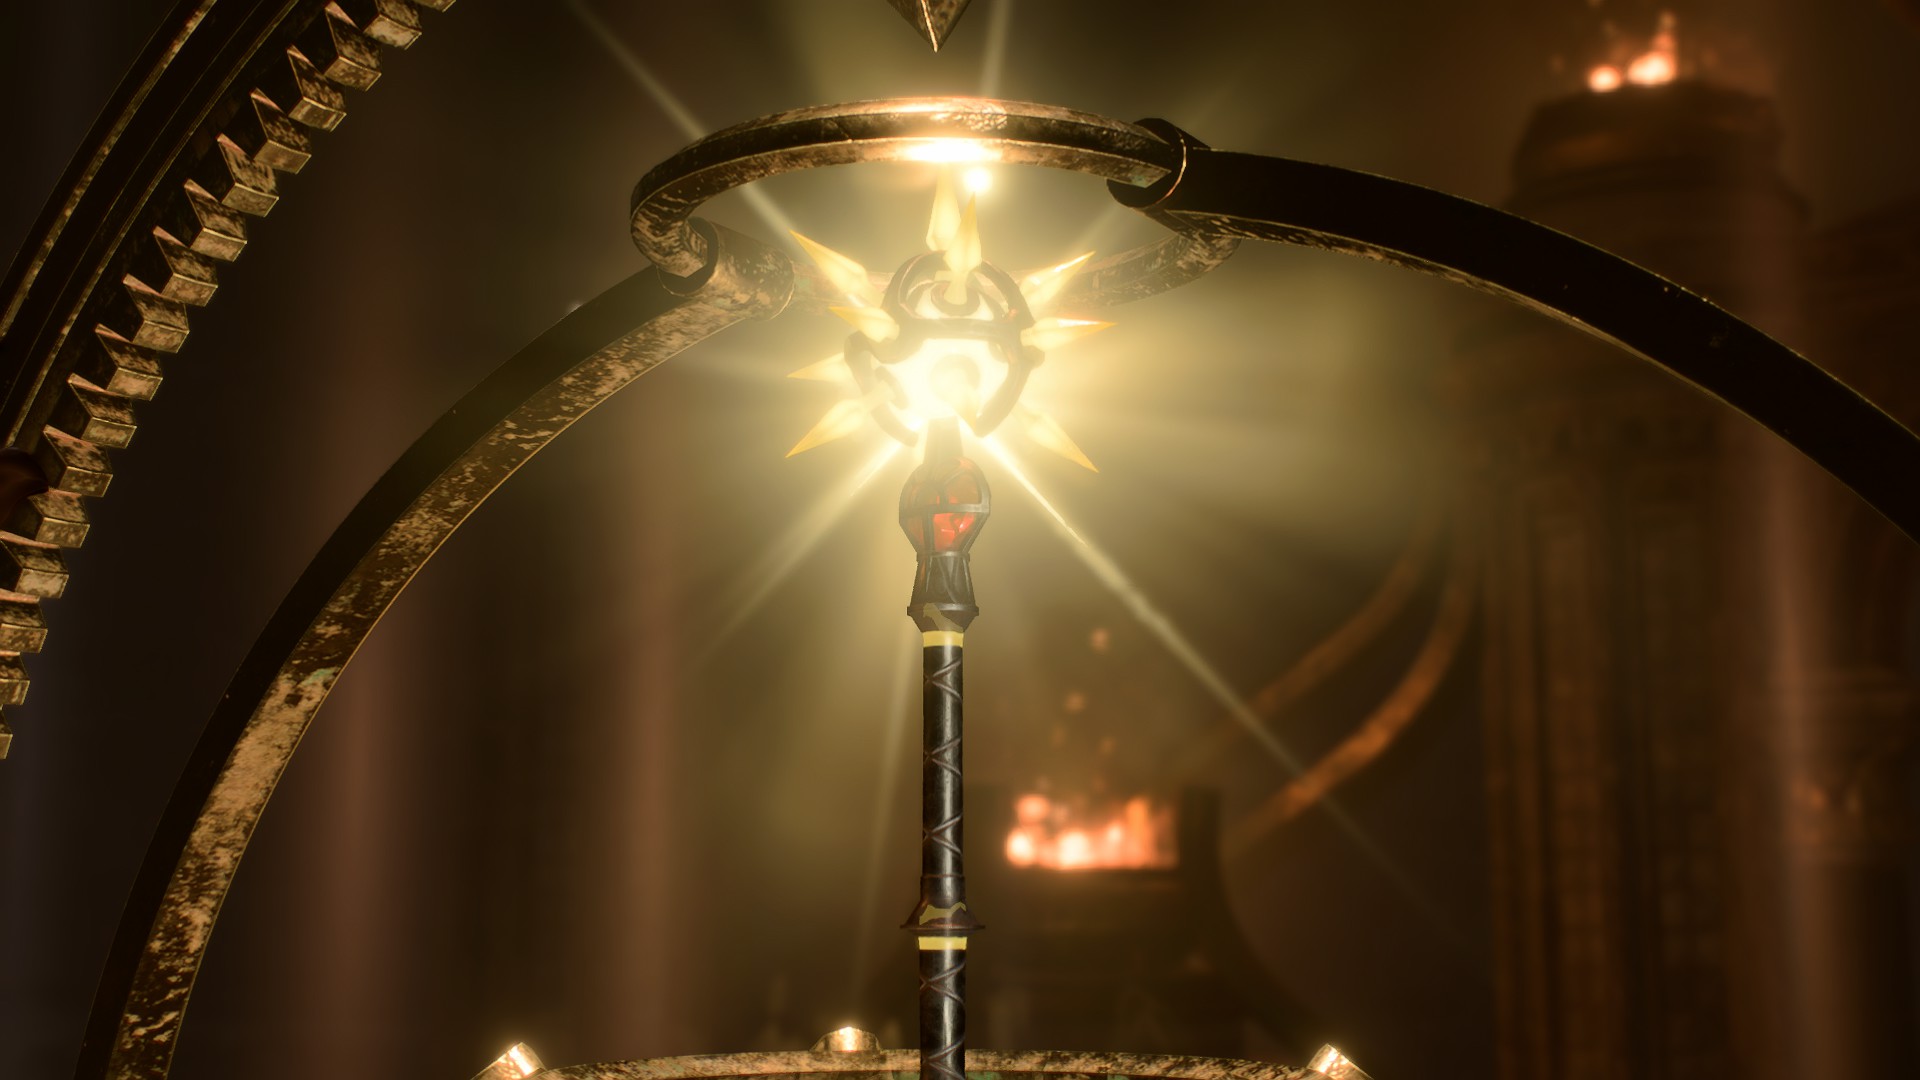
Moving forward, the party gain 30 exp and can finally see the The Blood of Lathander. From here, there are several options.
If the party has acquired the Dawnmaster's Crest, a member must place it in the altar's item slot to safely take the Blood of Lathander and receive 145 exp. Placing the crest after taking the mace also deactivates the trap.
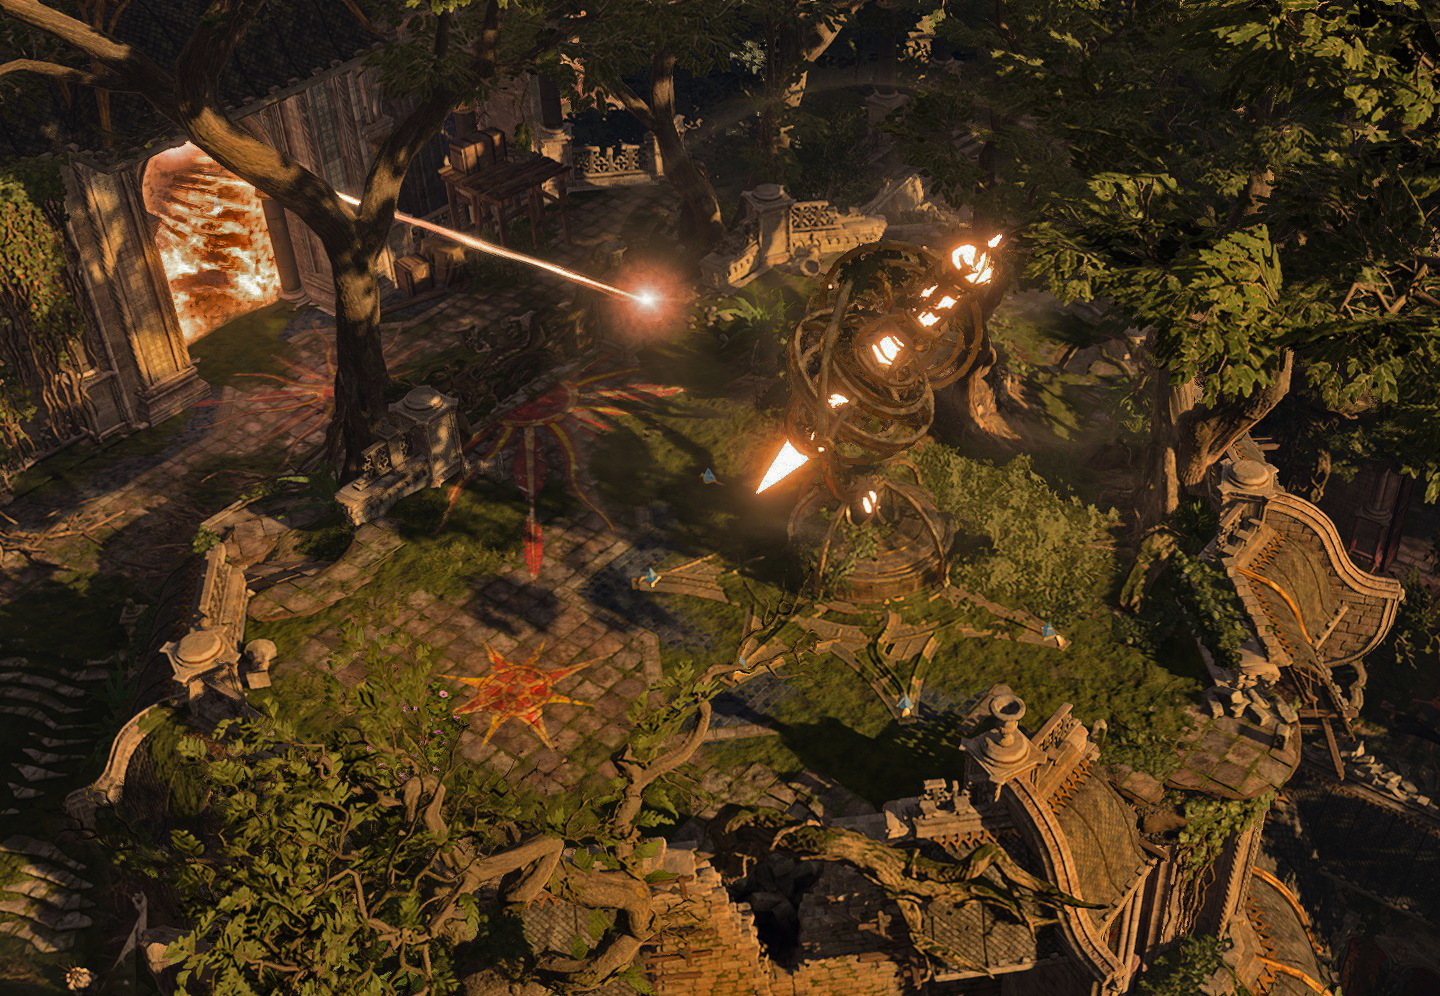
If the Blood of Lathander is taken without the Dawnmaster's Crest, a deadly trap activates which risks the destruction of the entire Monastery. This turns the Githyanki at the crèche hostile. The party has only four turns to either escape the Monastery or destroy the four Lathander Solar Machines which activate the trap. Whichever party member grabs the mace is trapped behind a forcefield and cannot act until they have escaped (Misty Step or Dimension Door work here). There is also an Energy Portal, which can lead the party member to the rooftop for a faster escape. Alternatively, the party can destroy the energy source at X: 1063 Y: -788 below the platform which powers the forcefield. If the Solar Machines are destroyed the creche remains intact; otherwise it is destroyed by the blast. Some companions who get stuck in the blast have unique dialogue afterwards.
If a party member is wearing the Sentient Amulet when they reach the altar where The Blood of Lathander is sitting, the Monk's manifestation comments on it: "The Blood of Lathander, as I barely live and hardly breathe. HahaHAhaha."


