Ad placeholder
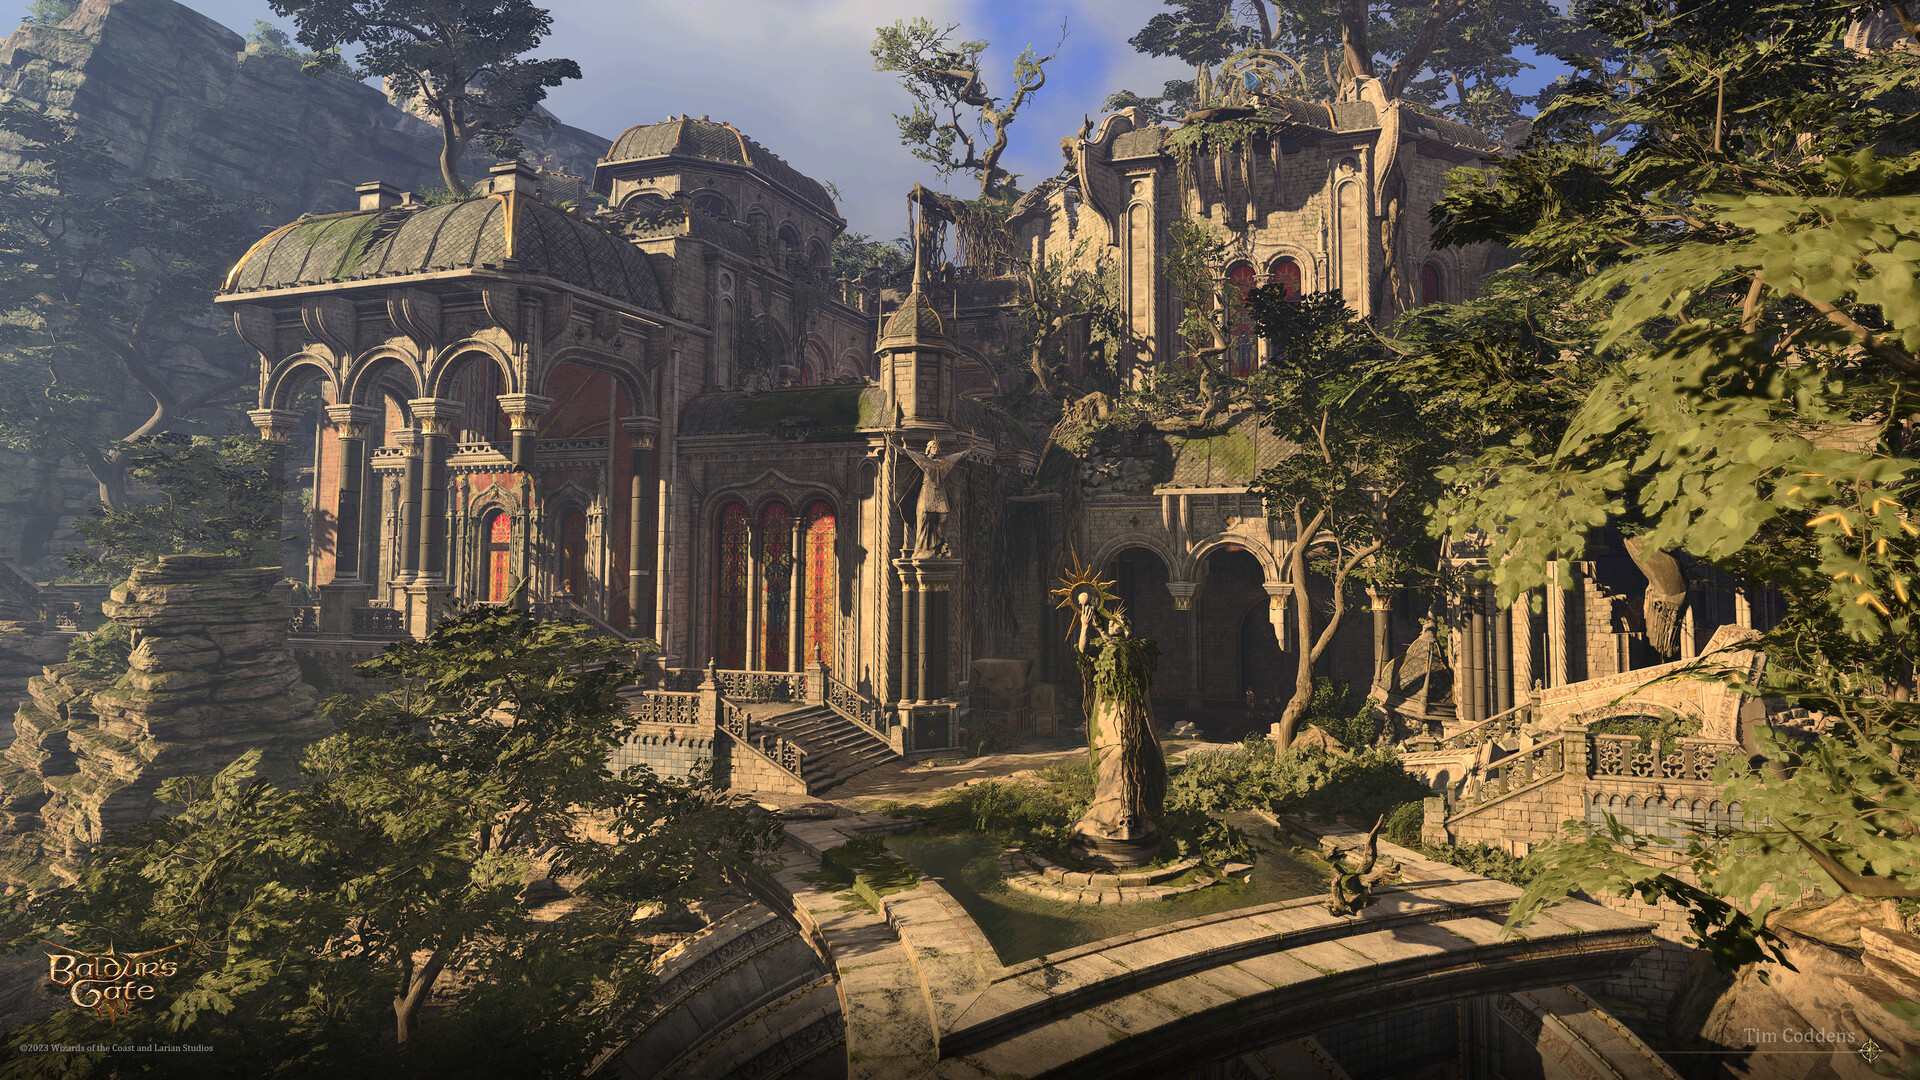
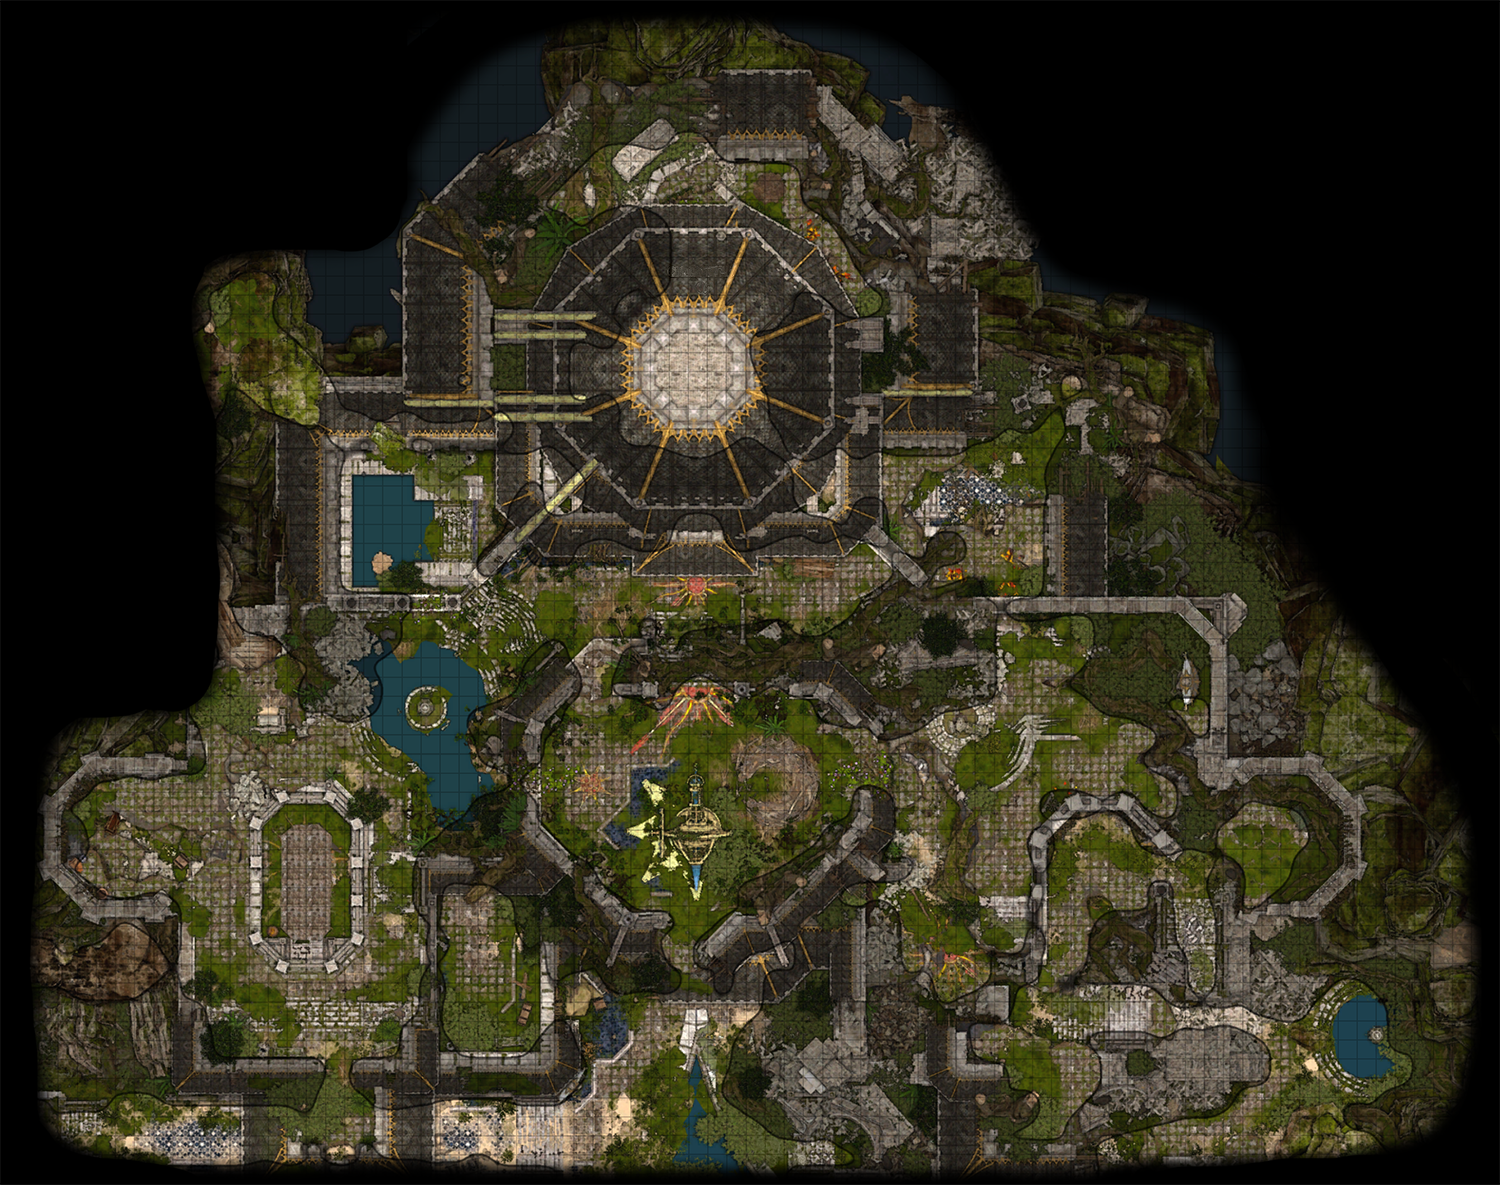
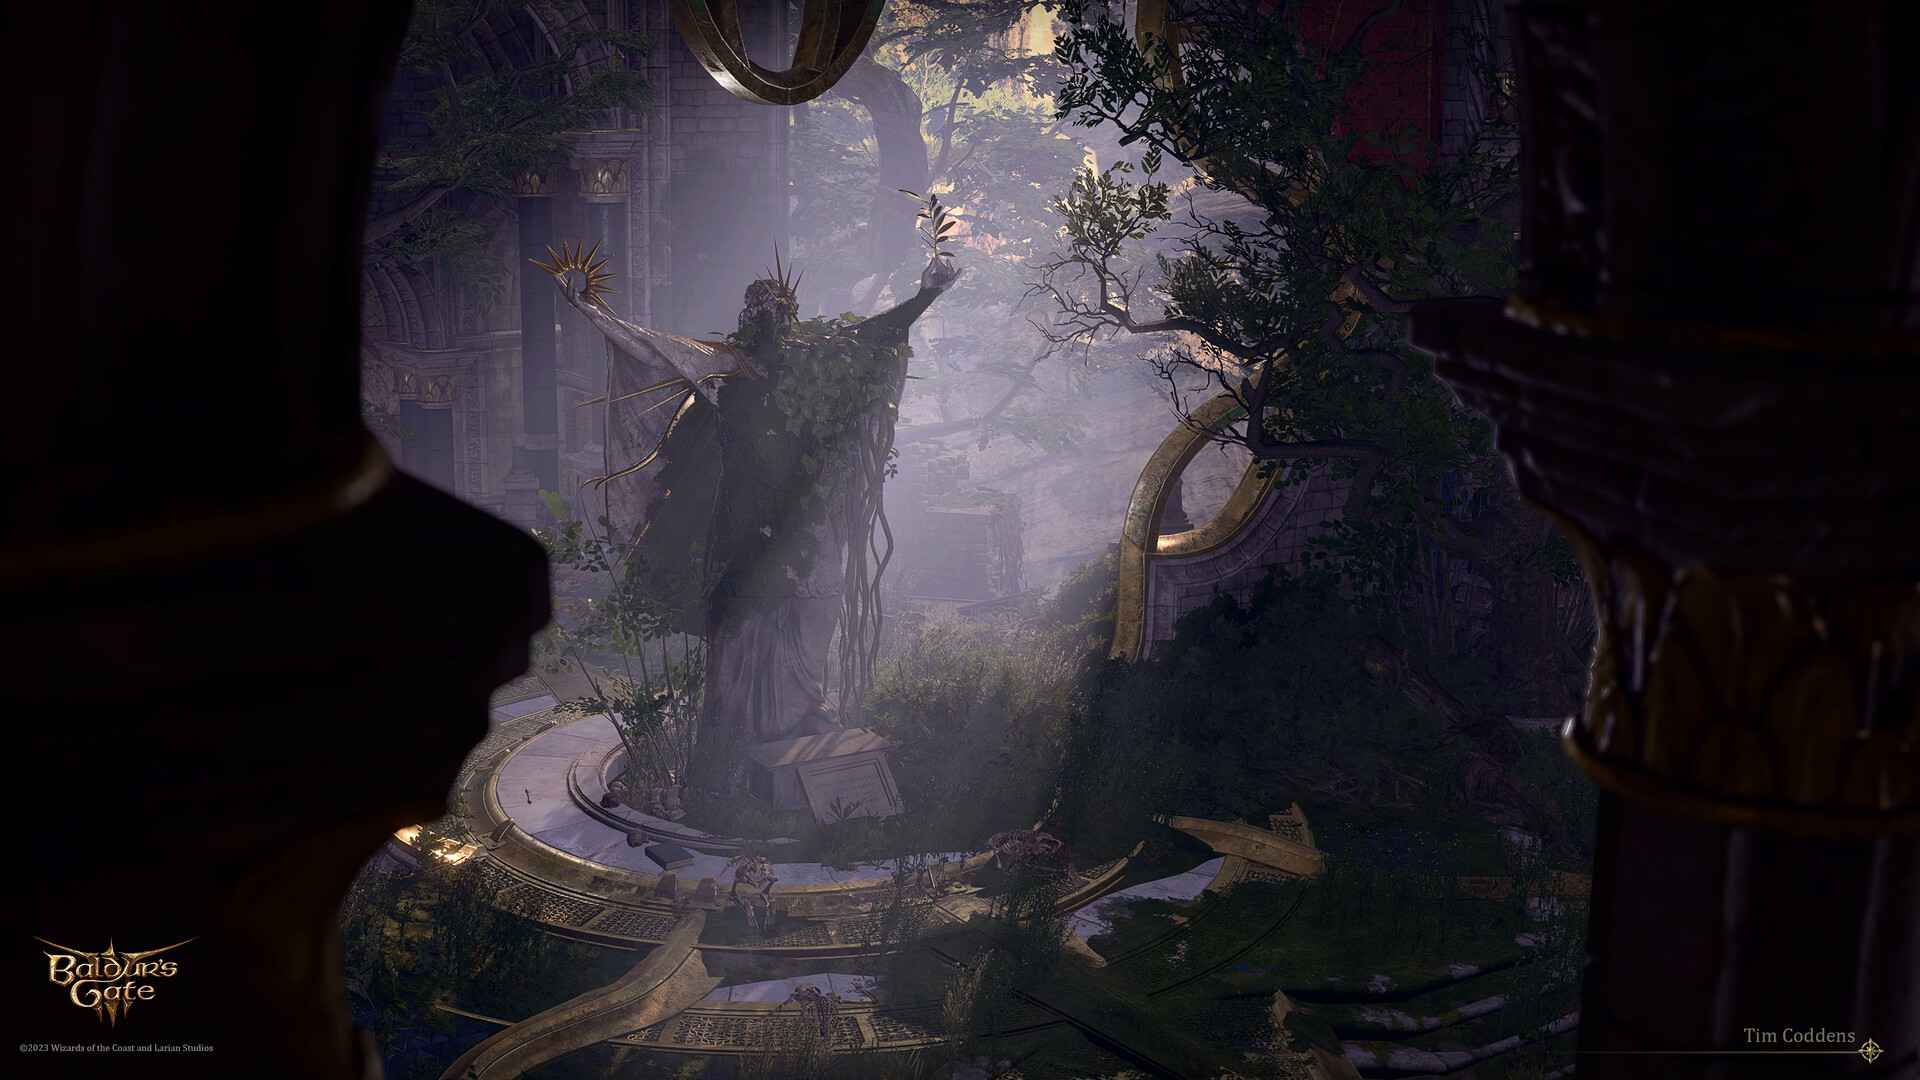
Rosymorn Monastery

| Rosymorn Monastery Trail | ||||
| Crèche Y'llek | ||||
| ↑ | ||||
| Rosymorn Monastery | ||||
| ↓ | ||||
| Mountain Pass | ||||

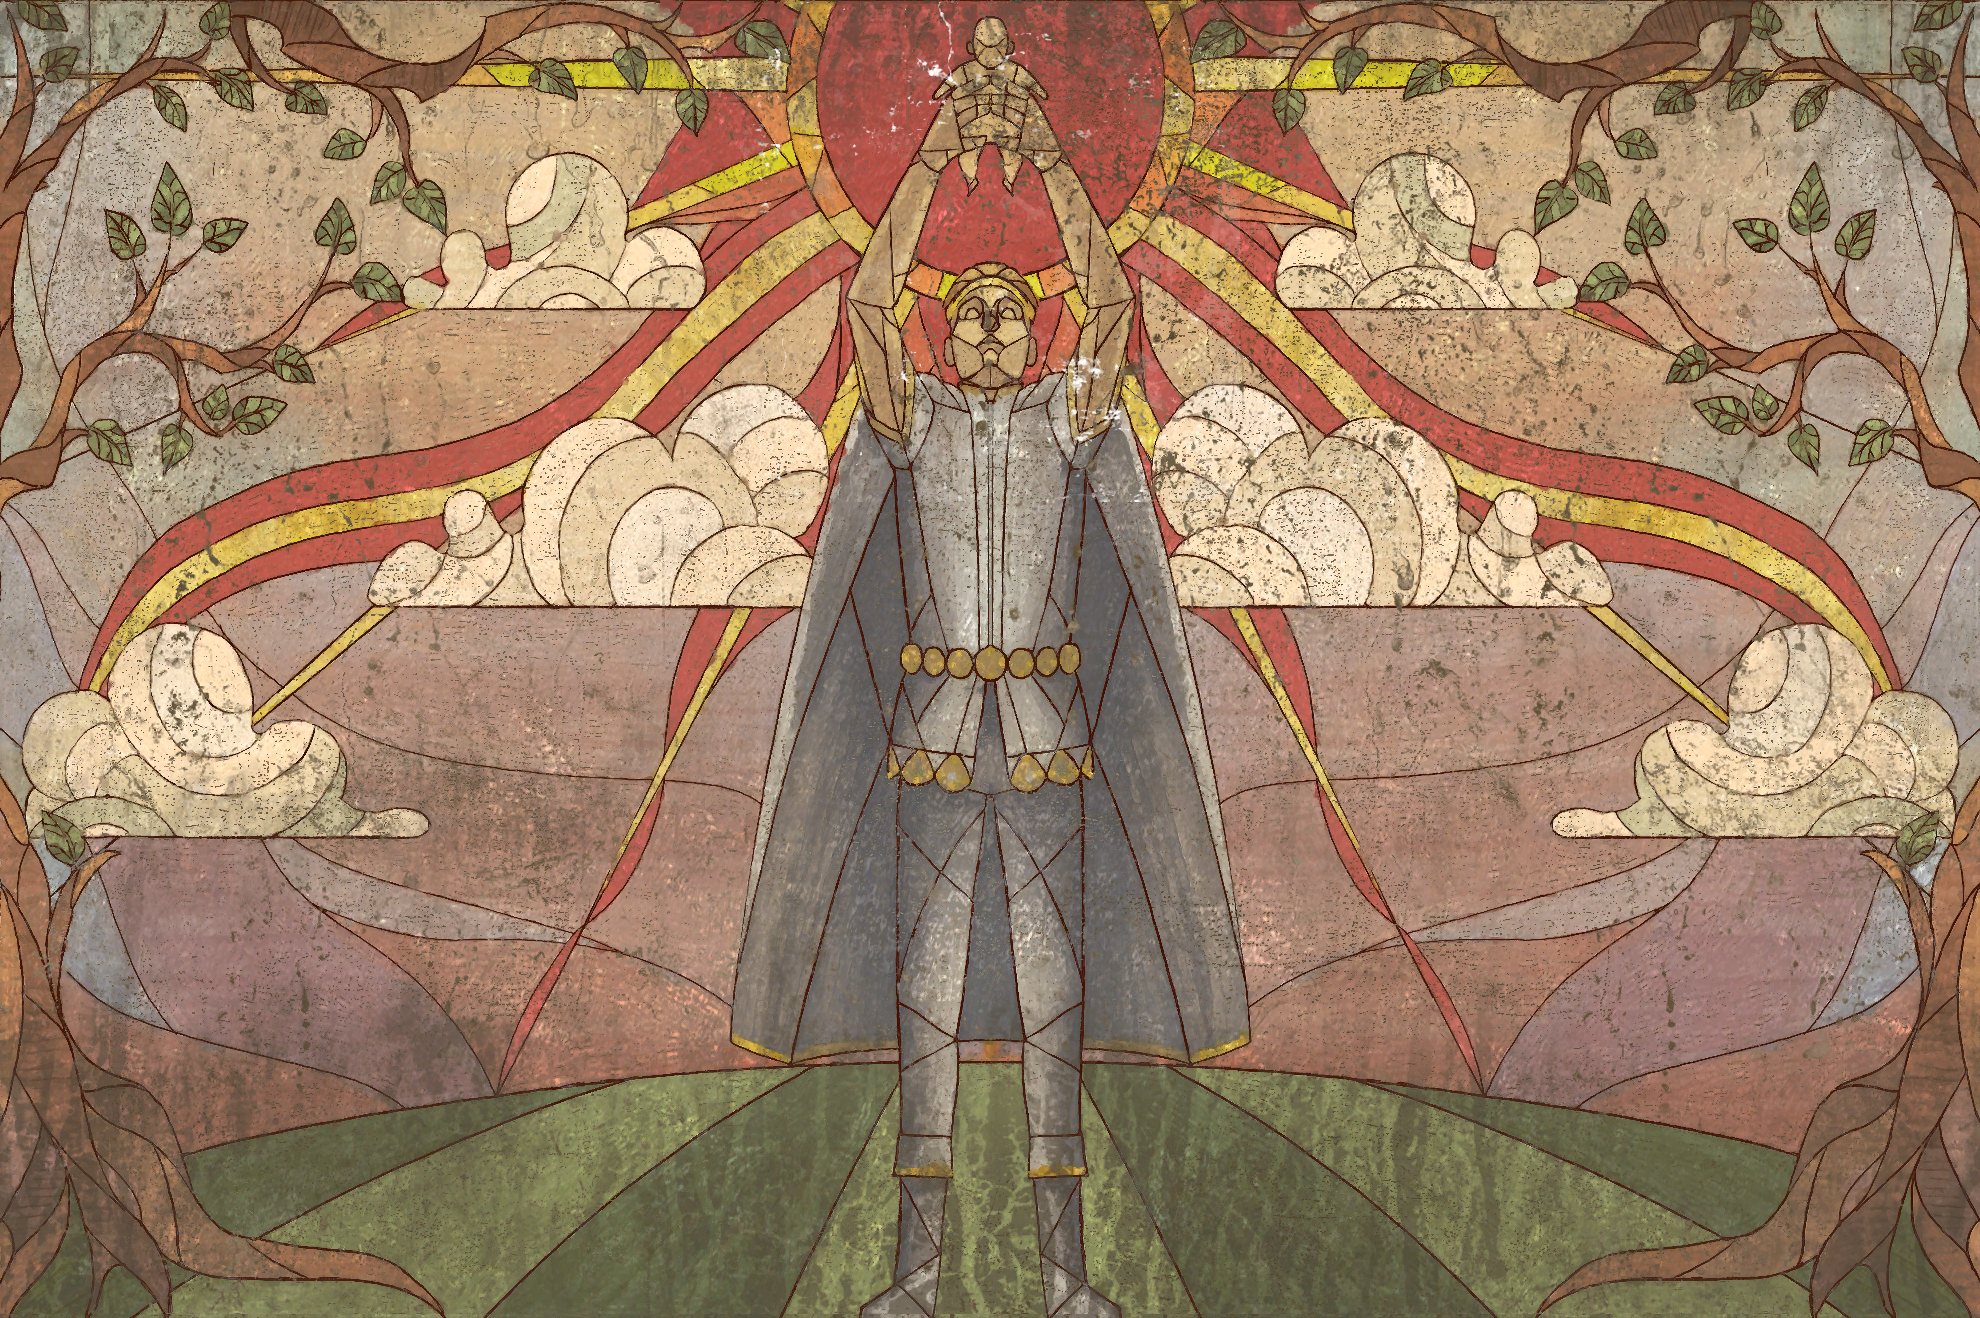
“No mere temple. This was a monastery, devoted as much to study as to worship.<...> Oh, but you meant beasts of the life-threatening variety? Yes, I'm sure it's teeming with those.„
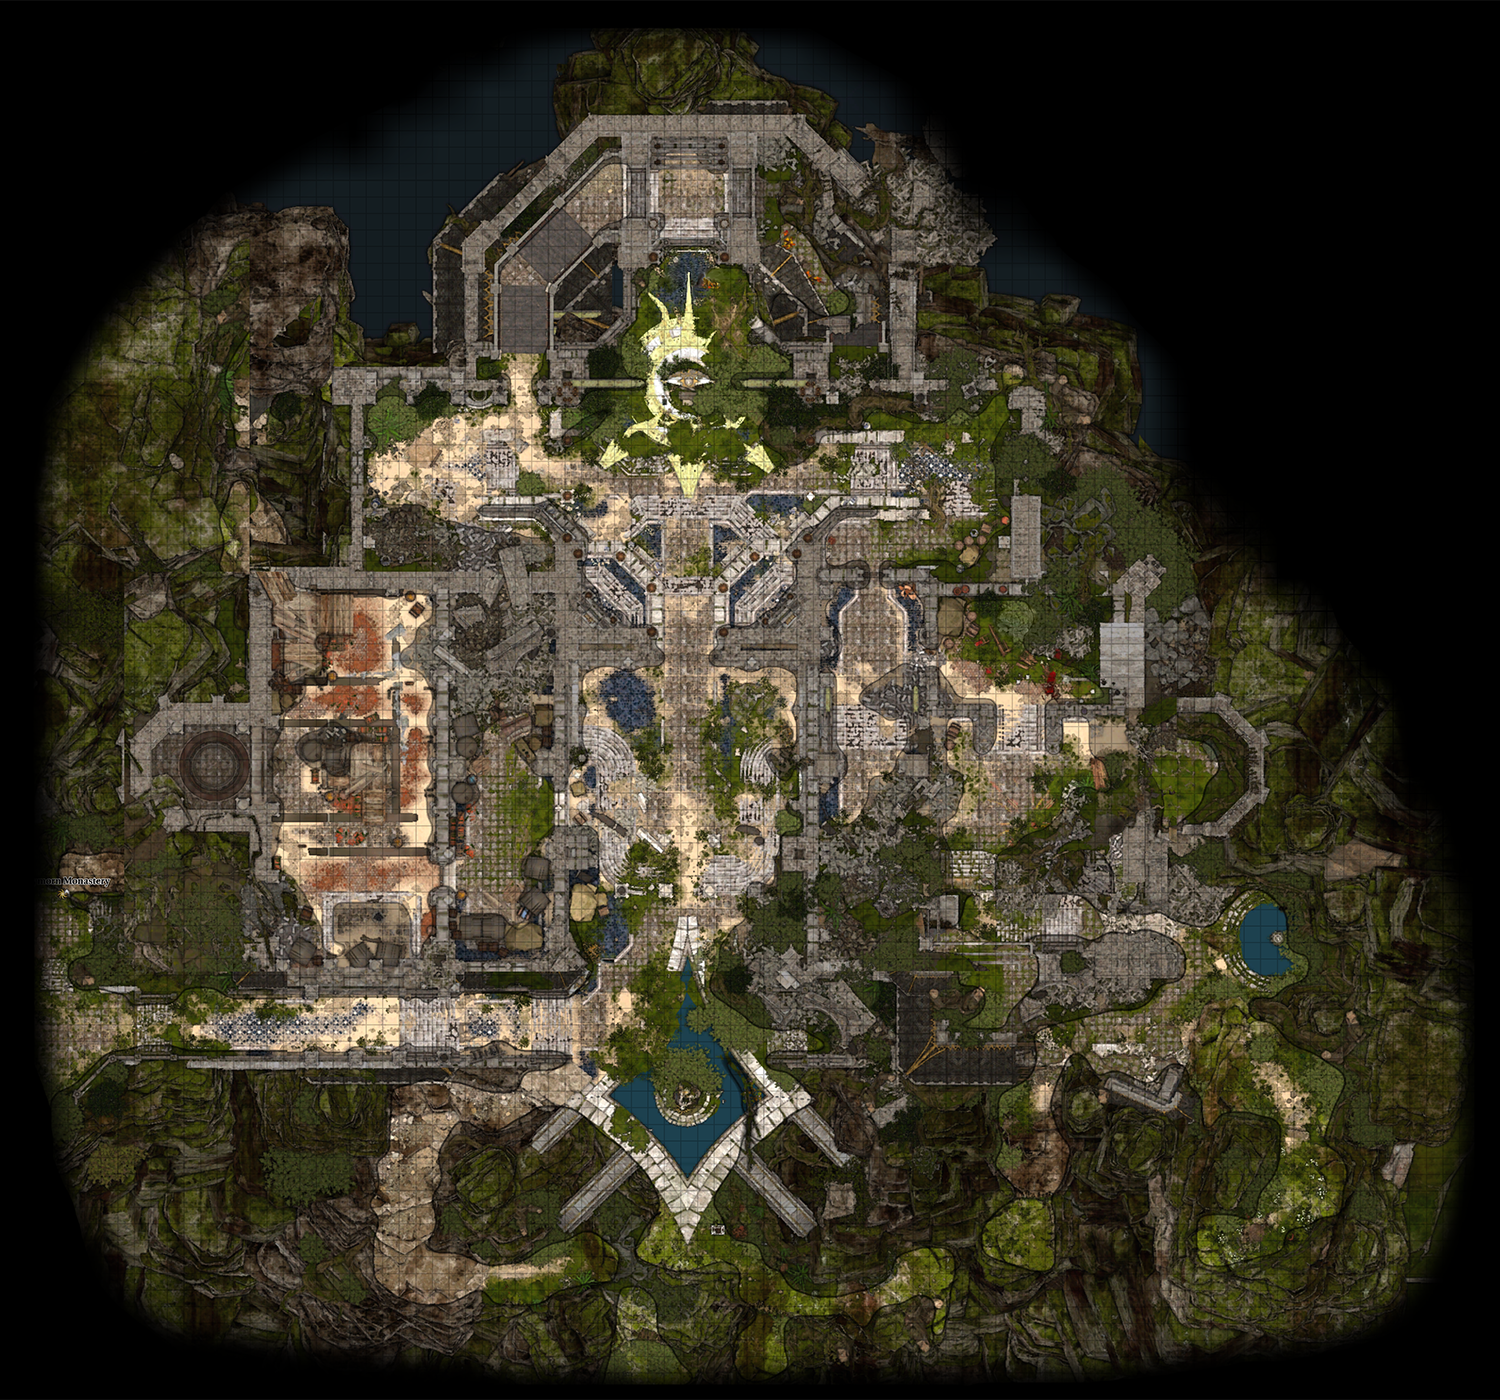
Overview[edit section | visual editor]
Approaching the monastery[edit section | visual editor]
The monastery can be approached only from the Rosymorn Monastery Trail. The actual territory of the monastery starts near the ![]()
Upon first time approaching the front doors, the party see a cutscene. 


However, there are other routes to get past the gate and into the inner yard of the monastery.
Upon approaching to the gate, the Dream Guardian warns the player character, trying to dissuade them from exploring the githyanki crèche.
A 
For the purposes of description, the ruined monastery building can be divided into three levels: Ground level, Upper level and the Roof.
Upper level[edit section | visual editor]

The upper level of the monastery can be reached by:
- Climbing up the Knotted Roots just above the Waypoint, jumping the cliffs and breaking the barricade at X: 36 Y: 24 (this way leads the party straight into Gremishkas' den).
- Heading down the rubble slope at X: 51 Y: 6, then doing series of jumps heading east and finally climbing up the Knotted Roots at X: 106 Y: -4. An Elegant Chest can be looted on the way.
Gremishkas' den[edit section | visual editor]
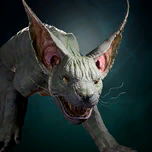
This vast hall with a oval colonnade in the centre seems to have been the monastery's library aforetime. By the time the party explores the ruins, however, the room is infested by 
![]()
![]()
After dealing with the beasts, the party may loot their nests (x3) for random Uncommon scrolls and potions. Also, in the western part of the hall are two corner alcoves separated by locked Iron Gates (![]()
At X: 36 Y: 35 behind a locked door is an Opulent Chest. The ![]()
![]()
Behind the barricade is an open balcony, where any party member might detect a hidden Dirt Mound, and Knotted Roots that lead up to the monastery roof.
Eastern part of the monastery[edit section | visual editor]
After climbing up the Knotted Roots at X: 106 Y: -4 the party may reach the eastern part of the monastery.
At X: 123 Y: -6 on a high cliff is the grave of Askell Stockhold, one of Dawnmasters (an honorable title for Lathander cloisters' abbots) of the monastery. The note inside the coffin ![]()
![]()
![]()
The wall breach (X: 115 Y: 22) leads to a ruined staircase which leads both up and down. Upstairs are double doors and a Crumbling Wall at X: 103 Y: 38 (requires ![]()
![]()
The door in the room is enchanted by a unique radiant-like spell, giving it the ![]()
Near the double doors is a ![]()
![]()
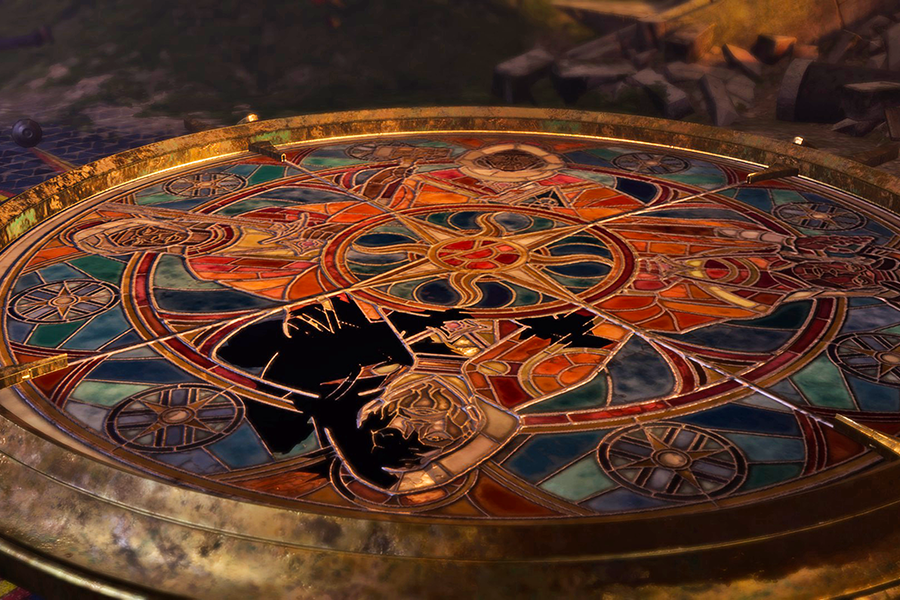
Dawnmasters' Memorial[edit section | visual editor]
This room has a stained-glass window depicting four former Dawnmasters of the monastery on the floor, and four stone altars representing each of them. The ![]()
It is possible to walk out of the broken side window behind one of the altars onto the balcony. At X: 80 Y: 86 a Dirt Mound can be detected, and at the end of the balcony Knotted Roots allow climbing up under the central dome. In a small room above the Memorial the party can loot an Opulent Chest, and take a ![]()
Another broken window allows to walk out onto a half-ruined side-roof, from where it is possible to jump down to the ground level behind the locked central gate, using ![]()
![]()
The roof[edit section | visual editor]

The roof can be reached by climbing up Knotted Roots either at X: 57 Y: 52 or at X: 91 Y: 40 (the latter should be used carefully, as it leads straight into the Giant Eagle's nest, mentioned below). The roof surface is thick with Twisting Vines which may entangle any party member stepping on them.
The western side of the roof features an empty bower (exactly above a Gremishkas' den), except for the skeleton of the Ancient Githyanki Warrior at X: 46 Y: 20. It can be looted for a ![]()
In the middle section of the roof is a mysterious device covered in vines. The first party member who sees it comments on it, identifying the mechanism as a powerful weapon (the comments differ depending on whether the party do or do not know that the monastery ruins actually conceal the crèche).
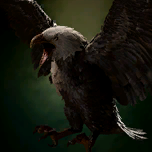
Just behind the device at X: 79 Y: 39, is a nest guarded by an 

![]()
.png)
On the eastern side, after a few jumps, at X: 121 Y: 37 the party can reach a Painted Chest containing ![]()
![]()
![]()
The mural section can be turned into a portal while progressing the ![]()
Reaching the rooftop for the first time grants 180 experience at Level 6, as a medium-sized location.
Ground level[edit section | visual editor]

The ground level of the monastery ruins consists of the Firewine storage, the antechamber behind the front doors, and the inner yard of the monastery.
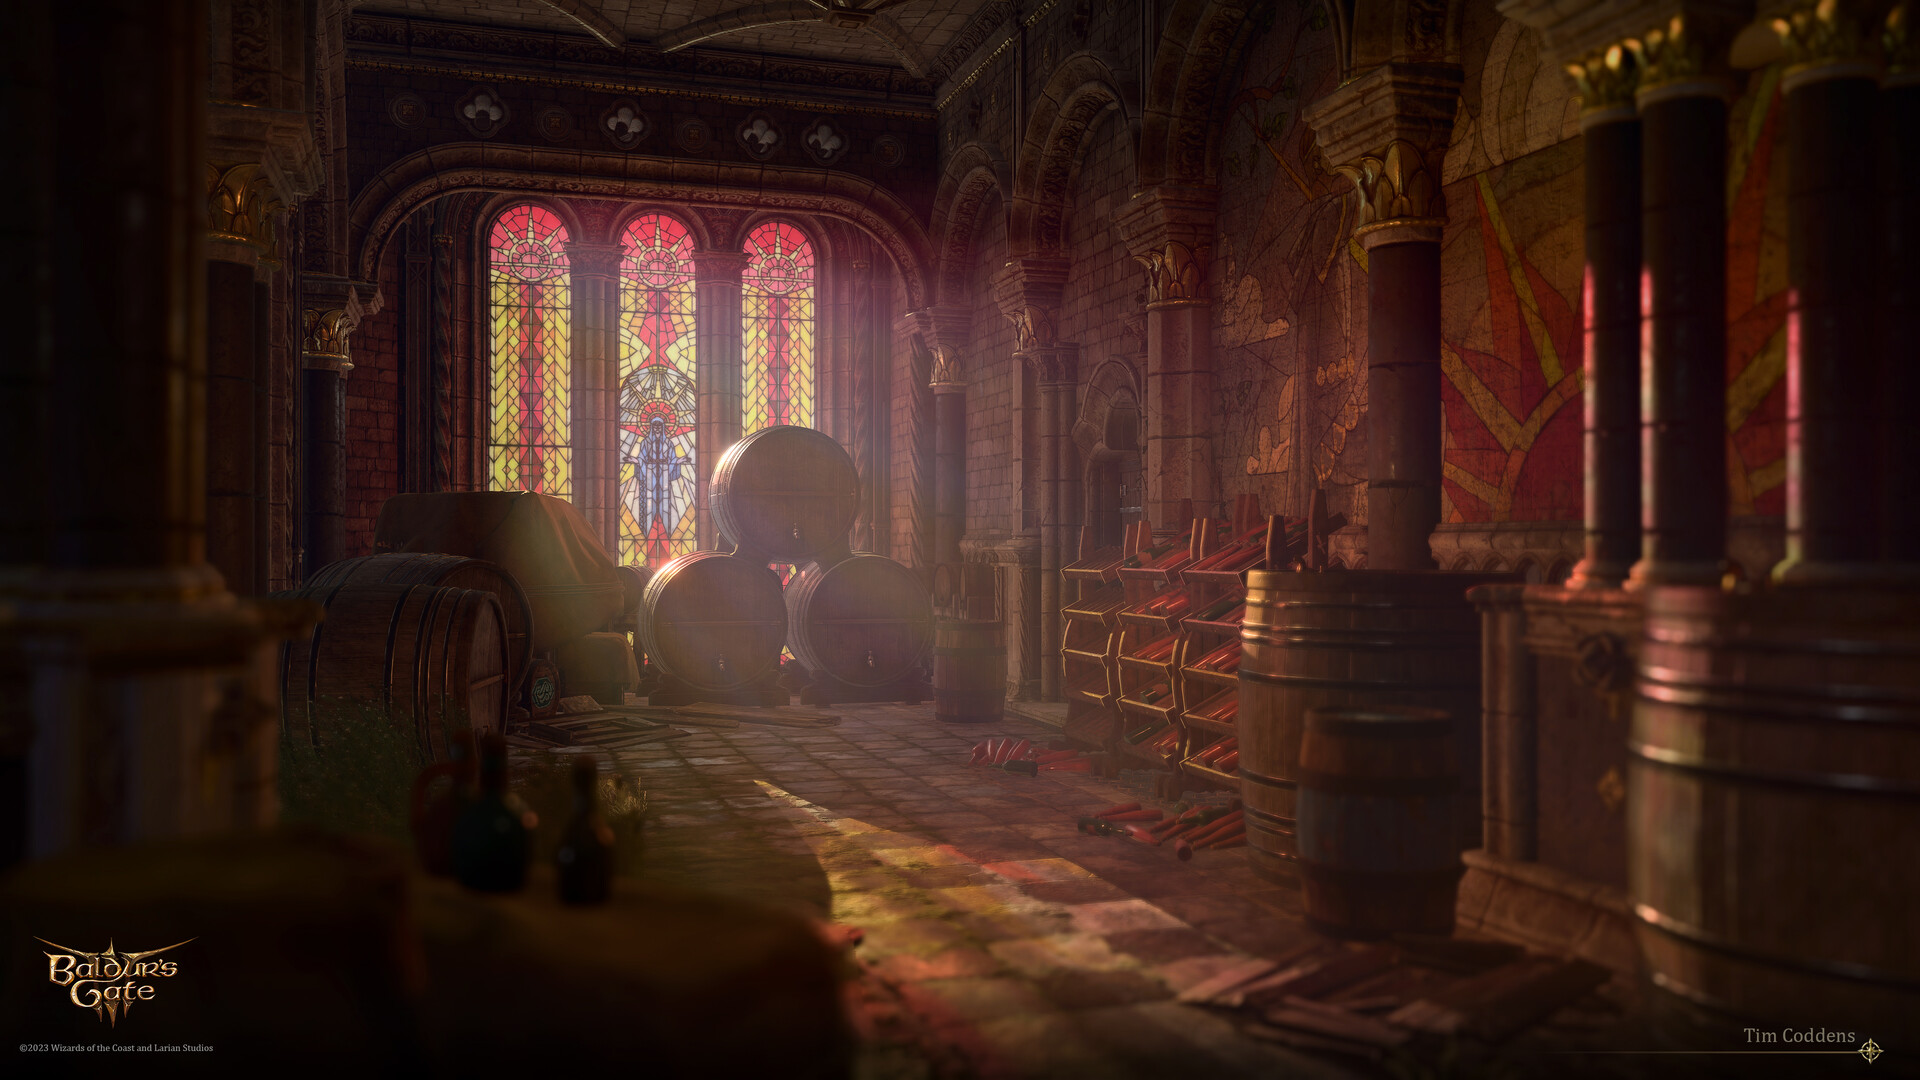
Firewine storage[edit section | visual editor]

The storage can be reached by jumping into a broken window at X: 63 Y: 32 or descending from the cliffs from behind the Gremishkas' den.
On the ground floor of the monastery at X: 45 Y: 37, are a group of 


![]()
![]()
![]()
Entering in the storage room for the first time grants 95 experience at Level 6. It is not connected with any other parts of the Ground level of the monastery, hence the party must explore the Upper level, too.
Magic Mouth Bust and Statue of Lathander[edit section | visual editor]


The other part of the Ground level can be reached from the ruined staircase described above (X: 115 Y: 22). Heading down the staircase, the party can hear a desperate war cry from a bust near the wall. A successful
The plaque at the altar near the statue declares that the Blood of Lathander had been displayed here. Party members comment here on ease with which it was stolen. Also, a ![]()
![]()
Behind the statue lies a skeleton run through with a githyanki sword (recognized by
The statue is just across the main entrance doors. At both sides of it are Iron Gates (similar to those at Gremishkas' den and with same Lockpick DC). Inside are the books which lay out the history of retrieving the Blood of Lathander relic, a ![]()
![]()
To the north of the statue any party member might detect a Dirt Mound, and also find another Githyanki Slate named ![]()


To the west of the statue a spiral staircase leads the party to the entrance of Crèche Y'llek.
Find the Blood of Lathander[edit section | visual editor]
.png)
Rosymorn Monastery has a puzzle that is part of the ![]()
![]()
To start the quest, the party must obtain any three of the "Ceremonial weapons" while exploring the monastery ruins. Next, they can proceed to the Dawnmasters' Memorial room at the Upper level of the monastery.
This chamber features a large picture of stained glass on the floor and four altars around it. A ![]()
- Warhammer — Dawnmaster Seed
- Mace — Dawnmaster Stockhold
- Battleaxe — Dawnmaster Vaseid (destroyed part, but the needed weapon can be figured out by reading the book

- Longsword — Dawnmaster Welkinglory (already in place)
Each altar around has a plaque with the name of one of the Dawnmasters, and need the corresponding Ceremonial weapon to be activated.
The three Ceremonial weapons which can be used to solve the puzzle are scattered around the monastery ruins:
- The

- The

- The

However, any of these weapons can be replaced by generic weapons of the exact same type, including the ![]()
![]()
![]()
![]()
Completing the puzzle bestows the beneficial effect ![]()
Waypoints[edit section | visual editor]
This location contains the following waypoints![]()
Related locations[edit section | visual editor]
Related quests[edit section | visual editor]
Characters[edit section | visual editor]


Creatures[edit section | visual editor]


Available to Speak with Dead[edit section | visual editor]

Notable loot[edit section | visual editor]
Notable items obtained in this location, whether looted, purchased, or obtained as a quest reward:


Hidden treasures[edit section | visual editor]


Notes and references[edit section | visual editor]
- ↑ Unless defeated in combat prior to leaving, the cultists Burrock and Mahrin can be found dead in the Captain's Quarters of Crèche Y'llek, their corpses being feasted upon by wolves.
- ↑ The text of the slate is incongruent with the given chronology of the game. The author is M'lar Rih'al, same as the slate that can be found on the roof. The time passed after the gith conquered the monastery was enough for bodies of the fallen to reduce to skeletons; more so, the crèche has managed to hatch and upbring a new generation of youths after foundation. Also, the guards at the main entrance to the crèche while bantering to an Ardent (a member of the W'wargaz's retinue) say that they "have not been visited by an inquisitor in an age". The slate suggests sending


External links[edit section | visual editor]
