Ad placeholder
Apothecary's Cellar


Overview[edit section | visual editor]
Access[edit section | visual editor]
The Apothecary's Cellar is located underneath the Blighted Village and is accessible from a hatch in the abandoned apothecary building, which is near the entrance of the village at coordinates X: 32 Y: 379. Inside the building behind the main counter on the floor is a Wooden Hatch through which the party can descend into the cellar.
Main Cellar[edit section | visual editor]
This section has a share of potions and alchemical ingredients scattered around in containers (mostly wooden barrels) and on the shelves, as well as in the wooden chest near the northern wall. On the desk next to the chest is a ![]()
![]()
A lever is hidden behind a stack of crates at X: -704 Y: -353. It is highlighted after passing a passive 
Cavernal Antechamber[edit section | visual editor]

This natural cavern has eight mouldering caskets scattered around. The casket closest to the tunnel entrance holds the ![]()
![]()
![]()
![]()

Interacting with any of the other caskets caused a skeletal guardian to burst out of it, ![]()


Defeating all spawned skeletal guardians before they smash up remaining caskets prevents other guardians from appearing; extra xp and loot is then forfeited.
An effective strategy for dealing with the guardians is to drag all the caskets (by clicking and dragging) into a pile or stack and use ![]()
At X: -669 Y: -318 a passive ![]()
![]()
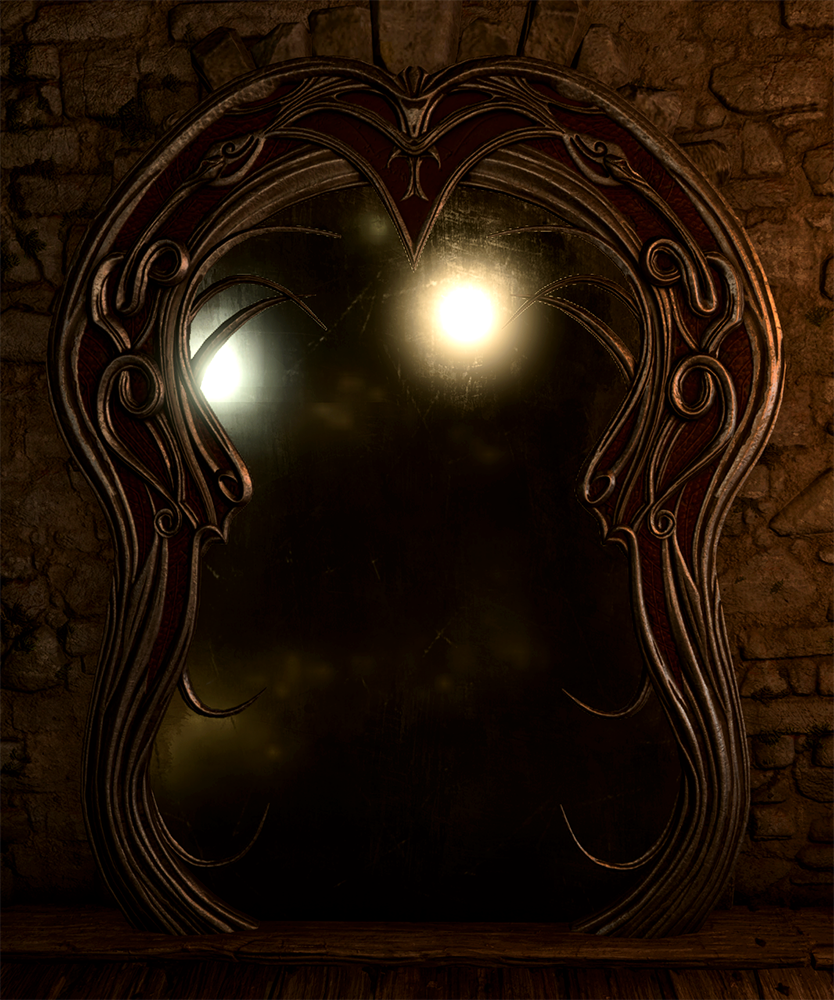
At the south end of the cave is a wooden platform with a magical 
![]()
![]()
Failing to convince the mirror causes it to unleash a floating flaming sphere which circles around the room, leaving a trail of fire. It takes a route throughout the cavern and partly into the tunnel leading in before losing power and returning into the mirror. The sphere attacks any object on sight, dealing 2d6![]()
![]()
For the details and possible dialogue options to operate the mirror, see the Ornate Mirror page. Also, the mirror can be destroyed by attacking it or choosing certain dialogue options.
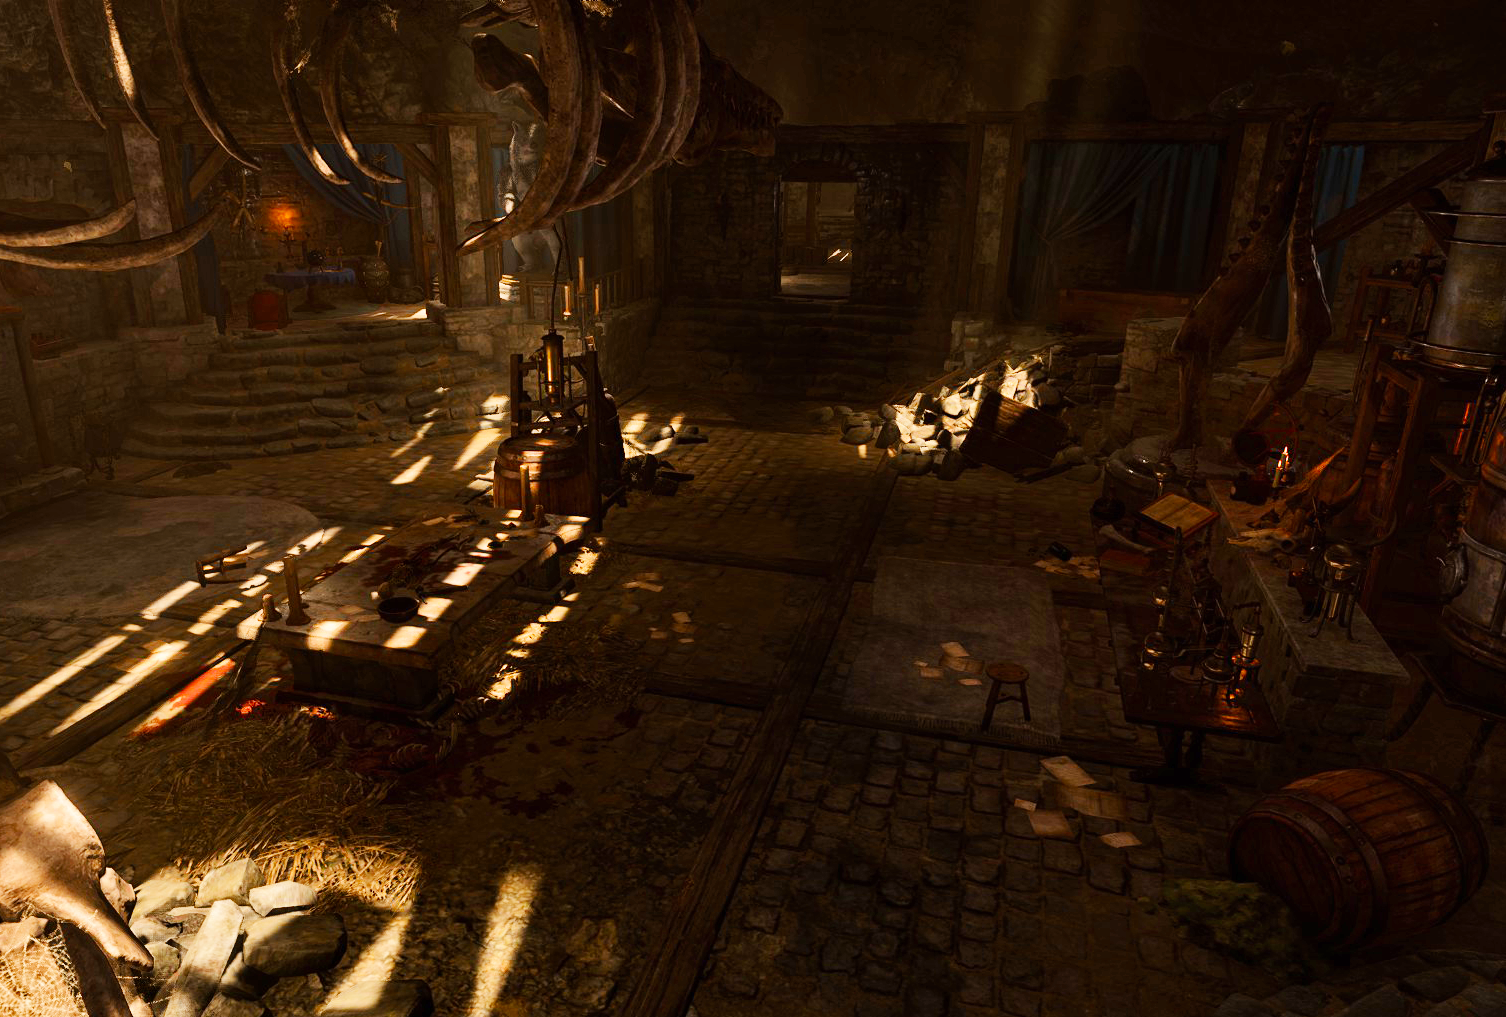
Necromancer's Lab[edit section | visual editor]
The lab itself is a vast hall with the main workspace in the centre and several smaller rooms around it. Various containers in the lab and in the rooms contain alchemical ingredients, notably ![]()
In the centre of the lab there is an alchemists's workspace, where a ![]()
![]()
The lesser rooms when coming around from most-eastern are:
- A storeroom (almost across the entrance) with several containers with alchemical components. A lever in the far end moves a wall section to get back into the main cellar [2]. On the shelf is a

- A room with a stuffed bear. A wooden chest at X: -679 Y: -370 contains several random scrolls.
- A small library. The gilded chest at X: -656 Y: -369 contains the

On the east side is a gated off cavernous area which holds the real prize of this lab, the ![]()
A ![]()
![]()
The first interaction with the book updates the ![]()
![]()
![]()


Once the ![]()
![]()
Related locations[edit section | visual editor]
Related quests[edit section | visual editor]
Characters and Creatures[edit section | visual editor]


Loot[edit section | visual editor]


Hidden treasure[edit section | visual editor]
- Wooden chest at X: -679 Y: -369
Literature[edit section | visual editor]
This list does not include books which can be also obtained elsewhere in the walkthrough.
Achievements[edit section | visual editor]

- Rude, Crude, and Full of Attitude
- Find and summon the quasit Shovel. Or is her name... Fork? Maybe Basket?