Ad placeholder
Search the Cellar

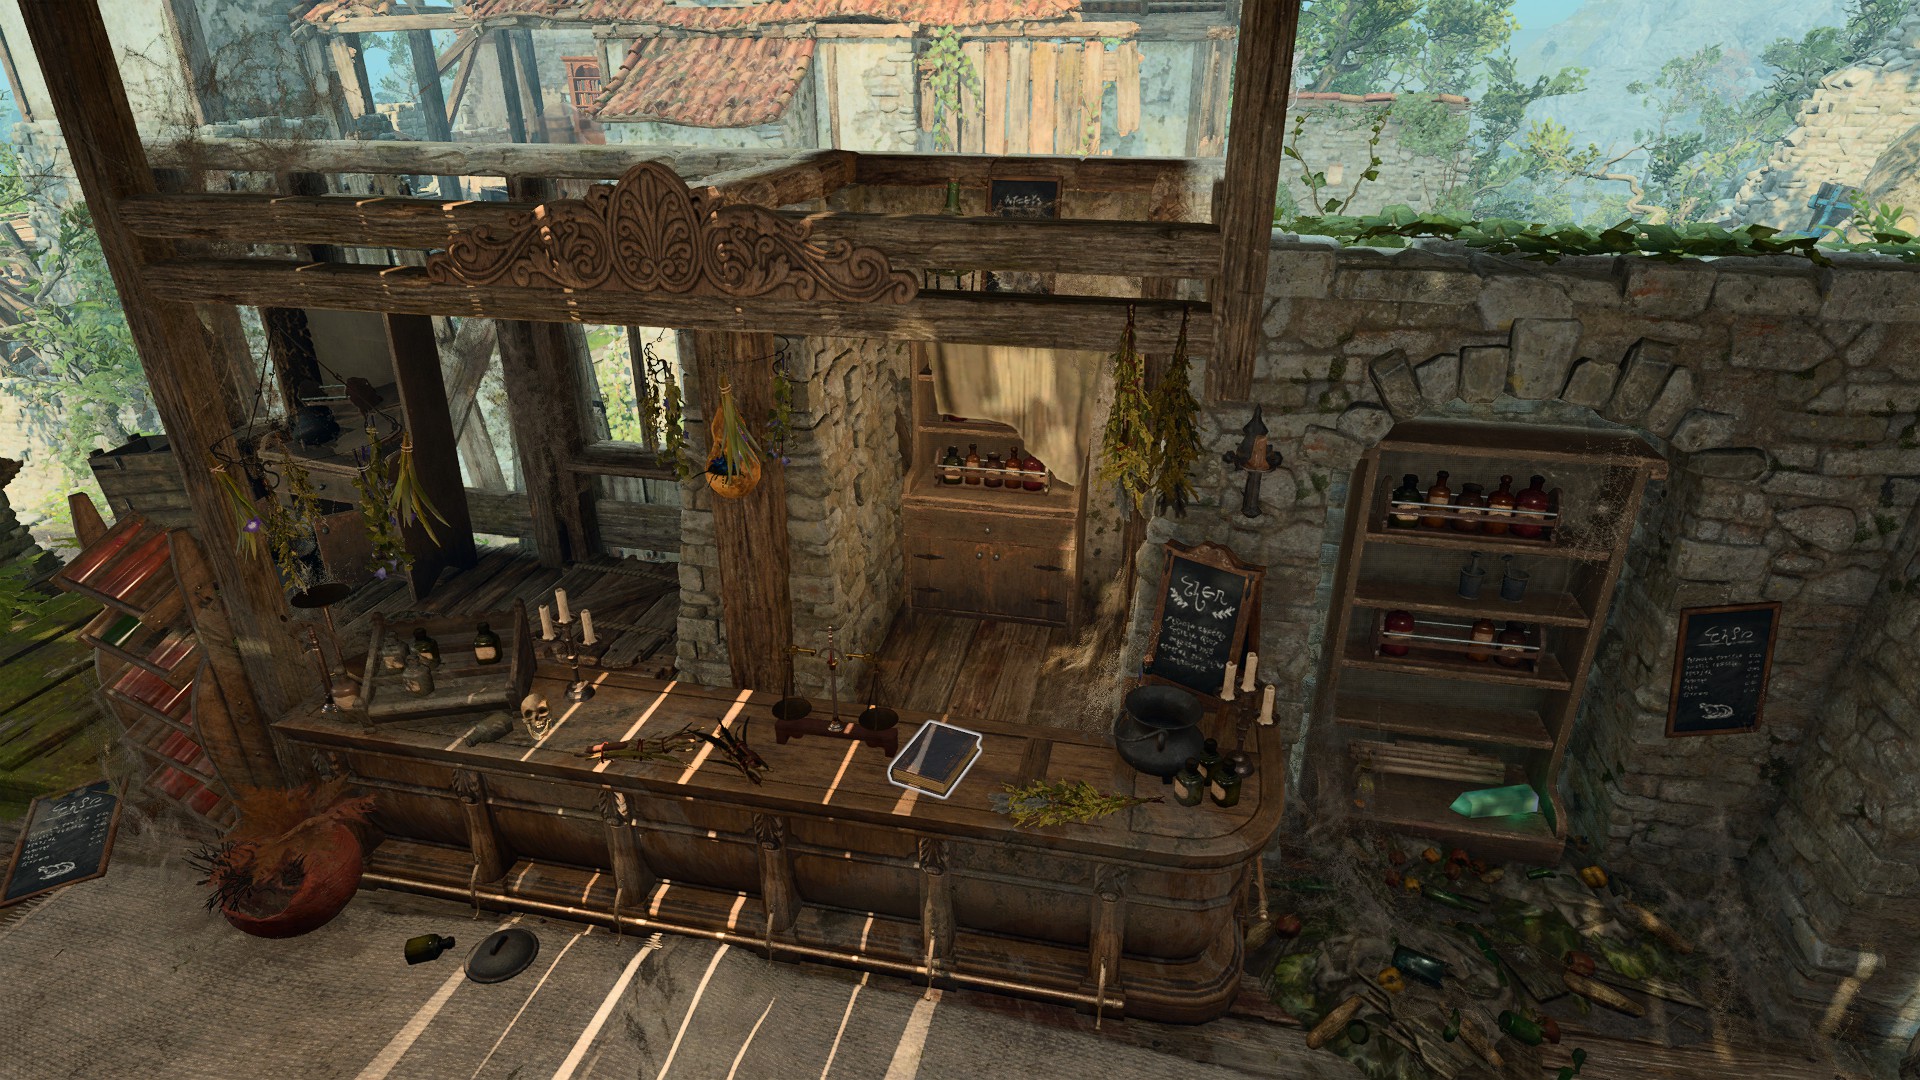
Search the Cellar is a Quest in Act One of Baldur's Gate 3. It is initiated by finding a ledger in the apothecary within the Blighted Village which mentions rare plants stored in the cellar.

Objectives[edit section | visual editor]
Objectives and journal entries may vary pending story decisions and outcomes.
Walkthrough[edit section | visual editor]

The Apothecary's house is immediately south of ![]()
![]()
The Apothecary's Cellar[edit section | visual editor]

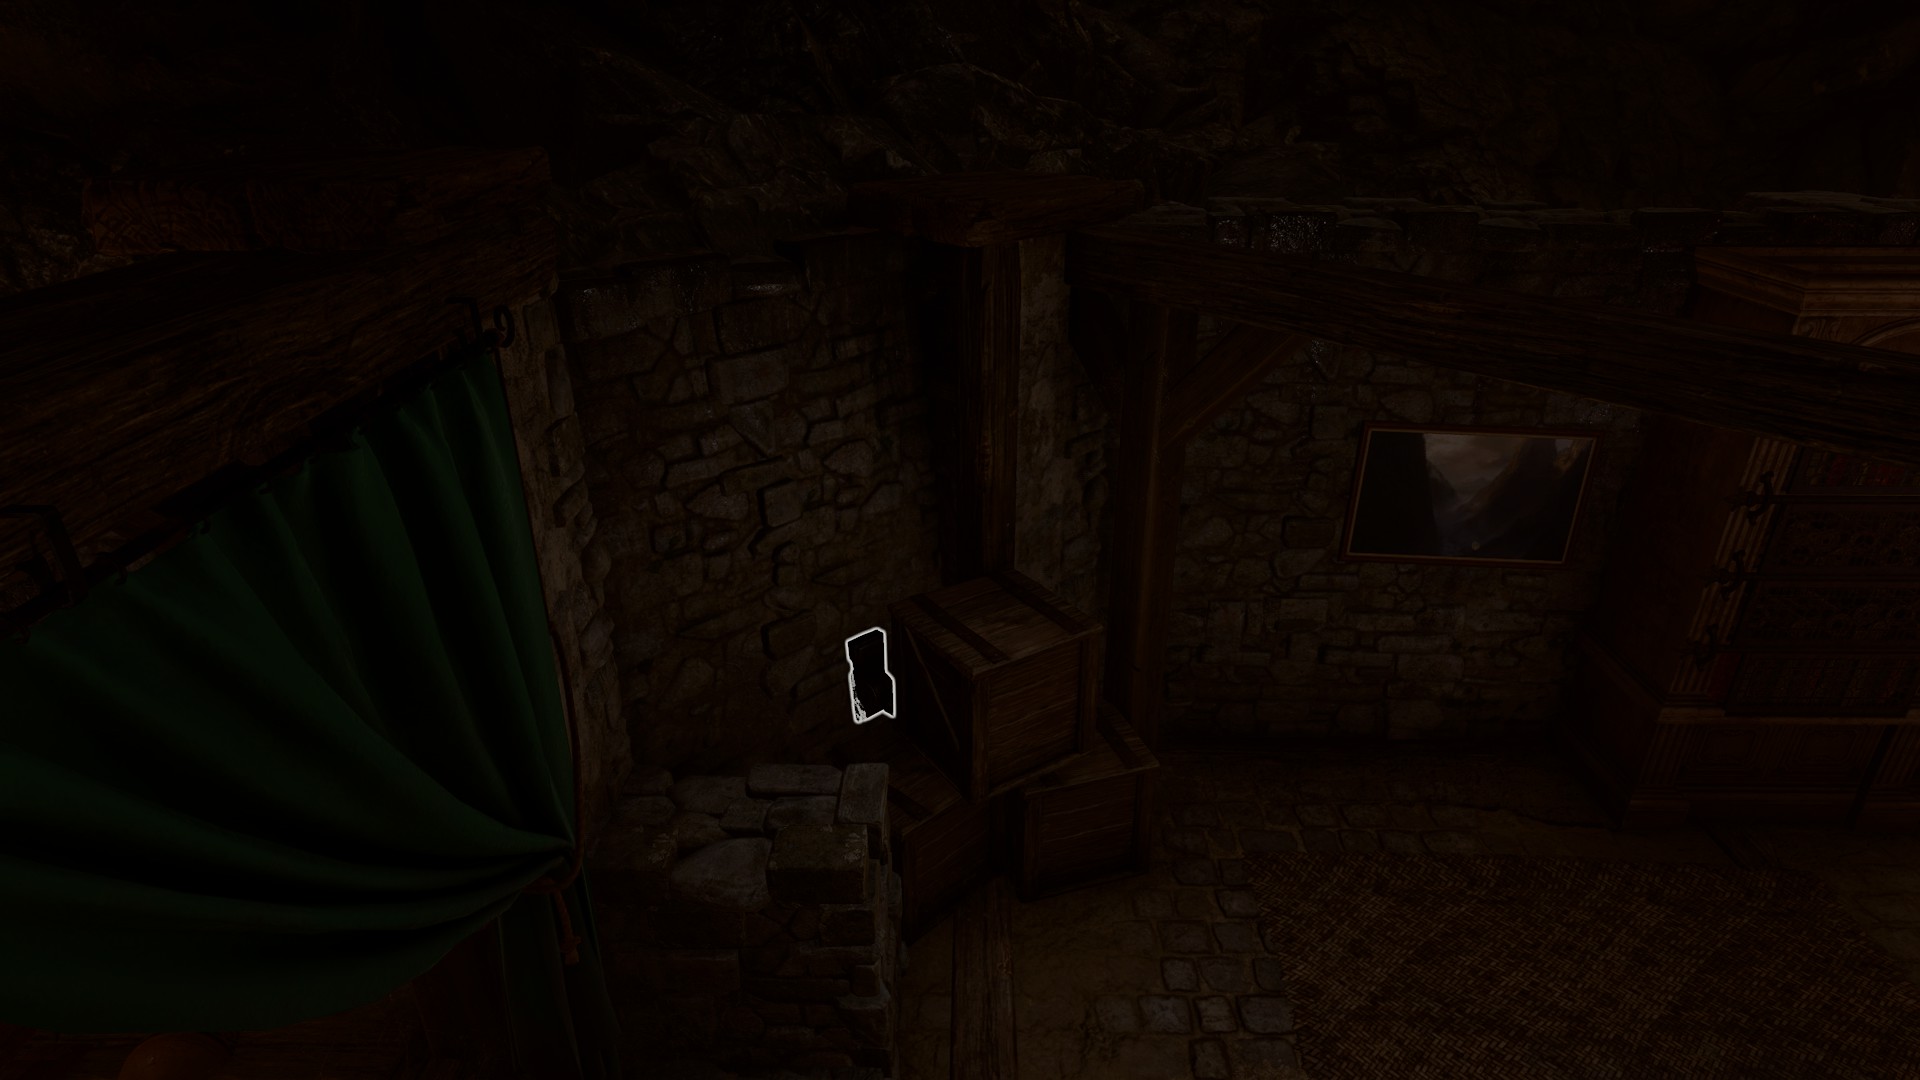
On the northern wall of the cellar, hidden behind several crates, is a lever at X: -703 Y: -353. The lever opens a secret passage to an underground cemetery. Upon entering the cemetery, several coffins can be found strewn about. They contain skeletons which spring to life if their rest is disturbed. A mouldering casket north of the table at X: -663 Y: -314 contains a ![]()
![]()
![]()
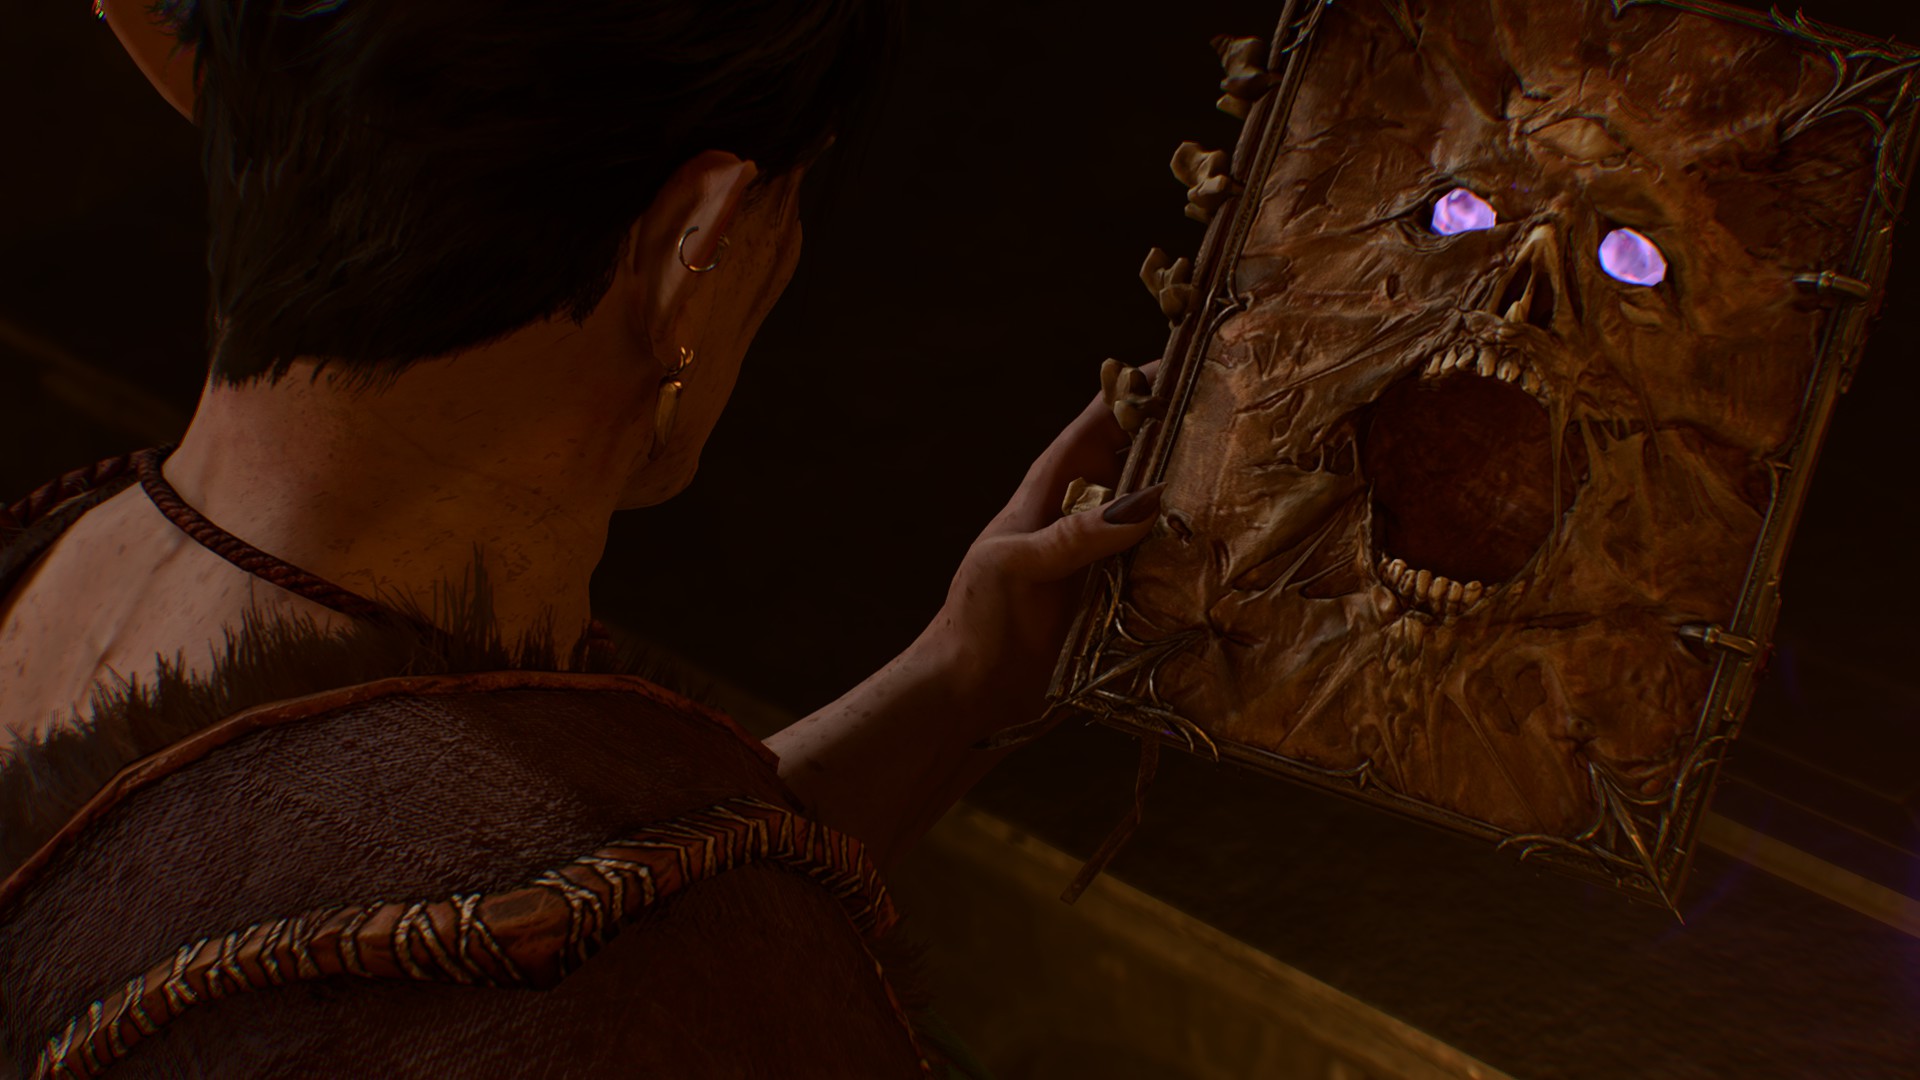
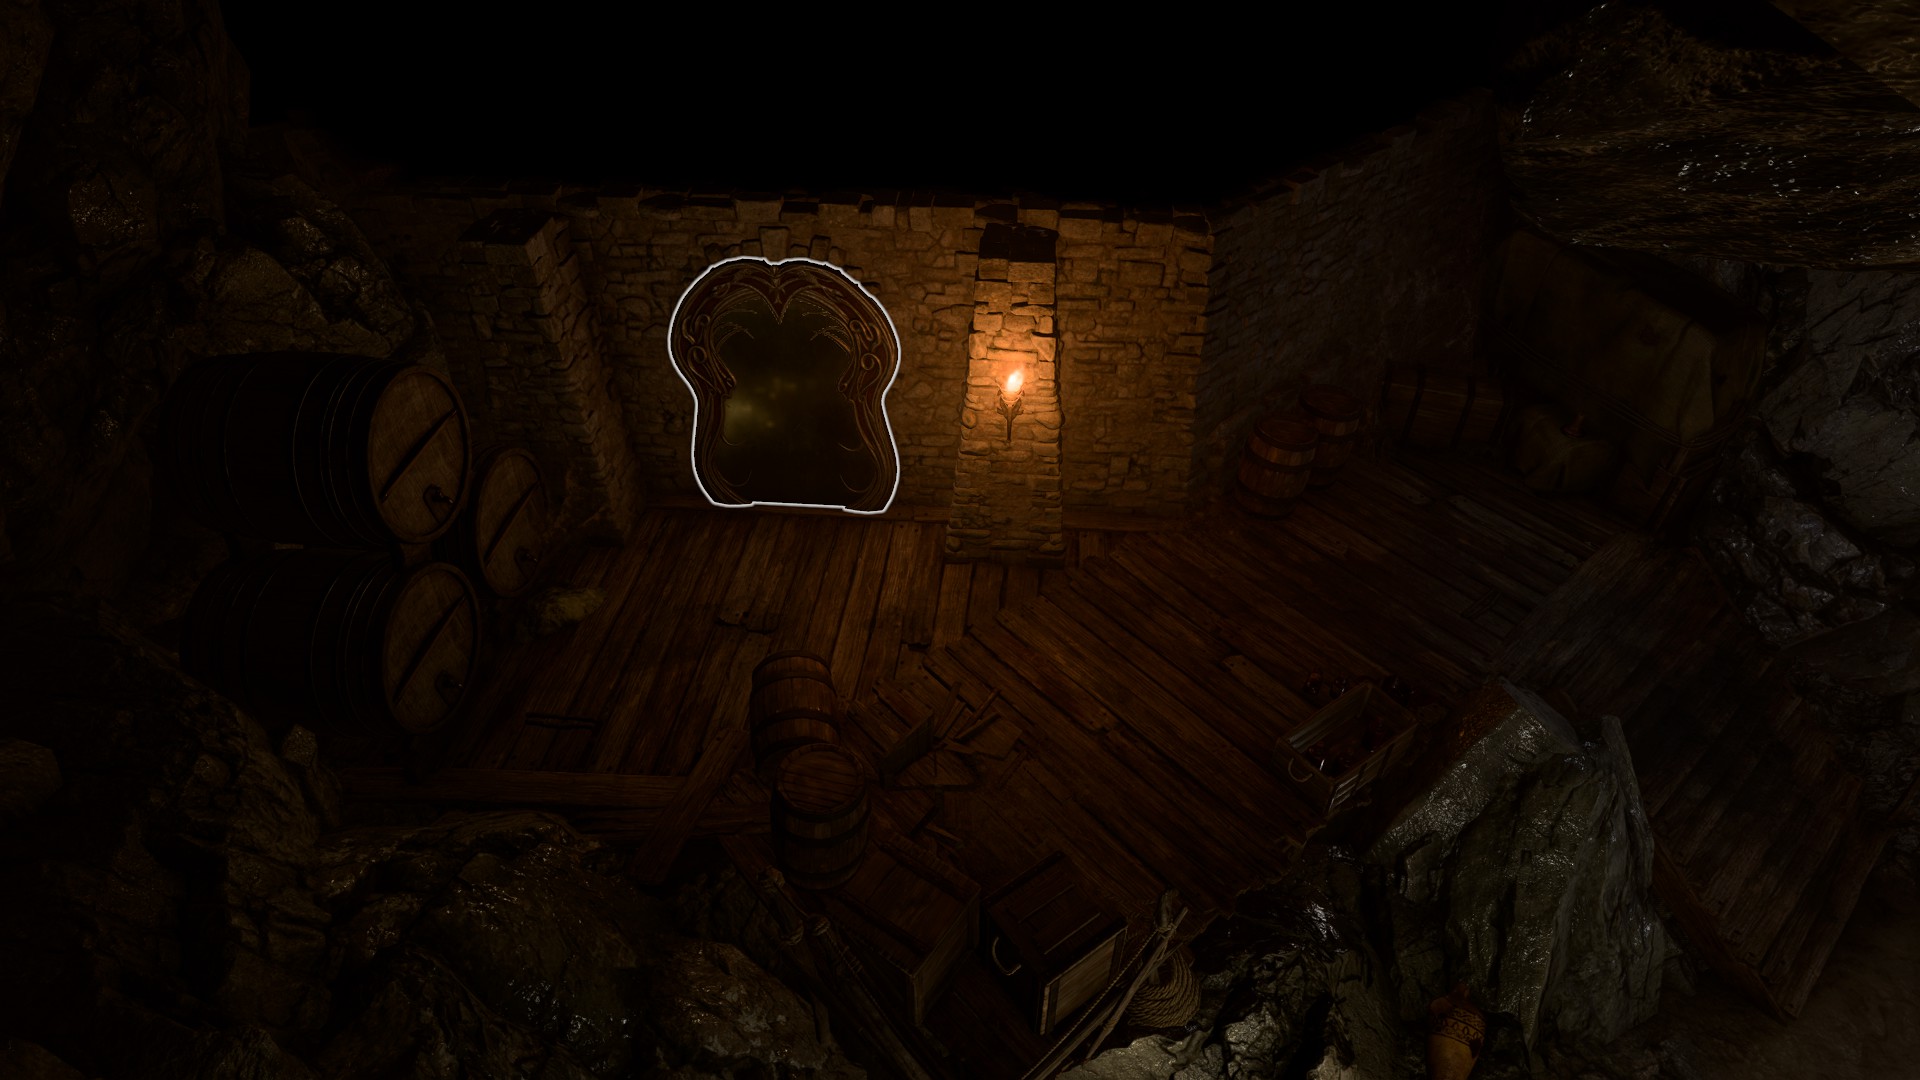
Passing the Ornate Mirror[edit section | visual editor]

With knowledge from the above journal, the party can be more prepared if they approach the Ornate Mirror on the southern end of the cemetery at X: -654 Y: -346. The mirror comes to life and seeks to know who is speaking and whether they are an ally of Ilyn Toth. The party can answer the mirror's questions, or attempt to bypass it.
By casting ![]()

(Note: Initiating dialogue actually ends invisibility, but the character is still considered invisible during the dialogue. Astarion is permanently invisible to the mirror due to his vampiric nature.)
Otherwise, the mirror knows the speaker is not Ilyn Toth, even if a party member claims to be him. This does not lead to any direct punishment; the mirror merely seeks to know they are an ally of Toth. At this point, the following bypass attempts are available:
- Open or I'll smash you to pieces - bad luck be damned. (DC 15)
- Pick up a rock to smash the mirror. (DC 15)
Attempting and failing either roll leads to a punishment; see below. Otherwise, a party member must convince the mirror they are an ally. The mirror can also be destroyed outright by attacking it out of dialogue, though its medium toughness requires dealing at least 22 damage per attack to deal any damage at all.
Mirror puzzle[edit section | visual editor]
Proving oneself as an ally of Ilyn Toth requires passing a series of questions. Reading the books located in the shop above, and throughout the cellar, provides clues about the correct choices.
The dialogue involves some automatic rolls that unlock different dialogue options, but these merely add flavor and are not necessarily what the mirror expects to hear. Alternatively, the interacting party member can still attempt various active rolls at this point to bypass the mirror's questioning, such as smashing the mirror or threatening it, if this was not already attempted before the questioning began.
- Ornate Mirror
- What th-ink you of the zulkir known as Szass Tam?
- He's a great and powerful leader. (unlocked by a DC 15 History check; wrong choice)
- A foul lich. May he die a thousand more deaths. (unlocked by a DC 15 History check; right choice)
- He's as fine a zulkir as ever lived! (available if the History check failed; wrong choice)
- Szass Tam is a foul, wretched creature. (available if the History check failed; right choice)
- Actually, Szass Tam isn't a zulkir – he rules as High Regent now. (wrong choice)
- Pick up a rock to smash the mirror. (DC 15)
- I think seven years' bad luck sounds like a fair trade for smashing you. (DC 15)
- I th-ink I could get you shipped off to him as an antique if you don't open. (DC 15)
- Ornate Mirror
- T-tell me, why might one use balsam ointment?
- I spoke to the quasit. It told me it's good for wounds. (correct)
- I read a doctor's journal – he used balsam to clean a wound. (correct)
- Balsam is a common disinfectant. (correct)
- I spoke to the quasit. It treats burns.
- It treats burns?
- To clean a wound? (correct)
- To clear a rash?
- Balsam disinfects wounds. Surely everyone knows that? (correct)
- I use it to clean wounds out in the wilds. (correct)
- Ornate Mirror
- ...if you could see an-ything in me, what w-ould it be?
- I'd see my home. My real home - the one I haven't seen in centuries.
- I'd see how to safely keep the powers this mind flayer's worm has given me. (correct)
- I'd see Cazador, my old master, burning in the sun.
- I'd see a wizard tower. A safe haven for me and a sweetheart - forever.
- I'd see myself in my next incarnation: a living manifestation of Netherese magic. A mythal in my own right. (correct)
- I'd see my rivals humbled - jealous of my mastery of the Weave.
- I'd see my folks in our house in the Outer City. Mince pies on the window sill. Perfect.
- I'd see myself whole again. My heart beating away in my chest. And Zariel's head on a pike for good measure. (correct)
- I'd see the Hells filled in with flowers, and my old boss Gortash on his hands and knees tending them for eternity.
- I'd gaze upon Vlaakith in the grand city of Tu'narath.
- I'd see myself as a kith'rak: ghaik head in one hand, silver sword in the other. (correct)
- I'd see the zaith'isk, the purifier - a relic used to extract a tadpole.
- I have no memory of my parents - I'd like to see them, at least once.
- I'd see myself as Shar's Chosen, with all her power at my disposal. (correct)
- I'd see those who'd tormented me in the past receive the same.
- I would see my father - his arms extended in forgiveness.
- I'd see Mizora, cowering before me and begging my mercy. (correct)
- I'd see droves of admirers, gathered to hail the Blade of Frontiers.
- I'd see the ones I love.
- I'd look for whatever spell will rid me of this worm in my head. (correct)
- I'd see my enemies suffering.
- Nothing good tends to come of ambition in stories like this. I would see you freed. (correct)
- Nothing – you're a thing of magic. I can shatter this prison for you, if you wish. (correct)
Succeeding a roll to bypass the questioning, or choosing the correct responses, earns the party entry into the lab and grants the ![]()
If the interacting party member fails to properly answer the mirror's questions, or attempts and fails one of the rolls, the mirror punishes the party; see below.
The mirror's punishment[edit section | visual editor]
Making a wrong choice causes the mirror to unleash a flaming sphere, which floats around the room, leaving a trail of fire as it exudes scorching flames that deal 2d6![]()
![]()
Ilyn Toth's laboratory[edit section | visual editor]
Once the mirror opens the way forward, Ilyn Toth's laboratory is revealed. The ![]()
![]()
![]()
![]()
Quest rewards[edit section | visual editor]


Notes and references[edit section | visual editor]
- ↑ 1.0 1.1 Dialogue file: Act1/Forest/FOR_ThayanCellar_MagicMirror