Ad placeholder
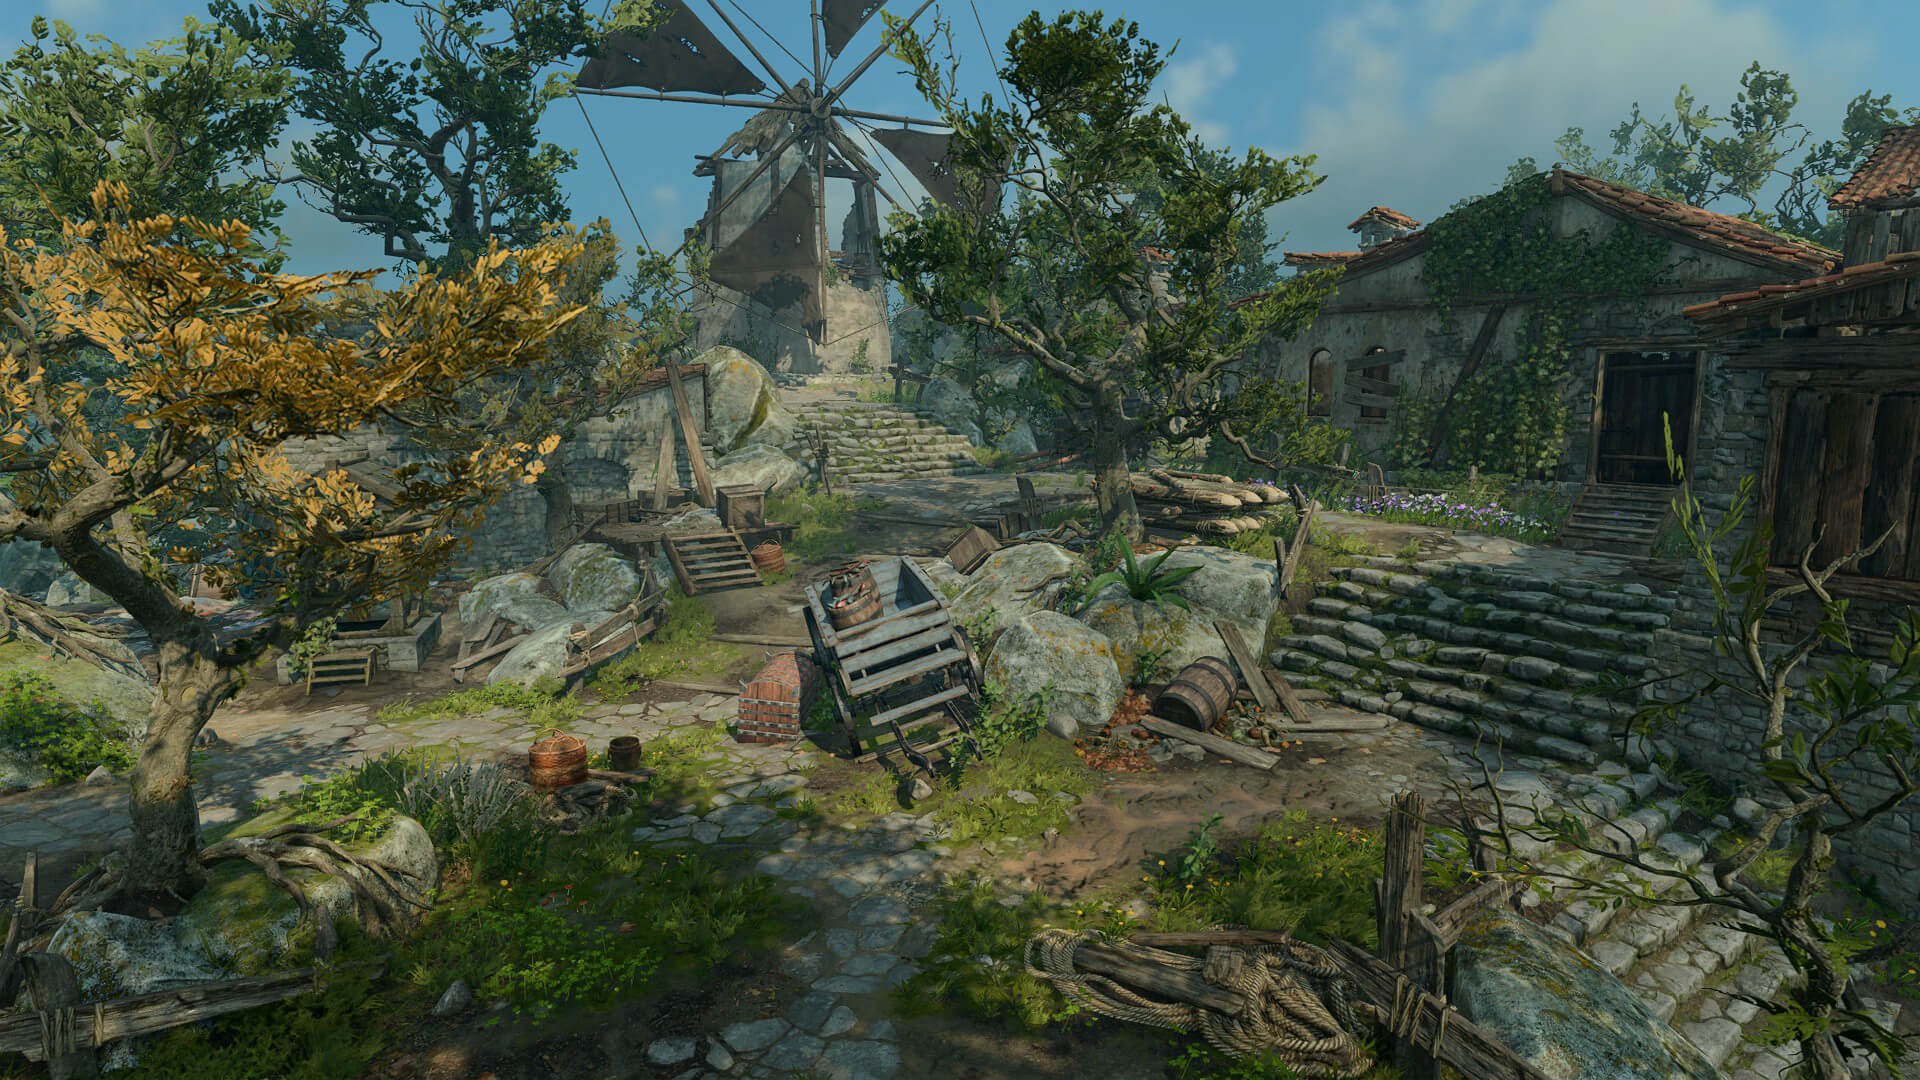
Blighted Village

| Wilderness | ||||
| Risen Road | ||||
| ↑ | ||||
| Goblin Camp | ← | Blighted Village | → | Forest |
| ↓ | ||||
| Sunlit Wetlands | ||||

“Looks like this town was ransacked - by soldiers, if my eyes don't deceive me.<...> Must've been an awful day for the people who lived here.„
Overview[edit section | visual editor]
The Blighted Village is a small location surrounded by the Forest, through which the party can reach the Goblin Camp, the Risen Road, and the Sunlit Wetlands, as well as Whispering Depths (and the Underdark through it). The buildings are half-ruined and neglected, though there are several points of interest to find and take several minor quests. Exploring the Blighted Village can progress 
History[edit section | visual editor]
Currently, the goblin guards refer to village as Bogrot, claiming that the former villagers have been dead for a hundred years. The settlement's former name was Moonhaven, and it was inhabited by followers of ![]()
![]()
![]()
![]()
![]()

Entrance interactions[edit section | visual editor]
Approaching the village for the first time awards the party 60 XP. Several goblins have taken guard duty, openly or in preparation to ![]()

- Near the eastern gate:
- On and in the Blacksmith building to the north west: a Goblin Booyahg and a Goblin Tracker on the roof, and an additional Goblin Tracker on the lower floor.
- On the Apothecary building to the south west: a Goblin Booyahg and a Goblin Sharp-Eye on the roof.
- Near the western gate: a Goblin Brawler who sometimes wanders into the center part of town.
- Near the southern gate: a Goblin Warrior and a Goblin Sharp-Eye at the gate.
There are several possible interactions, depending on the way the party approach and enter the village. Upon first approaching the village openly from south or east directions, the dialogue with goblin guards starts automatically.
Eastern gate[edit section | visual editor]
Spotting the goblins first with a successful check:
If no party member spots an ambush:
Southern gate[edit section | visual editor]
At the southern gate, a Goblin Warrior guards the entrance to what he now calls Bogrot village. He wants to rob the adventurers, though 50 gold is enough for him to let them pass. Otherwise, a successful skill check convinces him to let the party pass:
- How about a donation instead? Some coin for the town.
- How about a donation...?
- You do not give orders to me. (DC 5)
- Nice town. I'll wipe my feet on your corpse before entering. (DC 15)
- ROAR. (DC 15

- You get nothing. (DC 15
- It's a fine day, my friend. Why spoil it with killing? (DC 20)
- Then my search is over - I'm actually here to write the Ballad of Bogrot.
- 'Bogrot, fair Bogrot - with hills as green as goblin snot.' (DC 15)
- 'Built on BONES of goblin FOE, Bogrot bears a FEAST for CROWS!' (DC 10)
- I'll give you another chance. Look at me again and choose your words carefully.
Sneaking in[edit section | visual editor]
There are several possibilities to enter the village unnoticed (for example, from the unguarded gate to the north). In this case, being spotted by any goblin guard within the village prompts a dialogue with following options:
- Let's try again, shall we? Address me properly. (DC 10)
- What? The guard let me pass. (DC 15)
- I'm here to see Fezzerk. (DC 9)
- Or you could let me pass, and live to see nightfall. (DC 10)
- You keen on dying? Happy to help. (DC 10
- ARE YOU READY TO DIE? (DC 10
- Perhaps I will take something from you. Suggestions? (DC 5)
- I bypassed your guards. If I meant you harm, I could've just killed you all. (DC 15)
- Am I to explain myself to every slug that crosses my path?
Companion approval and Inspiration[edit section | visual editor]
- Eastern gate:


- Southern gate:
- Using


- Using


- Using


- Using


If the party were previously spotted within the village, no companion approval will be gained.
Inspiration[edit section | visual editor]
Making the way through the guards at the southern or eastern gates (or pacifying them on being spotted) by ![]()
![]()
![]()
![]()
![]()
![]()


Points of interest[edit section | visual editor]
Village Center and the Well[edit section | visual editor]
On a huge stone near the apothecary building at X: 34 Y: 394 is a Waypoint for the Blighted Village.
Across it, near a wagon stands a Moss-Covered Chest. The ![]()
![]()
To the west of the village center is an old Well. Interacting with it requires a
Around the village streets are numerous crates and boxes, mainly containing minor amounts of gold and various cookware left by former inhabitants.
Apothecary[edit section | visual editor]
At the south-eastern corner of the village is a ruined Apothecary. It consists of several rooms and has outer wooden platforms coming down to the southern village gates. 

Inside the apothecary, the party can gather some alchemical ingredients and potions, including a ![]()
On the counter lies the ![]()
![]()
Blacksmith's house[edit section | visual editor]

The building of the village smithy stands right to the north from the eastern gate.
Its ground floor is open; in one room the party can find some books and documents concerning the village history, and a ![]()
![]()
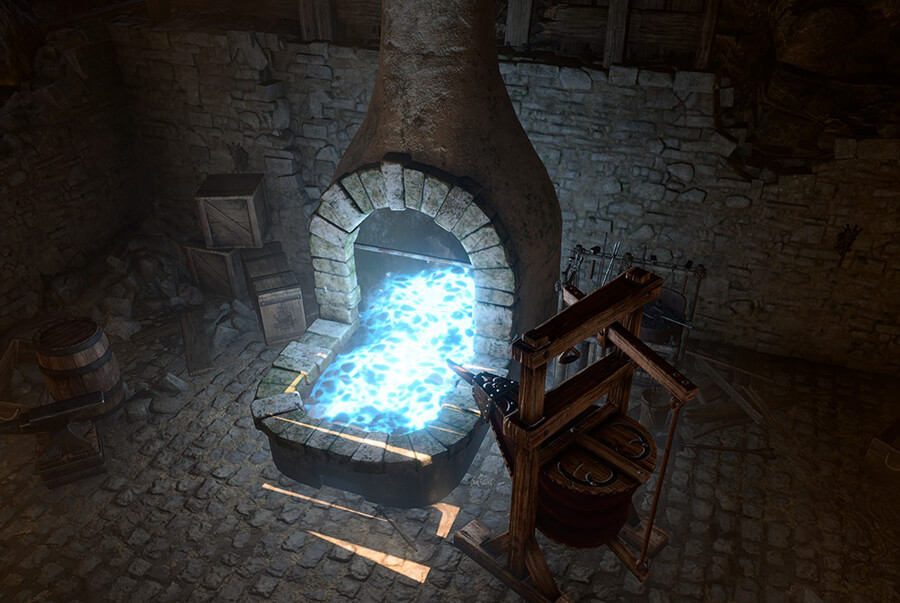
The smithy's cellar behind the locked shabby wooden doors, which can be opened with the aforementioned Old Key, is the Blacksmith's Forge of Sampson. The other ways to enter the cellar are:
- Destroying the calcified web and jumping into the hole (takes the party into the forge)
- Descending into the Whispering Depths through the well in the middle of the village and destroying the cracked walls either at X: -447 Y: -367 or at X: -455 Y: -389 (when searching around the cellar, the first one requires

Various crates and cupboards inside this long-abandoned forge contain a fair amount of plain weaponry, minor amounts of gold, and also no less than 6 sets of ![]()
![]()
On the wooden mezzanine at X: -435 Y: -374 is a locked chest, with a piece of ![]()
![]()
![]()
![]()


![]()
![]()
On the ground below the mezzanine is a trapped wooden chest which contains a parchment with ![]()
![]()
![]()
A piece of Sussur Tree Bark can be obtained in the Dread Hollow in the Underdark. It can be combined at the forge with a ![]()
![]()
![]()
![]()
Completing the quest grants the ![]()
![]()
Schoolhouse[edit section | visual editor]
The ruined schoolhouse is located at the south-western corner of the village. The signs of children's activity can be found about: a game of hopscotch drawn on the ground, as well as height markings on one of the beams inside. A ![]()
Inside the old school a trio of ogres, 


Lump tells the party he has reached a bargain with the goblins: he and his fellows check any stranger for the Brand of the Absolute and are free to kill and eat whomever does not have it.
However, Lump and his crew can be persuaded to leave peacefully. More so, the player character has an option to sway the ogres to their side by promising them money or ![]()
![]()
Convincing the ogres to fight along the party earns the following inspirations:


Additionally, hiring Lump and his ogres grants approval from 

Otherwise, the dialogue may spill into a fight. In this case, any goblin who sees the party attacking the ogres joins the fight, siding with Lump and the other ogres. The fight also starts immediately if the player character sneaks close to the ogres and destroys the cracked support beam in the middle of the former classroom (requires
After Lump and his fellow ogres have been dealt with, the old school can be explored. The ogres' victim can be communed with using ![]()
In the far corner of the former classroom there is a nearly-intact bookshelf which contains an ![]()
Three barrels near the bookshelf can be looted for Camp Supplies, seemingly stashed by the ogres.
Behind the building at X: -4 Y: 371 a Dirt Mound can be located with a
In the building attic at X: 15 Y: 360 a ![]()
![]()
Windmill[edit section | visual editor]
At the northern side of the village is a windmill surrounded by 


![]()
When the player character comes closer to Fezzerk, dialogue starts automatically. The full list of available options within the dialogue is presented on the quest description page. If the party members approach the windmill from the wall breach at X: -5 Y: -446, Fezzerk and all members of the gang turn hostile without any conversation.
The party can instigate the fight with the goblins or convince them to leave. Afterwards, the windmill can be operated by interacting with the levers inside: stopped with the "Brake" lever or sped further with the "Release Brake" lever. Using 'Release' causes the windmill to turn faster, shooting Barcus into the sky. His corpse can then be found on the path between the old school building and the well.
If Barcus is safely untied from the windmill vane, he explains he has been searching to find his friend 
![]()
![]()
![]()
Saving Barcus from Fezzerk and his gang grants the ![]()
![]()
Rescuing Barcus has far reaching consequences for many quests, including ![]()
![]()
![]()
On the upper floor of the windmill are several goblin weapons.
Behind the windmill at X: -25 Y: -431 is a small defiled shrine to ![]()
![]()
Waypoints[edit section | visual editor]
This location contains the following Waypoint:
Related locations[edit section | visual editor]
Related quests[edit section | visual editor]

Characters[edit section | visual editor]


Available to Speak with Dead[edit section | visual editor]

Loot[edit section | visual editor]


Hidden treasure[edit section | visual editor]
- A buried chest behind the schoolhouse where Lump the Enlightened and his ogres lurk at X: -4 Y: 371 (
Related literature[edit section | visual editor]
Notes[edit section | visual editor]
- ↑ For example, the


- ↑ 2.0 2.1 Dialogue file: Act1/Forest/FOR_GoblinAmbush
- ↑ Dialogue file: Act1/Forest/FOR_GoblinAmbush_CheckpointGuards
- ↑ Dialogue file: Act1/Forest/FOR_Village_Trespassing
External links[edit section | visual editor]
