Ad placeholder
Knights of the Shield Hideout

| Lower City | ||||
| Lower City Sewers | ← | Knights of the Shield Hideout | ||
| ↓ | ||||
| Elfsong Tavern | ||||

“My old home - thank you for bringing me back. Look around - you'll find some of my things still intact. Perhaps even useful to you.„
Overview[edit section | visual editor]
The Knights of the Shield Hideout is a secret part of the Elfsong Tavern basement, which in the recent past served as the headquarters of a secret society known as the 
For a certain period of time the organization was run by the 


Access[edit section | visual editor]
The Knight of the Shield Hideout can be accessed from two points:
- From the Elfsong Tavern Basement, a hidden button is located at X: -868 Y: 544 within a side room. Pressing it opens a wine barrel in another room with a hidden hallway and stairs leading down to the Knights of the Shield Hideout.
- Alternatively, the hideout can be accessed from the sewers via a ladder located at X: 52 Y: 793. This brings the party to the hidden room directly.
Elfsong Tavern basement[edit section | visual editor]
A stairway from the Elfsong Tavern kitchen leads down to the basement. In the main area no less than 30 
![]()
In the back are two separate rooms. The larger one in the center is filled with large wine barrels, while the smaller one on the side is filled with wine racks. The cellar can be looted for a number of Camp Supplies, mostly various types of wine.
Inside the smaller room at X: -868 Y: 544 is a hidden button, highlighted with a 
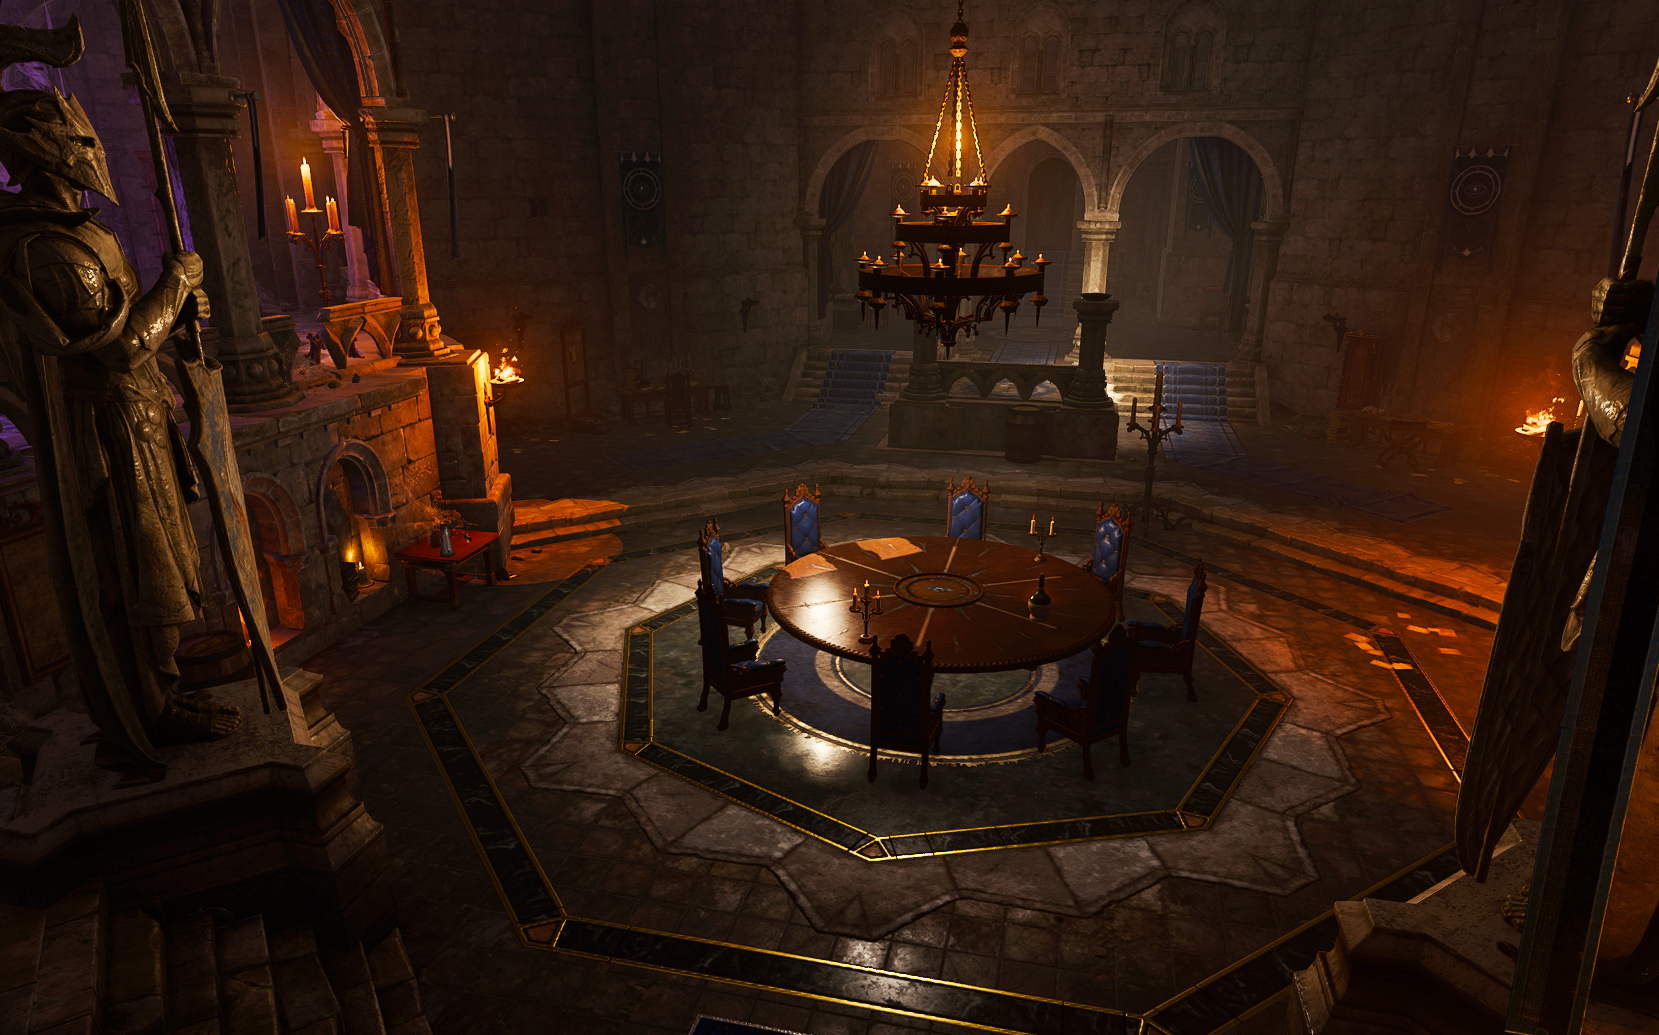
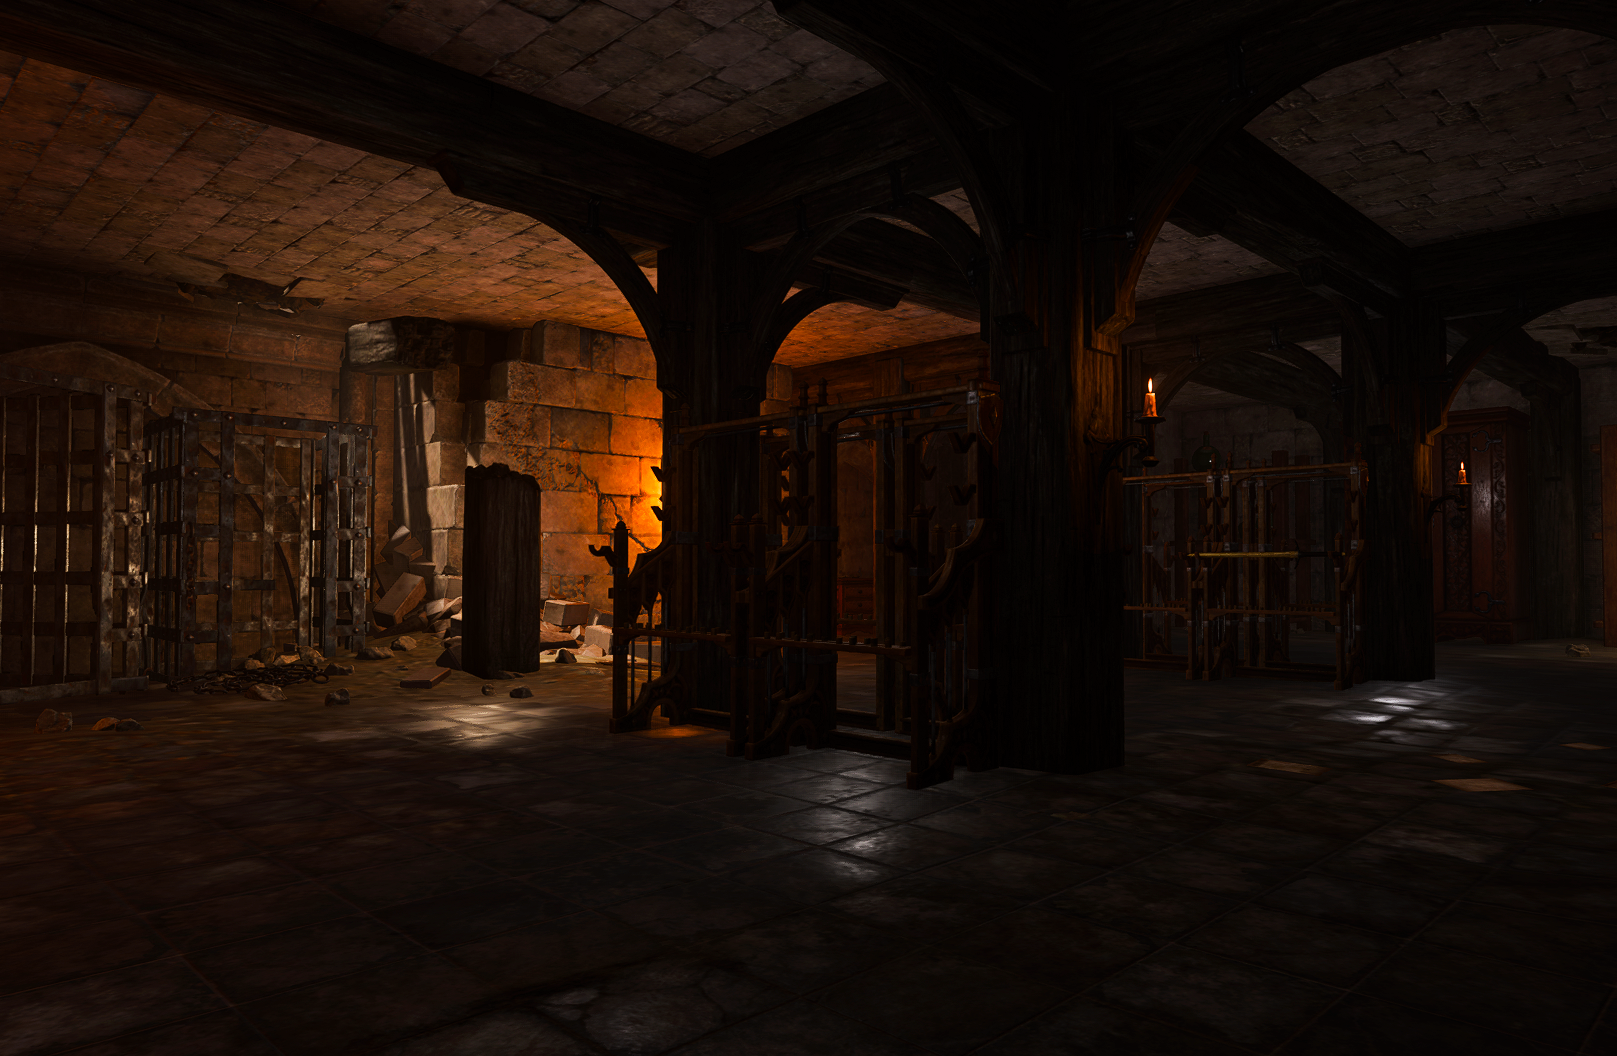
Main Hall of the Hideout[edit section | visual editor]
Entering the location via the Elfsong Tavern leads the party to the main room. An antechamber ends with a short stairway, which is divided in two by a small ground with balusters.
In the center a is large round table, presumably where the knights met.[4] On the sides are two higher areas, only accessible via the stairs in the far part of the room.
Several containers and items of interest are around the room:
- A Heavy chest at X: -723 Y: 546 contains gold, a random gem, and a

- A

- Several display cases contain random Valuables
- The

- On the desk near the wardrobe is a map titled

Involvement[edit section | visual editor]
When the party approach the Elfsong Tavern from the Lower City streets for the first time, the Emperor chimes in, drawing their attention to the establishment. It tells the party about its old dwelling hidden somewhere inside, thus starting the ![]()
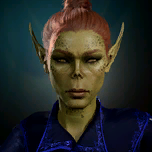
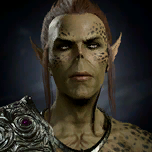
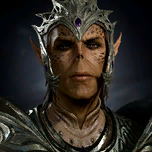
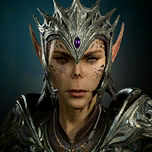
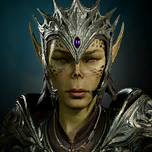
Inside the hideout proper, a group of Githyanki are waiting for the party. They act on orders of ![]()
![]()
![]()
The party can also explore the hideout, coming from the Lower City Sewers through the door at X: 40 Y: 800. In this case, the cutscene with Orin shapeshifted as a kidnapped companion triggers (if this event has not happened prior). The door is locked (requires the ![]()
By default, the githyanki squad is led by 


![]()
The githyanki can be snuck up on or conversed with. If 

During the fight, the Gate Masters do not directly participate. Each turn, one of the two summons a new Veteran Warrior or Veteran Raider, who join the battle on their next turn. The rift disappears when the Gate Master holding it is defeated, loses concentration on the spell, or once three reinforcements have been summoned through this gate. If the Gate Master is still alive when their rift closes, they join the battle.
Hidden Room[edit section | visual editor]

On the far North wall, behind a large knight statue, on the right side of an indent is a hidden button at X: -734 Y: 577 which can be seen with a
Interacting with the ![]()
![]()
The door at X: -745 Y: 590 lead to a lesser room with a hatch which, in turn, leads to the sewers. Containers on the shelves around this room contain nothing significant.
Below the hatch a small storeroom. Numerous Traveller's Chests on the shelves at X: 56 Y: 796, as well as Wooden Chest in the opposite corner, contain gold, random Valuables, potions and / or spell scrolls up to Very rare grade. In the southwestern corner is a table with a journal describing Duke Stelmane's ongoing illness before her murder. The Stack of Books near the table contains two books concerning Mind Flayers, and on the bench nearby is a ![]()
The Emperor's special items[edit section | visual editor]
These are the items found in the hidden room. The Emperor has ambient commentary on each of the items, if interacted with.
| Special item | Location | The Emperor's commentary |
|---|---|---|
| Butter Fork | X: -731 Y: 596 | "My cutlery set - a gift from my mother. The butter knife is missing, but otherwise it looks to be complete. I don't need it anymore, but the memory stirs something in me still."[6] |
| Chains | X: -739 Y: 594 | "The chains I used to bind my meals - villains and lawbreakers. You see I tried to exercise morality, where I could." |
| X: -742 Y: 584 | "Rascal's collar...My poor four-legged friend. Their lives are so brief, so simple, and yet - full."[7][8] | |
| Emperor's Wardrobe | X: -727 Y: 590 | "My old wardrobe - the home of all my disguises. We are what we appear to be, and so appearances matter." |
| Empty Brain Jar | X: -745 Y: 593 | "An old container for brains. Empty - shame. It would have been nice to find one to sustain me now." |
| X: -744 Y: 587 | "A recipe for fiddlehead soup - a favourite meal of mine, when I had need of meals like that."[9] | |
| Stelmane's Portrait | X: -732 Y: 597 | "There she is in all her glory - Duke Belynne Stelmane. My old partner."[10] |
| X: -734 Y: 589 | "My old sword - my first purchase as an adventurer. No use to me anymore. It's yours, if you want it."[8] | |
| Unique Shell | X: -726 Y: 586 | "A shell - a keepsake from my final voyage. Pinched in a moment of sentimentality." |
Related locations[edit section | visual editor]
Related quests[edit section | visual editor]
Characters[edit section | visual editor]


Reinforcements[edit section | visual editor]


Loot[edit section | visual editor]
Related literature[edit section | visual editor]


Notes and references[edit section | visual editor]
- ↑ As stated in


- ↑ As stated in

- ↑ A responding button on the wall at X: -862 Y: 554 can be used if the hideout is entered from the sewers. It is in plain sight and does not require an ability check.
- ↑ Though no former members of the organisation are encountered in the game, its name and the image of the round table may imply certain tropes of the legend of King Arthur and his knights.
- ↑ A corresponding button exists on the opposite side of the wall to open the movable section from within. Characters often pass the check for both buttons simultaneously through the closed door, so it may appear as if they passed the check twice.
- ↑ The name of the item is "Butter Fork", implicitly because of the "missing" butter knife. As

- ↑ This item sometimes does not prompt a Perception check, for unknown reason.
- ↑ 8.0 8.1 Interacting with this item sometimes equips it to the corresponding slot of the controlled character's inventory. It is not known whether this behaviour is a bug.
- ↑ It may be necessary to pick up the item to trigger this commentary, rather than just interacting.
- ↑ The game asset used for the portrait item is a renamed version of the painting item "Portrait Of A Woman". Dialogue with

- ↑ Worn by

- ↑ 12.0 12.1 Inside the Emperor's Wardrobe
- ↑ 13.0 13.1 Worn by W'wargaz, if he is present
- ↑ 14.0 14.1 Worn by Tska'an, if she is present

External links[edit section | visual editor]