Ad placeholder
Visit the Emperor's Old Hideout

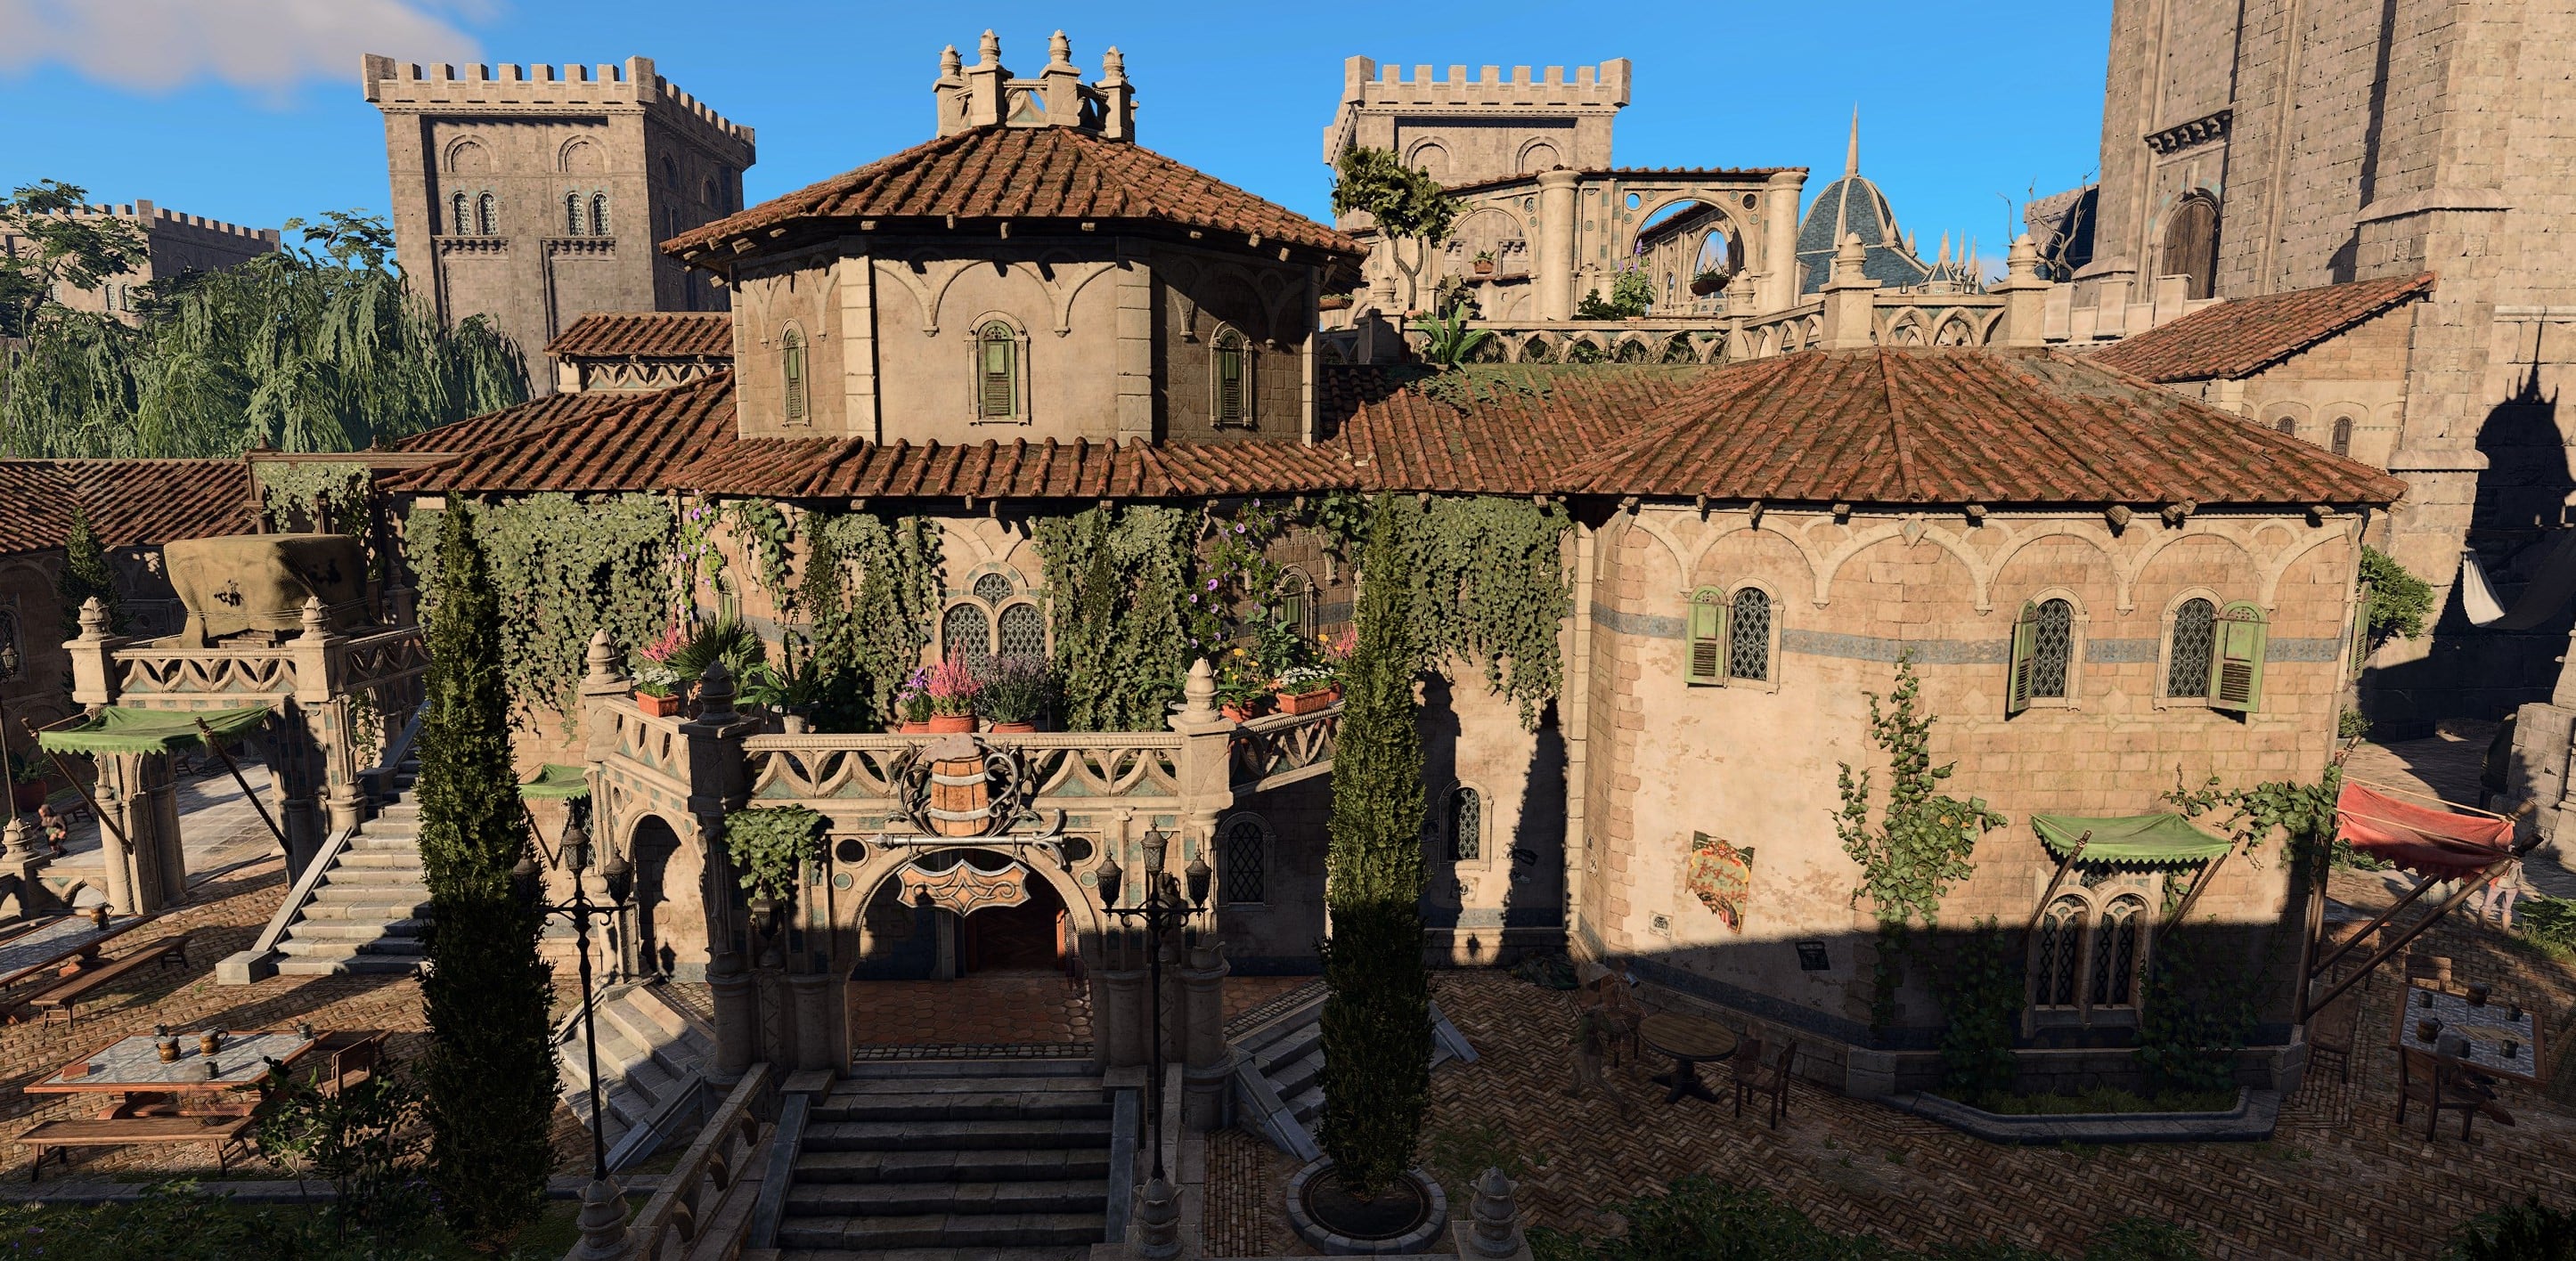
Visit the Emperor's Old Hideout is a quest in Act Three of Baldur's Gate 3. It can be started by approaching the Elfsong Tavern.
Objectives[edit section | visual editor]
Walkthrough[edit section | visual editor]
This quest starts automatically after approaching the Elfsong Tavern at X: 78 Y: 1 in the Lower City. 

The entrance to the hideout is on the ground floor of the tavern, in the kitchen. There is a set of wooden stairs that lead to a storeroom at X: 52 Y: 8. Upon entering, if the party have not completed Roveer's Storehouse, a large group of rats attack them. After defeating the rats, the party can enter the westernmost door. Near a crack in the wall, a button can be spotted with a successful perception check at X: -868 Y: 544. Hitting the button opens up a wine cask in the room next door at X: -861 Y: 547. Going through this cask leads to the door to the hideout.
An ambush[edit section | visual editor]

A group of githyanki soldiers are lying in wait in the hideout, led by 


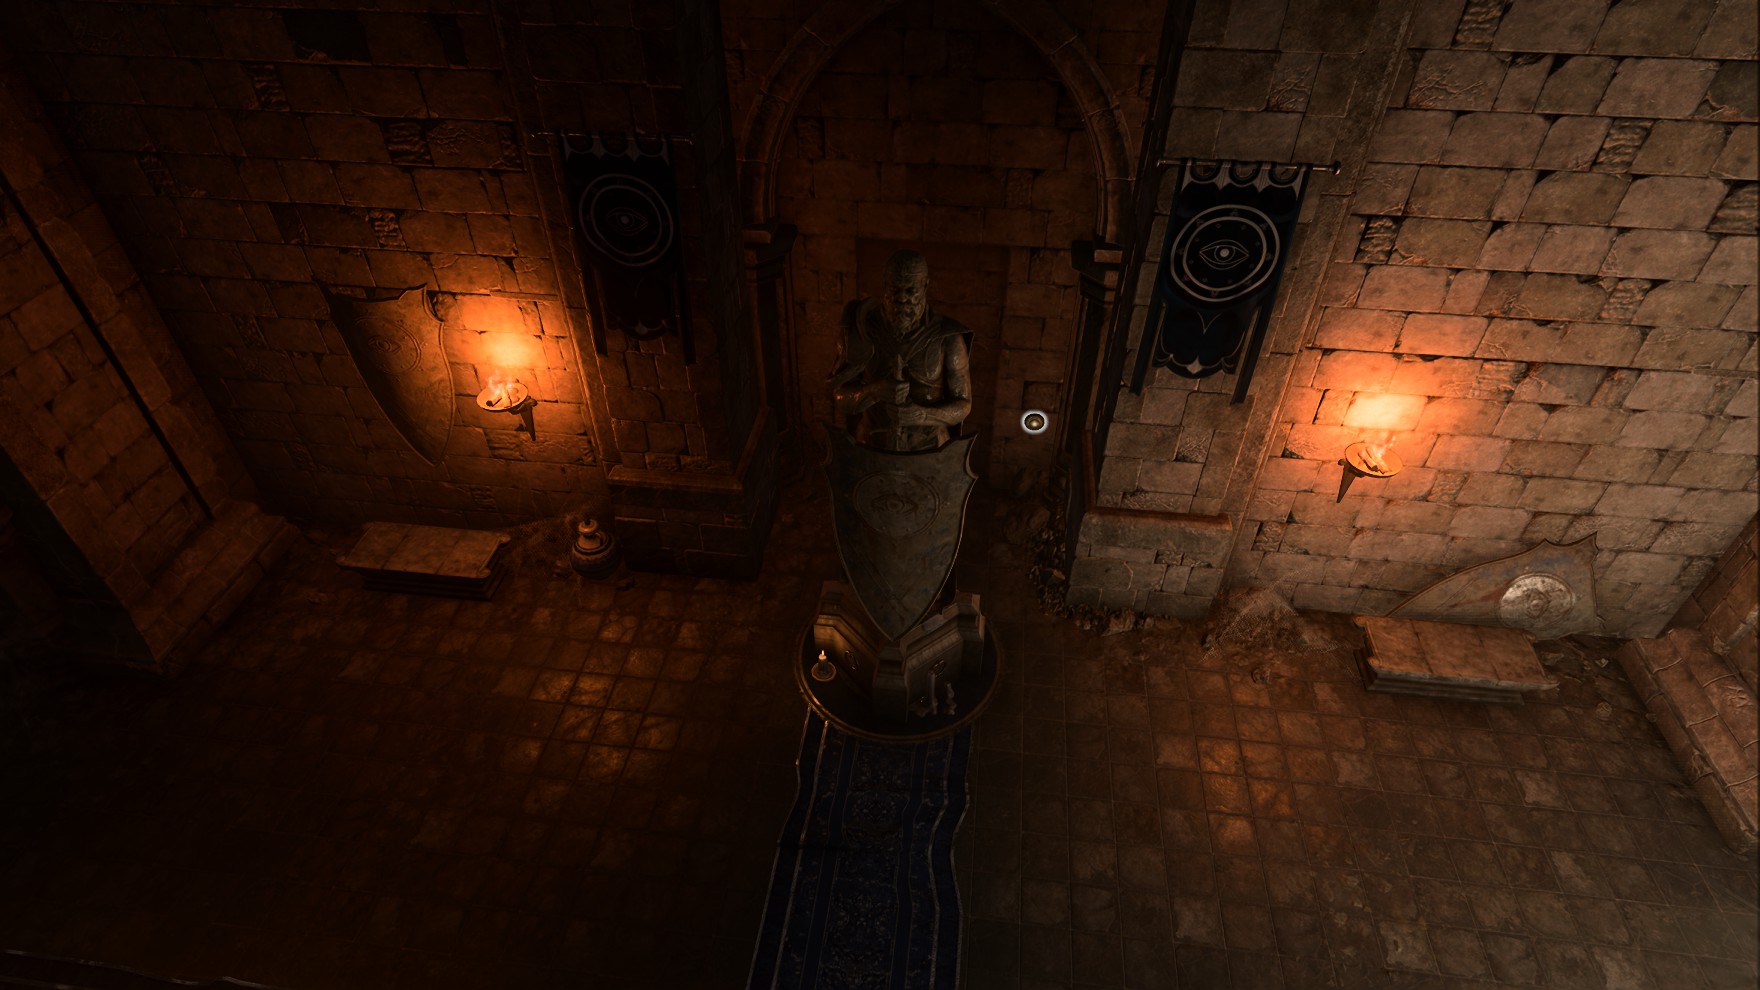
The Emperor's special items[edit section | visual editor]

Behind the statue to the north, on the right side of an indent is a hidden button at X: -734 Y: 577 (
| Special item | Location | The Emperor's commentary |
|---|---|---|
| Butter Fork | X: -731 Y: 596 | "My cutlery set - a gift from my mother. The butter knife is missing, but otherwise it looks to be complete. I don't need it anymore, but the memory stirs something in me still."[1] |
| Chains | X: -739 Y: 594 | "The chains I used to bind my meals - villains and lawbreakers. You see I tried to exercise morality, where I could." |
| X: -742 Y: 584 | "Rascal's collar...My poor four-legged friend. Their lives are so brief, so simple, and yet - full."[2][3] | |
| Emperor's Wardrobe | X: -727 Y: 590 | "My old wardrobe - the home of all my disguises. We are what we appear to be, and so appearances matter." |
| Empty Brain Jar | X: -745 Y: 593 | "An old container for brains. Empty - shame. It would have been nice to find one to sustain me now." |
| X: -744 Y: 587 | "A recipe for fiddlehead soup - a favourite meal of mine, when I had need of meals like that."[4] | |
| Stelmane's Portrait | X: -732 Y: 597 | "There she is in all her glory - Duke Belynne Stelmane. My old partner."[5] |
| X: -734 Y: 589 | "My old sword - my first purchase as an adventurer. No use to me anymore. It's yours, if you want it."[3] | |
| Unique Shell | X: -726 Y: 586 | "A shell - a keepsake from my final voyage. Pinched in a moment of sentimentality." |
Beyond the area with the chains, there is a secondary room with a hatch, which leads to the sewers.
Interacting with the Emperor's sword successfully completes the quest, even if there are some more memorable active items left in the room. Completing the quest does not make these inactive, and the party can still learn about them later.
Quest rewards[edit section | visual editor]


- If the player character has an overall 'positive' relationship with the Emperor, then completing this quest allows scenes to trigger on the next available Long Rest in which it will be possible to 'romance' the Emperor.
Notes & references[edit section | visual editor]
- ↑ The name of the item is "Butter Fork", implicitly because of the "missing" butter knife. As

- ↑ This item sometimes does not prompt a Perception check, for unknown reason.
- ↑ 3.0 3.1 Interacting with this item sometimes equips it to the corresponding slot of the controlled character's inventory. It is not known whether this behaviour is a bug.
- ↑ It may be necessary to pick up the item to trigger this commentary, rather than just interacting.
- ↑ The game asset used for the portrait item is a renamed version of the painting item "Portrait Of A Woman". Dialogue with

