Ad placeholder
Investigate the Murders

Investigate the Murders is a subquest of the quest ![]()
Objectives[edit section | visual editor]
Walkthrough[edit section | visual editor]
A Bhaalist Plot[edit section | visual editor]
According to 

![]()


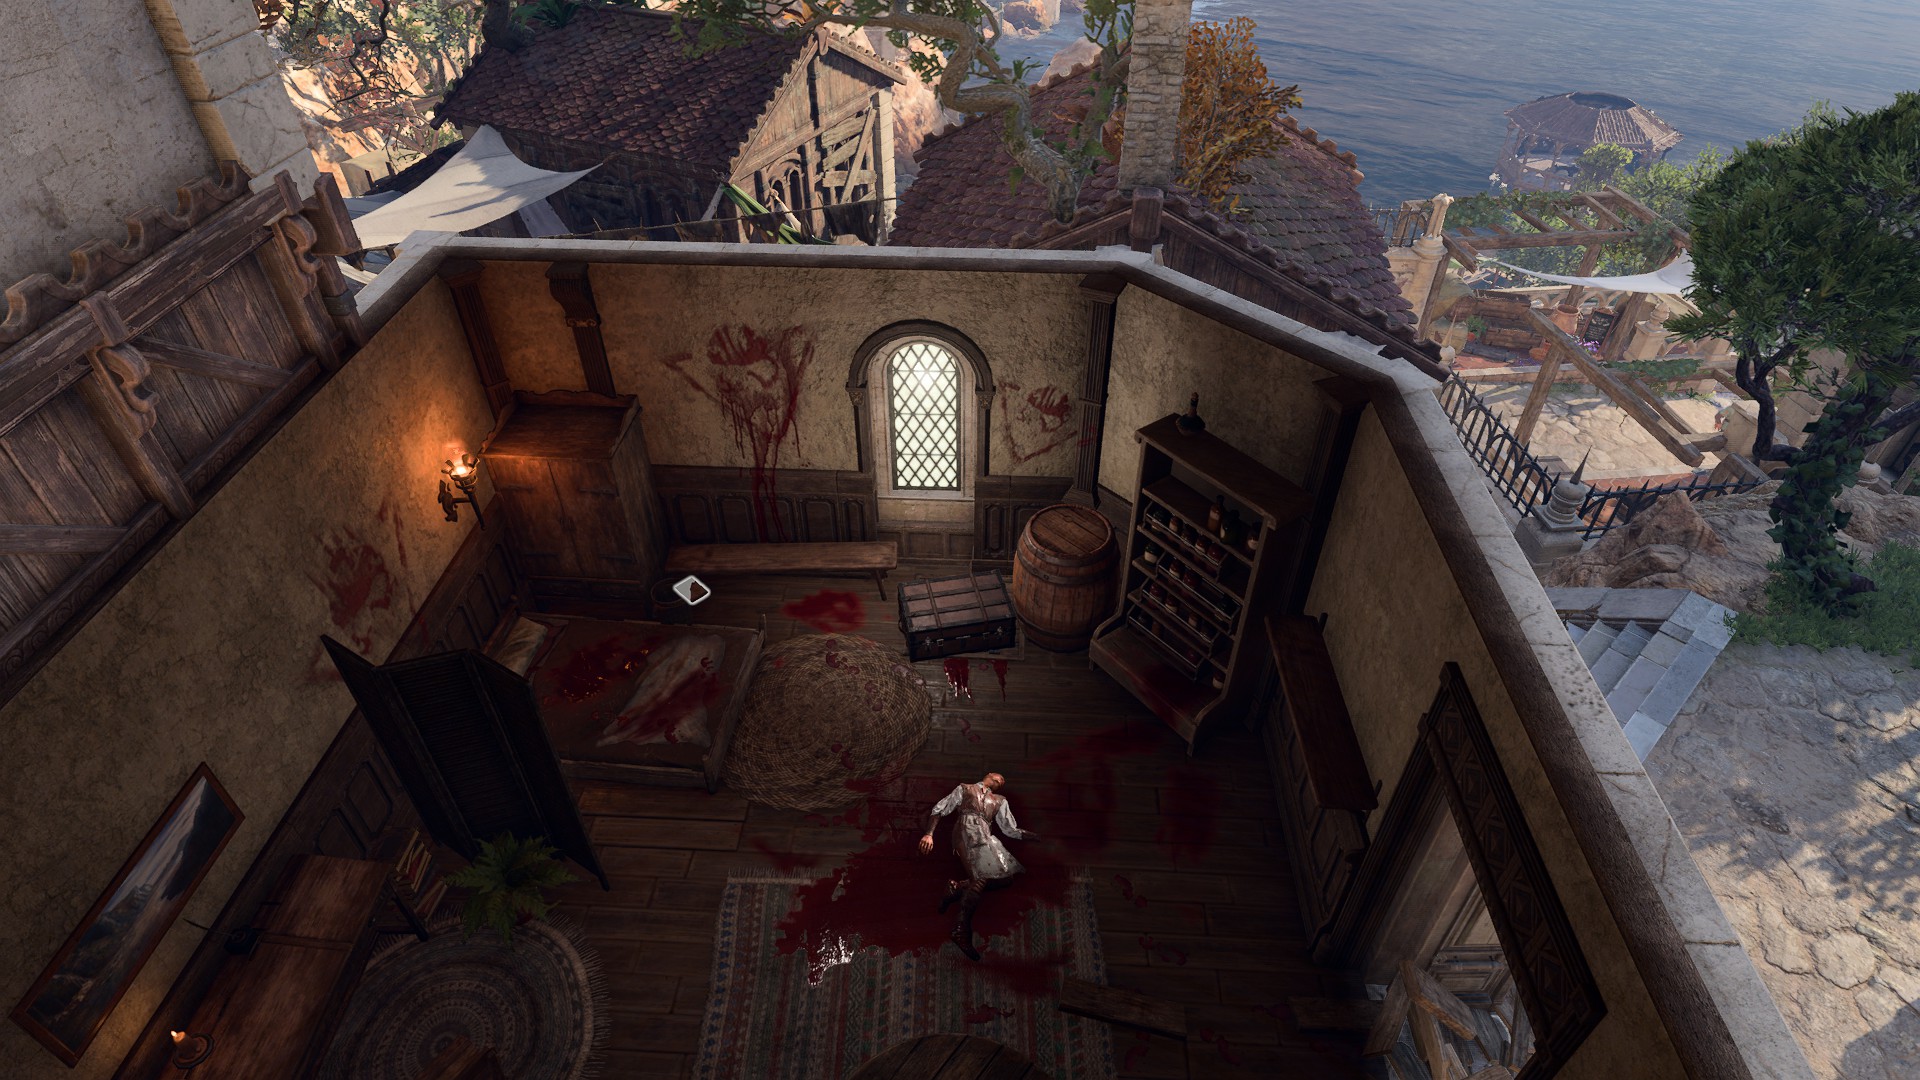
The party can also come across information on the murders by going up the stairs in the Elfsong Tavern and encountering the murder scene of Duke 
- Let me help you - I trained under Camber Fosrick, the world's greatest investigative mind. (DC 15)
- Do you need some help? I've dealt with much worse than this. (DC 15)
- Use the crime scene to describe how Stelmane was killed. Show her you can help solve this. (DC 15)
- I've seen my share of dead bodies. Maybe I can be of help? (DC 10)
- I have seen death and cruelty in all its forms. Perhaps I could be of service? (DC 10)
- I am no stranger to hunting down vicious killers - be they man or beast. Perhaps I could help? (DC 10)
- I am sworn to help any law officer. Say the word. (DC 10

If Devella believes they can help, she gives them a ![]()
Speaking with any of the deceased victims, or speaking with the rat in Rainforest's Home, reveals they were killed by a dwarf in red. Using ![]()


The Murder List[edit section | visual editor]
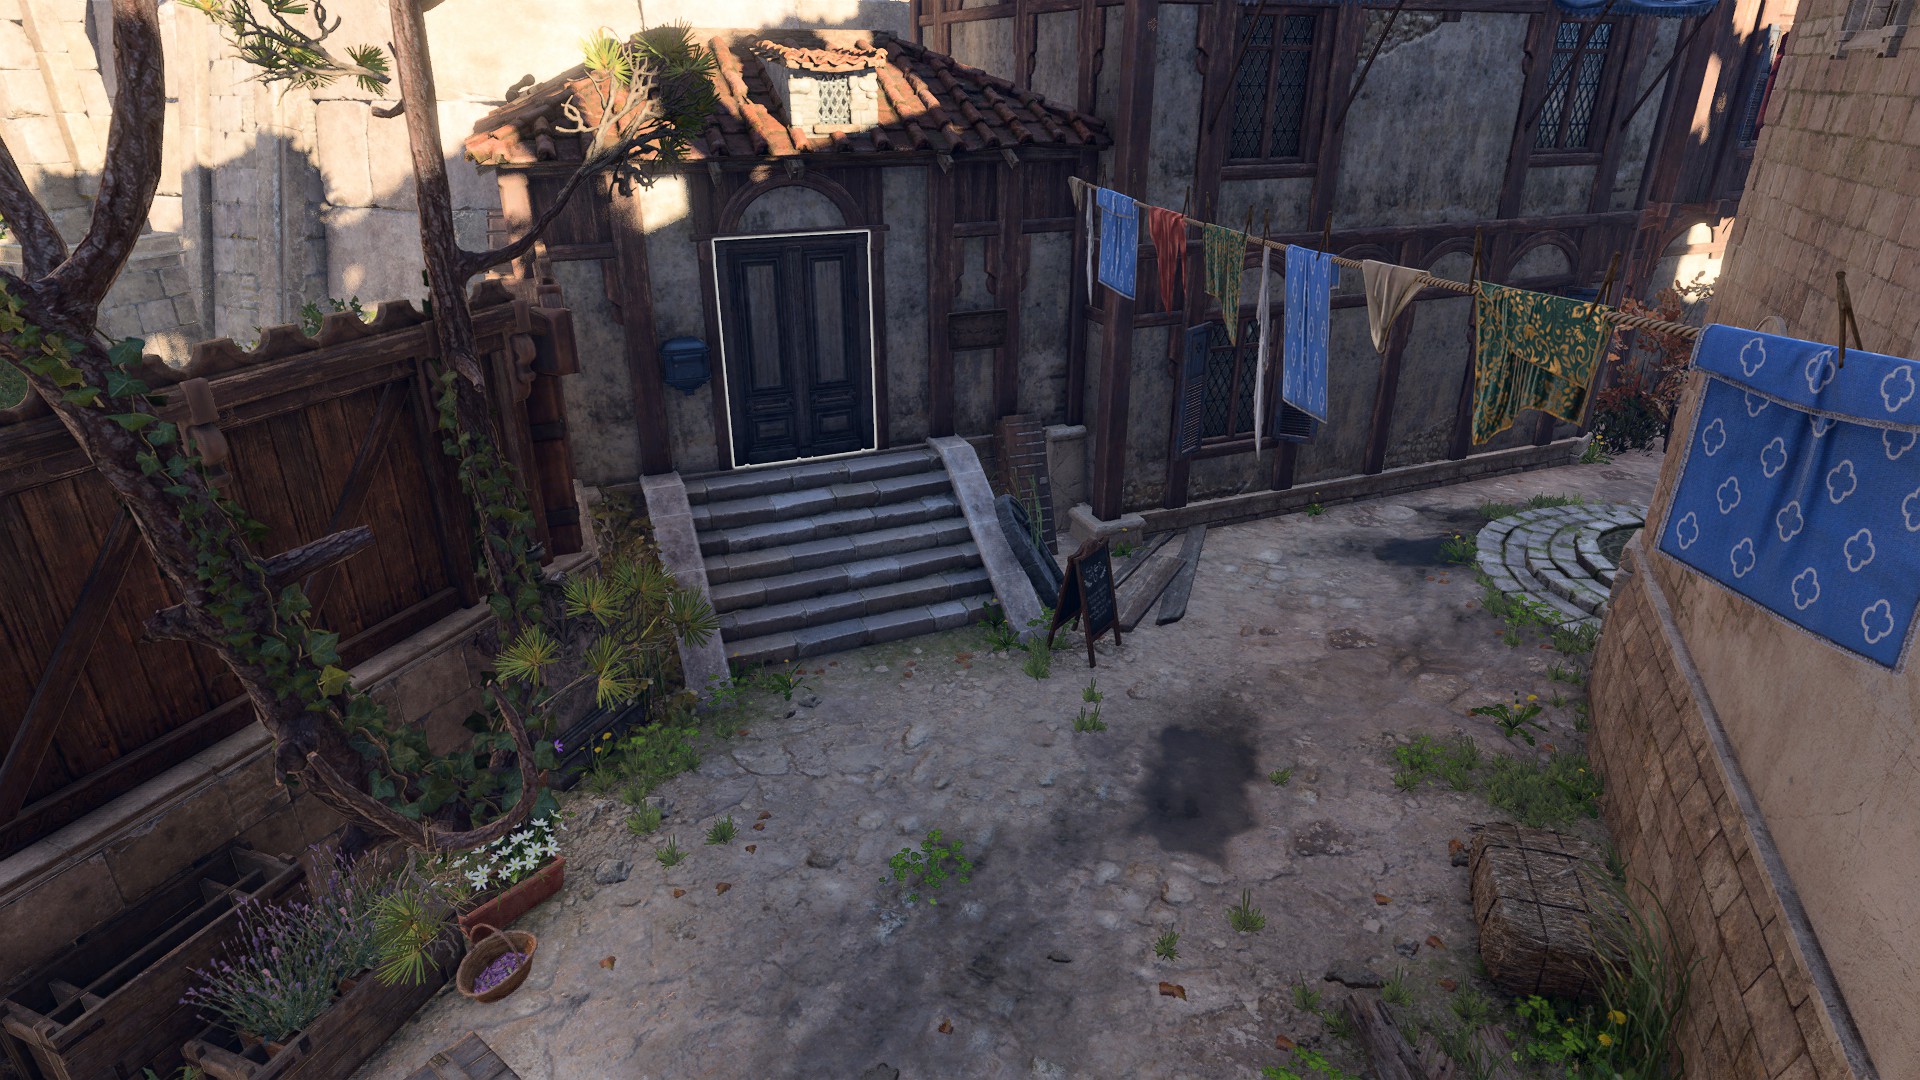
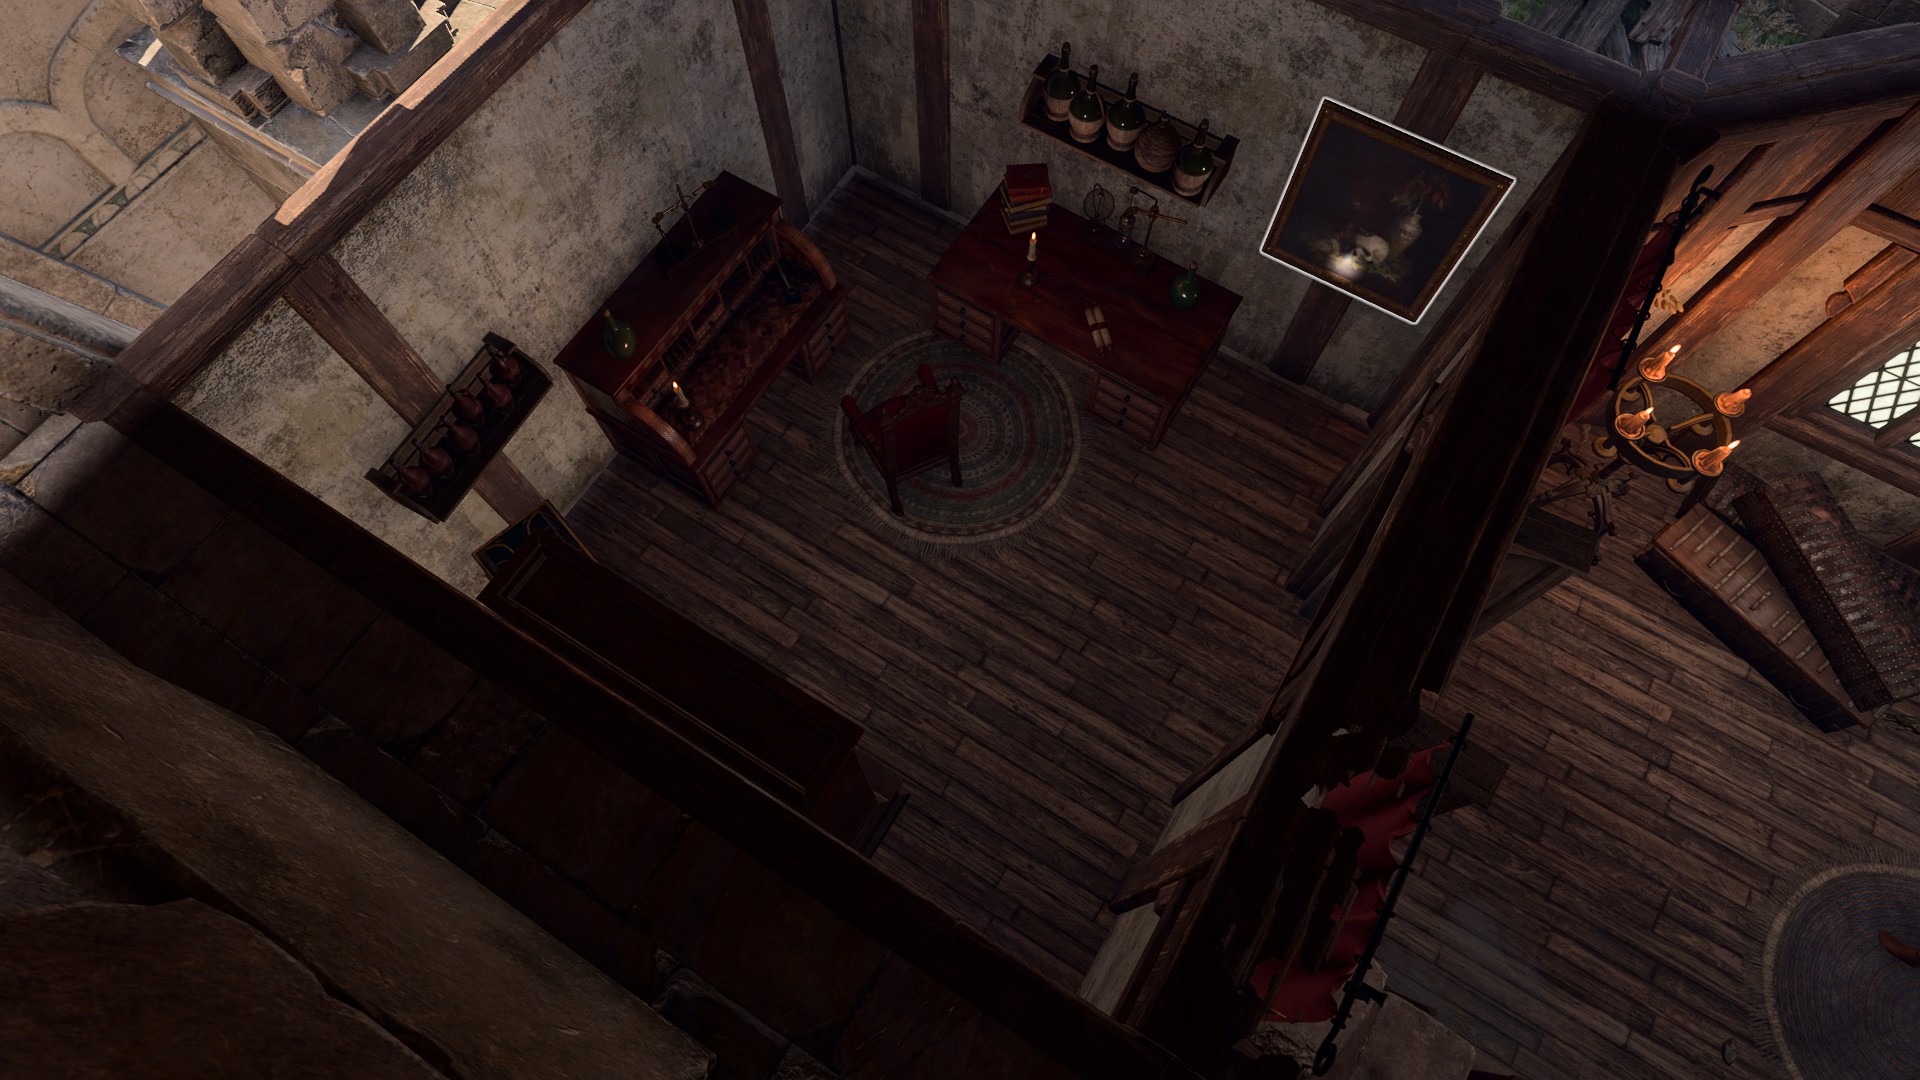
Fraygo's Flophouse is across the way from Sharess' Caress. After going up the stairs of the Flophouse, a ladder at X: -12 Y: 87 can be taken up to the top floor. On this floor, a red wardrobe can be found at X: -17 Y: 82.
There are multiple ways to get into the secret room on the uppermost floor of the Flophouse:
- Passing a

- Using the spell

- Completing


On the table to the right of the room's entrance is a ![]()

Another copy of the Bloodstained Parchment can be found inside Peartree House or in Rainforest's Home.
Save the Victims[edit section | visual editor]
Once the Bhaal murder list has been found, the party can utilise it to track down the victims who have not yet been killed in order to seek out the murderer.
Living Victims:


Deceased Victims:


Chef Roveer[edit section | visual editor]
Roveer is in the kitchen of Elfsong Tavern. He immediately insists the party take care of rats in the cellar, as part of Roveer's Storehouse and does not listen to the party otherwise. After killing the rats, the party can return and warn him of the murder plot.
Nesha Leesha[edit section | visual editor]
Nesha Leesha wanders the outer decks near the Blushing Mermaid's entrance. The party can warn her that she is a target for murder, but Nesha initially takes it as a joke, thinking no one would want to murder her. With a successful 
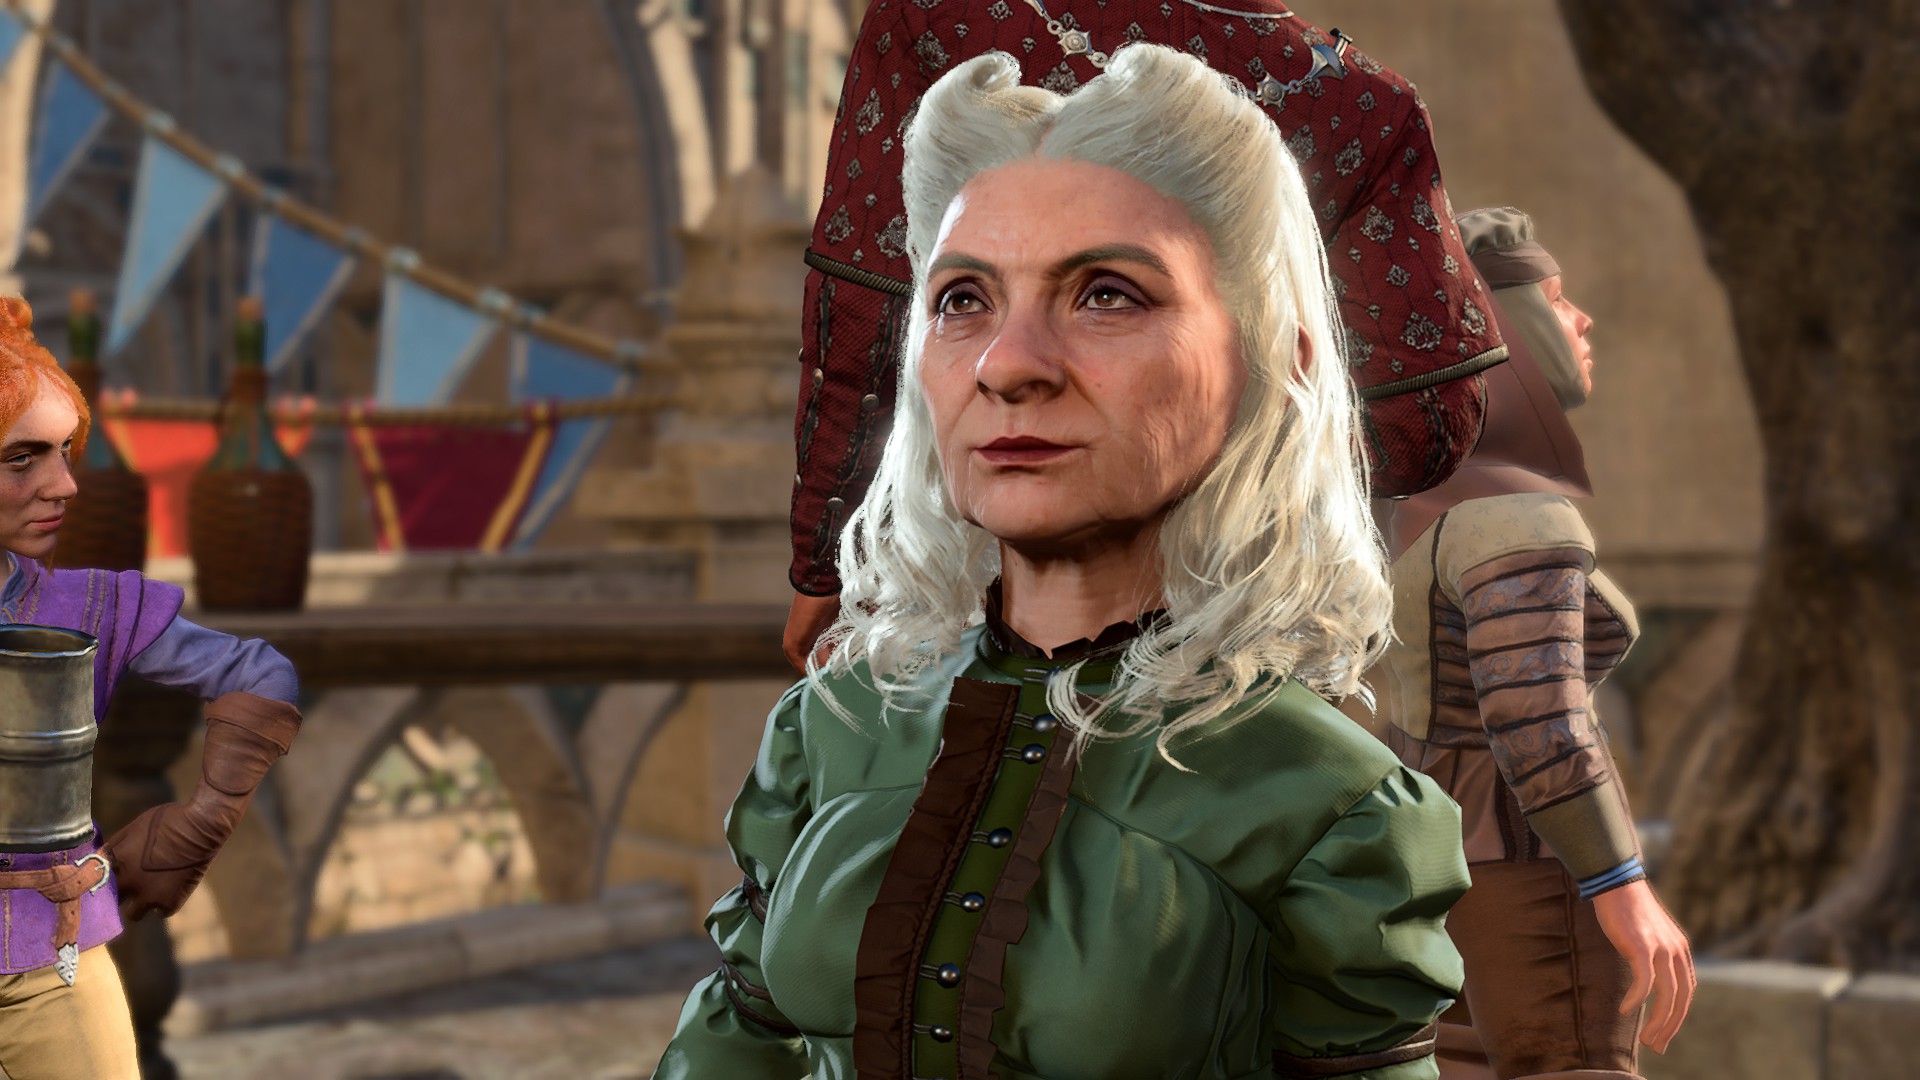
Cora Highberry[edit section | visual editor]

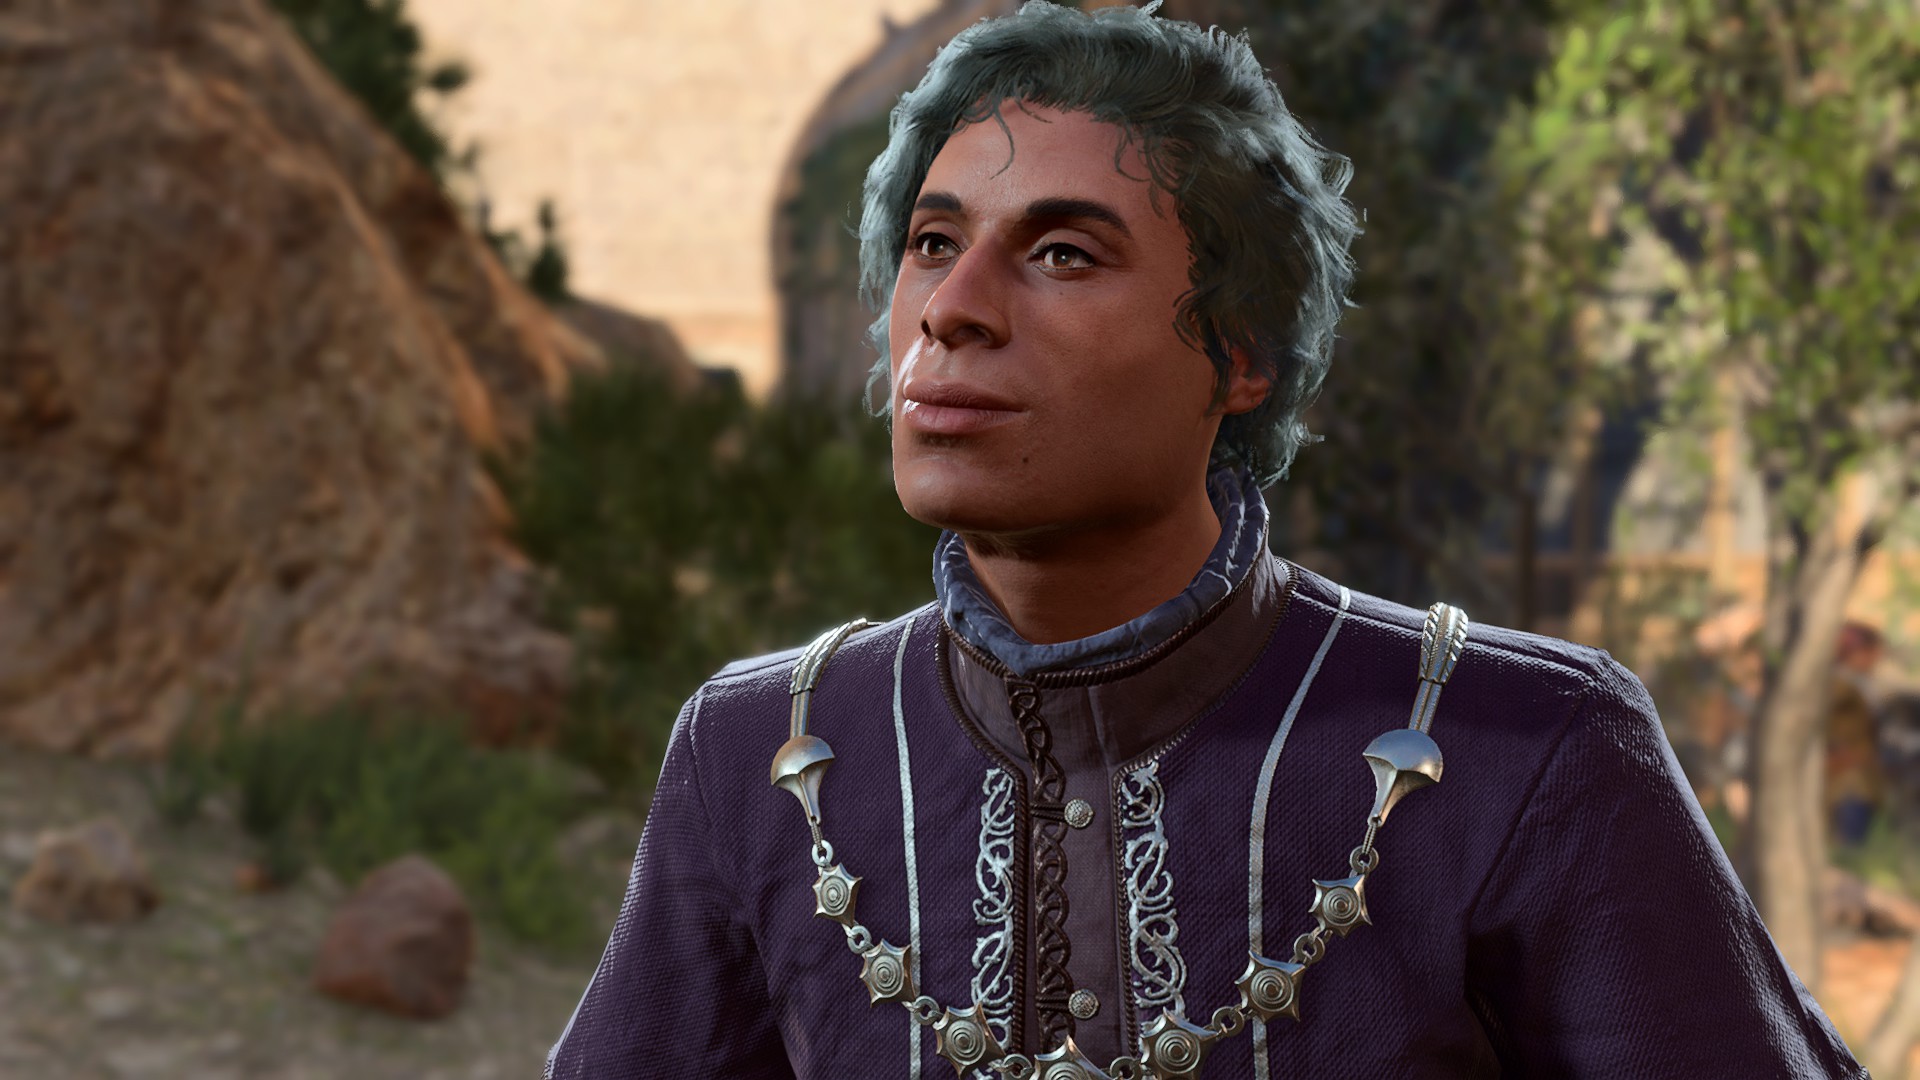
Cora Highberry is at a table at the wine festival southwest of Elfsong Tavern. Speaking to her, she tells the party she is about to taste some of "Master Meztli's" wine. A successful passive
Choosing the following options results in Cora being poisoned and killed. The first two result in the player character also being poisoned.
- I would love a glass, Master Meztli.
- Bottoms up!
- I'm afraid I must decline, but I hope you enjoy your wine.
Choosing any of the following options results in the killer being revealed:
- Poison... Beauteous... Sickly... Delicate.
- This fiend has sullied good wine with poison!
- Oh, poisoned wine? Now, that's a classic.
- Get back! This cowardly worm is trying to poison you!
- I've smelled many a wine in my time, and this one's foul. Poisonous.
- Cora Highberry, your life is in danger. A serial killer is after you.
- I think it's only polite that we let Master Meztli drink first, or should I say... Dolor?
- Kill the poisoner. One death is as good as another.
- Attack the poisoner.
Revealing "Metzli" as the serial killer infuriates him, as his "perfect crime" is interrupted. He retreats, revealing multiple doppelgangers to keep the party busy, while using the ![]()
![]()
Alternatively, Dolor's ![]()
![]()
Figaro Pennygood[edit section | visual editor]
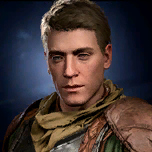
If Dolor is able to flee from the wine festival, he can be found at Facemaker's Boutique, where his final target, Figaro Pennygood, is located. Figaro and Gauntlet Devella can be found in the back room, ![]()
If the party sneak into a better position, Dolor is able to kill Figaro:
- Keep to the shadows while the dwarf is distracted. (DC 15)
- Step softly in the nearby shadows, avoiding the dwarf's gaze. (DC 15)
Alternatively, the party can announce themselves (or fail the stealth roll) to immediately save Figaro's life:
- Stop right there!
- Back off. That's my kill. (if aware of the murder list)
- 'Transcend'? This brutality is a mockery of the word.
- A paralysed victim and creepy monologue? Could you get any more cliche?
- I respect paralysing your target - makes the kill easier. But a monologue? Really?
- Enough of games. Enough hiding. You face me here and now.
- You talk too much. Come - meet your end, beast.
- A beast on the hunt is one thing - but there's only end for one gone rabid.
- I loathe cowards. Come - death is too good for the likes of you.
- You might have blades, but I am magic incarnate. You are no match for me.
During the battle, Dolor targets Devella first, making it imperative to heal or cast ![]()
Killing Dolor grants the party a bag of his victims' hands, as well as a ![]()
Murder the Victims[edit section | visual editor]

Instead of saving the victims, the party can choose to murder the remaining victims themselves and cut their hands off as proof. While Dolor is busy with Cora Highberry, the party can target Figaro Pennygood. They can also take out Nesha Leesha and Roveer, either by announcing they have come to kill them or by using subterfuge (i.e. utilising ![]()
![]()
After the first murder victim is killed, or after killing Valeria, Devella Fountainhead, or a Flaming Fist officer, 
![]()
Candulhallow's Tombstones[edit section | visual editor]

Candulhallow's Tombstones, at X: 74 Y: 25, is northeast of Elfsong Tavern. Its door can be opened with the ![]()
![]()

Within the basement is a sign which reads "Flaming Fists this Way." This area is heavily trapped with grease barrels which alight upon approaching them. Instead, the party is advised to remain on the brick path on the right and enter the door to the Murder Tribunal's antechamber at X: -1302 Y: 519.
Infiltrate the Murder Tribunal[edit section | visual editor]

The party must enter the Murder Tribunal Antechamber and speak with 
![]()
Dolor rare encounter[edit section | visual editor]
If Figaro Pennygood was murdered by the party before being attacked at his boutique by Dolor and his assassins, and Dolor is still alive following his assassination attempt against Cora Highberry at the wine festival, he then shows up at the Tribunal's entrance, demanding entry. It does not matter if he kills Cora or not, or even if his Hand Bag containing the hands of his previous kills has been pickpocketed. He is denied by the Guardians because only one contender can gain entry, and there are two who seek to become Unholy Assassins.
Dolor recognises the player character if they met during the events at the wine festival and accuses them of not being as faithful to Bhaal as he is. If they did not meet or the player character was disguised, his dialogue is different. In any case, That Which Guards demands a duel between the two contenders and Dolor happily obliges. The party has three options:
- They can fight Dolor to the death.
- Tell Dolor to go ahead, which causes the Guardians to turn against the party since they are intruders and not contenders after all.
- Pass a
If the first option is chosen, That Which Guards is satisfied and unlocks the doors to the Tribunal without further questions. If the third option is chosen and the check is passed, Dolor agrees, stating that Bhaal is not a god of decrees and doctrines, and combat is initiated as he turns on the Tribunal Guardians. After they are defeated, Dolor unlocks the doors and attacks 
![]()
![]()
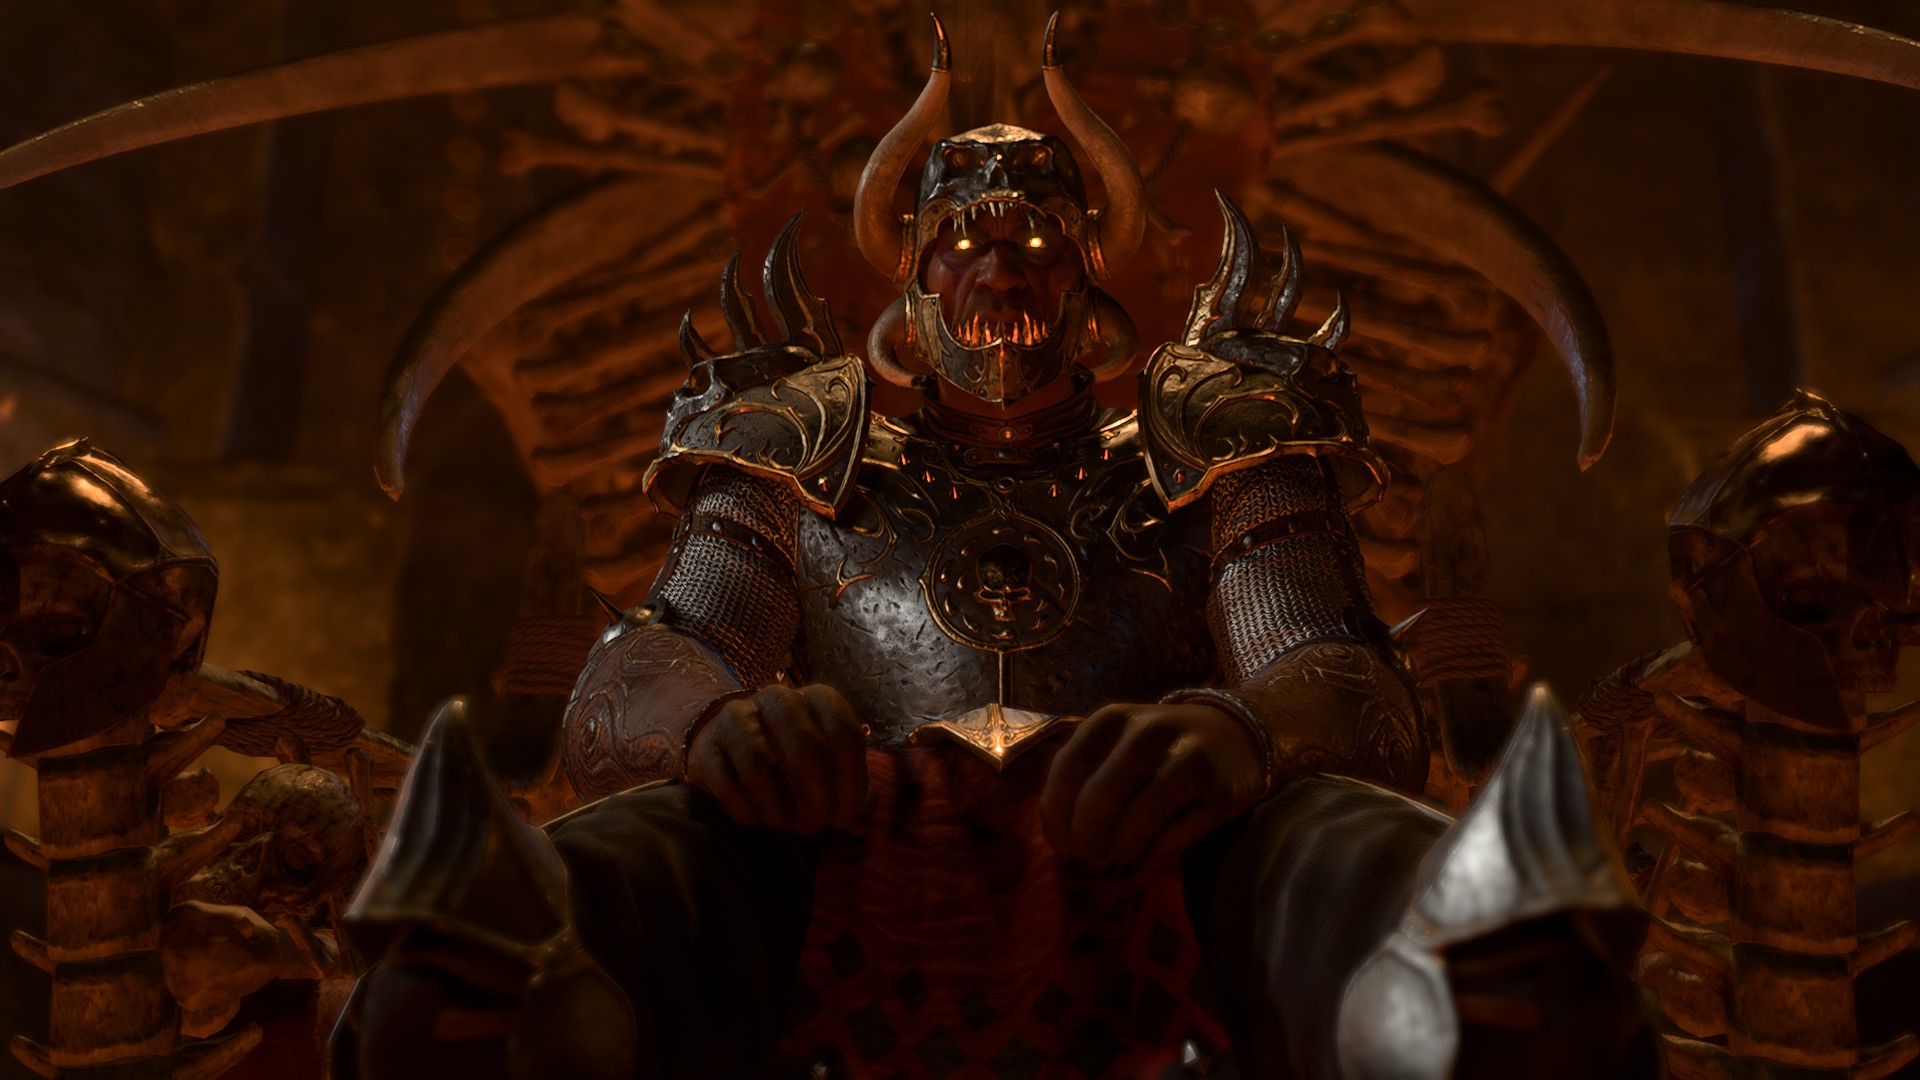
Facing the Tribunal[edit section | visual editor]

If the party choose not to fight their way through, Sarevok Anchev can be met face-to-face, along with the 


Sarevok proclaims that there is no better mirror in which to see the true nature of a killer than his victim. Thus, he summons the image of one of the murder victims. The spectre cannot speak, as the murderer stole their voice; the party must speak for them. Sarevok asks how the pitiful creature was slain.
If the party did not kill the victim, they can make a ![]()
- First, I ended its sorry existence. Then I cut the hand from its corpse. (DC 20)
- Slowly and painfully. I savoured every scream. (DC 20)
- With a smile on my face, and pleasure in my heart. (DC 20)
If the soul was actually slain by the party, then no Deception check is needed.
For the Dark Urge, if they have not acquired the 
If the Dark Urge has the Slayer form, Sarevok does not ask them about the murders, which he believes are far beneath their skills. Instead, he informs them about their past and how they perfectly embodied Bhaal's essence compared to anyone else, including his granddaughter, Orin. He then asks the Dark Urge if they seek revenge on Orin; in fact, he encourages them to do so. Sarevok is confident the Dark Urge will prevail and defeat Orin and, after they do, asks them to return to him. He then proceeds to open the door to the abattoir without the need for any checks.
Alternative Minsc/Jaheira scene[edit section | visual editor]
A different scene instead plays if either or both 

The party also gain an option to initiate combat by asking Minsc and Jaheira whether they would like to kill Sarevok again; they defer to the player character, saying that they do not need to repeat the experience. If only Jaheira or Minsc or both are present when interacting with the Murder Tribunal, there are no dialogue options nor checks: Sarevok and the Echoes become hostile after the dialogue.
Quest Rewards[edit section | visual editor]


Inspiration[edit section | visual editor]


Companion approval[edit section | visual editor]
In the confrontation at Figaro's shop:
- Ordering Dolor to stop (either the first option or any class option)


- Telling Dolor to back off of the kill
- Offering to investigate the tribunal
- Sacrificing Devella Fountainhead


Notes[edit section | visual editor]
- This quest intertwines heavily with
- Several of the murder sites also contain body parts for
- Warning Roveer or Nesha does not appear to make a difference; Dolor only targets Cora and Figaro.
- A part of this quest is time-sensitive. If long resting after entering the Lower City and then getting close to the Wine Festival but refraining from interacting with anyone, Cora is murdered the next day.
Bugs[edit section | visual editor]
- If

- Olfaith can show up even if this quest has been completed, including if the party has slain the entire murder tribunal or Orin.
- If

- If a party member interacts with Dolor and Cora Highberry at the wine festival and successfully passes the Medicine check to warn Cora that the wine is poisoned, the party may be incorrectly granted the


- If the party save Cora by defeating Dolor and then take a long rest before talking to Devella, she disappears from the game. The party then cannot witness any cutscenes with her, update her on their progress in the Basilisk Gate Barracks, or collect her reward for completing the quest.