Ad placeholder
Secret Chamber


Overview[edit section | visual editor]
The Secret Chamber is a hidden location within the Crèche Y'llek. It consists of a heavily trapped corridor and a large cavern with richly adorned pedestal combined with intricate machinery, and may remain hidden unless certain choices are made by the party.[1]
The Secret Chamber is where Lathanderian monks of the Rosymorn Monastery hid their greatest treasure: several drops of genuine blood of ![]()

The Secret Chamber is a place where the quest ![]()
![]()
If Crèche Y'llek becomes hostile, this location does not become a restricted area unless its relic is stolen. It can be a useful place to rest between encounters with hostile githyanki in the Crèche, or even a means of escape, as the party can fast travel out of it.
Entering this chamber grants 210 XP at Level 7, as a medium sized location.
Access[edit section | visual editor]
The Secret Chamber can be accessed through a western side alcove of the Inquisitor's Chamber in the crèche.
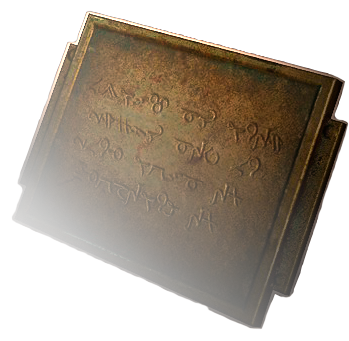
The entrance is accessible after properly posing the two statues of Lathander at X: 1330 Y: -660. These statues have spinning basements. Turning them to the correct position to be facing east and west respective to plaques at their feet opens the movable wall section, leading to the Dawnbreak Gate after a set of stairs. The right statue ("east") rotates freely, while the mechanism of the second one ("west") is jammed. Hints on this can be acquired early when exploring the upper ruins of the monastery, upon reading the ![]()
Rotating the jammed statue can be eased by casting ![]()
![]()

Manipulating the statues can be conducted freely in presence of inquisitor 
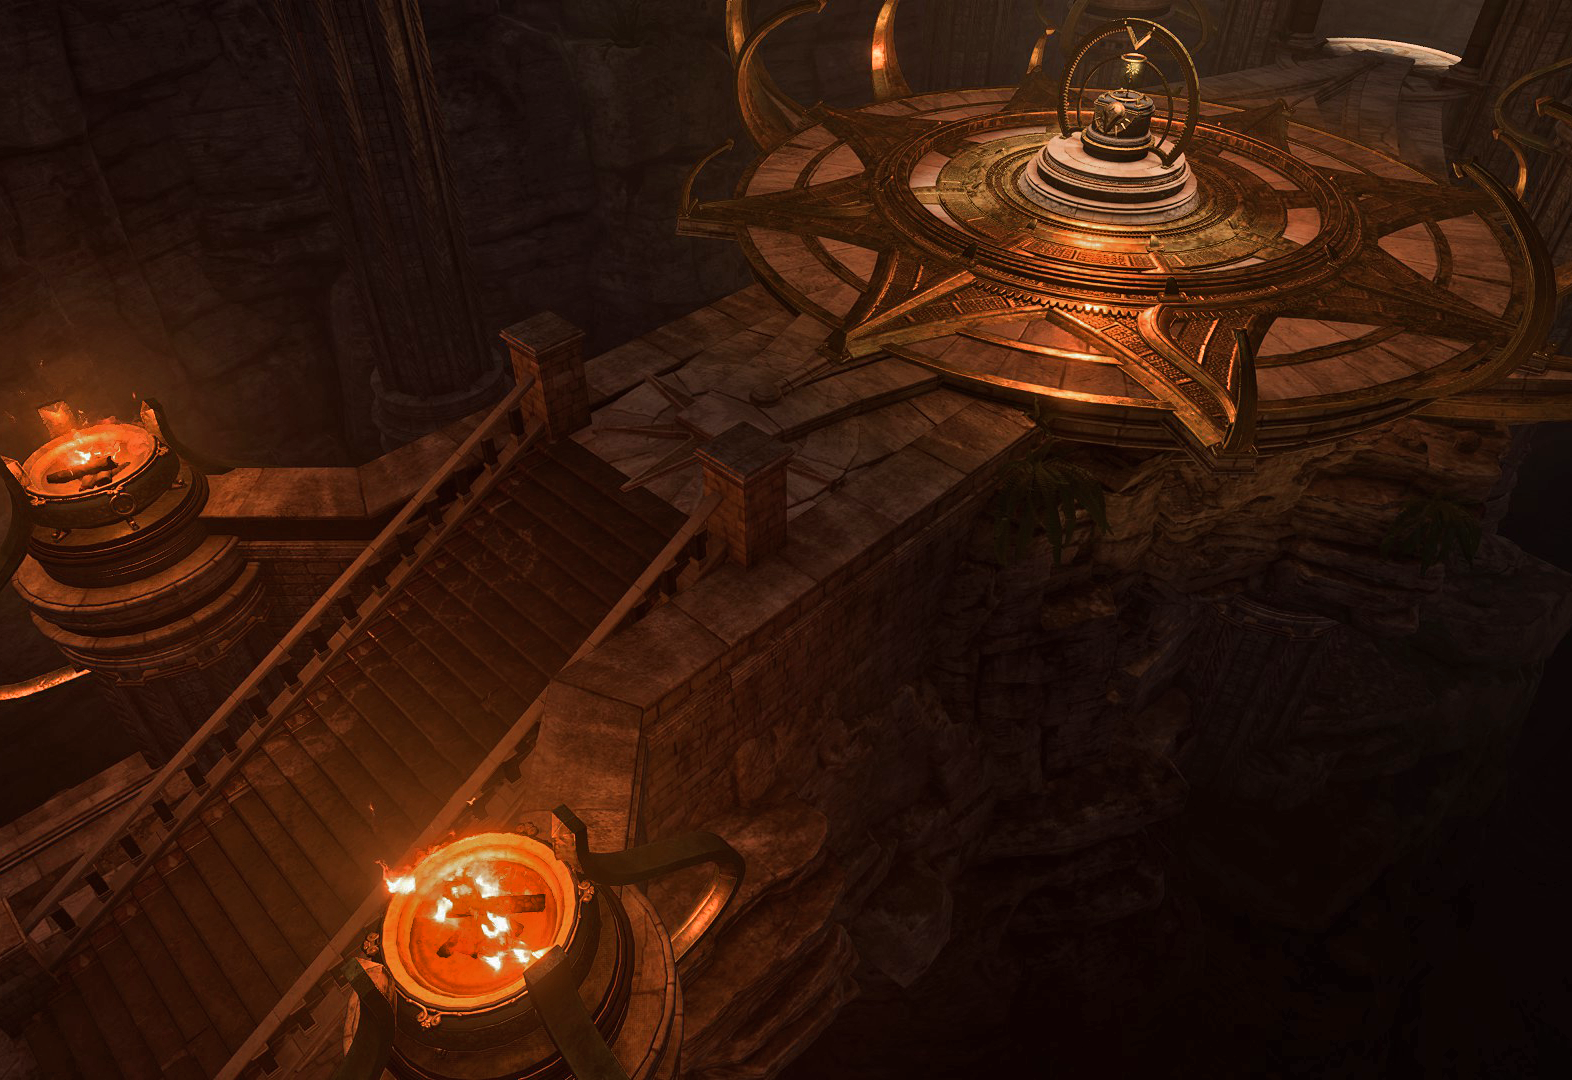
The Trapped Corridor[edit section | visual editor]

The corridor is crossed by three impenetrable barriers,[3] each having an energy source nearby to feed from. Destroying a source opens the way forward.
Sections between the barriers feature a unique Trap: Dawnbreakers. If activated, they attack once every turn with a unique spell. ![]()
![]()
![]()
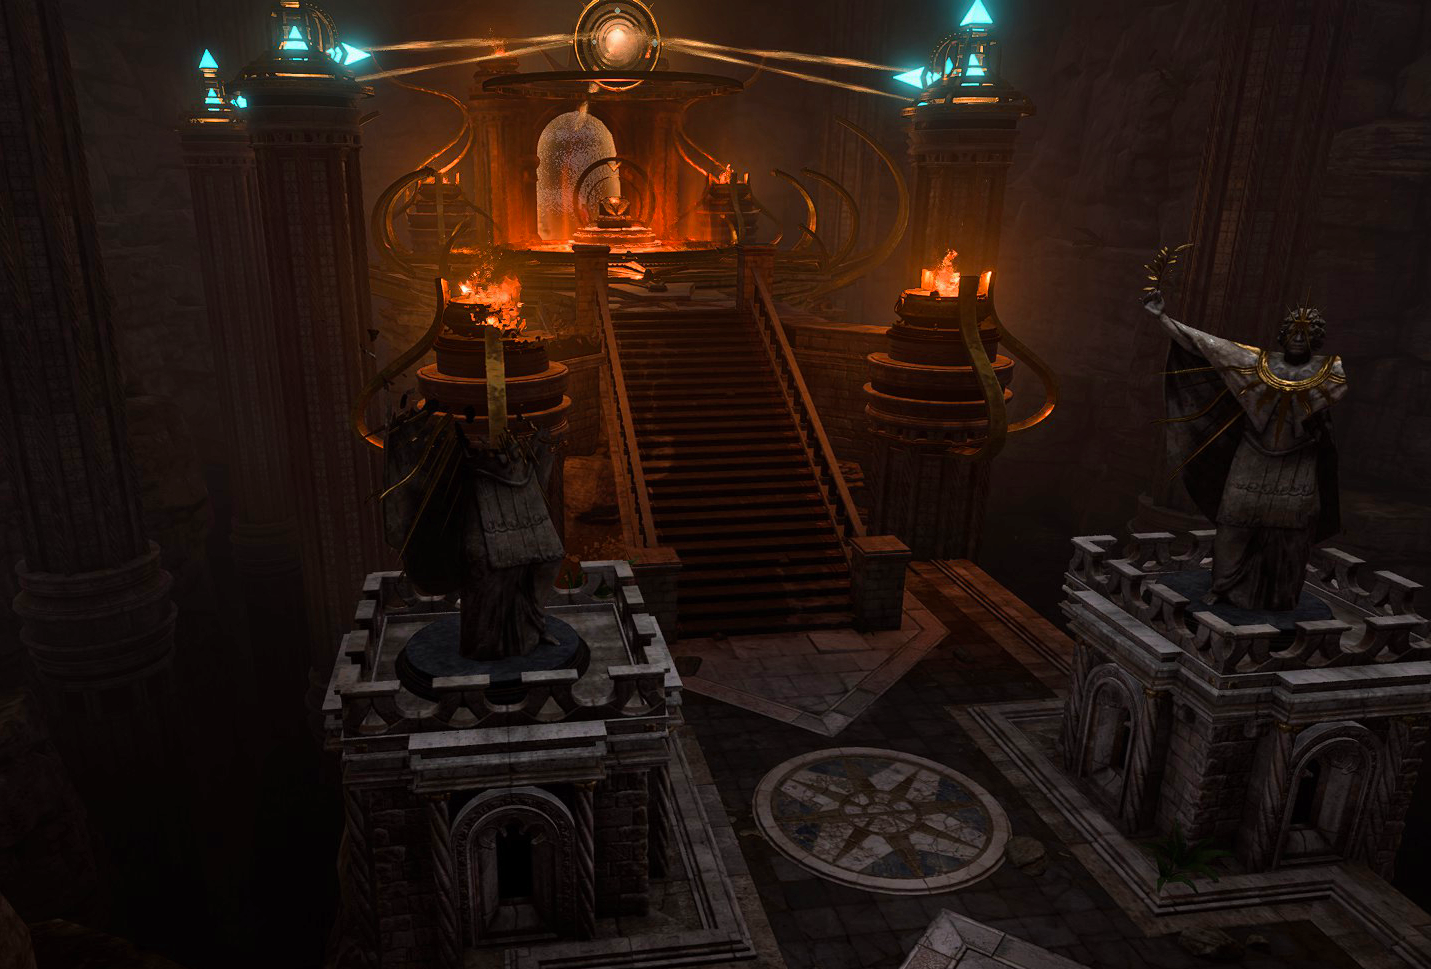
The Pedestal and the Relic[edit section | visual editor]

The final room is actually a high vertical rock protruding from chasm with a round pedestal on its top, with stairs leading to it. The pedestal is enclosed in several metal rings, which act as another trap should the party try and steal the relic in the centre.
The relic itself is the Legendary mace, ![]()
The mechanism can be stopped using the ![]()

The Lance mechanism also can be disabled by placing the Dawnmaster's Crest in its slot before taking ![]()
Once the Lance is activated, the aforementioned metal rings form an impenetrable forcefield barrier around the pedestal. The party member interacting with the mace finds themselves trapped inside, while all others are automatically moved to the certain points around the pedestal. The barrier still can be overcome by using spells like ![]()
![]()
Related locations[edit section | visual editor]
Related quests[edit section | visual editor]
Loot[edit section | visual editor]
Related Literature[edit section | visual editor]


Notes[edit section | visual editor]
- ↑ Game dialogue files contain several mentions of a "Treasure Room" located presumably somewhere sideways from the trapped corridor. It could be opened with a key held somewhere inside the crèche, and featured statues enchanted with Magic Mouth spell, warning a potential thief from looting it. This part of the dungeon was probably cut out during further game development. Also, the githyanki kids in the crèche Infirmary could have been playing with an octagonal item resembling the Dawnmaster's crest.
- ↑ More information on Sammaster and his conflict with Lathander can be found at

- ↑ These barriers fill the gilded wrought archways. Above each archway is a portrait of one of the monastery's Dawnmasters, copying those at the stained glass puzzle in the Dawnmaster's Memorial. However, they cannot be used to completely solve the puzzle, as the series of portraits lacks a clear copy of the last, destroyed depiction.