Ad placeholder
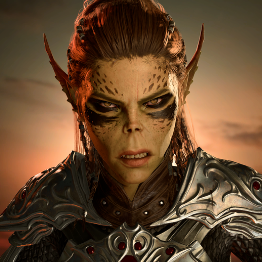
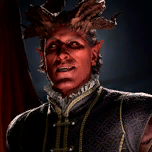
Orpheus


Overview[edit section | visual editor]
Background[edit section | visual editor]
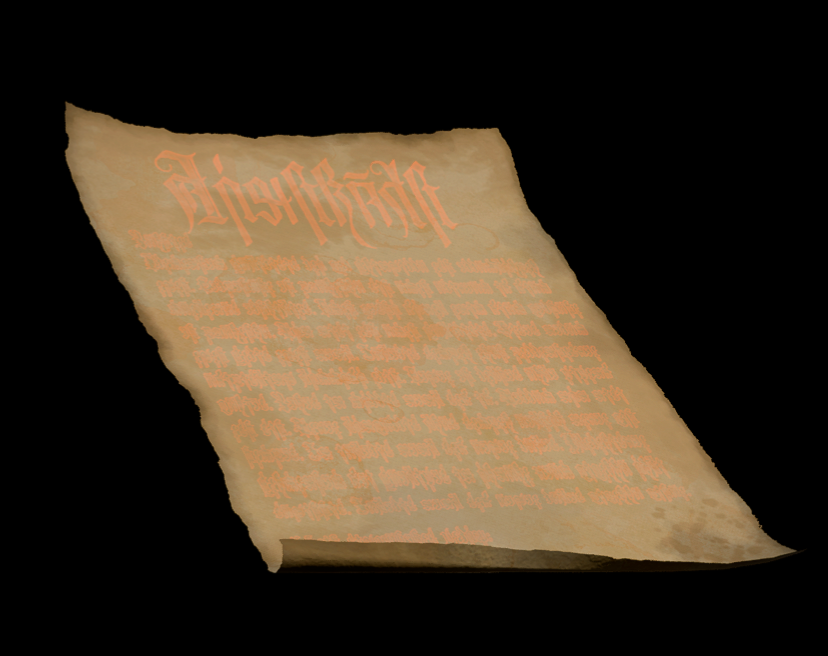
According to the inscribed discs, banned and deemed heretical by followers of Vlaakith, Orpheus is the first and only son of Mother Gith, the leader of the rebellion that freed the races which would bear her name from the Illithid Empire. Gith's impressive psionic power allowed her to disrupt elder brain control, a power that her son inherited. At some point during the rebellion, Gith's advisor, Vlaakith, made a deal with the dragon goddess ![]()
![]()
Outraged at this turn of events, Orpheus led a rebellion against Vlaakith I's rule, assembling an honour guard and declaring himself the rightful ruler of the githyanki. This "War of the Comet" was said to have ended with Orpheus' death at the hands of 
![]()
The artefact containing Orpheus soon came to the attention of 

Involvement[edit section | visual editor]
Act One & Act Two[edit section | visual editor]
Orpheus – and his role in the greater story of Baldur's Gate 3 – is hinted at throughout the game, but not truly revealed until the beginning of Act Three. Notably, he is referenced in the "Orpheus, Prince of the Comet" series of discs, which recount his attempted rebellion against the first Vlaakith and form the backbone of the quest ![]()
Act Three[edit section | visual editor]
Battle in the Astral Prism[edit section | visual editor]
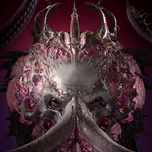
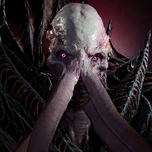
While resting at Wyrm's Lookout, the active party members are ambushed by githyanki warriors. The Dream Guardian opens a portal into the Astral Prism for them to enter, lest they fall under the Absolute's influence. There, the Dream Guardian reveals their true form as a mind flayer free from hivemind control, and asks the party for their aid against the githyanki, which starts ![]()
![]()
![]()
![]()
Acquiring the Orphic Hammer[edit section | visual editor]
While visiting the party's camp in Act Two, Kith'rak Voss directs the party to meet him at Sharess' Caress in Wyrm's Crossing. Upstairs, in the Devil's Den, he is attempting to make a deal with the devil 
![]()
![]()


- The player character refuses the deal but chooses to acquire the Orphic Hammer anyway. The party must then infiltrate the House of Hope to steal the Orphic Hammer, which leads to a fight against Raphael.
- The player character accepts the deal, starting both


- The player character accepts the deal, but ultimately decides to break it. The party must then infiltrate the House of Hope and steal the contract; the Orphic Hammer can also be stolen here. This also leads to a fight against Raphael.
- The player character refuses the deal and does not steal the Orphic Hammer. Without the Orphic Hammer, it is impossible to free Orpheus, though Raphael's offer remains open as long as he is still alive; he even appears in the Astral Prism near the end of the game to offer his terms one last time.

Showing the Orphic Hammer to Voss completes ![]()
![]()
Deciding the Prince's Fate[edit section | visual editor]
At the Morphic Pool, the player character attempts to wield the Netherstones and control the Netherbrain, but is overwhelmed. The Emperor brings the party into the Astral Prism and tells them that only an illithid can successfully wield the Netherstones. Here, Orpheus' fate must be decided, with most decisions depending on whether or not the party acquired the Orphic Hammer.
The Prince Assimilated[edit section | visual editor]
Orpheus can be "assimilated" by either the Emperor, a mind flayer player character, or a mind flayer 
- If Orpheus is assimilated and Lae'zel has rejected Vlaakith and embraced Orpheus, the player character must pass a

- Speaking with her again before entering the High Hall gains her scorn, and a
- Speaking with her again before entering the High Hall gains her scorn, and a
- Upon leaving the Astral Prism and reaching the High Hall, an enraged Voss turns hostile unless convinced not to, which requires a
- If Voss turns hostile, he can no longer be recruited as part of
- If Voss turns hostile, he can no longer be recruited as part of
The Prince Freed[edit section | visual editor]
The party can refuse to allow the Emperor to assimilate Orpheus. Additionally, a mind flayer player character can refuse to assimilate Orpheus, though a check is required to prevent their hunger from getting the better of them. Either choice causes the Emperor to defect to the Netherbrain, and the party can then free Orpheus. If the player character made the deal with Raphael and did not betray him, then he shows up and gives the Orphic Hammer to the party.
If the party has not obtained the Orphic Hammer by this point, then Raphael appears and makes his offer again. Refusing the offer causes a Game Over; survival then requires the party to ![]()
Regardless, Orpheus is freed and offers an alliance to the party, though he scolds them for not freeing him sooner. He may also scold them for stealing the ![]()
- The player character or


- If the player character and Karlach refuse to become mind flayers, Orpheus offers to make the sacrifice instead. Lae'zel is dismayed but does not turn hostile.
- The player character and the party decide to fight Orpheus. Winning or losing this battle immediately results in a Game Over, as the party either dies or loses Orpheus' protection and becomes dominated by the Absolute.
Regardless of who transforms, Orpheus joins the party as an Attached Follower for the final battle. Depending on who is transformed, Voss expresses either confusion or dismay, but also does not turn hostile.
Endings[edit section | visual editor]
This section contains sensitive content, including brief descriptions of self-harm and suicide. |
Orpheus' role in the ending depends on whether or not he transforms into a mind flayer.
If Orpheus turns into a mind flayer, he appears on the docks and asks Lae'zel to lead the githyanki fight for freedom without him, as he is now an abomination and seeks death. Orpheus asks either the player character or Lae'zel to kill him. If his request is not fulfilled, he kills himself unless the player character convinces him to refrain with a 
If the player character or another party member turned into a mind flayer, he appears on the docks and thanks the party's illithid for their sacrifice. Now ready to begin a new rebellion against Vlaakith's tyranny, he calls two red dragons and invites Lae'zel to join him in his new war against the Lich Queen. Lae'zel can either join Orpheus, be convinced to stay in Faerûn if the player character is not a mind flayer, which requires a
Epilogue[edit section | visual editor]
This section contains sensitive content, including mentions of or allusions to self-harm and suicide. |
If Orpheus does not transform into a mind flayer, the player character finds a letter from him in the ![]()
![]()
If Orpheus transforms into a mind flayer but is convinced not to kill himself, then a unique dialogue option asking about him is present when talking to Lae'zel. Her response indicates that Orpheus has disappeared and gone into hiding, but she holds out hope that he might re-emerge one day.
Combat[edit section | visual editor]
Loot[edit section | visual editor]
Related quests[edit section | visual editor]
Related literature[edit section | visual editor]
Gallery[edit section | visual editor]
-
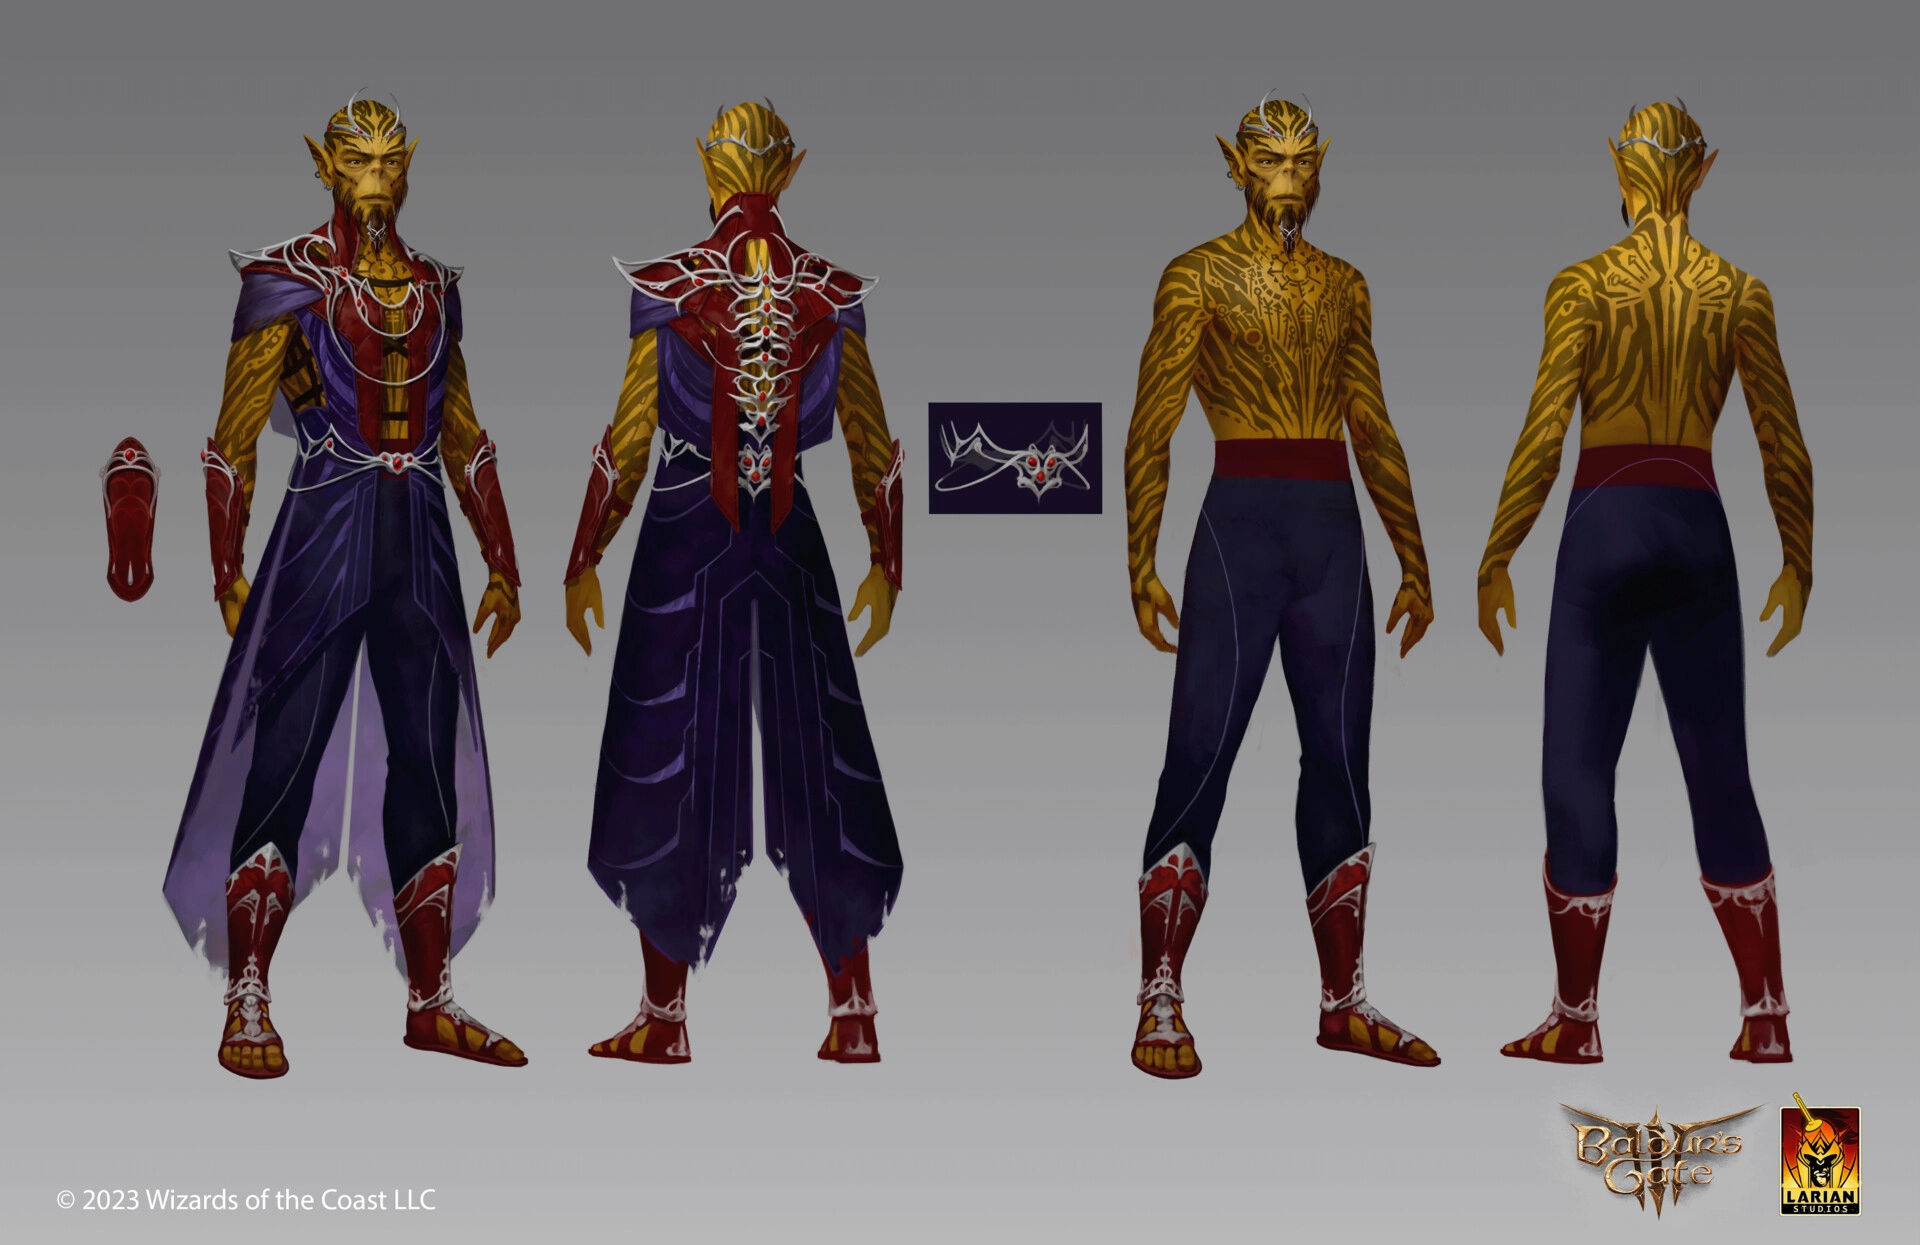
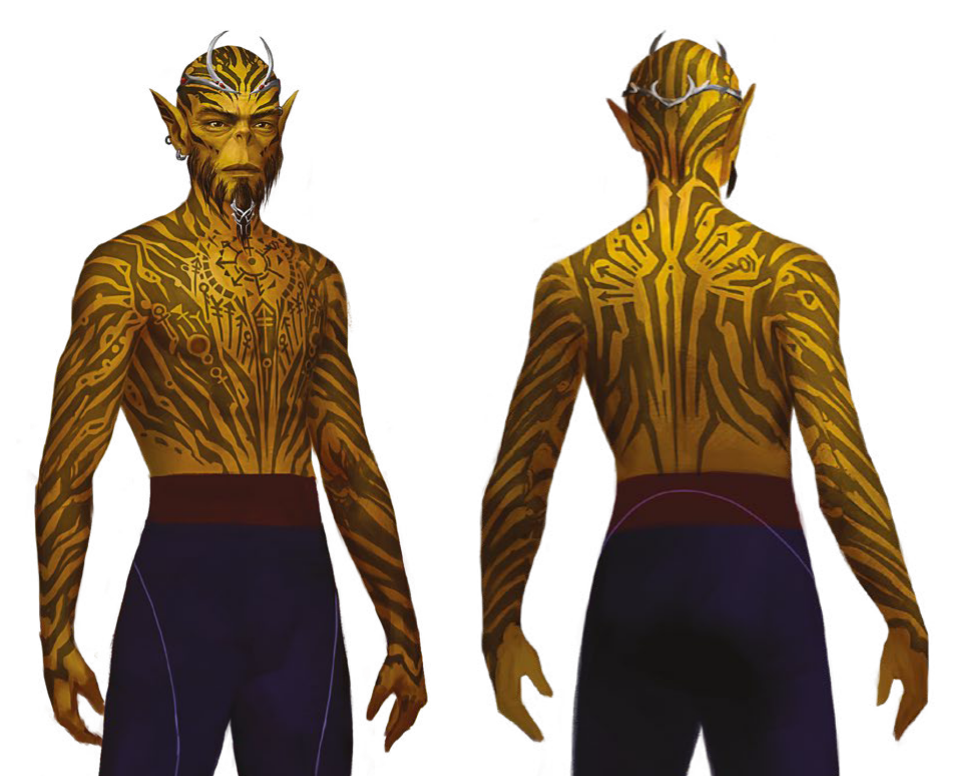
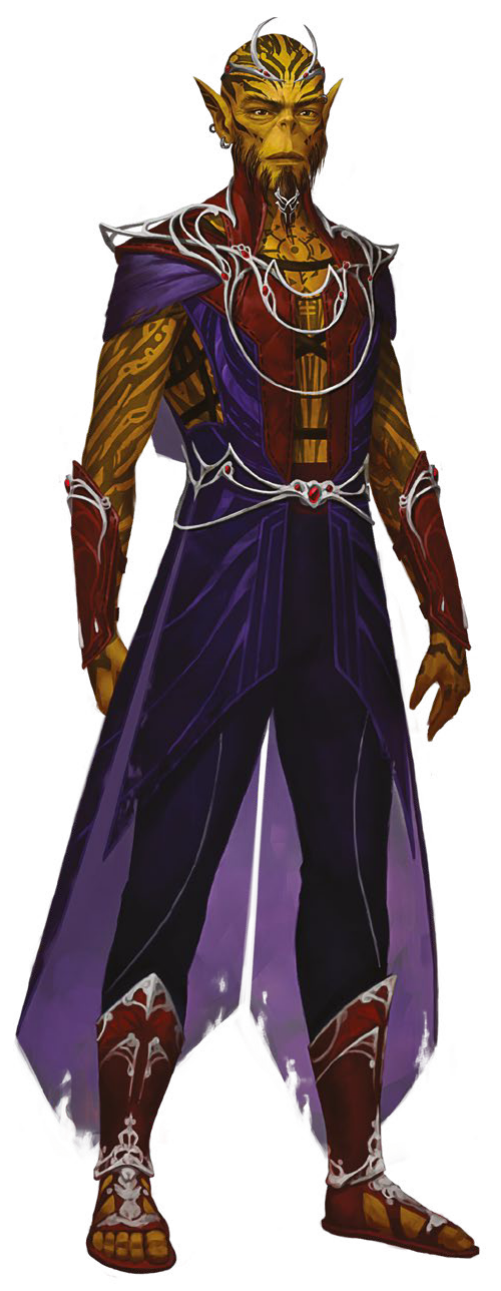
Concept art
-
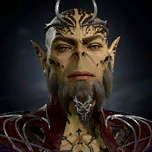
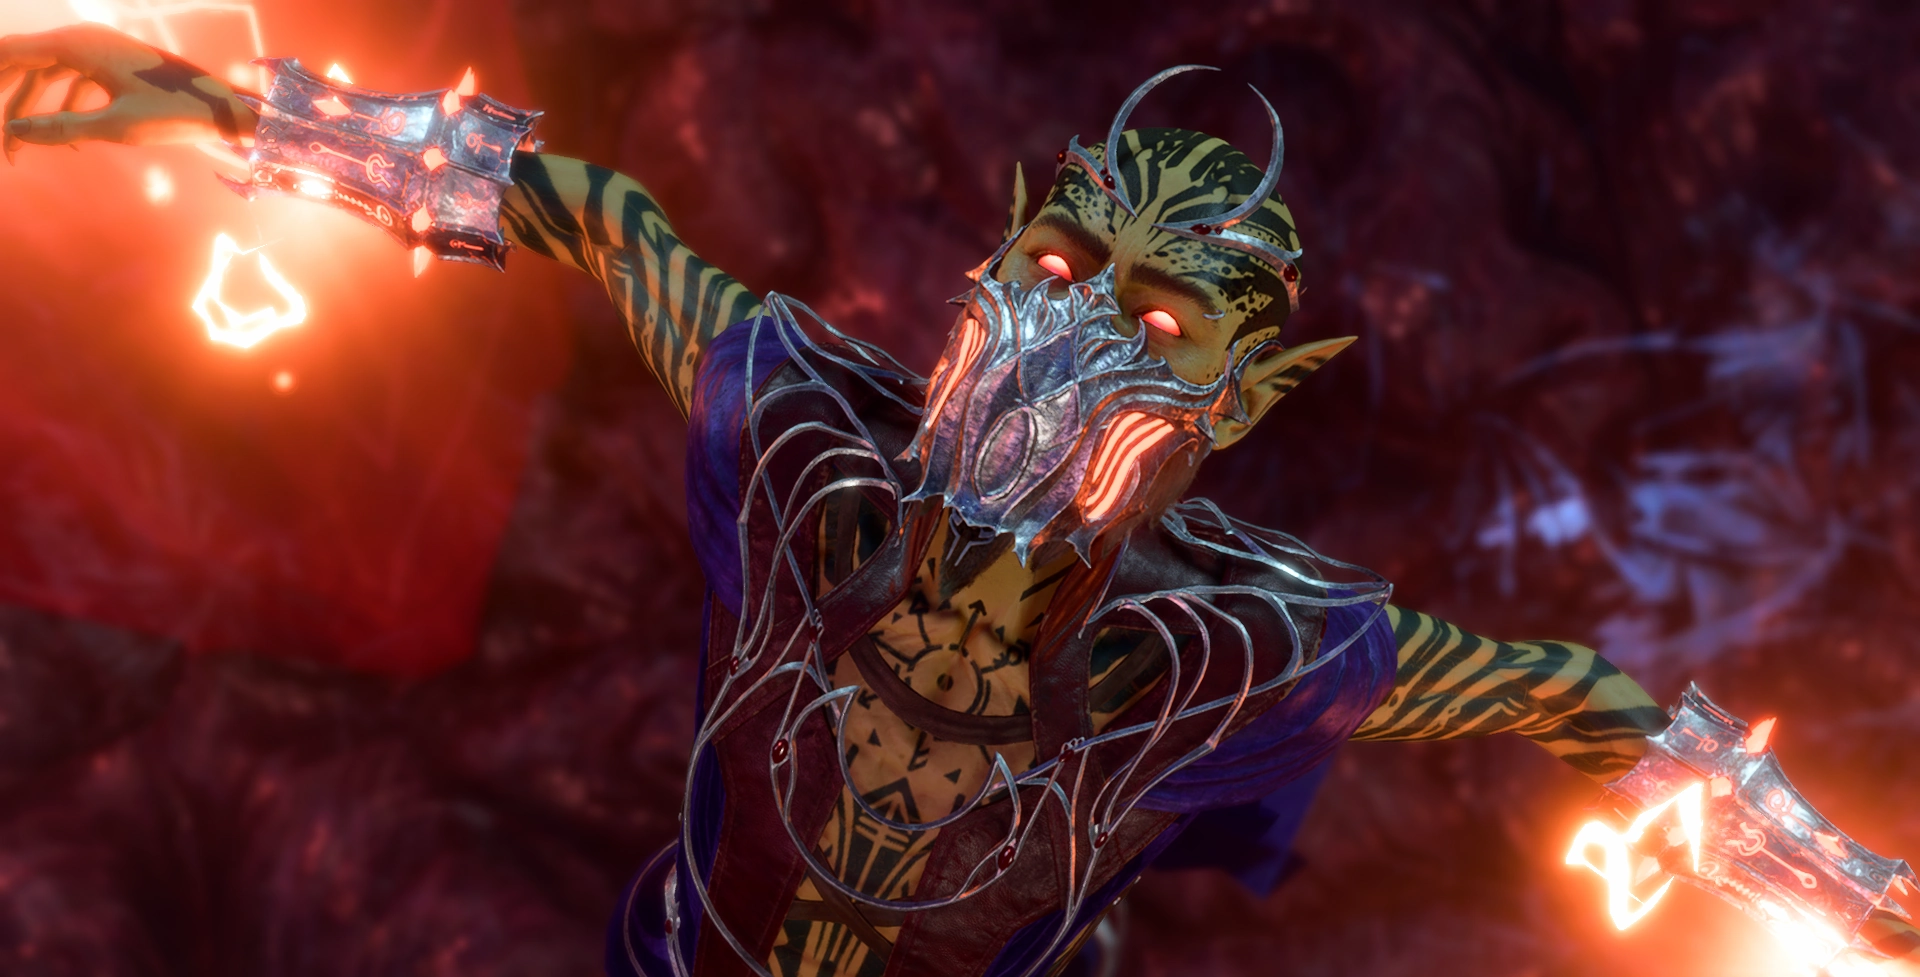
Orpheus, chained in the Astral Prism
-
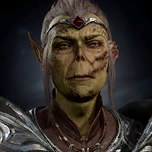
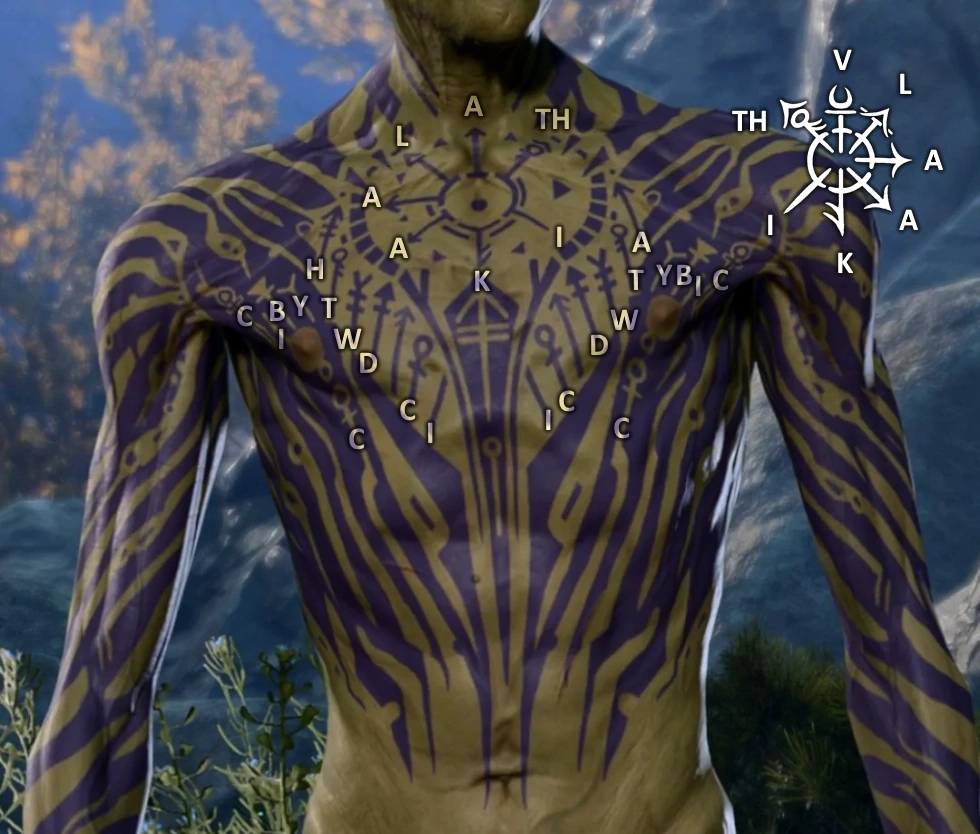
Tattoo in-game[4]
-
Concept art


![Orpheus' Tattoo in tir'su[3]](/wiki/File:Oprheus_Tattoo.png)
![Tattoo in-game[4]](/wiki/File:Orpheus_Tattoo.webp)

Notes[edit section | visual editor]
- ↑

- ↑
 – Praetorian
- ↑ The writing is mostly nonsense and a word resembling Vlaakith – misspelt as "Alaakith" – written with mirrored characters which is not documented as a practice of Githyanki or Githzerai tir'su. It is also worth noting that his tattoos are read counterclockwise, as Githzerai tir'su is, despite his parentage (though given his age, it is possible that such differences did not exist in his youth). It is not known whether these tattoos were intended as acts of spite towards Vlaakith by Orpheus or were an oversight in development.
- ↑ Datamined by Chubblot
- ↑ Orpheus is also the name of
 in Greek mythology who traveled with Jason and the Argonauts in pursuit of the Golden Fleece, but is primarily famous for his journey to the Underworld to save his love Eurydice.
External links[edit section | visual editor]
![]()