Ad placeholder
Ravaged Beach

| Wilderness | ||||
| Emerald Grove | ||||
| ↑ | ||||
| Ravaged Beach | → | Dank Crypt | ||

Overview[edit section | visual editor]

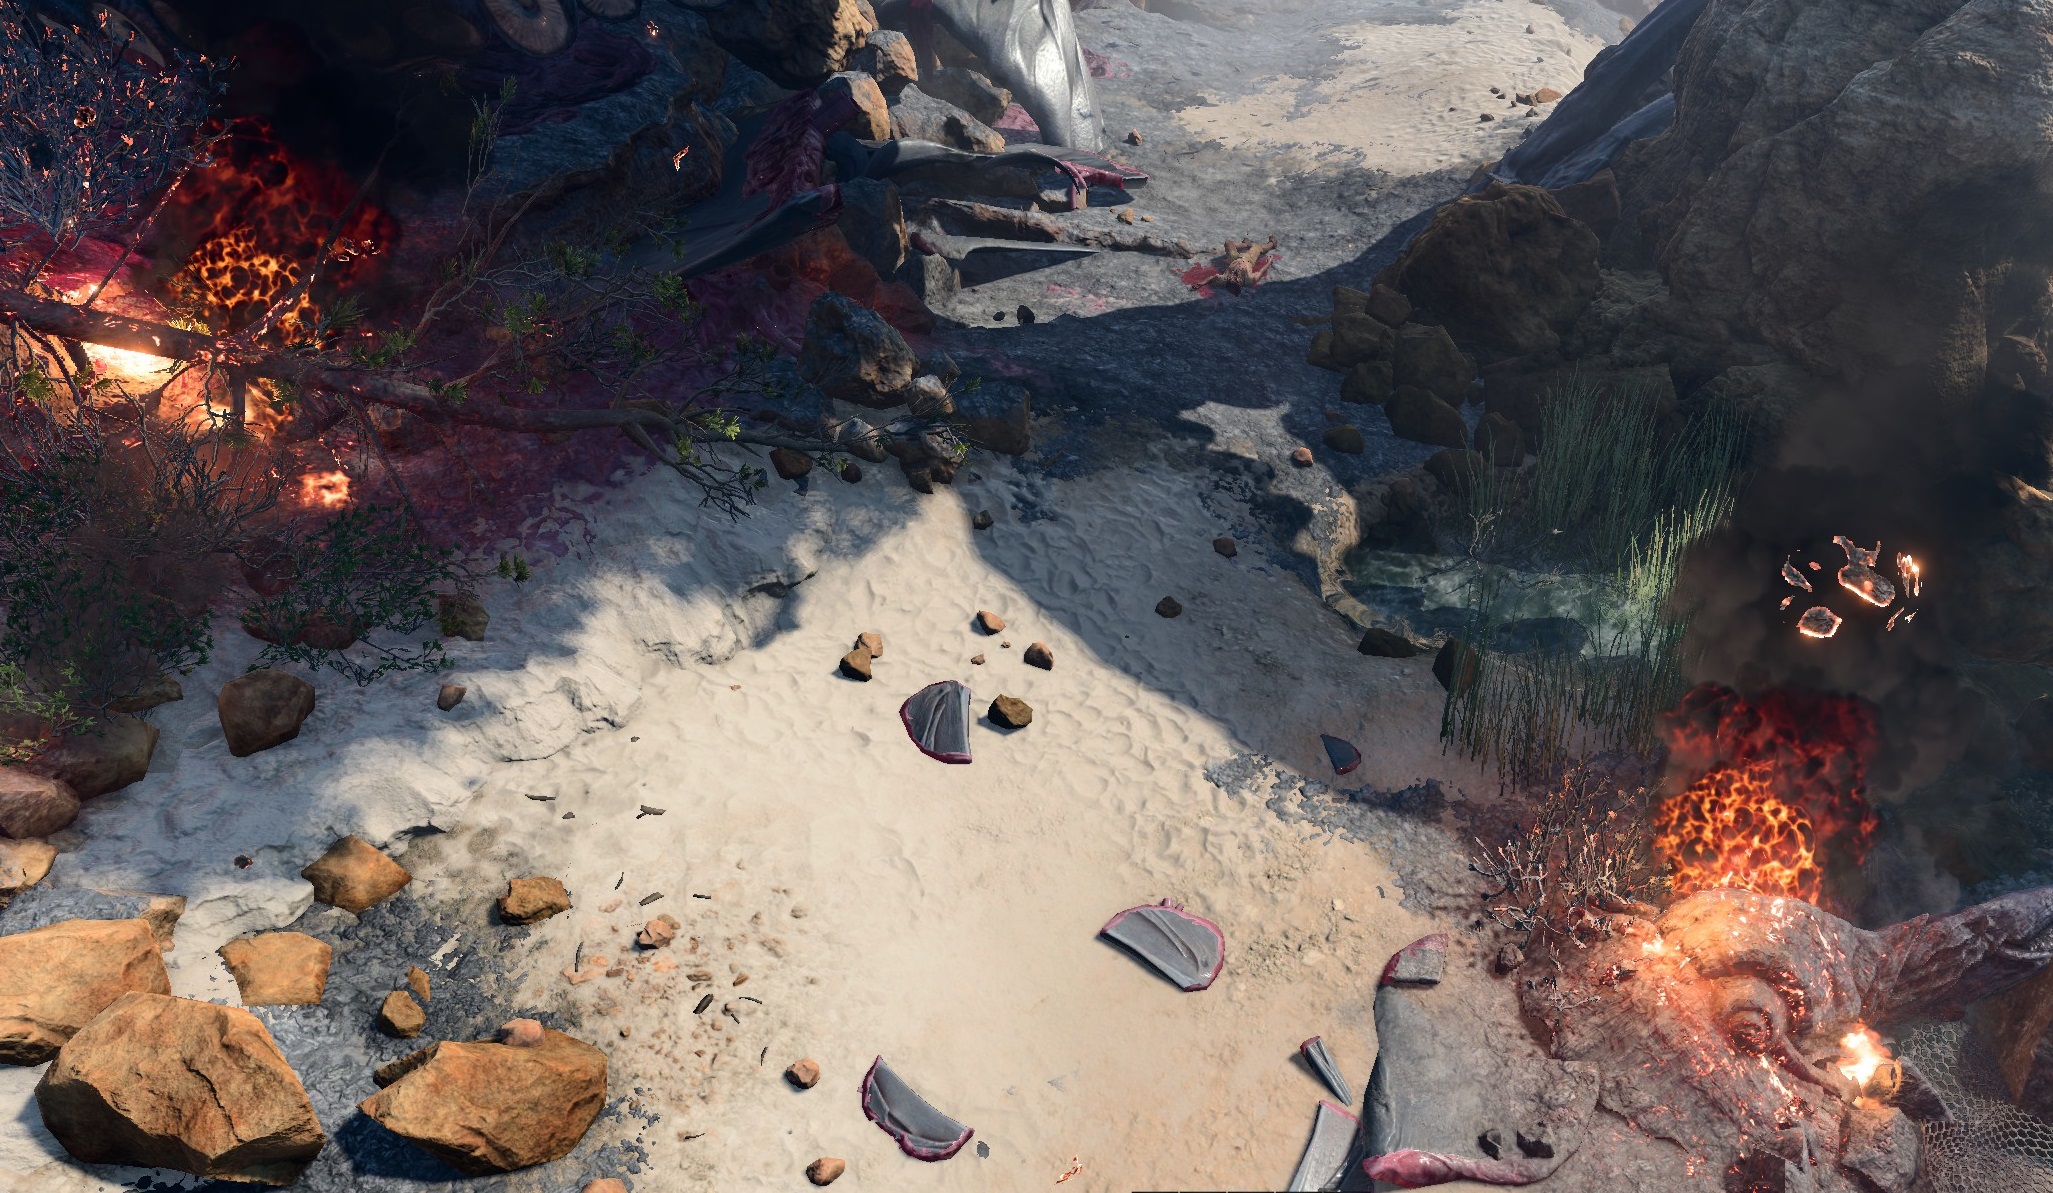
The Ravaged Beach is the starting point of Act One, where the player character wakes up after the Nautiloid crashes down. It is located on the bank of the River Chionthar; the area is dominated by bulky wreckage from the crash. The crashed ship is stretched from northwest to northeast; its giant tentacles are still pulsing, and the sand and rocks around littered with tissue splashes and hull shards.


Southern and eastern beach[edit section | visual editor]
The player character begins Act One on the beach, on a bank of a wide river, approximately at X: 262 Y: 208.[1]
If ![]()
![]()
Mangled corpses, among them 


A locked ancient door leads into the Dank Crypt, which can be accessed by passing a 
![]()
If
On a stone arch overlooking the ancient door is a cartilaginous chest at X: 272 Y: 277. The chest can be accessed by jumping down from the cliffs near X: 255 Y: 300 or by climbing up at X: 260 Y: 285. It contains a ![]()
![]()
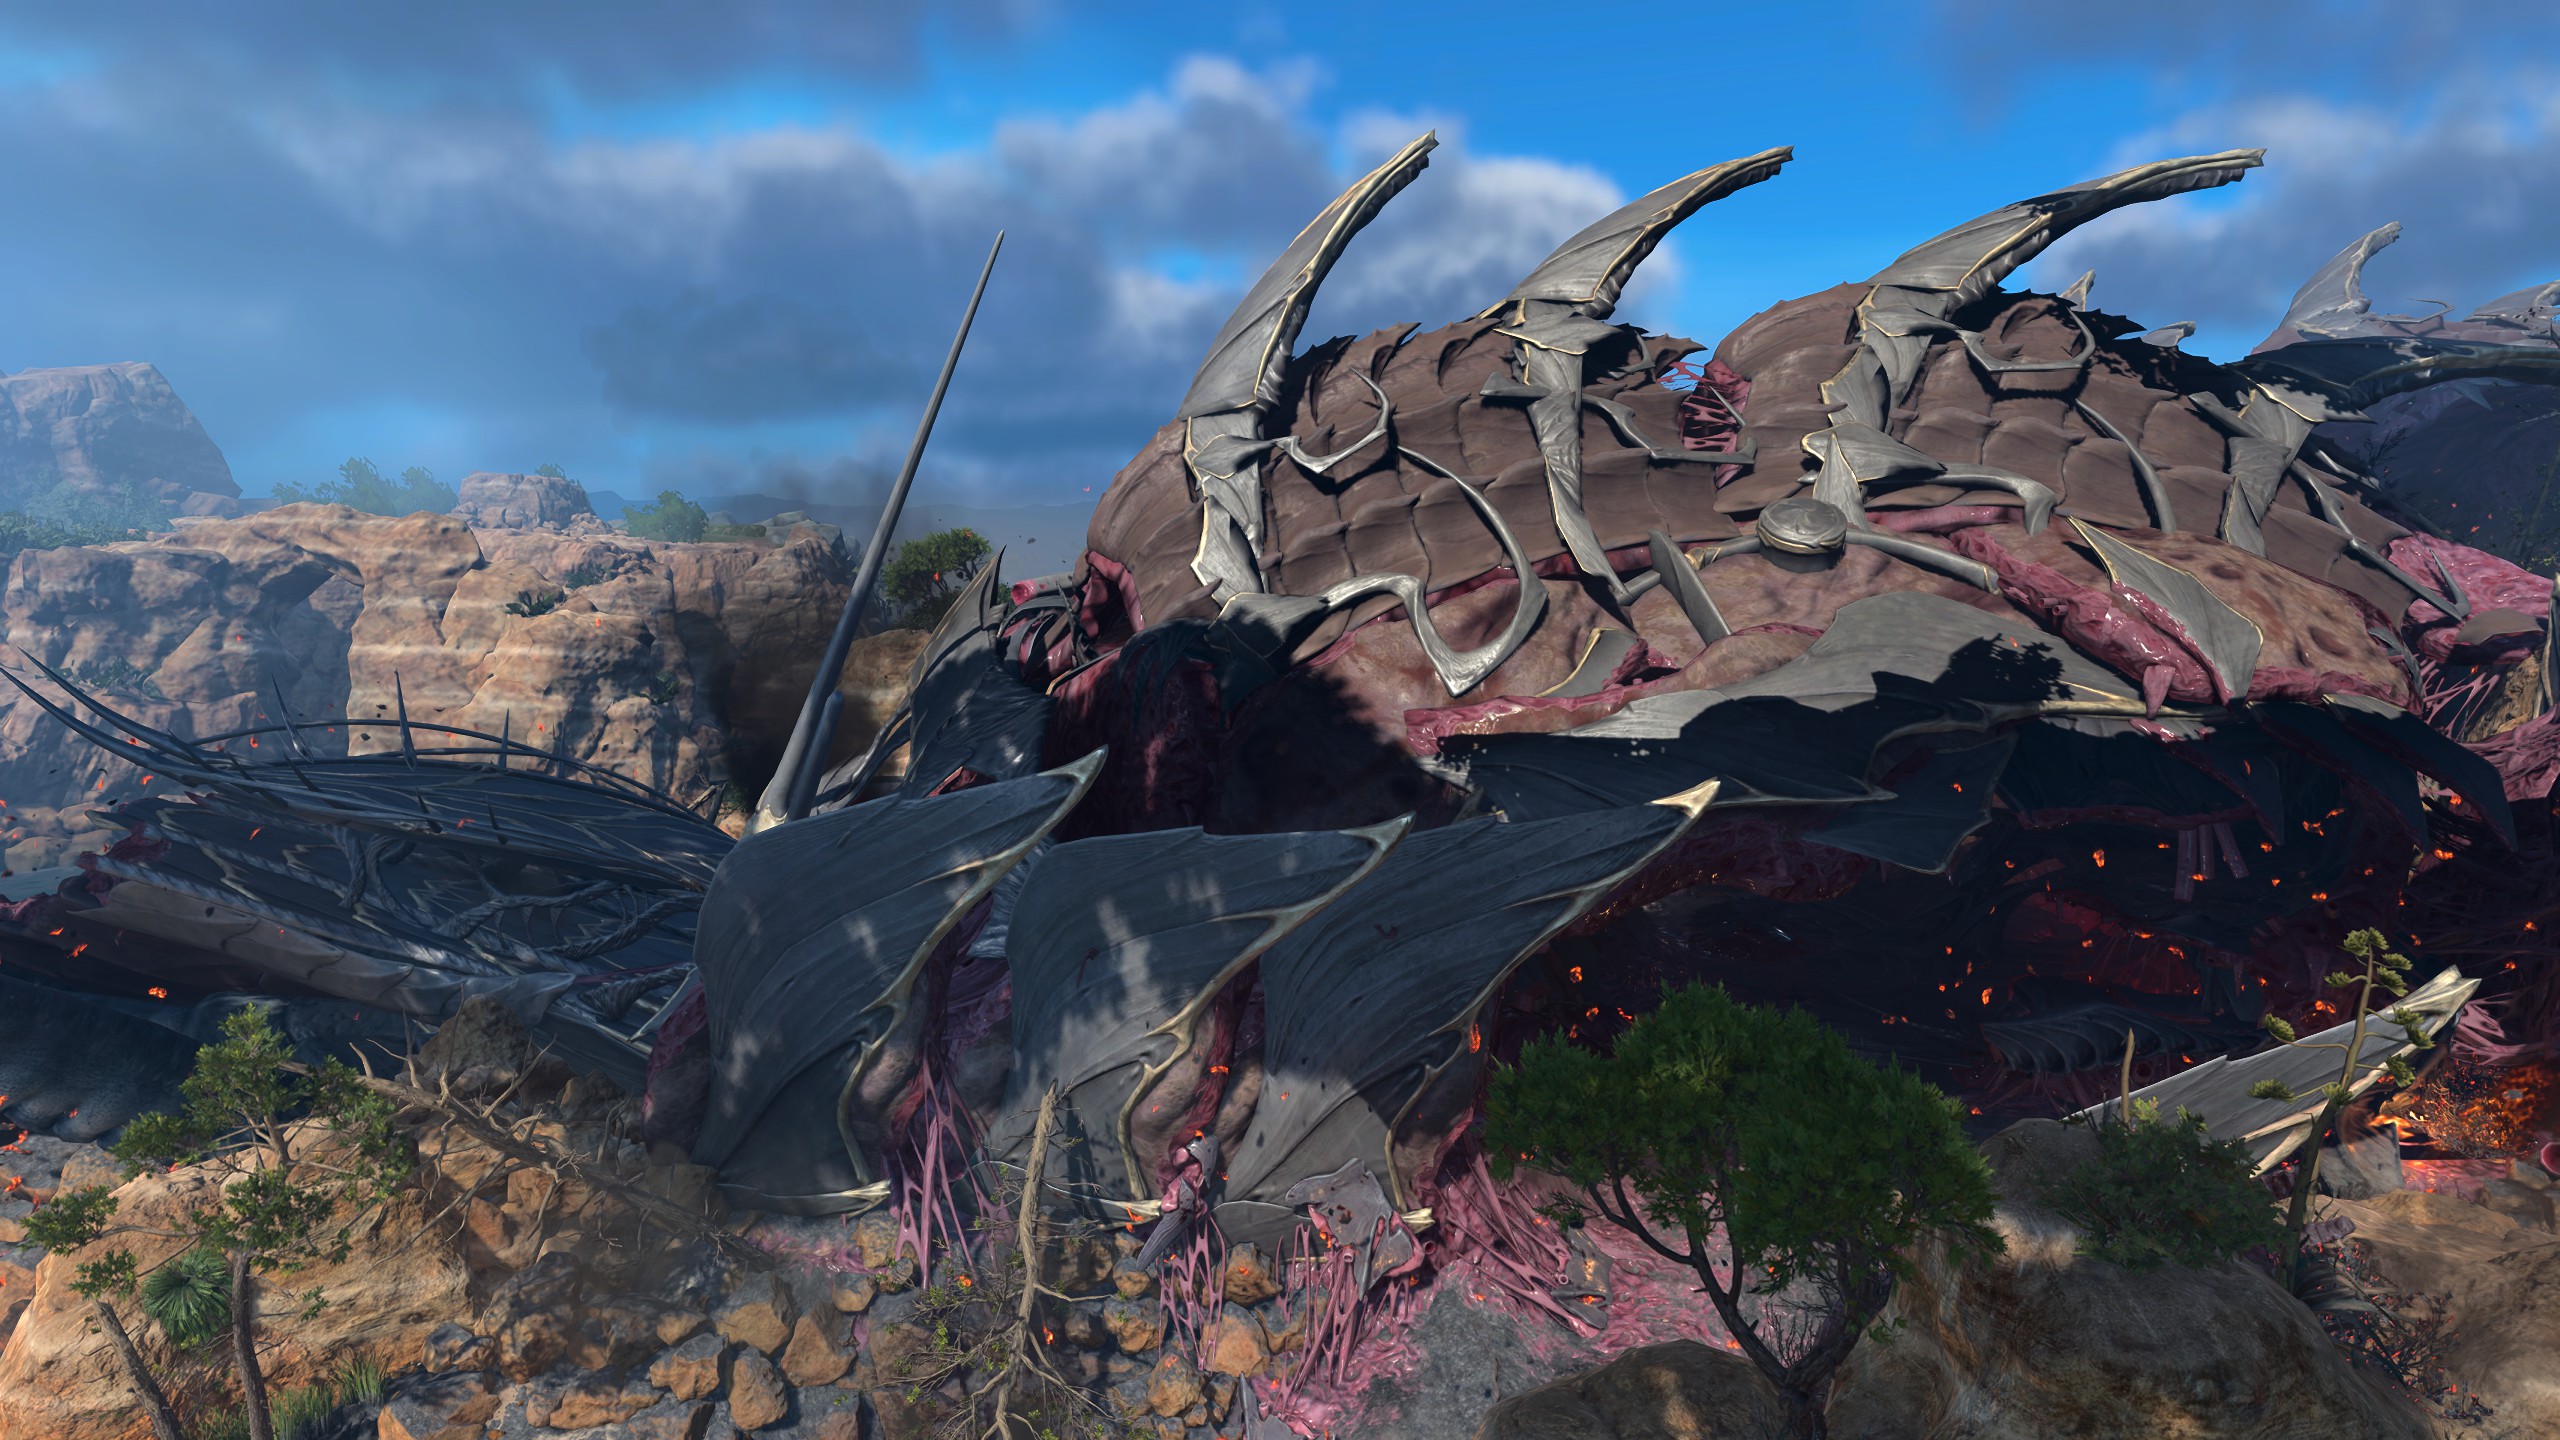
Nautiloid Wreck[edit section | visual editor]

The Nautiloid Wreck is the result of the Nautiloid crashing into Faerûn upon completion of the prologue. It is one of the first places that can be explored after the player character wakes up on the beach.
The Nautiloid Wreck contains several injured enemies. The southern section is guarded by three
At X: 180 Y: 320 a 
![]()
![]()
After exploring the shipwreck, there are several options to proceed: to the west to another piece of the rivershore, to the east to the Roadside Cliffs area and waypoint, and to the northeast, near the Emerald Grove environs.
Western Beach[edit section | visual editor]
The Western Beach is higher and much more rocky than the southern, though it has a path leading to the wooden dock. One of the crates near the dock contains a set of ![]()
![]()
Upon venturing up the slope from the dock, the party can hear ![]()
After speaking with Astarion (regardless of the result), the party can interact with a nearby 
Under the high side of the beach, is a hidden Harper cache. The cache can be retrieved by jumping down the ledges near the water at X: 168 Y: 263. Passing a ![]()
![]()
![]()
![]()
Roadside Cliffs[edit section | visual editor]
The Roadside Cliffs sprawl to the north of the Nautiloid Wreck and to the south of the Emerald Grove. This area is littered with broken goblin traps, suggesting the presence of a nearby camp. Also, three goblin corpses lie near the breach of the Nautiloid hull at X: 205 Y: 330; if Shadowheart is recruited, she suggests looting them for anything useful.
The waypoint sigil at X: 222 Y: 326 initially looks unstable, on which any party member comments. Interacting with the waypoint reveals ![]()
The 
![]()
![]()
![]()
Once Gale's fate is resolved in whatever way, the Ancient sigil stabilizes and becomes a regular waypoint which can be used to navigate the region.
East of the waypoint and then north are two 


![]()
Choosing an "Attack" option in the dialogue with the tieflings after the player character convinces them to free Lae'zel earns the ![]()
![]()
![]()
If Lae'zel dies while escaping the Nautiloid, Damays and Nymessa do not appear at the encounter point.
The path where the encounter with the tiefling occurs stretches along the nautiloid wreckage, leading to the Overgrown Ruins to the South and to the Emerald Grove environs to the North.
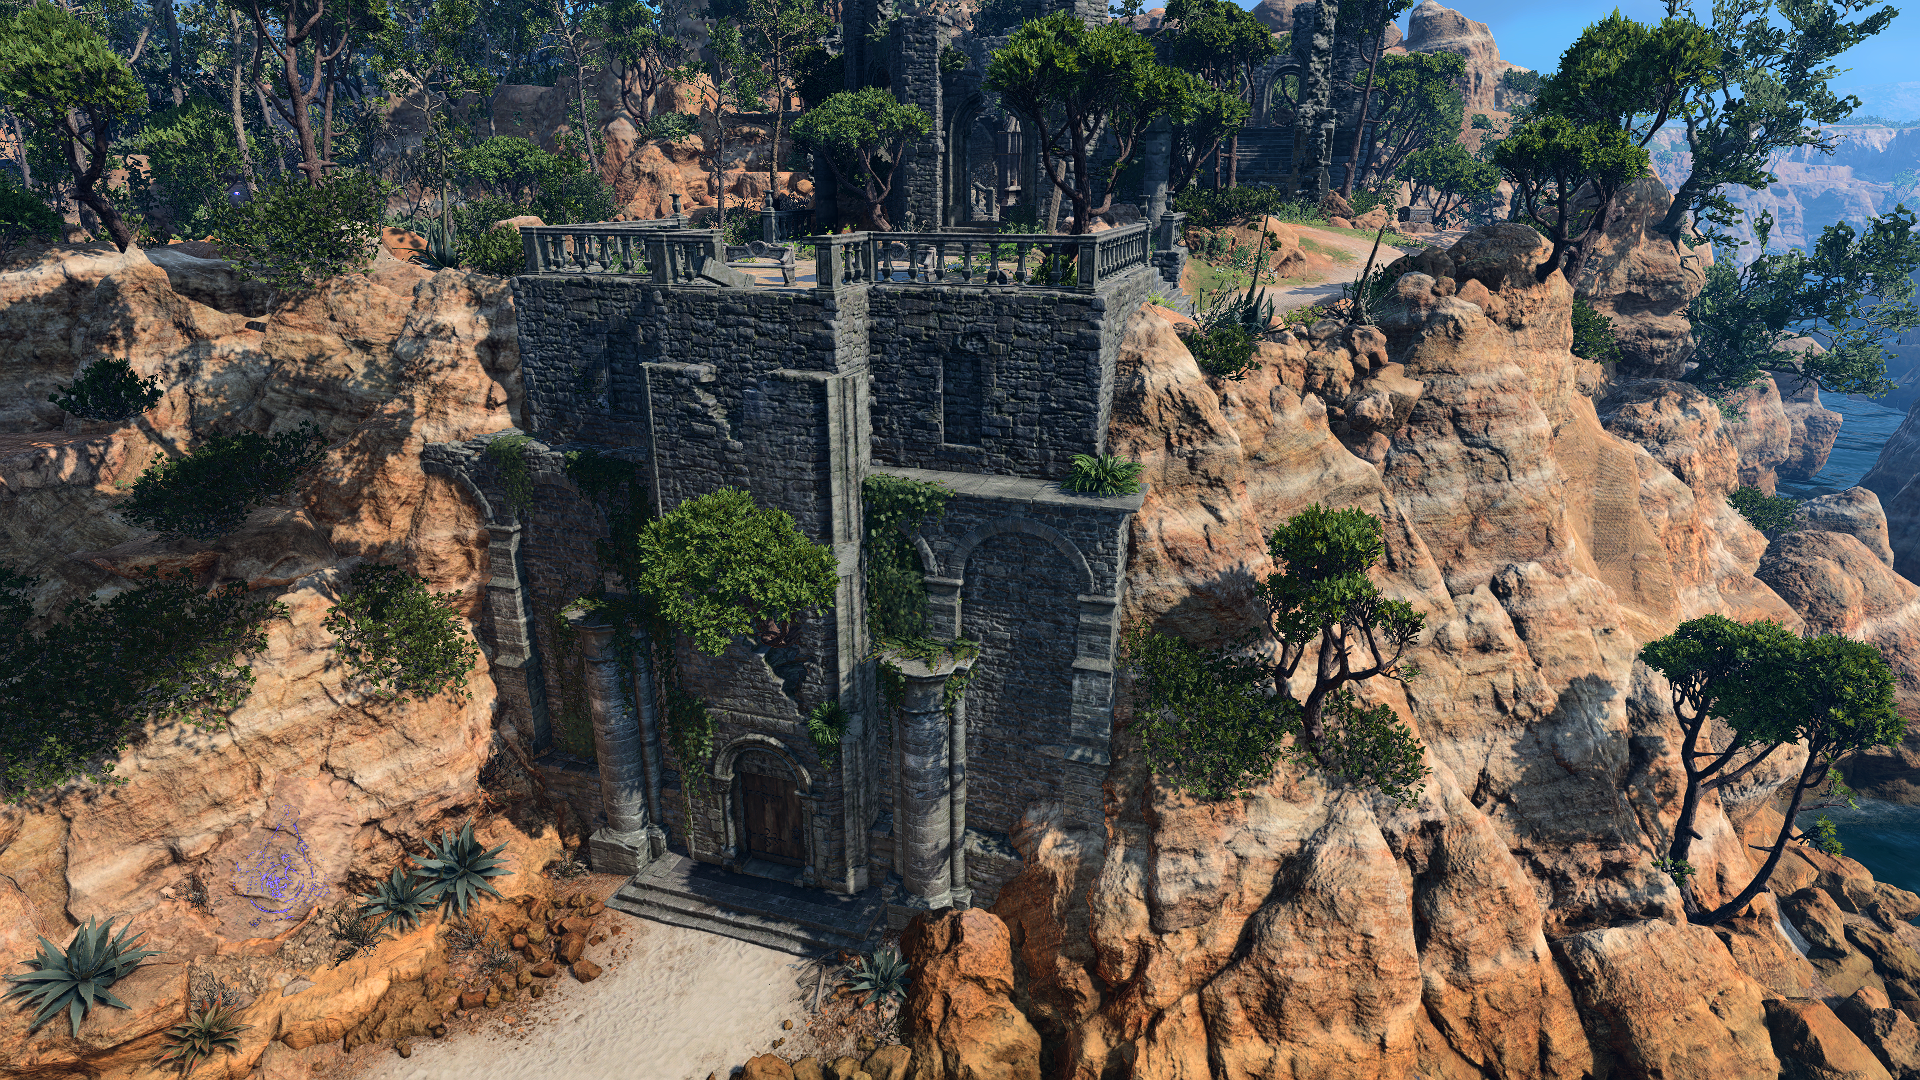
Overgrown Ruins[edit section | visual editor]

The Overgrown Ruins is an ancient crumbling temple-like building in the south-eastern section of the region, to various entrances of which eventually come all paths of the Roadside Cliffs and the southern part of the River Chionthar beach.
The ancient door at X: 285 Y: 305 is locked and requires
Paths crossing the Roadside Cliffs lead to another part of the ruins, the Chapel Entrance. A gang of looters led by 
![]()
Two buried chests can be found around the Chapel Entrance at X: 289 Y: 310 and X: 303 Y: 337. It is possible to dig up and loot both without drawing the looters' attention.
Emerald Grove environs[edit section | visual editor]
When the party approach the Emerald Grove, 


![]()
![]()
A buried chest can be found at X: 202 Y: 386, along with a shovel which can be used to unearth hidden loot.
Harper outpost[edit section | visual editor]
A Harper outpost is located at the westmost part of the Roadside Cliffs, near the path that leads from the Emerald Grove entrance to the Forest. To reach it, the party must jump on a steep rock, climb up the cragged rock, and then a wooden ladder. The outpost features a campfire, a wooden watchtower and several wooden barrels. A heavy chest under the watchtower, which is marked as a stash after reading the ![]()
![]()
The Harper outpost is one of the possible locations where 
A small spider-filled crevice is at X: 160 Y: 373, requiring a
Initial options:
- Watch the spiders, and remain ready to strike.
- Attune yourself to the spiders' natural rhythm.
- Survey the spiders. (DC 10)
On attempting to calm the spiders:
- Speak softly to the spiders in hopes of calming them. (DC 15)
- Speak softly to the spiders in hopes of calming them. (DC 10)
- Soothe the spiders with a calming lullaby.
- Dart your hand in, hoping to snatch the bag. (DC 15)
- Dart your hand in, hoping to snatch the bag. (DC 15)
If the first attempt to grab the pouch fails, the interacting party member in question is bitten by spiders, receiving 1d4-1![]()
![]()
![]()
If bitten, the party member can try again:
- Speak softly to the spiders in hopes of calming them.
- Speak softly to the spiders in hopes of calming them. (DC 15)
- Dart your hand in once more, hoping to snatch the bag. (DC 10)
- Dart your hand in once more, hoping to snatch the bag. (DC 15)
The pouch contains ![]()

Securing the pouch earns the ![]()
![]()
Waypoints[edit section | visual editor]
This location contains the following Waypoints:
Related locations[edit section | visual editor]
Related quests[edit section | visual editor]
Characters[edit section | visual editor]
Available to Speak with Dead[edit section | visual editor]


Loot[edit section | visual editor]


- Random loot from a cartilaginous chest X: 234 Y: 261
- Random loot from dead mind flayers X: 180 Y: 320/X: 210 Y: 300/X: 215 Y: 275/X: 230 Y: 260
Hidden Treasure[edit section | visual editor]
- Buried chest at X: 202 Y: 386
- Buried chest at X: 289 Y: 310
- Buried chest at X: 303 Y: 337
Alchemical ingredients[edit section | visual editor]
Ravaged Beach allows the player character to gather several common alchemical ingredients that allow to uncover a small set of the easiest recipes:


Literature[edit section | visual editor]


Notes and references[edit section | visual editor]
- ↑ Of all possible origins only

- ↑ If Shadowheart is not saved on the Nautiloid or is chosen as Origin, then there are only two of them.
- ↑ By default, the dialogue starts with the party leader. If they fail the rolls, any other member of the party may try in turn, too.[verify]
- ↑ In this case,

- ↑ 5.0 5.1 5.2 Dialogue file: Act1/Chapel/CHA_Outpost_Crevice