Ad placeholder
Overgrown Ruins

| Wilderness | ||||
| Emerald Grove | ||||
| ↑ | ||||
| Roadside Cliffs | ← | Overgrown Ruins | → | River Chionthar |
| ↓ | ||||
| Ravaged Beach | ||||

Overview[edit section | visual editor]
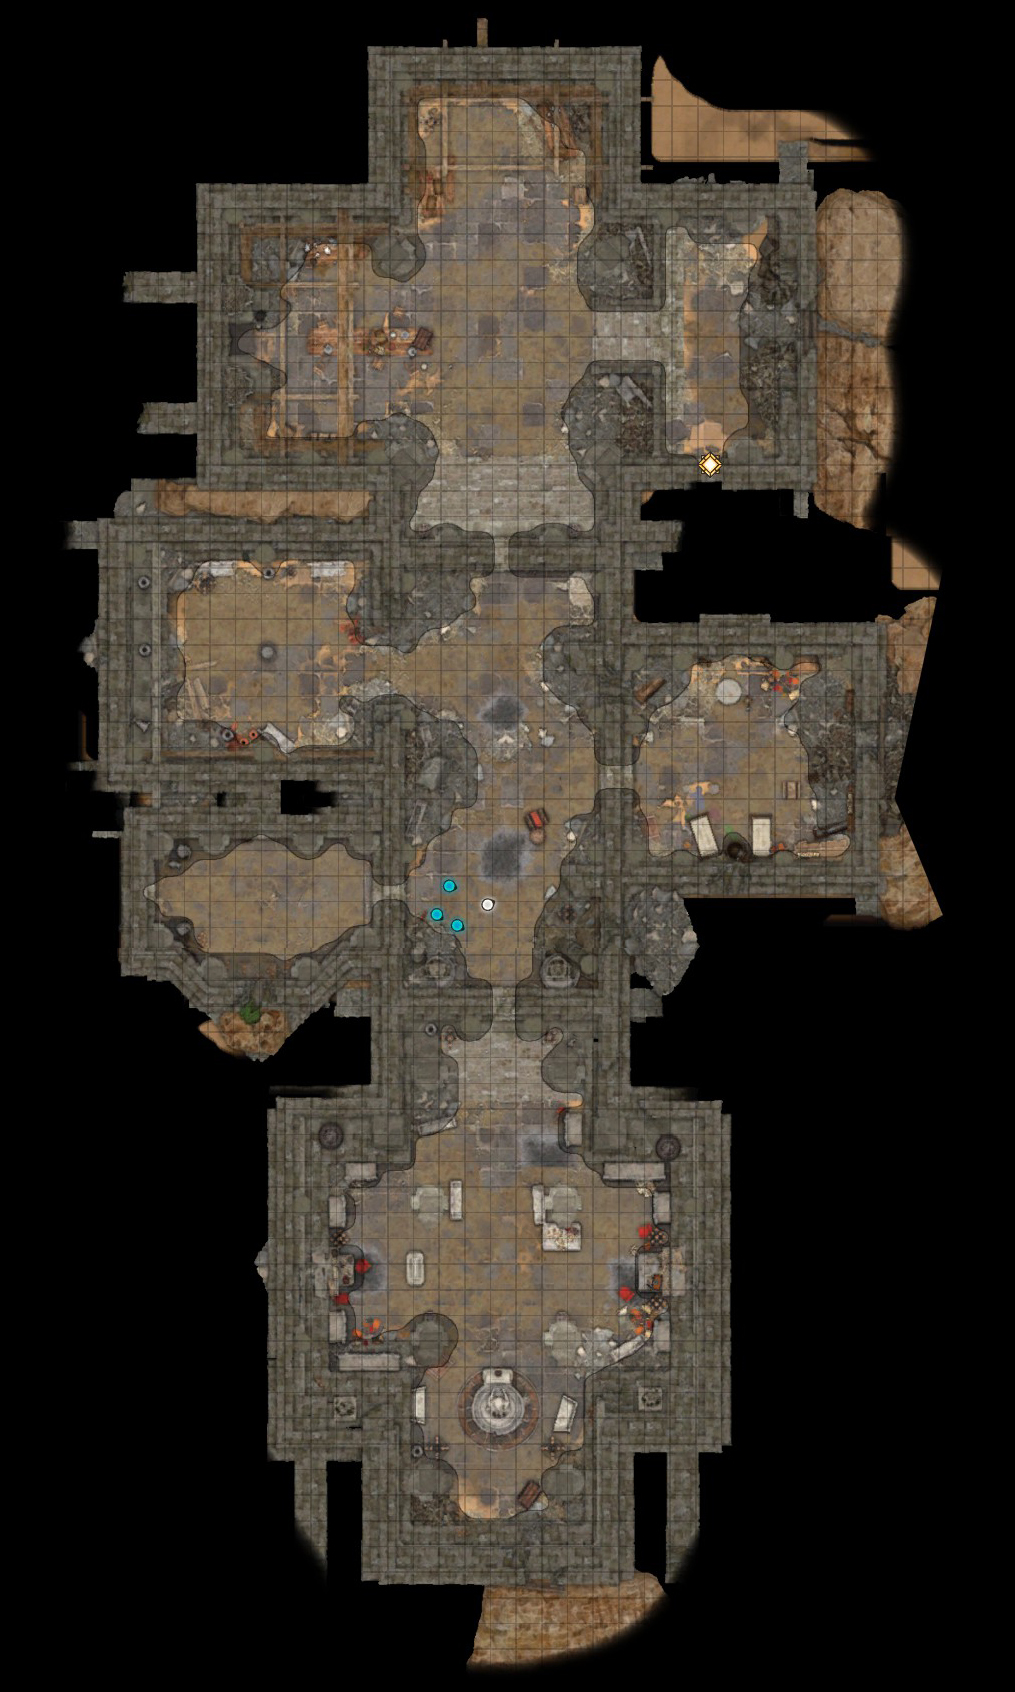
The ruins consist of the exterior Chapel Entrance and the interior Refectory and Dank Crypt.[1]
The outer part of the ruins is accessible only from the Roadside Cliffs. The inner part, however, has a direct exit to the Ravaged Beach.
Entering this area grants the party 10 XP at level 2, 30 XP at level 3, and 40 XP at level 4.
Access to the inner parts[edit section | visual editor]
Four entrances lead into the ruins:
- Ancient door at X: 285 Y: 305 on the Ravaged Beach requires

- The door down the stairs in the Chapel Entrance at X: 285 Y: 375:

- The locked hatch at X: 318 Y: 364 requires
- Lastly, at X: 285 Y: 350 an additional entrance can be created by destroying the rope holding up a massive block
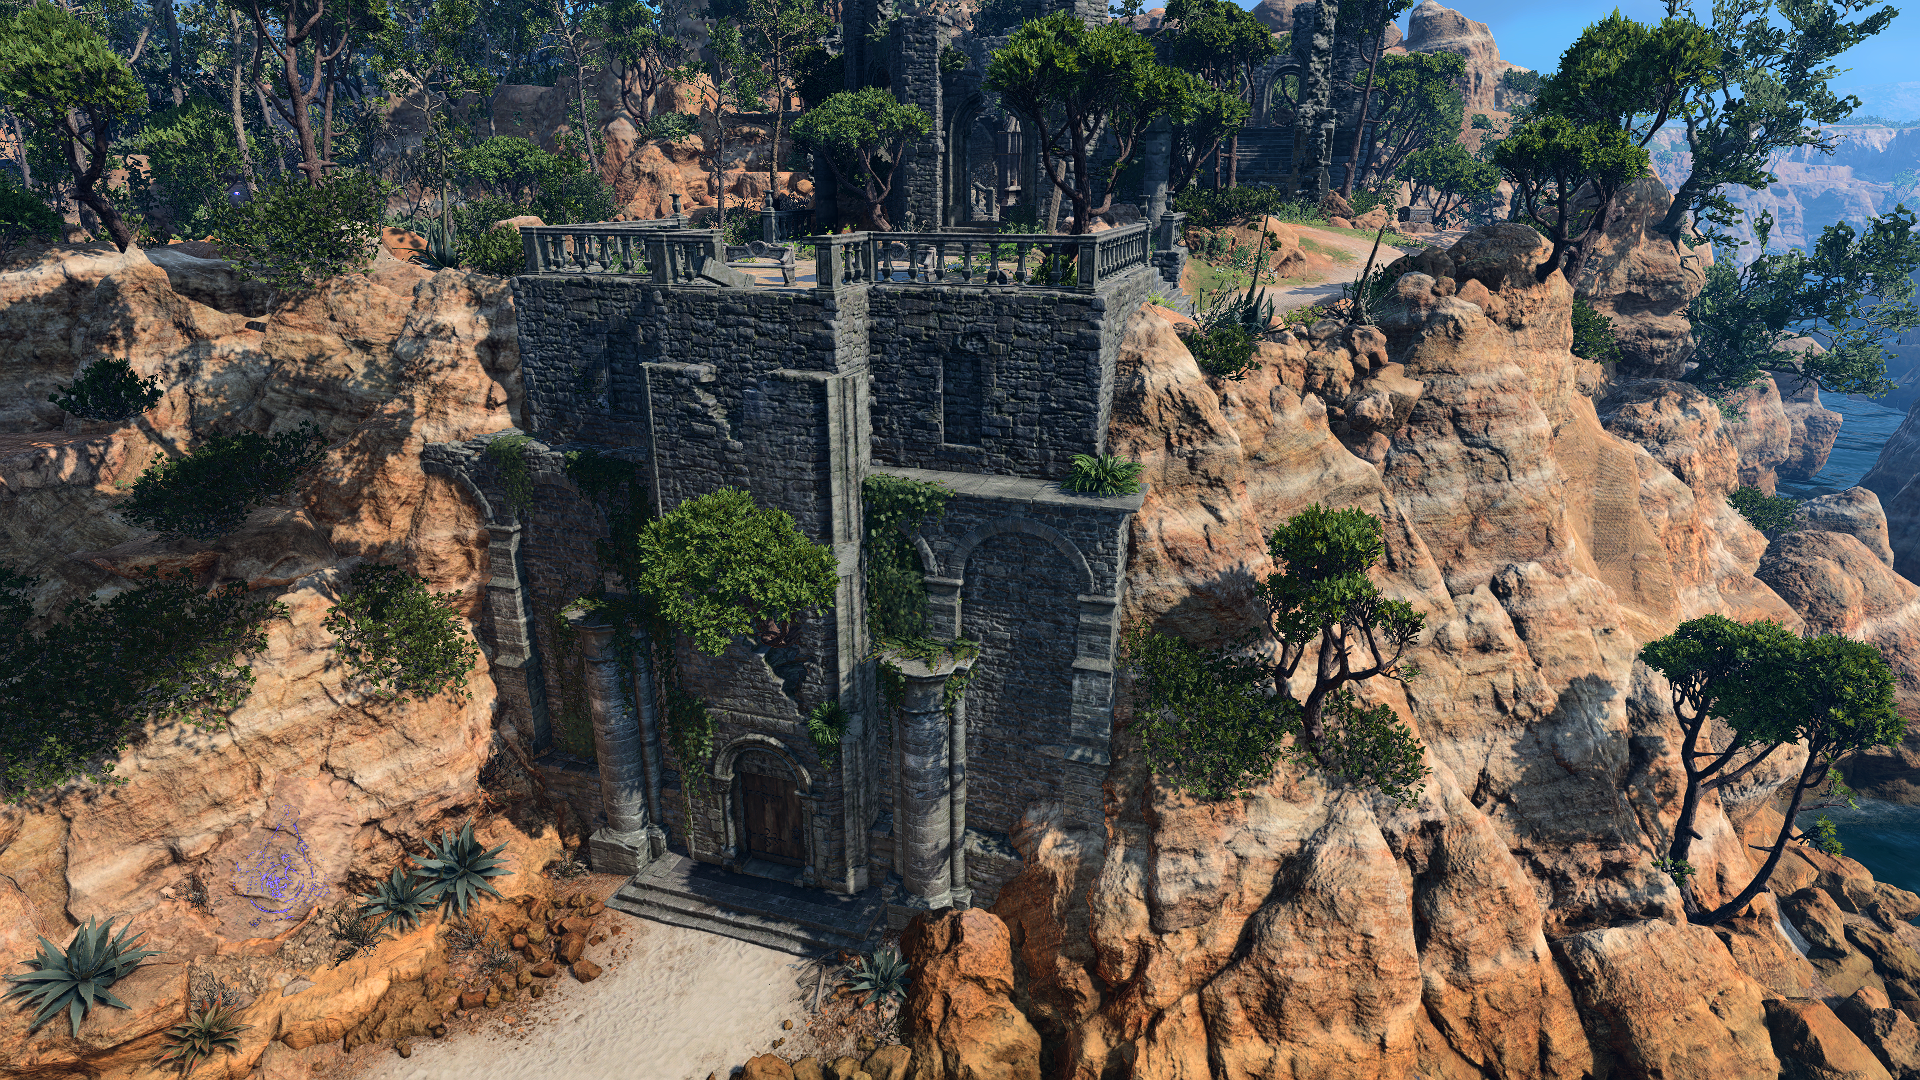
Chapel Entrance[edit section | visual editor]

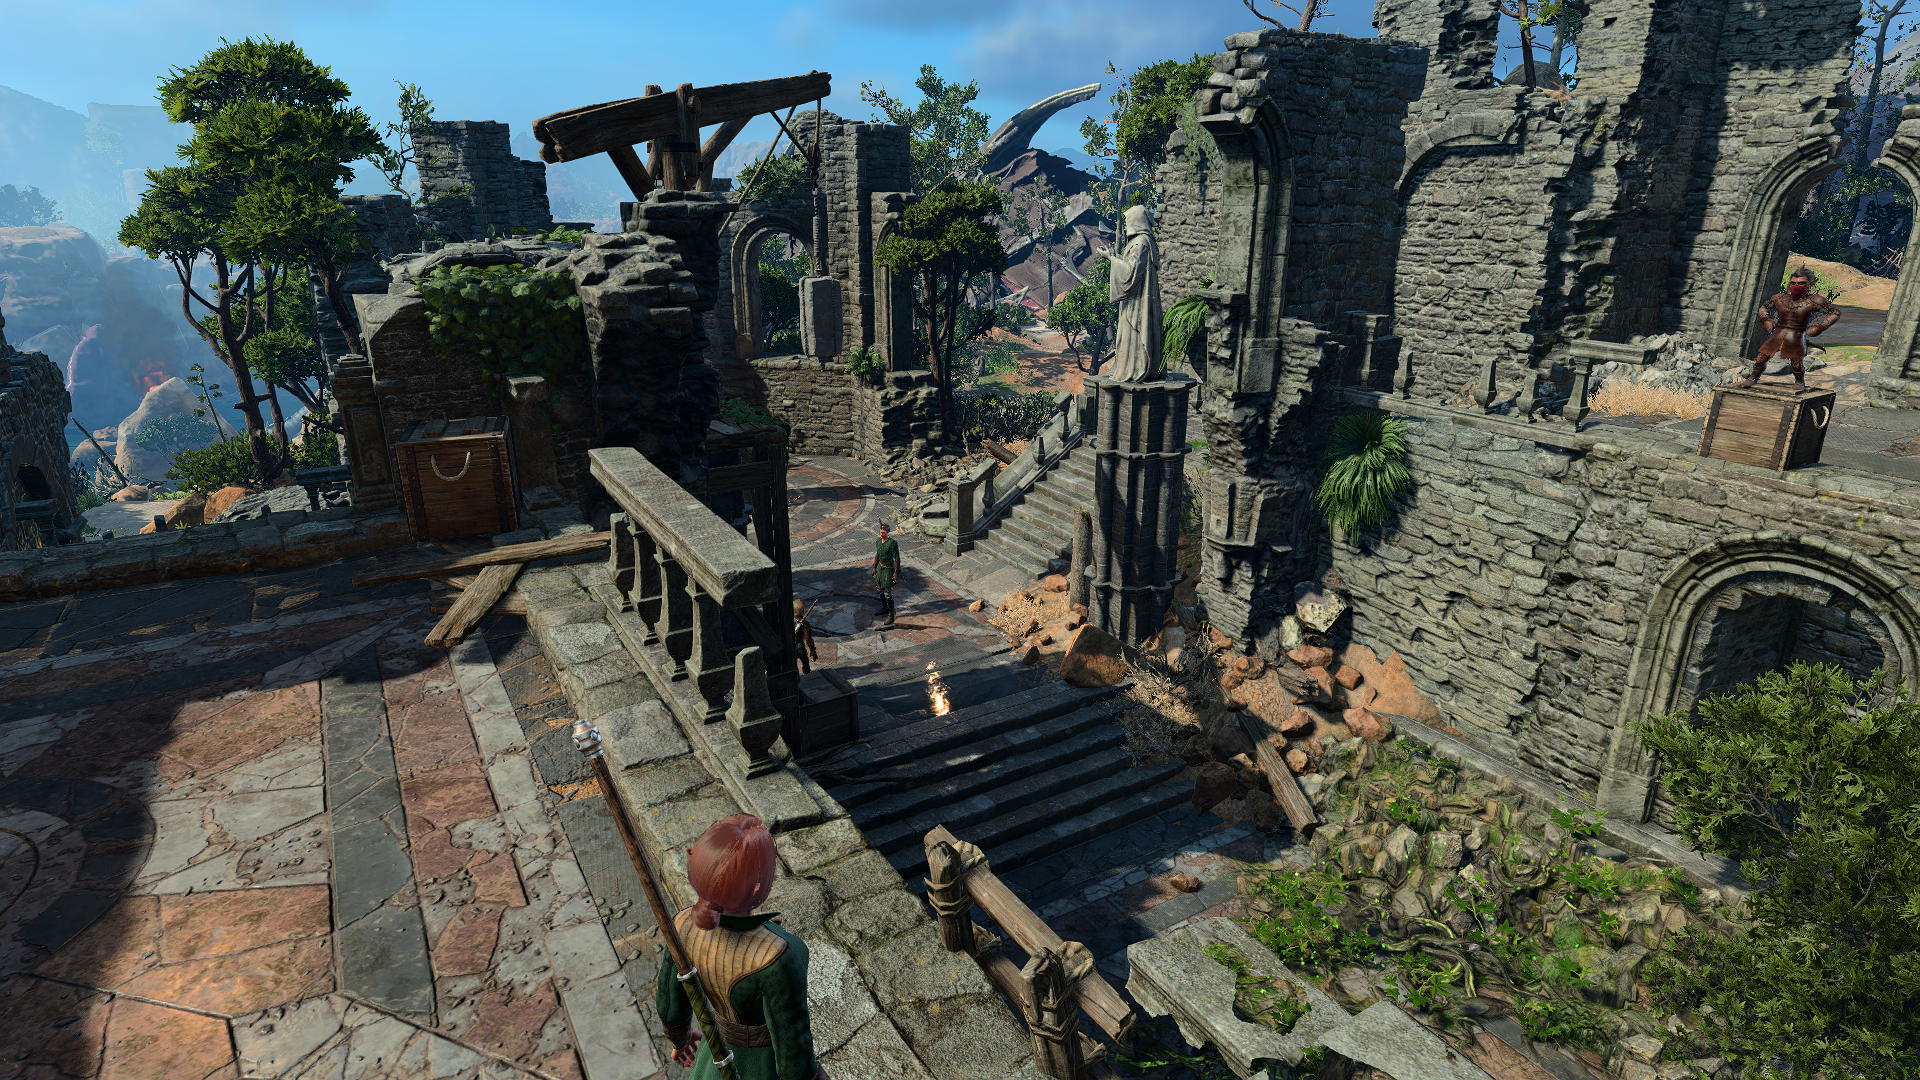
The Chapel Entrance spans the upper section of the Overgrown Ruins. It encompasses a series of open marble-paved grounds with a defaced statue in the middle, and stairs leading down to the Refectory, hemmed in between two crumbling trancepts, with open ground on the top of each side. Patches of ![]()
![]()
![]()
The western upper ground of the Chapel Entrance has open archways, leading to the Roadside Cliffs, approximately to the point where 
A heavy marble block is suspended from a crane and hangs over the central lower grounds, ready to breach the area below if it falls. Snapping the rope with a ranged attack causes the block to fall, dealing 50![]()
As the party approach the ruins, they encounter a gang of looters pillaging the abandoned building. Four bandits, their leader 


![]()
It is possible to walk around the outside gang stealthily and reach the path that runs behind the ruins and down the cragged rock.
Inside the ruins[edit section | visual editor]

Inside, the ruins consist of the Refectory and the Dank Crypt. The door between them is locked and cannot be lockpicked. However, it can be destroyed or unlocked by activating the switch at X: -174 Y: -362 hidden behind a 
Refectory[edit section | visual editor]
The Refectory (despite the name) consists of several rooms: not only the mess hall, but also a bedroom, a library, and a third room of unknown purpose, with a small antechamber between the last three. The door from the Chapel Entrance leads into the mess hall. Other rooms are divided from it with a locked door, which can be opened via a lever next to it. Another locked door at X: -178 Y: -322, which cannot be lockpicked, leads from the antechamber to the Dank Crypt.
A pack of six bandits are inside the Refectory: the guard 


The party can gain access by lockpicking the door, dropping the marble block down, or speaking with Andorn. Options to convince him are listed on the location page. If the party fail to convince Andorn to open the door peacefully, he plants a trap in the entryway, and all looters inside are readied for combat. Successfully convincing Andorn to let the party in earns the ![]()
![]()
If the party drop the marble block through the floor of the Chapel Entrance, it breaches the vault of the 'bedroom'. In this case, all looters inside (except Andorn) gather to the source of the sound and become hostile to the party on sight. An ![]()
Several Looters' Trunks in the mess hall and in the library contain minor loot, mostly dinnerware. In the mess hall are some Camp Supplies. Bookshelves in the library and in the far corner of the mess hall contain numerous copies of most common books like ![]()
![]()
Dank Crypt[edit section | visual editor]

The Dank Crypt is the remains of an ancient temple, crumbling and overgrown. It is strewn with ancient sarcophagi, as well as still working traps and undead guardians.
This area has several rooms. An antechamber connecting two main halls leads to the short corridor opening into the Refectory. One of the rooms has a direct, yet locked, exit to the Ravaged Beach.
Two opulent chests and one gilded chest hiding in shadows near the walls in the antechamber contain random minor loot, possibly including one or more ![]()
Trapped sarcophagus[edit section | visual editor]
The southern room containing several sarcophagi at X: -293 Y: -325 is heavily trapped. Numerous Vents spill ![]()
However, the whole trap system is triggered only by opening the sarcophagus at the centre. Disarming it prevents all other traps from triggering. If the whole trap system is triggered, pressing the button on the middle pillar at X: -288 Y: -327 turns it off, although pressing the button in advance does not prevent the trap system from triggering.
One of the sarcophagi on the western side contains a ![]()
![]()
![]()
Shrine of Jergal[edit section | visual editor]

In the north room, an imposing skeleton statue towers at the centre of an overgrown chamber. Passing a
The eastern wall is collapsed to allow passage to a riverside cave routing back to the Roadside Cliffs, which can be accessed through a hatch at X: -250 Y: -270. To unlock the hatch, the lever next to the ladder must be pulled.
The skeletons of four Entombed Scribes and one Entombed Warrior are strewn around the chamber.
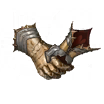
The Entombed Scribe at X: -311 Y: -252 carries a ![]()
![]()
![]()
On a side wall behind the statue, at X: -300 Y: -235 is a button which opens a hidden chamber. Pressing the button also causes the skeletons to rise and attack the party. An effective strategy is to ungroup the party and station three of them next to three of the skeletons before pushing the button, eliminating the need to run or dash to get to melee range.
Two gilded chests in the shrine hall at X: -280 Y: -271 (requires
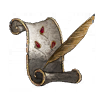
Book of Dead Gods[edit section | visual editor]
In the side room at X: -321 Y: -269 is the ![]()
Interacting with the book triggers a cutscene with several ability checks that allow the interacting party member to open the seal on the book and try to understand its function.
To open the book, one must initially pass a ![]()
![]()
![]()
![]()
![]()
![]()
![]()
After opening the book, the character must pass a


Regardless of whether the character succeeds the religion check, a ![]()
![]()
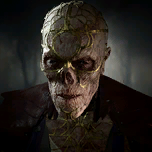
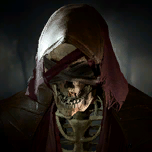
Withers[edit section | visual editor]

Interacting with the sarcophagus in the secret room wakes 
![]()
![]()
After initial dialogue with the player character, Withers starts wandering around the crypt, declining attempts to speak with him in more detail while there. His sarcophagus can be looted for another ![]()
![]()
Related quests[edit section | visual editor]
Characters[edit section | visual editor]
Camp followers[edit section | visual editor]
Looters (Chapel Entrance)[edit section | visual editor]

Looters (Refectory)[edit section | visual editor]


Creatures[edit section | visual editor]


Loot[edit section | visual editor]


Hidden treasures[edit section | visual editor]
- Buried chest at X: 290 Y: 312
- Buried chest at X: 302 Y: 338
Related literature[edit section | visual editor]
This list contains only items that cannot be looted or purchased elsewhere in the walkthrough.


Notes and references[edit section | visual editor]
- ↑ In early access, the Refectory was known as the Bedchamber.
- ↑ However, using

- ↑ Portrait of Fane is only available if the Digital Deluxe Upgrade was purchased.