Ad placeholder
Guildhall

| Undercity | ||||
| Lower City Sewers | ||||
| ↑ | ||||
| Guildhall | ||||

“The Guildhall has one rule: All crime stays in the city streets, where it belongs. Break this rule and you die.„
Overview[edit section | visual editor]
The Guildhall[1] is a separate part of the Lower City Sewers. It is the underground headquarters of 
The Guildhall, however, is not choke-packed with thugs and thieves. It is more a joint management centre for disparate local gangs and solitary dealers, as well as a social space with shady characters and merchants dealing in "pre-owned stuff", illicit goods, services and leisures, and of course trading information.
During the game's events, the Guild (and by extension the Guildhall) is run by the Guildmaster 


Access[edit section | visual editor]

The Guildhall can be accessed either from underground via the Lower City Sewers or above ground through the Guildhall Entrance in the Lower City.
Underground route[edit section | visual editor]
The fastest route is using the manhole at X: 127 Y: -30 in the alley north of the Basilisk Gate Barracks and then smashing through the western wall at X: 38 Y: 784 (
Alternatively, the party can descend into the sewers from the Knights of the Shield Hideout. Behind the door is a room trapped with vents emitting ![]()
Finally, if the party find and unlock the movable wall section leading from the secret hideout of Nine-Fingers' office (see below), they can use it afterwards as another entrance into the Guildhall from the sewers.
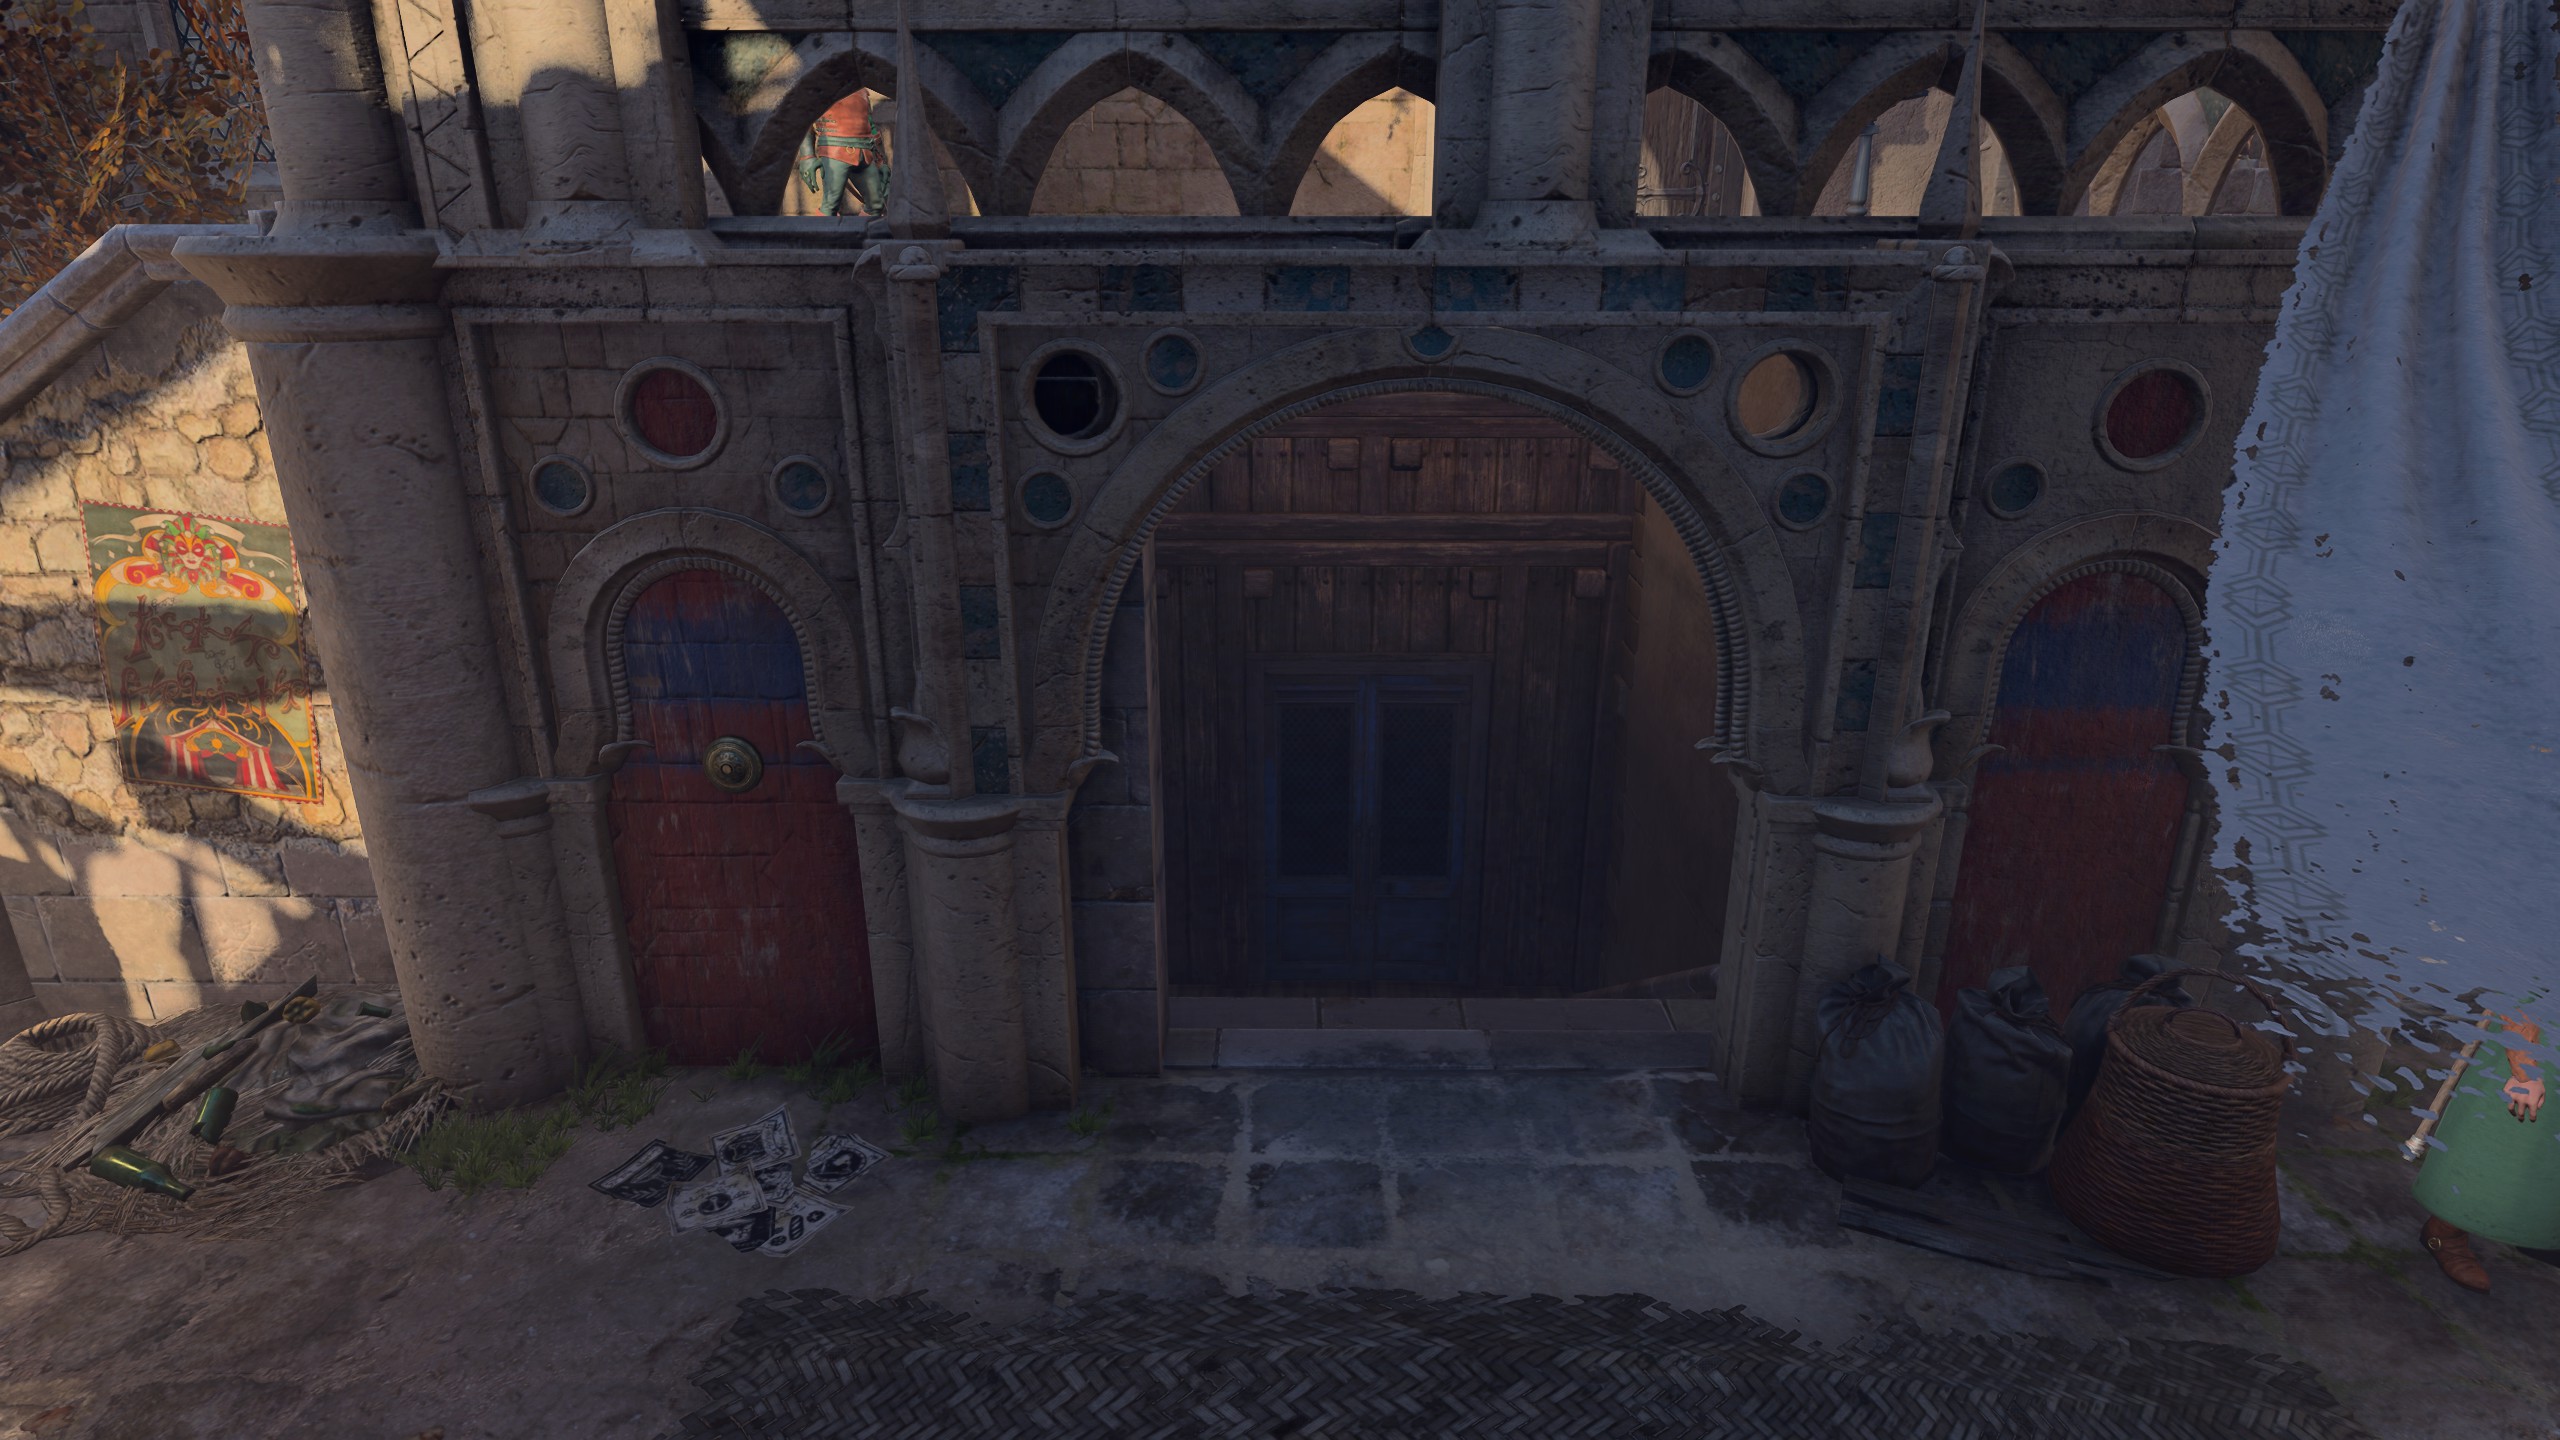
Guildhall entrance[edit section | visual editor]
Above ground, the Guildhall Entrance is in a narrow alleyway in the Brampton district of Baldur's Gate. It hides in a half-ruined building at X: 62 Y: -99, behind the Barren's Coop and across from Bruc and Pishe's Emporium, posing as a trading establishment, apparently used by the Guild as a correspondence addressee.
The alley is guarded by 
- If the party side with

- If

- Succeeding a dialogue check. Full list of options when dealing with Tusgront is on the Aid the Underduke quest page.

Alternatively, the party can find a ![]()
Entering the Guildhall through either route for the first time grants one or more of the following inspirations:


Also, gaining peaceful access through the Tusgront's alley grants the ![]()
![]()
In the mailbox above the Guildhall Entrance is the ![]()
Guildhall layout[edit section | visual editor]
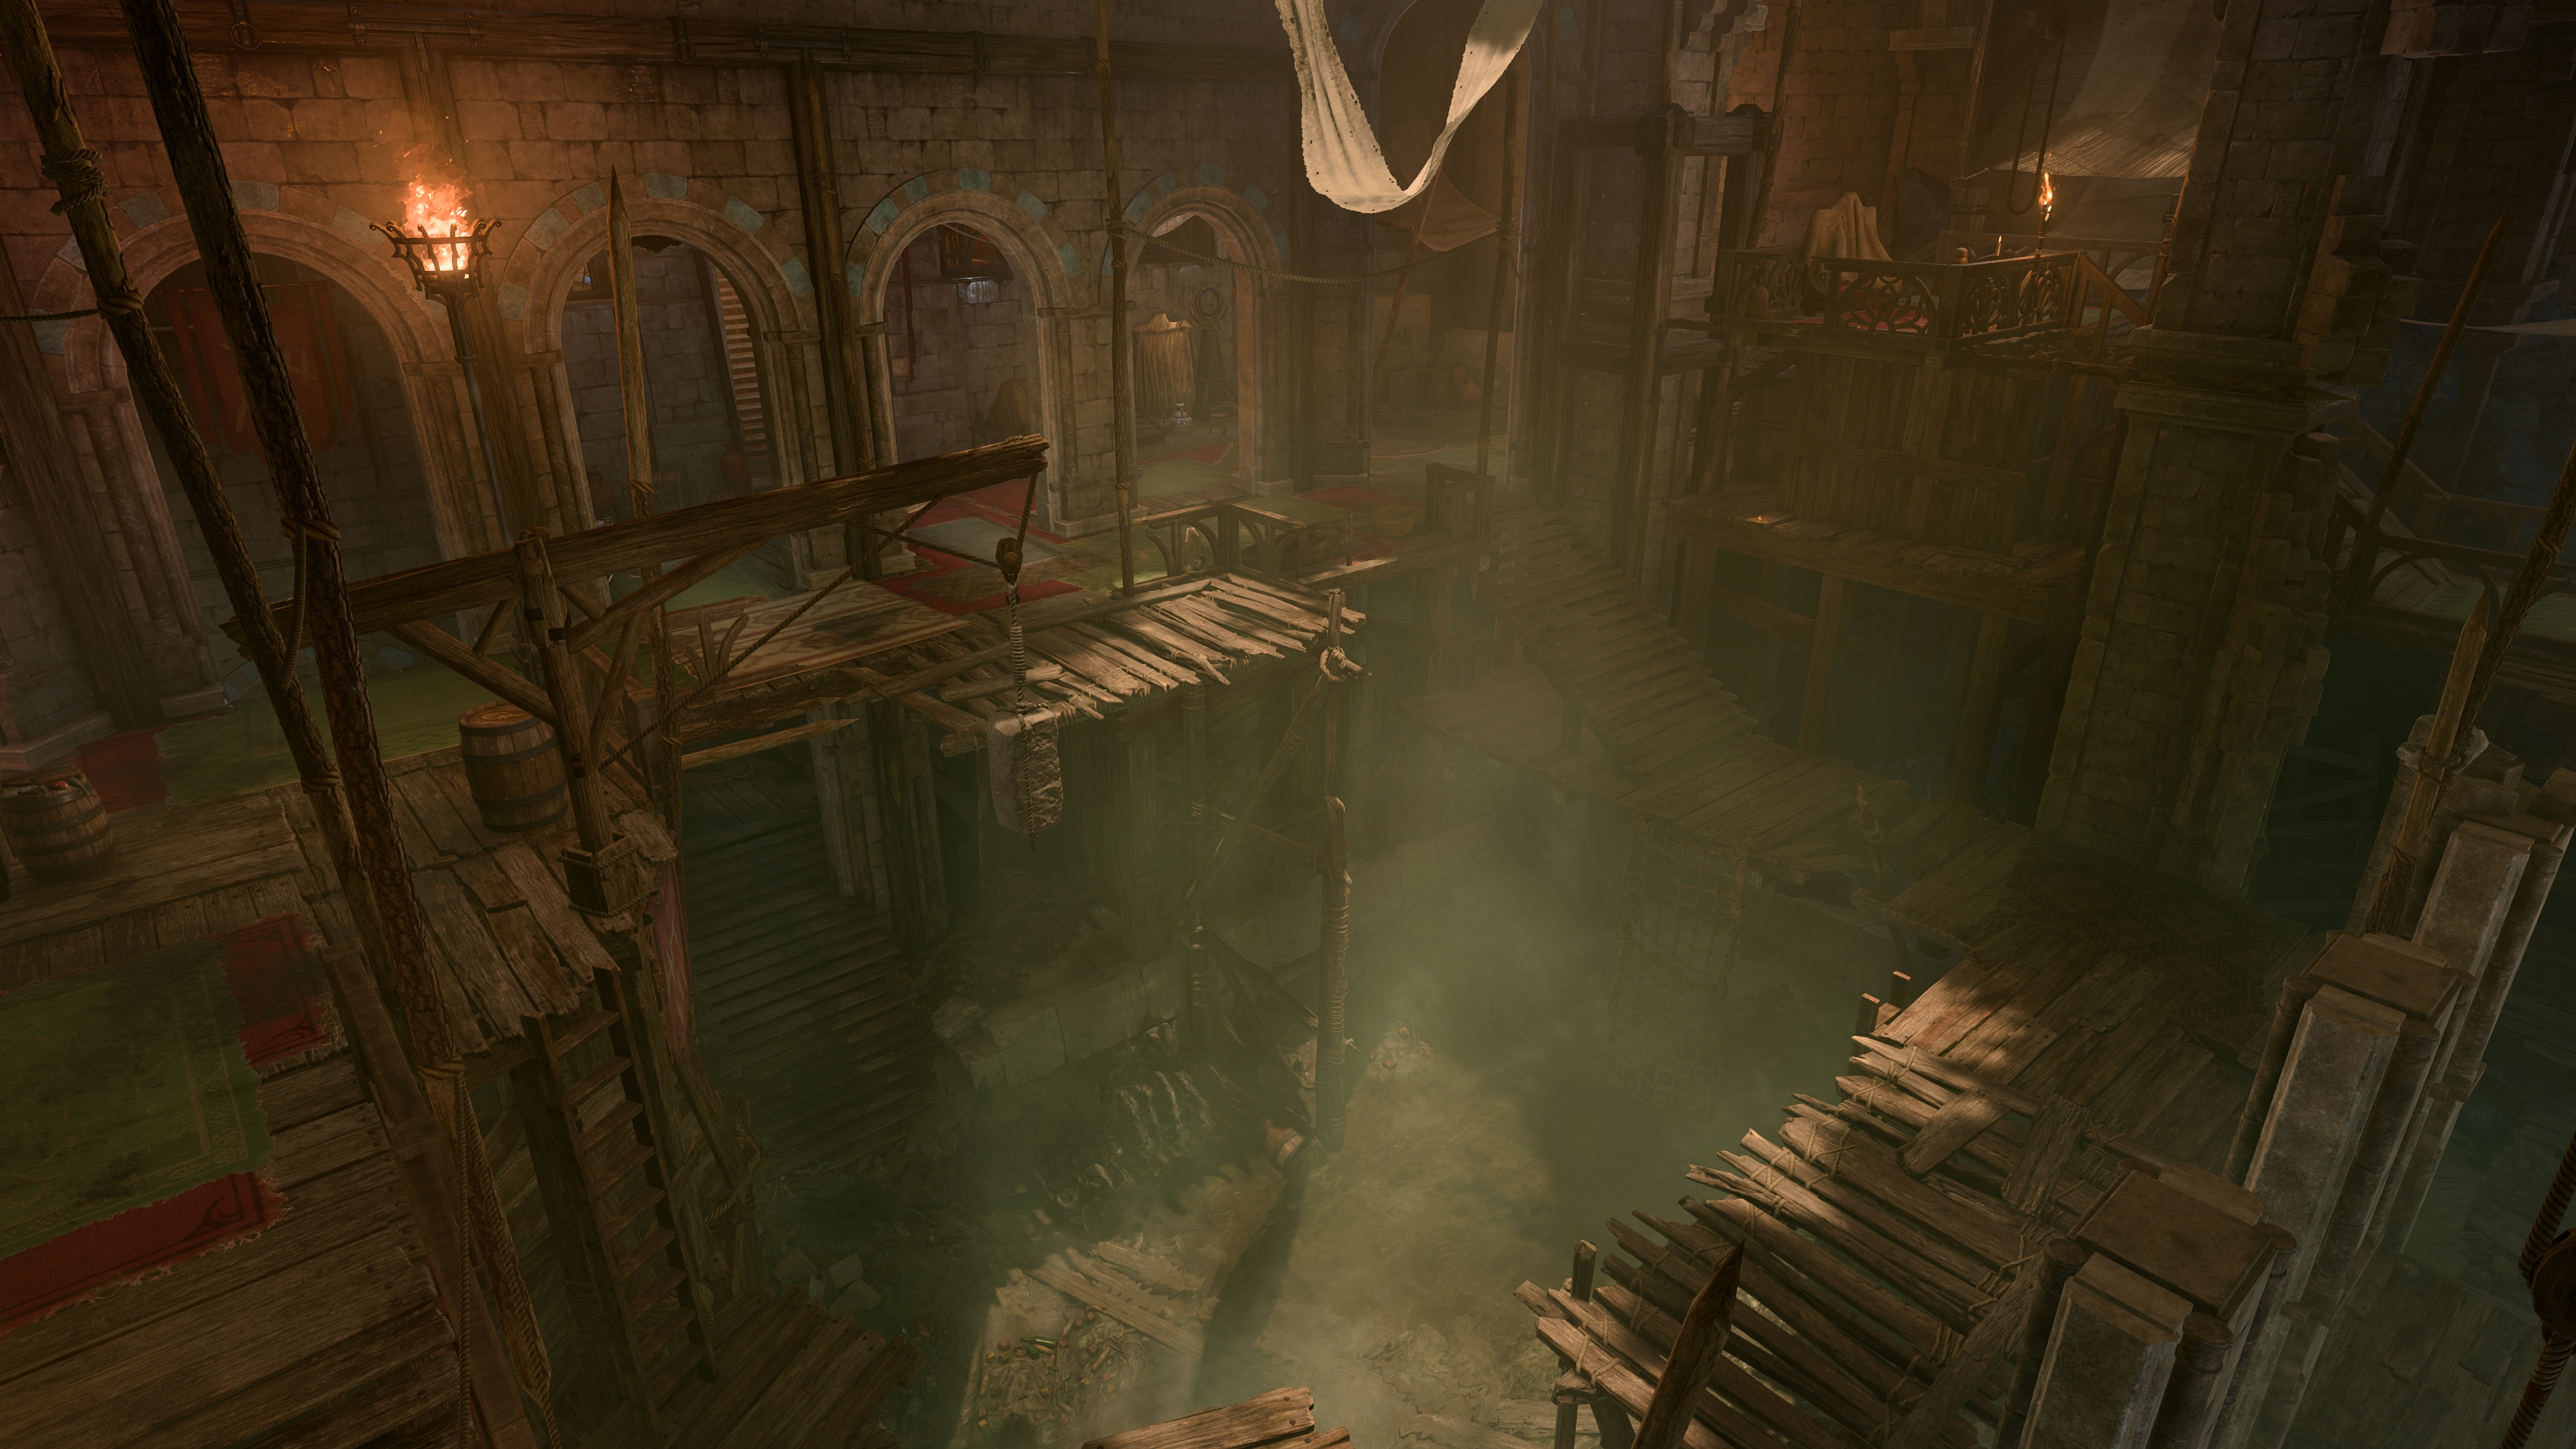
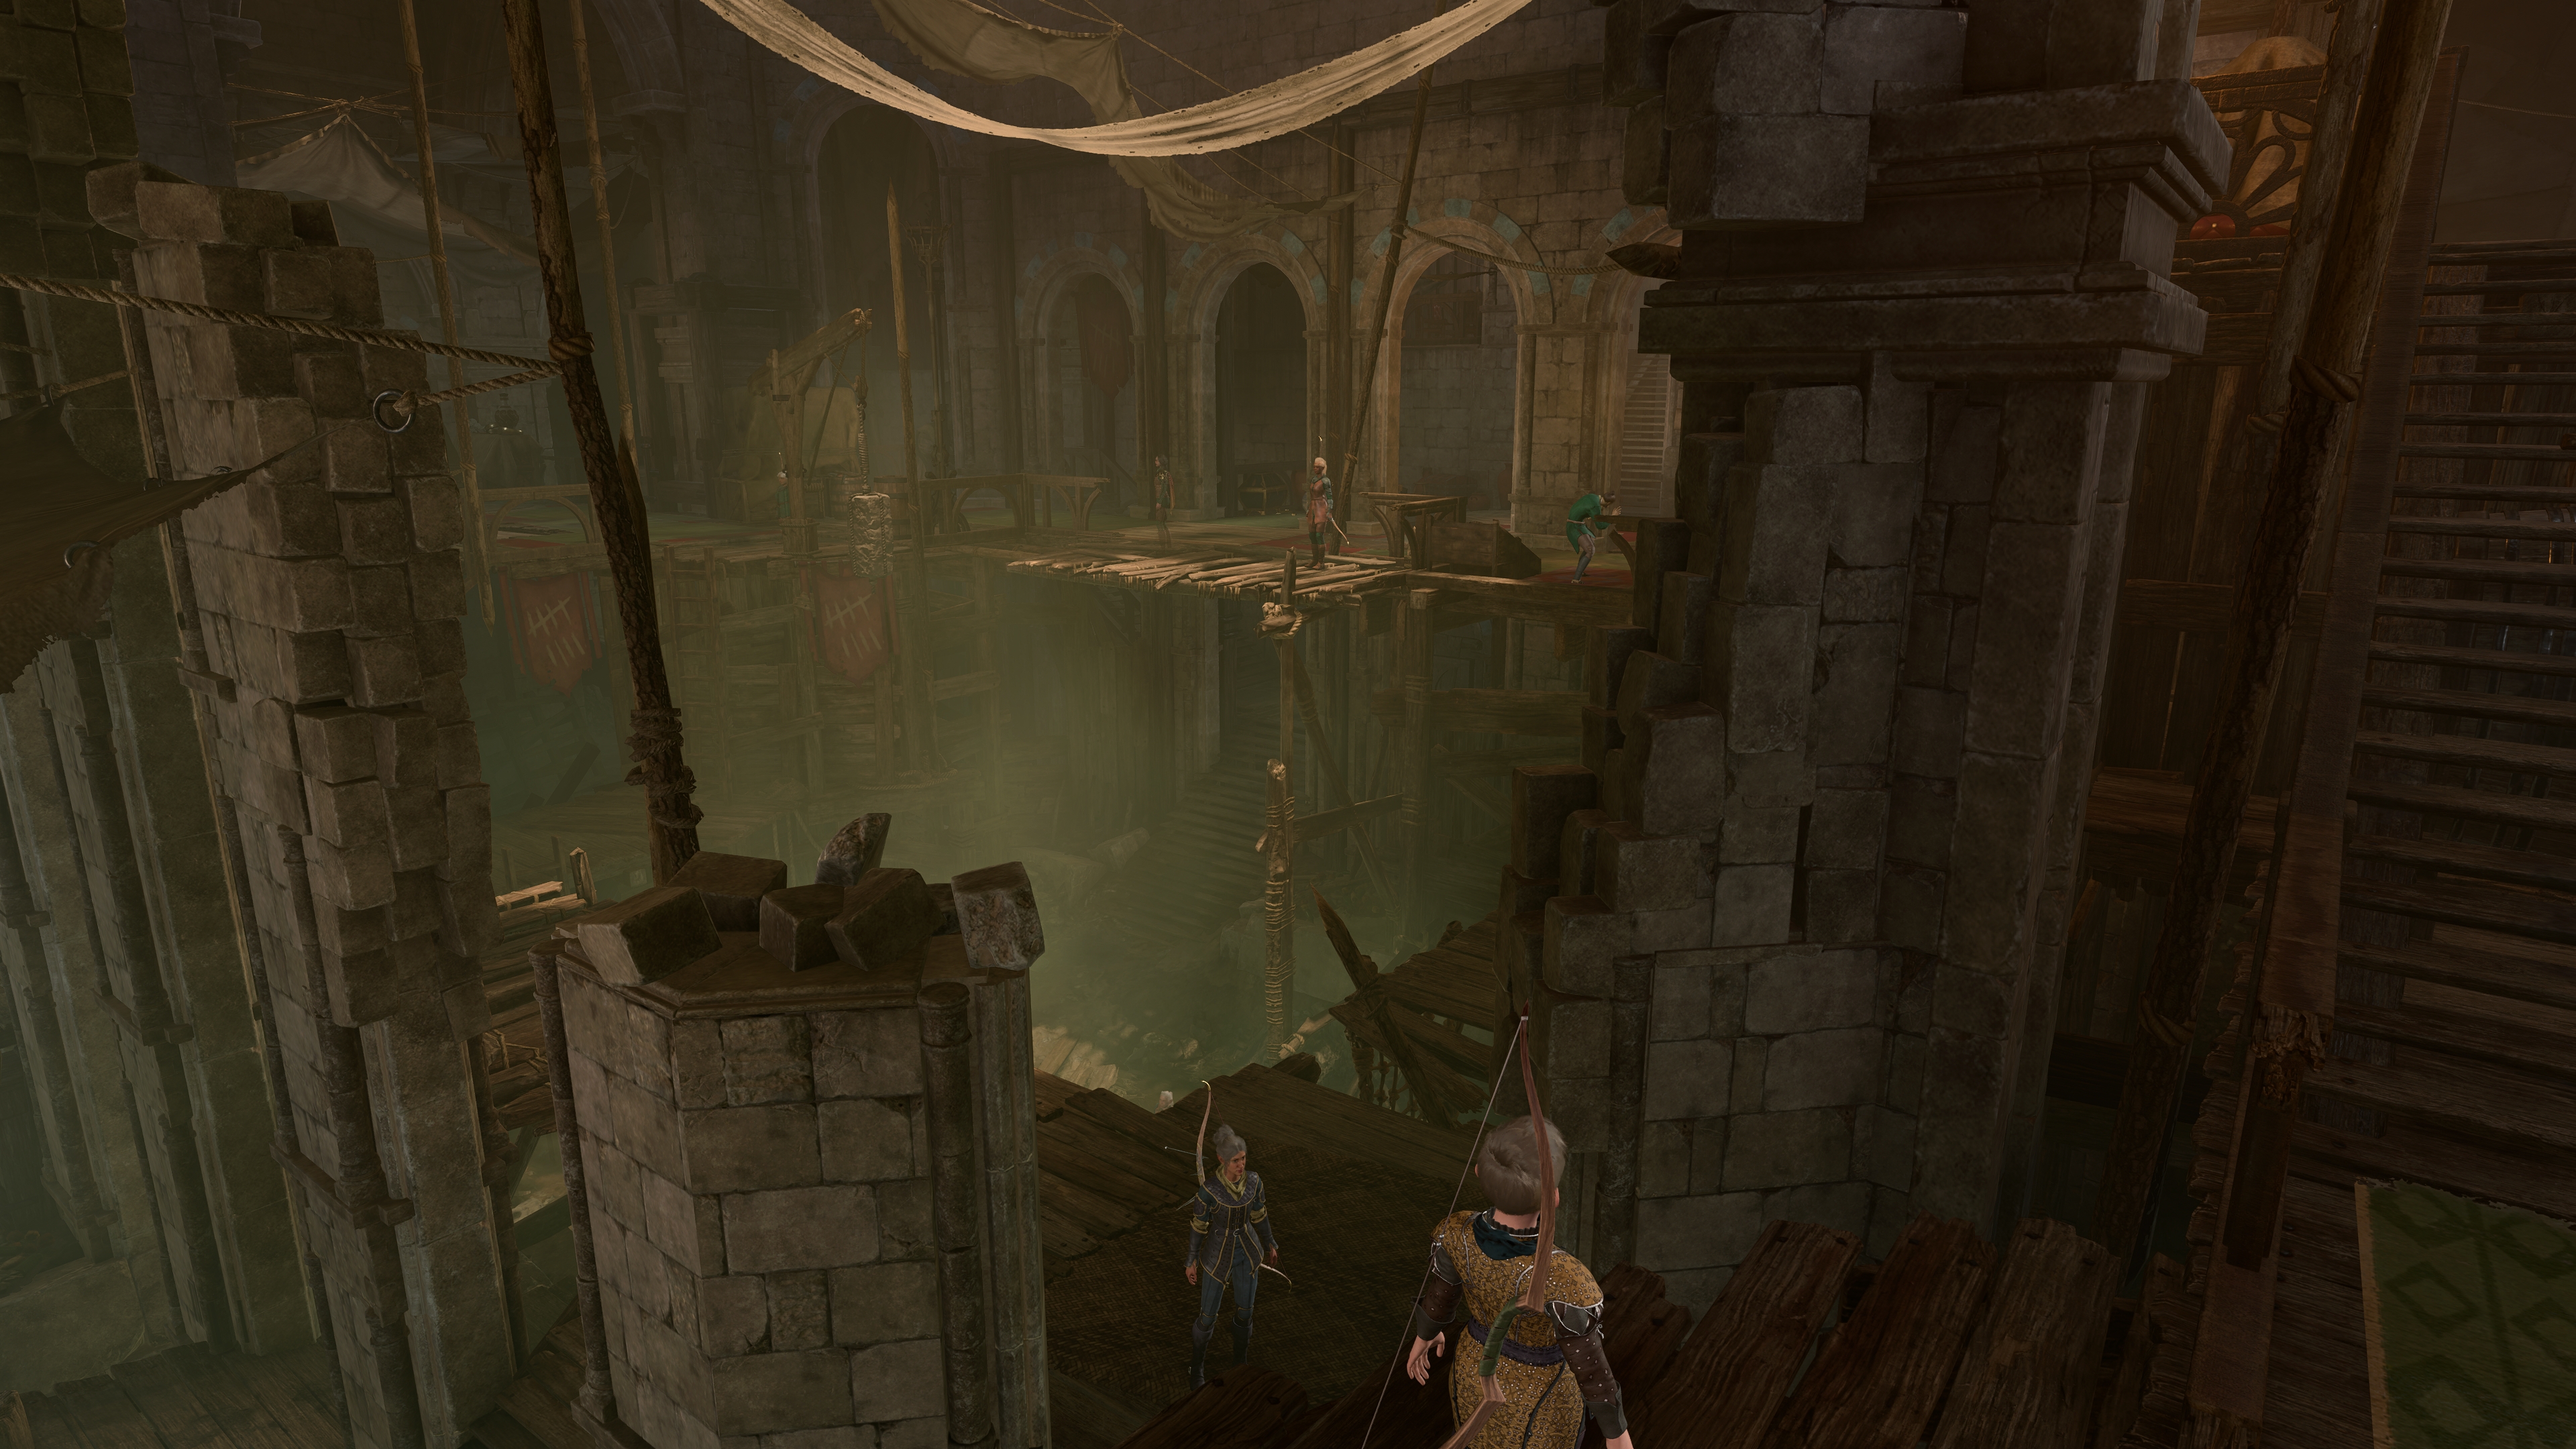
Main Area[edit section | visual editor]

The entrance from the Lower City leads through the southeastern door of the Guildhall into a large cavernous area with the bottom covered in sewer filth. A complex, multi-levelled scaffold system lines up the walls. Various levels of the scaffolds are connected with staircases, wooden ladders and rope nettings. Ladders and nettings – as well as wooden supports to some platforms – are destroyable, which can help or hinder the party if a fight begins. A heavy stone slab hanging on a coiled rope can be shot down as well. Destroying any of these outside of combat is considered a transgression by Guild members.
At X: -28 Y: 753 a doorway leads from the main area scaffolds into the Guild bar and to the doors of Nine-Fingers' office.
Most lower-rank members of the Guild are around the main area. Some of them appear only if the party made certain choices in the Act One, namely:
- Saving or raiding the Emerald Grove
- Saving


There are several points of interest around the main area:
- Most of the Zhentarim congregate in the southeastern corner. Some walk around the scaffolds, but no further than the doors to the Guildhall bar. They occasionally chat with various Guild members, but mostly between themselves, revealing they have specific orders and wait for some 'signal' to make a certain move.


- A merchants corner in in the northeast is the base for a gang of children called the Fetcher's Brats,[2] with


- If


- At X: -47 Y: 741 a trio of halflings consisting of


- If Oskar Fevras was not saved from the Zhentarim in Act One, he resides in this corner of the Guildhall. He is busy drawing counterfeit pictures and sells a


- At X: -47 Y: 751 a dragonborn bard


- At X: -22 Y: 748, almost across the entrance to the bar, is an elf by the name


- In the filth pit in the centre of the main area


Secret Stash[edit section | visual editor]
In the southwest corner of the main area is a secret stash on a balcony at X: -51 Y: 721. Abilities such as ![]()
![]()
On the balcony are two Opulent Chests, containing:

Near the edge of the balcony on the floor lies a book titled ![]()
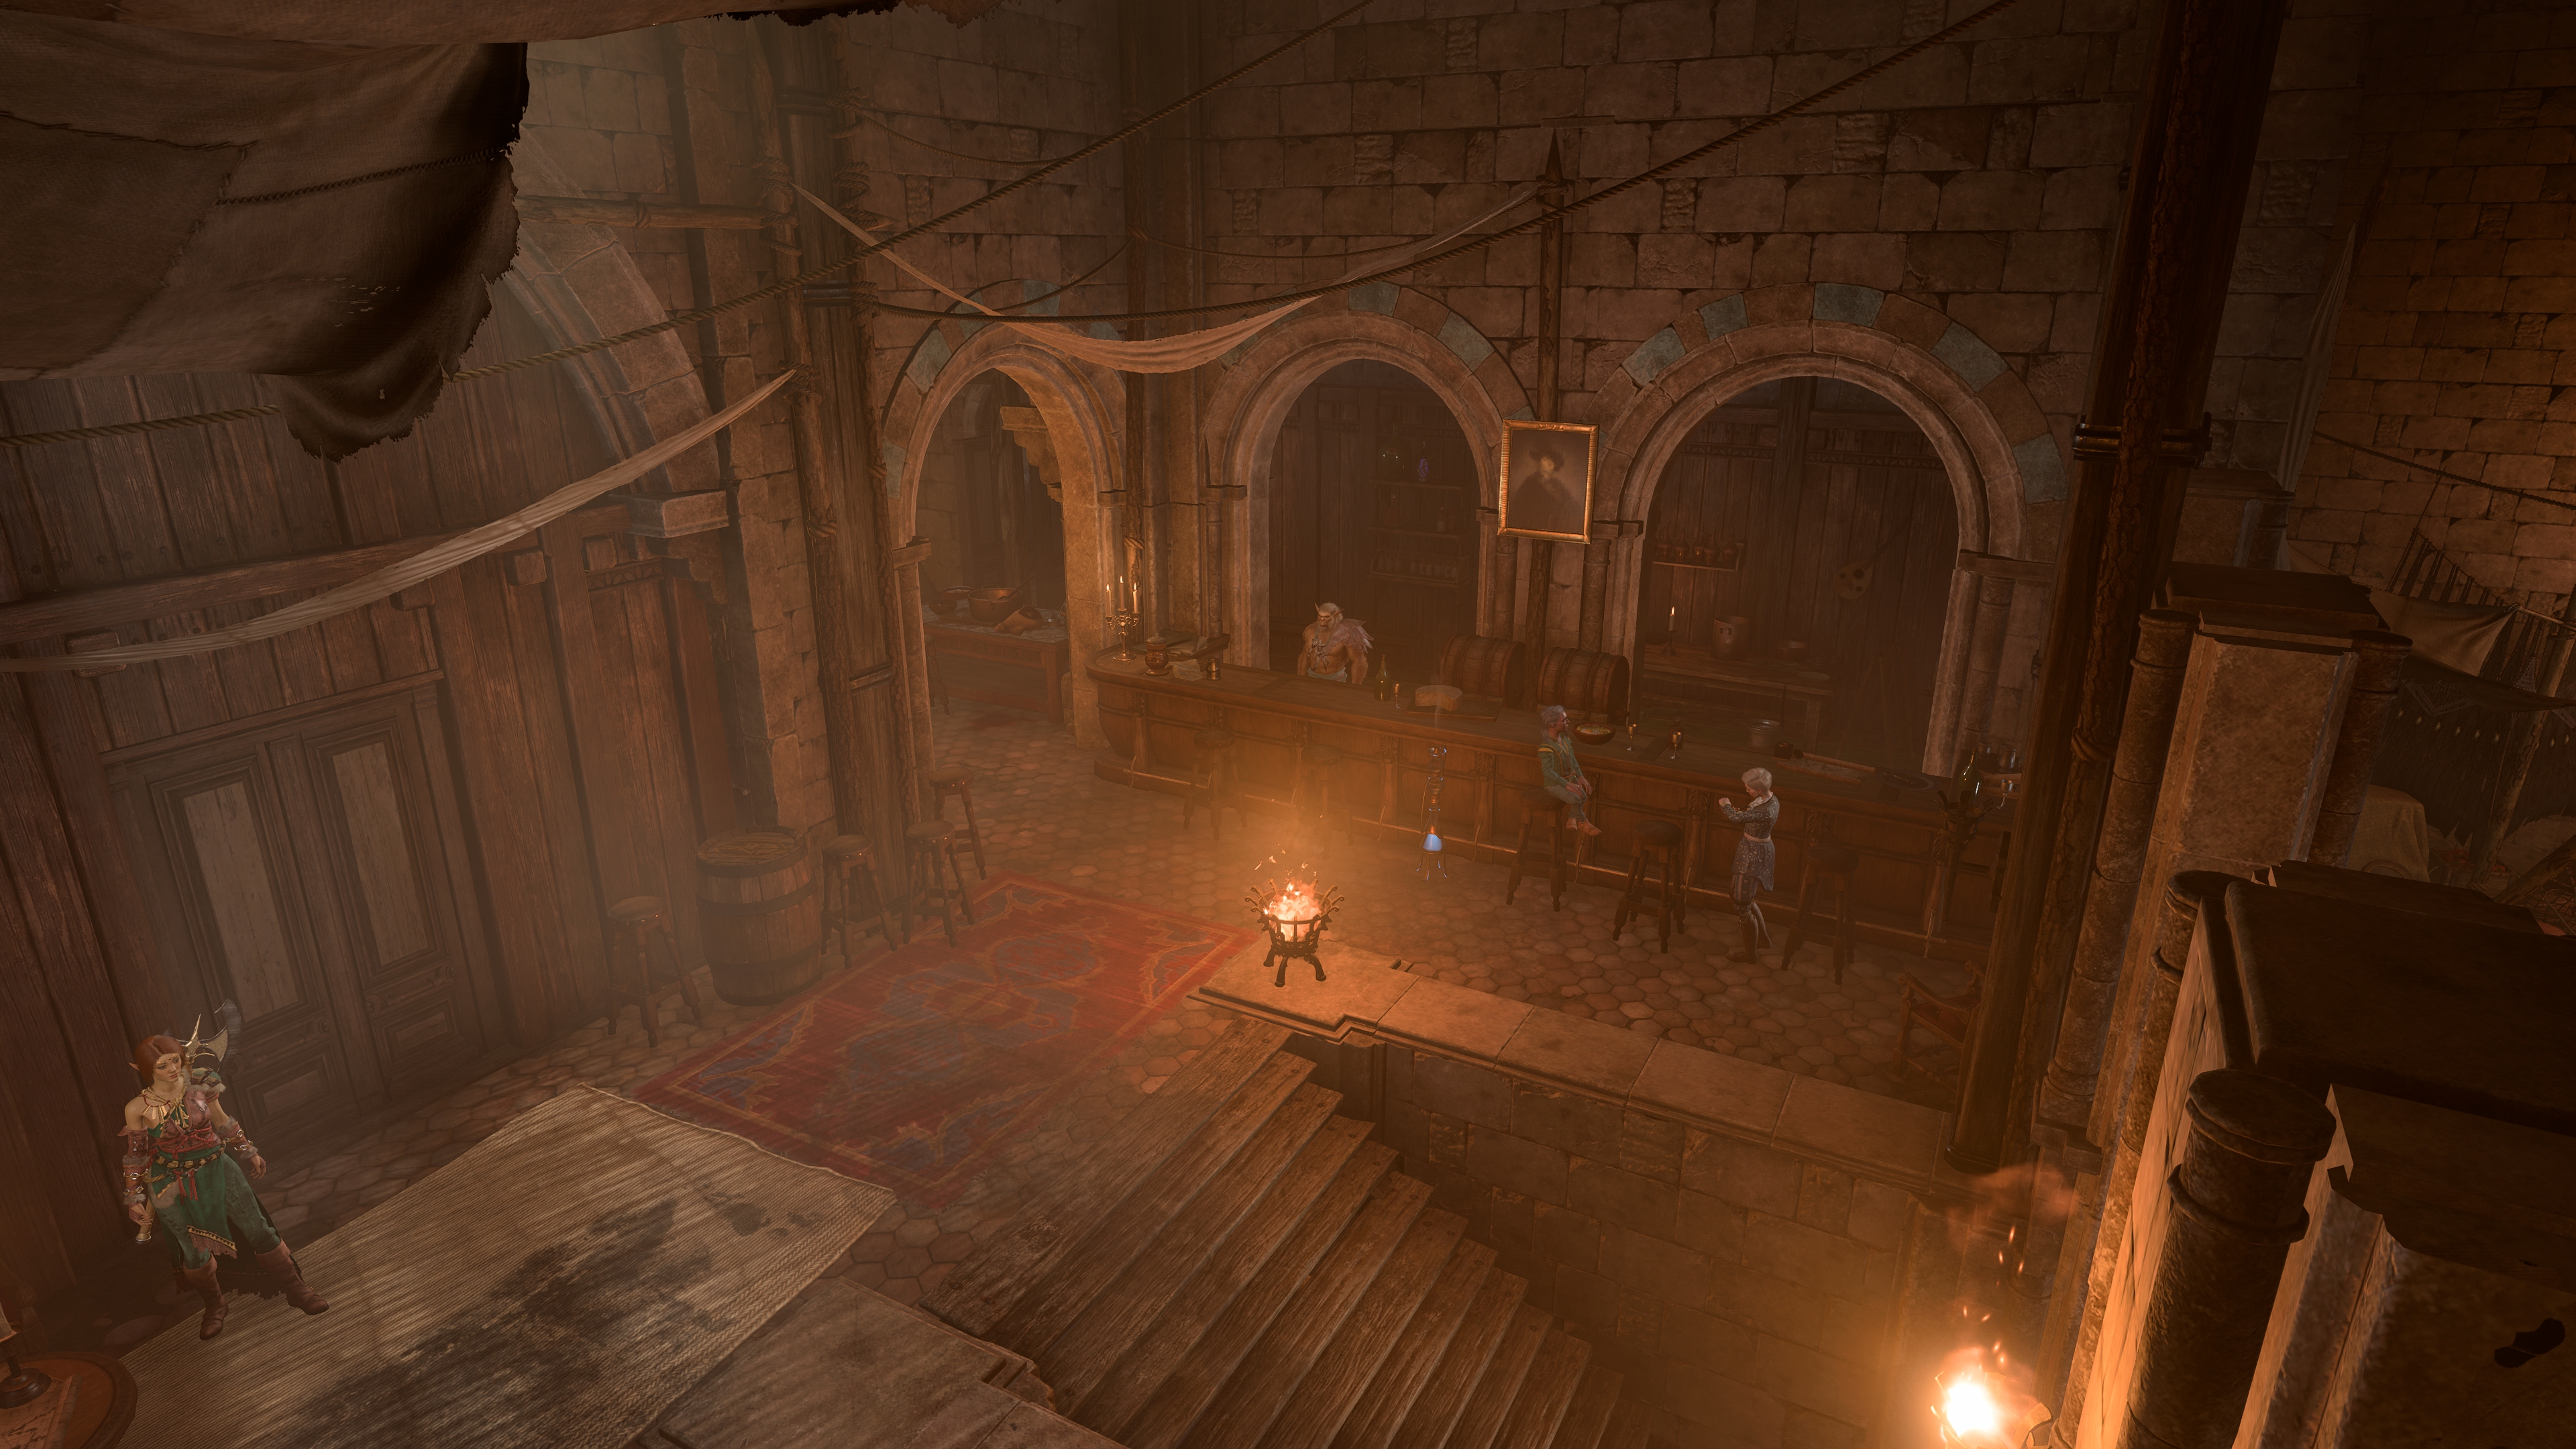
Guildhall Bar[edit section | visual editor]

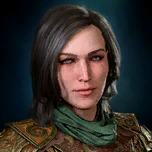
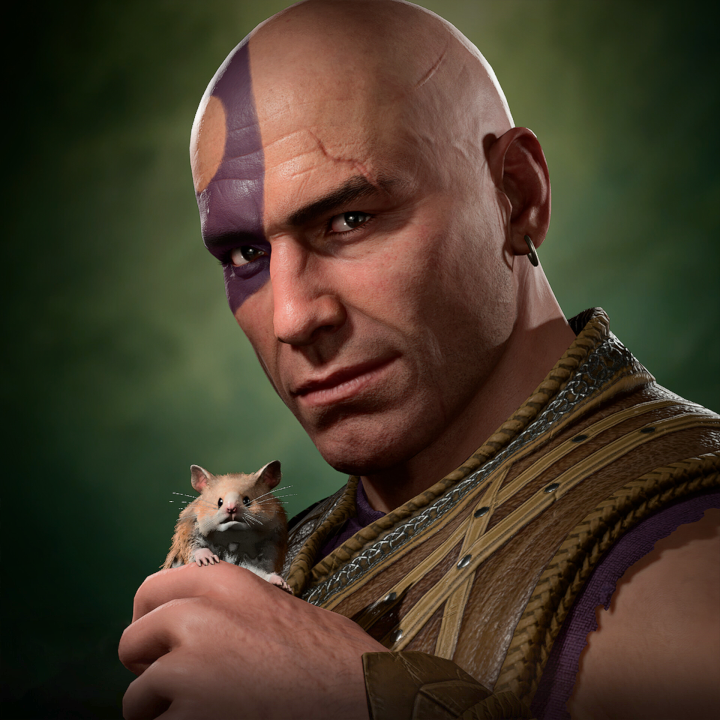
On the north side of the Guildhall is a bar run by the bugbear 
![]()
![]()
In the far corner behind the bar counter is a locked door labelled No Entry - No Exit which leads into the Lower City Sewers. It can be unlocked with ![]()
Two members of Guildmaster Keene's personal guard keep sentry near the doors to Nine-Fingers' office. They can be discerned from other Guild members by the title 'Lady'. Another one, 
![]()
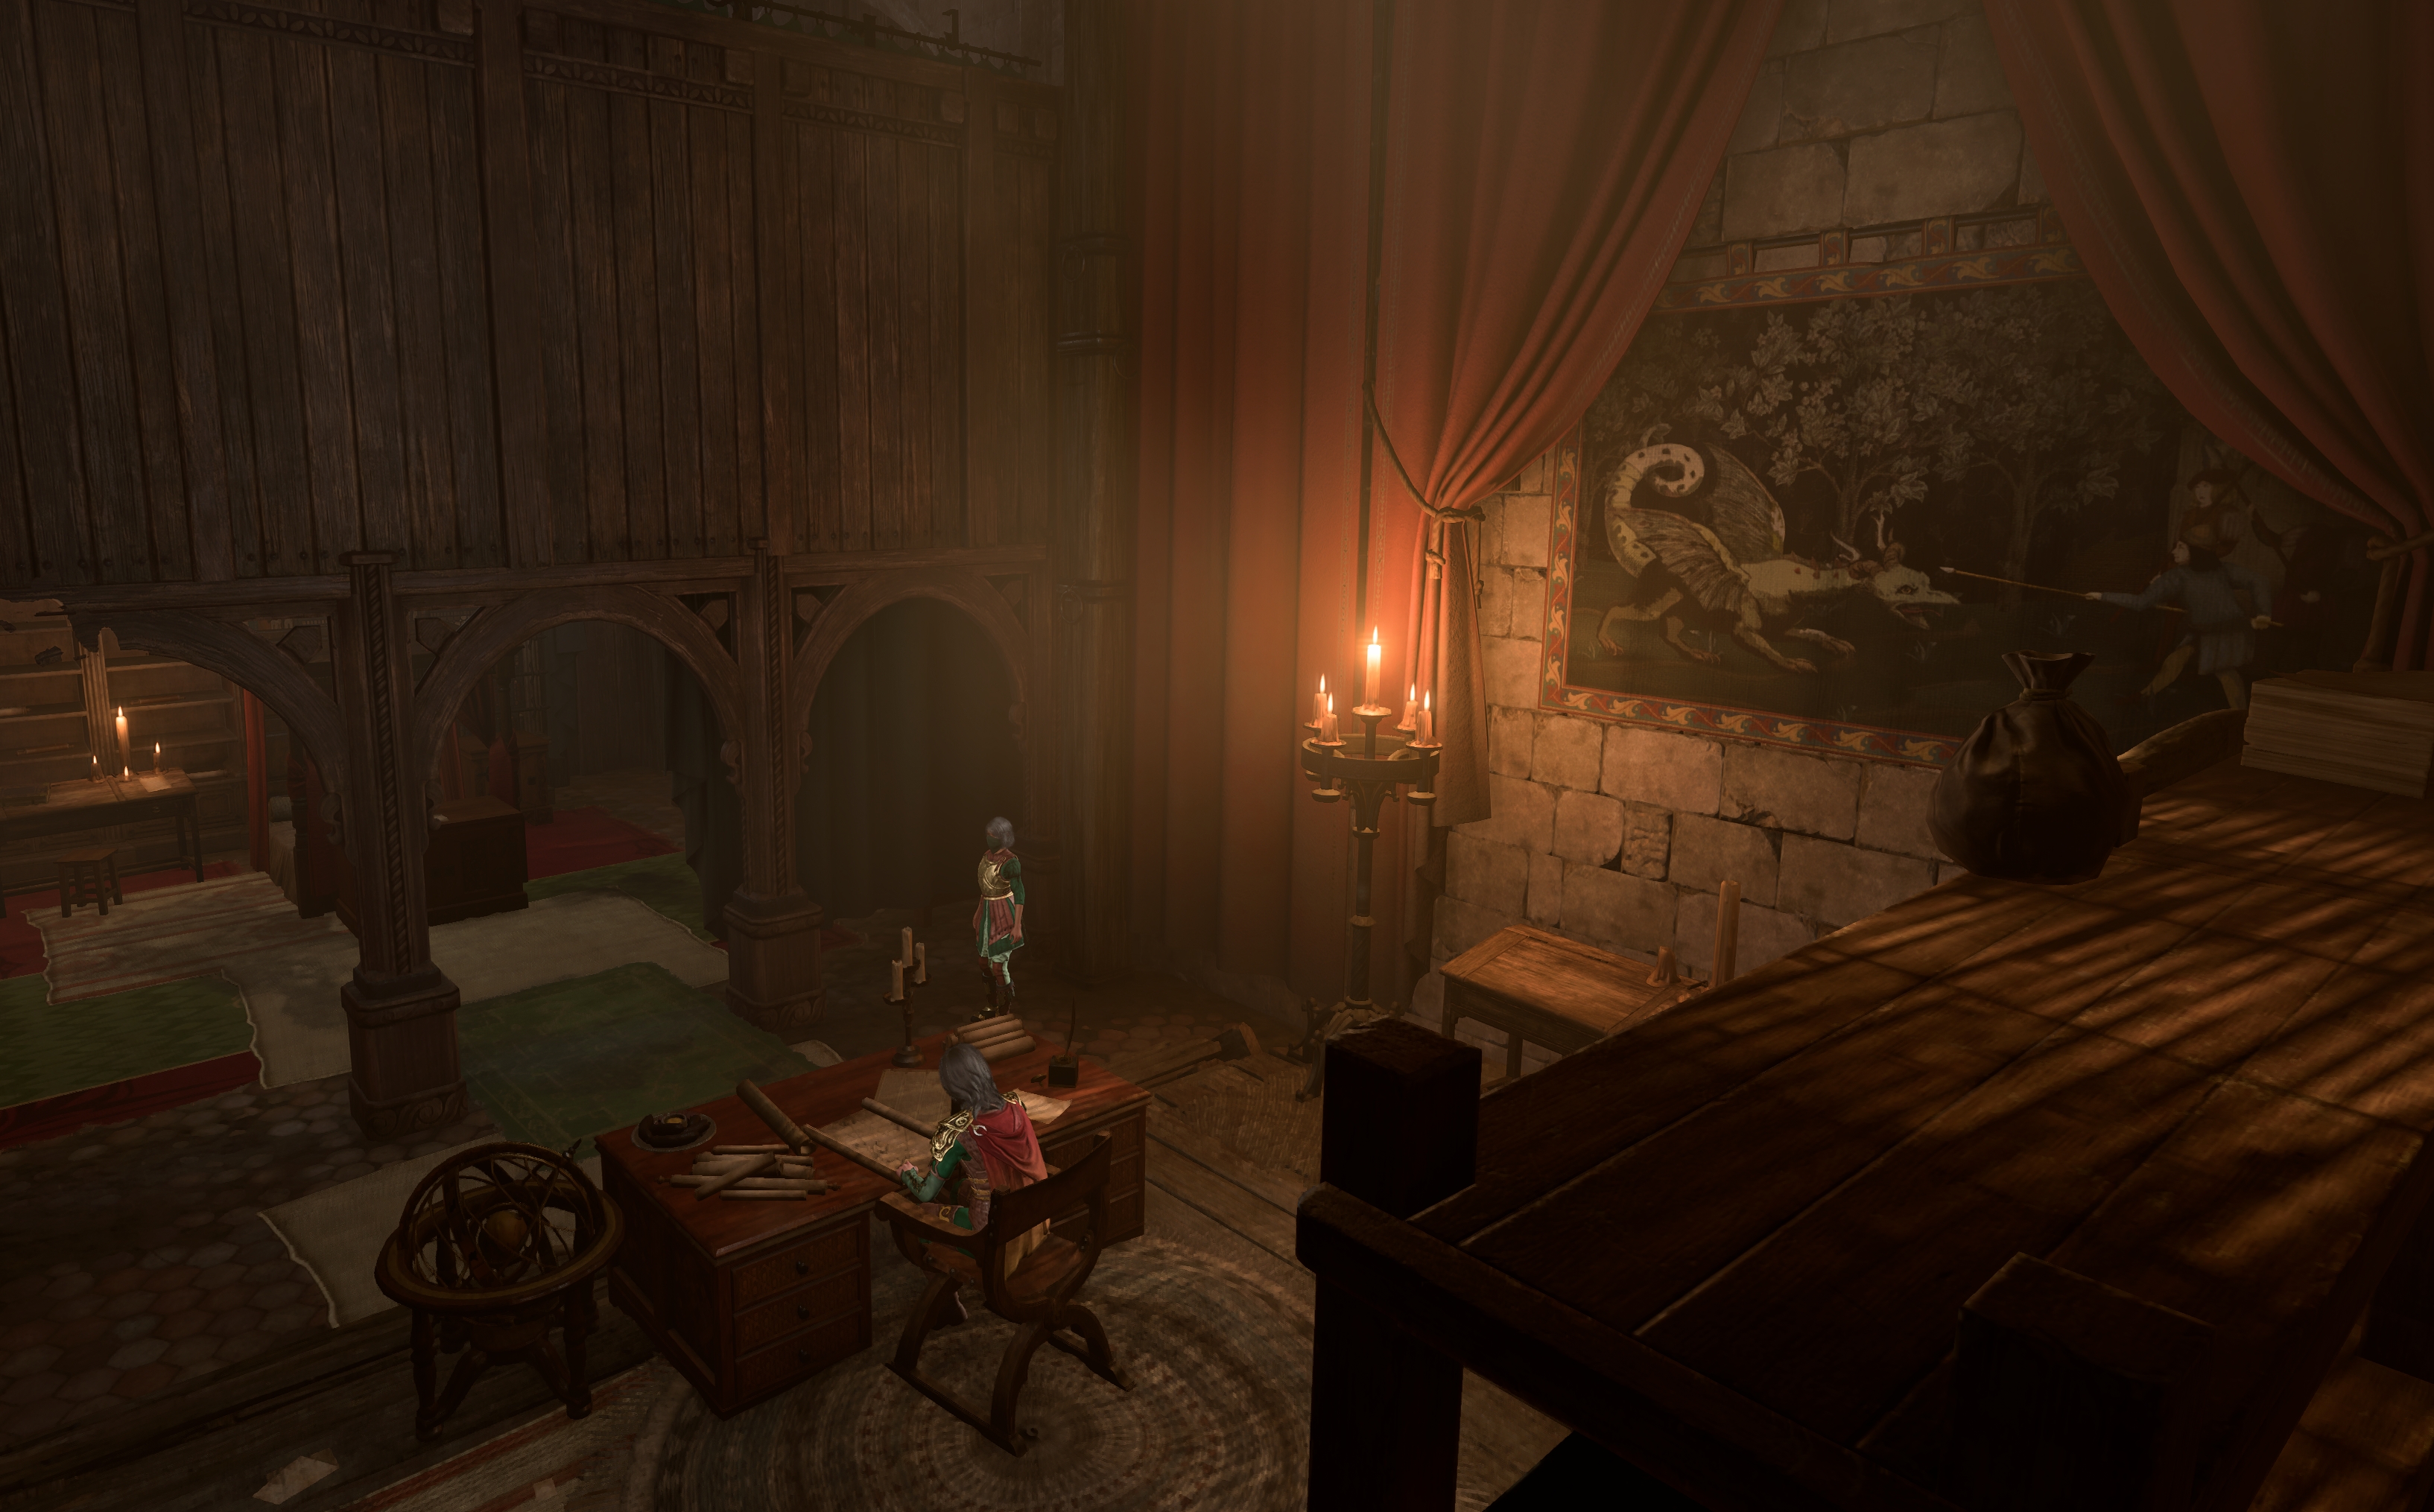
Nine-Fingers' Office[edit section | visual editor]

Guildmaster
Nine-Fingers stays in the office at all times except during the scene when the Zhentarim try to take over the Guildhall. She carries the key to ![]()
![]()
![]()
Directly opposite to Nine-Fingers' desk is an alcove serving her as a bedroom. On the shelves behind the four-posted bed here lie multiple scrolls, containing dossiers on specific persons in Baldur's Gate and on the party themselves, though the actual contents of the dossiers cannot be read.
There are several useful documents in the office and in the bedroom:


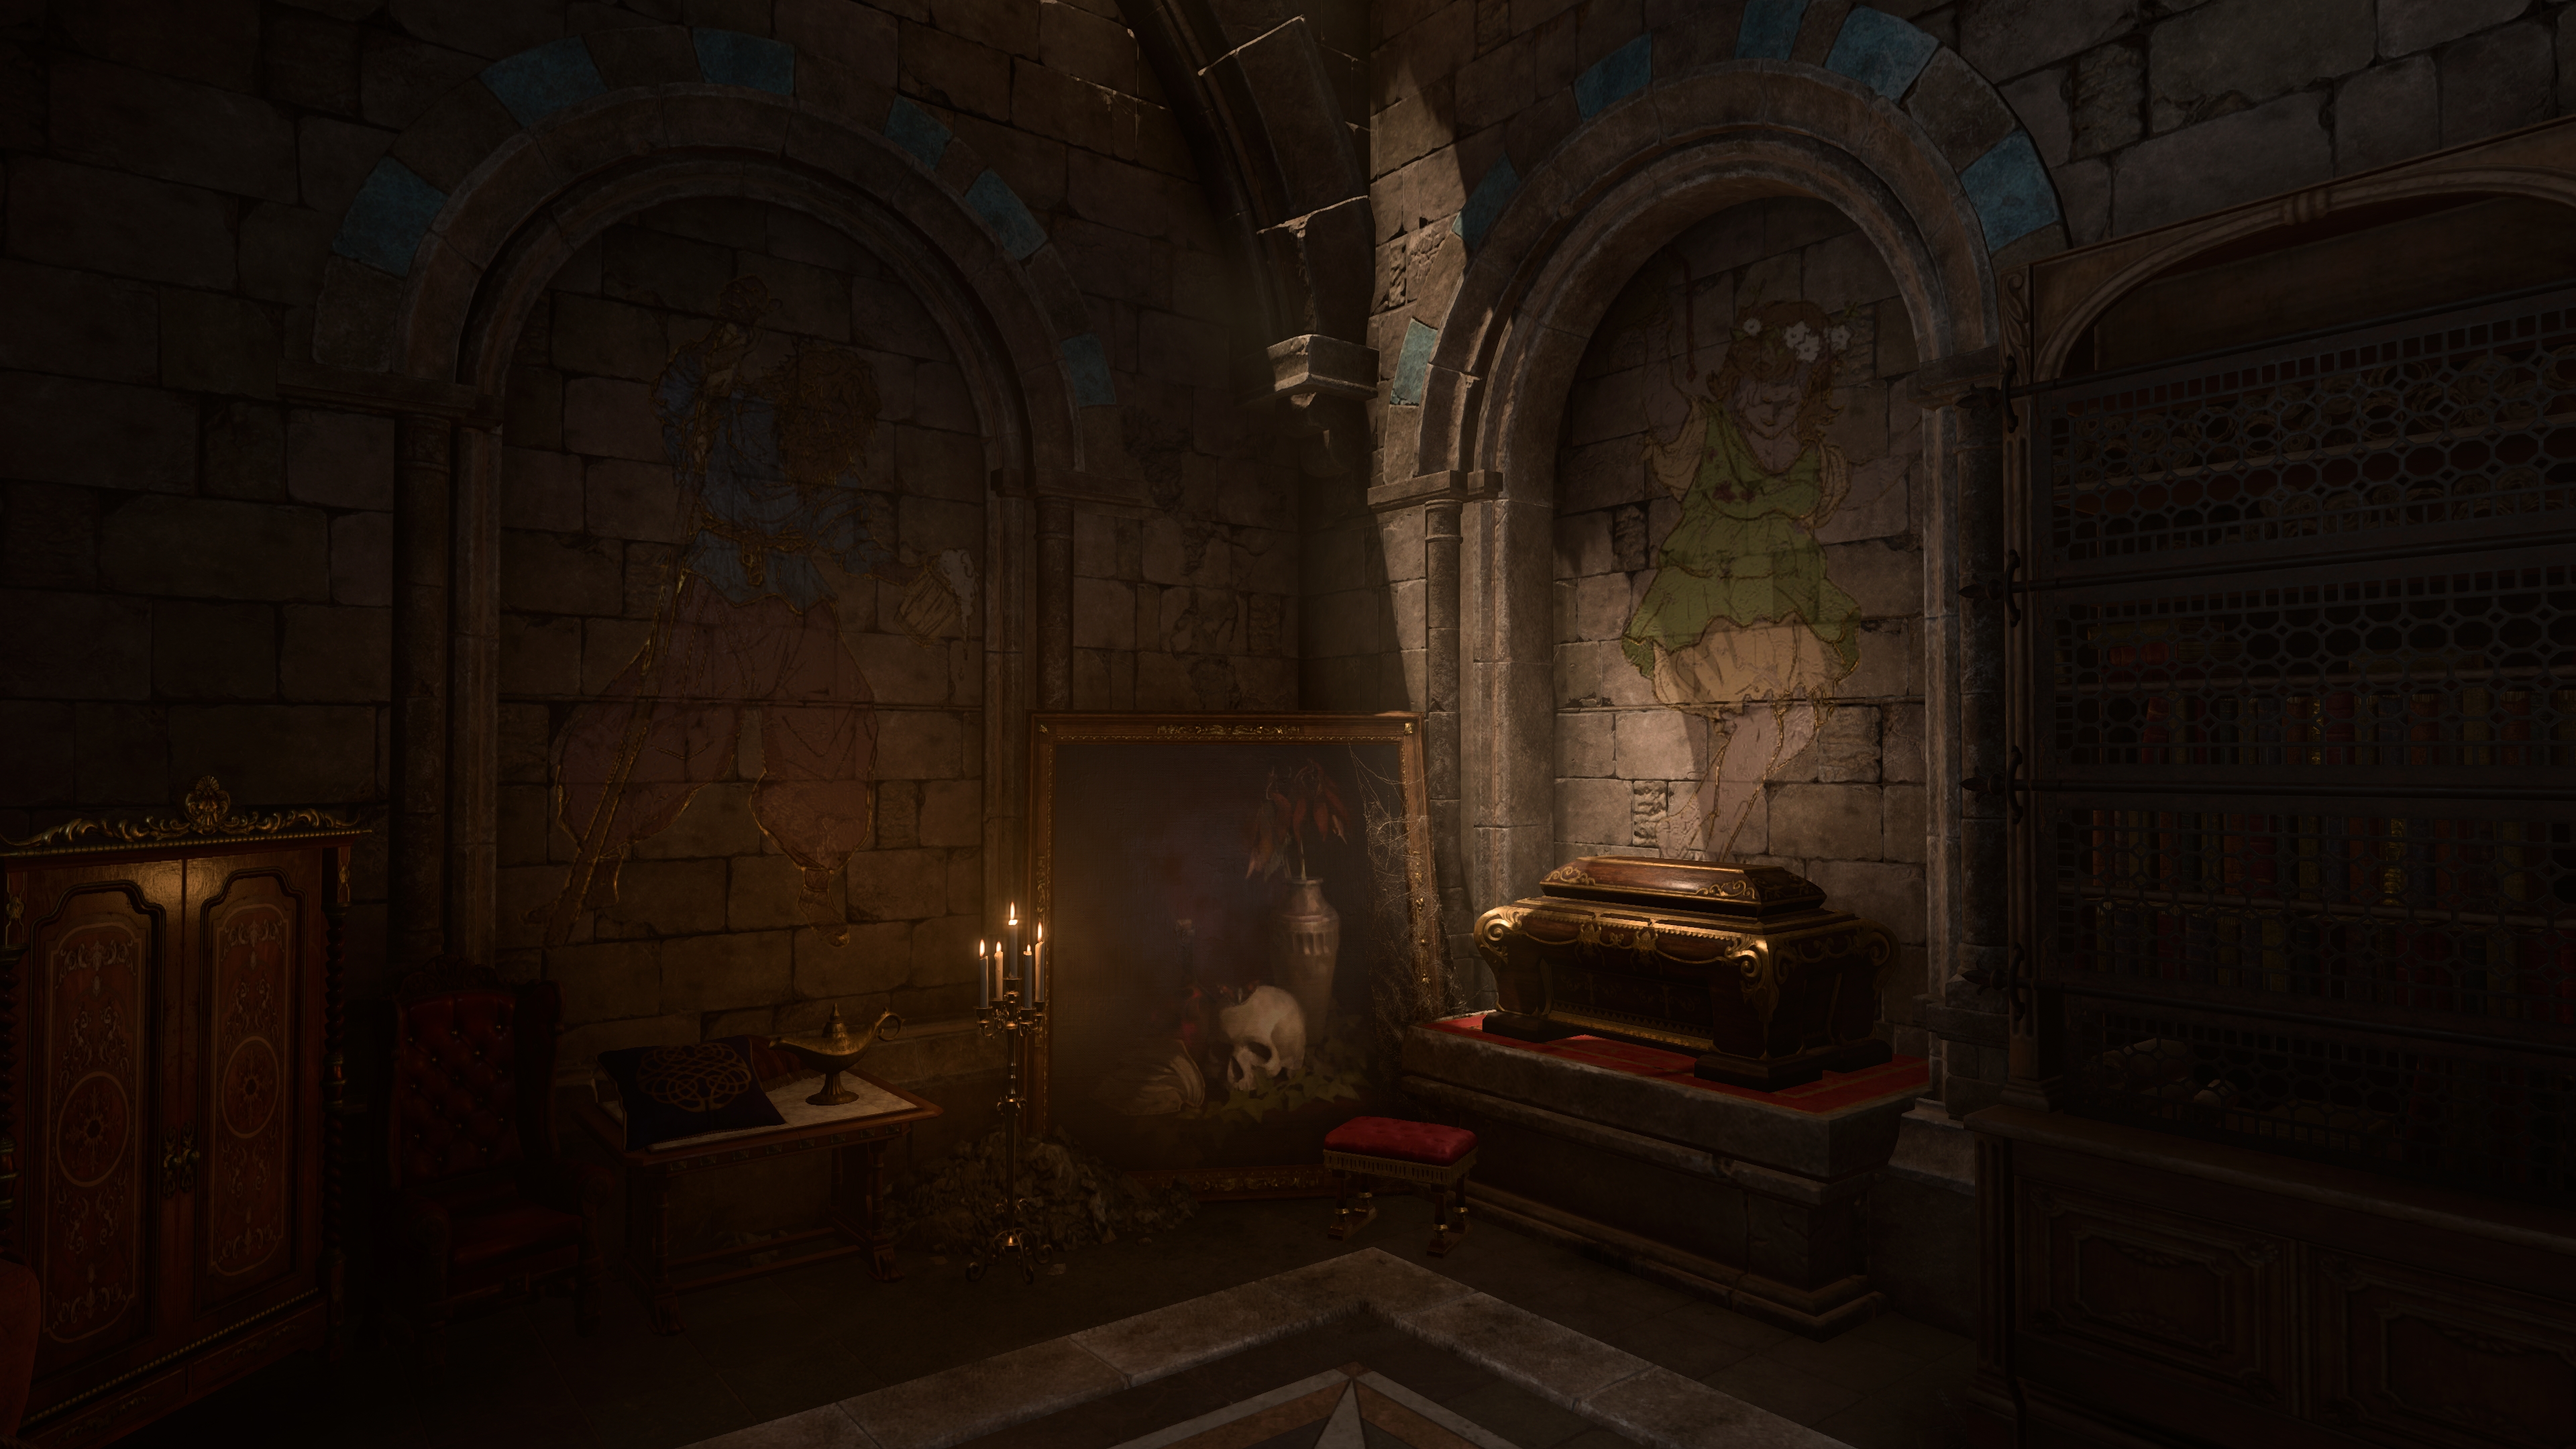
The red-outlined bookcase at X: -42 Y: 765 in the bedroom is actually a locked hidden door to a secret area of the Guildhall. Moving the bookcase aside requires a successful ![]()
Secret Sewer Vault[edit section | visual editor]

On the secret landing behind the bedroom bookcase, a ![]()
![]()
Across the landing is a safe door, requiring
An internal double door here requires
The second room contains another Opulent Chest with more 
![]()
Outside the safe door at X: -64 Y: 778 a lever opens a stone door leading to the Lower City Sewers, to the southern end of the sewage raft line. This exit functions as a one-way path until the lever is pulled; it cannot be opened from the sewer side initially. Once opened, it can serve as another way inside the Guildhall.
Involvement[edit section | visual editor]
Within Baldur's Gate 3, the Guildhall serves as a narrative hub for several large quests, including those started before entering Lower City. It also has several minor interactions which serve as unlisted quests, or complete the active ones with or without consequences as the game unfolds.
Major quests[edit section | visual editor]
Much of the ![]()

![]()
In Jaheira's presence, Keene informs the party about her campaign against the new gang led by the
Within the Guildhall there are multiple ways to learn of Nine-Fingers' plans:
- The letter titled
Either way, the party learn that the Guild intends to ambush the Stone Lord at the Counting House. Both major quests are progressed there, and afterwards in the Abandoned Cistern.
Fight at the Guildhall[edit section | visual editor]


When the party returns to the Guildhall, they find out the Zhentarim are ready to make their own move. Their leader starts a dialogue, prompting the party to pick a side in their coup attempt. This leader can be 


The encounter unfolds based on the outcome of the Abandoned Cistern battle:
- Hostile Takeover: If Minsc is killed, or the Zhentarim leader (Roah or Friol) dies during the fight, the Zhentarim automatically attack the party and the Guild.
- Proposed Alliance: If the Zhentarim leader survives, they propose an alliance to overthrow Nine-Fingers Keene and install the Zhentarim as the city's new criminal underlords. The party can choose to accept this coup or side with the Guild and eliminate the Zhentarim.
- Failed Takeover: If the Zhentarim agents in the Guildhall are killed prior to this encounter, the leader is surprised by the lack of backup and cancels the takeover attempt entirely.
Following the battle, the surviving faction leader pledges their support to the party for the final conflict against the Absolute. However, additional complications can still arise:
- Betraying the Zhentarim: If the party side with Roah Moonglow or Boss Friol, they can subsequently claim the Guildhall for themselves. This choice immediately triggers a new combat encounter with the Zhentarim.
- The Minsc Complication: If the party successfully recruit Minsc and side with the Guild while he is present, speaking to Nine-Fingers Keene after the battle triggers a tense confrontation. The player character must succeed in a dialogue check to convince Minsc not to attack her.
Lesser quests[edit section | visual editor]
- If Roah Moonglow (or Boss Friol) dies during the fight, the party can loot a Stolen Gold Bag from their corpse after the battle. If the party sides with the Zhentarim, the pouch can be pickpocketed from either of them. It can then be returned to


- One of the Zhentarim agents,


- Bursar Uktar offers
- If Mol is present, the quest


- If the party have already been to the House of Hope and obtained

- Speaking with Cheeky Nora (if she is present) can start an unlisted quest to set straight the relationship between her and the bugbear Severn who runs the Guildhall bar. Nora is fixated on gaining Severn's attention as he recently broke off with her.
Inspirations and rewards[edit section | visual editor]
Resolving the fight by picking either side gives the following inspiration:
Siding with the Guild in the fight grants the following inspirations:

Siding with the Zhentarim grants the following inspirations (mutually exclusive with those provided by the other choice):
If Mol promises to join in the final battle, the following inspiration is granted (if not obtained prior):
Depending on the party's choice, the ![]()
![]()
![]()
![]()
Related locations[edit section | visual editor]
Related quests[edit section | visual editor]
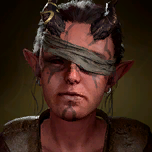
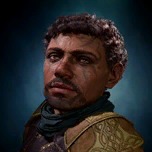
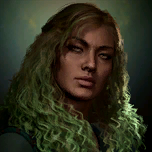
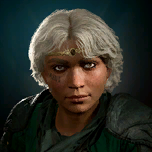
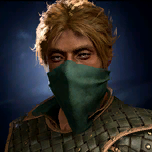
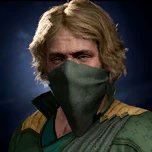
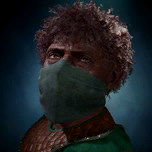
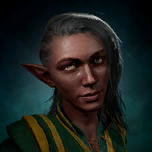
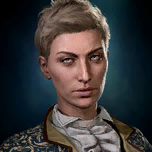
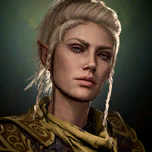
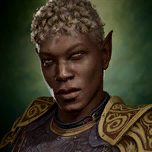
Characters[edit section | visual editor]
Notable[edit section | visual editor]


Guild Members[edit section | visual editor]


Visitors[edit section | visual editor]


Zhentarim Members[edit section | visual editor]


Loot[edit section | visual editor]


Related literature[edit section | visual editor]


Bugs[edit section | visual editor]
- The door to the Guildhall near Tusgront can become unselectable. This can be fixed by saving and loading the game. Alternatively, the party can access the Guildhall through the sewers.
- Severn sometimes becomes unselectable, often accompanied by a clipping glitch emerging from his face.
Notes and references[edit section | visual editor]
- ↑ Also referred to as the Undercellar or Underbelly, although these terms can describe the whole Undercity area as well.
- ↑ This is named after Osgur 'Fetcher' Hallorn, mentioned in
- ↑ One of the possible items in Mol's stock is the

- ↑ This is stated in

- ↑ He carries

- ↑ This is the only place where Terazul is renewed in stock once the party buy it off.
- ↑ 7.0 7.1 Trinoda only shows up if


- ↑ Warlocks do not require an ability check to convince Mol.[verify]
- ↑ The key is in the mailbox above the Guildhall entrance.
- ↑ They lie at Uktar's post, near the Gilded Chest.