Ad placeholder
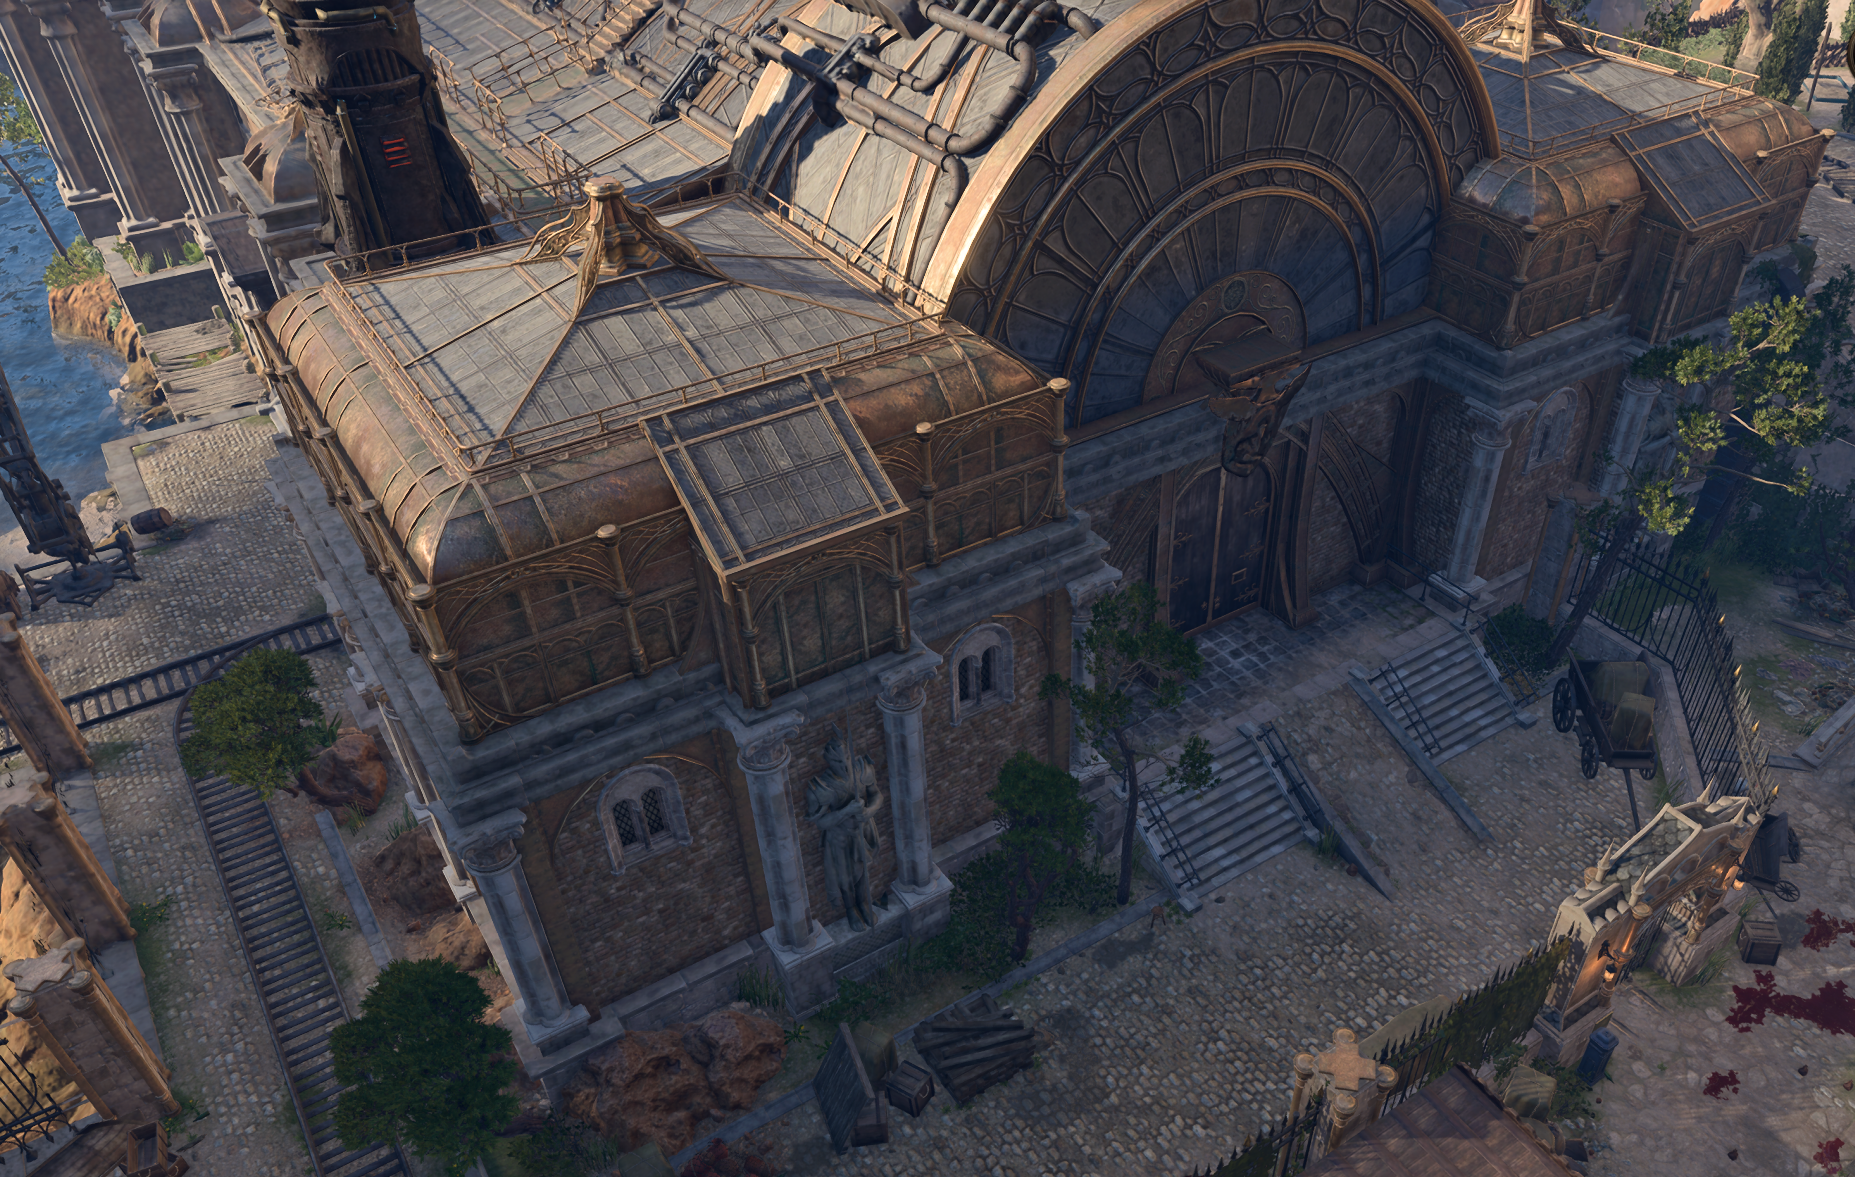
Steel Watch Foundry

| Lower City | ||||
| Lady Jannath's Estate | ||||
| ↑ | ||||
| Steel Watch Foundry | → | Grey Harbour Docks | ||
| ↓ | ||||
| Water Queen's House | ||||

“Eliminate the threat. In this case - the foundry where these atrocities are produced.<...> It is in the Lower City, down by the docks. Beautiful building, belching smoke into the sky day and night.„
Overview[edit section | visual editor]
The Steel Watch Foundry is a factory responsible for the full Steel Watcher production cycle – one of the key elements in 
![]()
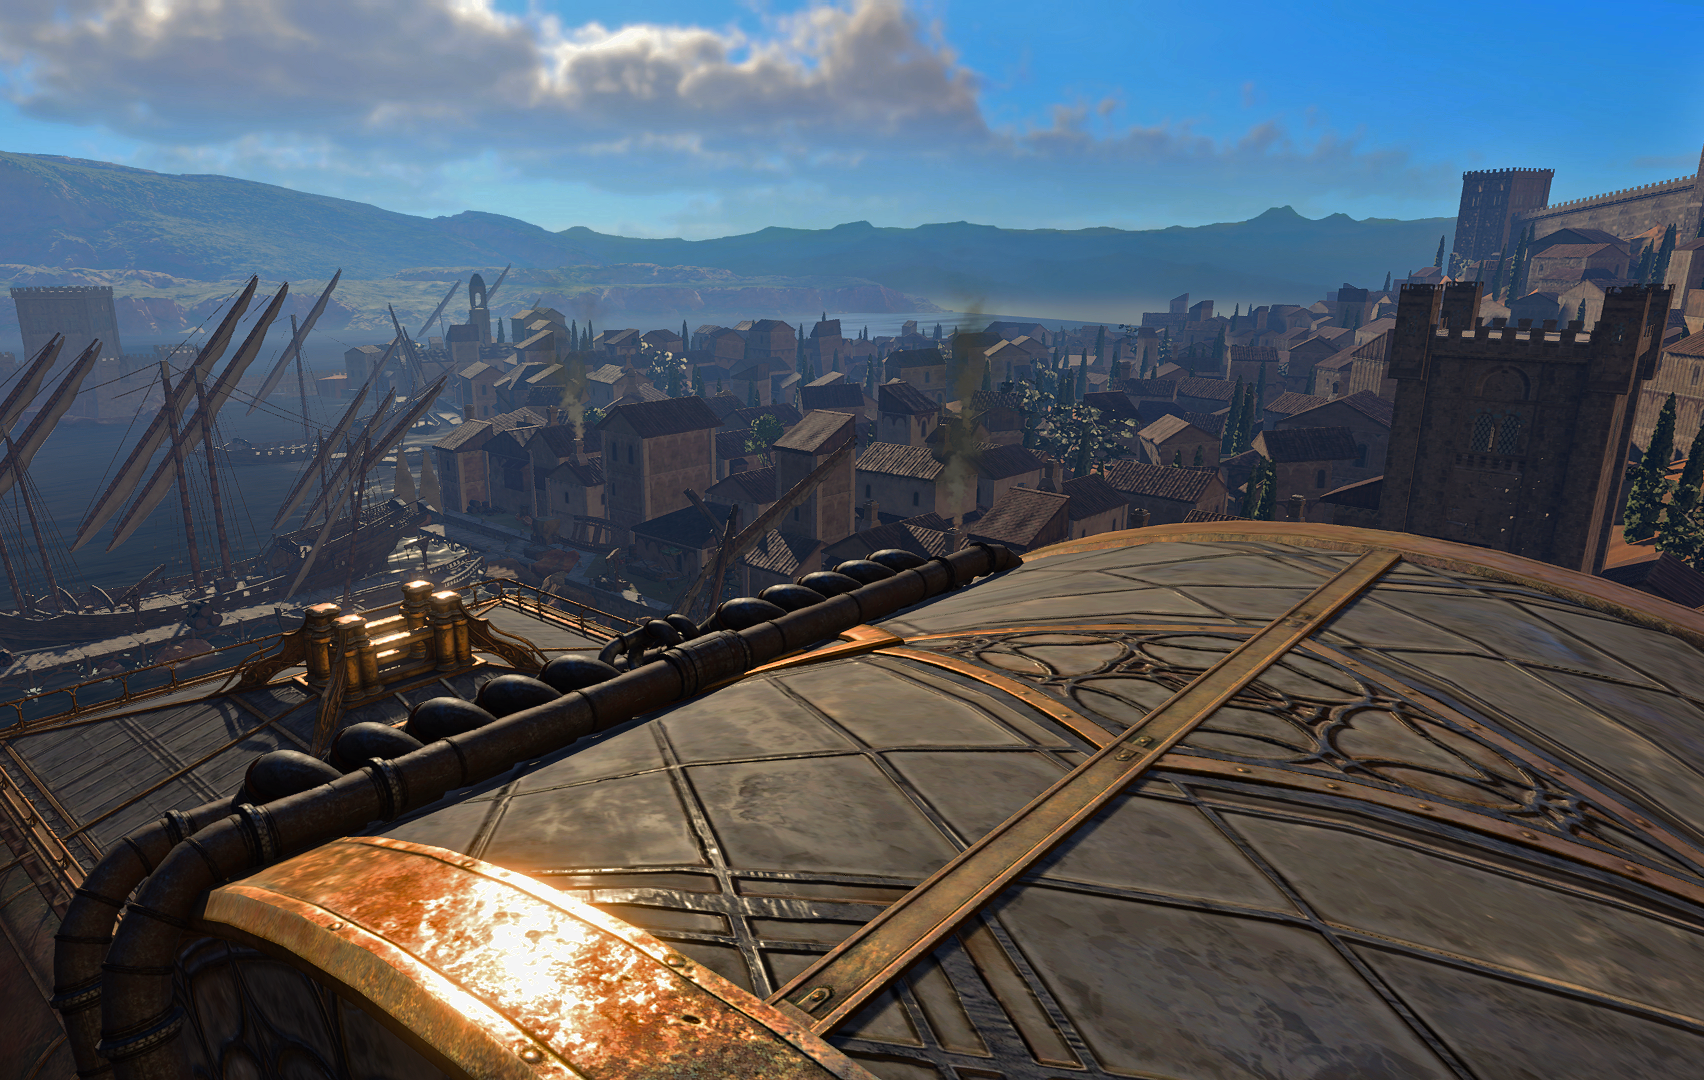
The foundry represents a single point of failure for the entire steel watch and, by extension, Gortash's plans. Consequently it has become one of the most heavily guarded locations in Baldur's Gate.
Outside area[edit section | visual editor]

The area around the foundry is separated from the docks with an iron fence with two gates at X: -234 Y: -149 and X: -234 Y: -180. Both gates are locked, each requiring 
The southern side of the surrounding area comes onto a rocky cliff and is fenced only to the half of the length. Beyond the fence is a small wooden berth with a single moored boat. In the boat is an unlocked heavy chest with three ![]()
This part of the foundry territory can be accessed with a series of jumps from the Water Queen's House porch approximately at X: -240 Y: -202 (spells like ![]()
![]()
The surrounding area is constantly patrolled by two 
![]()


Access[edit section | visual editor]
The points of entrance to the Steel Watch Foundry building are:
- Main entry across the fence gate at X: -260 Y: -150
- Open skylight on the roof at X: -300 Y: -136
- South side entrances at X: -275 Y: -170 (unlocked, but requires jumps or using levers nearby) and X: -290 Y: -170 (locked, requires

- Vent shaft at X: -247 Y: -126 (requires


While the party are inside the foundry building proper, they cannot fast travel or move to the Campsite.
Building layout[edit section | visual editor]
Main Floor[edit section | visual editor]

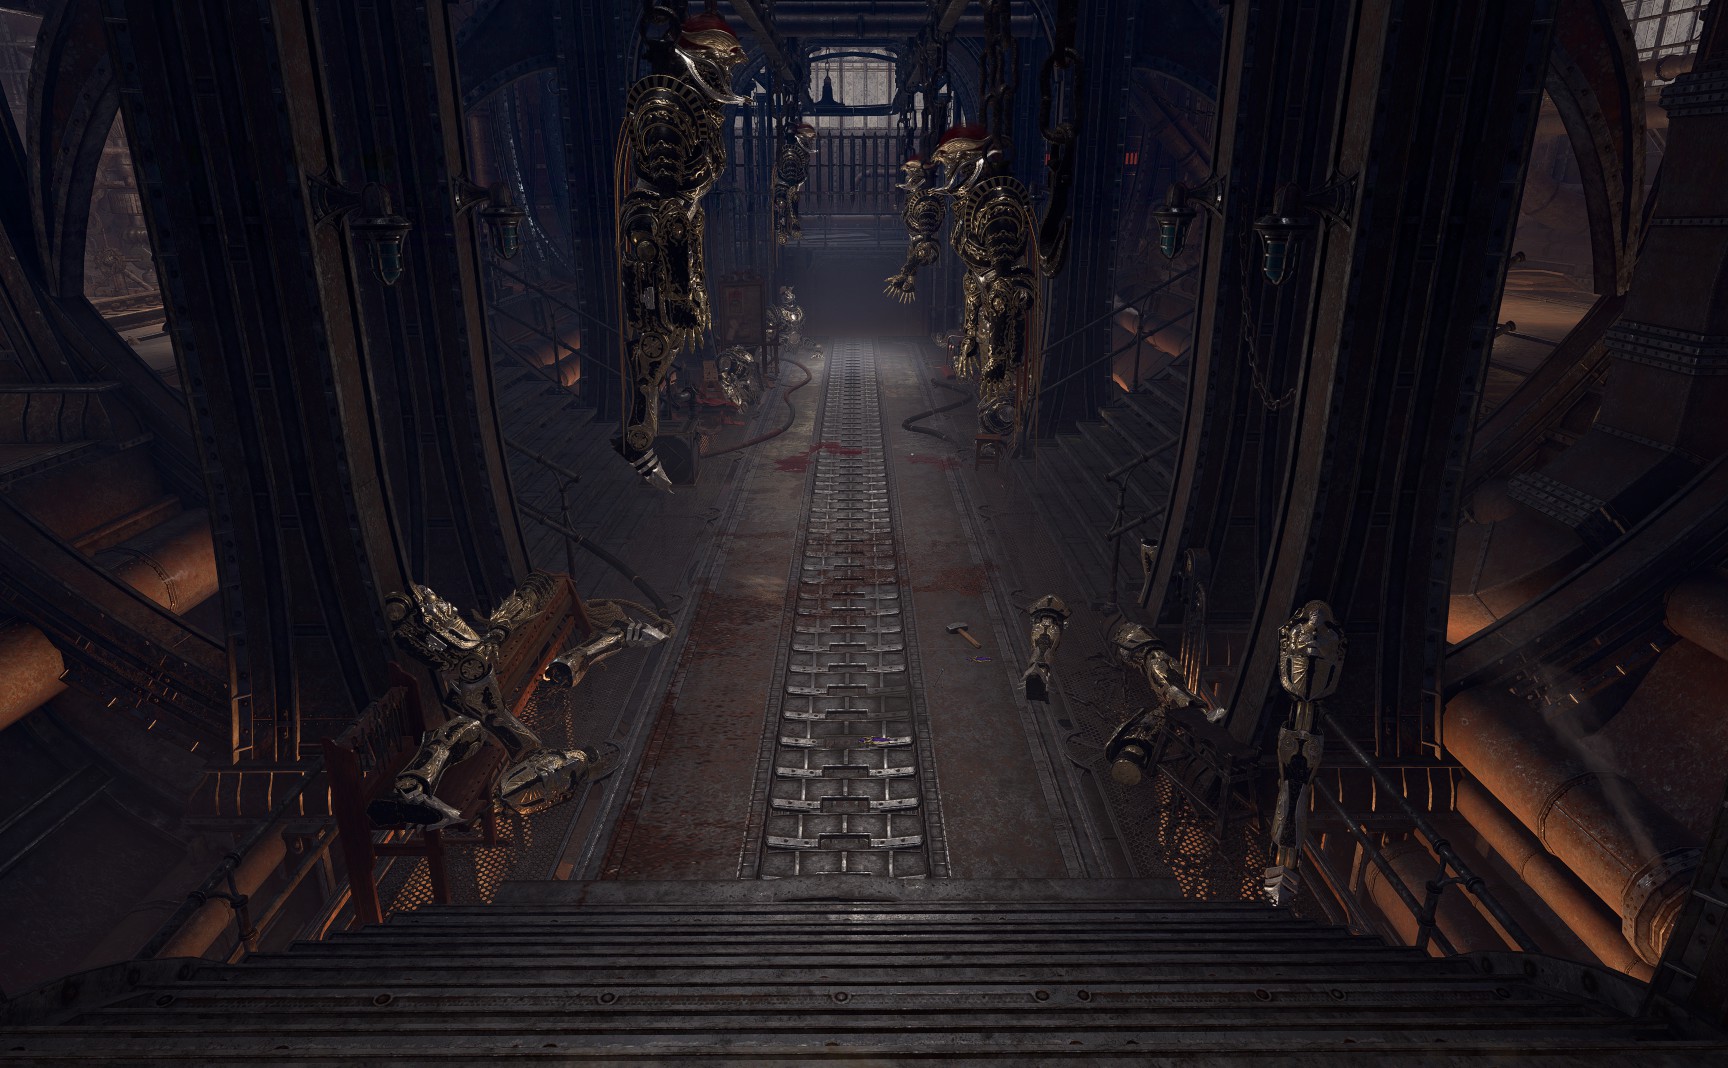
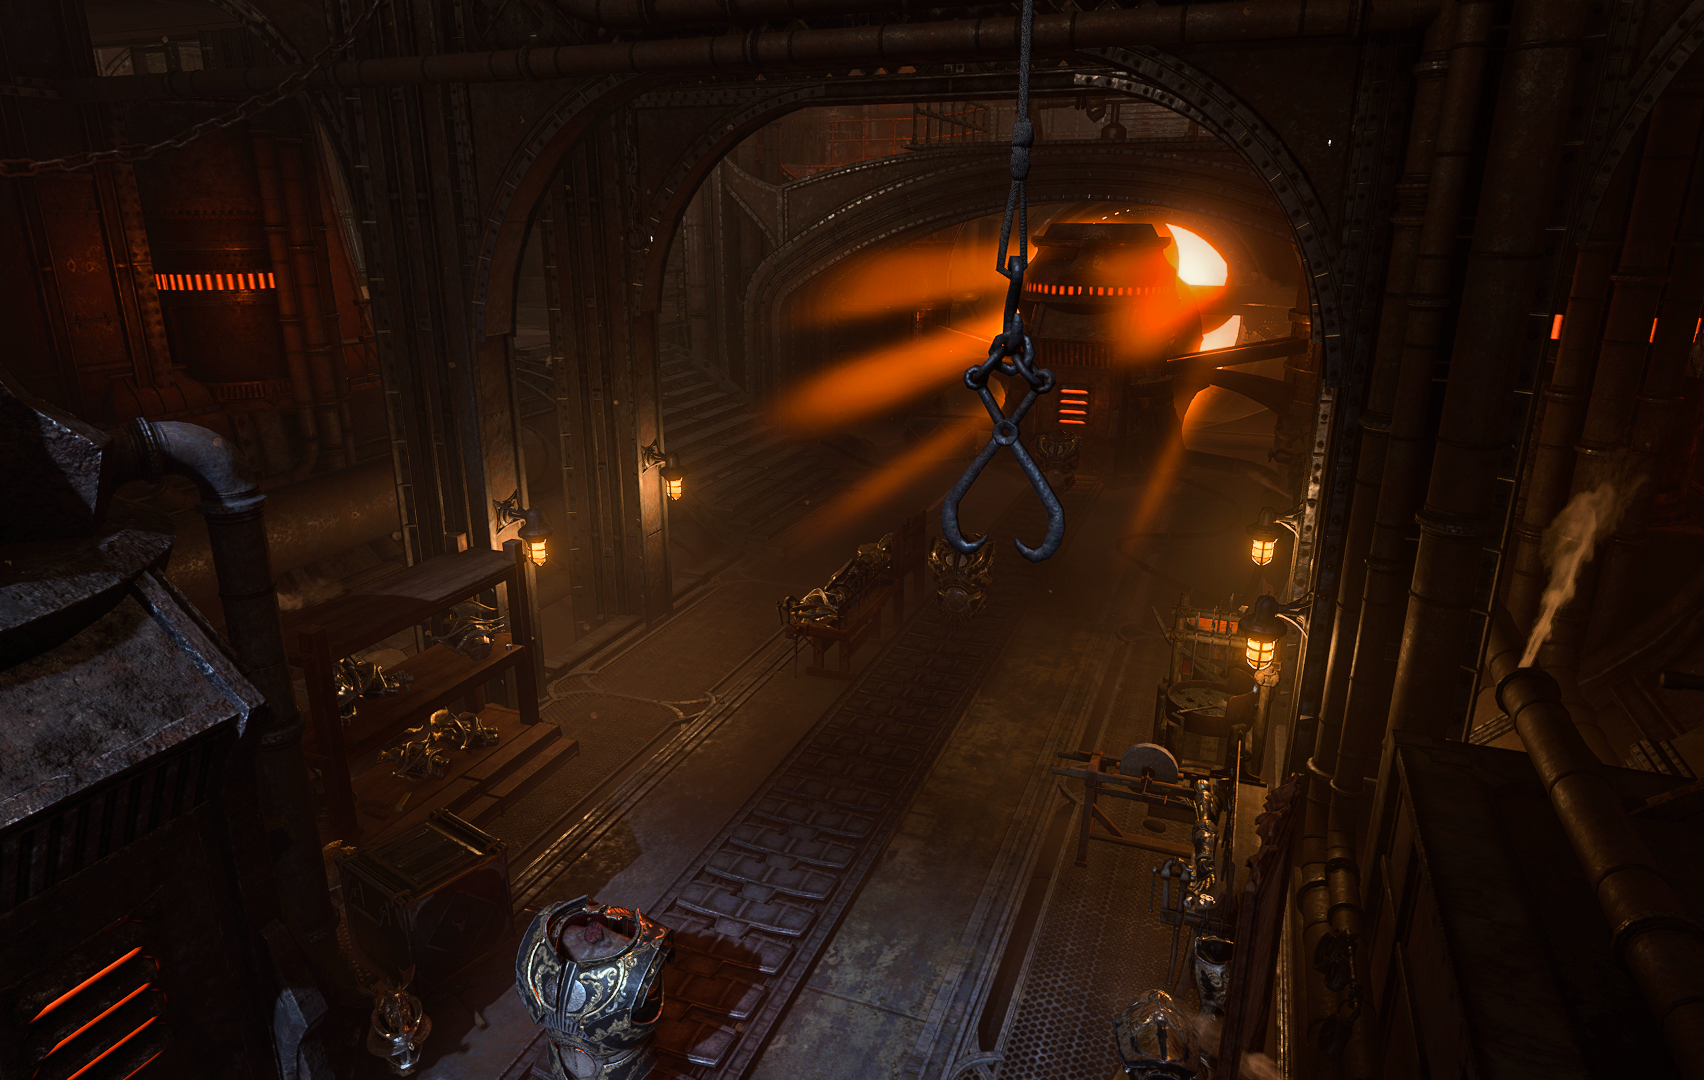
When the party enter the foundry from the main entrance, they find themselves in a small antechamber, presumably meant for routine maintenance of the automatons. To the right from the entrance 

![]()
The production process goes from the foundry depths to the surface. Thus, the main floor behind the next double doors is the foundry conveyor floor where final assembly of Steel Watchers takes place. Several partially completed watchers can be found in various states, hanging from the ceiling or lying around on tables.
The guard inside the foundry are all followers of the Cult of ![]()

![]()
![]()
![]()
The party can sneak around to cross the hall (possibly using the gallery above it, accessible by the stairs near the main entrance or the ladder at X: -307 Y: -163), or approach the guards openly. In the latter case, Tamia Holzt initiates a conversation on sight. Throughout it, a passive
During the fight, Banites can activate and drop the Motivators, which in this case trigger on the next turn. To avoid this, the Motivator must be interacted with and disabled, which requires
If the party successfully convince Tamia, they are free to wander around the main floor (save for looting the red-outlined items), including exploration of the Security Office in its far end (see below). Tamia Holzt also gives them an operational Motivator. More so, in this case two Banites in the antechamber[3] and all Steel Watchers outside disappear, allowing unfettered exploration the outer area as well.
At the gallery around the conveyor band are several workbenches which offer a sort of exhibition, prepared for Gortash's inspection of the foundry. There are eight items on show, depicting parts of a Watcher, of which four can be useful (though all are red-outlined):
- At X: -280 Y: -165 a

- At X: -287 Y: -166 a

- At X: -307 Y: -157 a

- At X: -275 Y: -135 a

The central conveyor band butts into the elevator door at X: -303 Y: -149. The door is locked and cannot be lockpicked. However, it can be opened with a lever in the Security Office. The elevator cabin leads to the subterranean Lab level of the foundry (see below).
In the rear part of the building is the Security Office. It can be accessed through the double doors at X: -316 Y: -163 or from the doors on the upper gallery at X: -316 Y: -134. Both doors are locked, require ![]()
Inside the office Gondian artificer 
![]()
![]()
![]()
If the party speak to Zanner Toobin, he turns out to be the unspoken leader of the Gondians. He reveals that his brethren were coerced to produce the automatons. Their relatives are imprisoned elsewhere as hostages, but Toobin claims he and his ill-fated fellows are ready to riot should they know their families are safe. Agreeing to help Toobin starts the Save the Gondians quest. Toobin explains that the clues to where the hostages are kept are deeper in the foundry.
Toobin also relates that the key element of the whole Steel Watch project is a Neurocitor, constructed by him – and he has taken the precaution of building in the means to destroy it as well. Alternatively, he can be pickpocketed for the ![]()
On the upper gallery inside this room at X: -318 Y: -149 is a lever which calls up the aforementioned elevator, opening the gate to its cabin at the same time.
On the wall is the Scrying screen. Interacting with it shows a short cutscene with a few hostages, clearly kept in some kind of a prison. The side room to the south is a storage with nothing remarkable inside.
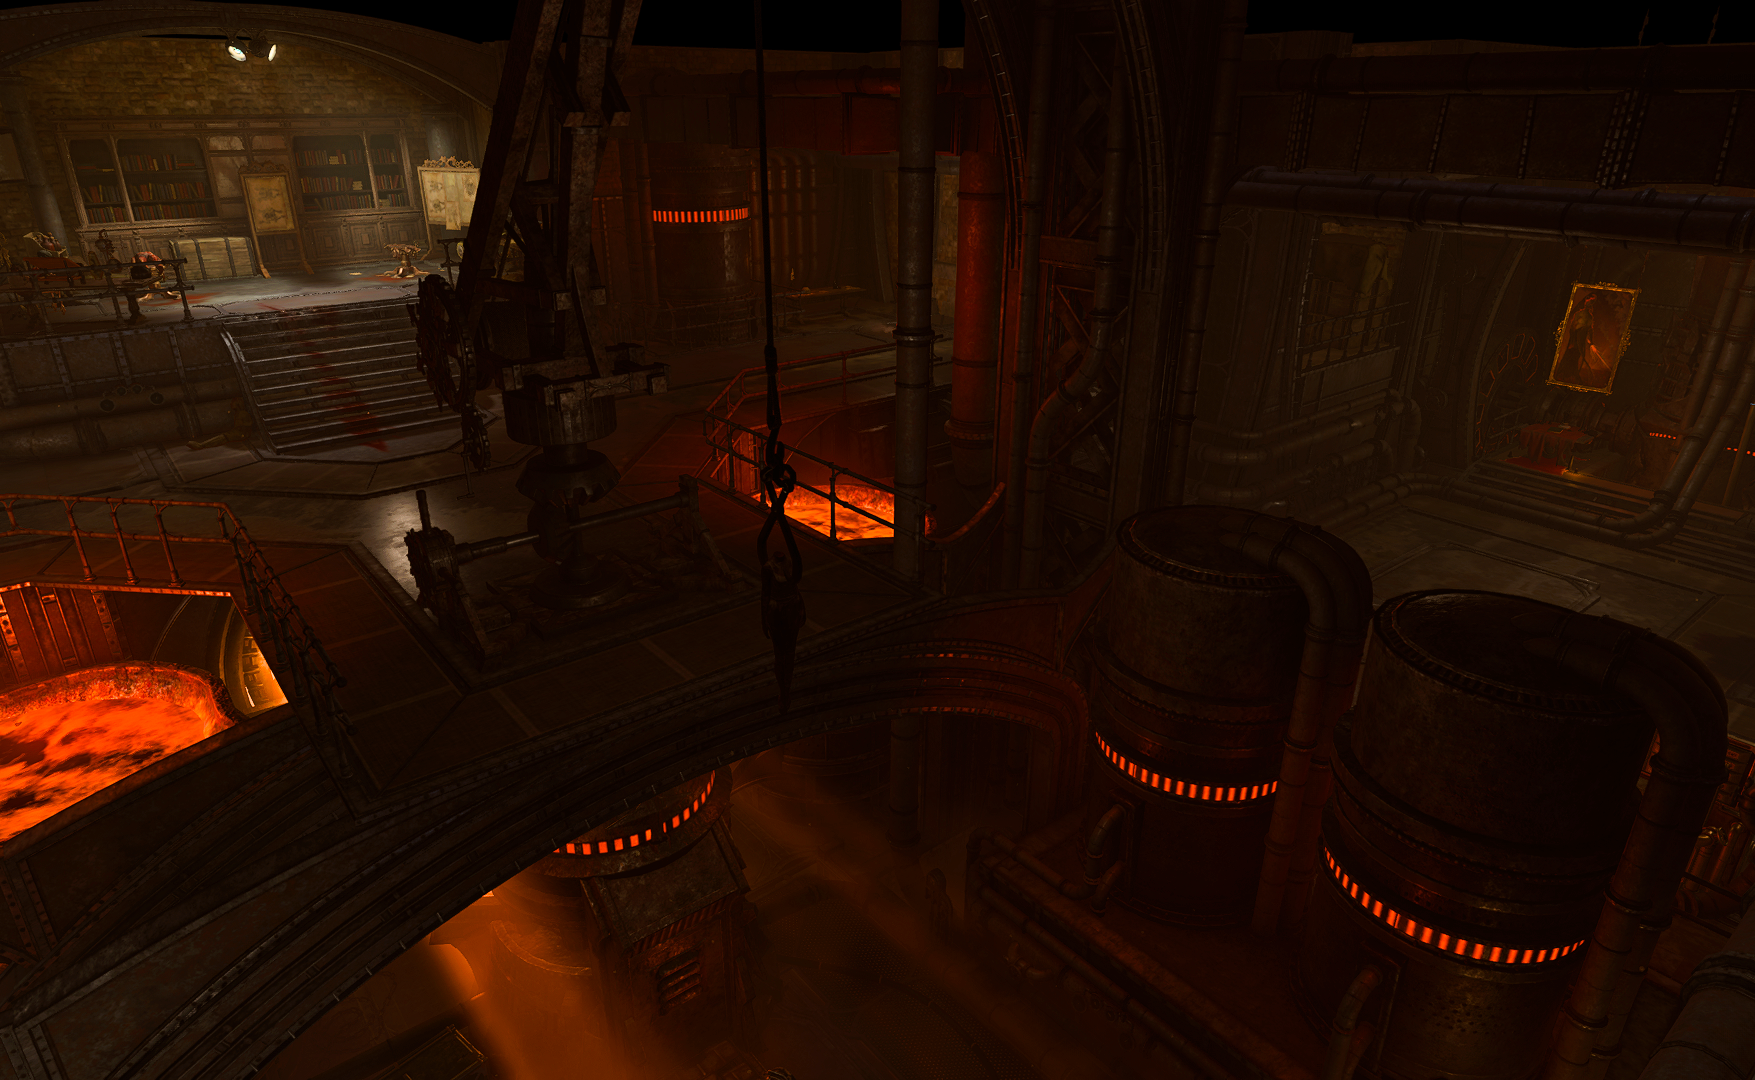
Lab Level[edit section | visual editor]


The Lab Level can be accessed two ways by the door from the Security office at X: -327 Y: -149 and the aforementioned elevator, called with the lever in the Security office.
The Lab Level is a large subterranean split-levelled hall where various parts of Steel Watchers are constructed and filled with the secret components, which subjugate them to the central control hub.
The elevator opens to the conveyor belt running through southern half of this level from a forge, with several Steel Watcher torsos on it. The door from the Security office leads to the landing of a small staircase in northern half of the hall. The landing extends to a narrow balcony at X: -1969 Y: 420, from which a character with enough Strength can jump up to the pipes winding under the ceiling. These pipes allow party members to reach most parts of the Lab Level and can be useful in a fight. Using means of spatial movement like ![]()
![]()
In the Lab Level more Gondians and Banites can be found, along with two 
![]()
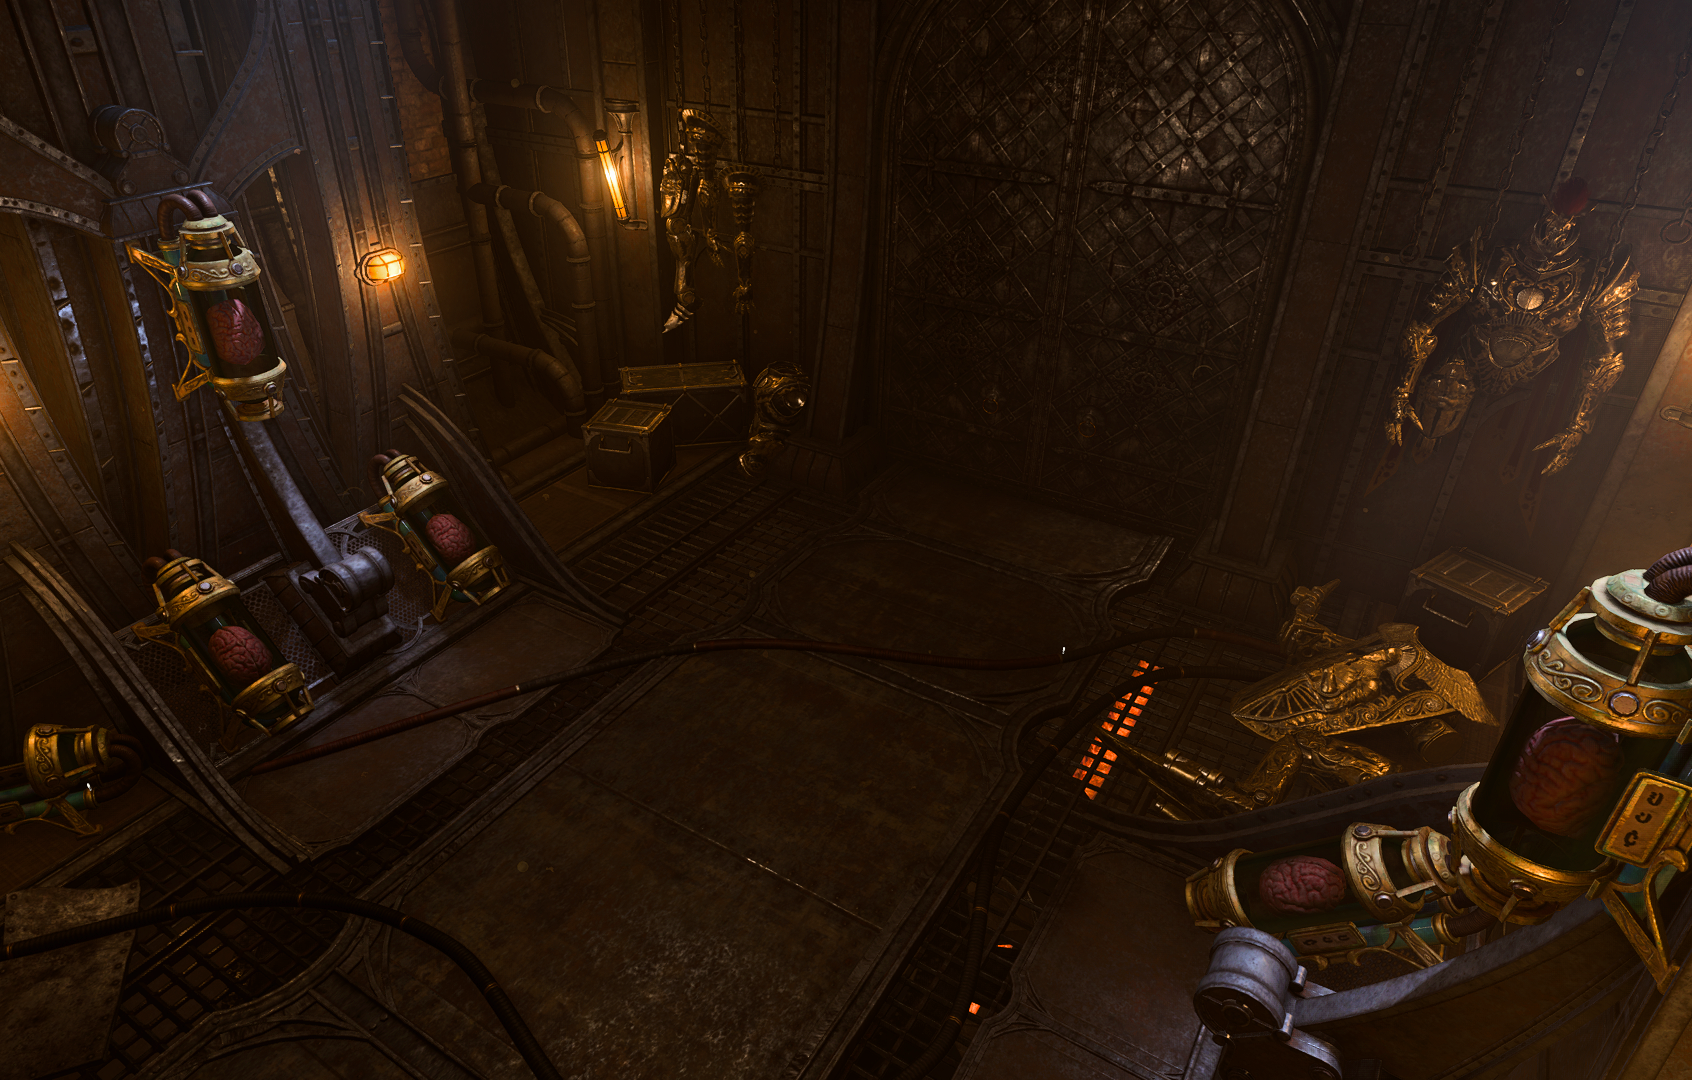
At the far end of the Lab Level is higher ground with a study with a small library and two operating beds with beheaded zombies on them. An inscription on the wooden crate nearby claims that the zombies were provided by 
![]()
![]()
![]()

At X: -1972 Y: 445 is a locked metal crate with a ![]()
![]()
![]()

In the corner at X: -1956 Y: 416 is a shrine to ![]()
The quest Save the Gondians can be progressed by reading one of the following documents, scattered around the Lab Level:


Each of these three documents mentions the Iron Throne and / or a submarine hidden in Flymm Cargo as a method to reach it. There are several other documents with similar contents which do not change the quest state. Some of these documents are destructible.
Also, it is possible to pick up the corpse of 
![]()
At X: -1960 Y: 461 are the doors to the heart of the foundry: the Control Centre. The doors are locked, requiring ![]()

If the party have already been to the Iron Throne and saved at least several Gondians (notably Zanner's daughter 
![]()
![]()
Control Centre[edit section | visual editor]

Before the main area is a small antechamber with several interactable brains in jars. Each one can be 'connected' to with the charcter's tadpole to view and possibly control a particular Steel Watcher. When interacting, it prompts a dialogue describing the Watcher's actions, mostly aggressive and / or unnecessarily cruel towards their "objects". It is necessary to pass a
In the antechamber lies the decapitated body of another Gondian artificer 
Following the corridor is a large split-levelled room with massive wires intertwined with thick threads of pink tissue resembling the fleshy walls of the Mind Flayer Colony. Here are three upgraded Hellfire Watchers,[5] and a 
![]()
Feats and abilities of the Steel Watcher Titan and the Hellfire Steel Watcher Titan, as well as tactics on fighting them are listed on the creature's page.
On a table in this room lies an ![]()


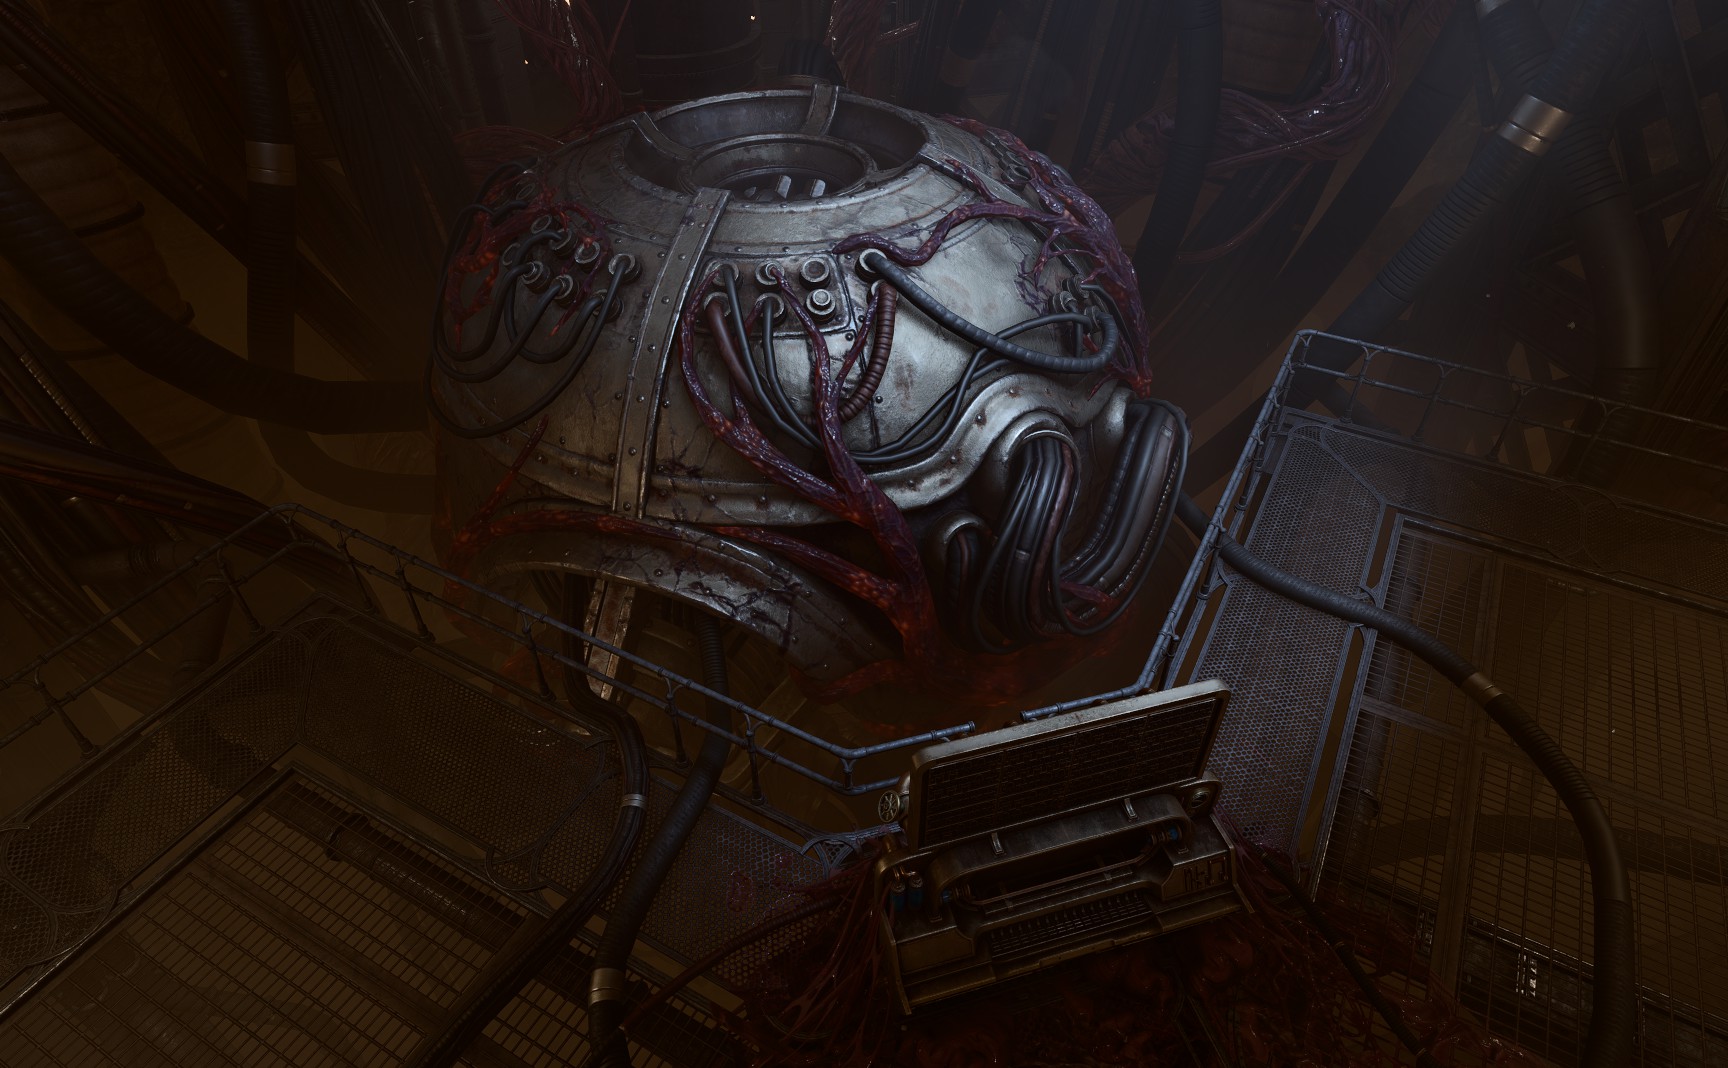
At the back of the room is the Neurocitor, a large fusion of electronics and brain matter which allows the 
- Interact with the Neural Switchboard and place the

- Interact with the Neural Switchboard, pass the
- If Zanner Toobin survived to this point, and the party defeated the automatons in the Control Centre, he can initiate the self-destruction protocol. He appears in the room after the fight is resolved.
It is entirely possible to use invisibility to sneak to the Neural Switch and interact with it without engaging in a fight with the watchers in the room.
Using the ![]()


However, using the bomb in the Neurocitor is considered an oathbreaking action for Paladins of Devotion.
Destroying the Steel Watch Foundry by any available method (planting the bomb included) may also grant one or more of the following inspirations:


Outcome[edit section | visual editor]
After destroying the foundry by any available method the party find themselves on the Grey Harbour Docks embankment. Depending on which of the relevant quests are active at this moment (e.g, ![]()
![]()
![]()


The Steel Watch Foundry is destroyed and inaccessible after events there are completed. If party somehow lose one or more Netherstones while exploring it, a failsafe option [verify] is provided. In this case, near the burning debris appear three 

Waypoints[edit section | visual editor]
This location has the following ![]()
Related Locations[edit section | visual editor]
Related Quests[edit section | visual editor]
Characters[edit section | visual editor]
Gondians[edit section | visual editor]


Clan Ironhand gnomes[edit section | visual editor]
These characters appear only if the Ironhand gnomes have survived the previous events of the current playthrough.


Cult of Bane[edit section | visual editor]
Black Gauntlets[edit section | visual editor]


Iron Consuls[edit section | visual editor]


Fists of Bane[edit section | visual editor]


Creatures[edit section | visual editor]


Loot[edit section | visual editor]
Related literature[edit section | visual editor]


Gallery[edit section | visual editor]
-
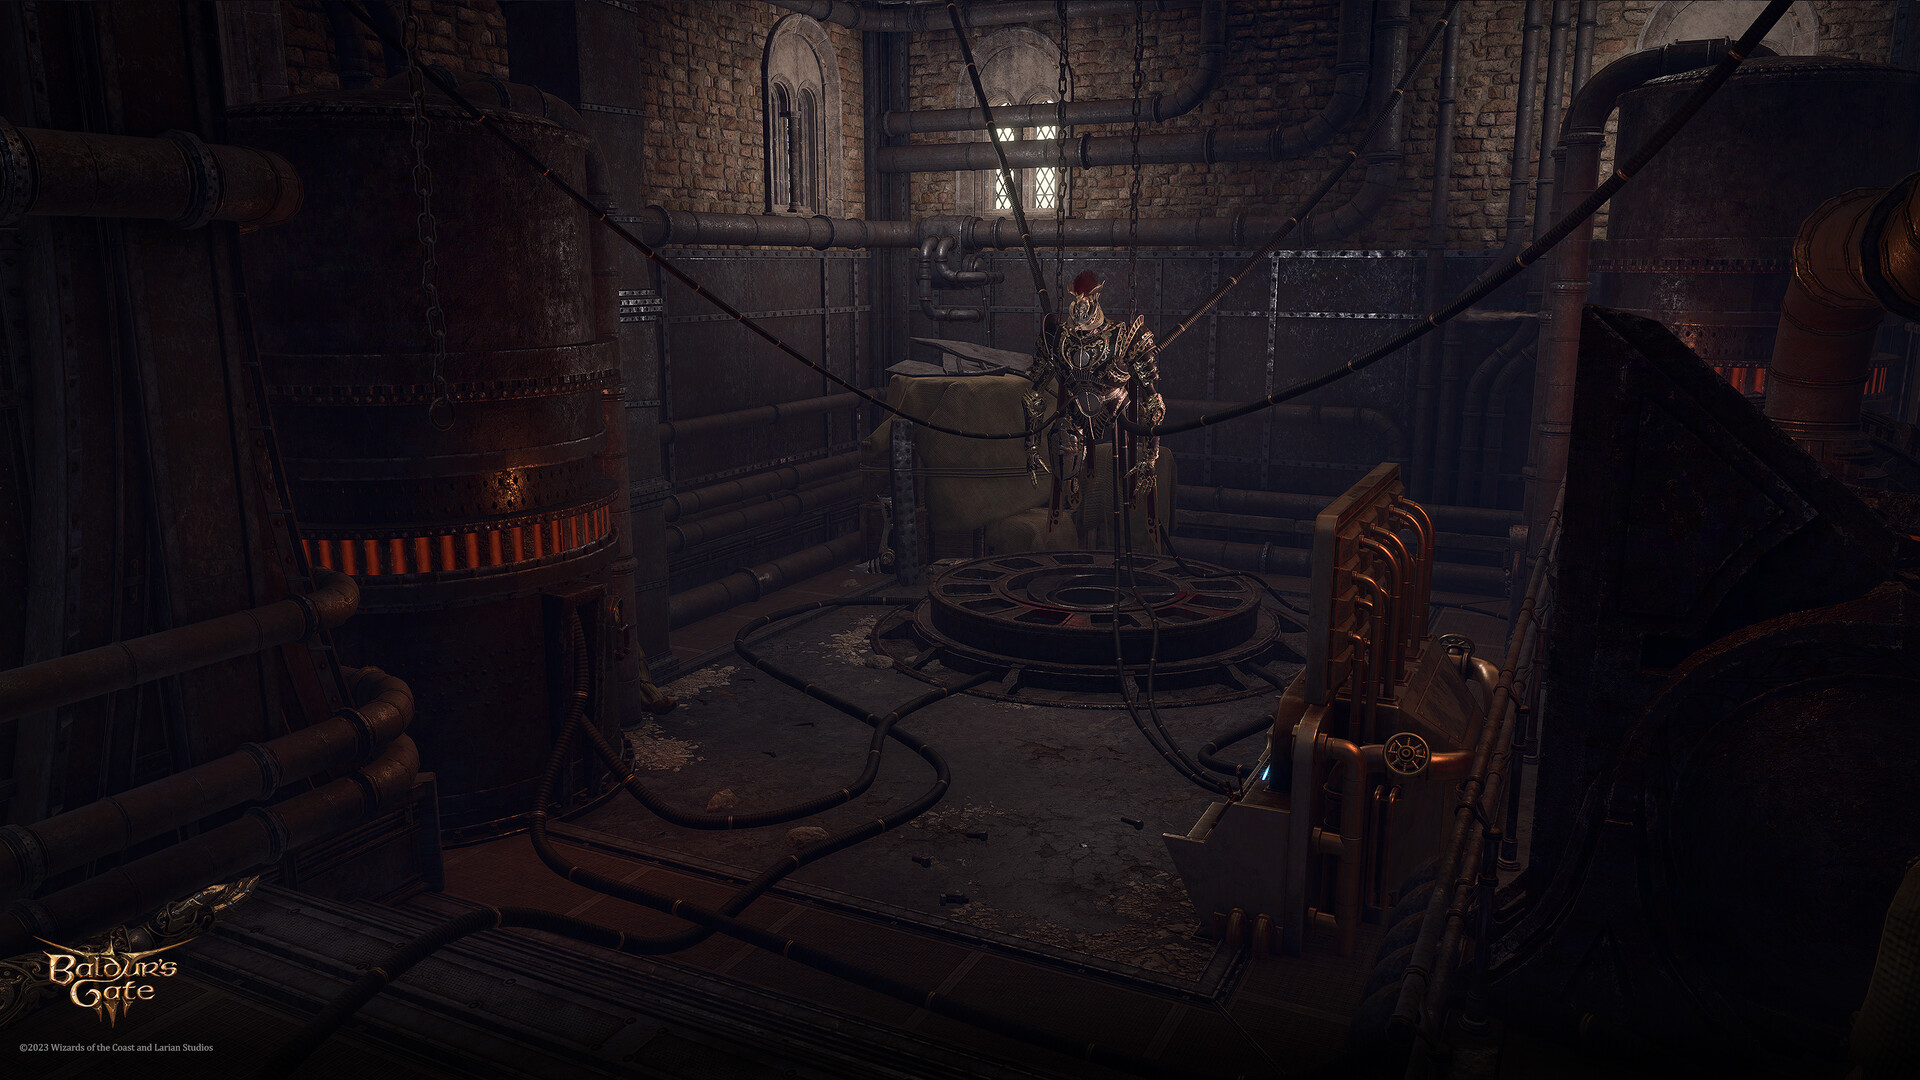
The ground floor antechamber
by Edward Vanderghote -
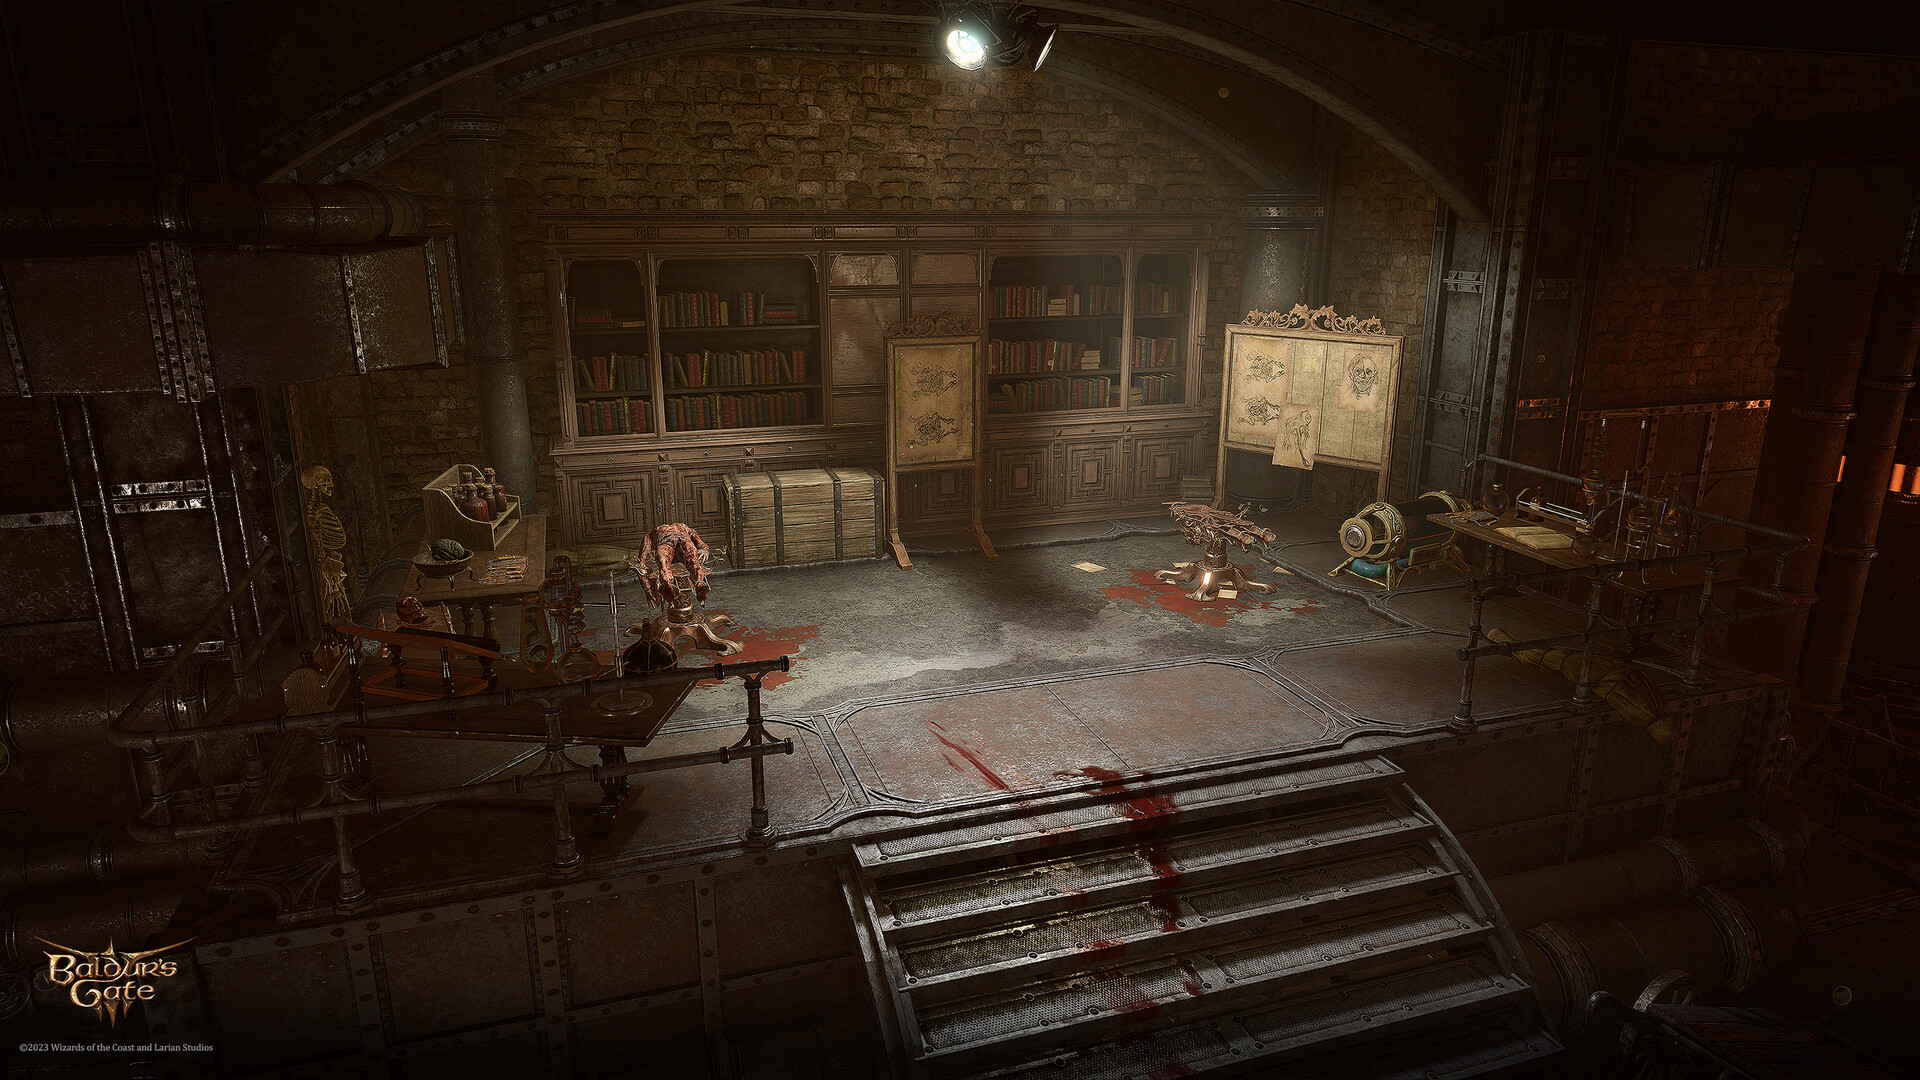
The study on the Lab level
by Edward Vanderghote -
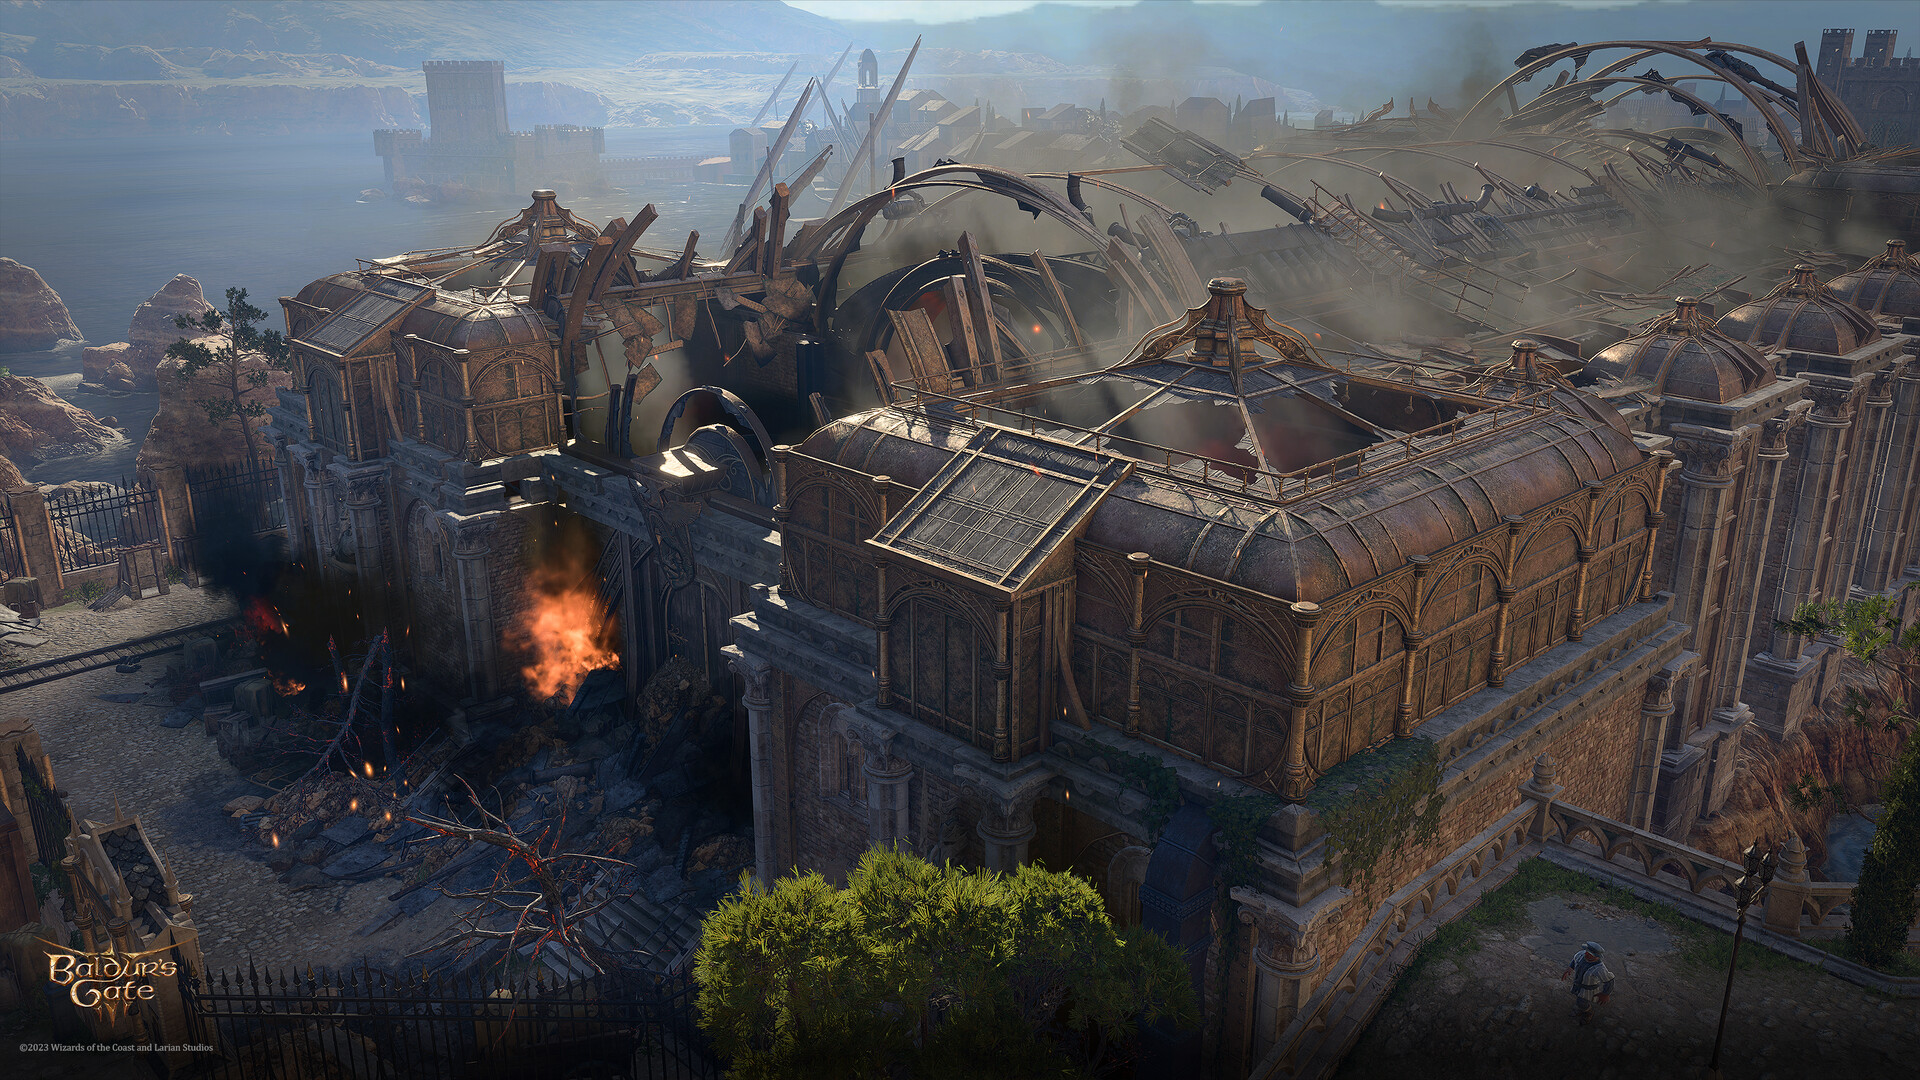
Remains of the blown-up Foundry
by Edward Vanderghote


External links[edit section | visual editor]

Footnotes and references[edit section | visual editor]
- ↑ Not implemented in the game playthrough.
- ↑ As stated in


- ↑ Gasper Throaks and Chadd later return to the main area and join Tamia and other Banites when the party return to the foundry after visiting the Iron Throne.
- ↑ As each party member can only use the Illithid power once in a Long Rest, rotating between members may be helpful. However, stopping Watchers from their actions brings neither approval nor inspirations. Also, destroying a brain does not disable the Watcher connected to it.
- ↑ Unlike those in the Lab Level, these Watchers are armed not only with Watcher Greatswords, but also with Watcher Crossbows.[verify]
- ↑ The component's description reads: "Still, you can make out two sets of initials embossed into the copper: LDH and YTS." LDH and YTS presumably stand for Lenore De Hurst and Yrre the Sparkstruck; the Arcane Tower's owner and their partner respectively. The head's visual appearance matches Bernard, but not any of the Animated Armours that accompany him.
- ↑ This inspiration, unlike two others, is gained as well if the Runepowder Bomb is simply used in any of the fights, not only in the Foundry.[verify]
- ↑ Appears if Zanner Toobin did not survive
- ↑ Appear only if the party have somehow lost the Netherstone(s) before destroying the foundry.
- ↑ Appears only in Honour difficulty mode