Ad placeholder
Lady Jannath's Estate

| Lower City | ||||
| House of Grief | ||||
| ↑ | ||||
| Lady Jannath's Estate | → | Elerrathin's Home | ||
| ↓ | ||||
| Grey Harbour Docks | ||||

“Were you to try and enter, there'd be nothing I could do to stop you.
After all, I am on holiday.„
Overview[edit section | visual editor]

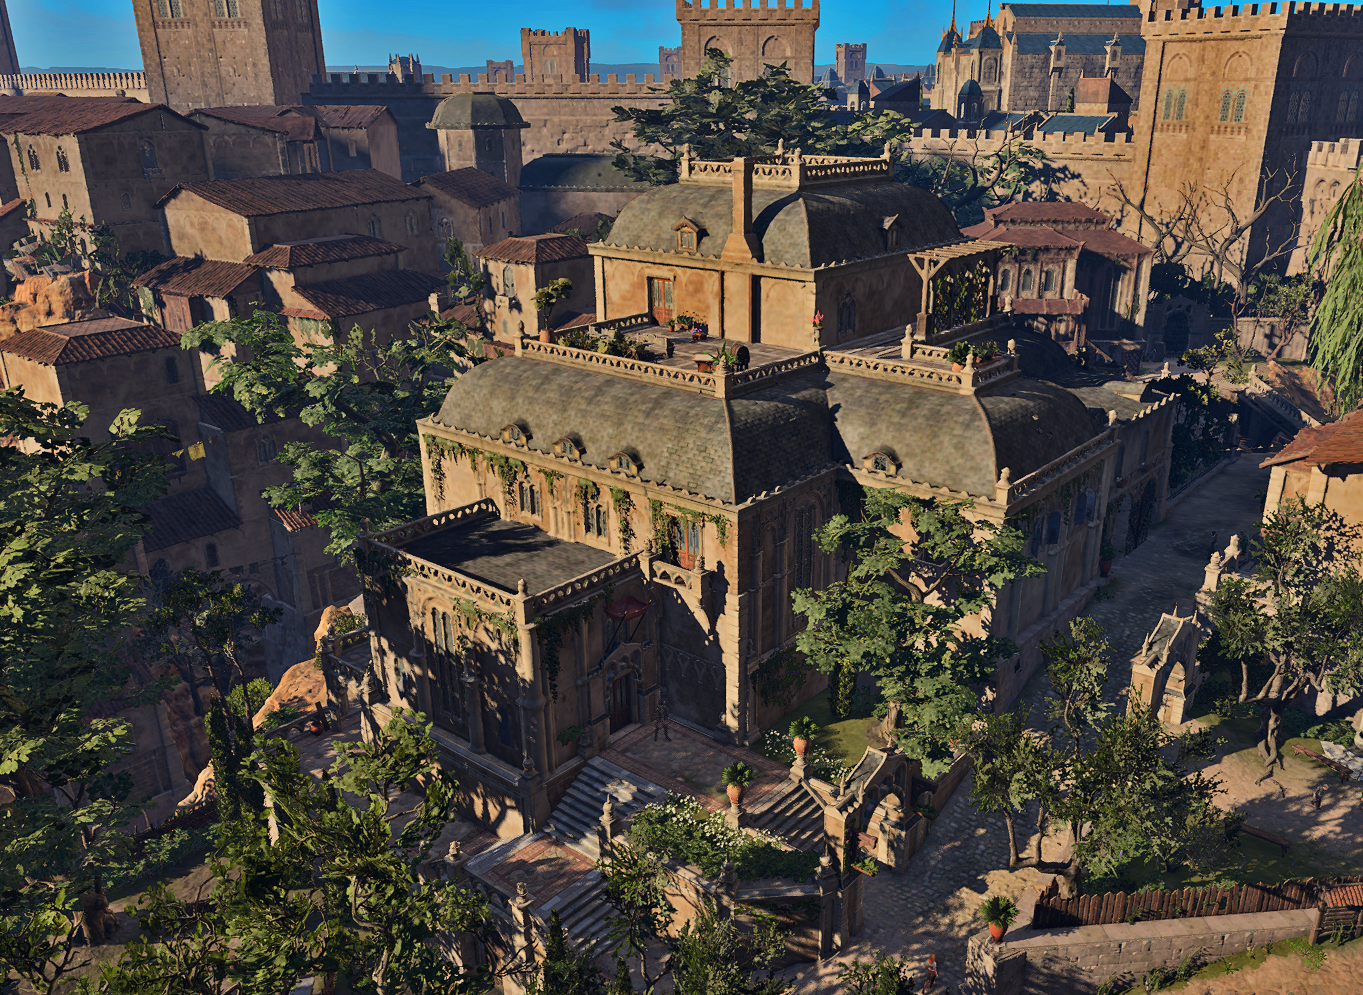
Lady Jannath's Estate is a large manor house located in the Steeps district of the Lower City, to the west of the main entrance into the Upper City - the Baldur's Gate checkpoint. It has four floors and a small garden along the facade.
The estate belongs to 


![]()
Access[edit section | visual editor]
The manor house has numerous entrances, including the main one at X: -253 Y: -76, guarded by the butler 
Other possible points of entrance are as listed below:
- The side balcony at X: -268 Y: -76 leads into the mansion foyer. It is available only via jumping (at least 9


- Another side balcony at X: -274 Y: -55 allows to enter the estate's office. This one has knotted roots which allow one to climb on freely. A Traveller's chest under the balcony requires

- A backdoor on the eastern side of the building at X: -245 Y: -44 leads to the main stairwell. It is accessible through the locked iron gate nearby (which requires
Mansion layout[edit section | visual editor]

Lady Jannath's estate has four floors. The ground floor includes a large foyer with stairs on each side leading to the first floor.
In the far end of the foyer at X: -260 Y: -60 is a fireplace, where in the pile of ash a ![]()
Between those rooms in the northern part of the building is a large stairwell connecting all the floors except the first floor.
First floor[edit section | visual editor]
This level can be reached by the interior stairs or from the exterior balcony, which leads to the estate office. Half of the first floor is an inner mezzanine, with the doors to the estate office to the west, to the dining room in the middle, and to the another smaller staircase to the second floor behind double doors to the east.
In the estate office, a locked strongbox (requires 
![]()
![]()
![]()
![]()
Second floor[edit section | visual editor]
The second floor contains the master bedroom and a corridor leading to a false balcony above the entrance.
Lady Jannath can usually be found here, and Oskar Fevras as well - if he was saved in Act One. If Oskar is present, a cutscene starts automatically which shows he is the focal point of the disaster that has stricken the mansion. When the conversation ends, more ghosts appear in the room and attack the party. When they are defeated, the dialogue continues, and the party can take up the investigation of the haunting. Oskar Fevras in this case lies unconscious and can be looted to obtain his ![]()
There are two wooden chests in the bedroom, containing gold, Valuables and alchemical ingredients.
The corridor leading to the false balcony is actually a small gallery hovering over the foyer. On a table near the false balcony is a bottle of ![]()
The stairwell and third floor[edit section | visual editor]
The main stairwell connects the ground floor with the second and the third ones. The third floor is an armoury with several display cases and weapon stands. Weapons of mundane and +1 quality are here, along with various shields. A ![]()
In the far end of the room are stairs to the fourth floor. A rustic chest with minor loot can be found under the stairs at X: -266 Y: -56.
Fourth floor[edit section | visual editor]
The whole fourth floor is dedicated to a painter's atelier, filled with utensils for drawing.[3] Behind the blank canvases in the corner is a Traveller's chest with minor loot.
In the far end, a part of the atelier is divided by a movable wall. The way of it being revealed and opened depends of the current state of the mansion (see Involvement section below). Inside is a secret cubby with a locked Rustic Chest can be found, which can be opened with ![]()
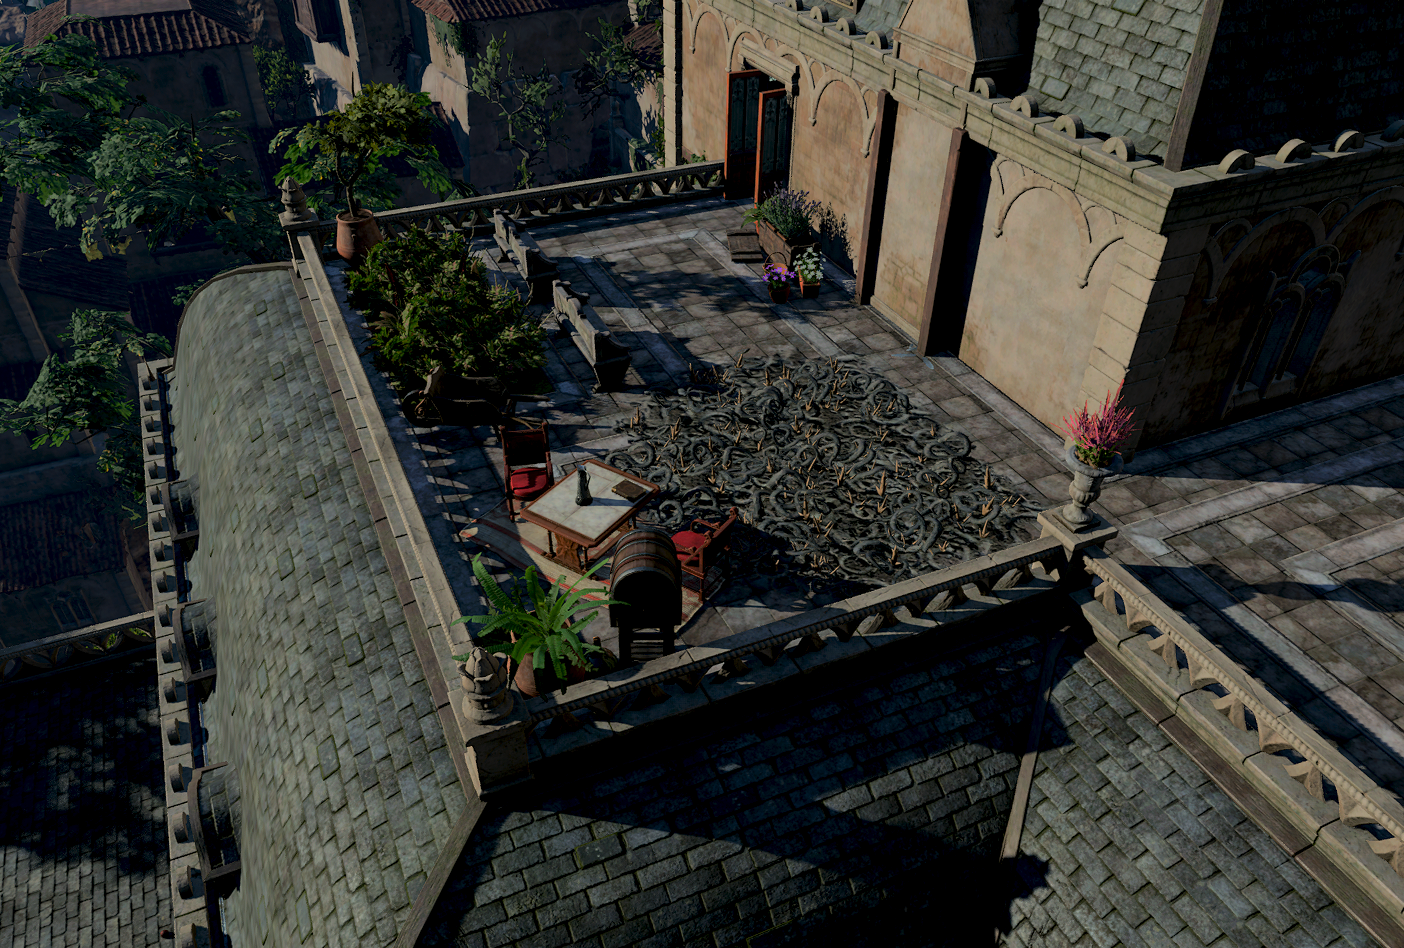
At X: -266 Y: -58 is a door to the large open space on the foyer roof. If a party member walks around the atelier dome, at X: -253 Y: -52 a cracked tile can be found (requires ![]()
![]()
![]()
![]()
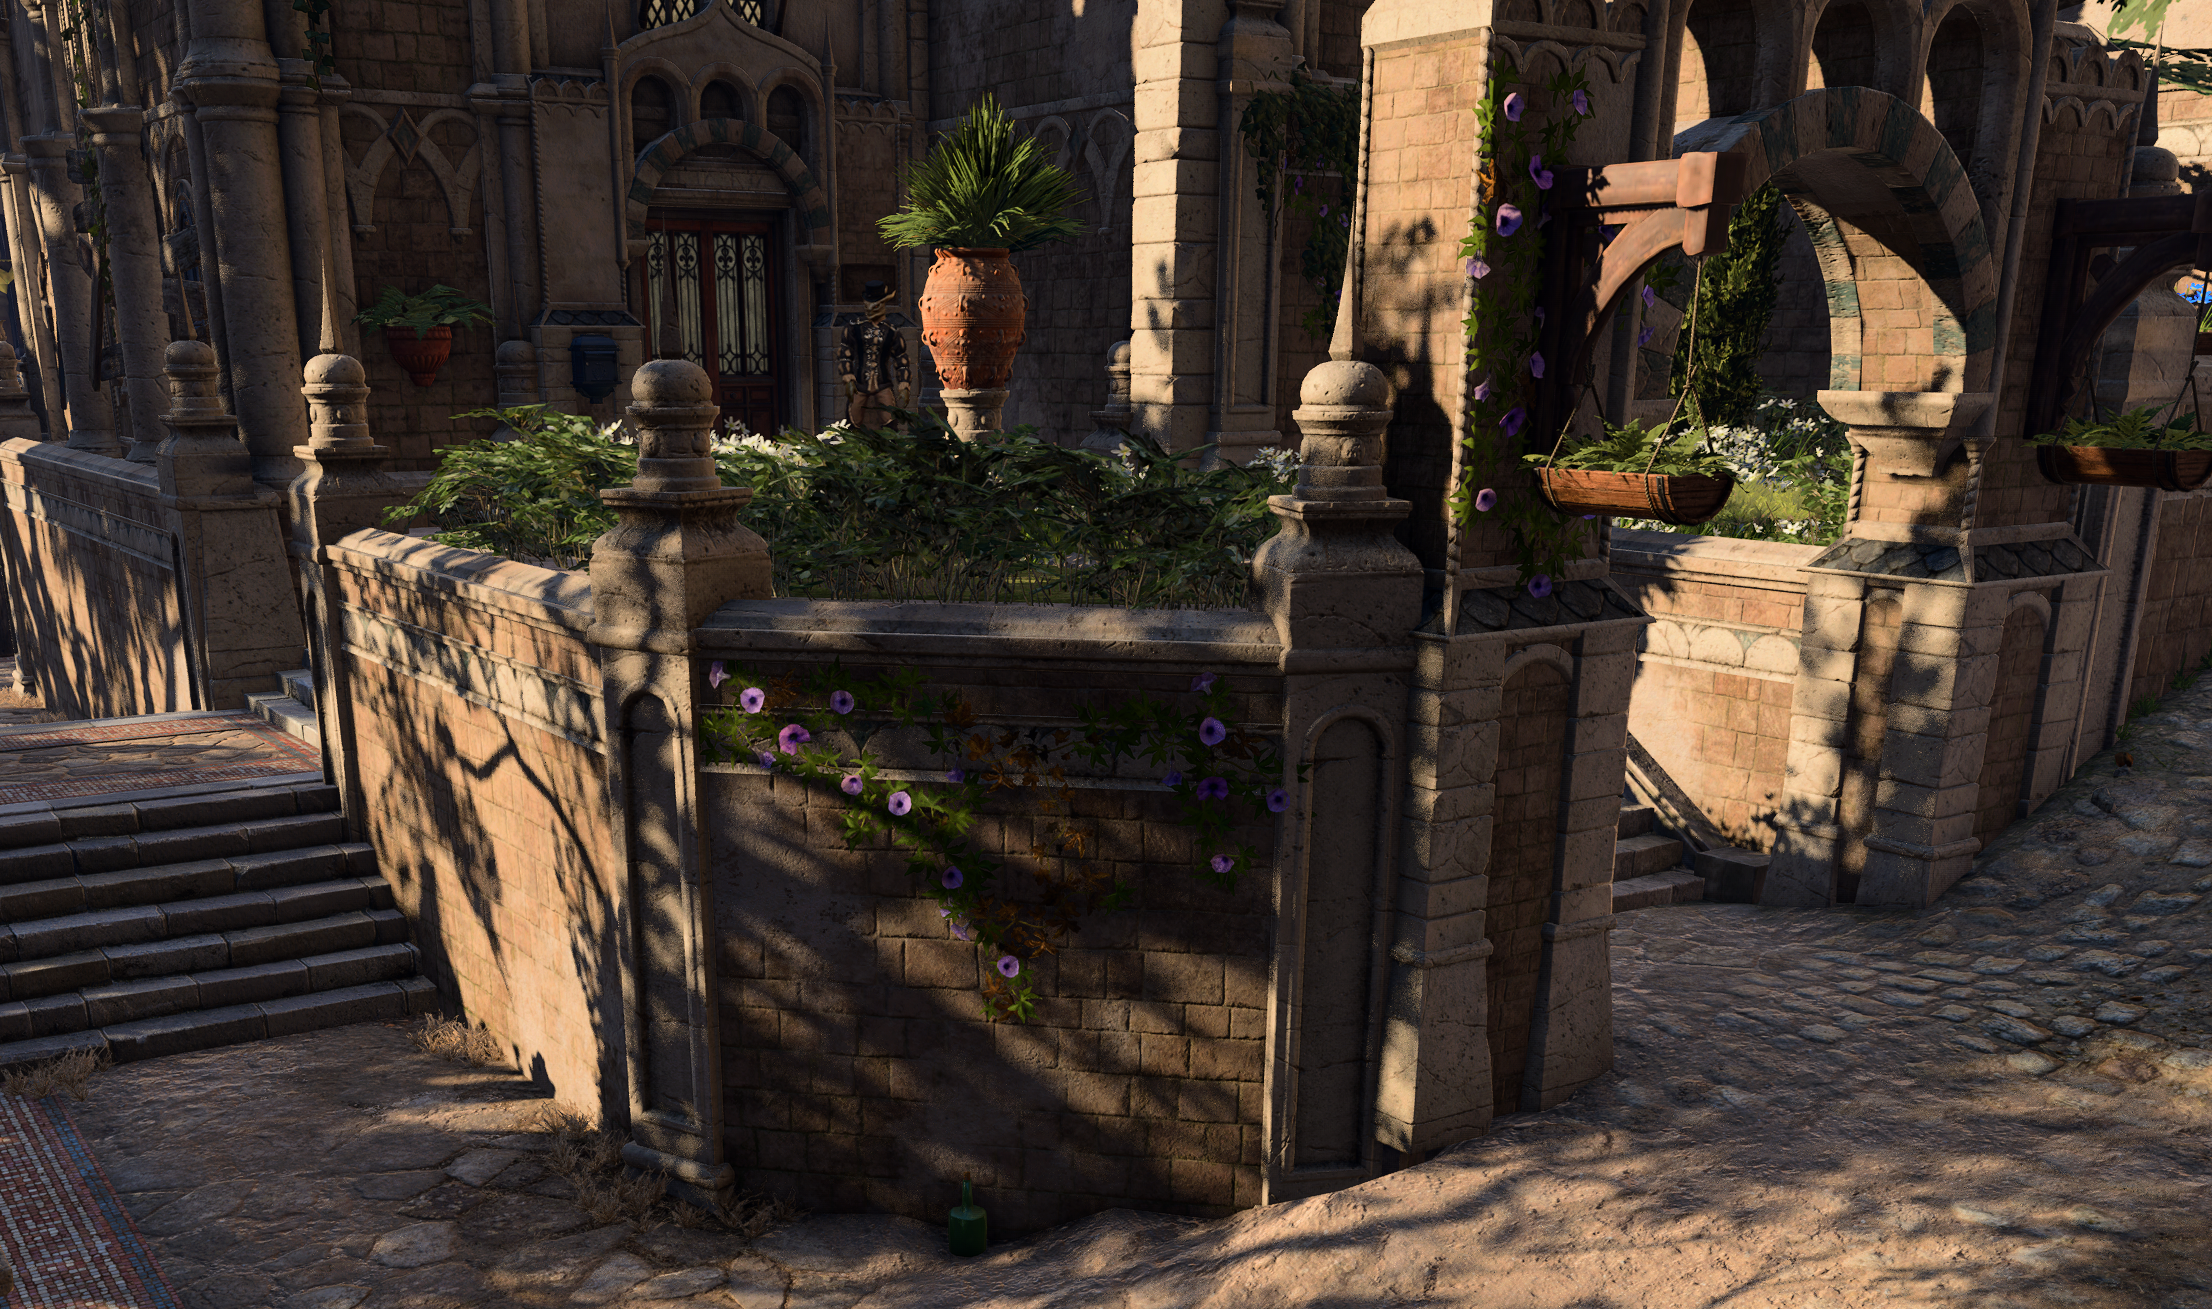
Outside, around the building[edit section | visual editor]
In front of the building facade is a small garden with a playground for kids. The door to the mansion basement is labelled as "Keep Out" and leads to a storage area with garden implements marked as Gardener's Basement. There are two pressure plates, one on the south side of the room and one on the north, which can be revealed using a perception roll. If they are both stood upon or heavy items like barrels, chests or crates ar placed on both of them at the same time, a hidden door in a false wall opens, further revealing the pass beyond and a 
There are several NPC vignettes placed around Lady Jannath's Estate.
- In the garden,


- Behind the manor house a team of ghost watchers led by


Involvement[edit section | visual editor]
When the party reaches the Lower City, the state of the mansion depends heavily on whether the party have met Oskar Fevras in Act One and, if they have, on whether the quest is still active and how it had been progressed. Its two conditional states are:
- Oskar Fevras has been met and saved from the Zhentarim. In this case, in Act Three the party find out that Oskar and Jannath married, but soon after the wedding Oskar became possessed. The whole estate has become haunted and is full of malicious ghosts now. The party can investigate it and save both Oskar and Lady Jannath.
- Oskar Fevras was never met, or was left with his captors, or died in the Zhentarim Basement. In this case, Lady Jannath is holding an art exhibition in her estate, which hosts various city nobles and patriars. The party can visit the event as well and encounter the other patrons and the estate's staff.
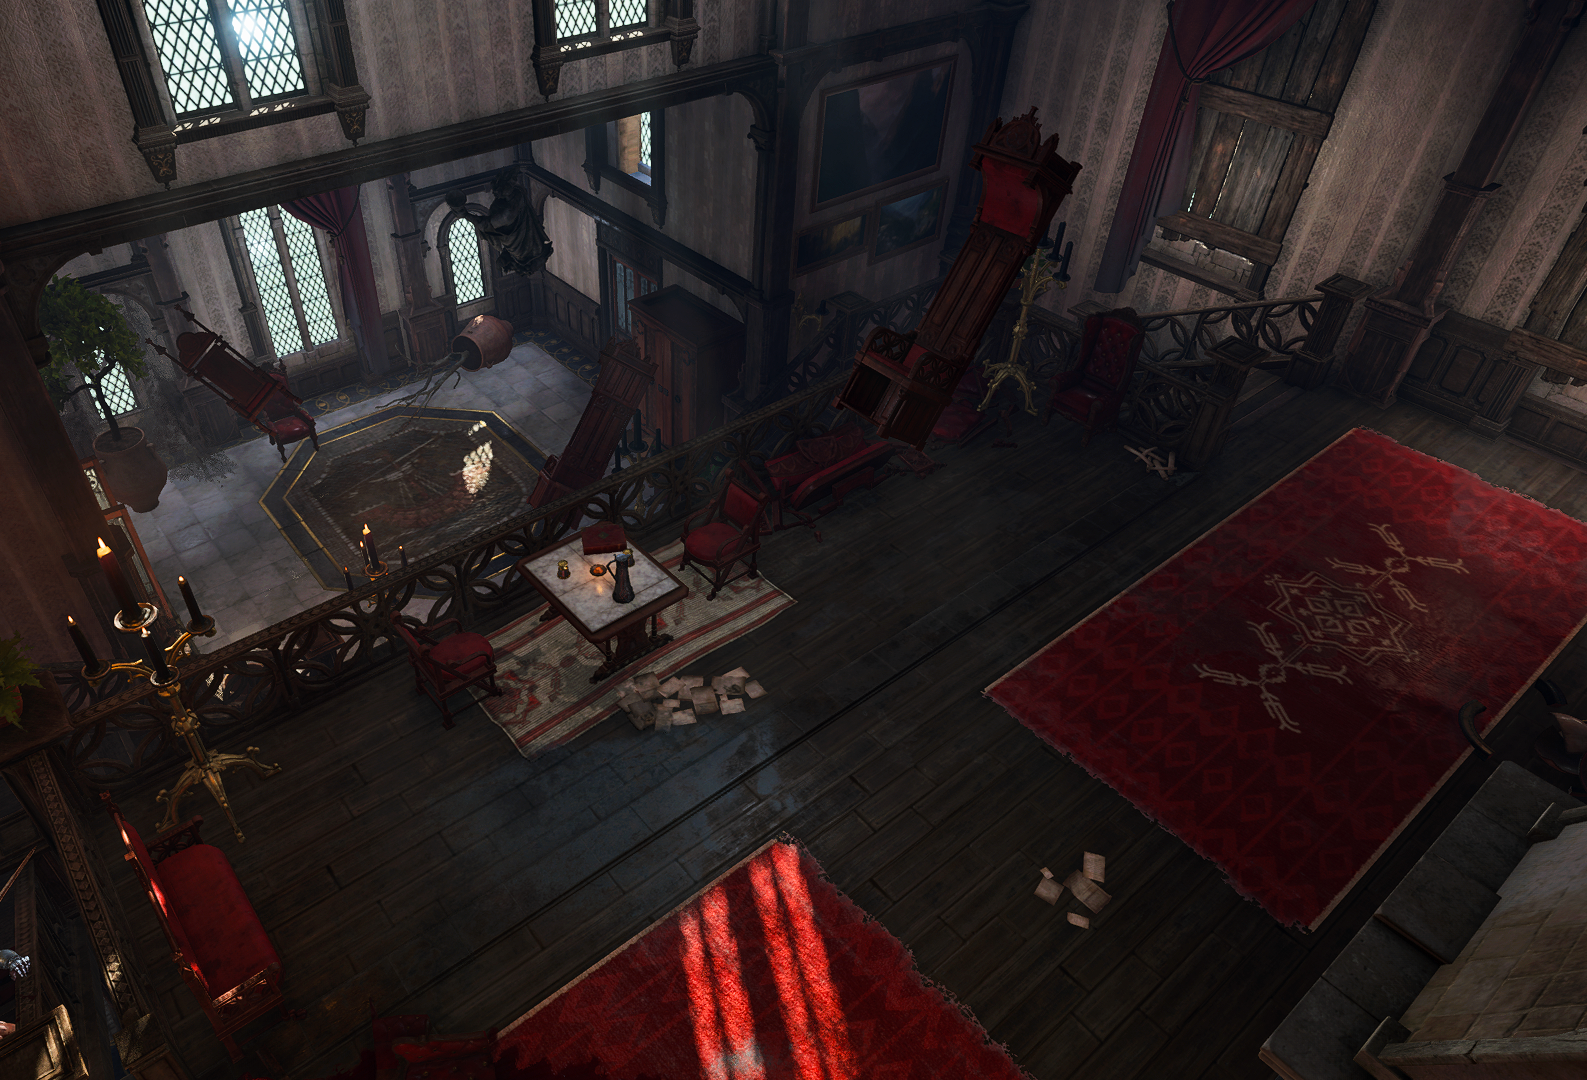
Haunting[edit section | visual editor]

“The portrait is ice-cold to the touch, filling you with a sense of overwhelming dread. So why is the woman smiling?„
If the manor is taken over by the ghosts, Lady Jannath will have given an unscheduled holiday to all of her staff and tries to cope up with her husband. The butler ![]()
Several hostile 
![]()
![]()
Golden candelabrum scattered throughout the structure (four total) are haunted by 

![]()
![]()
The way up to the Oskar's atelier is further hindered by Cursed Skulls. There are six in total: two are placed on stairs' landings, three more in the armoury, and the last one guarding the entrance to the atelier. The skulls fire off ![]()
![]()
![]()
![]()
![]()
![]()
![]()
![]()
In the atelier, numerous framed portraits - Oskar Fevras' works[4] - hang on the walls or are leaned against them. Interacting with any of these makes them scream or whisper threats to the party.
A passive ![]()

Combining any other portrait with the easel summons a Tormented Soul; the picture receives the ![]()
![]()
![]()
On the adjacent part of the roof, an area of the ground is trapped with the ![]()
The further walkthrough of the ![]()
If Oskar is saved during ![]()
![]()
Art Exhibition[edit section | visual editor]
If Oskar was not rescued from Brem, he is not present inside the manor, and the building is not haunted. Instead, Lady Jannath is holding an Art Exhibition which hosts various nobles. All of the manor staff are also present.
In this case, exploring the mansion is still hindered. Though no harmful effects like haunted candelabrum or cursed skulls are present, party members are considered by the NPC characters as exhibition guests. Therefore, some parts of the building are considered off-limits for them, such as Lady Jannath's bedroom, the estate office, and the atelier on the fourth floor. Chamberlain 
Lady Fireliia Jannath also walks around the mansion, visiting the second floor gallery, her bedroom and the stairwell down to the ground floor and back. If the party has not been observed committing any transgressions, Jannath can trade with them, offering common paintings, random dyes of Rare and Very rare grade, and random gems and jewelry. She can also be pickpocketed for any of these items, as well as her ![]()
![]()
The armoury on the third floor has no changes from its haunted layout. The atelier on the fourth floor looks empty, lacking Oskar's works. The hidden room in this case requires
All lootable containers in this case contain the same set of items as in the "haunted" layout, save from the secret atelier cubby, which lacks the quest items that would be necessary to progress the ![]()
A few small interactions take place throughout the manor:


- At the second floor landing of the stairwell


Related locations[edit section | visual editor]
Related quests[edit section | visual editor]
Characters[edit section | visual editor]


Exhibition patrons[edit section | visual editor]


Staff[edit section | visual editor]


Creatures[6][edit section | visual editor]


Outside, near the building[edit section | visual editor]


Loot[edit section | visual editor]
Related Literature[edit section | visual editor]


Notes and References[edit section | visual editor]
- ↑ A larder is a cool, dark storage space, traditionally a small room or large cupboard, used for keeping food fresh, especially non-perishable items like dry goods, preserves, and sometimes meat and dairy.
- ↑ If Lady Jannath's Estate is hosting an art exhibition (see the correspondent section of the article), the strongbox also contains

- ↑ An atelier is a workshop or studio, especially one used by an artist or designer.
- ↑ Most portraits here are the unique variants of the generic pictures commonly encountered elsewhere in the game: "Archibald Ravenshade", "Clerebold Rillyn", "Ernest Tillerturn", "Gilbert Irlentree", "Leander Gist", "The Vammas Elder Sisters", and "The Vanthampur Brothers".
- ↑ Mercer starts wandering about the mansion after the vignette with Servant Bailey is resolved to any possible result (see below).
- ↑ 6.0 6.1 Present only if the mansion is haunted
- ↑ In case of the mansion being haunted, all staff except Tarhun Mnemonis is absent.
- ↑ Possibly dropped by Oskar Fevras
- ↑ In the bird nest on the highest rooftop
- ↑ 10.0 10.1 Dropped or pickpocketed from Lady Jannath