Ad placeholder
Sunlit Wetlands

| Wilderness | ||||
| Blighted Village | ||||
| ↑ | ||||
| Riverside Teahouse | ← | Sunlit Wetlands | → | Nautiloid Wreck |
| ↓ | ||||
| River Chionthar | ||||

Overview[edit section | visual editor]

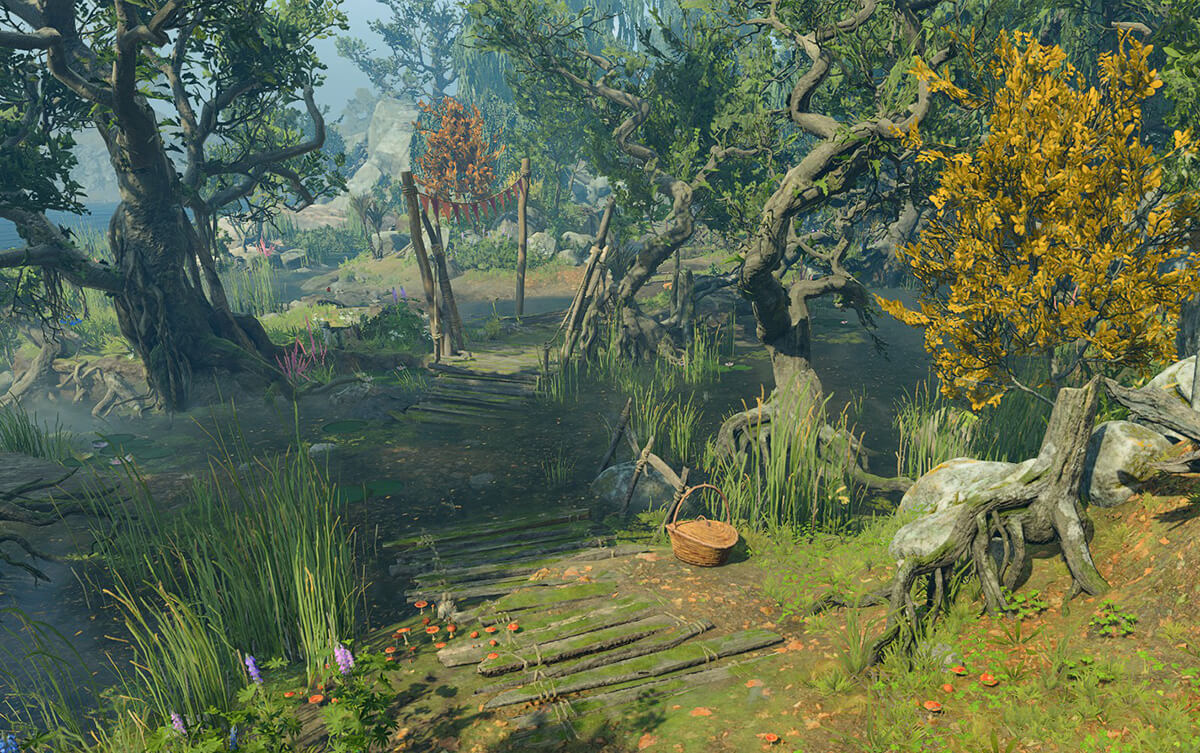
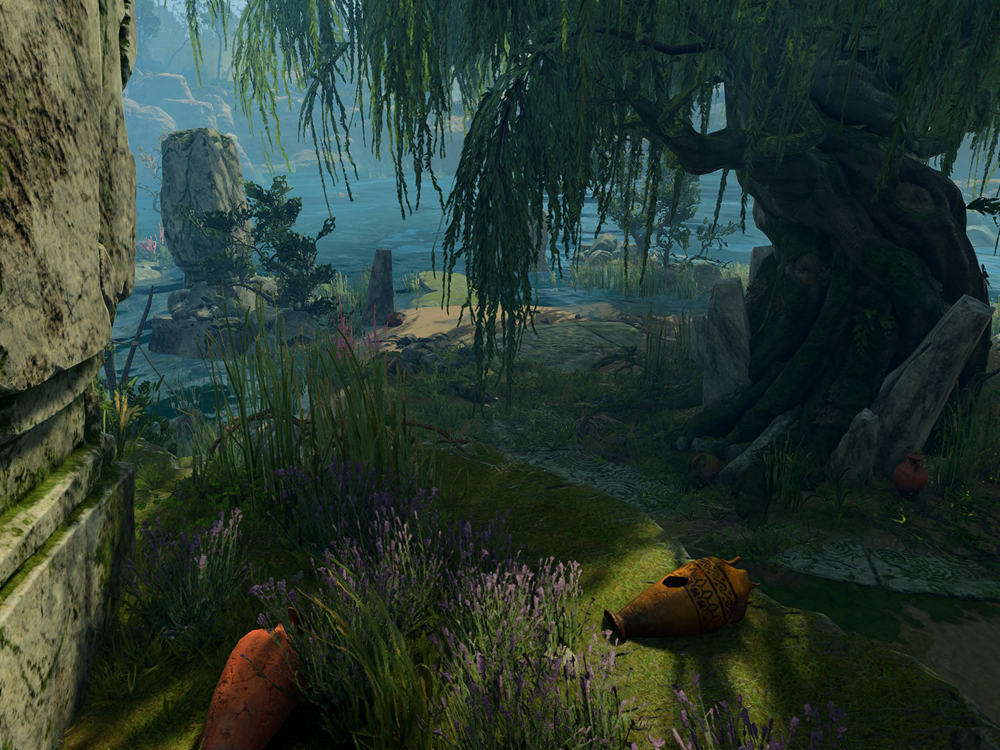
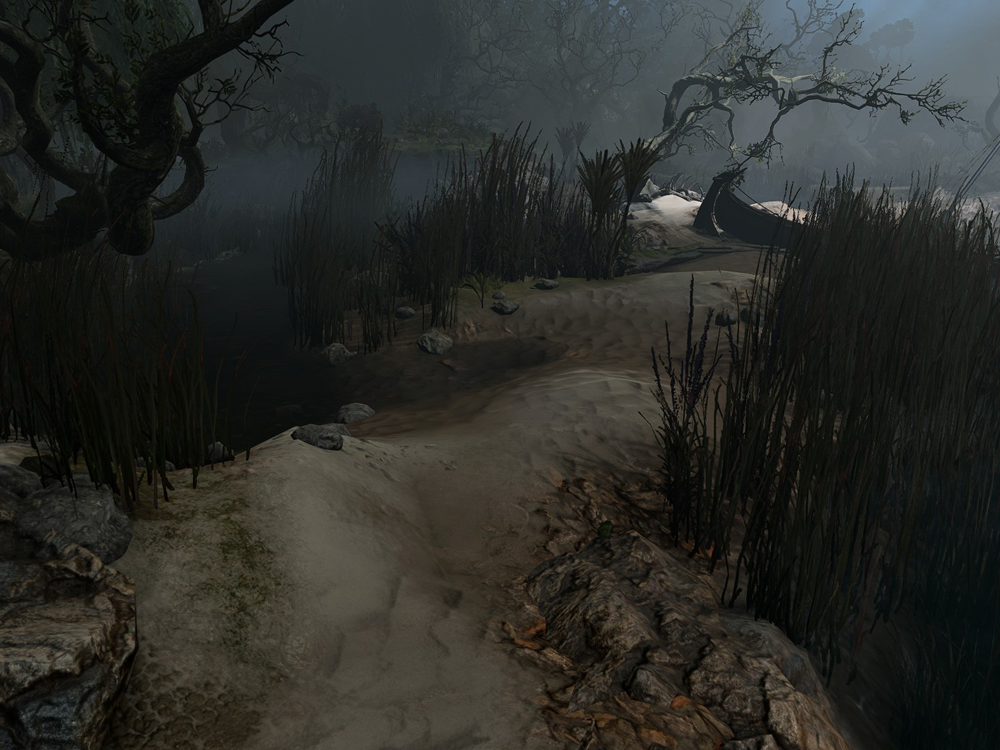
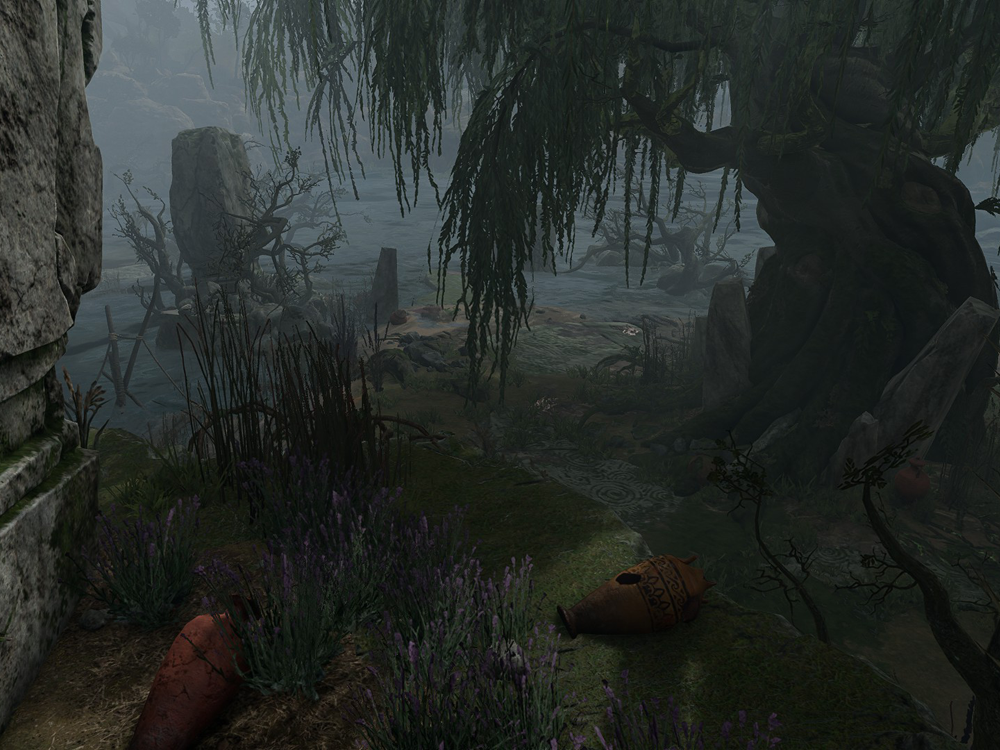
The Sunlit Wetlands appear to be a peaceful and picturesque location south of the Blighted Village and of the Forest. It features a calm water stream, finding its way into a bigger river via a widespread, branched delta, and a small Riverside Teahouse, where 
The rivershore ends with a streak of sandy beach and a wooden dock, from which a series of jumps lead the party to the Druid Sanctuary on a small separate island.
Several quests can be initiated, progressed and resolved here, including the main quest ![]()
![]()
![]()

![]()
Access[edit section | visual editor]
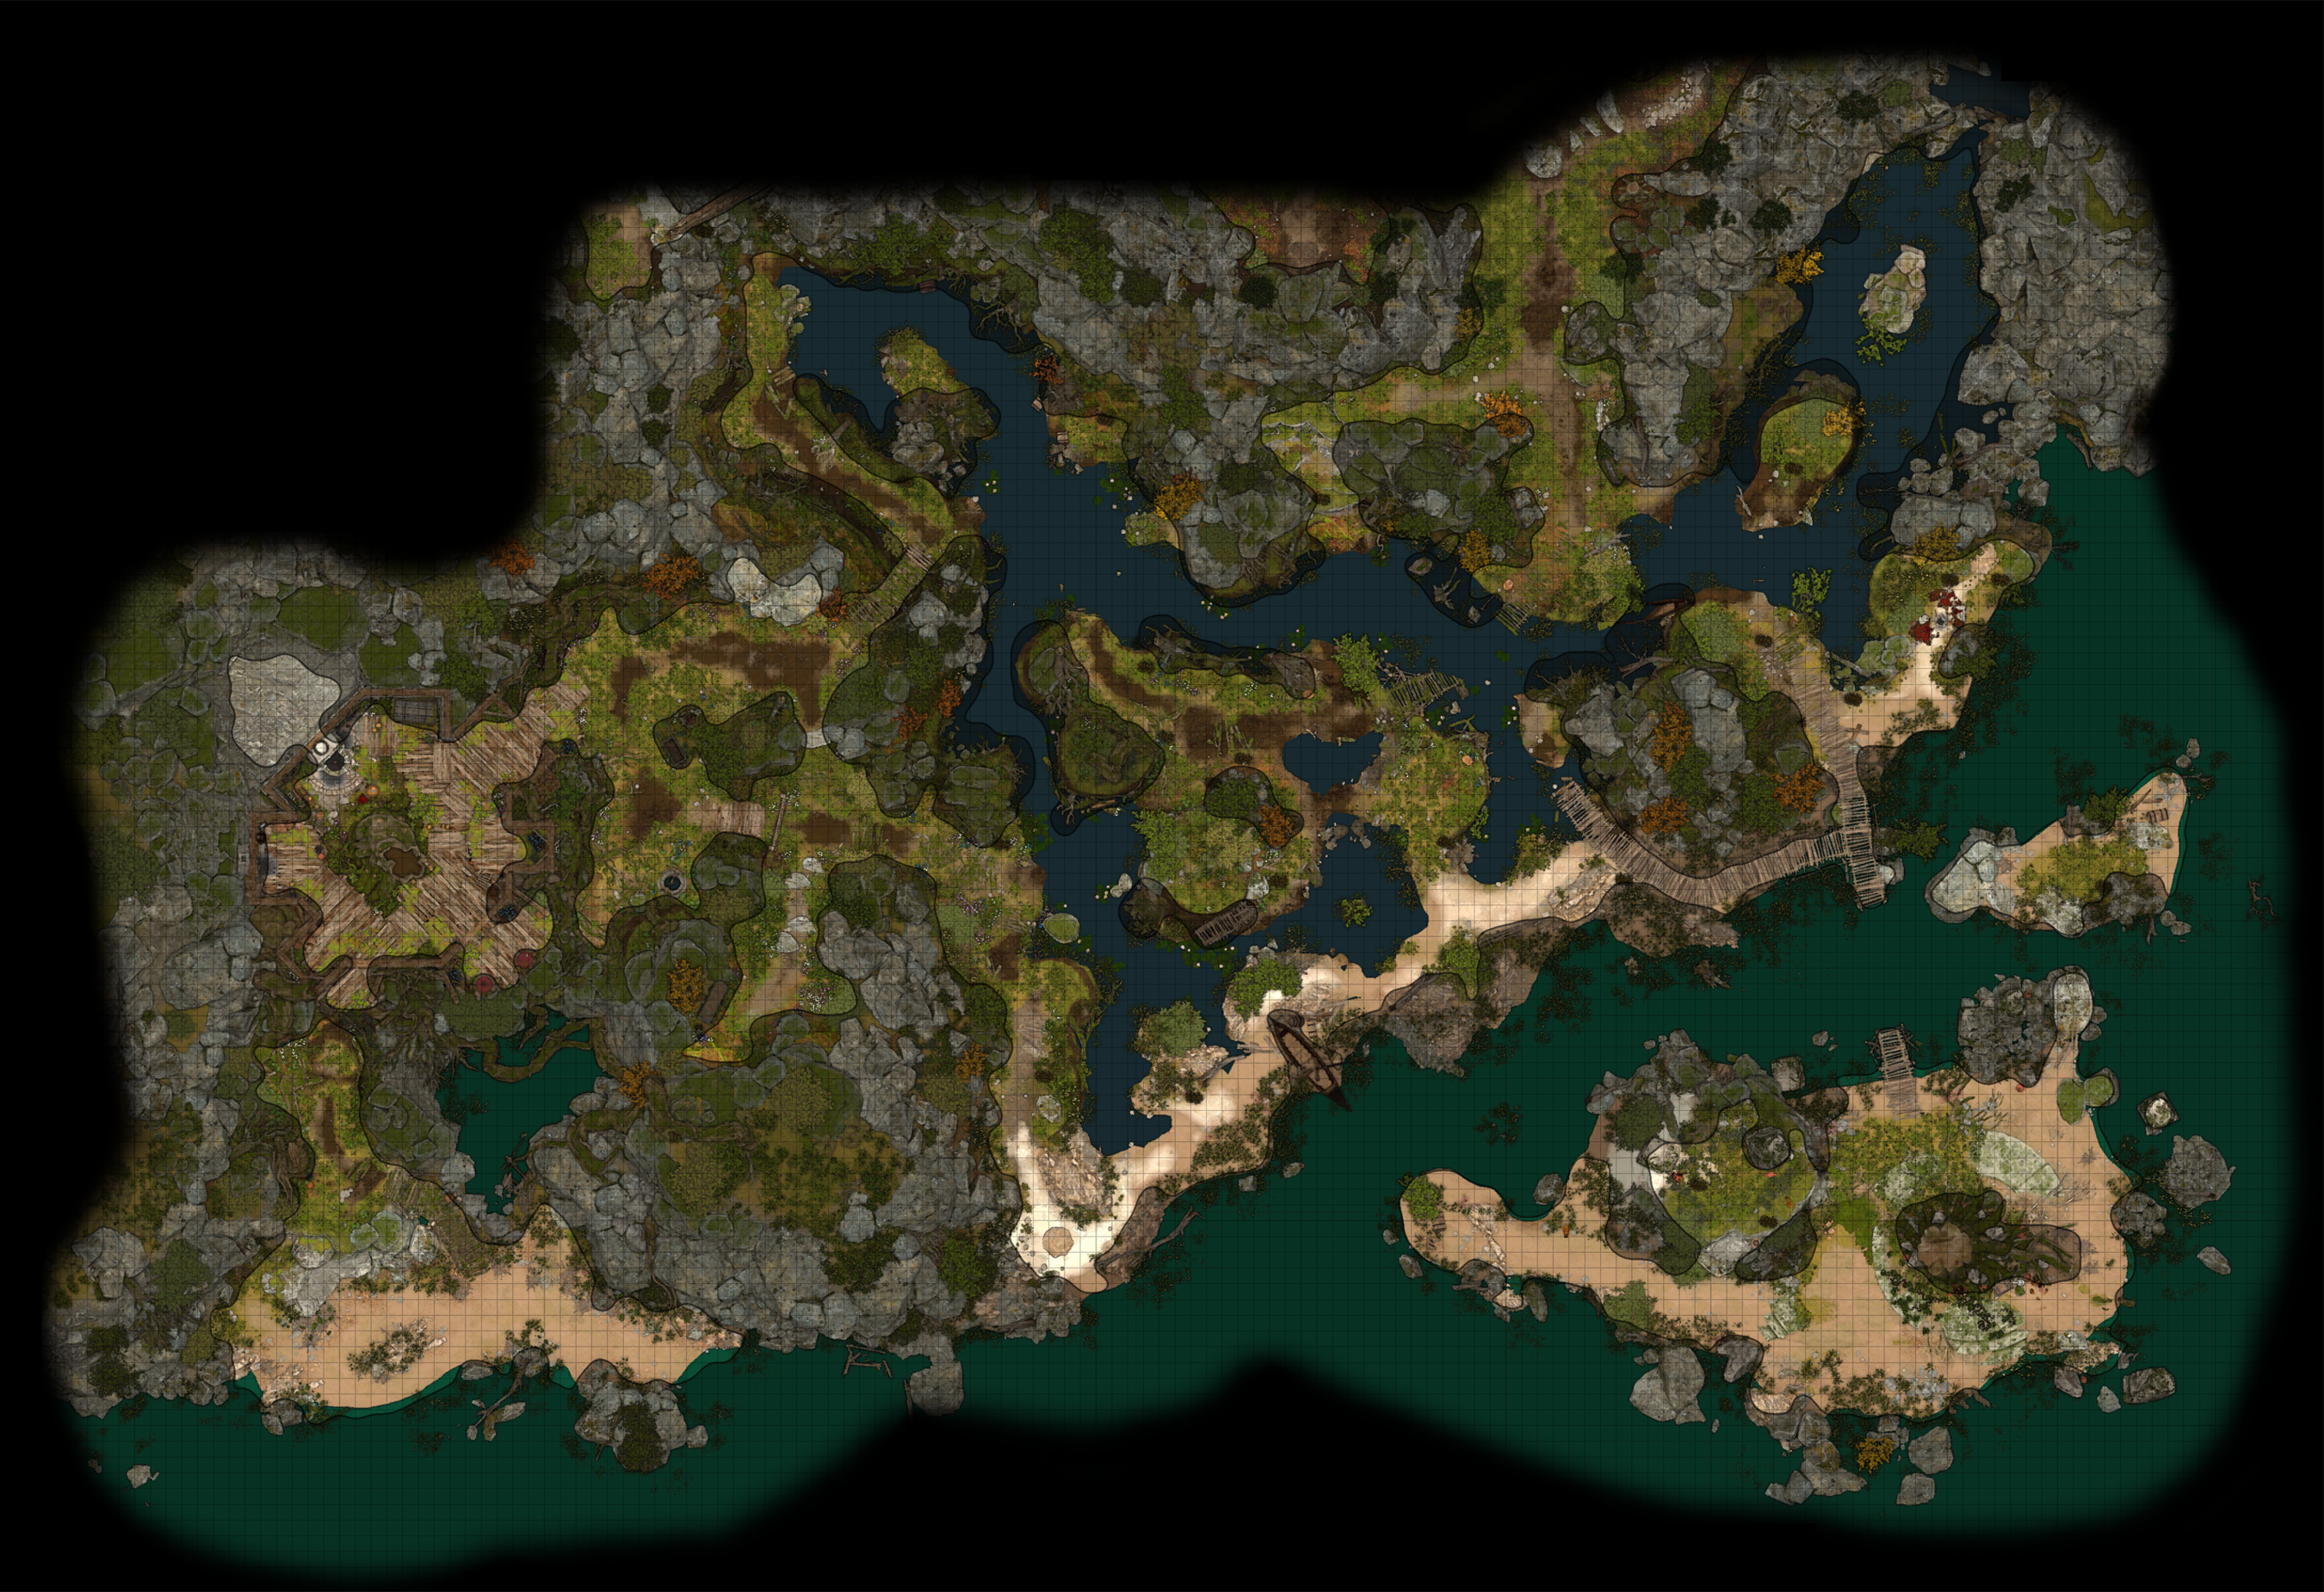
The Sunlit Wetlands can be accessed through the path at X: 47 Y: 315, where the roads from the Blighted Village and from the Forest merge. Also, by progressing along the southern sidewalk to the Goblin Camp, through the fallen log at X: -20 Y: 319, and then jumping down the cliff at X: -37 Y: 307, using ![]()
![]()
At the border of the Sunlit Wetlands Auntie Ethel can be seen arguing with two brothers 


![]()
Regardless of the outcome, Ethel can be found later in the Riverside Teahouse, along with Mayrina.
Dispelling the delight[edit section | visual editor]

Shortly after entering the Sunlit Wetlands, a cutscene triggers, where the player character feels something strange and unsettling about the environment, as it seems too pleasant to be natural. They can try to understand what disturbs them with a 
- Search for any disruption in the Weave. (DC 15)
- Looks for signs of unnatural activity. (DC 15)
- Reach out with your senses - check the balance of this place. (DC 15)
- Tap into the preternatural awareness granted by your oath. Seek the truth. (DC 12)
- Something here is... unnatural. Reach out with your magic, seek its source. (DC 12)
- Attune your magic to find any disturbance. (DC 15)
- Draw on your pact to empower your sight. (DC 15)
- Carefully probe with your magic. Is the disturbance around you, or within you? (DC 15)
- Search for signs of magical interference. (DC 15)
If the initial attempt is failed, the illusion over the area can be broken later by any of the following actions:
- Speaking to one of the sheep pasturing in the middle of the wetlands, and passing a

- Attacking any "sheep".
- Causing

Once the character in question realises that the bliss around them is an illusion, a murky, fetid swamp (laden with many traps) and poisoned food is unveiled and the sheep are revealed as 
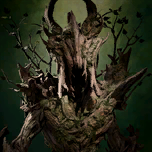
The teahouse owner Auntie Ethel turns out to be a 
Successfully dispelling the illusion grants the ![]()
![]()
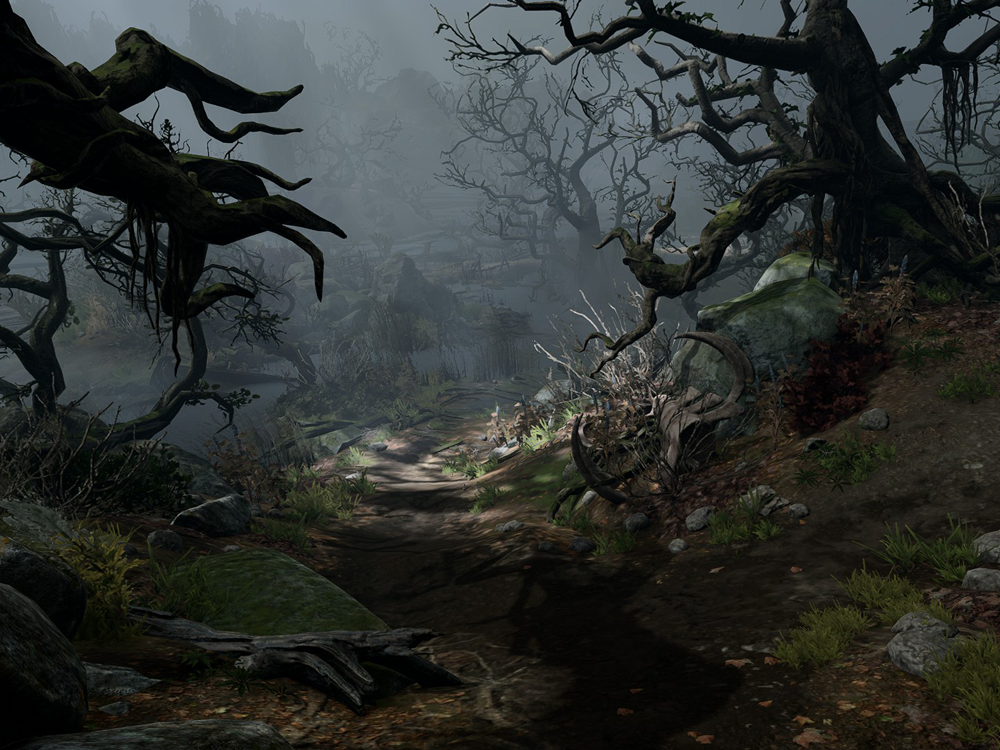
Once the illusion is broken, the map name changes from Sunlit Wetlands to Putrid Bog; the background music also changes.
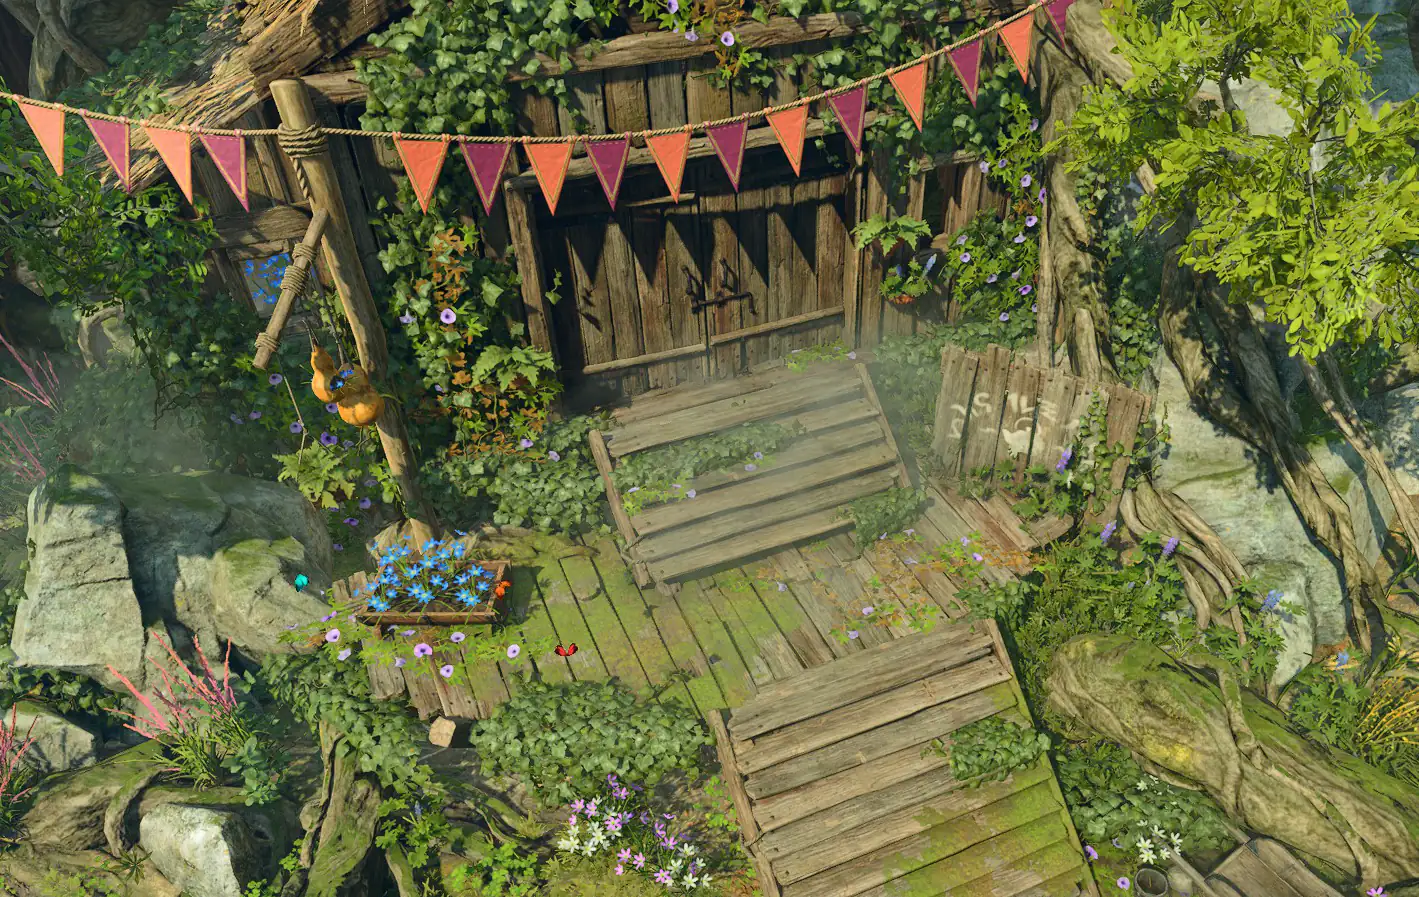
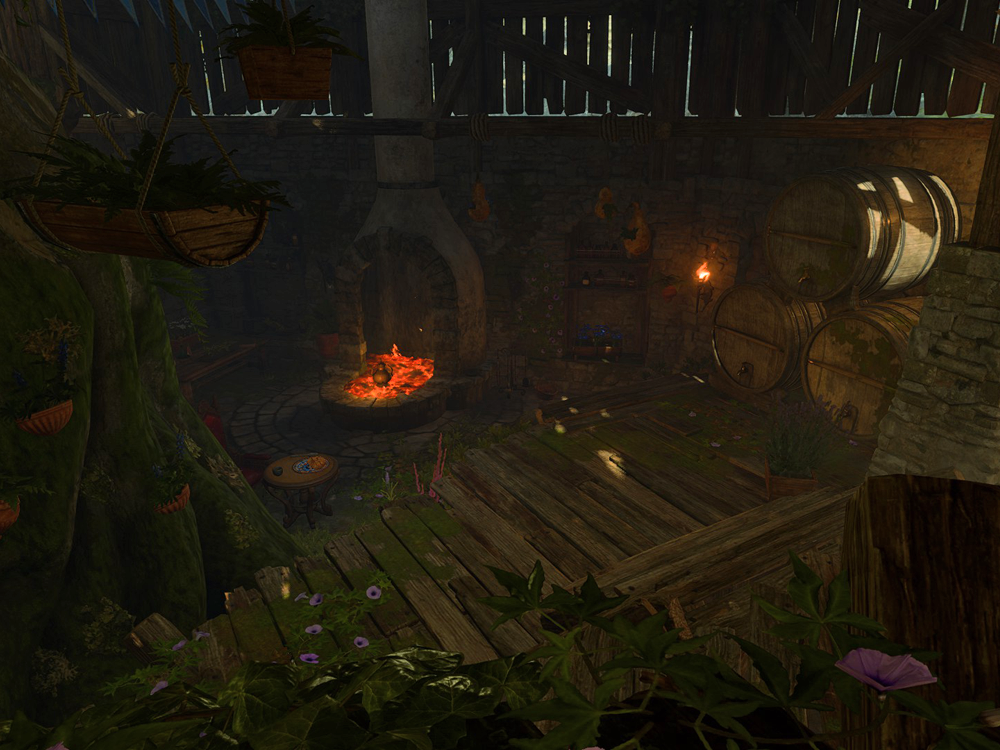
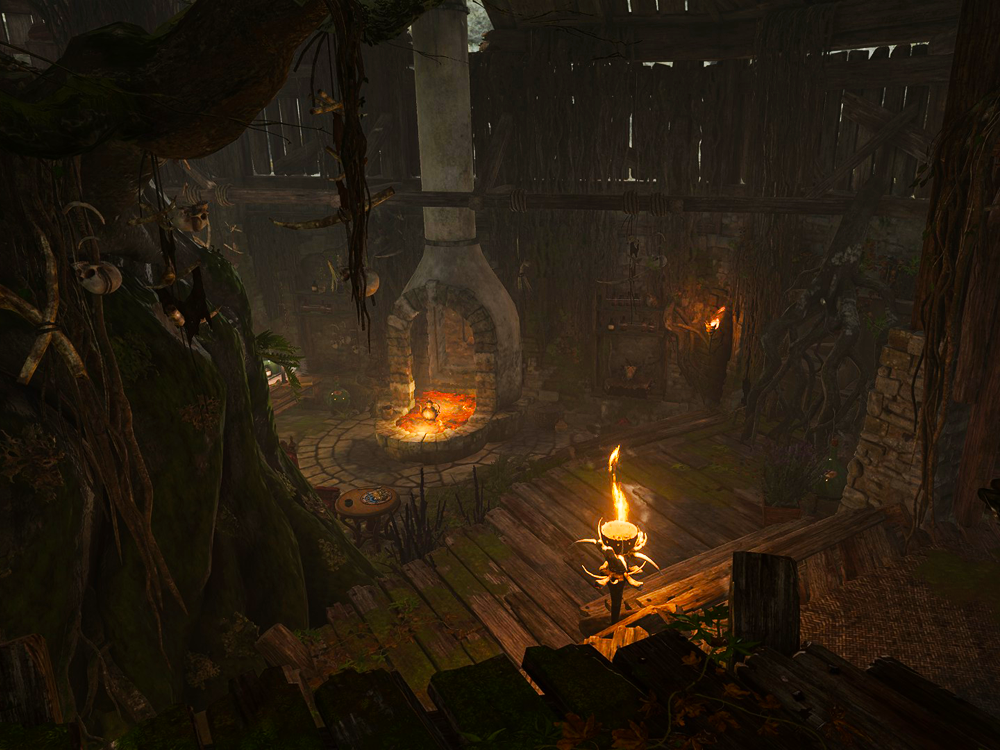
Riverside Teahouse[edit section | visual editor]


The Riverside Teahouse is located on a small hill at X: -40 Y: 270. If the illusion over the area is broken, its map name changes to Gnarled Teahouse.
Upon entering, the dialogue with Auntie Ethel and Mayrina starts automatically. The party realize the young woman is the one sought by Demir and Johl. However, they can choose to drop the matter or to intervene, mentioning the results of the outcome of the dialogue with the brothers at the area entrance. Regardless, Ethel eventually teleports Mayrina away. Depending on the party's choices within the dialogue, Ethel can talk to them peacefully, or attack, dispelling the illusion if it is still intact.
In former case, Auntie Ethel makes her offer to try and heal the player character - in exchange for one of their "pretty little peepers." If the player character agrees, they receive the ![]()
![]()
Auntie Ethel can also act a Trader, featuring the same set of wares as in the Hollow, until the party annoy her somehow.[3][verify] When Ethel is in the Teahouse, she can also be pickpocketed as normal, unlike in the Hollow.
If combat is commenced, Auntie Ethel turns ![]()

Ethel can also be attacked before the automatic conversation starts, with the same results: dispelling the illusion and Redcaps siding with her, while Mayrina also disappears from the teahouse. Attacking Ethel without first speaking with her is considered an oathbreaking action for ![]()
After the battle is finished, the teahouse can be looted for several potions and alchemical ingredients, as well as some Camp Supplies. Eating any of ![]()

![]()
False Fireplace[edit section | visual editor]
The back of the fireplace in the Riverside Teahouse is an illusion. Approaching the fireplace causes the active party member(s) to roll a
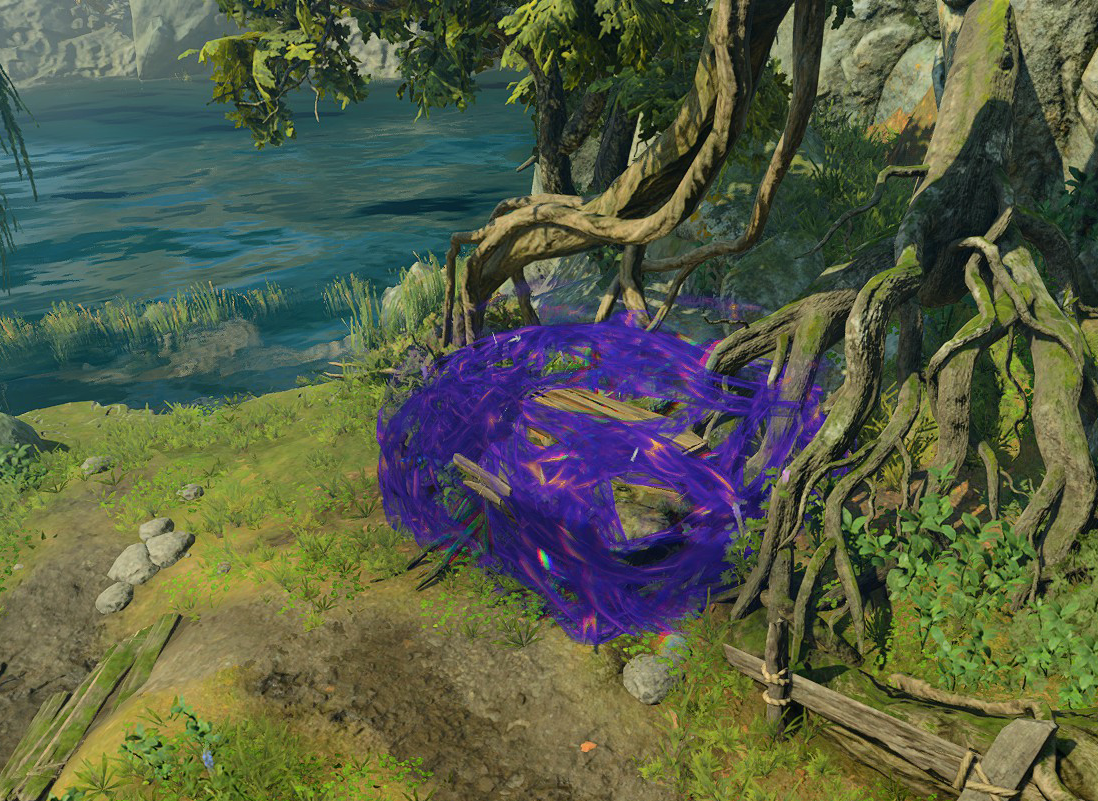
Connor's Coffin[edit section | visual editor]

The body of Connor Vinderblad, the husband of ill-fated Mayrina, lies in a coffin in the middle of a small ground at the backyard of the teahouse. While Auntie Ethel is still around, Connor's coffin is surrounded by an Arcane Barrier - a thick magical cocoon which stings back whomever attempts to touch it, resulting in 2d4![]()
![]()
After Ethel is killed or ousted from her lair, the cocoon dispels, allowing to interact with the body. If Mayrina survives and is not snatched away by Ethel, she can be found here mourning over her husband's corpse.
Connor can be raised from dead using ![]()
![]()
The Well[edit section | visual editor]
South of the Teahouse entrance is a well that is deceptively altered by the illusion of the area. Interacting with it when the illusion is up has it appearing fresh with sweet-smelling water gurgling gently below. Without the illusion, the well's true nature is shown, with a fetid smell, and full of dead flesh. Despite the truth of what is in the water, drinking from it gives the ![]()
![]()
![]()
![]()
Drinking from the well brings approval from 


Marshlands[edit section | visual editor]
The Gur Hunter[edit section | visual editor]
On the hill to the south of Ethel's teahouse at X: -25 Y: 241 stands a man named 
- Whether

- Whether he is currently in the party or not;
- Lastly, whether it has already been revealed that he is a vampire.
If Astarion is in the party and his true nature is already known, Gandrel reveals the reason for his presence, explaining that he is hunting for a vampire spawn who attacked their camp and abducted the tribe's children. The player character can then choose to give up Astarion or to stand up for him. In the latter case, Gandrel becomes hostile.
If Astarion's nature is unknown yet, he picks the right moment and kills Gandrel, stabbing him in the eye. He does not explain much afterwards.
If Astarion is not in the party, the player character can convince Gandrel to reveal his target (requires a
![]()
If defeated, Gandrel can be looted for the ![]()
![]()
![]()
Local Fauna[edit section | visual editor]
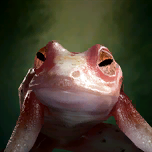
At X: -27 Y: 304 in a small coomb[5] an 
![]()
If Auntie Ethel is killed or forced out of the area, the frog regains its sanity and rewards the party. Otherwise, her hidden treasure at X: 7 Y: 294 can be found with a successful
To the east of the teahouse approximately at X: 0 Y: 253 the party pass by two islands where, if the illusion is intact, several sheep pasture. Speaking to any of them and passing the ![]()


If Demir and Johl survive the initial conversation with Auntie Ethel at the entrance to the Sunlit Wetlands, the corpses of both can be found near the Redcaps' "pasture".
At X: -3 Y: 277 a ![]()
![]()
Campsite carnage[edit section | visual editor]
The marsh flares out to the river and a narrow sandy beach. At X: 85 Y: 273 is a campsite smeared in blood and gore, noticeable regardless of whether the illusion persists. The camp can be freely looted for Camp Supplies, gold, Valuables and random scrolls. Any party member comments on this, and the closest one to the carnage attempts a passive
In the far end of the camp a wooden chest is buried, containing the similar set of loot.
From the nearby dock the party can reach the Druid Sanctuary via a series of jumps.
Druid Sanctuary[edit section | visual editor]

The sanctuary occupies the largest one in a chain of rocky islands protruding from the water. If the illusion covering the area has been dispelled, its map name changes to Decrepit Sanctuary.
The island is guarded by two 

![]()
![]()
![]()

![]()
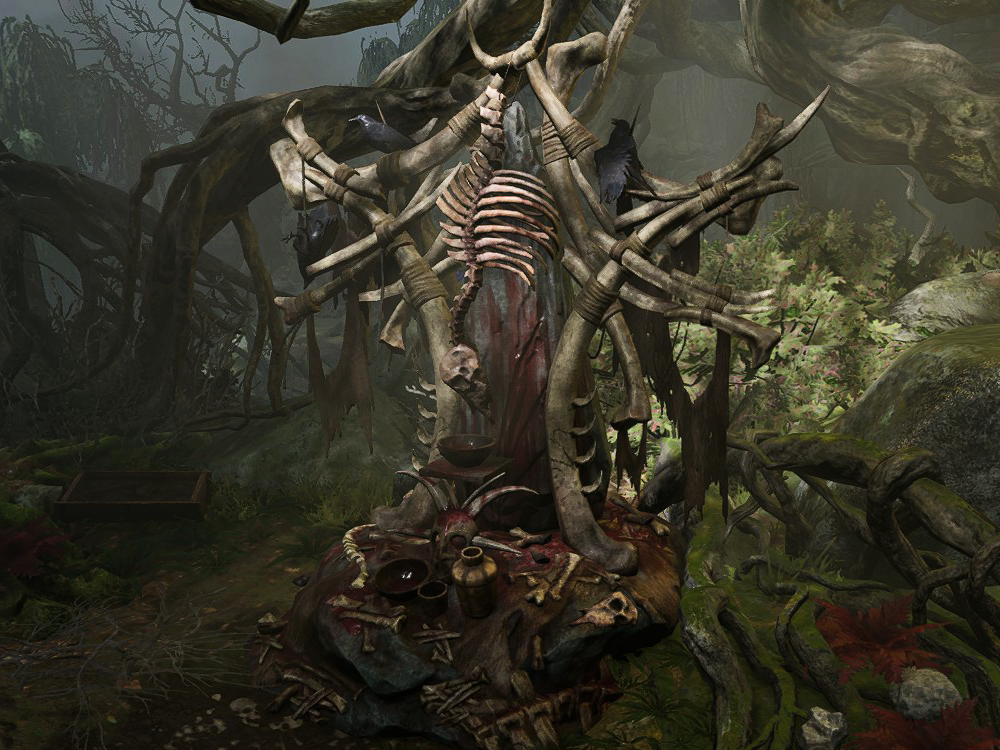
In the sanctuary the ![]()
![]()
A ![]()
![]()
Hazards[edit section | visual editor]
Spike traps[edit section | visual editor]
Numerous spike traps are spread throughout the deeper water in the waterstream arms and can be detected with a
When triggered, they inflict ![]()
![]()
![]()
![]()
![]()
![]()
![]()
![]()
![]()
![]()
The traps are not removed when triggered, allowing them to continue harming the party unless being disabled with a ![]()
Barbed bulrush[edit section | visual editor]
Barbed bulrushes are scattered around the Wetlands. When interacting with the plants, the interacting character automatically attempts a ![]()
![]()
![]()
![]()
Also, several wicker baskets scattered around the swamp also contain apples, which have the same aforementioned effects. These apples cannot be placed into the characters' Camp Supply Sack and thus cannot be consumed via Auto-Select function during the Long Rest.
Waypoints[edit section | visual editor]
This location contains the following Waypoint:
Related quests[edit section | visual editor]
Characters[edit section | visual editor]


Creatures[edit section | visual editor]


Loot[edit section | visual editor]
Hidden treasure[edit section | visual editor]
- Buried wooden chest at X: 2 Y: 215 (requires
- Buried wooden chest at X: 90 Y: 281 (requires
- Buried wooden chest at X: 66 Y: 223 (requires
- Traveller's Chest at X: -9 Y: 306
- Concealed pouch awarded by the Addled Frog atX: 7 Y: 294 (requires a
Related Literature[edit section | visual editor]
This list contains only items which cannot be found elsewhere in the game.


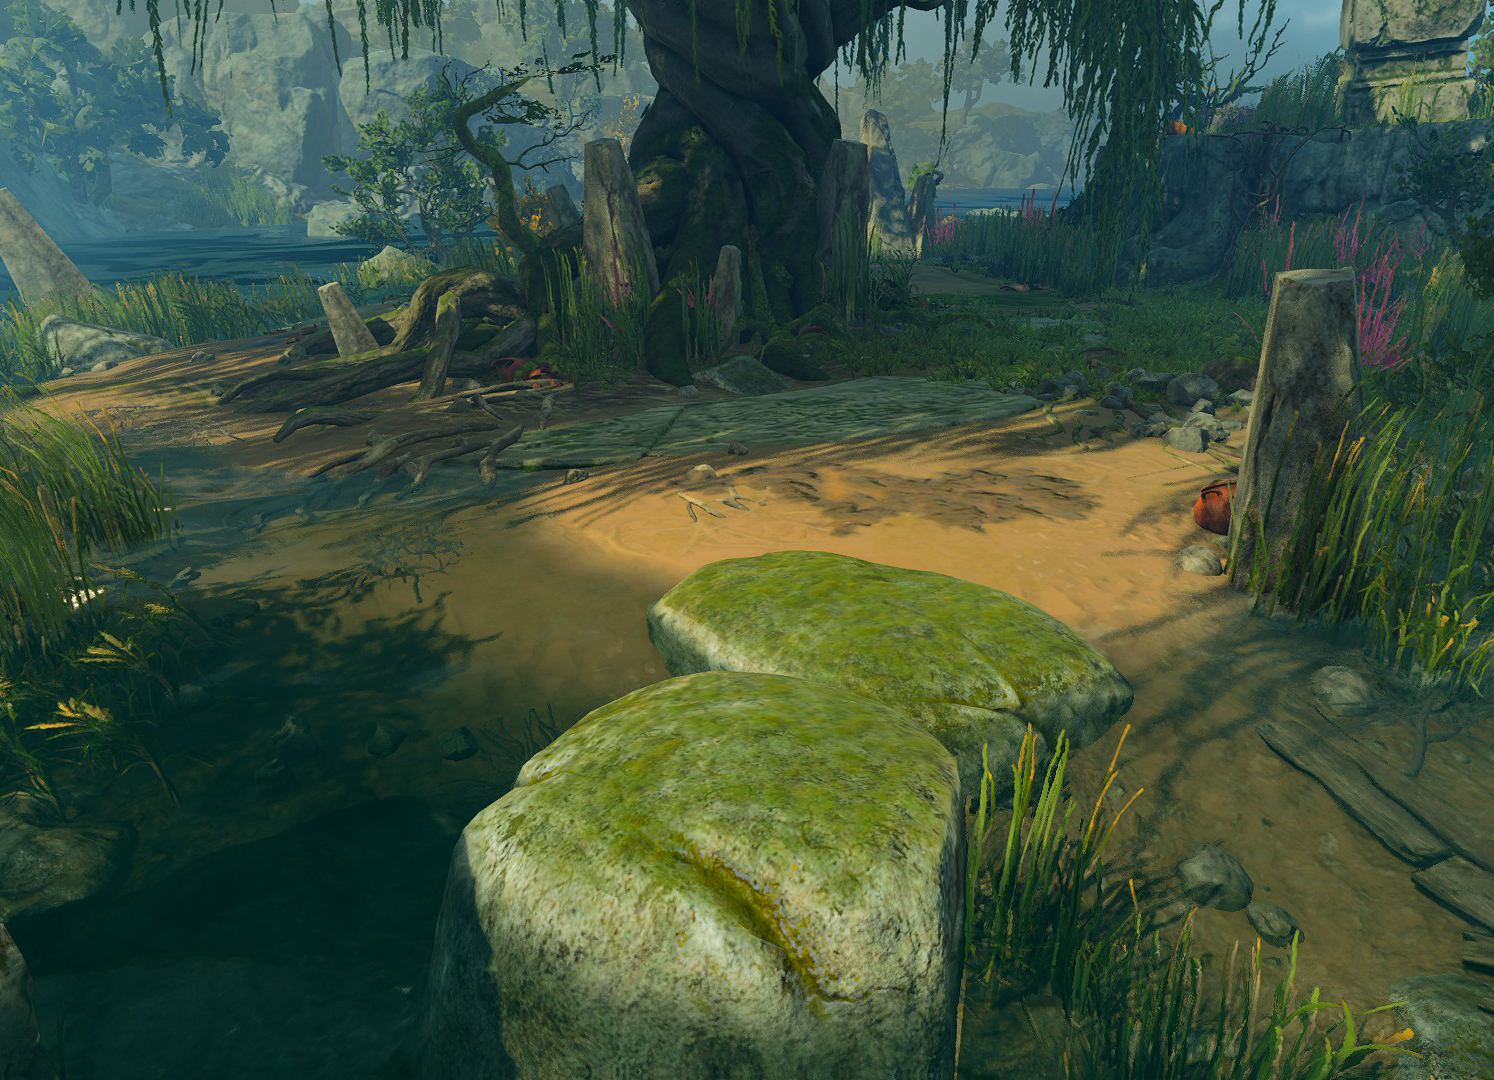
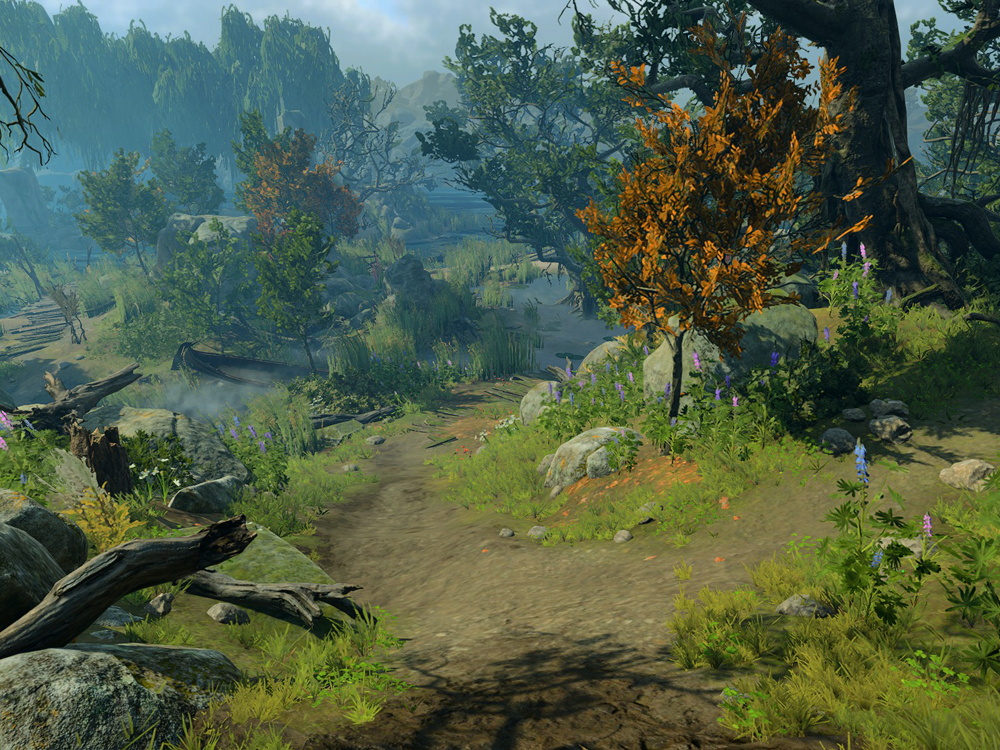
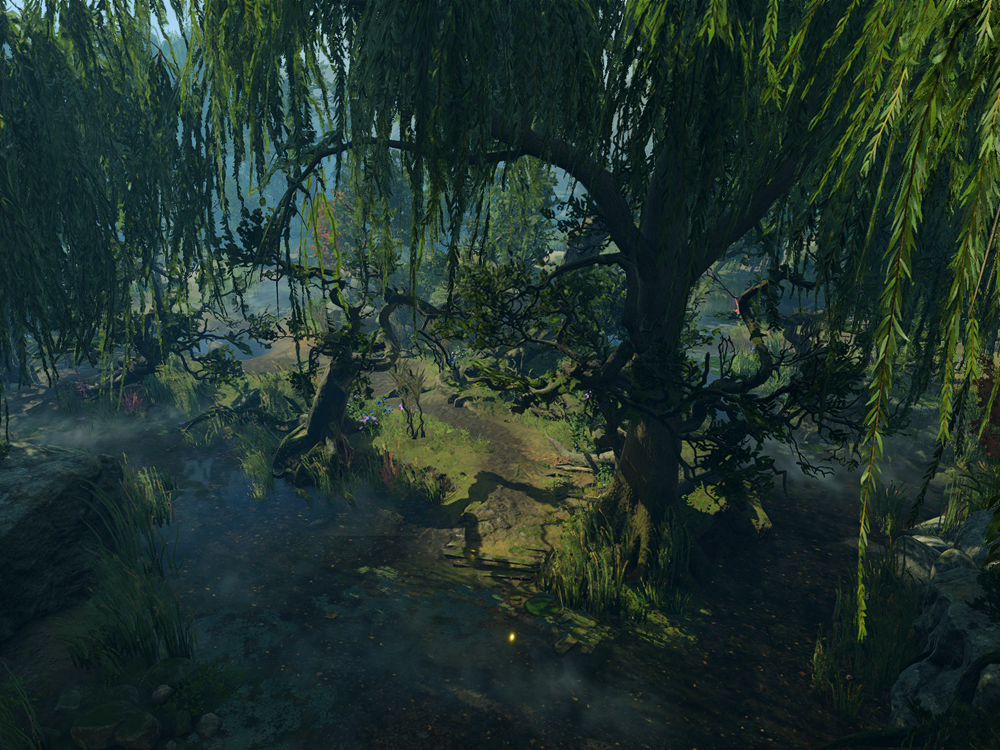
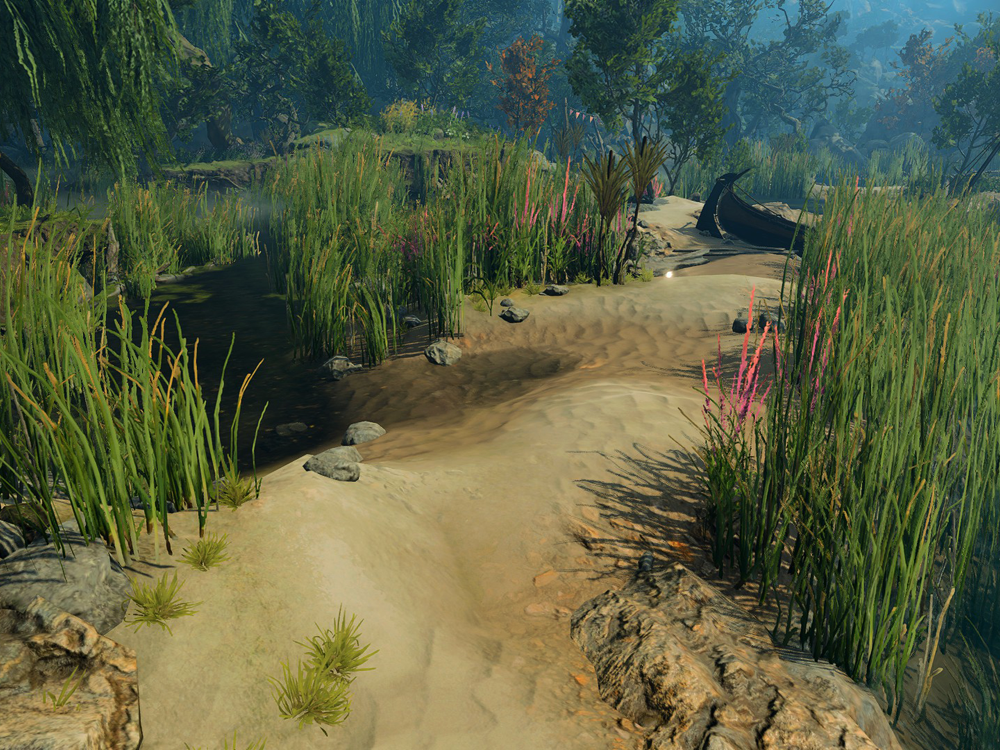
Gallery[edit section | visual editor]
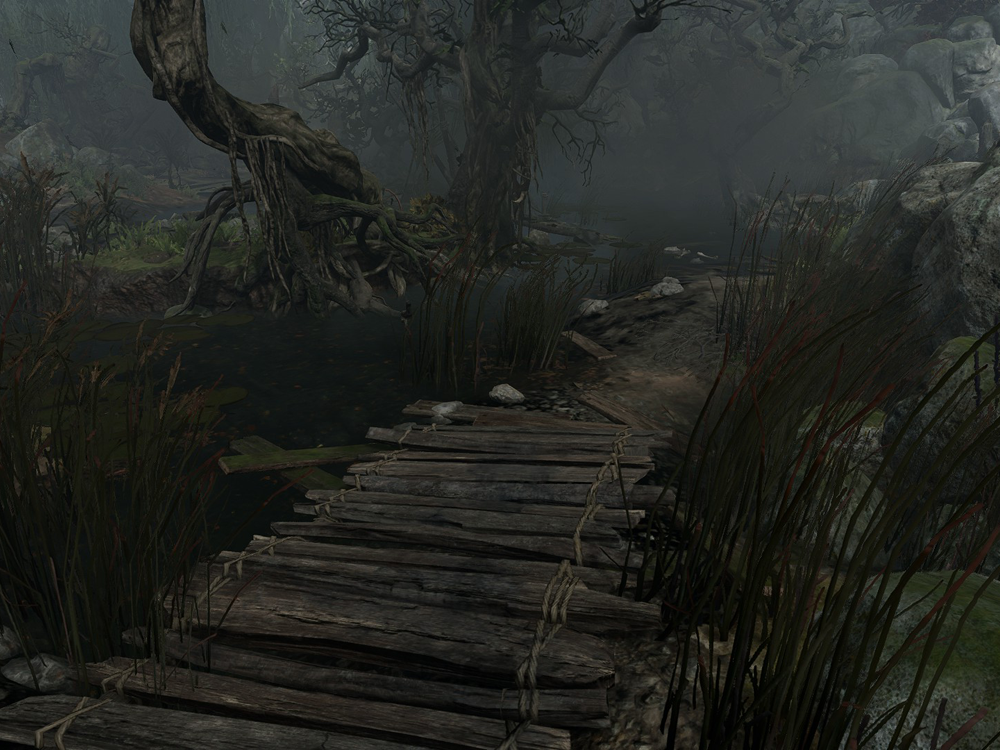
Images of several scapes within the swampland taken under illusion (up) and without it (below).


Notes[edit section | visual editor]
- ↑ Dialogue file: Act1/Swamp/HAG_ForestIllusion_Illusioncheck
- ↑ This option is unavailable to


- ↑ For example, not taking her side in the argument with Demir and Johl, or poking their noses into her deal with Mayrina.
- ↑ Trying to touch the barrier again while the condition is still applied deals more damage: first 3d4

- ↑ A coomb is a short valley or hollow on a hillside or coastline.
- ↑ A passive


External links[edit section | visual editor]
