Ad placeholder
The Waning Moon

| Reithwin Town | ||||
| House of Healing | ||||
| ↑ | ||||
| Baldur's Gate | ← | The Waning Moon | → | Reithwin Tollhouse |
| ↓ | ||||
| Moonrise Towers | ||||

“The fat cat's burst out of his breeches - Say, hey, for the pub!
Drink has torn his mortal stitches - Say, hey, for the pub!
Now we get to loot his riches - Say, hey, for the pub!„
Overview[edit section | visual editor]
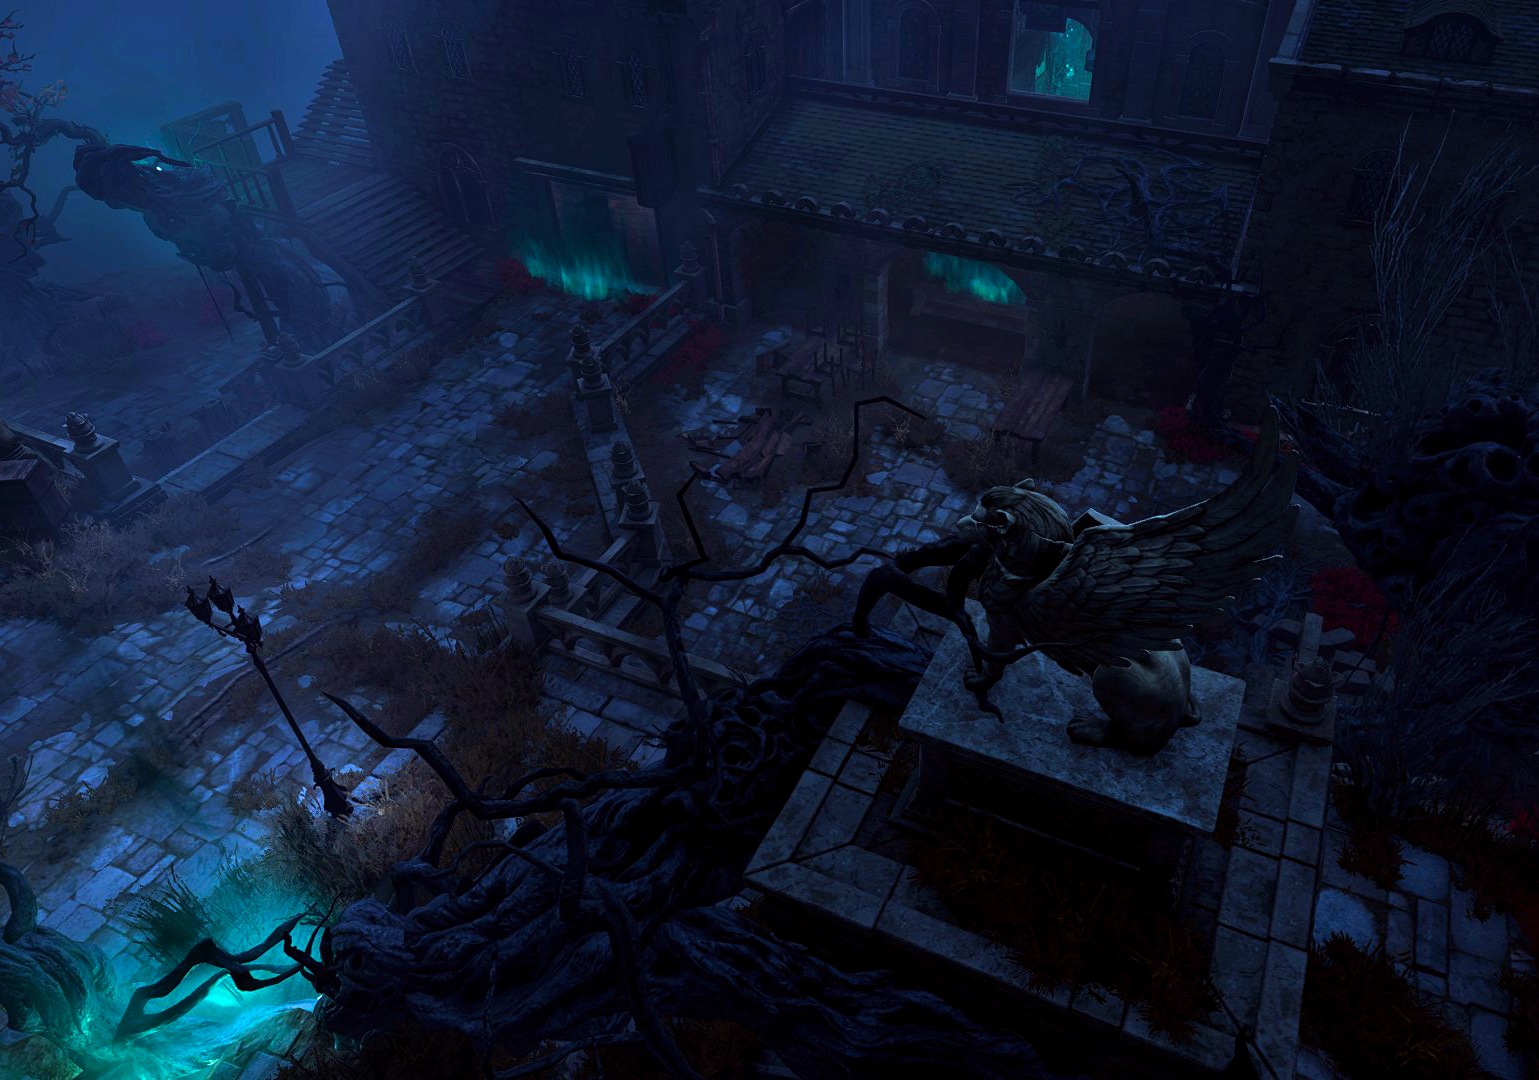
The Waning Moon is located westward from the central square. It is a distillery and a bar, clearly the den of leisure and pleasure for the Reithwin citizens before the Shadow Curse fell. It is a huge building adjacent to a rocky ridge enframing the northern part of the city. Exploring the Waning Moon is key to progressing the quest ![]()
The Waning Moon has several entrances both from the city streets and river shore. Like the Reithwin Tollhouse, its inner arrangement accomodates to the gradually lowering level of the ground; thus, some of entrances lead to the inner gallery, while the others lead to the ground floor of the distillery. The locked door at X: -187 Y: -53 opens into a small attic.
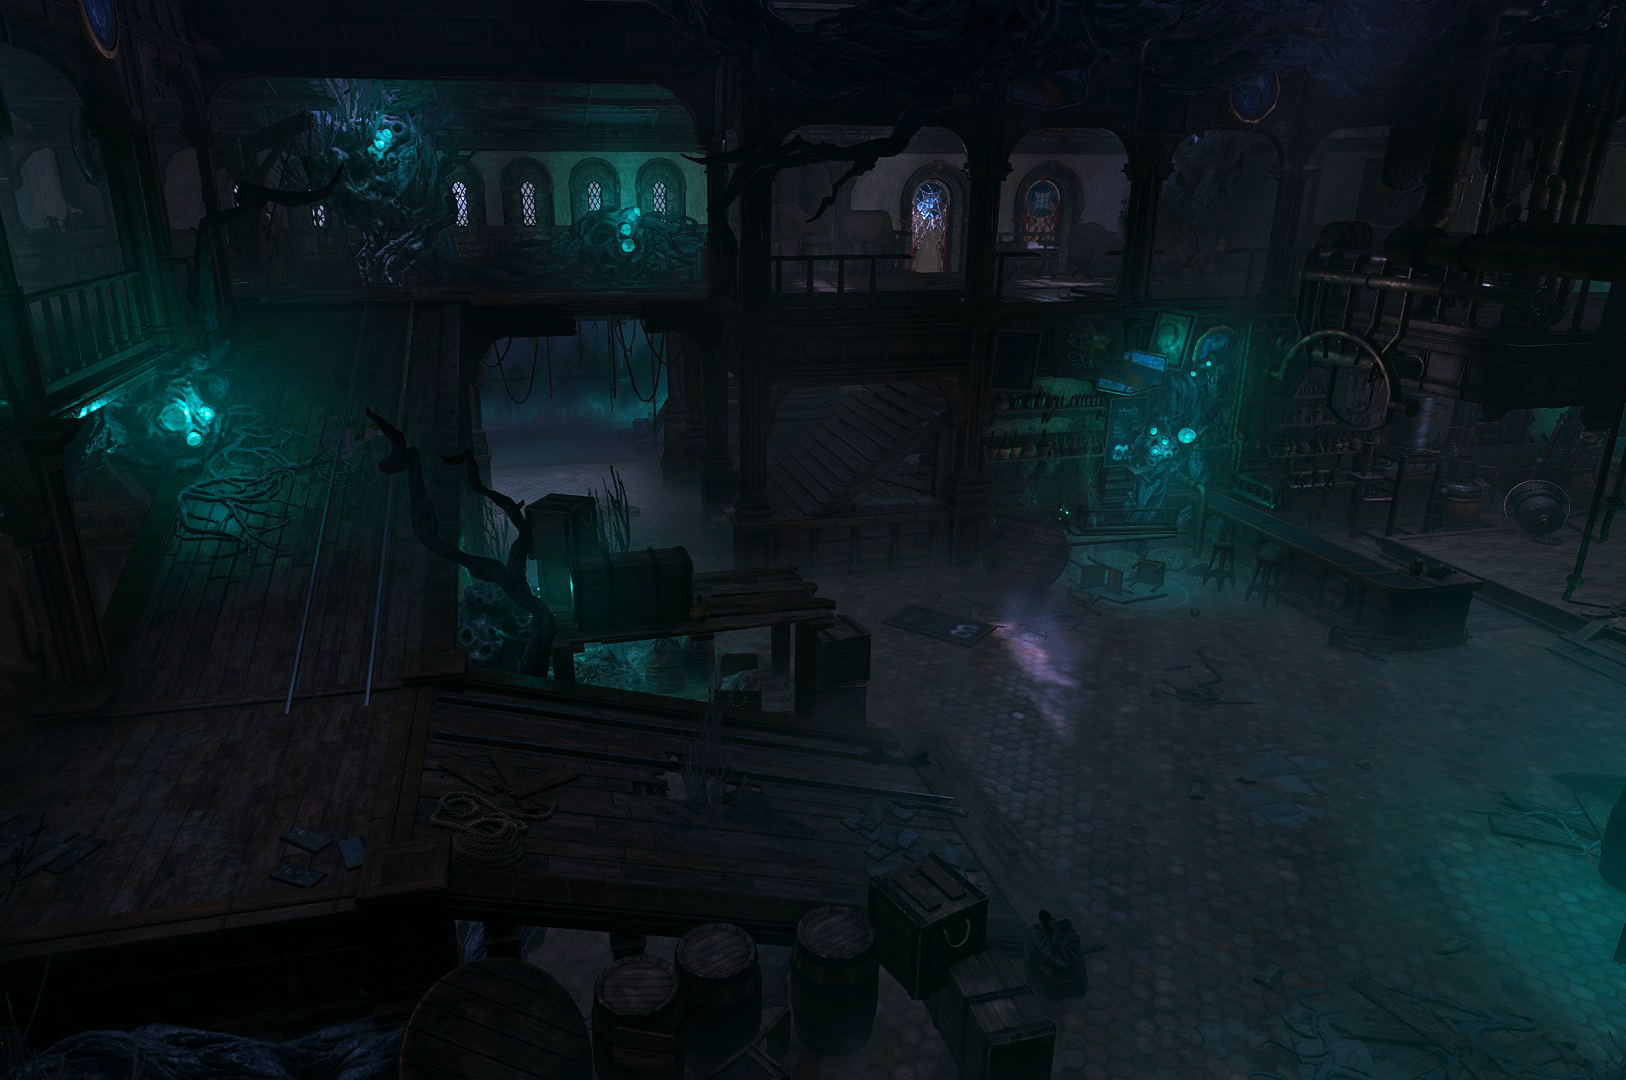
Main hall[edit section | visual editor]

The main hall has two levels; the upper level is a gallery running around three walls and connected with the ground level via two wide scaffolds. The upper level previously provided the additional space for the clients, and encompassed a lesser bar for "halflings and gnomes" as well.
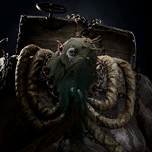
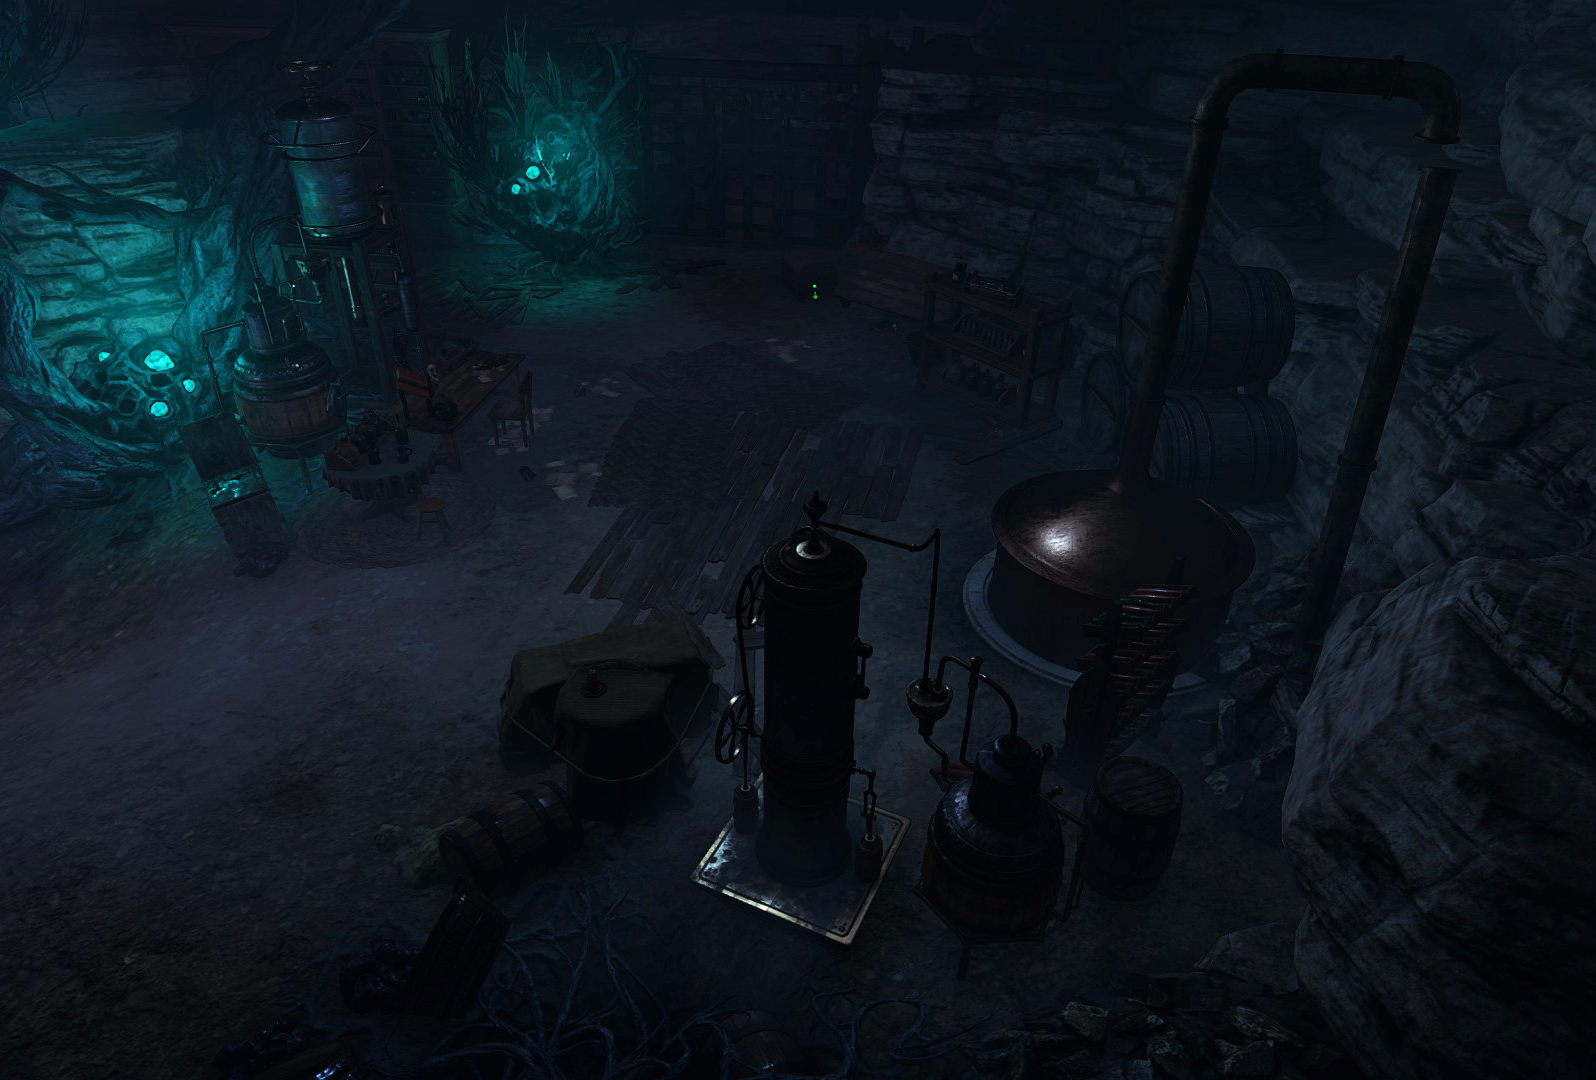
On the lower level is a main bar counter and multiple complex mechanisms, pipes and cisterns for distilling and brewing. Of these, some are partly destroyed, while others remain partly functional with strange liquids under the impact of the curse. At the counter, the the bartender 


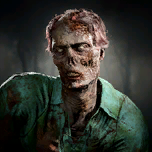
When the closest party member approaches the ground floor, approximately in the middle of the room, an automated dialogue with Thisobald Thorm begins. The bartender then offers them a drink of his special brew. If the interacting party member accepts, they notice the bartender's belly is swelled almost to the point of bursting; all they need to do is to "outdrink" Thisobald until he bursts open, to his death.
However, a variety of Saving Throws and / or Ability Checks must be succeeded to accomplish this. While succeeding rolls in two first rounds, the player character can also fish for information about the nature of the Shadow Curse and 
- Drink a tankard (


- Tell him a story (

- Ask back for information OR Proceed to the next round
Thisobald remains docile until the interacting party member either refuses to drink or fails any roll within the dialogue; if either happen, he immediately attacks. All possible saving throws, stories to amuse Thisobald and corresponding rolls are listed on his page.
Dealing with Thisobald may grant the party one or more of the following inspirations:


Some of these inspirations (namely for Charlatan, Guild Artisan, and Outlander backgrounds) are added along the continuing dialogue with Thisobald, which allows to replenish inspiration points if used to reroll.
Also, the following inspirations can be earned, if not acquired earlier in the game:


Talking to Thisobald Thorm, revealing his story and defeating him is a necessary component as well for further obtaining the following inspirations:

After Thisobald Thorm is defeated, the gore of his remains can be looted for some alchemical ingredients and the ![]()
Behind the bar, a 
![]()
![]()


Several chests around the main hall and nearby contain various alchemical ingredients; the one at X: -208 Y: -90 has a ![]()
![]()
Backroom laboratory[edit section | visual editor]

This is a cavernous area, which served Thisobald both as an office, a private laboratory, and a storage for the most precious supplies and closet skeletons - literally.
In the middle of the area is a laboratory workbench with Thisobald's ![]()
![]()
At X: -260 Y: -91 a locked chest (requires ![]()
![]()
![]()
A Small part of the cavern at X: -258 Y: -96 has been turned into a storage area, separated by a trapped metal cage door (
Inside are three unlocked rustic chests with various alchemical ingredients, including ![]()
![]()
Another locked chest at X: -253 Y: -67 (![]()
Outside the distillery[edit section | visual editor]
One of the exits from the ground floor leads to a sequence of stone stairs ascending to the central square of the Reithwin Town. Near its start at X: -210 Y: -49 is an outhouse. Inside, a skeleton can be found with a bottle of ![]()
![]()
In the front yard at X: -182 Y: -60 is a message board with several announcements of missing pets. This is actually only a part of a group of interactable objects; the second part is a heap of pets' collars near the Reithwin Tollhouse. The party members' comments depend on which of these two halves they have found first.
In a small barn at X: -248 Y: -4 is a secret stash where alchemical supplies requested by Thisobald Thorm are hidden. If the party succeeded the ![]()
![]()
![]()

A small stone footbridge straddles the road north-west of the distillery, next to the barn. If the party have been marked for death by ![]()

![]()

Related quests[edit section | visual editor]
Characters[edit section | visual editor]


Loot[edit section | visual editor]
Quest Items[edit section | visual editor]
Notable items[edit section | visual editor]
Chests and buried treasure[edit section | visual editor]
Entries here do not double those already mentioned in the article
- X: -197 Y: -89 - rustic chest
- X: -219 Y: -86 - wooden chest
- X: -218 Y: -45 - wooden chest
- X: -183 Y: -51 - buried chest (requires

- X: -159 Y: -113 - buried chest (requires
- X: -238 Y: -87 - buried chest (requires
Related literature[edit section | visual editor]
Notes and references[edit section | visual editor]
- ↑


- ↑ The Raven's message differs depending on whether the

- ↑ The book can be read multiple times by different party members, and the dialogue each time is started anew with an option to make a roll. Thus, where one party member failed, another can try to succeed.
External links[edit section | visual editor]
![]()