Ad placeholder
House of Hope


“Flock to me, all who are burdened, and I will give you hope, for my house is yours, and the door is always open.„
Overview[edit section | visual editor]

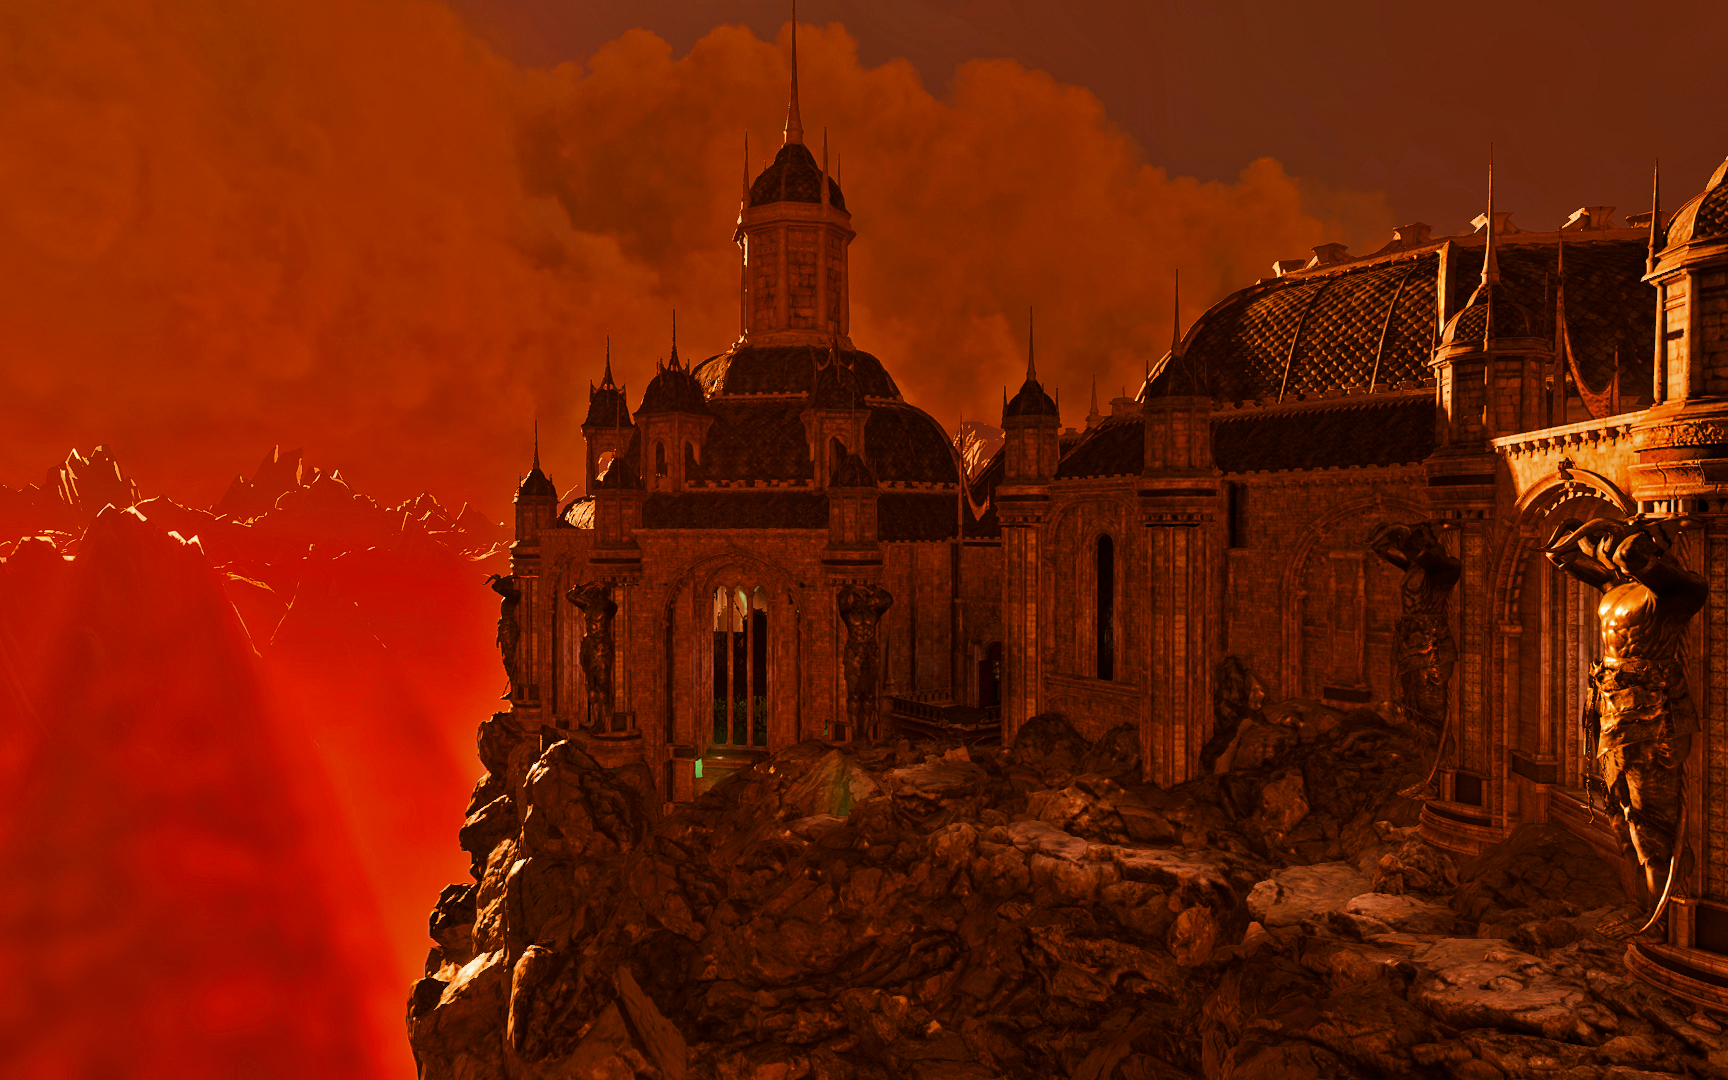
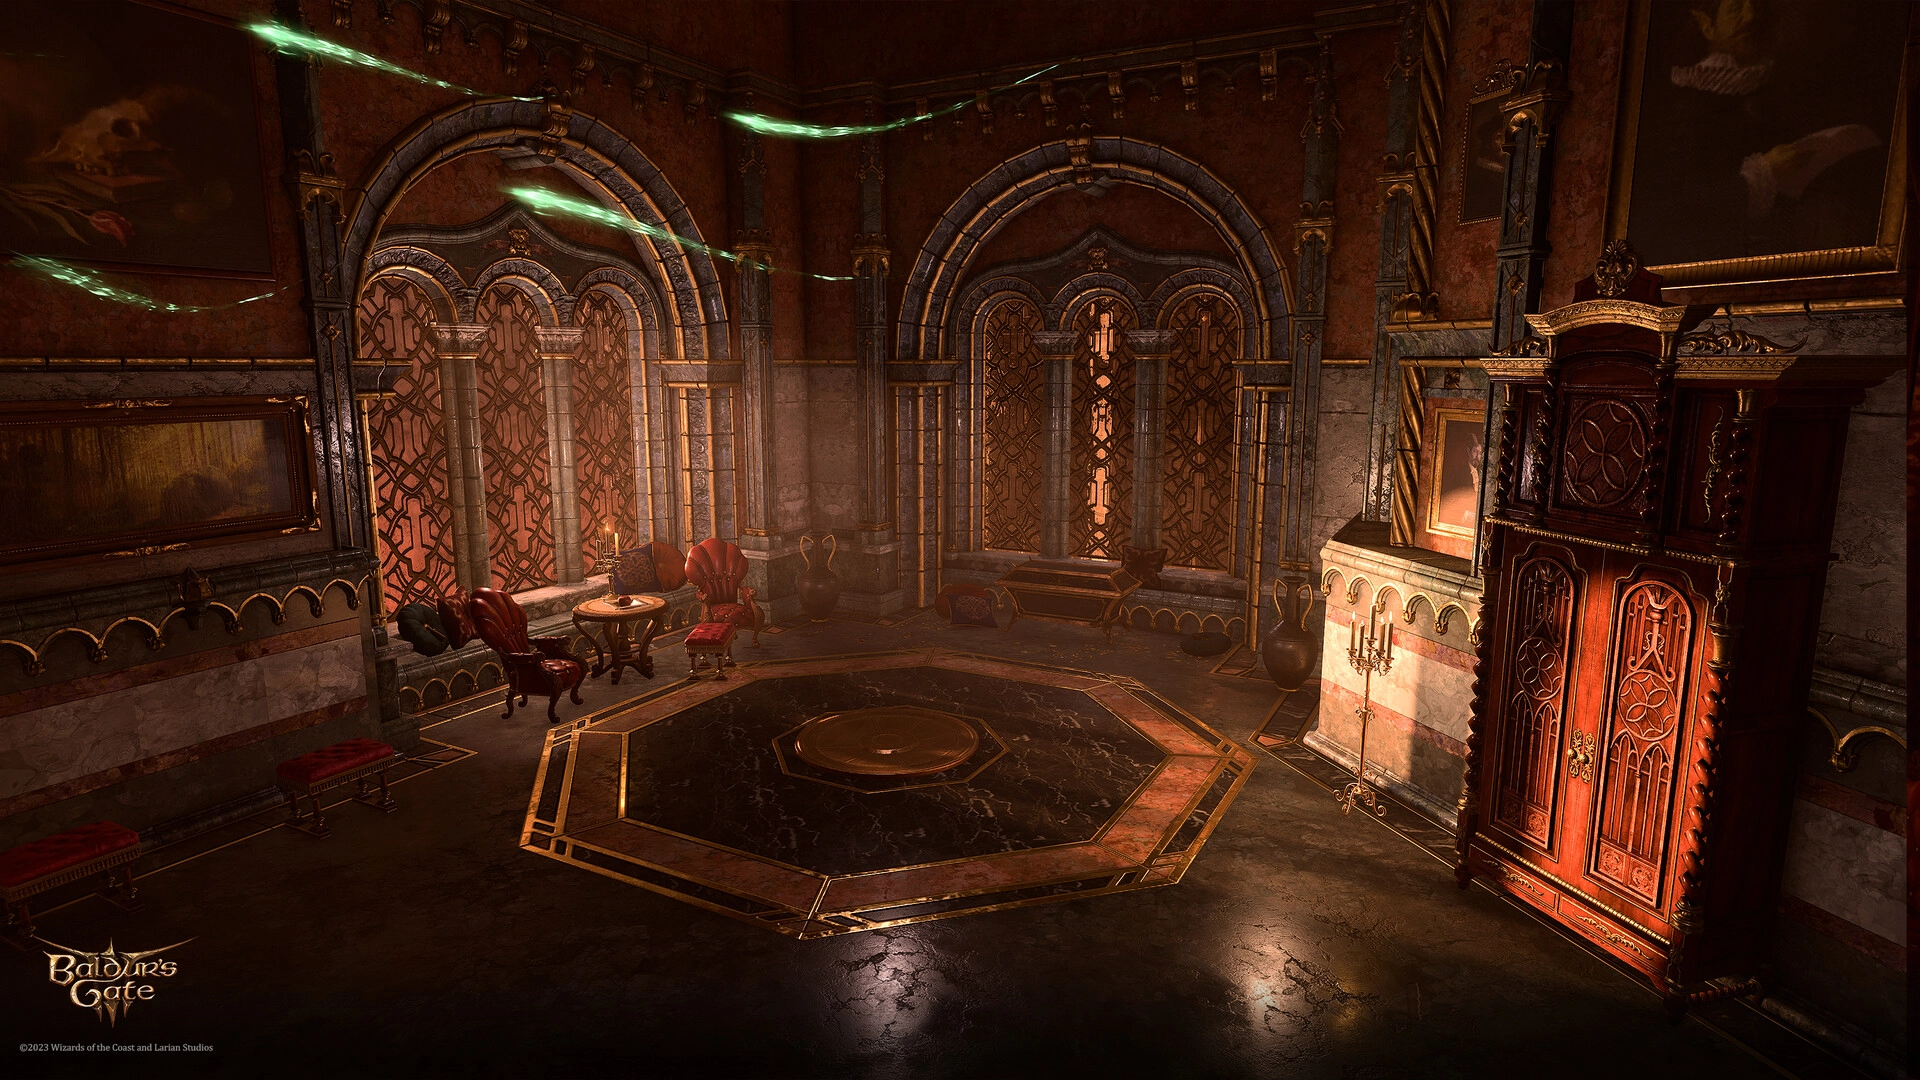
The House of Hope is a giant building floating high above the ground somewhere in Avernus, the First layer of The Nine Hells. It is made of elaborately hammered metal and placed onto a huge piece of rock kept up in the atmosphere with the help of complicated mechanisms.
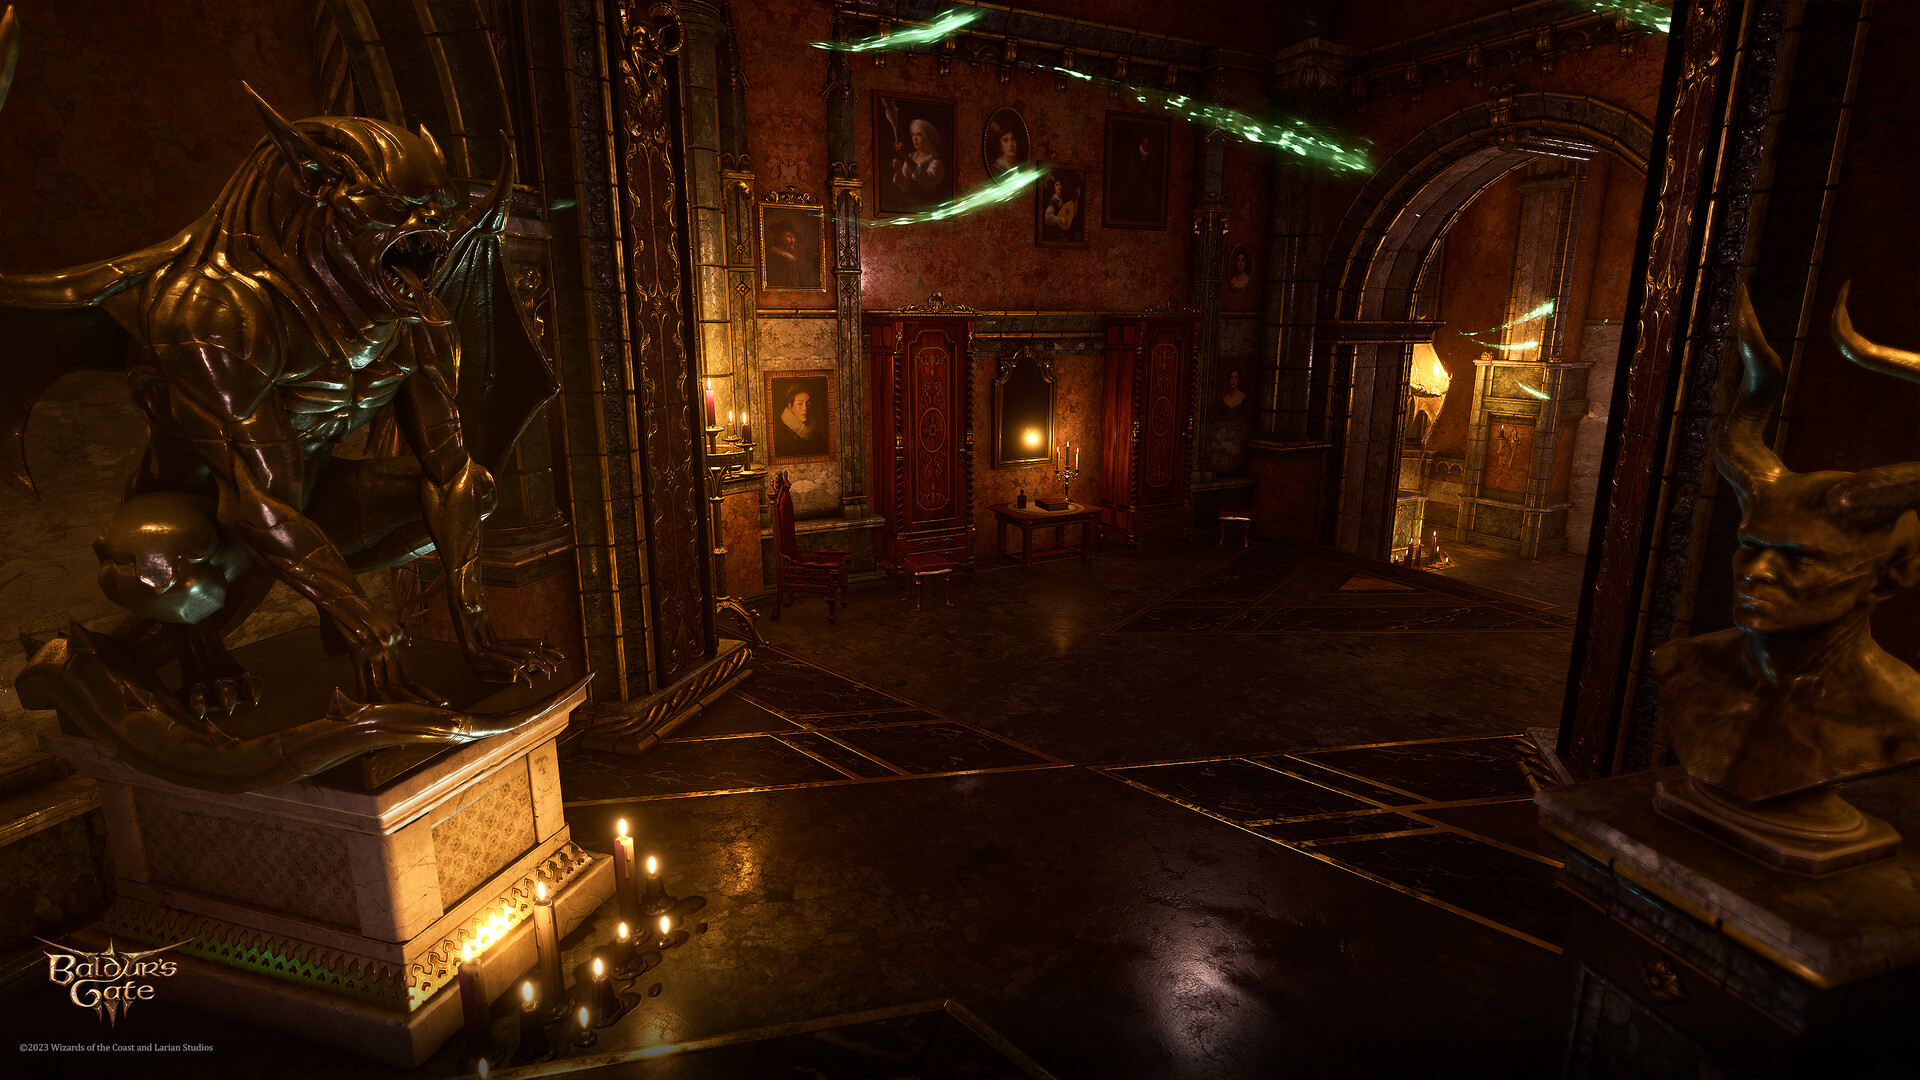
Inside the house is lavishly decorated and furbished, with marble mosaic floor and interiors sustained in bloody red and gold, which contrasts with otherwordly greenish flashes of some of its 'inhabitants'. Multiple golden devilish busts have plaques on their pedestals with Raphael's pompous dictums.[2]
The House of Hope is the home to the devil 
Access[edit section | visual editor]
The party can be briefly taken to the House of Hope by Raphael himself, when he appears to make acquaintance with them in Act One. They find themselves at the Feast Hall (see below), and when Raphael invites them to partake in regale, choosing the dialogue option "Ignore him and fill your plate" earns the ![]()
![]()
The deliberate journey to this location, though, is not available until the party reach Act Three and learn how this can be done.
Dealing with the diabolist[edit section | visual editor]

To get access to Raphael's demesne, the party must first find hints onto who in Baldur's Gate is able to help them. This is eventually revealed as 
- Finding and reading the


- Stealing or looting the


- Finding and reading the

- Finding and reading the
- Helping the orthon

- Successfully identifying at least two of the hellish curios displayed in the trade hall of Devil's Fee[4]
- Looting either a


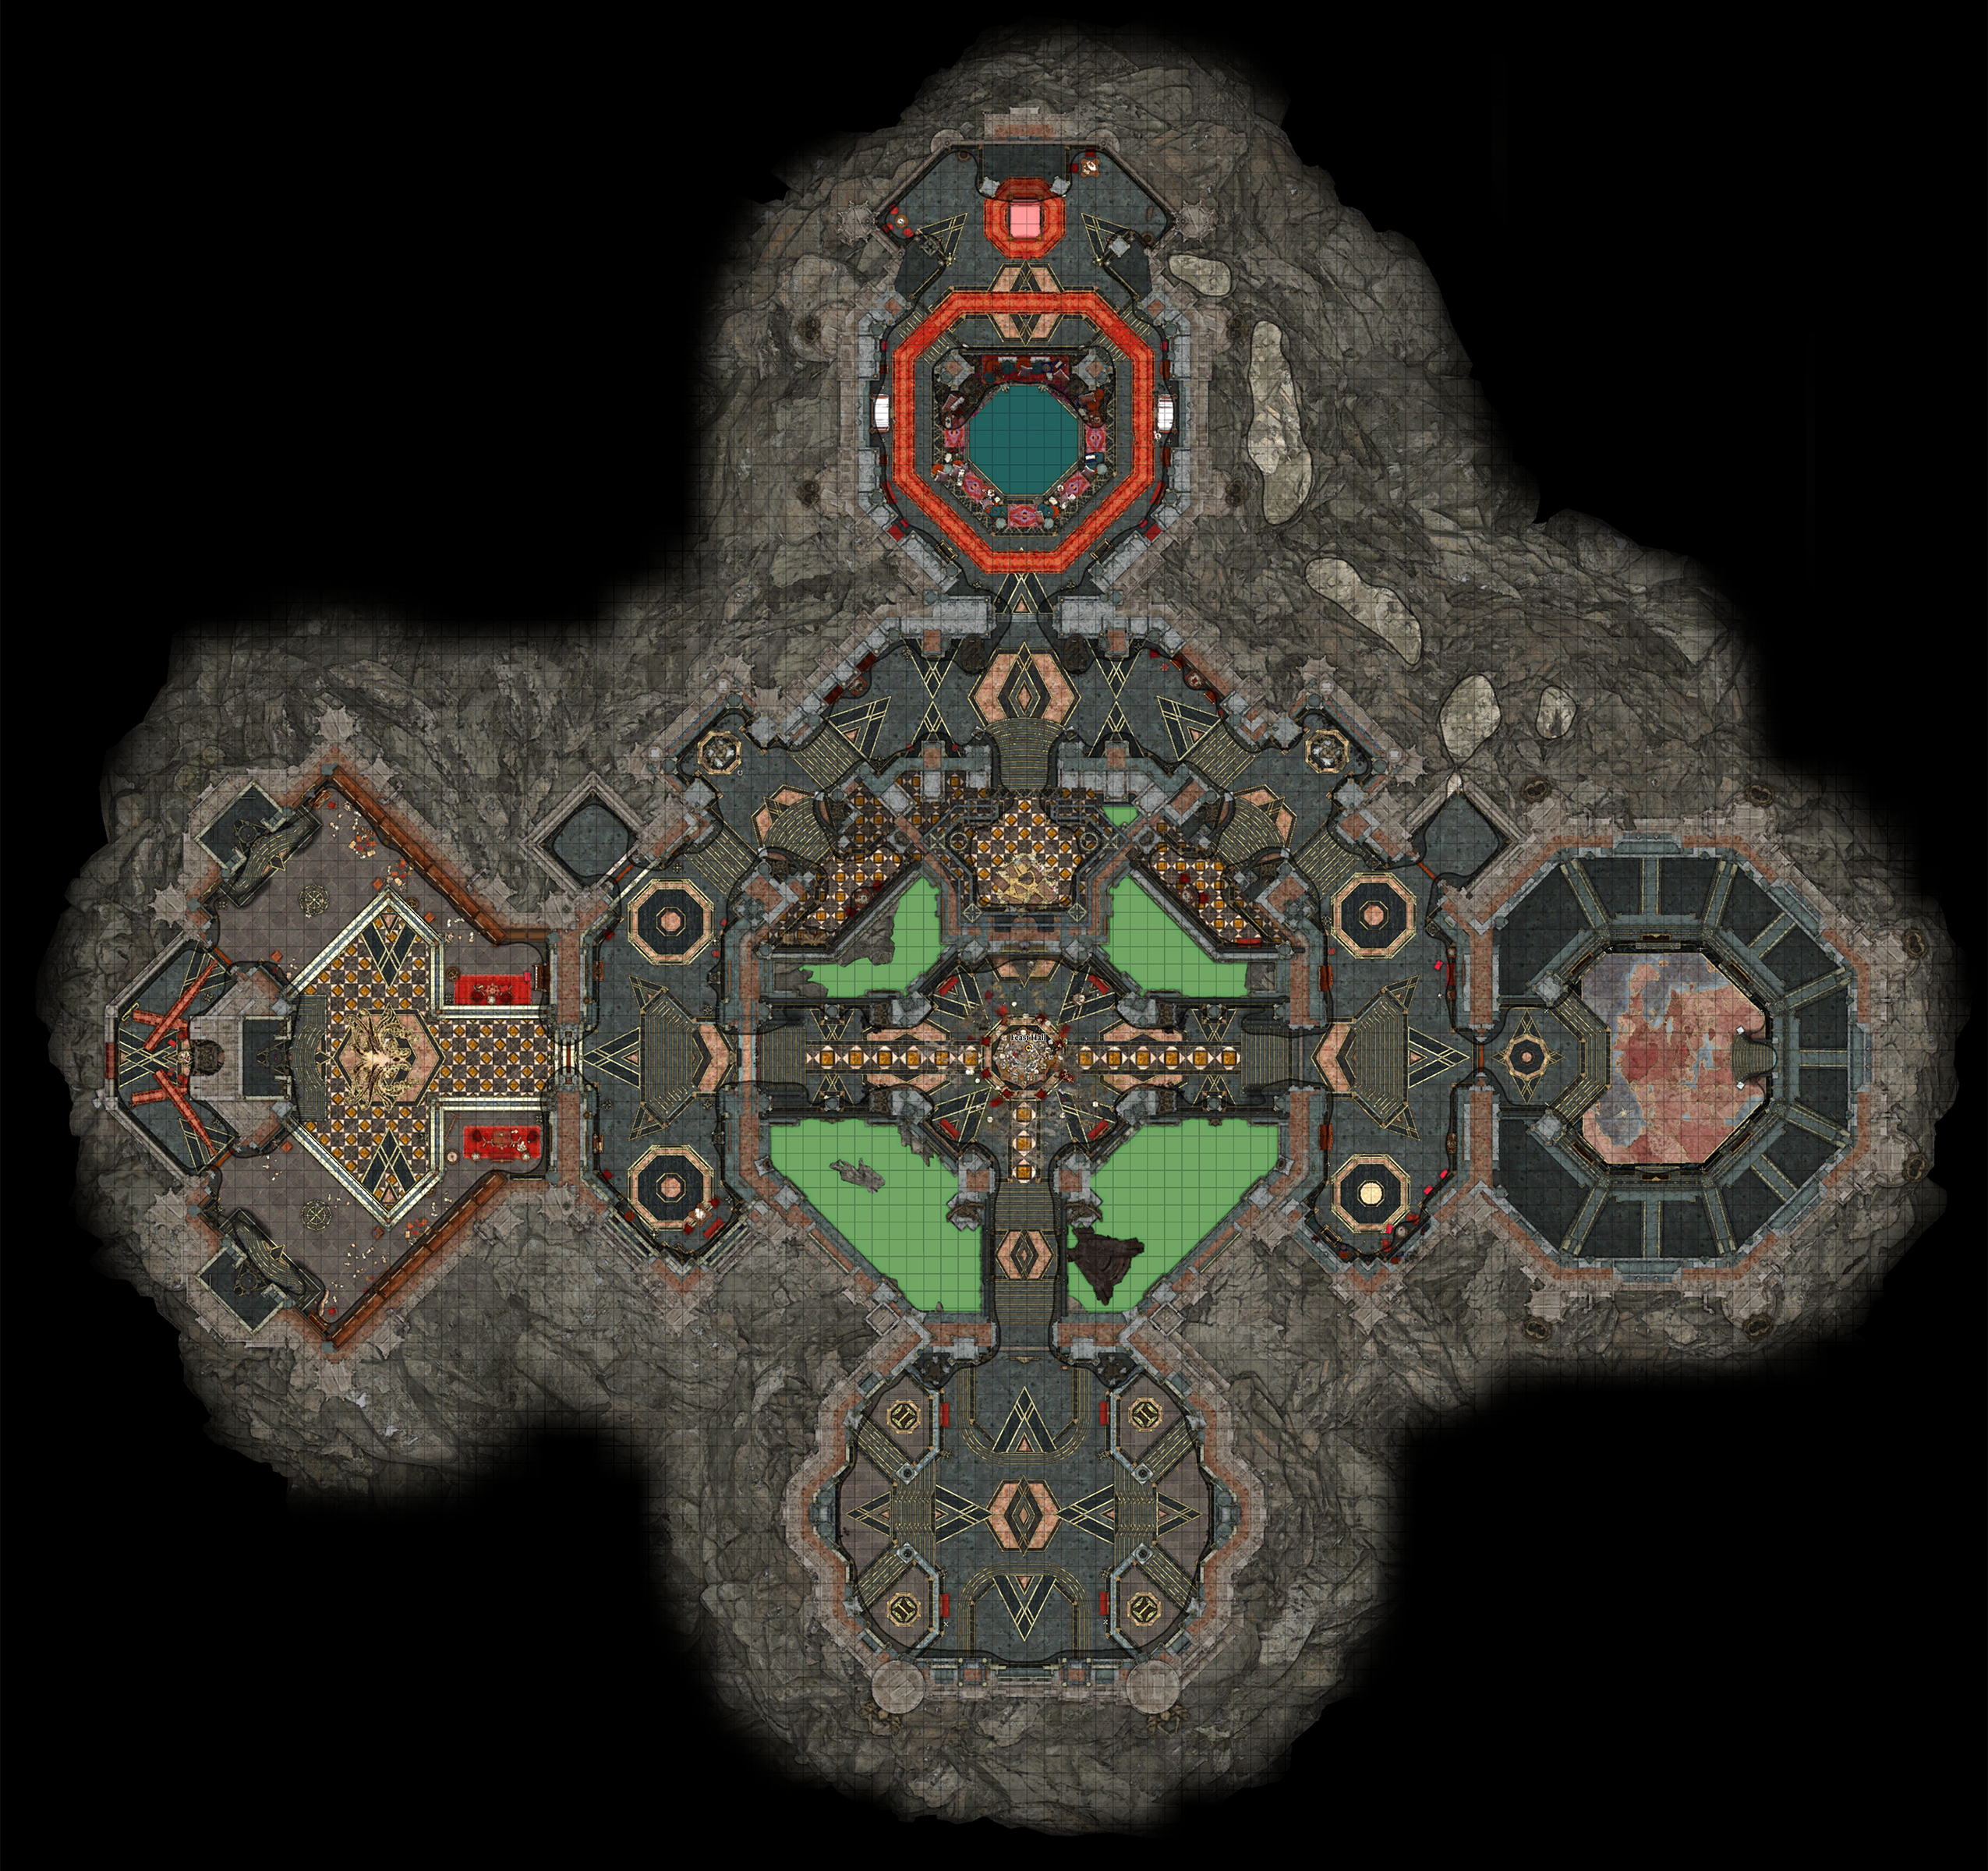
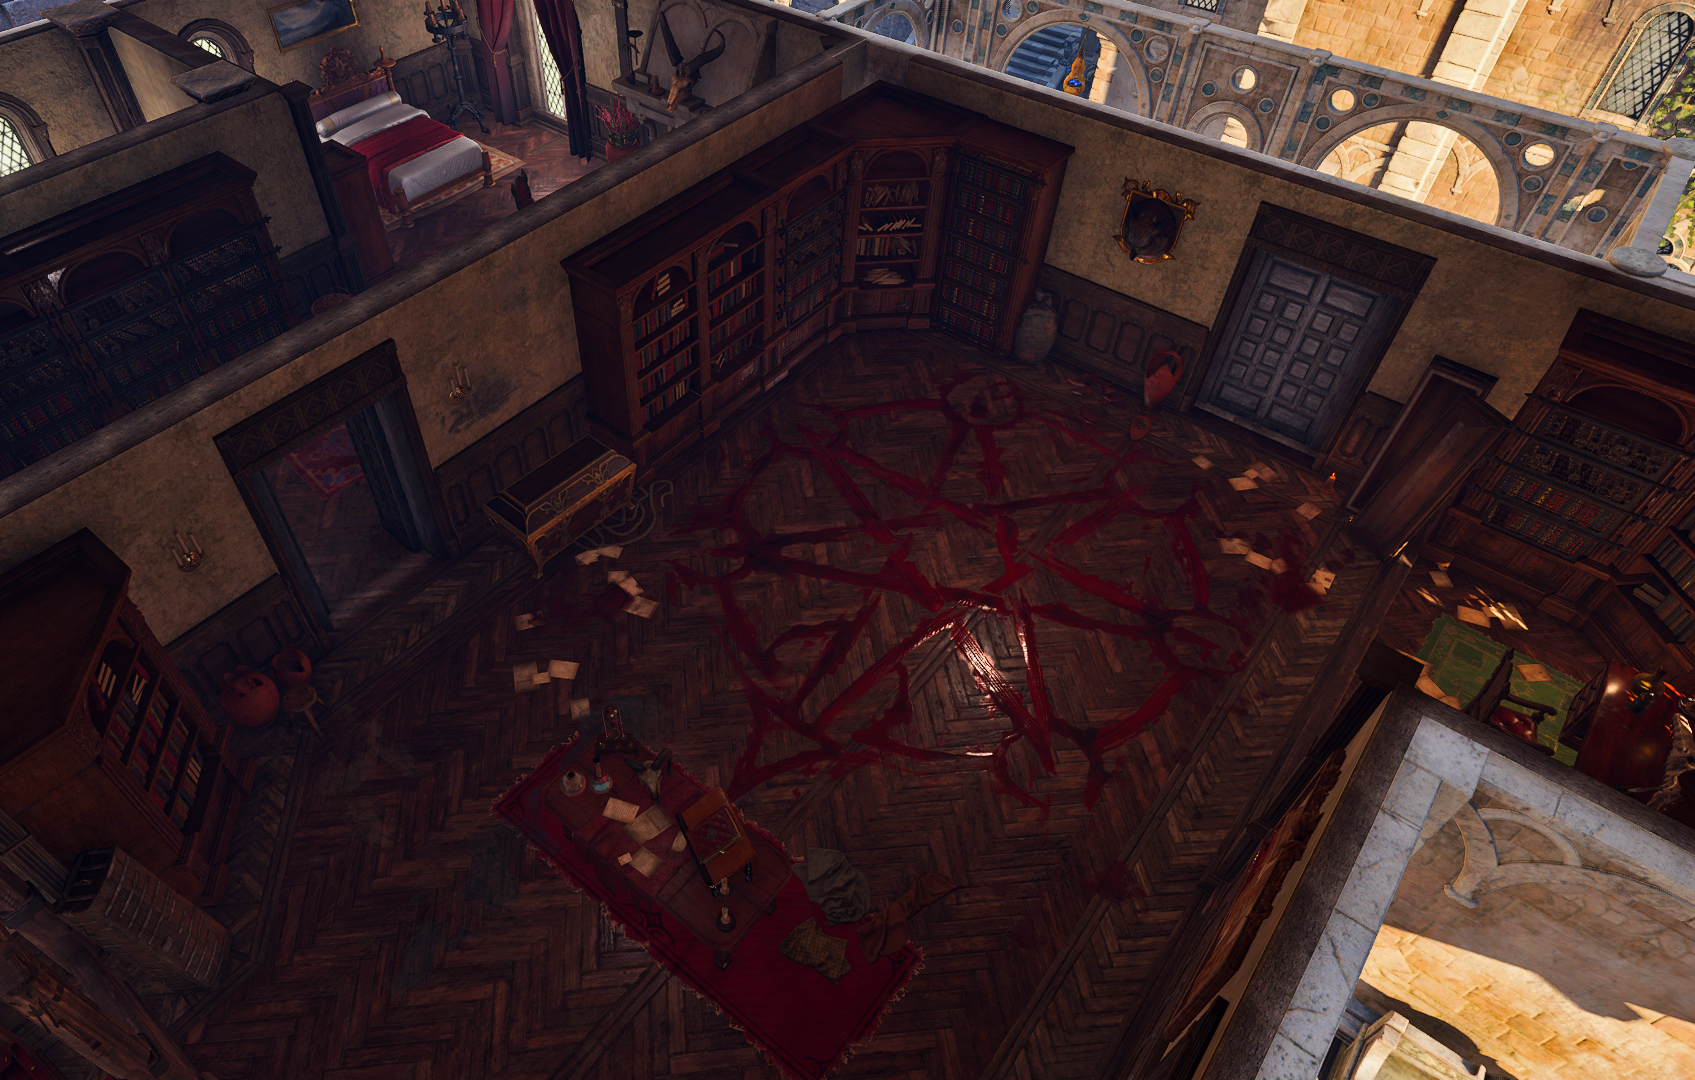
The party can either negotiate with Helsik to provide them with a portal to the House of Hope, or break in to the first floor of the Devil's Fee, where the ritual room with the teleporting heptagram[5] is, and open the portal themselves. Either way, the party need a set of specific components to open the way to Avernus, and an instruction on how to place them correctly.
Helsik provides the components to open a portal if the party meet one of the following conditions:
- Paying

- Succeeding a

- Warlocks can instead succeed a

- Warlocks can instead succeed a
- Passing a

Otherwise, the necessary ingredients can be found in various containers upstairs or pickpocketed from Helsik, together with the ![]()
Opening the portal[edit section | visual editor]
.png)
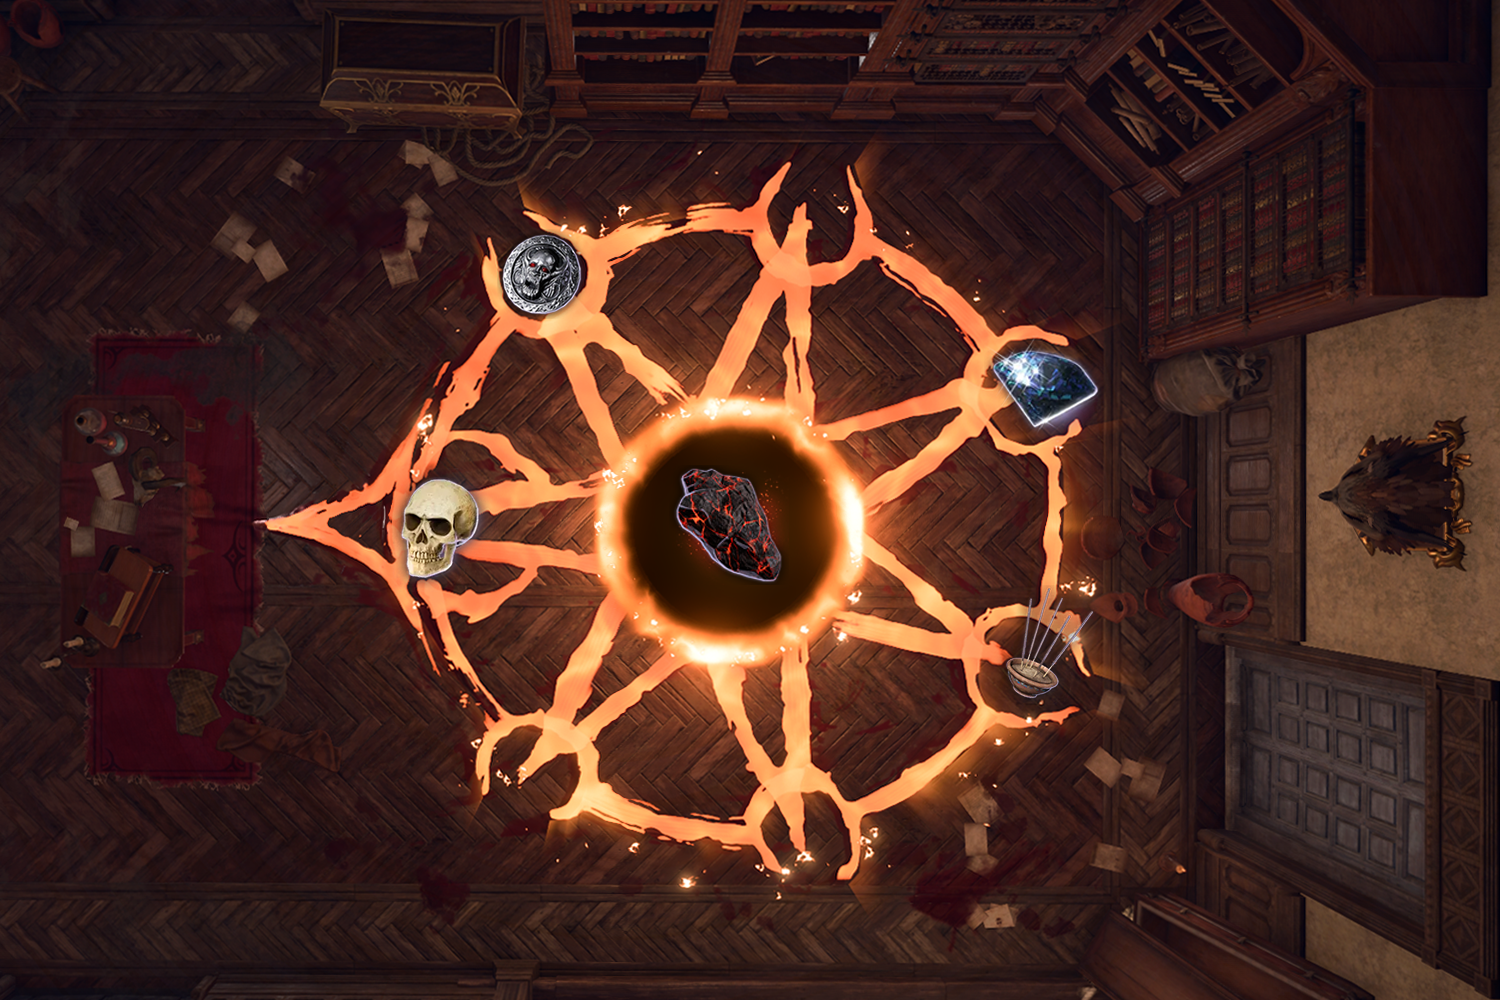
Once the party have gathered all necessary components, they can open the portal to Avernus. There are specific requirements for placing the items in the points of the heptagram:
- The skull - on the star point near the altar
- The Coin of Mammon - on the next point to the right (if the character is facing the altar)
- The diamond - skipping a point and placing it on the next point after that
- The incense - on the point following the diamond
- A piece of Infernal Marble - in the centre of the star
Placing the ingredients on the correct locations makes them stick to the point and alight in flame. The order of placement does not matter as long as the items are placed correctly. Placing an item on the wrong point does not destroy it or the potential to proceed; a party member can pick it up and try again.
After the last ingredient is placed, the bloody lines start to burn brightly, and the central circle becomes interactive. Using it transports the party to the House of Hope. Throughout the opening process, the 
Entering the House of Hope causes Raphael to disappear from Sharess' Caress; he then becomes inaccessible until the party tries to leave the Hells. Upon arrival to the House of Hope, one or both of the following inspirations is granted:


Fast travel and returning to the Campsite are not possible inside the House of Hope.
Building layout[edit section | visual editor]
Foyer[edit section | visual editor]

The portal exits into the House's foyer, which has a large door labelled "Iron Doors to Hope" and four Pillars of Souls. The pillars remain inactive and cannot be destroyed until the party attempt to leave.
Upon arrival, any party member can comment on not hearing the Emperor here, mostly with relief. Another comment, this time on the Avernus' landscape, is uttered when any of them come closer to the large stainglass window in the far end of the room, opposite from the door.
Approaching the door summons a projection of 
![]()

Past the Iron Doors to Hope is the Feast Hall, where the party might have already been – briefly – in Act One.
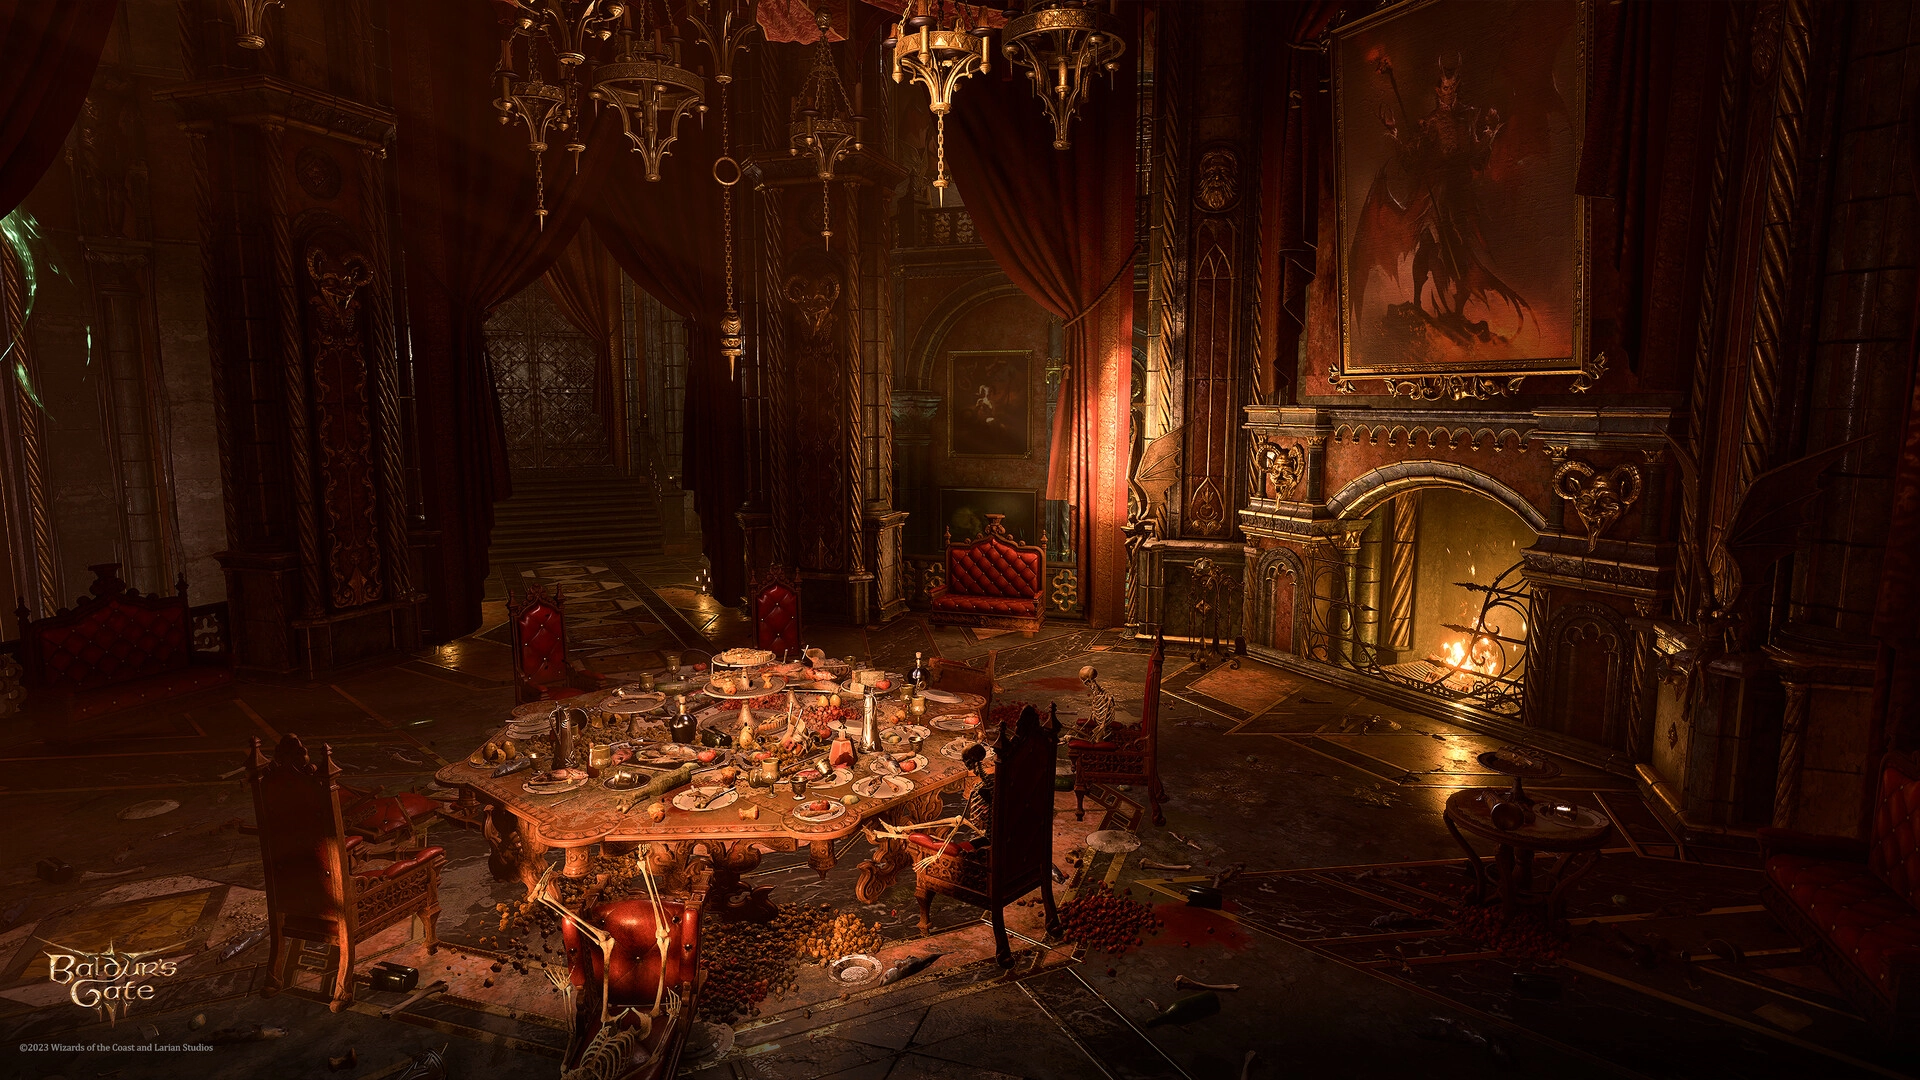
Feast Hall[edit section | visual editor]

(by Edward Vanderghote)
Unlike the first meeting with Raphael, the lavish displays of food and ordered furniture are gone; the party can now see the reality of Raphael's illusory temptations as they truly are: rotting food, disorder and the 
Cleaning the hall is the lone 

![]()
Two iron doors lead from the Feast Hall into the Main Corridor. The eastern door is unlocked, while the western one requires 
The descriptions of rooms given below are in the order of their appearance if the party go out of the eastern doors of the Feast Hall, except for the House of Hope's Prison.
Main Corridor[edit section | visual editor]
The semicircular Main Corridor can be accessed from the east and west exits from the Feast Hall. It connects all rooms of the House and is populated by several Eternal Debtors. While moving about the corridor, more Errant Souls spawn from time to time. Several Mahogany Wardrobes in the corridor contain sets of Debtor's Attire, needed if the party fail to convince Hope to help them in the Foyer.
At X: -6450 Y: 2910 is the Prison Hatchway, which leads to Hope's prison. An opulent chest nearby requires
Also along the corridor are more containers with treasure:
- At X: -6495 Y: 2952 a gilded chest - requires

- At X: -6518 Y: 2913 a rosewood desk - requires


- At X: -6512 Y: 2905 an unlocked chest with gold and a random arrow

Near the latter chest a
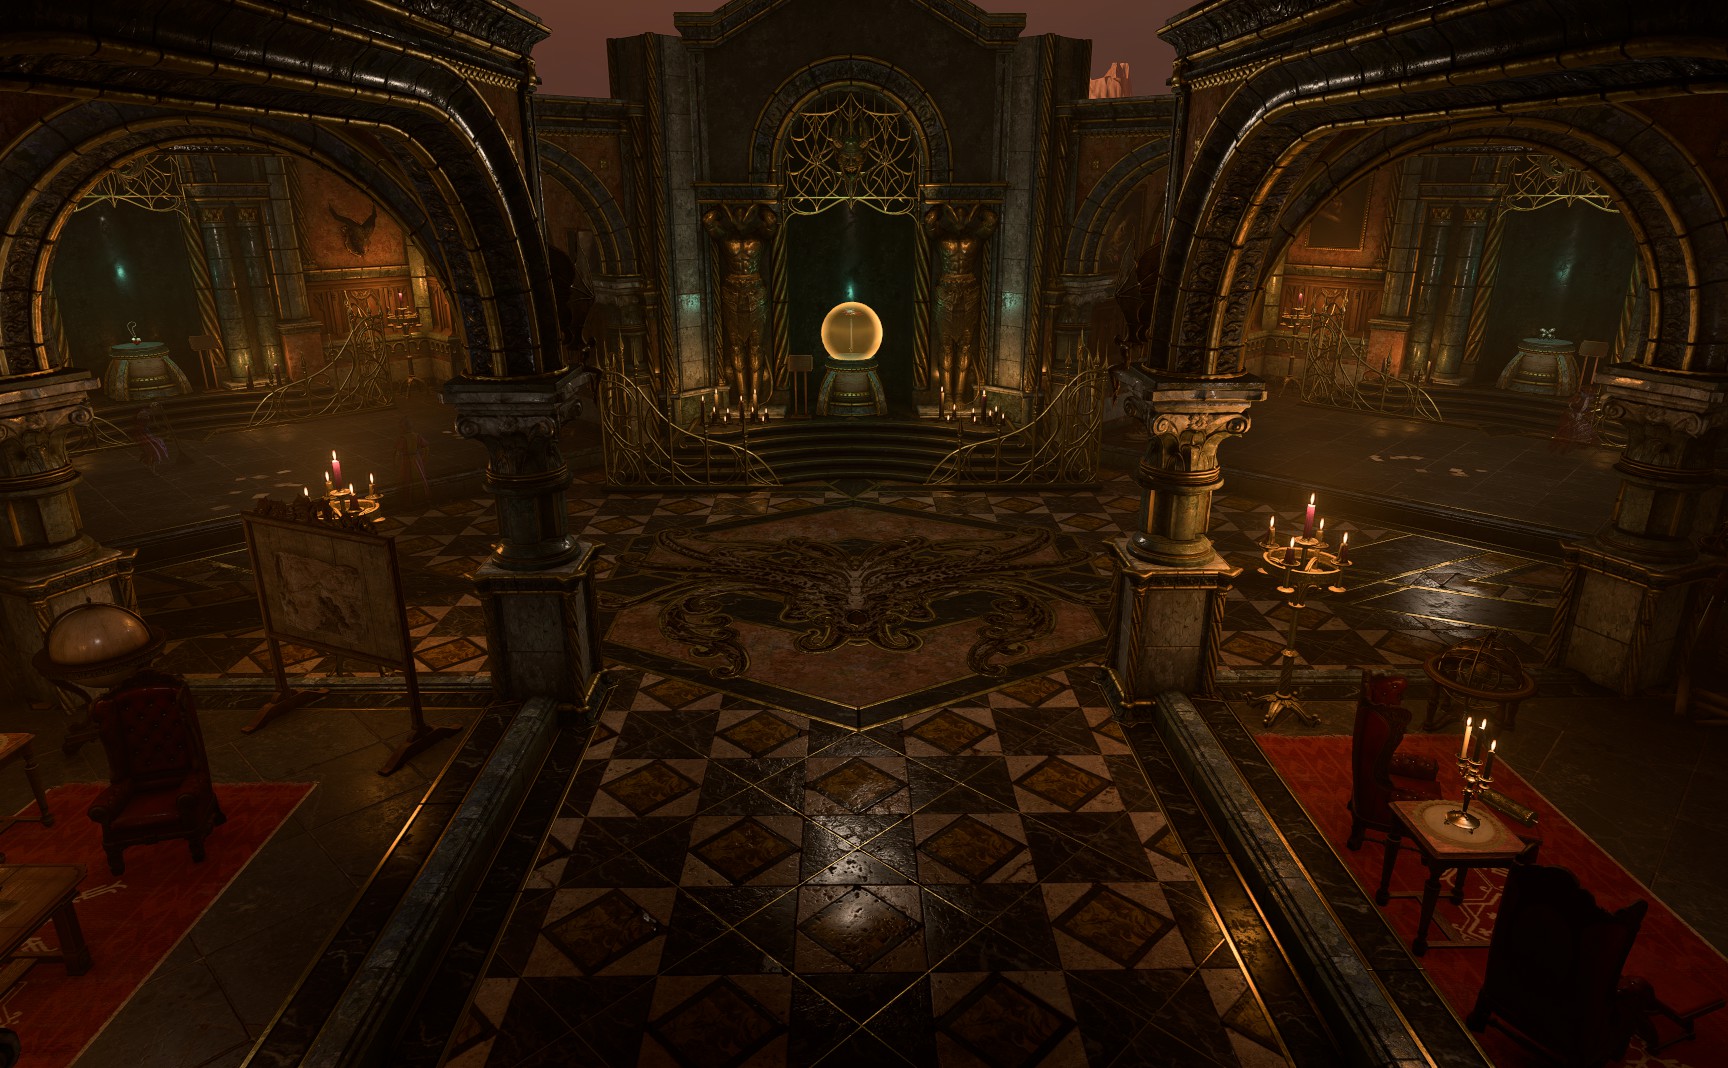
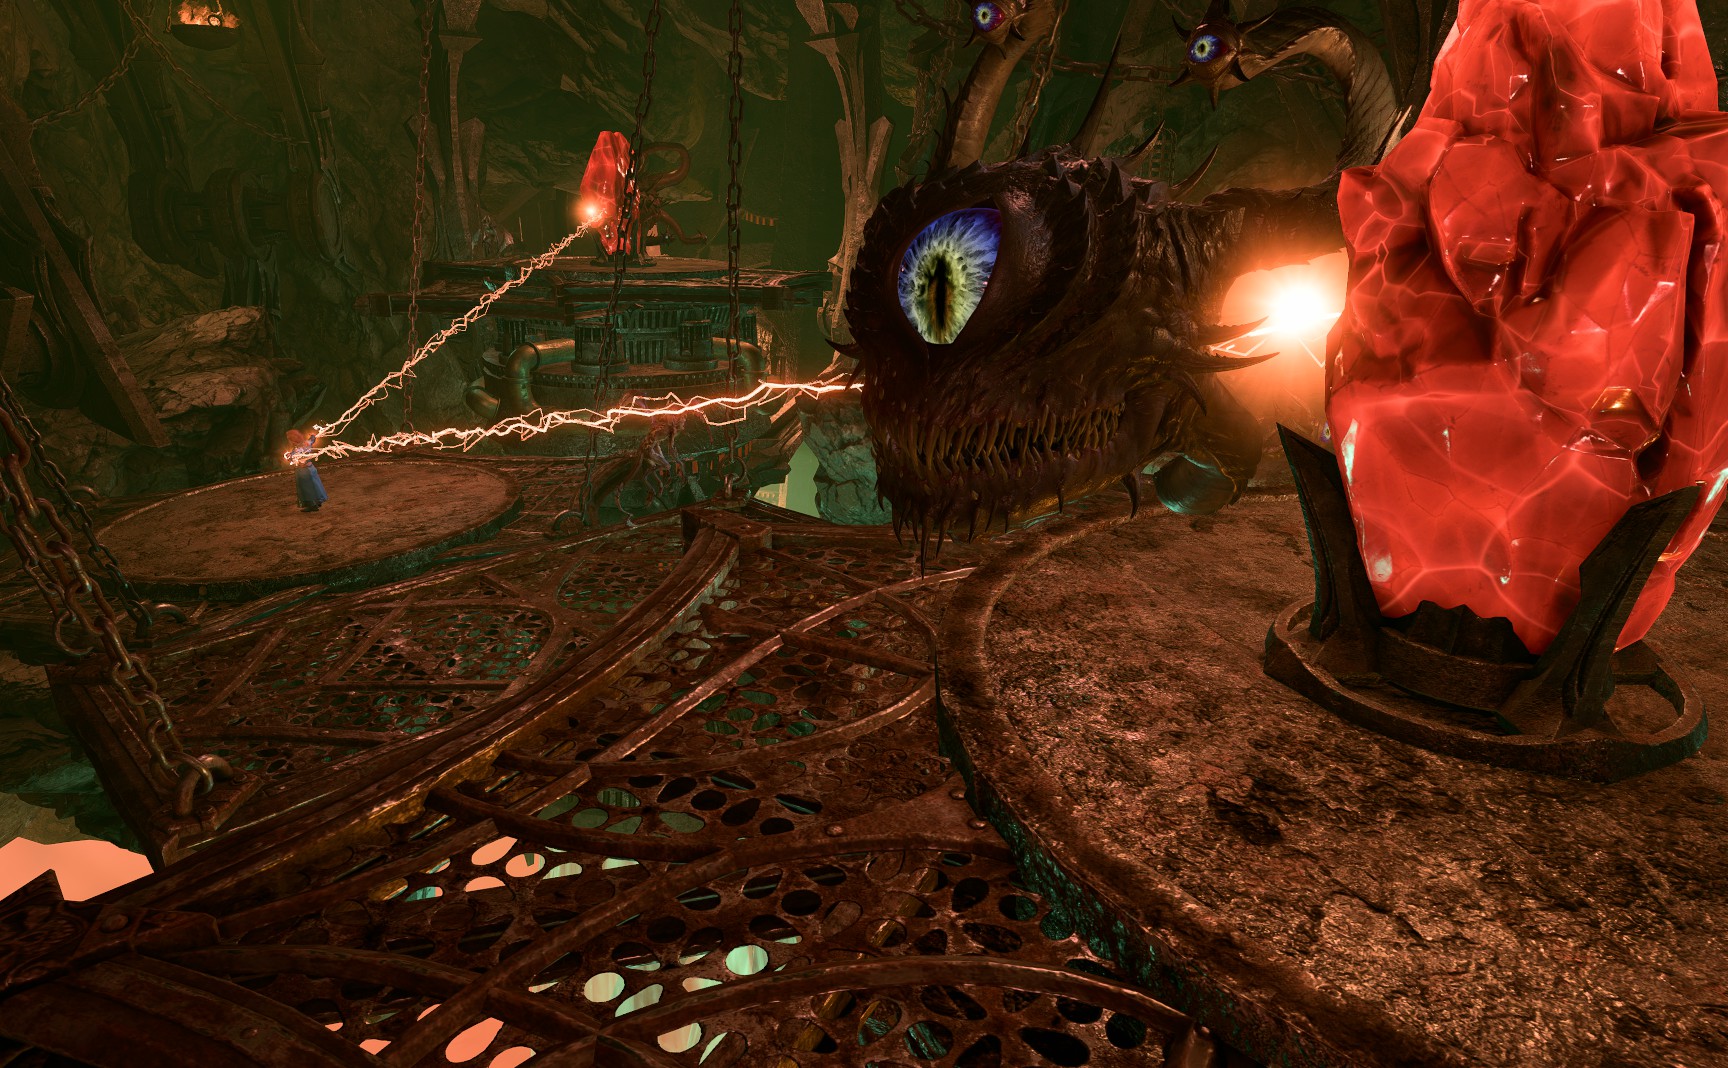
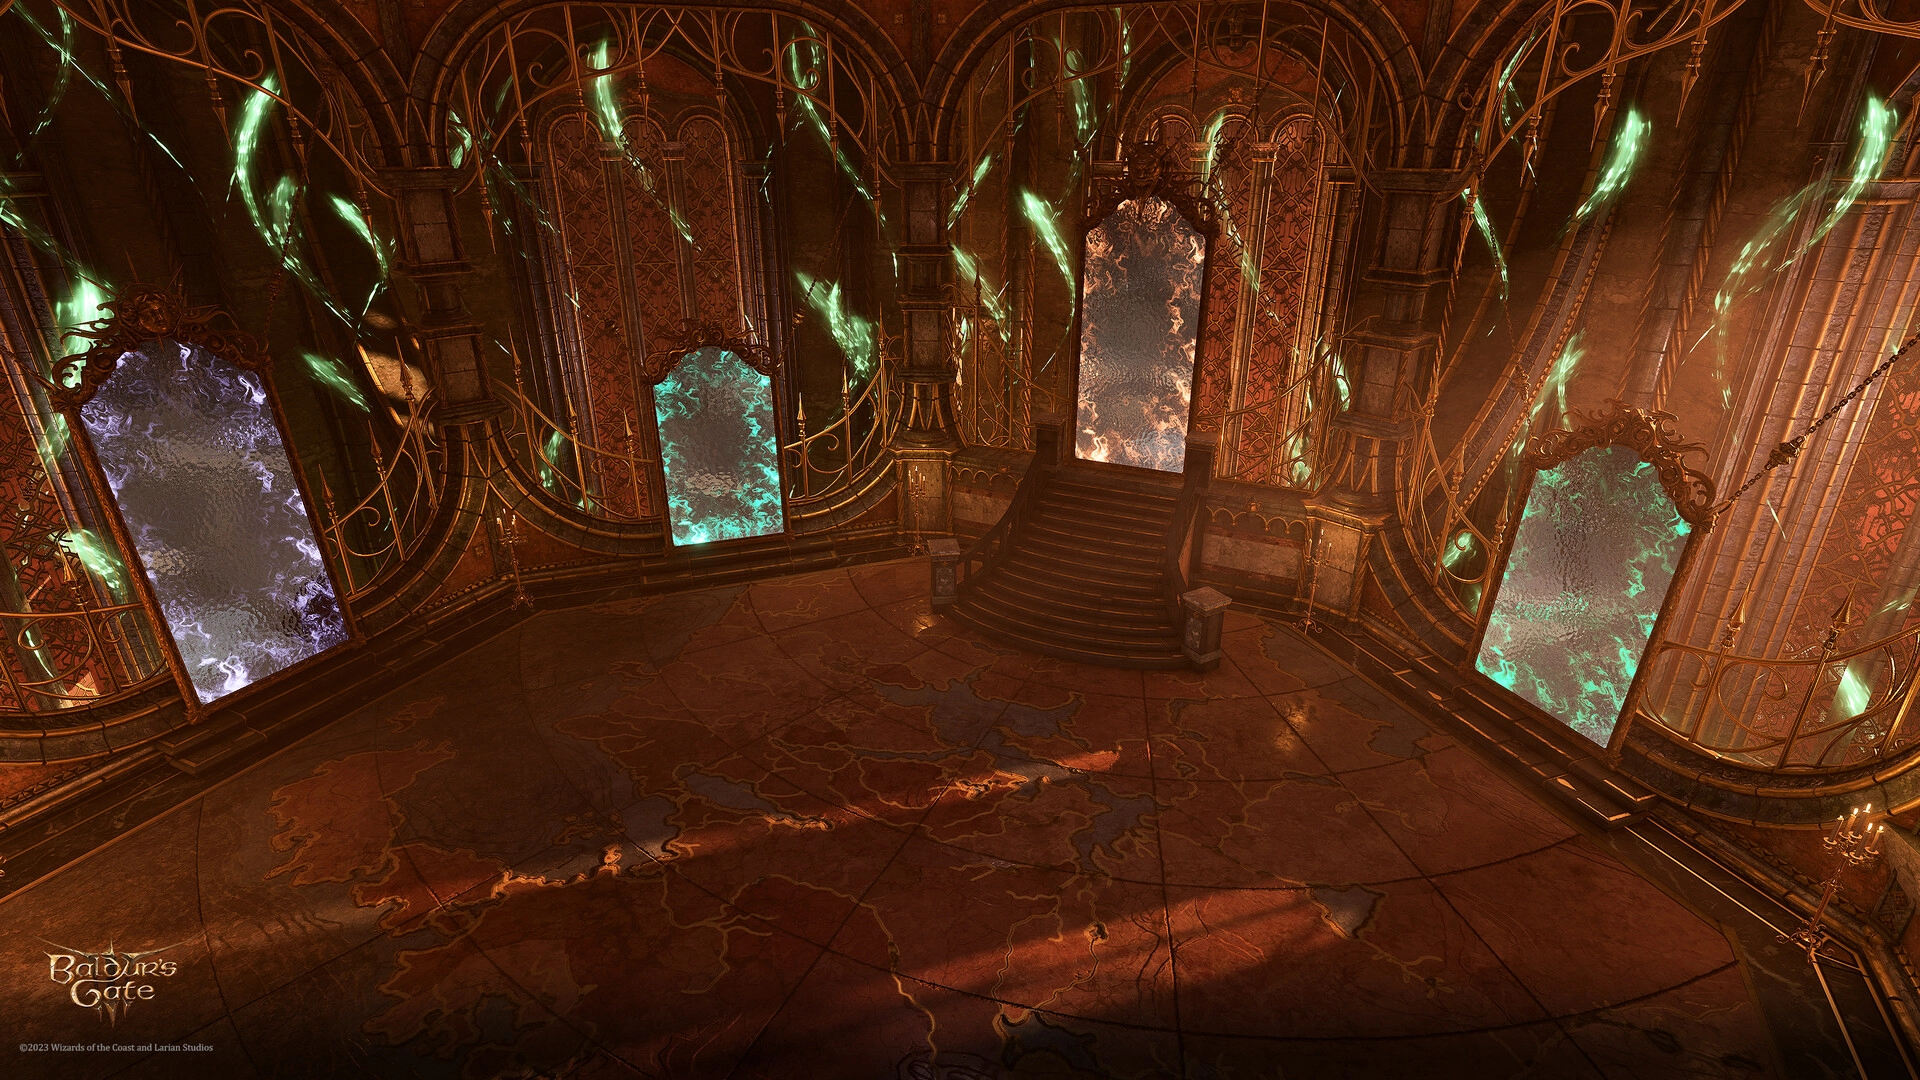
Chamber of Egress[edit section | visual editor]

The Chamber of Egress at X: -6442 Y: 2920 is a large room with seven portals leading to various locations, including Cania's capital Mephistar and the drow city of Menzoberranzan in the Underdark. The portals are closed, but can be interacted with to hear a brief narration line about each destination. The player character and origin companions each have different comments on them.
The floor of the Chamber of Egress is actually a large bas-relief depicting a map of the Sword Coast and adjacent areas of the interior Faerûn.
Scrubbing the floor of the room is its boorish keeper 
![]()
However, if the party has already defeated Gortash and tells Nubaldin about it, he gloats over the archduke's demise and offers the same information without any checks. In this case, he also provides the party with a side route to Raphael's Boudoir through the breach in the balcony. There is no way to deceive Nubaldin about the victory over Gortash.
When the party enter the Chamber of Egress, Hope's projection appears again to guide them.
Eastern balcony[edit section | visual editor]
At X: -6447 Y: 2936 is the entrance to the eastern balcony where the party can go outside the House through a breach in the railing.
On the rocky cliff just below from the balcony is a Passageway to Hope's Prison. To the west are a series of small platforms along the House of Hope's outer wall. Jumping on them, the party can reach the balcony of the Boudoir. The final gap is high enough to be available to characters with a Strength of 10 or higher. The platforms are rather narrow, so it is recommended to split the party and jump along the route one by one to avoid party members inadvertantly falling to their deaths.
Almost across it, at X: -6464 Y: 2938 is a stairway to the inner balcony, looking over the Feast Hall. On the table is a ![]()
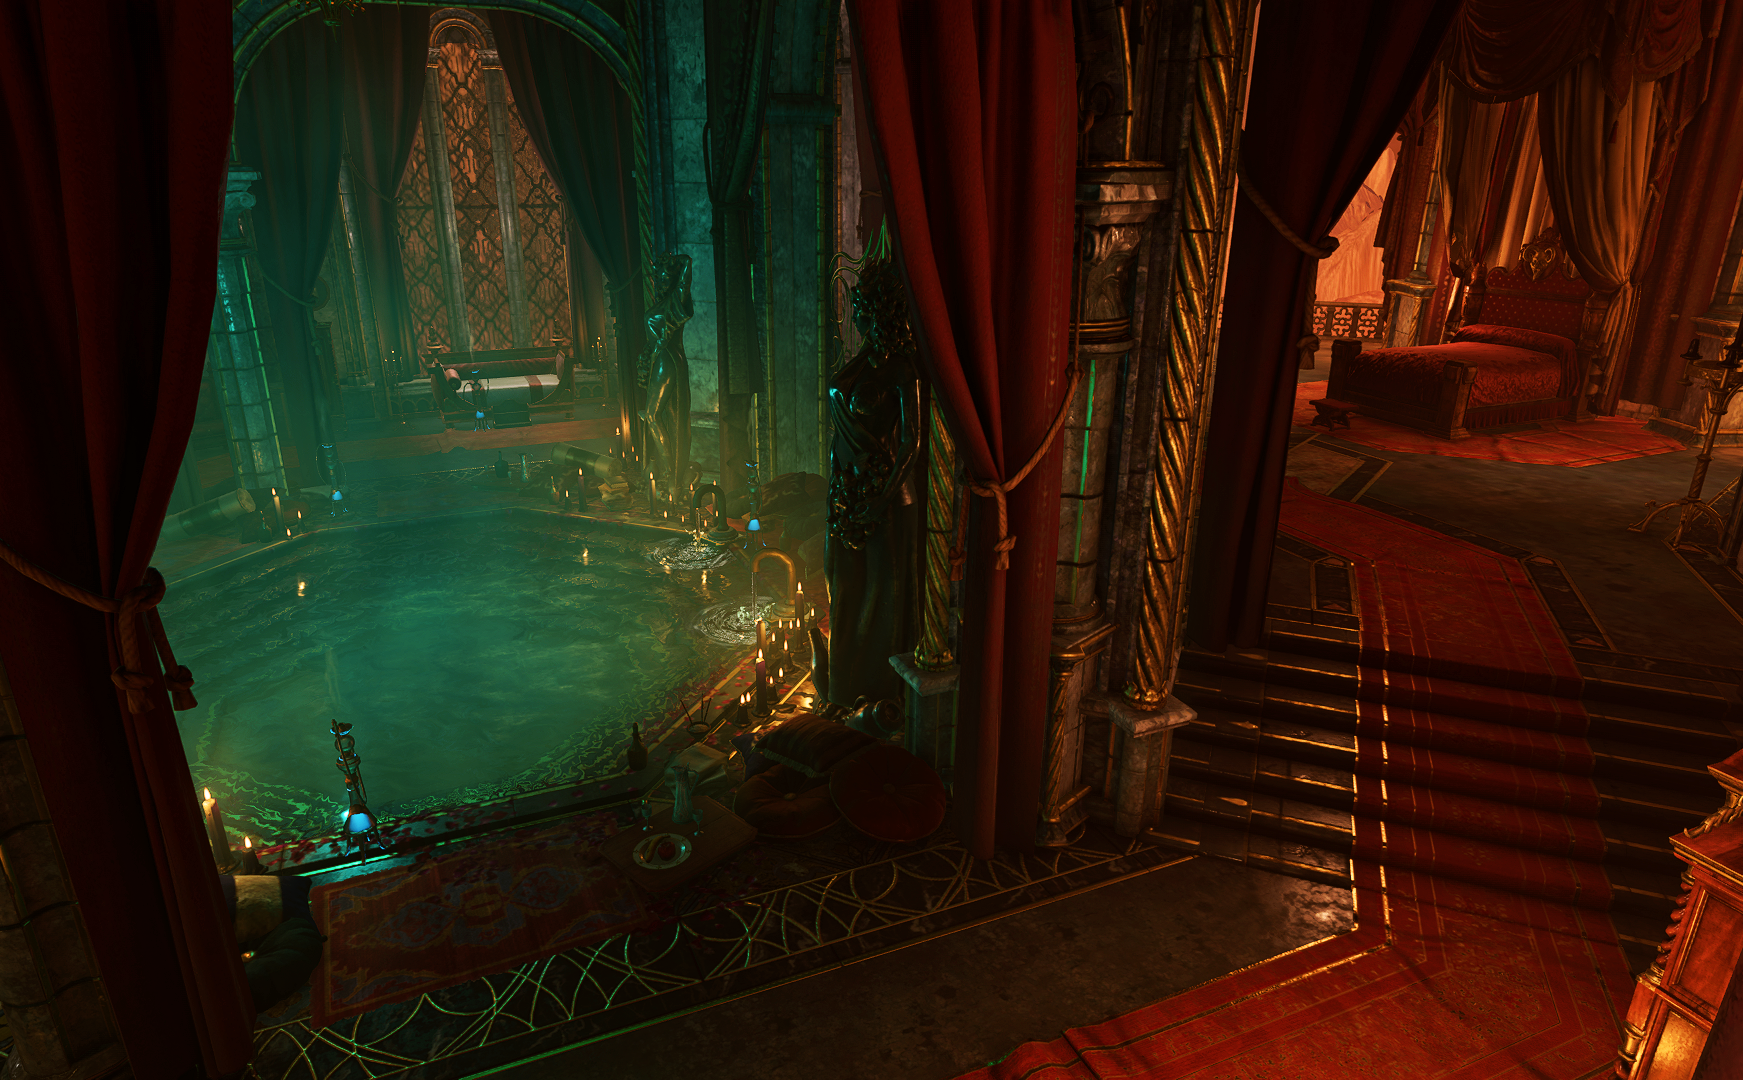
Boudoir[edit section | visual editor]

The Boudoir is the northernmost room in the House with the entrance at X: -6481 Y: 2956. Initially it is closed with the Mystic Force Curtain – an energy barrier, interacting with which prompts a message "Show your invitation". This ![]()
If the party approach the boudoir door, Hope's projection appears again, but, as with the Chamber of Egress, she does not relate any useful information except that inside Raphael keeps his "favourite things".
The boudoir features an octagonal bathing pool in the centre, filled through two Restoration Faucets. Upon approach each is typically highlighted (
The faucets do not restore the party's ability to take additional short rests, but do restore a bard's related ![]()
![]()
The pool is surronded by two small galleries, where there are several wardrobes with random rich Camp Clothing and two locked opulent chests, each requiring ![]()
Both galleries eventually lead to a luxurious bed, where the succubus 
![]()
Haarlep's key opens a safe hidden under a large portrait of Raphael west of the bed (revealed with a button below). Without interacting with Haarlep, a successful ![]()
Lockpicking the safe under the picture requires ![]()
![]()
Alternatively, the party can deny the conditions offered by the succubus, which inevitably spills into a fight with them and six 
![]()
![]()
Raphael's vault[edit section | visual editor]
The entrance to Raphael's Vault is directly south of the entrance to the Boudoir, at X: -6481 Y: 2942. To enter, the party must first succeed in a ![]()
![]()
Inside is pile of crates with the ![]()

![]()
![]()
Western balcony[edit section | visual editor]
The western balcony is located at X: -6499 Y: 2938, along with the 
Almost across it at X: -6500 Y: 2939 is another inner balcony where a part of Korrilla's ![]()
Archive[edit section | visual editor]

The Archive is the westernmost room of the House of Hope with its entrance at X: -6520 Y: 2920. When the party approach, Hope's projection appears once more. This time, the party can offer her help once more, passing a 
Inside the Archive are several books with information related to the House, the Crown of Karsus, and the party's progress throughout the game. Inside the Archive is the 
Of note are three pedestals with rare equipment. The northern pedestal holds the ![]()
![]()
Around the Archive are several locked display cases, each red-outlined and requiring ![]()
![]()
The Archivist possesses the ![]()
Across the Archive entrance is a lever which opens a shortcut back to the feast hall.
Hope's Prison[edit section | visual editor]

At the eastern end of the Main Corridor (X: -6450 Y: 2910) is the Prison Hatchway, which leads down beneath the main level of the House and into Hope's prison. After descending the party find themselves in an antechamber, where a button opens the door to the prison proper. In the antechamber, Hope's projection appears for the last time to encourage the party.
The prison can also be reached through the Passageway, which is found outside just below of the Eastern Balcony. In this case, escaping the prison through the door requires lowering the ladder by use of a lever in the antechamber.
The prison consists of several platforms made of wrought-iron lattice.
The prison is patrolled by two 
![]()
![]()

Also, although Hope is a level 10 Cleric with remarkable healing abilities, freeing her before defeating her guards might be an imprudent decision, as she clings to the party member who breaks her chains as an attached follower and is considered an opponent by her jailors. If she dies in the prison the ![]()
One of Spectators drops the ![]()
There are also three Petrified Debtors who cannot be interacted with. If they are administered with any means of removing ![]()
Companion interactions[edit section | visual editor]
Of all companions, 
- Upon entering the House of Hope, Karlach prompts a dialogue, telling the player character that her mechanical heart stopped working in a hyperregime, but she wants to leave the area before she gets used to it.
- After speaking with Nubaldin about Gortash, Karlach remarks that the way Gortash betrayed her may be the result of what his parents did to him. Still, this fact does not excuse him the slightest in her eyes.[8]
- If Karlach interacts with the Archivist, she can introduce herself as an envoy of her former mistress

- After escaping the House of Hope Karlach prompts another dialogue, relating that her heart is in disarray again. Still, she keeps up to her opinion on remaining in Faerûn instead of returning to Hells.

As for other interactions with the inhabitants of House of Hope, there are also minor distinctions when dealing with Haarlep. If the player character is currently romancing any of their present companions and decide to agree to the conditions of the succubi's 'game', their partner chimes in and warns them of possible consequences. Also, 
Escaping the House of Hope[edit section | visual editor]

The House of Hope is exited through the same portal the party used to enter. This portal remains open for the rest of the game and allows free passage between the House and Baldur's Gate – except when the alarm is raised.
Raising the alarm[edit section | visual editor]
The alarm is raised when any of the following conditions are met:
- Being spotted by someone while any party member is not wearing a

- Attacking any of the debtors, the


- Stealing the

- Being caught stealing either the

- Freeing

Fighting Haarlep does not raise the alarm, even if it is brought out of the boudoir and into the main corridor.
When the alarm is raised, all Eternal Debtors gain the ![]()
![]()
Two hostile 
The way out[edit section | visual editor]
Once the alarm is triggered, attempting to use the portal causes 


Other details of the fight, as well as Raphael's abilities, weaknesses and possible strategies to fight him can be found on his page in combat subsection.
Raising the alarm and attempting to exit while Raphael is still in the possession of the player character's Soul-Sworn Contract (if so signed) results in an instant, automatic Game Over.
During the confrontation with Raphael the portal is closed and opens again afterwards. The portal brings the party back to the ritual room of the Devil's Fee. Upon arriving, a dialogue with the
After successfully escaping the House of Hope, one or both of the following inspirations is granted:


Related locations[edit section | visual editor]
Related quests[edit section | visual editor]
Characters[edit section | visual editor]
Notable[edit section | visual editor]


Eternal Debtors[edit section | visual editor]


Creatures[edit section | visual editor]


Loot[edit section | visual editor]
Related literature[edit section | visual editor]


- Soul-Sworn Contract


Gallery[edit section | visual editor]
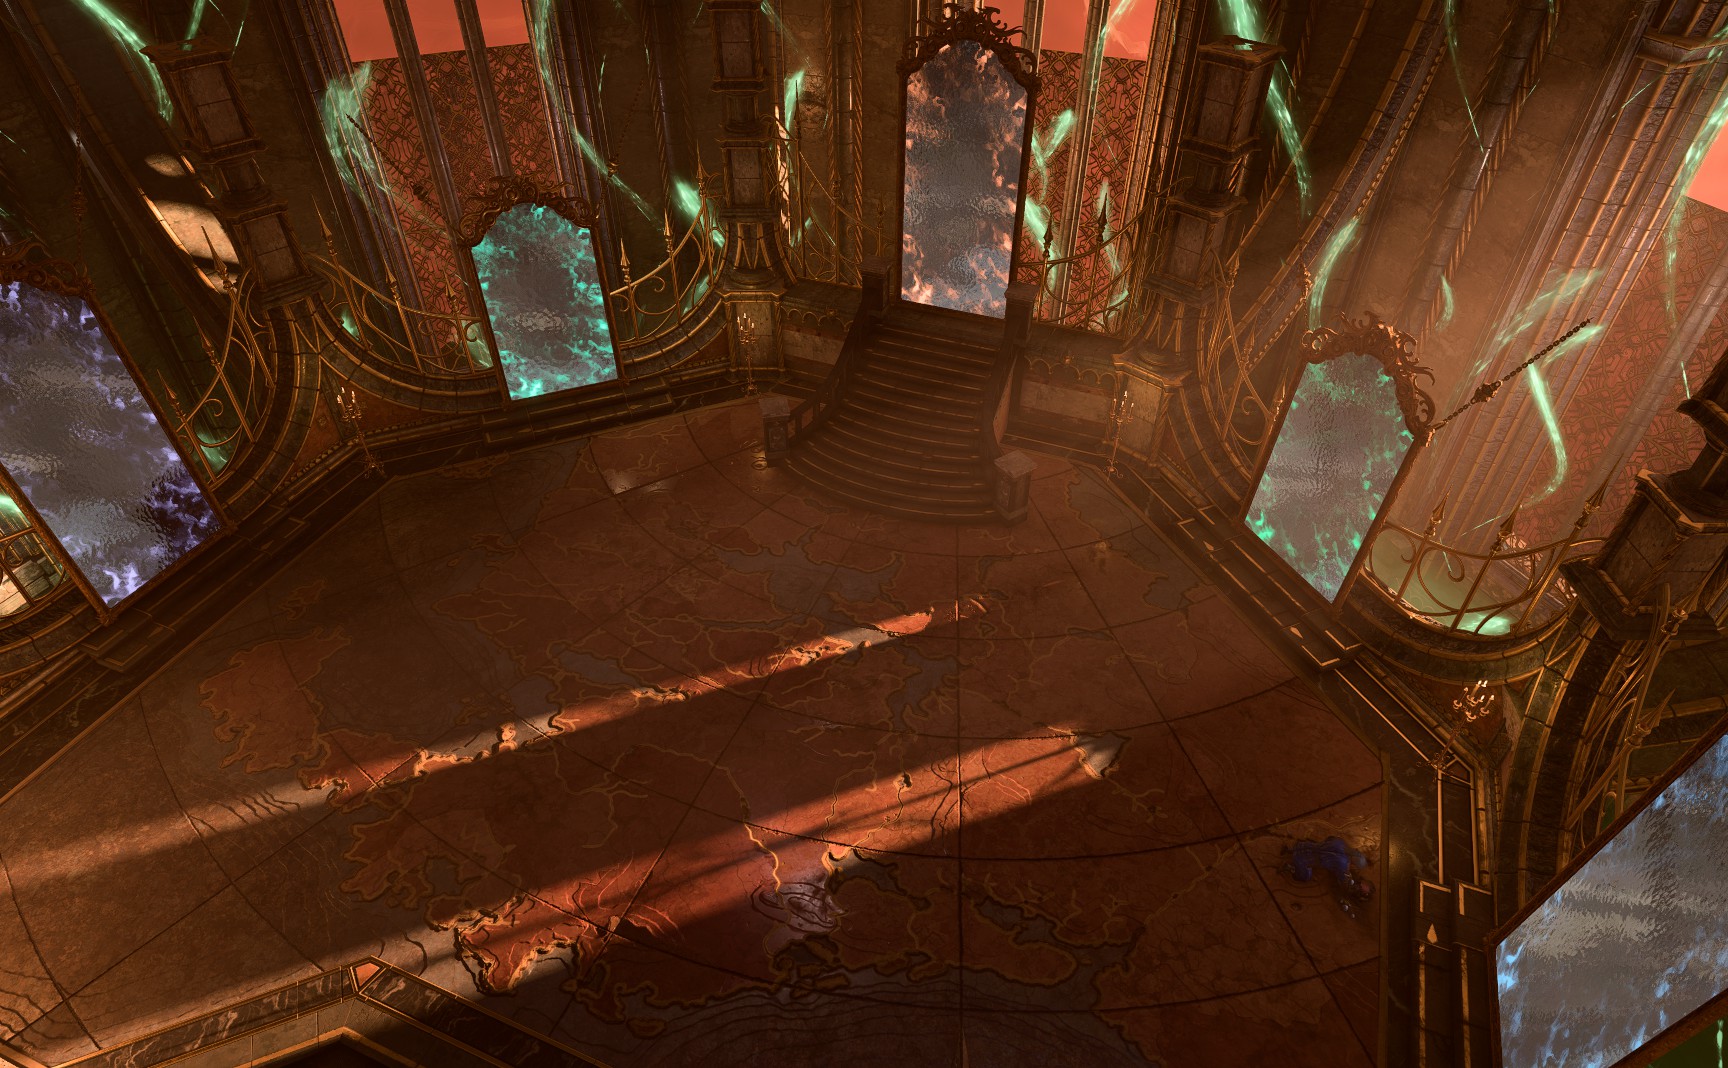
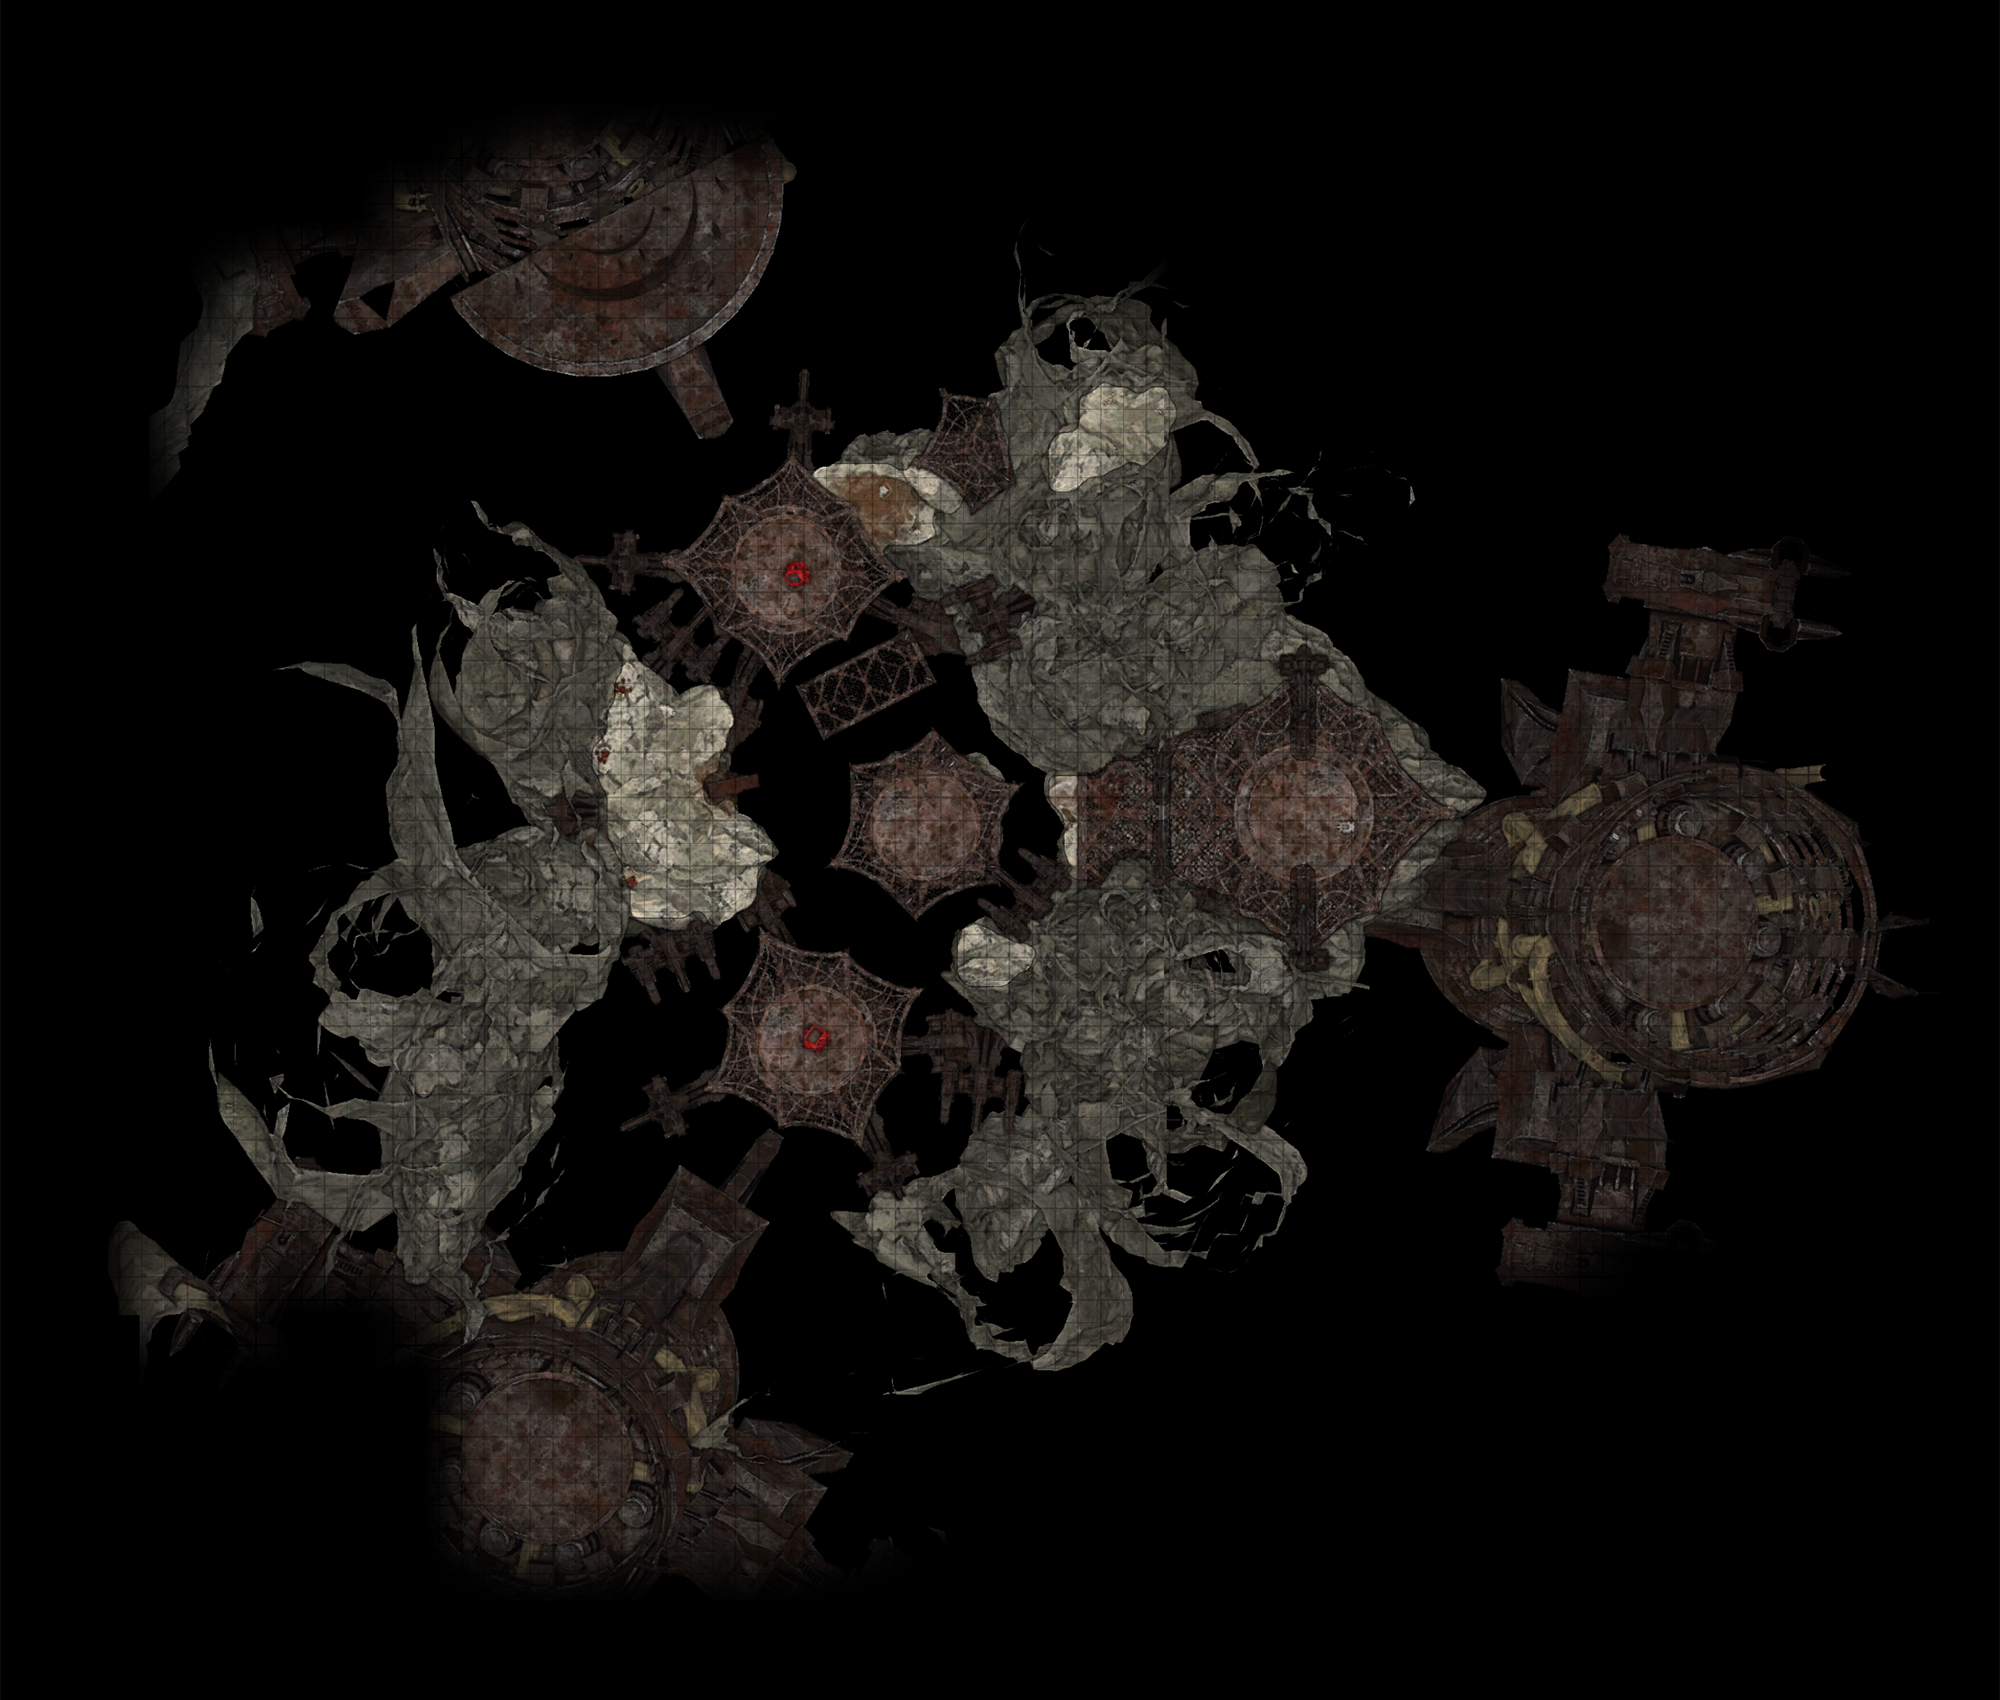
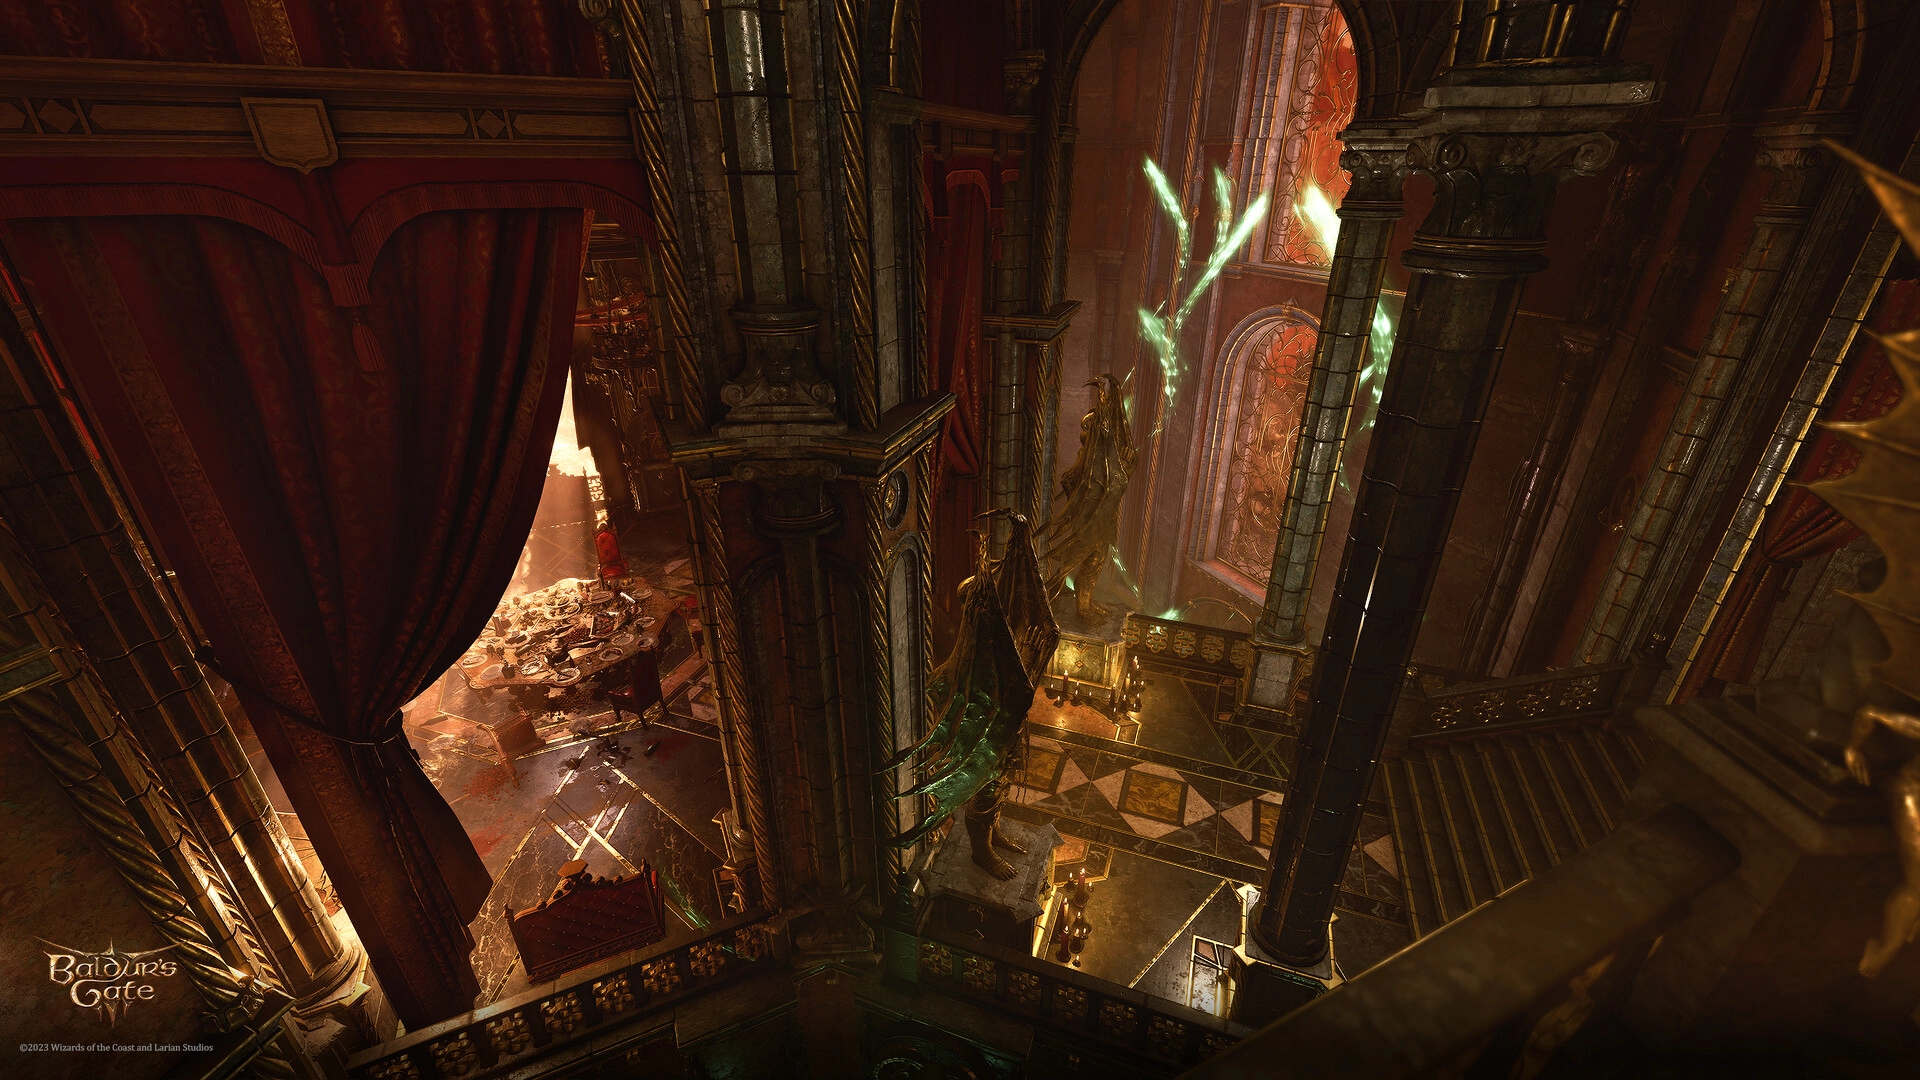
-
Top view of the House interiors
(by Edward Vanderghote) -
Map of Faerûn on the floor in the Chamber of Egress
(by Edward Vanderghote) -
Main corridor in the House of Hope
(by Edward Vanderghote) -
The hatch to Hope's Prison
(by Edward Vanderghote) -
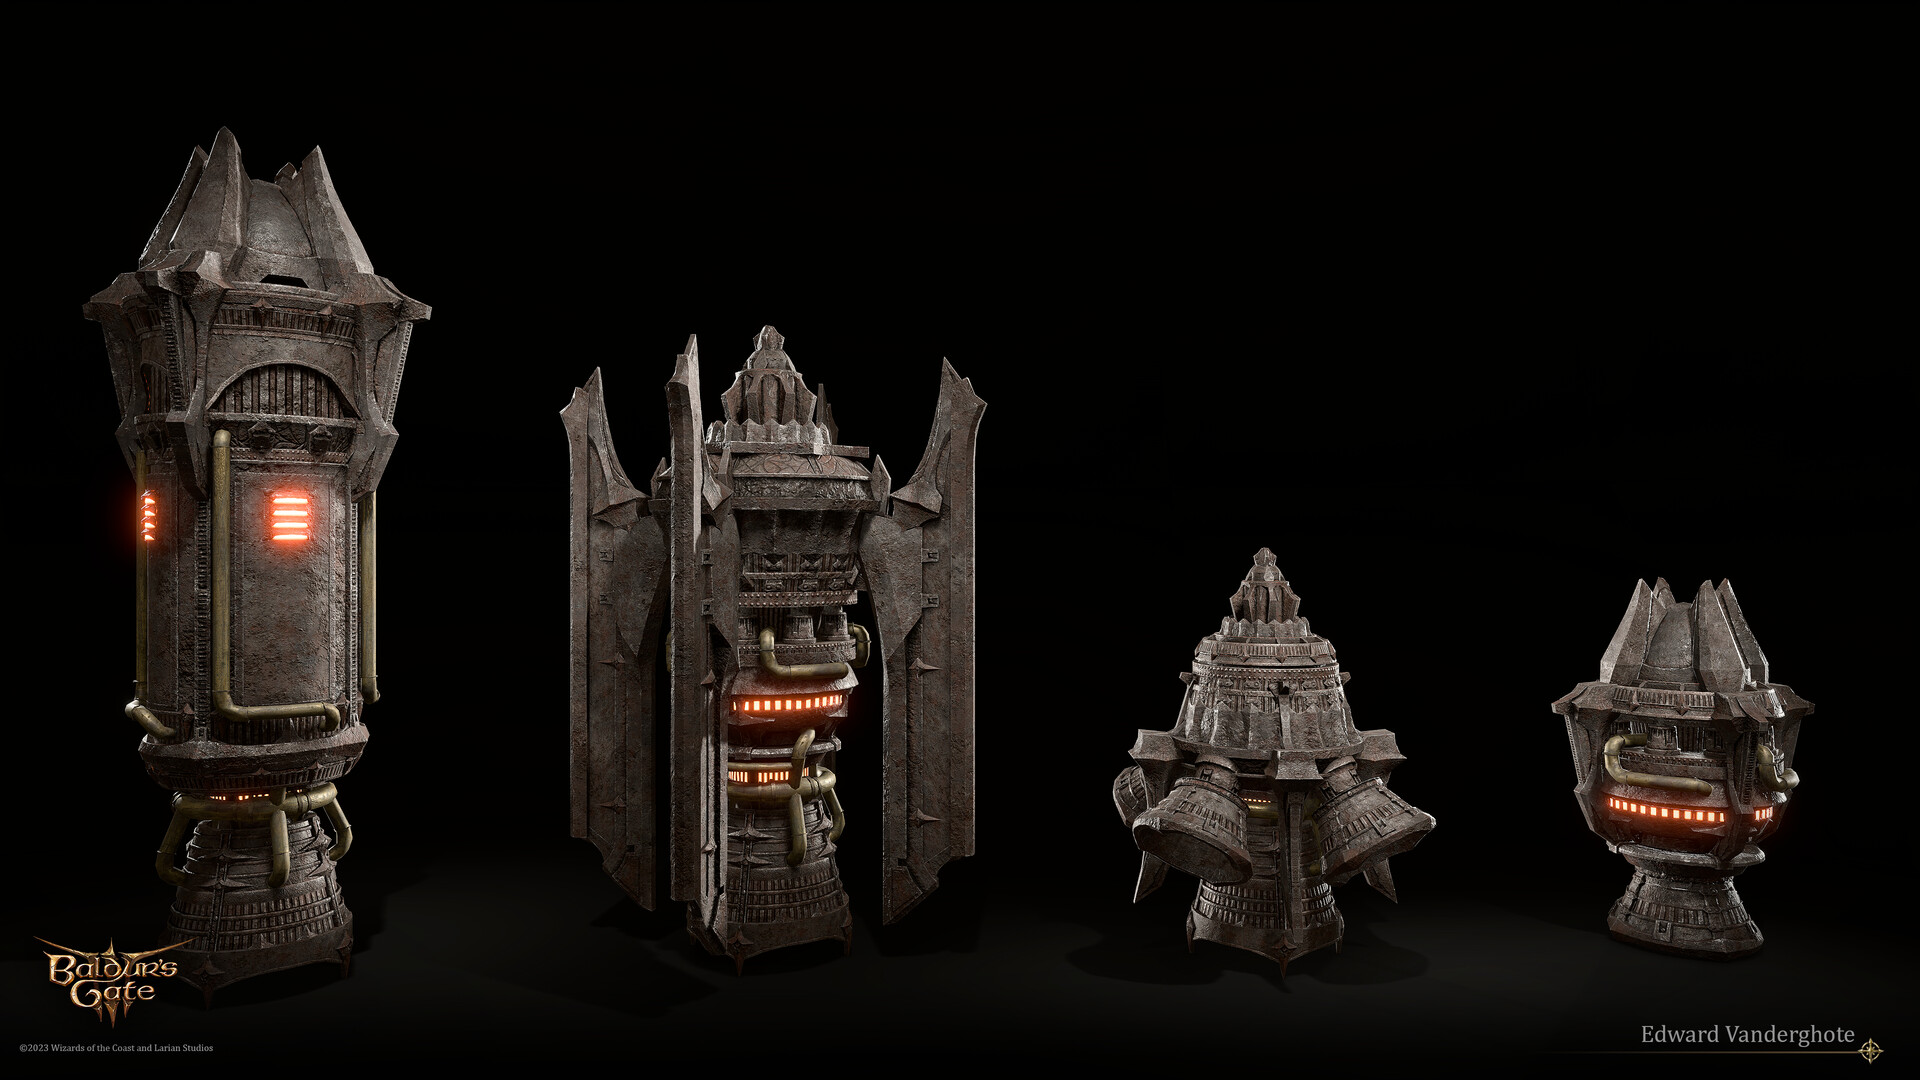
The "Hell Engines" which keep the House of Hope aloft
(by Edward Vanderghote)


External links[edit section | visual editor]

Notes and references[edit section | visual editor]
- ↑ This phrase refers to the Biblical verse which runs as "Come to me, all you who are weary and burdened, and I will give you rest." (Matthew 11:28)
- ↑ The automated narration dialogues for these plaques are listed in game files as "LOW_HouseOfHope_AD_Raphael_Plaque#".
- ↑ One of Raphael's minions, the succubus


- ↑ The needed objects around the hall are highlighted with a

- ↑ A
 is a seven-point star drawn with seven straight strokes.
- ↑ Depending on the party's previous choices when dealing with Raphael in Sharess' Caress, the shield protects either the
- ↑ Prior to one of the recent Hotfixes a copy of the second part was present instead of the third part.
- ↑ This dialogue option may or may not pop up depending on whether the party have already been to Flymm's Cobblers in Lower City and spoken to Sally Flymm.
- ↑ Disarming the pressure plates preemptively, without stealing the items, neither raises the alarm nor causes any reproach from the Archivist.
- ↑ This condition alarms the House inhabitants in case the party signed the contract with Raphael and thus are already in possession of the Orphic Hammer. Otherwise, stealing the Hammer raises the alarm before the party ever leave the Archive, let alone getting to the prison and freeing Hope.
- ↑ The rat can be spoken to without


- ↑ There are four Librarian Eternal Debtors in the Archive of the House of Hope. Unlike all other Raphael's indebted servants, they can also cast

- ↑ 13.0 13.1 Appear instead of alarmed Eternal Debtors, if they are reduced to 0 HP.
- ↑ Five Imps guard the Hope's Prison. Four more can appear instead of alarmed Eternal Debtors, if they are reduced to 0 HP. The other six are conjured by Haarlep if the party confronts them.
- ↑ Worn by Hope when fighting Raphael.