Ad placeholder
Gauntlet of Shar

| Shadow-Cursed Lands | ||||
| Gauntlet of Shar | → | Shadowfell | ||
| ↓ | ||||
| Grand Mausoleum | ||||

 |
“ | What can silence the Nightsong? Only the Nightsinger herself - Shar. Mistress of the Night. Lady of Loss. |
„ |
Walkthrough[edit section | visual editor]
Overview[edit section | visual editor]

To progress through the dungeon, the party must solve a number of puzzles and encounters. However, the layout of the dungeon is fairly open-ended past the entry chamber and can be completed in a variety of ways, including entering it multiple times. No parts of the dungeon are restricted from fast travel and resting, except the Trials of Shar after entering the doors of those chambers. The dungeon has its own Waypoints (one past the entrance hall and another one before the descent into the Shadowfell).
In order to reach the 
![]()

![]()
Entrance hall[edit section | visual editor]


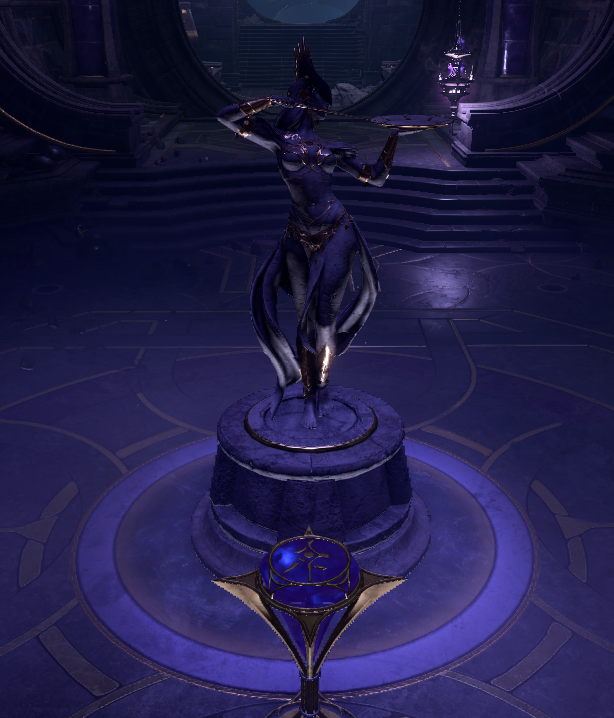
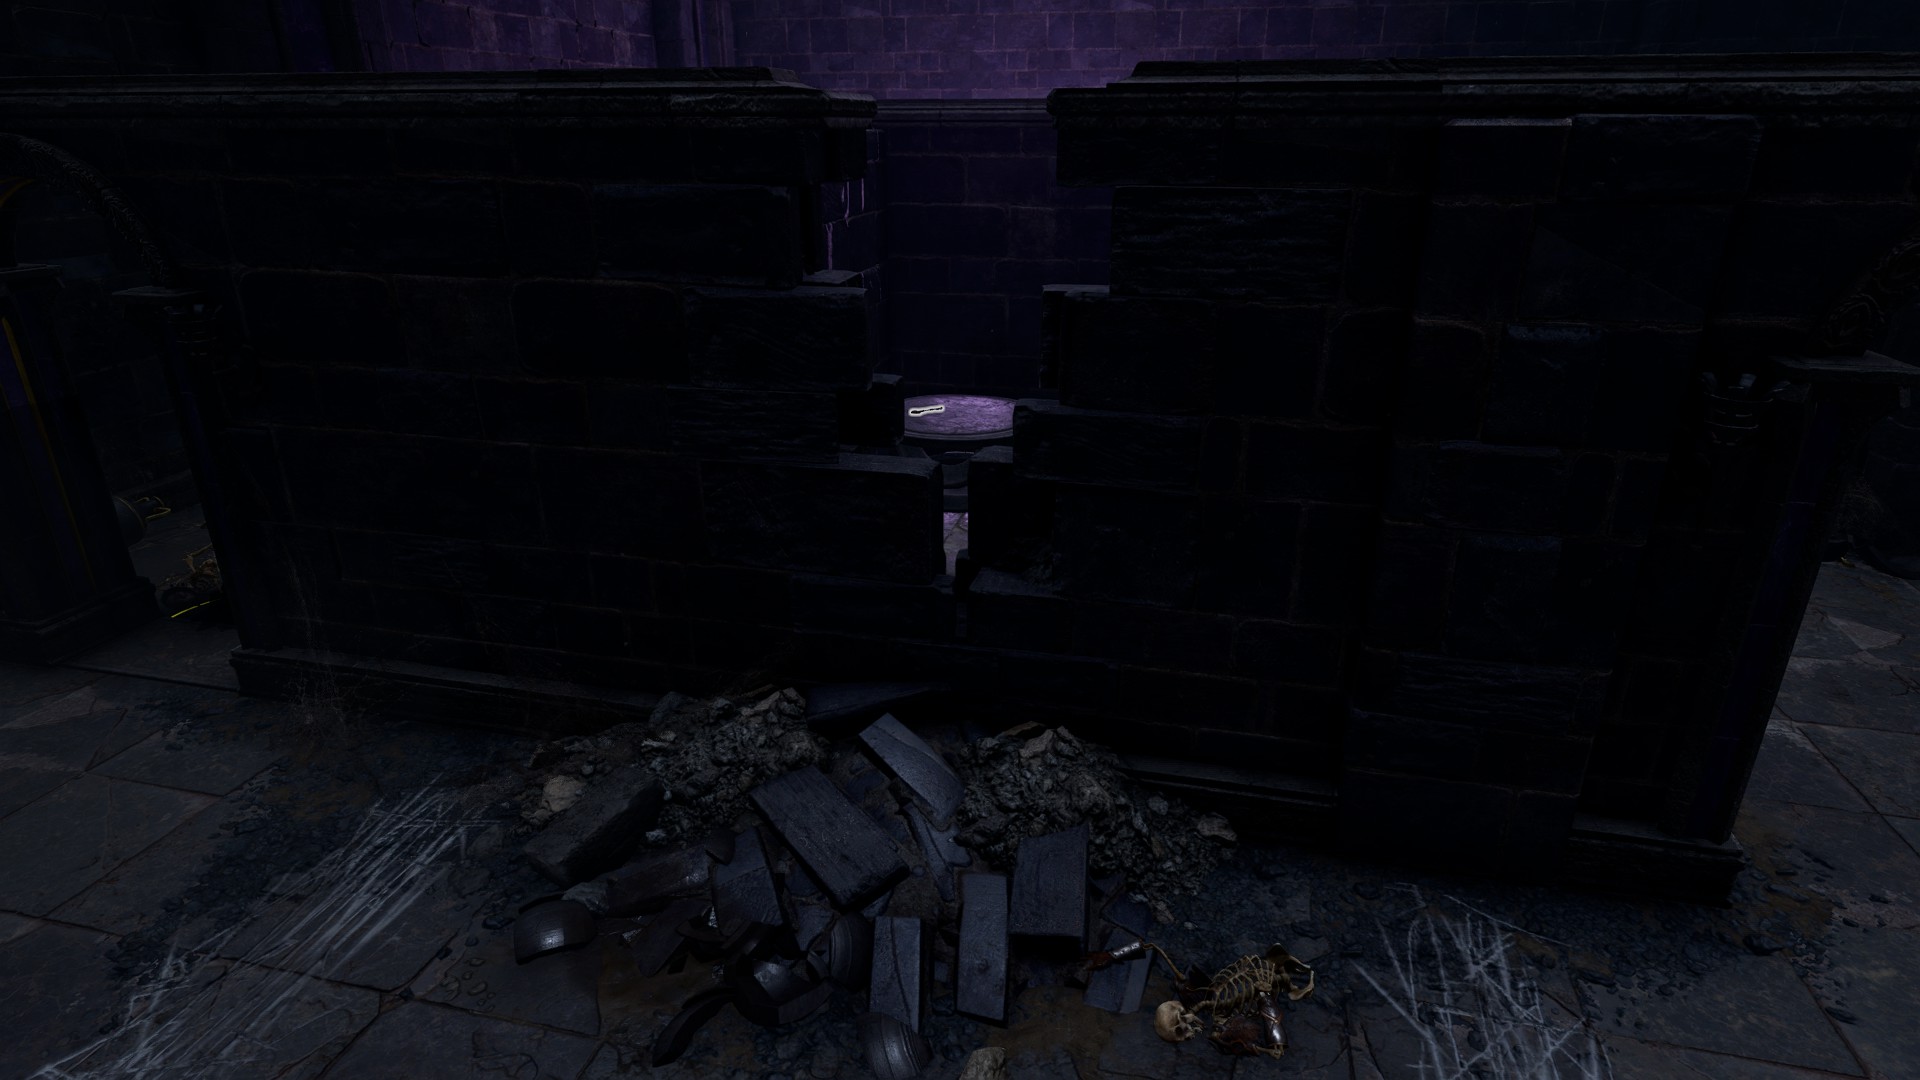
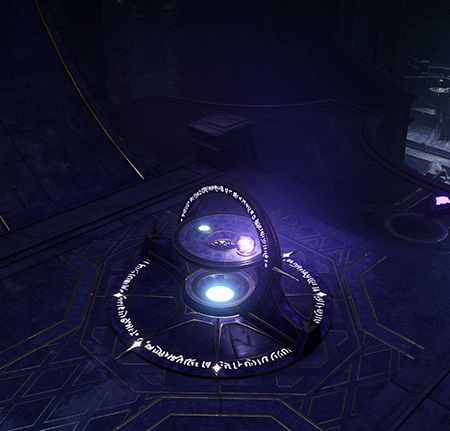
Just inside the entrance is a statue of Shar with a pedestal at its feet, surrounded by a circle of purple-glowing glyphs. The pedestal is called an "Umbral Gem" and serves to unlock the door to proceed further in the dungeon. However, it looks different from the ![]()
![]()
In order to continue, the party must extinguish eight Mystic Thuribles hanging high around the room. There are two side hallways to the east and west of the room, and levers located in alcoves to the north and south of each hallway. Each alcove is protected by one pressure plate and one vent, which can be disarmed with a 
![]()
The party must activate the levers to lower the Thuribles, then interact with them to snuff out their lights. Light from any source such as ![]()
![]()
![]()
![]()
![]()
![]()
![]()
![]()
It is also possible to extinguish the Thuribles without lowering them by casting ![]()
![]()
![]()
Alternatively, any party member can reach the area inside the inner glyph circle by using ![]()
![]()
![]()
The party can bypass the puzzle entirely by teleporting a party member past the stone door by the same means and opening it with the lever to let the rest of the party in. Also, 
![]()
Lastly, the party can walk around the door and proceed through the western hallway and down to Mushroom cave (see below). This way, though leading to encounters with several enemies and non-player characters, can also be used to open the magically sealed door from within later.
Past the door, the corridor opens into a vast hall with a vista onto a colossal statue of Shar. From it, down the stairs to the north is the Pedestal of Reckoning (an altar where one of the ![]()
![]()


Mushroom cave and Feast Hall[edit section | visual editor]
The area to the west of the entrance hall is blocked by Bulky Doors which, unlike the arcane-sealed stone door, can be lockpicked with a 
In an adjoining room at X: -809 Y: -816 five 
![]()
![]()

![]()
![]()
![]()
If a party member speaks with any of the rats via ![]()
![]()
In the room across from the altar is a skeleton of one of Dark Justiciars, who apparently locked himself inside to survive the assault on the Gauntlet. Entries in his ![]()

Balthazar's Outpost and the Vault[edit section | visual editor]
The western part of the hall past the first Stone door is patrolled by three undead (a 

The dialogue is interrupted by the Gauntlet's ghostly defenders, 
In the antechamber the party meet three more skeletal puppets. A second, larger episode of tremors begins, and Justiciars are summoned again to attack the party. Several waves appear, including a Deep Umbral Tremor in the center of the room which summons a 


The antechamber can also reached through the Mushroom Cave and the Feast Hall. Pulling the lever at X: -825 Y: -810 opens the way. If the fight in Balthazar's antechamber occurs first, the one taking place in the open hall does not occur when venturing there afterwards. In this case, the necromancer is more positively inclined towards the party.
Immediately following the cutscene in the antechamber, Balthazar blames the party for summoning the Dark Justiciars. However, he assumes they are True Souls and orders them to clear the way through the Gauntlet for him, as the Justiciar ghosts have been "uncooperative". This requires passing the Trials of Shar.
If the party previously found Balthazar's secret room in Moonrise Towers and his notes, they can mention knowing about the
The party can either agree to help or attack him outright. If they agree, Balthazar can be convinced with a ![]()
Obtaining the bell and using it in the battle gains the inspiration ![]()
![]()
Also, there is a side route to instigate a fight with Balthazar without choosing the direct dialogue option. On the shelf to the right stands a bottle titled ![]()
![]()

Eliminating Balthazar and all his minions earns the following inspirations:


Nearby the point of the first battle with the shadowy Dark Justiciars the shortbow ![]()
![]()
![]()
Just north of the antechamber to Balthazar's outpost is a locked Vault door guarding Sharran treasures at X: -822 Y: -759. Lockpicking it requires an exceptional ![]()
![]()
![]()
Trials of Shar[edit section | visual editor]

Three Umbral gems can be obtained here upon completing the Trials of Shar.
The corridor that opens into the trials' hall starts at X: -758 Y: -783 between two stairs leading to Balthazar's outpost. To the left of the hall are the doors to the Soft-Step Trial and to the Self-Same Trial. At the far end of the hall is a spiral staircase which leads down to the lower lever of the Gauntlet, where Faith-Leap Trial and the Silent Library are located. The lower level can also be reached by using the lift mentioned above. However, the lever that calls the lift up is broken, and to use it for descending, the party must first find the missing handle and insert it into the mechanism. A texture bug has been reported multiple times, resulting in the death of party members while using the lift. It is recommended to ungroup the party members, move them individually onto the platform of the lift and make sure they do not stand on the edge of the platform.
Each trial must be started by interacting with the sacrificial bowl at the trial's entrance. If ![]()
Sucessfully completing all three Trials of Shar earns the following inspirations:

Soft-Step Trial[edit section | visual editor]
The first trial room is to the left of the Trial Hall, with a round plaque that reads "Her Most Vaunted Treasure" on the floor in front of the door at X: -771 Y: -755
The Soft-Step Trial is a probe for an applicant in their ability to move stealthily and detect and eliminate any sources of danger in their way. It is a small ![]()
![]()
![]()

There are two 
![]()
![]()
![]()
It is possible to explore the maze before starting the trial. One of the party members can be sent into the maze before starting the trial to disarm the traps and lockpick the gate while the rest of the party stays at the entrance. If this party member is then positioned directly in front of the gem pedestal they can take the gem, which spawns instantly after separate character has initiated the ritual. This allows to end the trial before the shadows even appear.
Once the Gem is acquired, a transporter appears which can be interacted with to teleport party members to the starting location of the trial.
Self-Same Trial[edit section | visual editor]

The next door to the north from the Soft-Step Trial is a door marked with a round floor plaque that says "Her Most Hallowed Mercy". This is the entrance to the Self-Same Trial at X: -767 Y: -727.
The Self-Same Trial is a test for the participant of acknowledging their own weaknesses and being ready to exploit them. It is a vast room with a building in the middle and adjacent stairs from left and right sides. The final point (where a transporter appears upon successful finishing the trial) is on the top of the building. However, the goal of the Trial is different from simply reaching the destination point.
Upon initiating the trial, crouched shadowy copies of the active party members are spawned at several points across the room, ready to ambush the party. These copies are classified as undead creatures and have the same abilities as the real party members, but cannot be restrained or shoved. Only party members within the trial room are copied into reflections. These copies have the same name as their original but also bear the ![]()
There is a hidden ![]()
Gear equipped on the participants is also mirrored. Hence, stripping all armor and weapons off the party members before starting the test makes the trial spawn all copies in the same naked and disarmed state. Once the enemies have spawned in following an ambush perception check, equipment can be re-equipped ready for the fight.
However, the trial is determined to define and fight one's own flaws. If a character ever attacks a copy of a different party member while their own copy is still alive, they receive ![]()
![]()
Familiars and other summoned creatures are not duplicated; they can freely attack anyone without penalty.
Placing additional party members outside the room and trying to sneak them through by opening the door later forfeits the trial. However, this failsafe can be bypassed by destroying the ![]()
Party members who are under the effect of ![]()
The last defeated shadow copy drops an Umbral Gem to be picked up, and the transporter on the upper level of the room is activated, giving a shortcut back to the entrance. ![]()
![]()
The Self-Same Trial is the only part of Shar's Trials part of the dungeon that grants its own inspirations (both are given if at least one party member delivered a killing blow to their own mirror-copy):

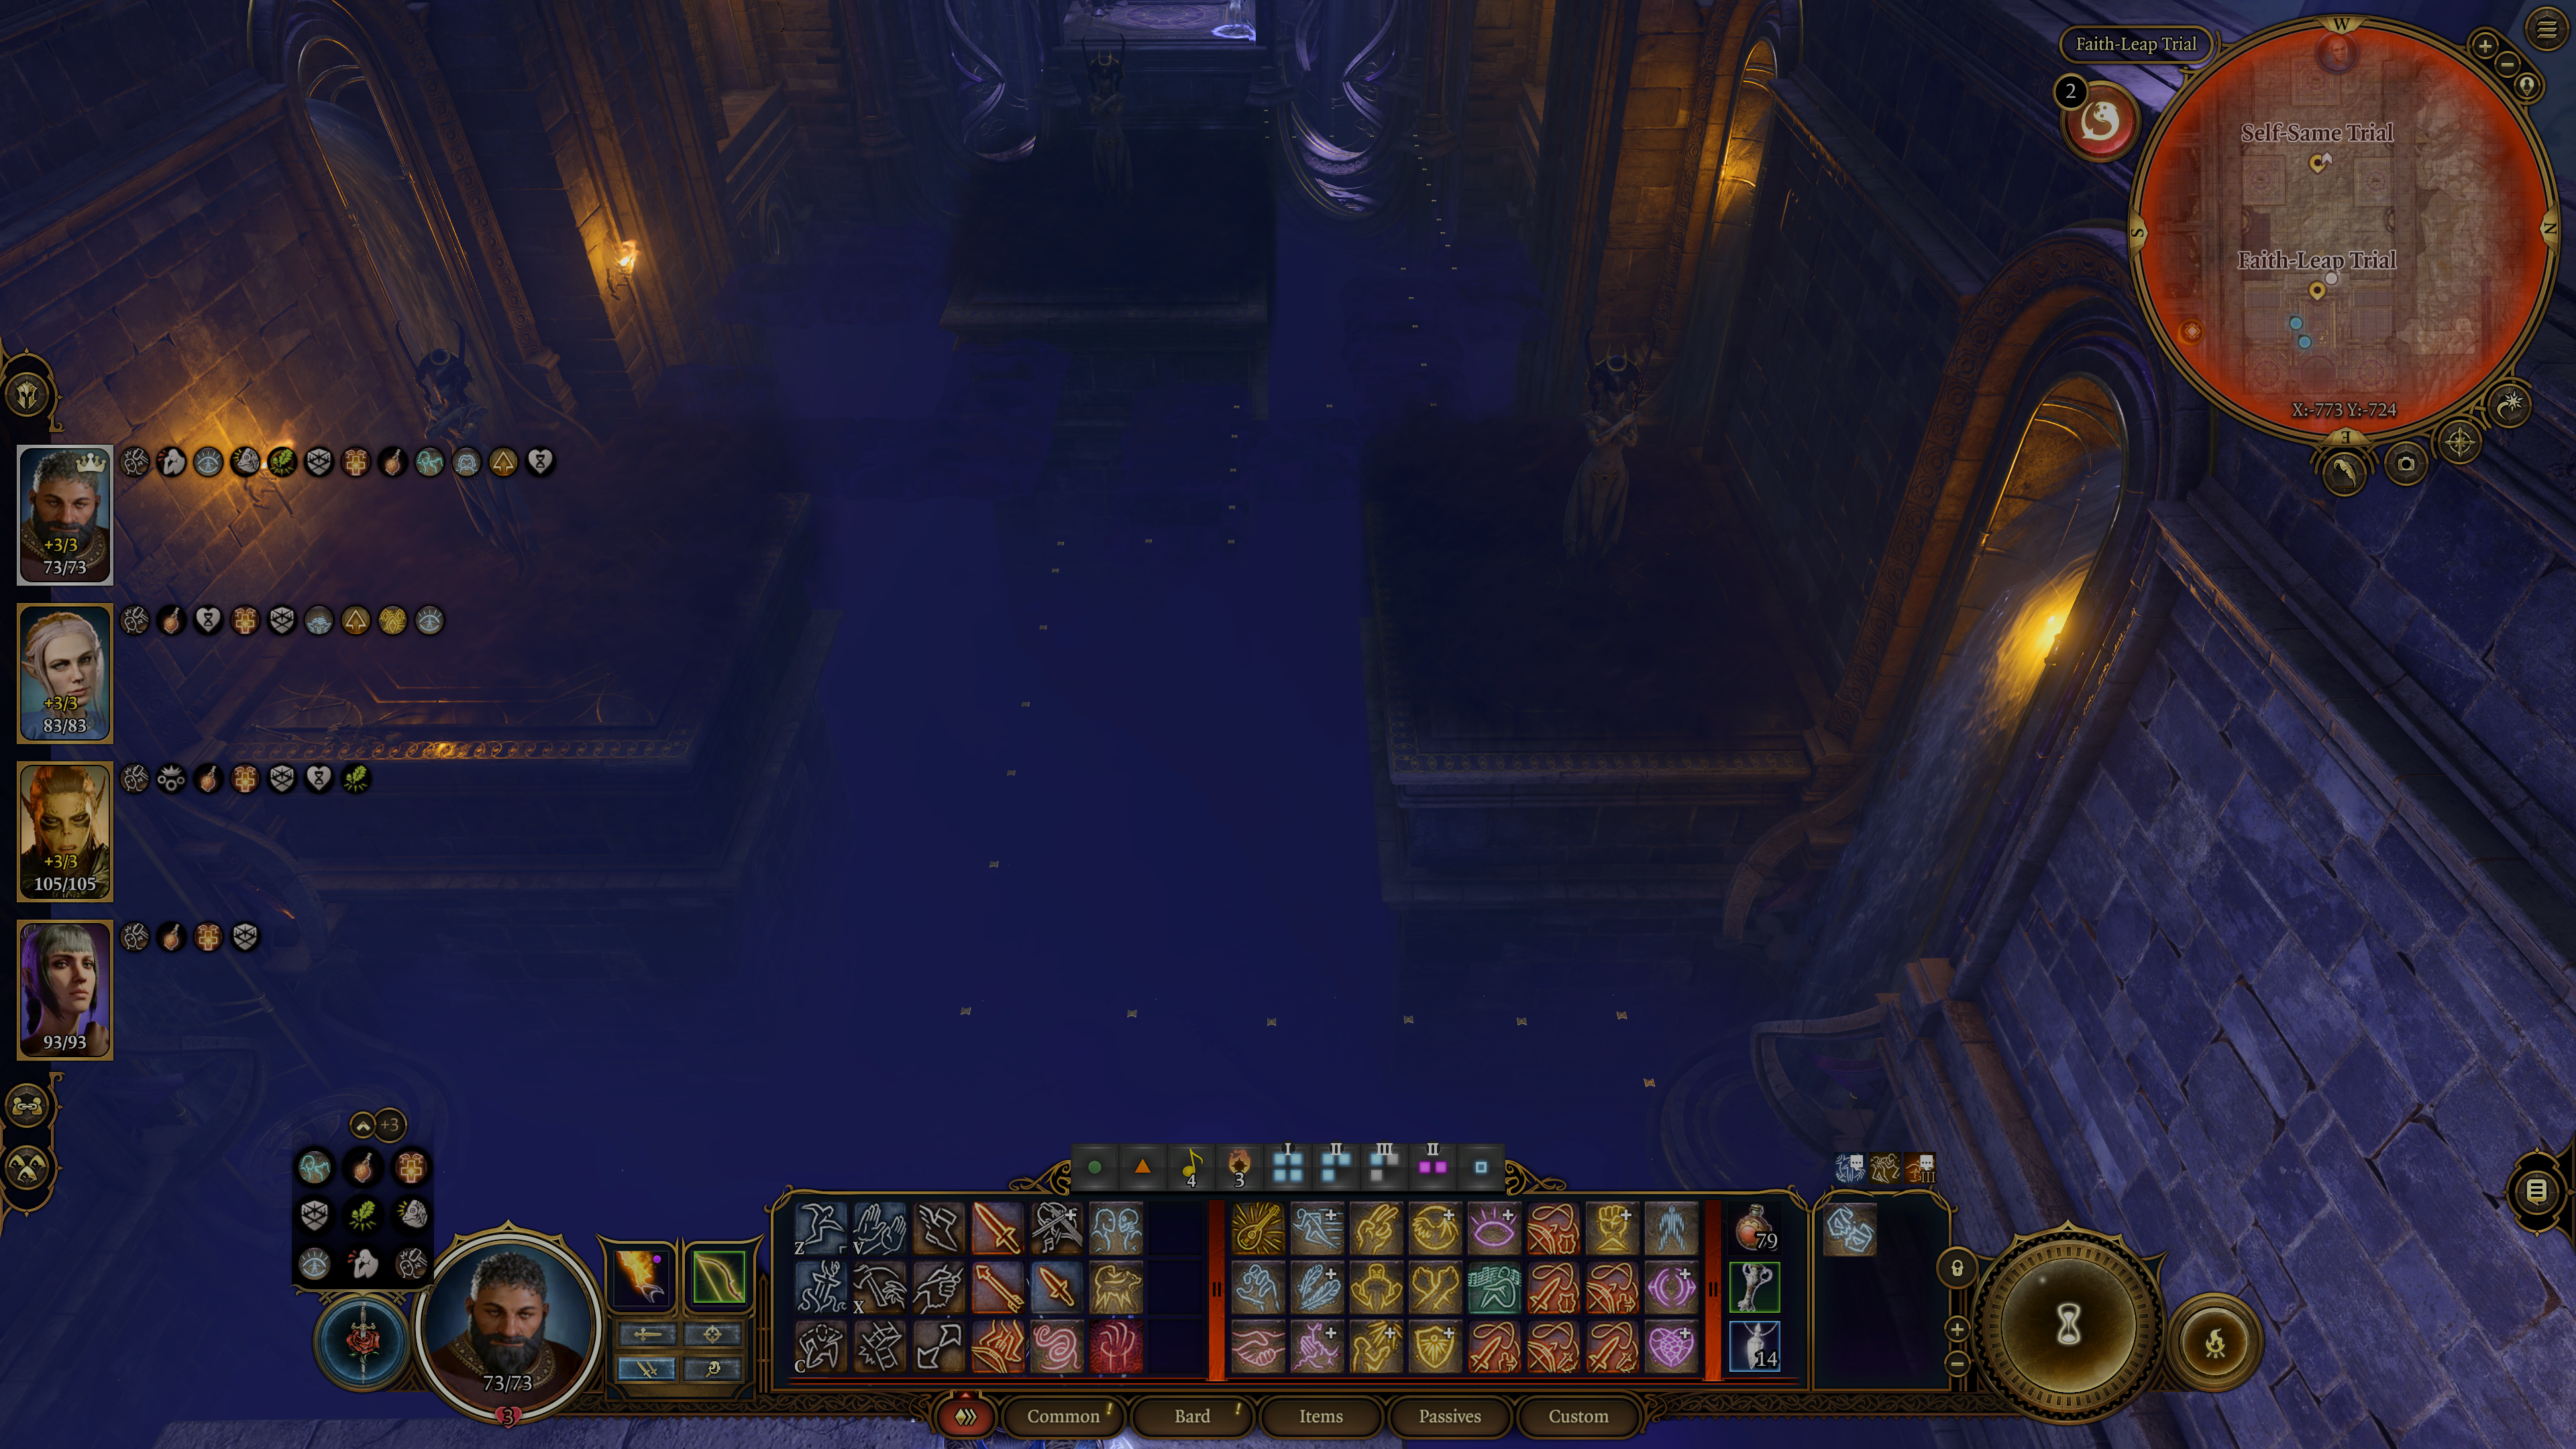
Faith-Leap Trial[edit section | visual editor]

Down the spiral stairs from the first two Trials, the lower level of the Gauntlet is accessed. To the right of the stairs end is a door to the Faith-Leap Trial chamber. On the floor outside it there is another round plaque which reads "Her Most Sacred Path".
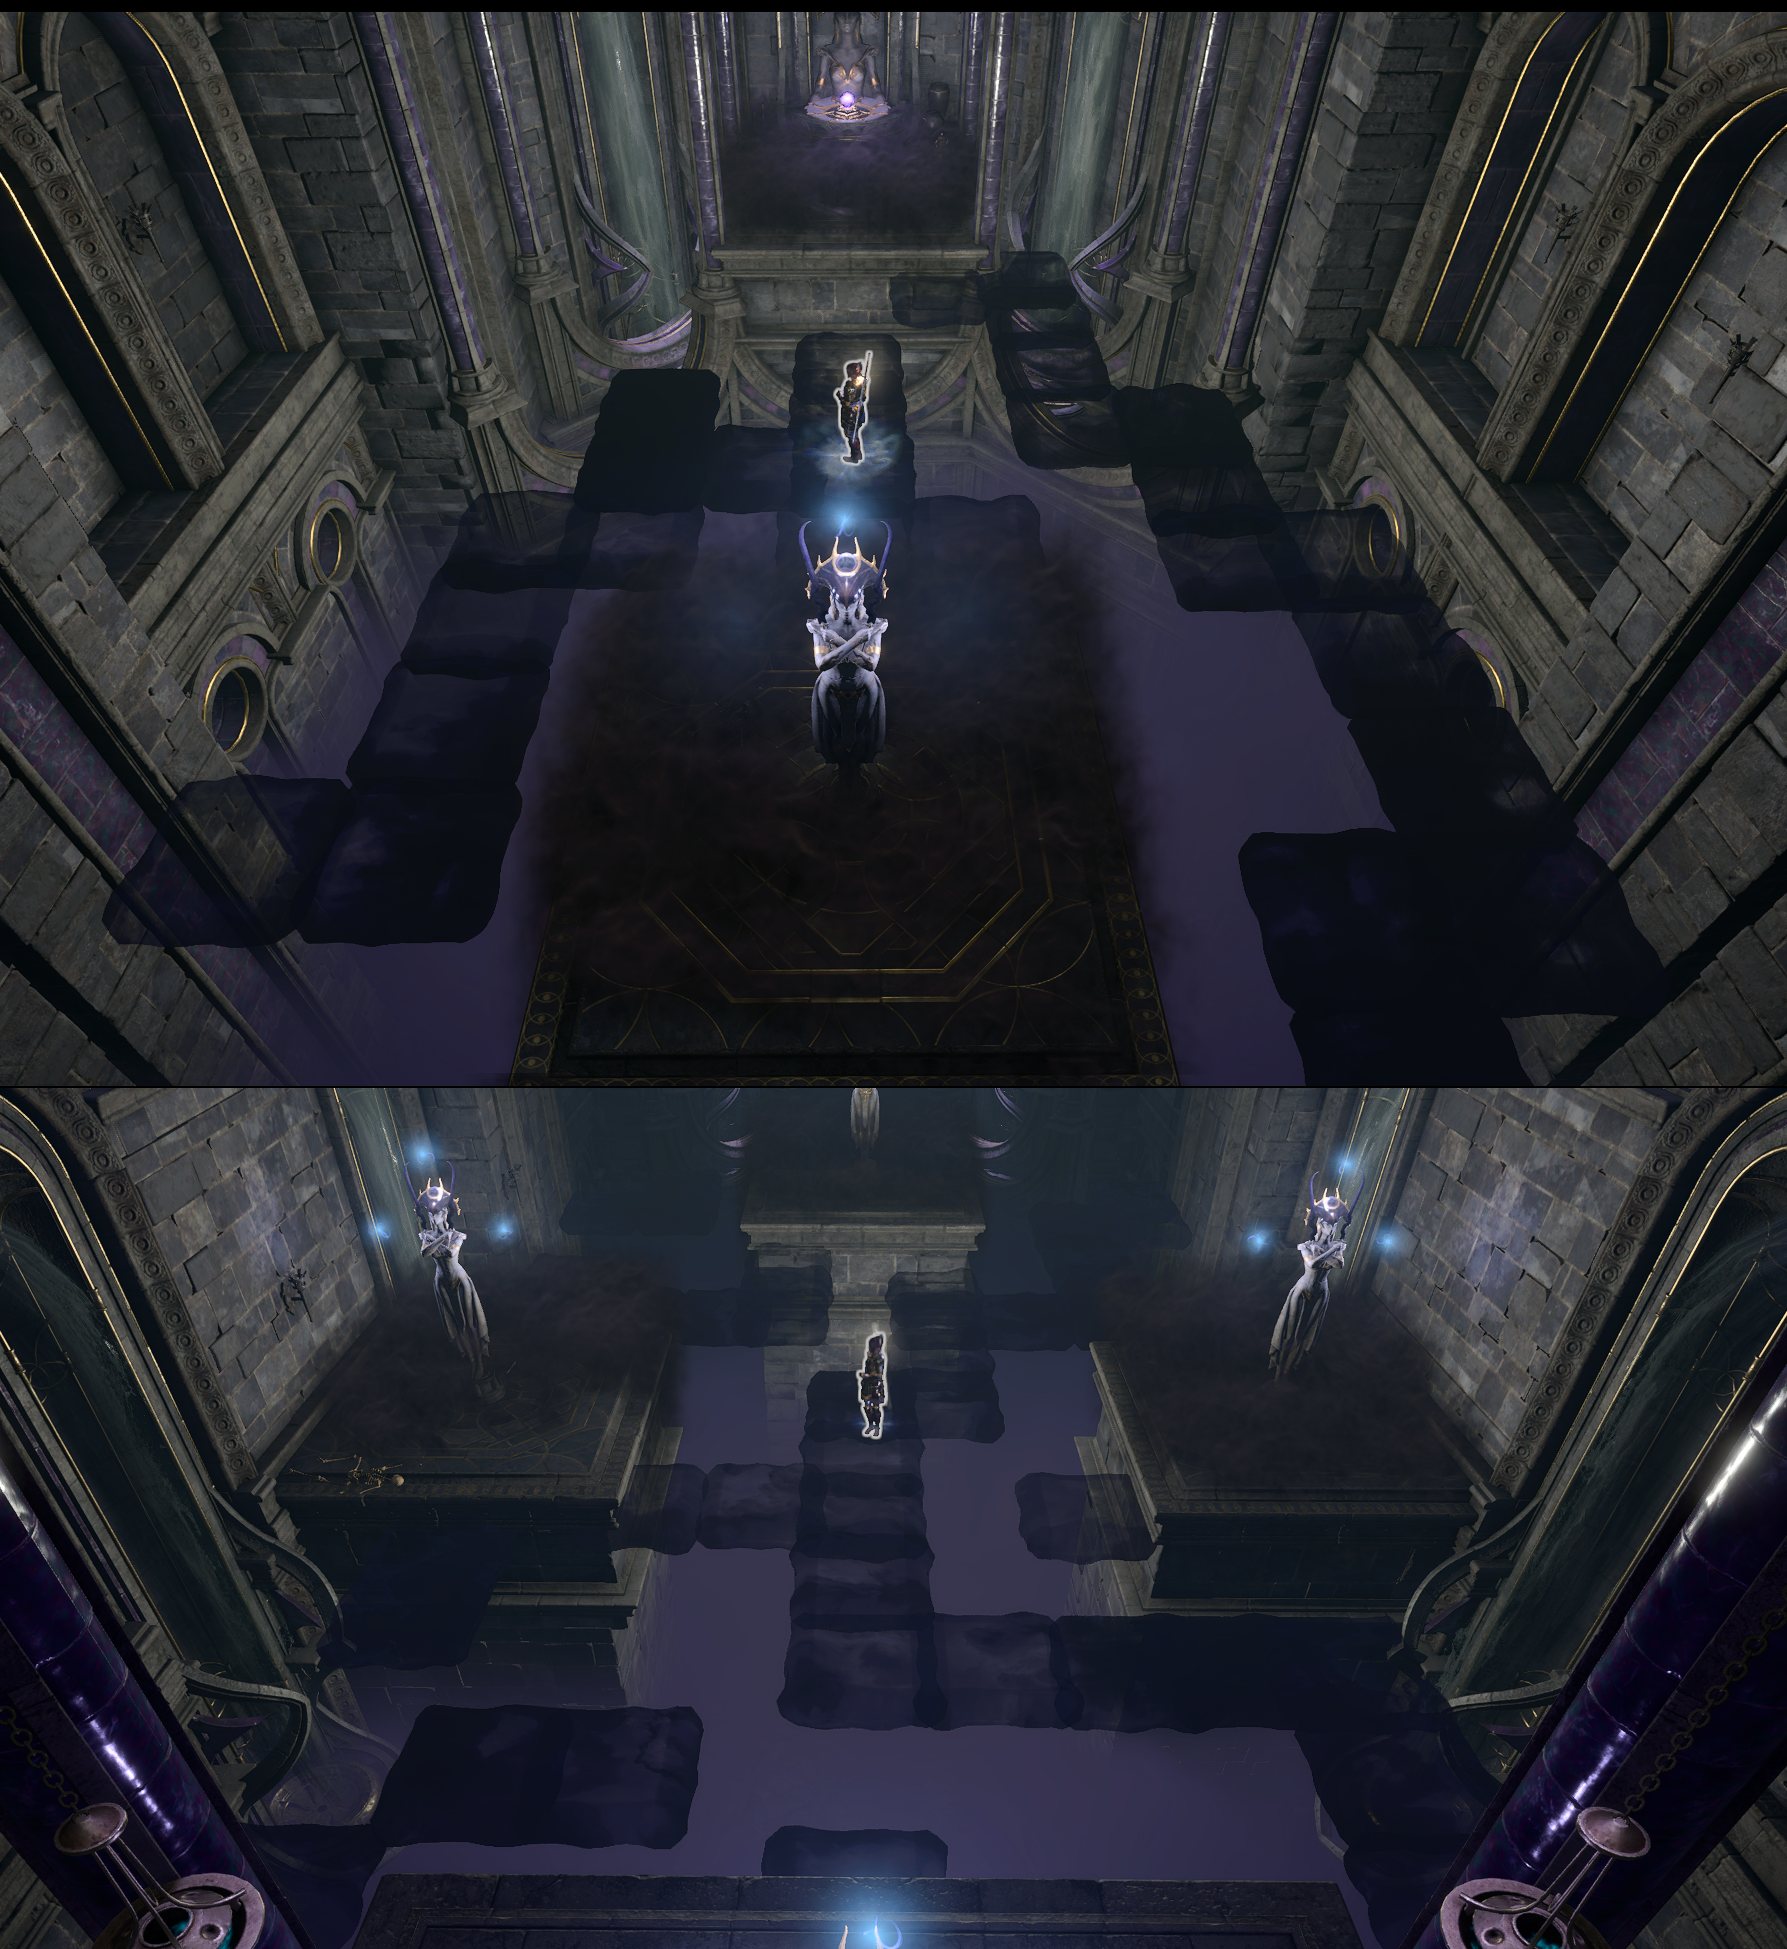
The Faith-Leap Trial is a means of checking whether the applicant is able to follow the correct (i.e., here accordant to Shar's teaching) path, and at the same time tests their readiness to blindly obey, having firm faith in their goddess' benevolence and guidance. The trial chamber is a long rectangle with a vast chasm, which must be crossed to reach the transporter altar at the far end. Within the chasm there are three platforms with statues of Shar, wrapped in clouds of ![]()
To succeed in this trial, a character must follow an invisible maze-like path between the platforms. The full map of the safe lines is depicted on the mosaic floor in front of the sacrificial bowl. However, while walking the path, the "Chasm" reminder over the cursor if placing the point wrong cannot be seen.
Upon initiating the trial, three blue lights appear above the sacrificial bowl and above each of the statues, corresponding to safe attempts. Straying from the path returns the character to the start of the trial or to the nearest platform, and one light is extinguished. Any failure after the second instantly kills the character and then teleports them to the nearest platform. However, in Honour Mode even a single misstep results in immediate death.

As with the Soft-Step Trial, this trial should be completed with a single character. It is important to split the party before venturing past the starting point, lest other party members' errant movements kill them, simultaneously failing the trial for the designated participant. Even after the trial is completed and the Umbral Gem is spawned, party members can still be killed by missing the pathway on their return.
There are several ways to pass this trial:
- Follow the Map: After looking at the map on the trial floor follow it to the final platform without stepping off the path.
- Teleportation: Using teleportation spells such as


- Dropping items: It is possible to carefully drop items, for example camp supplies or gold, on the ground before the party member, to make the path more visible.
- Using the movement ruler: In turn-based mode, use the movement ruler of the character (i.e., the white line indicating movement) to observe a slight change in elevation where the path ends. This, along with the third strategy, allows more reliable navigation through the maze.
- Use actions before starting the trial: Before starting the trial by interacting with the altar, if the party plans to split up, it is possible get a party member on the final platform by using


Once the final platform is reached, looting the Umbral Gem triggers another teleporter which can bring the party member back to the entrance quickly.
Yurgir's Tribulation[edit section | visual editor]
The fourth and final Umbral Gem is carried by the orthon 
Upon entering the chamber, party members might ![]()

![]()

Both tricking Yurgir into killing himself or trying to help him requires the interacting party member to succeed a passive ![]()
![]()
If the party choose to eliminate the orthon, they can pick a fight in several ways: attack him straightaway, fail any passive or active checks within initial dialogue with him, or start a fight with any member of his retinue, which consists of several Merregons, Hoarding Merregon and the Displacer Beast Nessa. Approaching the place of Yurgir's ambush from any point (apart from the way shown by Nessa initially) also provokes the orthon to attack without any introductory conversation. This includes approaching from the far end of his lair and climbing up the broken stairs at X: -673 Y: -789, across the one the party use to reach the area.
At the far end of the chamber occupied by the orthon lies the rotten carcass of a dead giant spider, which can be investigated in various ways. Trying to lick the noxious remains prompts a passive ![]()
![]()
![]()
However, tasting the spider meat results in Disapproval and spiteful remarks from most companions.

“You licked a dead spider. Dead spider. You licked it.<...> I think we need to get you some air and perhaps have a long talk about unresolved childhood issues.„
Near the spider carcass is a Heavy Chest, containing ![]()
![]()
![]()
![]()
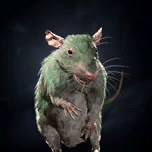
If the party choose to try and help Yurgir', they must hunt down

To proceed with this subquest, the party can attack any rat anywhere in the Gauntlet. After that, the surviving rats flee, swarming all the way downward into the small grotto opposite from the Silent Library. Following the rodents is a simple way to locate the area. The party can access it through the series of cragged rocks starting at X: -736 Y: -753. At the bottom of the grotto, beneath the feet of the gigantic statue of Shar, an object named Broken Effigy is located at X: -708 Y: -722. Upon passing a ![]()
Reading the book and interacting with the effigy (regardless of the order and irrelevant to the result of aforementioned Arcana check) summons a rat, which immediately prompts a dialogue with the nearest party member. It reveals that the whole rodent swarm is actually Lyrthindor himself.
If a party member speaks to a rat here or after attacking them around the Gauntlet, it offers a deal: stop attacking and it will reveal a treasure. If the deal is taken, it marks their map with the location of (minor) treasure and the rats are not seen again, locking the party out of hunting down
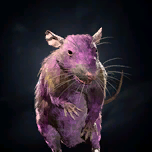
Alternatively, further attacking the rats or choosing the corresponding option near the effigy begins a fight with a swarm of them (first plain rodents, but in further waves also 

![]()
![]()
Eventually the rats coalesce into Lyrthindor, who can be spoken with. However, regardless of lines chosen in dialogue with him, the last surviving Dark Justiciar in the Gauntlet of Shar turns hostile to the party and must be killed.
The fight with the rats can still be commenced after killing Yurgir, summoning Lyrthindor as usual.
Unearthing the ill fate of the Dark Justiciars gain the following inspirations:

Fighting the rat swarm and Lyrthindor may also occur without interacting prior with Yurgir or Balthazar.
After defeating Lyrthindor, the party must return to Yurgir to conclude the subquest and take the last Umbral Gem at X: -652 Y: -776, lying near his bed of corpses.
Finally, it is also possible to steal the gem and get out unnoticed with sufficient ![]()
![]()
Additionally, if
Various actions in dealing with Yurgir and his retinue, as well as its possible outcomes earn the following inspirations:


Chamber of Command and surrounding area[edit section | visual editor]

This part of the Gauntlet is located on the lower level, right under Yurgir's lair. It can be reached by several ways:
- Crossing the chasm at the feet of the giant statue of Shar to the other side, then climbing up the cragged rock and debris of broken stone, then completing some jumps into an alcove
- Descending the staircase in the far end of the orthon's lair at X: -665 Y: -726 and then making some jumps
- Jumping directly down from the same point with the use of any means of soft landing like


Once the party reach the alcove, they can open a stone door at X: -663 Y: -721. Beyond the door is an abandoned ritual room. It contains a broken Mirror of Loss and ![]()
There are two loose tiles here; one of them is near a bookcase in the main room and contains a small amount of gold. The other one can be only revealed by bargaining with the rats (after killing any three of them) or upon interacting with the Broken Effigy. In this case, any next rat to be spoken to (or the one that spawns near the Effigy) offers to reveal a hidden treasure in exchange for its life. The cache is located at X: -685 Y: -710, next to the small mirror in the hallway and is marked on the map as "Sharran Provisions", containing gold and ingredients.
On the table is a book which reveals that the information about the original purpose of the Mirror has been lost, along with some speculation about it. The book also mentions there is some echo of the Nightsinger's power felt in the mirror's presence, and that perhaps if another of these holy relics is discovered, they might feel the full power of her embrace.
The area to the south of the Chamber of Command can be accessed by either climbing up the cragged rock from beneath the Broken Effigy or jumping down the balcony at X: -708 Y: -749. Near the entrance is a Heavy Chest with some minor loot. Down the stairs are the impaled remains of a Zealot of the Absolute, which can be looted for their standard set of armour as well as ![]()
![]()
The Silent Library[edit section | visual editor]

Once all four Umbral Gems are in the party's possession, it is possible to complete the Gauntlet of Shar and proceed to the ![]()
The door to the Silent Library is located south of the Faith-Leap Trial. The Library is patrolled by several undead 
![]()
Upon being noticed by any of the library ghosts a fight starts. After resolving it, the party should check and loot the bookcases along the walls. All bookcases are trapped (![]()
The bookcase at X: -772 Y: -741 (north-east of the library) contains a book called ![]()
The book Teachings of Loss: The Nightsinger can be destroyed. If destroyed, the party is locked out of the final puzzle and there is then no way to keep Shadowheart in the party after entering the Shadowfell. Therefore, it is highly recommended to not use any AoE attacks near the bookshelves. |
The Iron Portcullis to the next chamber is unlocked by the button placed on one of the four thick columns around the room. The correct one (at X: -784 Y: -747) is detected as an interactable object, while three others might be detected as traps (and trigger ![]()
![]()
The chamber contains a pedestal named The Riddle of the Night, which accepts ![]()
![]()
![]()
![]()
![]()
Obtaining the Spear of Night gains the inspiration ![]()
The Pedestal of Reckoning[edit section | visual editor]

The party must return to the Pedestal of Reckoning to the north of the entrance hall. Placing one of the four Umbral Gems on the altar unlocks a platform. The party must move onto the platform and then activate the Traversal Gem on its edge to take the party members downwards. It is recommended to ungroup the party members and move them one by one onto the platform, thus making sure they do not stand close to the edges. Otherwise, any of them may fall off to their death when the platform moves.
The Verge of Shadows[edit section | visual editor]
At the bottom of the temple stands another Ancient Altar. Placing the remaining three Umbral Gems into its sockets opens the final massive doors. However, this door can also be opened with ![]()
Inserting all ![]()
![]()
![]()
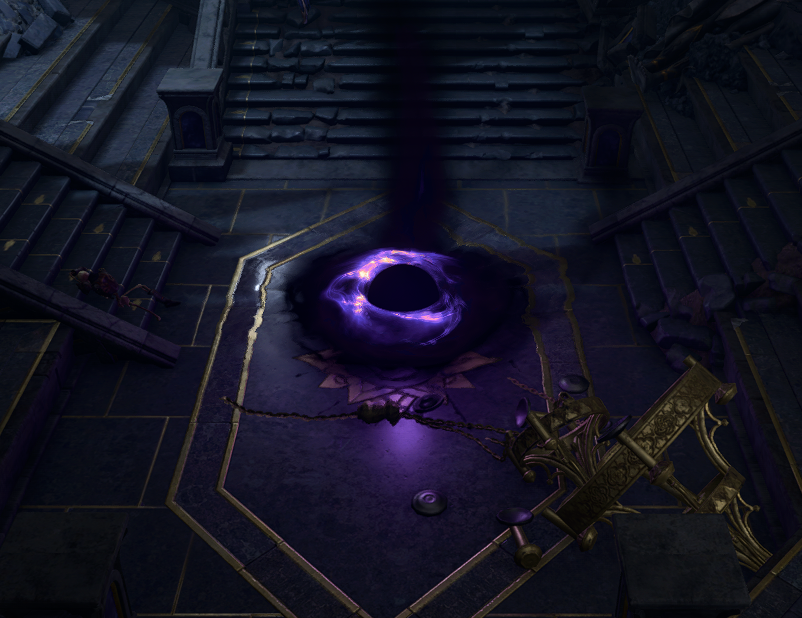
Inside lies the Verge of the Shadows Waypoint and a pool of water which serves as a portal into the Shadowfell. If ![]()
![]()
Entering the portal serves as an event horizon for Act Two of the game, after which it is no longer possible to return to any Act One locations (including the Underdark, the Rosymorn Monastery Trail, and Creche Y'llek), causing unfinished quests related to these areas to fail. Additionally, if Moonrise Towers is not visited first, a significant amount of content there is automatically completed. |
The portal takes the party to a part of Shadowfell, designated on the minimap as "Nightsong's Prison". The following sequence within the Shadowfell completes the subquest ![]()
Waypoints[edit section | visual editor]
This location contains the following waypoints:
Related locations[edit section | visual editor]
Related quests[edit section | visual editor]
Characters[edit section | visual editor]


Traders[edit section | visual editor]

Creatures[edit section | visual editor]


Loot[edit section | visual editor]


Notes and references[edit section | visual editor]
- ↑ If Shadowheart is not in the party when dealing with the Nightsong in the Shadowfell, she becomes furious and permanently leaves the party when they return.
- ↑ Clerics of evil Deities receive

- ↑ If they are


- ↑ This inspiration is not granted if the party tries to summon Flesh against Balthazar himself, as the bell does not work.
- ↑ Normally,


