Ad placeholder
Last Light Inn

| Shadow-Cursed Lands | ||||
| Last Light Inn | → | Ruined Battlefield | ||

“Only spot in the region that's not been swallowed up by this damn curse.<...> If you want to catch your breath, the inn's the only place to do it.„
Overview[edit section | visual editor]

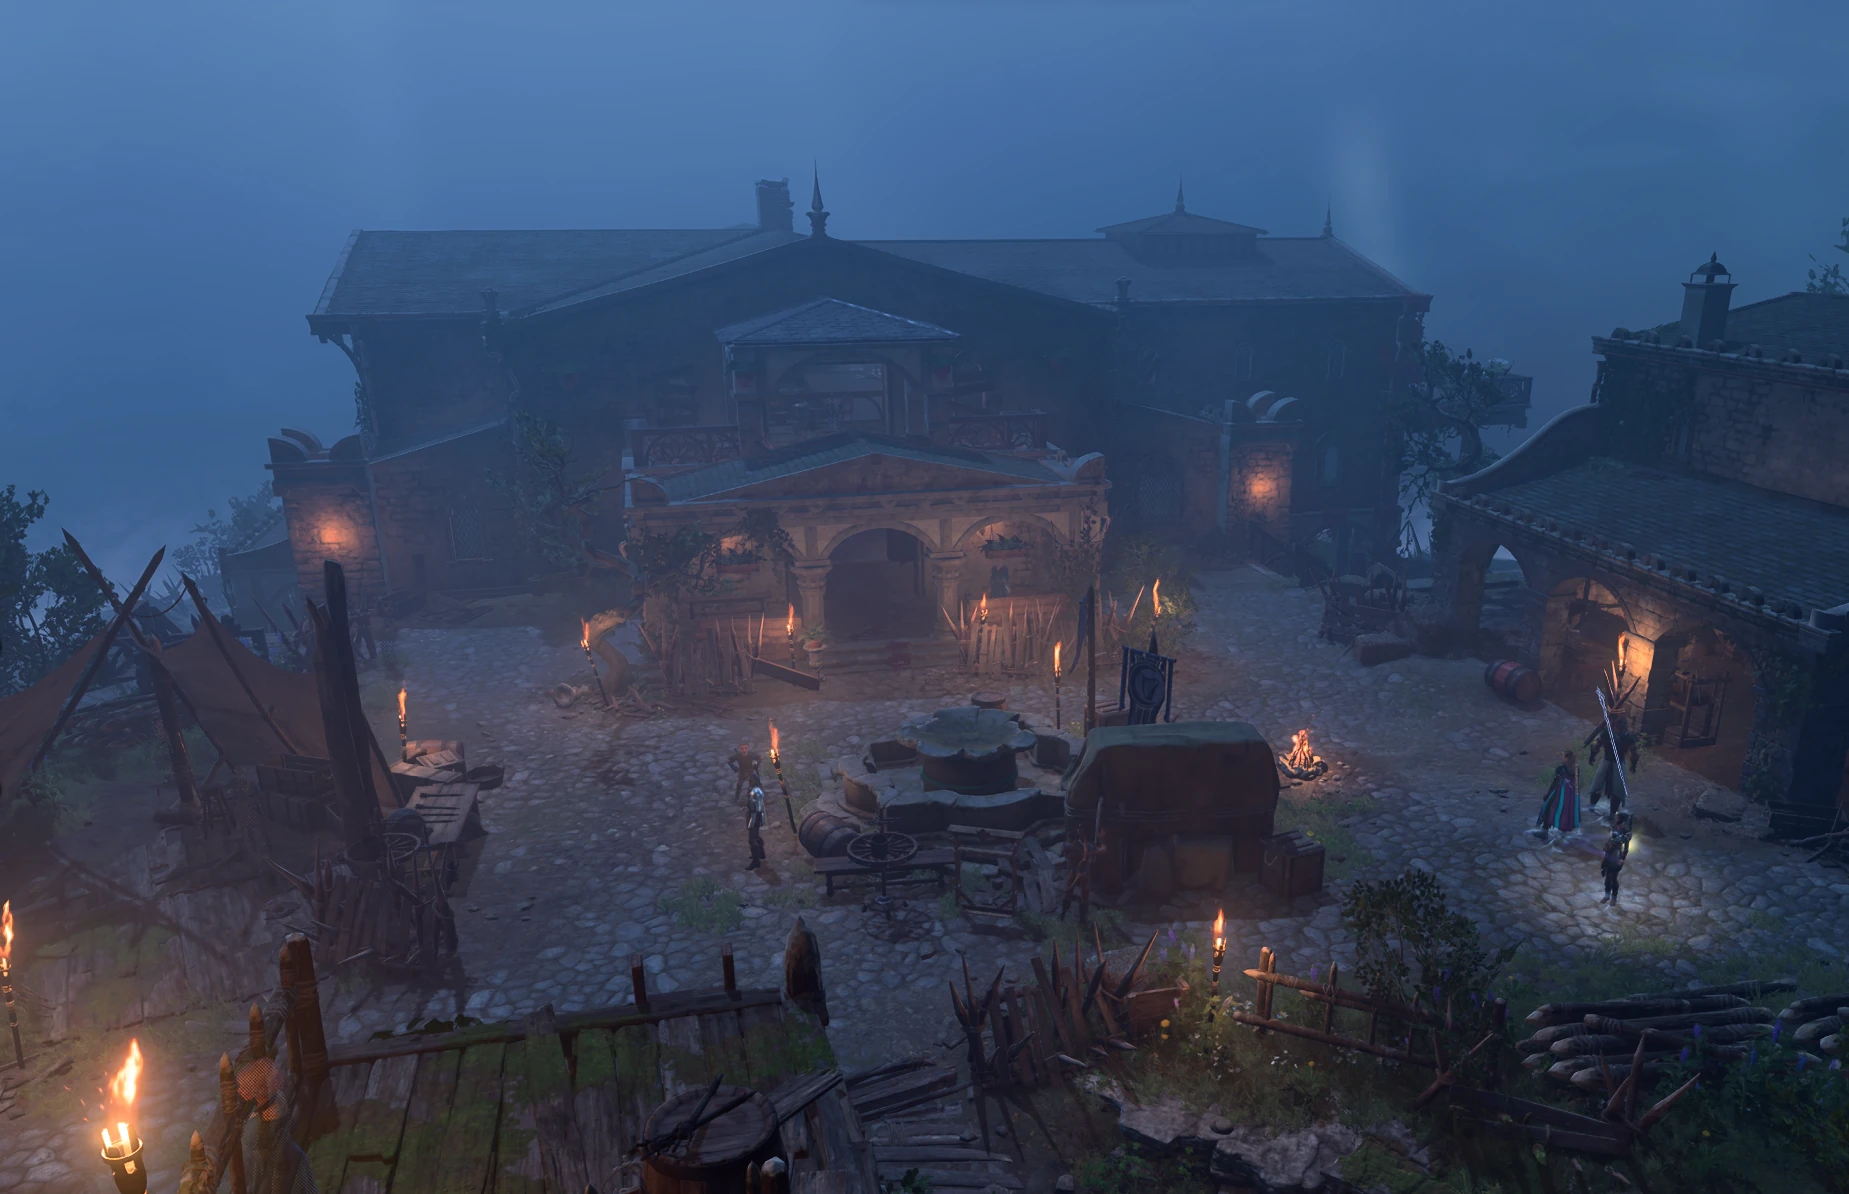
The Last Light Inn is a large guesthouse located in the northern part of the Ruined Battlefield, in the Shadow-Cursed Lands. It occupies a large island between two waterstreams, which merge and run southward to flow into the River Chionthar near Moonrise Towers.
The inn consists of the two-storied main building with river docks in its rear, a smaller separate stable with a smithy, and a small patch of land near the water end with a makeshift graveyard. In front of the main building is a yard with a fountain.
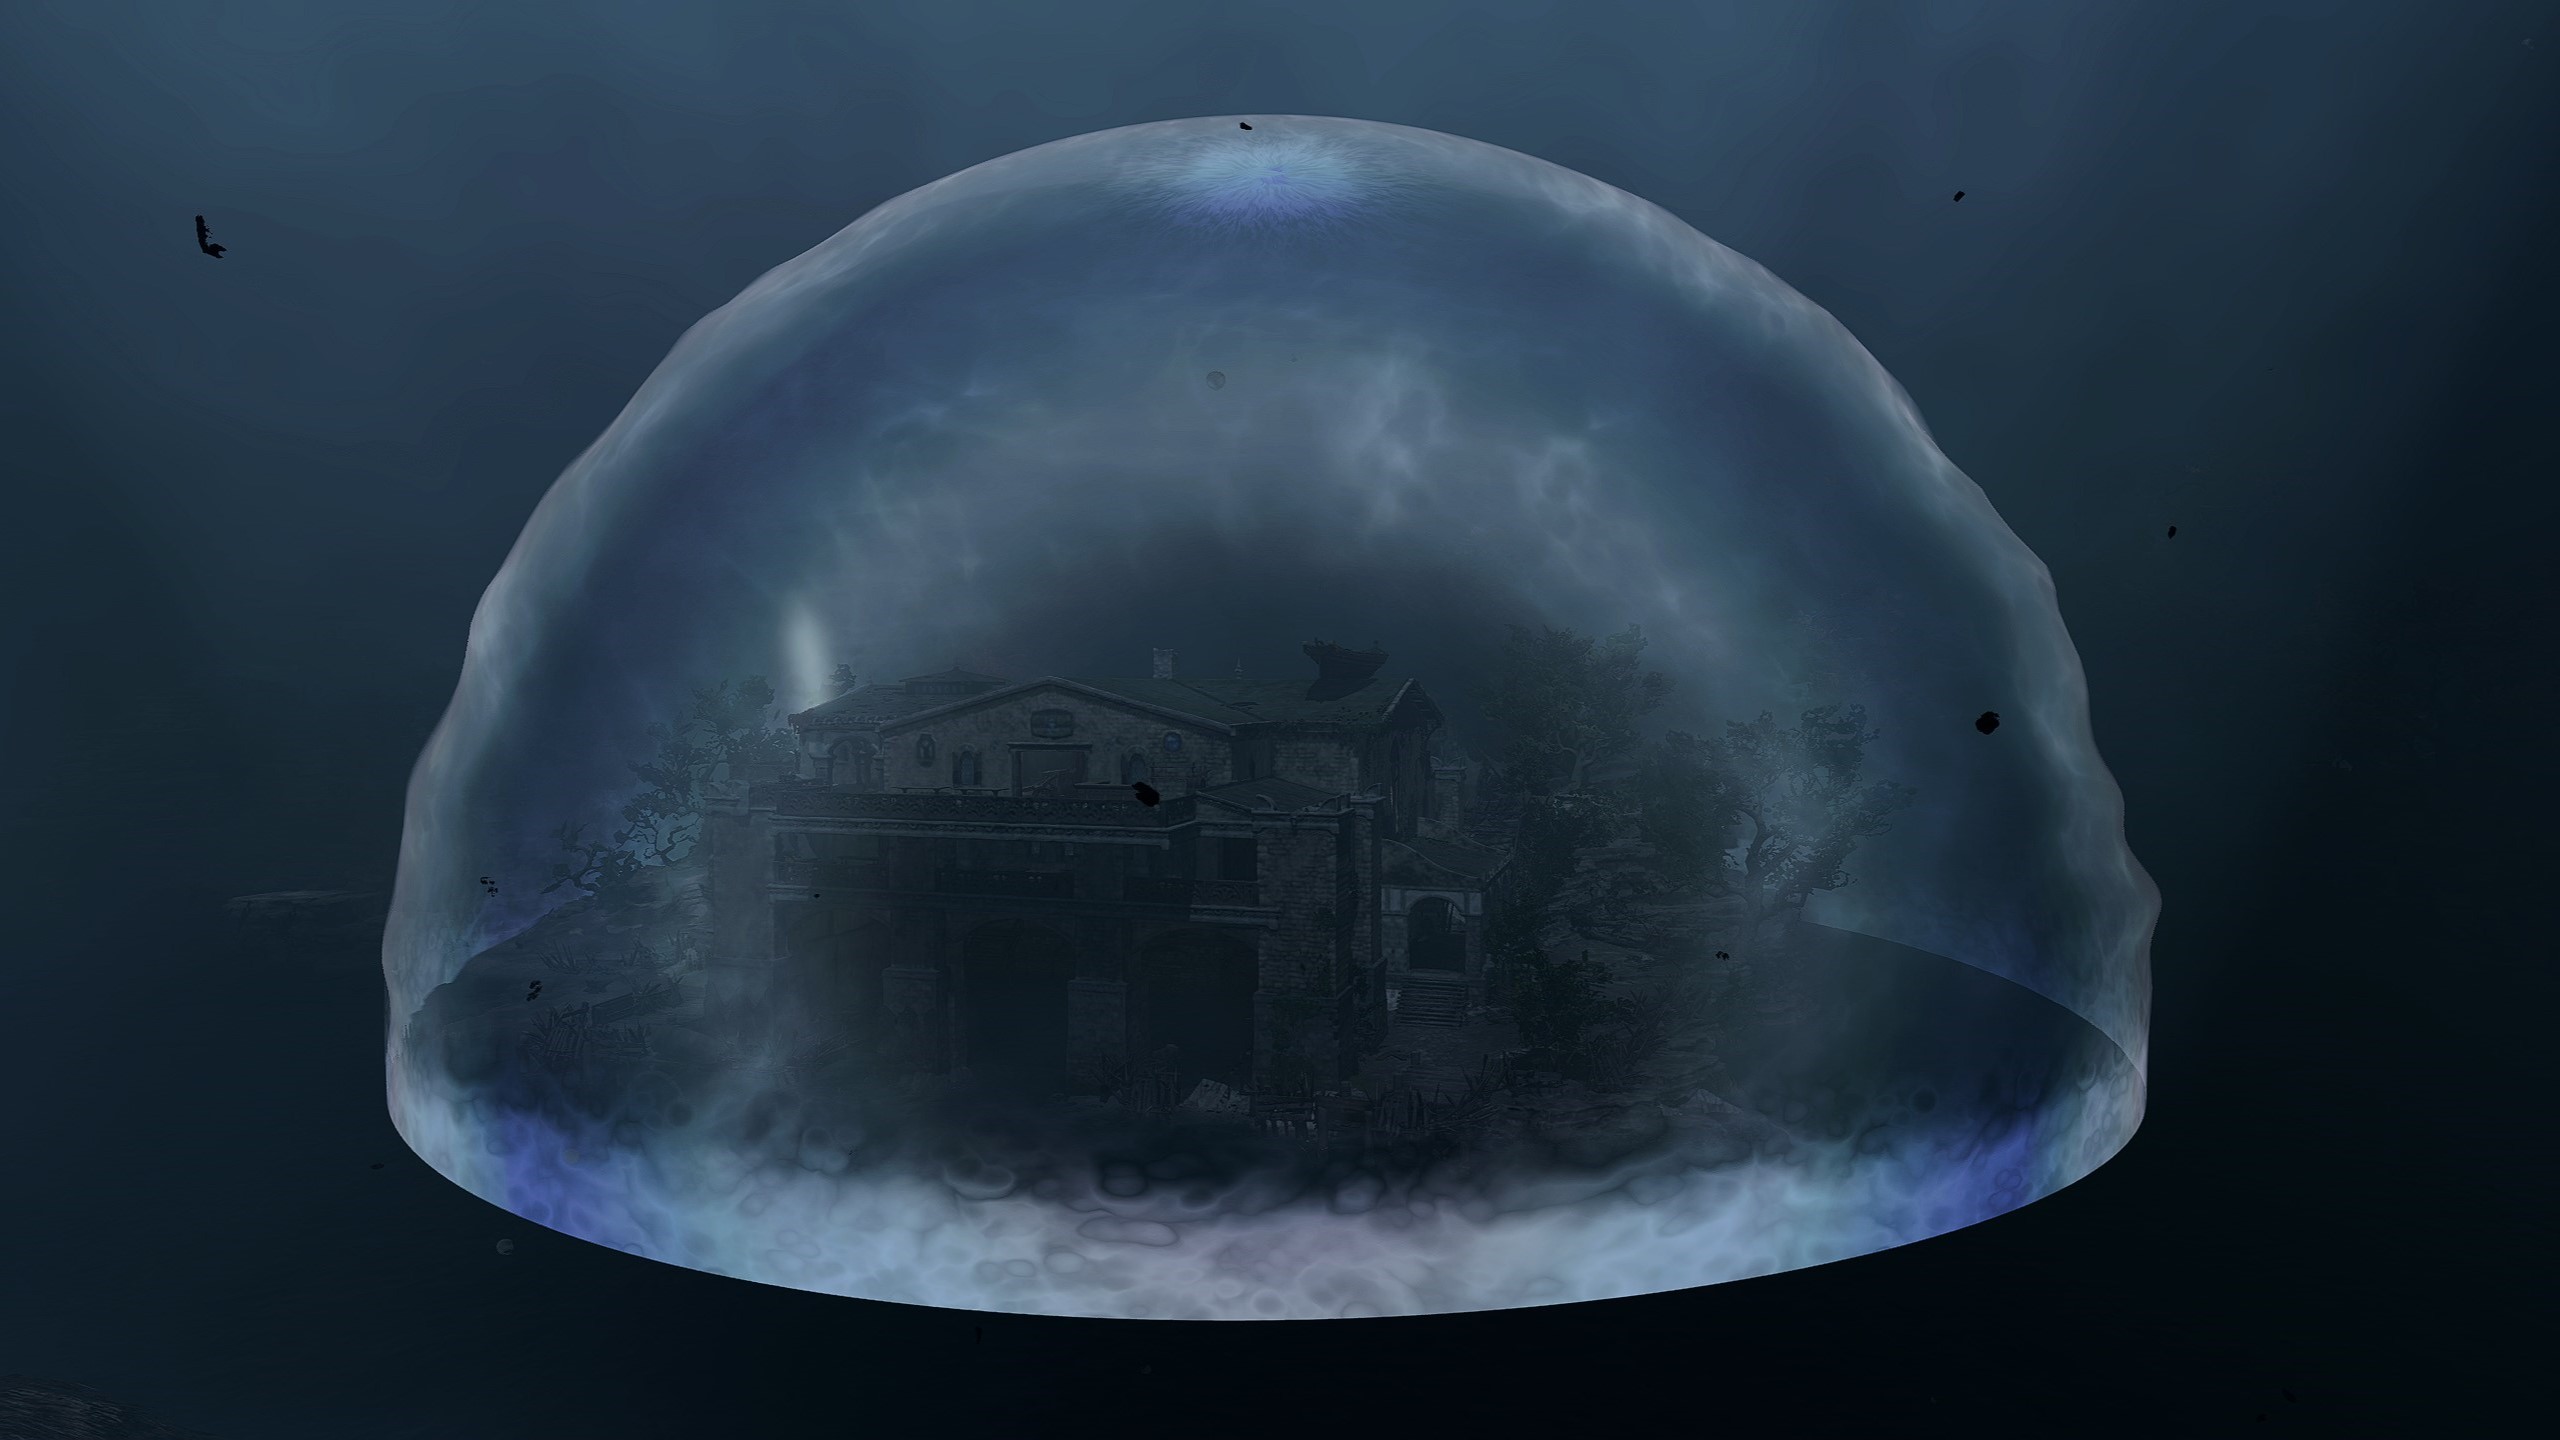
Currently the territory of the inn is patrolled by Harpers. They have placed barricades along the perimeter and also planted several mines at the accessways which require careful navigation. Apart from the protective moonlight dome which wraps most part of the island, the territory is thickly lighted with torches. Dousing torches in front of any guard causes them to warn the party. Dousing three sources of fire in a row makes all Harpers in the inn hostile to the party.
History[edit section | visual editor]
Once, the Last Light Inn was a large, and likely prosperous, tavern and hostel on the road from Elturel to the Reithwin town. Its proprietor Halfred, like most locals, was a devotee of ![]()
![]()

Until recently, the only inhabitant of the half-ruined inn was the Selûnite cleric 
Later, the Last Light Inn was repurposed into a base of operations by the Harpers, joined from time to time by the Flaming Fists. By the time of the game events, the inn still serves as a safe haven from the Shadow Curse, sheltered from Shar's magic by Isobel's moonshield.
Access[edit section | visual editor]
The Last Light Inn is accessible by crossing the bridge at X: -2 Y: 114. The border of the moonshield divides the bridge approximately in the middle. When approaching it, the party members and the 
The inn also has two alternative means of access:
- The basement of the inn is connected with the cellar of the small mansion on the fringe of the Ruined Battlefield. However, the way to the mansion itself from the Shadow-Cursed Lands is blocked by trees; the only unhindered approach is a path from the Last Light Inn's inner yard starting at X: -10 Y: 166. Spells providing spatial movement such as


- If the party undertakes and completes the

Courtyard, stables and smithy[edit section | visual editor]
When approaching the location for the first time, the party is stopped by the Harper 


Straight off, Jaheira summons vines to entangle the player character, and accuses them of being a True Soul, proving her guess with the use of a ![]()
At this point, 

![]()
![]()

After Mol or Marcus stands up for the player character, Jaheira dispels the vines and demands an explanation as to why the player character is infected yet is not following the cult's orders. They can dodge the question (which leads eventually to a 
![]()
Straight across the main entrance an awning covers 
![]()
From the courtyard with the dried-up fountain, paths run along both sides of the main building to the docks behind. To the south, at X: -61 Y: 112 a small fane is made in the memory of fallen Harpers. On the first visit to the Last Light Inn, 

![]()


To receive these inspirations, Yonas' funeral must be witnessed before
Behind the inn and under its ground floor is a docking area. If the party saves the prisoners from Moonrise Towers and choose to sail to the Last Light Inn with them, they are stopped here by Harper 
The northern part of the yard is occupied by stables with a small smithy inside, where 

![]()
![]()
![]()
Also, Dammon acts as a trader and, if brought more Infernal Iron, can forge up to three pieces of Rare armour, which earns the ![]()
![]()
![]()
![]()
In the stables stand several oxen; a passive 

![]()
![]()
On the second floor of the stables the ![]()
The path to the east side of the stables lead to the bridge armed with three Blast Mines planted in plain sight. On the path behind the stables at X: -32 Y: 187 stands 
![]()

Ground floor[edit section | visual editor]
At the ground floor entrance in the antechamber stands a large stuffed bear; passing a passive
In the main hall are several possible encounters, some of which may add quests to the journal or progress active ones. Most of these are available only if the party defended the Emerald Grove during the ![]()
At X: -54 Y: 141 
![]()
![]()
![]()
![]()
Jaheira stands at X: -61 Y: 140. If the player character has just arrived to the Last Light Inn, she offers to drink wine with them; a ![]()


Also, simply speaking with Jaheira earns the ![]()
![]()
In the centre of the hall, near the big hearth, the party can find 

![]()
![]()
![]()
![]()
At the far end of the main hall at X: -75 Y: 147 is a bar. 


![]()
![]()
In a corner behind the bar is a heavy chest marked as "Innkeeper's Lockbox". It can be opened with the ![]()
![]()
In the side gallery behind Jaheira's table, in the corner at X: -58 Y: 134, is an alchemist's table where 
![]()

![]()
![]()
![]()
Near the table the cat 
![]()
![]()
![]()
![]()

A bit farther at X: -61 Y: 132 is a chess table with a set of Lanceboard on it. On the party's first visit to the Last Light Inn, 

If 
![]()
![]()
After speaking to the party Raphael disappears, and the player character can talk to Mol to find out the devil offered her a contract. Praising her for it or encouraging her to sign the contract is considered an oathbreaking action for ![]()
The eastern part of the ground floor consists of two separate lodging rooms. In the smaller at X: -79 Y: 156 
![]()
The larger room was obviously used as common lodgings. It has several beds with cupboards between and forgotten backpacks on them; both can be looted for random potions and some gold. The bookcases here may contain random spell scrolls as well.
On the party's first visit to the inn, this room is used as a headquarters by a small squad of the Flaming Fist under command of 
![]()
The only cot in use is occupied by delirious 
![]()

At X: -65 Y: 132 is the stairs to the first floor of the tavern.
First Floor[edit section | visual editor]
The first floor of the Last Light Inn consists of a gallery running the full round along the main hall, and a single room above the ground-floor lodgings. The room is occupied by ![]()
![]()
When the party first visits her room, Isobel is on the balcony, performing supportive rites for the moonshield. At this moment, it is possible to safely loot her chamber. On her desk lies her ![]()
![]()
Once the party approach Isobel, a cutscene starts, where Isobel grants them her ![]()
![]()
The conversation with Isobel (and with Marcus afterwards) may earn one or more of the following inspirations:
Also, allowing Marcus (or his minions) to abduct Isobel is considered an oathbreaking action for ![]()
If Marcus is defeated, his body can be found later outside the inn approximately at X: -63 Y: 171. A
After meeting Isobel for the first time, the 

![]()
![]()
![]()
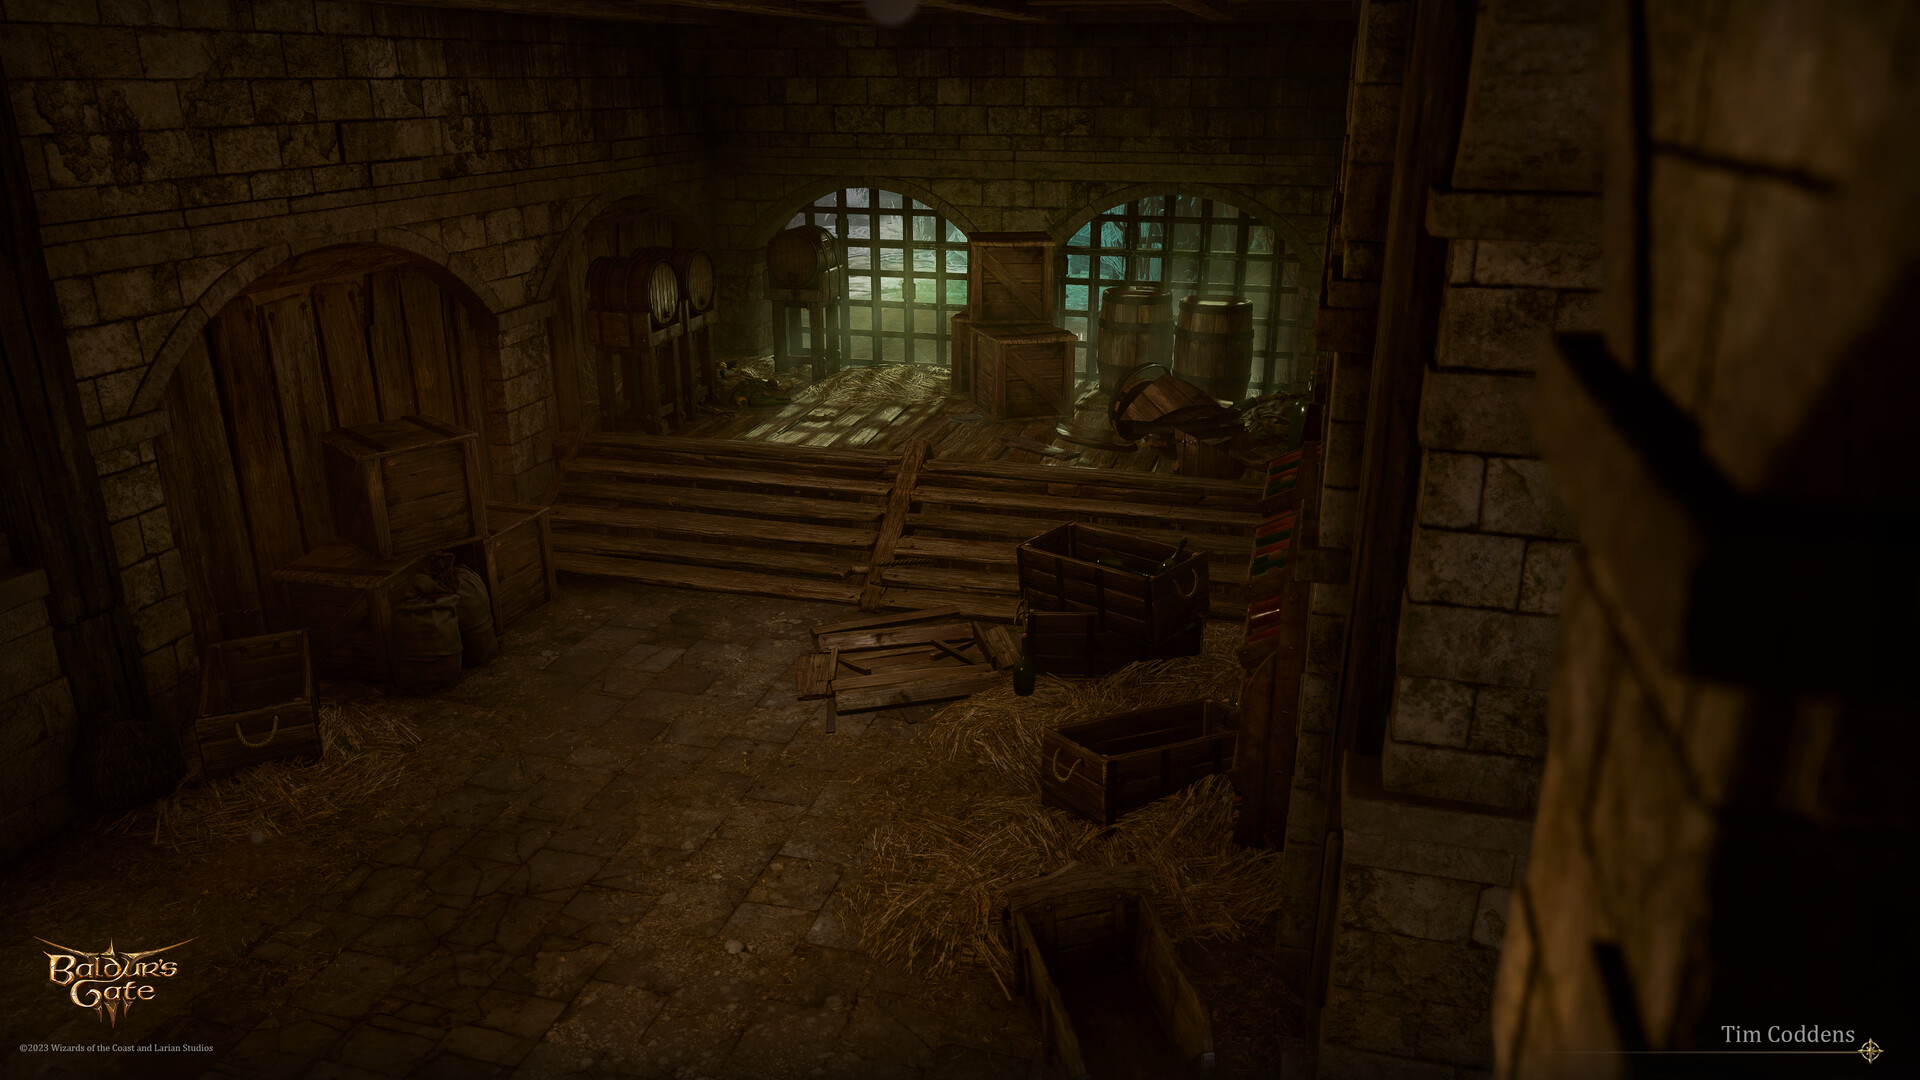
Basement[edit section | visual editor]

The basement of the Last Light Inn includes a storage (to the north) and a small jail with two cells (to the south). However, behind it a secret chamber is hidden, connected with a subterranean cavern which leads into the cellar of the mansion across the inn.
In the chamber, numerous bottles of wine can be taken to stock up Camp Supplies. Also, at X: 26 Y: -276 a buried treasure is hidden (requires
In the jail section on the table lies the ![]()
![]()
Neither of the cracked walls are highlighted by any ability check when approaching from either side. Destroying the walls by any means of ![]()
![]()
A wooden chest near double metal doors contain a ![]()
![]()
Inside the cavern a pack of seven 
![]()
Further in the cavern at X: 36 Y: -695 is a shrine to ![]()
![]()
![]()
![]()
The roots at X: 46 Y: -717 lead inside the mansion in the Ruined Battlefield. The Shadow Curse inside this small building is stronger, its effects bearable only with a working Moonlantern or with a ![]()
Graveyard and river beach[edit section | visual editor]
Crossing the shore or small bridge on the northern side of the inn leads to a small burial area. It is beyond the border of the moonshield, and the weaker effects of the Shadow Curse are applied here to any character without defence.
At the farmost end of the graveyard at X: -3 Y: 215 a rough pile of rubble can be revealed with a ![]()
![]()
![]()
At X: -70 Y: 203 on the river beach is a rectangular rocky buildup where an important part of the ![]()


At X: -56 Y: 202 is a buried treasure (requires
Waypoints[edit section | visual editor]
This location contains the following Waypoint:
Related locations[edit section | visual editor]
Related quests[edit section | visual editor]
Characters[edit section | visual editor]
Characters available to encounter in the Last Light Inn may vary depending on previous story choices.
Companions[edit section | visual editor]

Deep Gnomes[edit section | visual editor]


Flaming Fists[edit section | visual editor]


Harpers[edit section | visual editor]


Tieflings[edit section | visual editor]


Other[edit section | visual editor]


Creatures[edit section | visual editor]
This list includes the shadow creatures which appear only if the moonshield over Last Light Inn is destroyed for any reason.


Loot[edit section | visual editor]
Traders[edit section | visual editor]
Quartermaster Talli sells:
Dammon sells:
Dammon crafts:
Mattis sells:
Barcus Wroot sells:
Related Literature[edit section | visual editor]


Achievements[edit section | visual editor]
Certain actions performed in the Last Light Inn lay a condition to get the following achievements:
(the Dark Urge only)

- Leave No One Behind
- Save every tiefling refugee you can throughout the game in a single playthrough.
Notes and references[edit section | visual editor]
- ↑ 1.0 1.1 1.2 1.3 1.4 1.5 1.6 1.7 This character only appears if they survived the events of Act One.
- ↑ 2.0 2.1 There is a confirmed bug: the inspiration is not triggered anymore as of game version 4.1.1.6946847.
- ↑ If the party has already been to the Grand Mausoleum and met Raphael there, he does not appear in the tavern at all; Mol is then near the bar in the central hall.
- ↑ The layout of the dialogue depends on whether the player character knows about the scars; if they do not, Raphael magically strips Astarion naked to the waist, taunting him. If Astarion is

- ↑ If Florrick was knocked out at Waukeen's Rest in Act One, she may not appear here; she does appear later in Baldur's Gate prison.
- ↑ This quest can also be progressed using

- ↑ If the party saved the tieflings in Act One, Marcus flies and lands down on the balcony, interrupting the conversation. If they did not, he is in Isobel's room initially, choosing a moment to make his move. As of game version 4.1.1.6946847, the cutscene often shows a glitch: Marcus is shown already present on the balcony, regardless of the aforementioned plot twist.
- ↑ This inspiration is granted in case of causing Isobel's death via killing Aylin as well.
- ↑ Like most other books, this one can be destroyed, and is if it suffers any fire damage. In this case, the quest can be progressed by investigating the basement of the Mason's Guild in Reithwin Town.
- ↑ The Brilliant retort is a reward by Barcus Wroot for saving the deep gnomes.
- ↑ 11.0 11.1 This item is worn by Isobel.
- ↑ This is a reward by Alfira for saving the tieflings.
- ↑ This item is labelled as "Worn Letter"'# before reading.
- ↑ This map is on Jaheira's table.
- ↑ This book is on Jaheira's table.