Ad placeholder
Murder Tribunal


Overview[edit section | visual editor]

The Murder Tribunal is a secret part of the Undercity of Baldur's Gate. It is the entry point for any follower of the Dread Lord who aspires to earn the title of Unholy Assassin.
It is accessible only from Candulhallow's Tombstones, a small trade establishment which serves as a front for the Cult of ![]()
One of main quests of Act Three is locating and confronting one of the Chosen of the Dead Three, 
Both quest lines eventually collide into the task of getting access to and exploring the Bhaalist Crypt hidden under Candulhallow's Tombstones. Here, both ![]()
![]()
Access[edit section | visual editor]
To enter the Bhaalist Crypt, the party must find and open the secret door at the far end of the Candulhallow Tombstones. The ways to do it are described on the shop's page.
As the party enter the basement, they find themselves on a brick path over a pool of dirty water. Across the entrance stands a metal shield emblazoned with the Flaming Fist symbol. Following the brick path in the eastern direction leads to the antechamber door of the Murder Tribunal halls at X: -1302 Y: 520.
While the party are in the basement of the Candulhalow's Tombstones and in the Murder Tribunal halls, they cannot fast travel or move to the Campsite.
The Murder Tribunal halls consist of an antechamber, a Tribunal chamber, an Abbatoir and a prison.
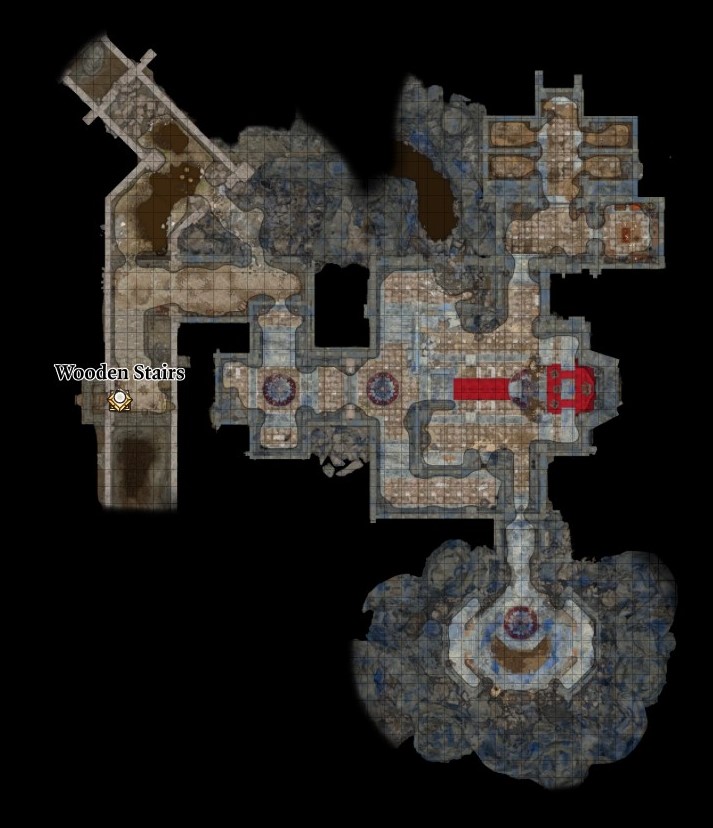
Location layout[edit section | visual editor]
Bhaalist crypt and the antechamber[edit section | visual editor]
Along the brick path are four human skulls affixed to the wall in a row, with inscriptions on them. If read one by one, they form a roughly-rhymed stanza by 
If the party come down to the water, they can see an unlocked elegant chest in the far corner at X: -1324 Y: 549 with minor loot. The path along the opposite wall is safe, unlike crossing the water: the area closer to the brick path is trapped with a Tripwire (
![]()
![]()
![]()
Beyond a wooden door is an antechamber, with three undead Death Knights: 


There is a possibility to face the serial killer 
If the interacting party member answers correctly to the guards, the party can peacefully enter the Tribunal chamber. If the party start a fight in the Tribunal chamber and the doors to the antechamber remain open, the three guards join the battle against the party. However, if the party defeat the Tribunal members behind the closed doors, they will find the knights already dead upon leaving.
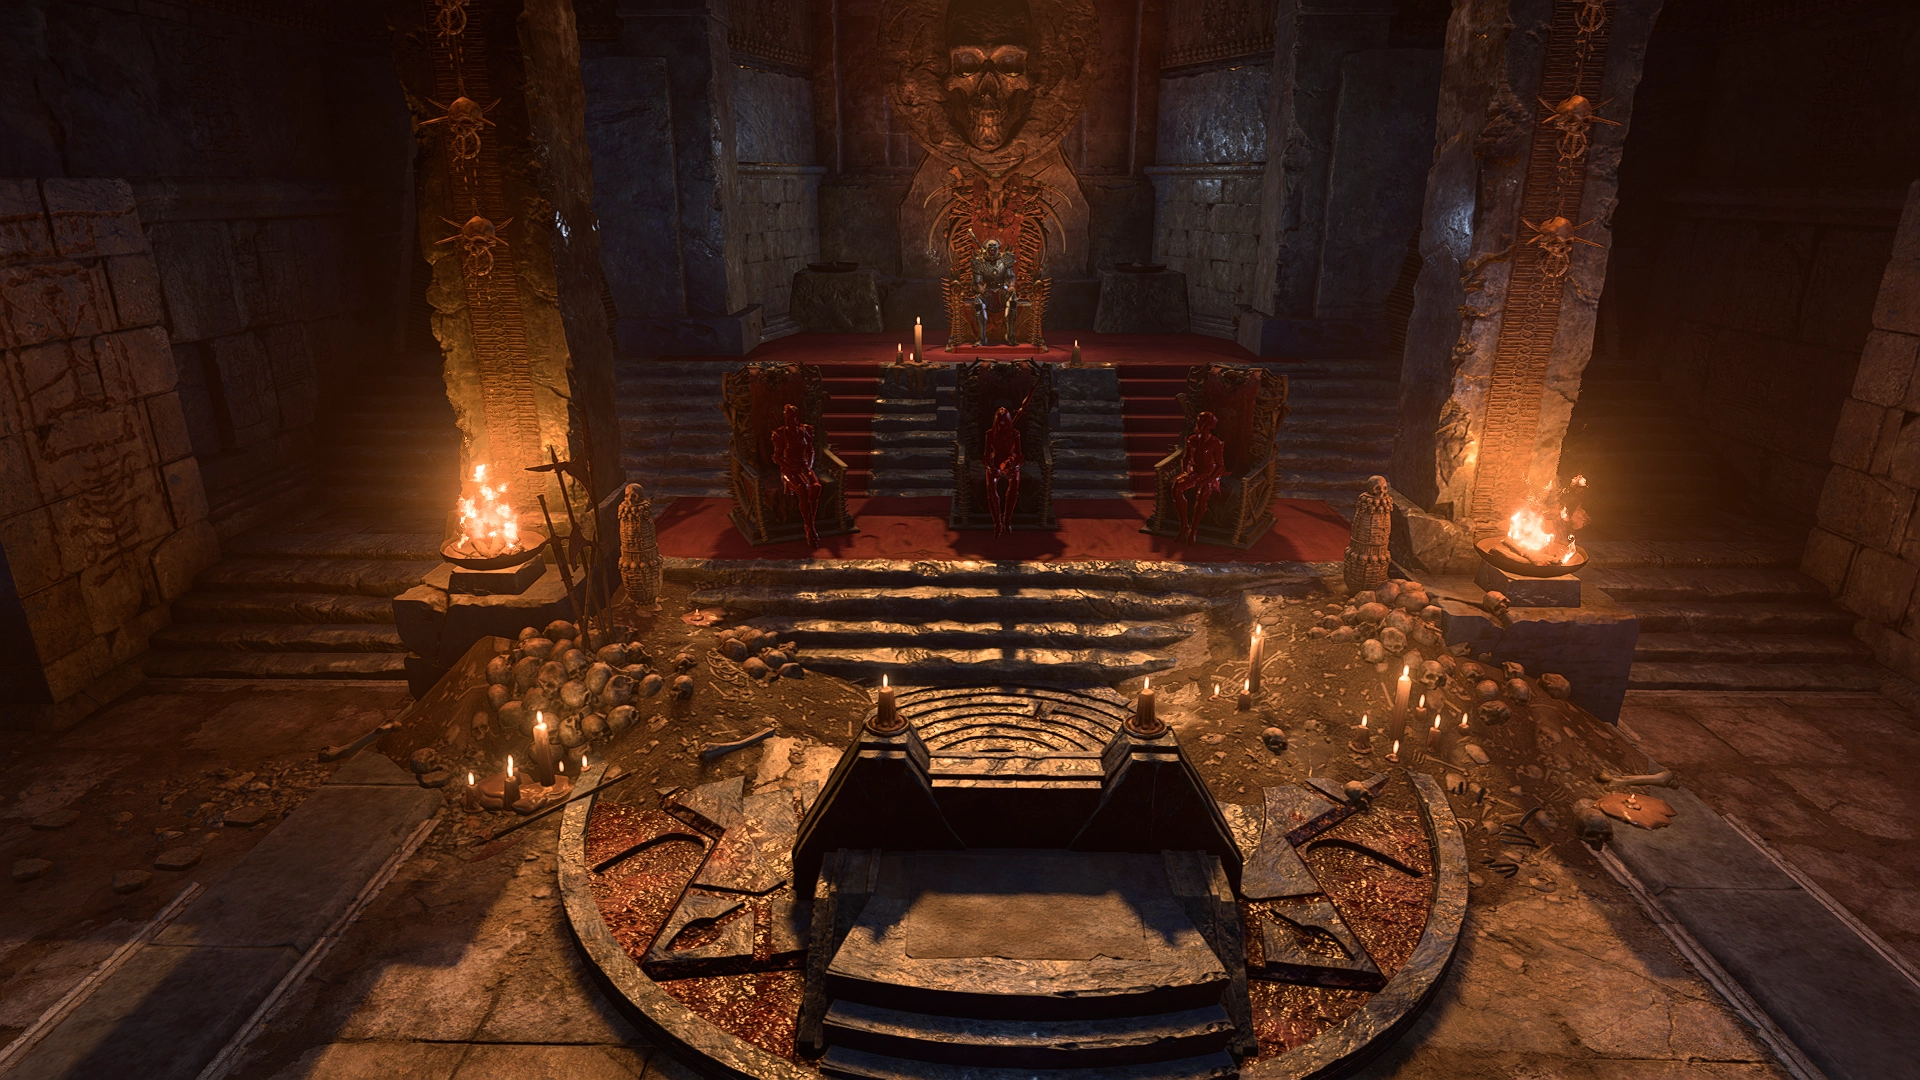
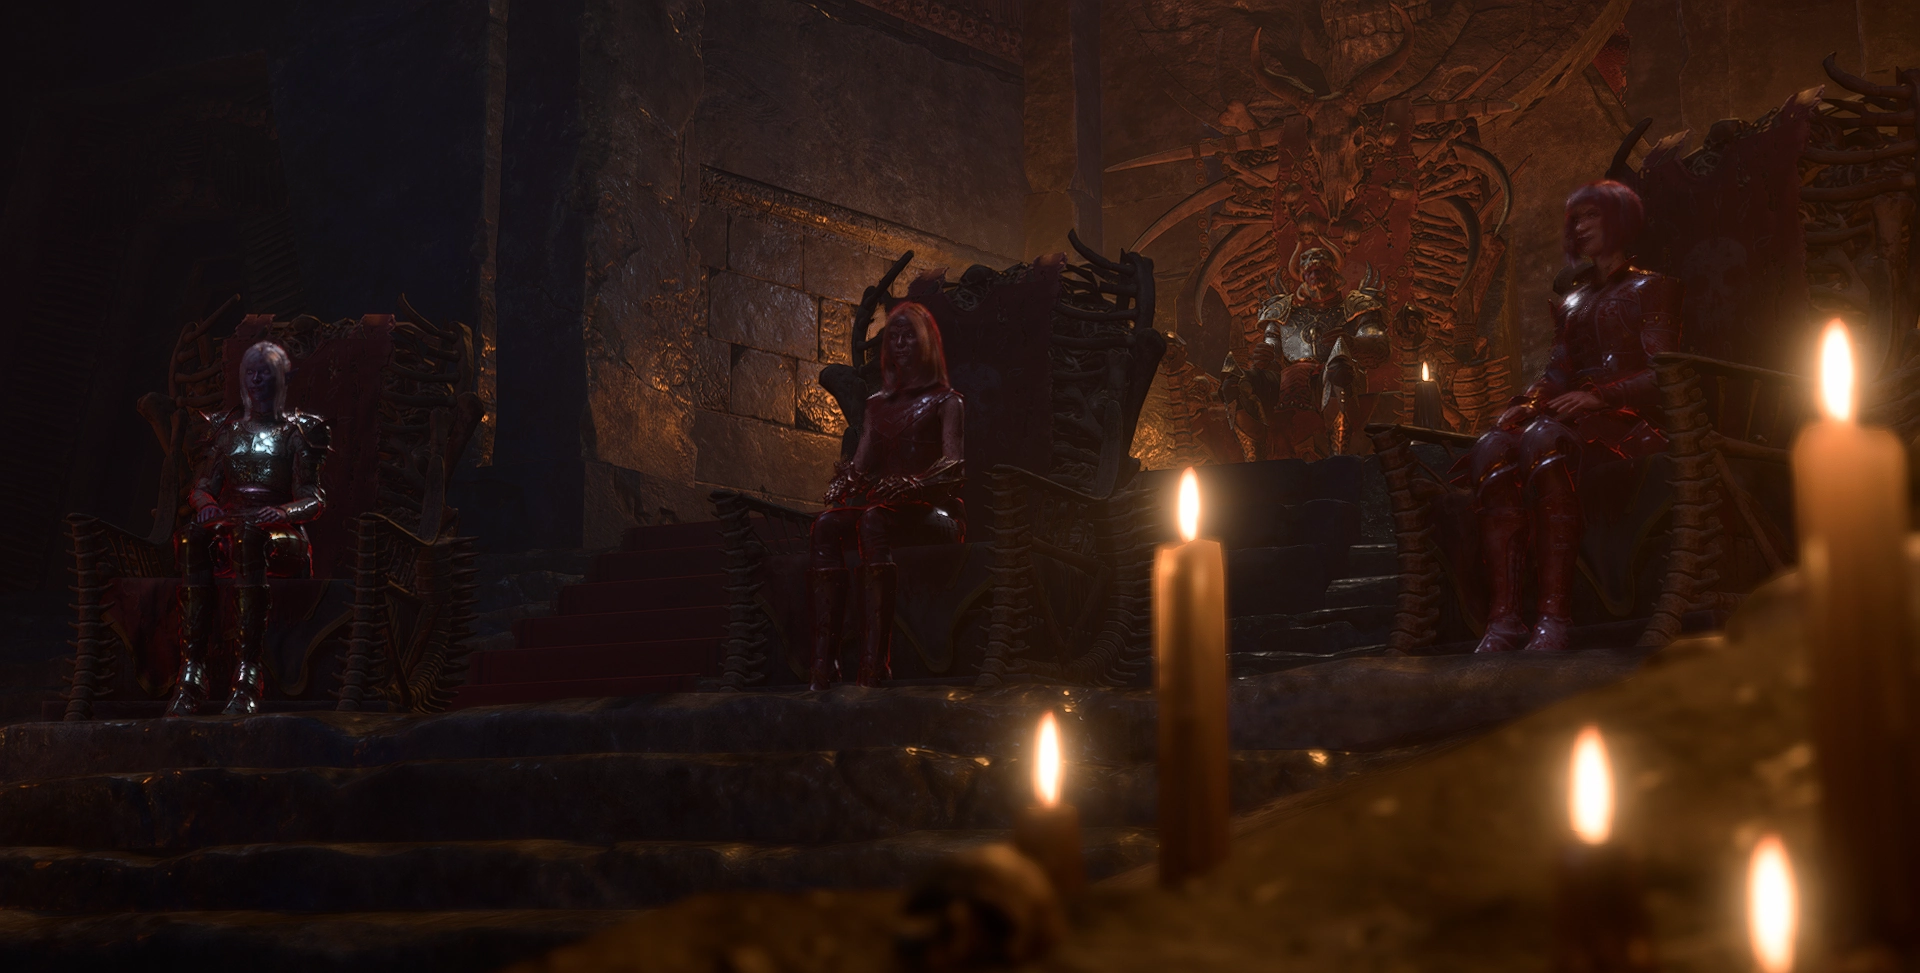
Tribunal chamber[edit section | visual editor]

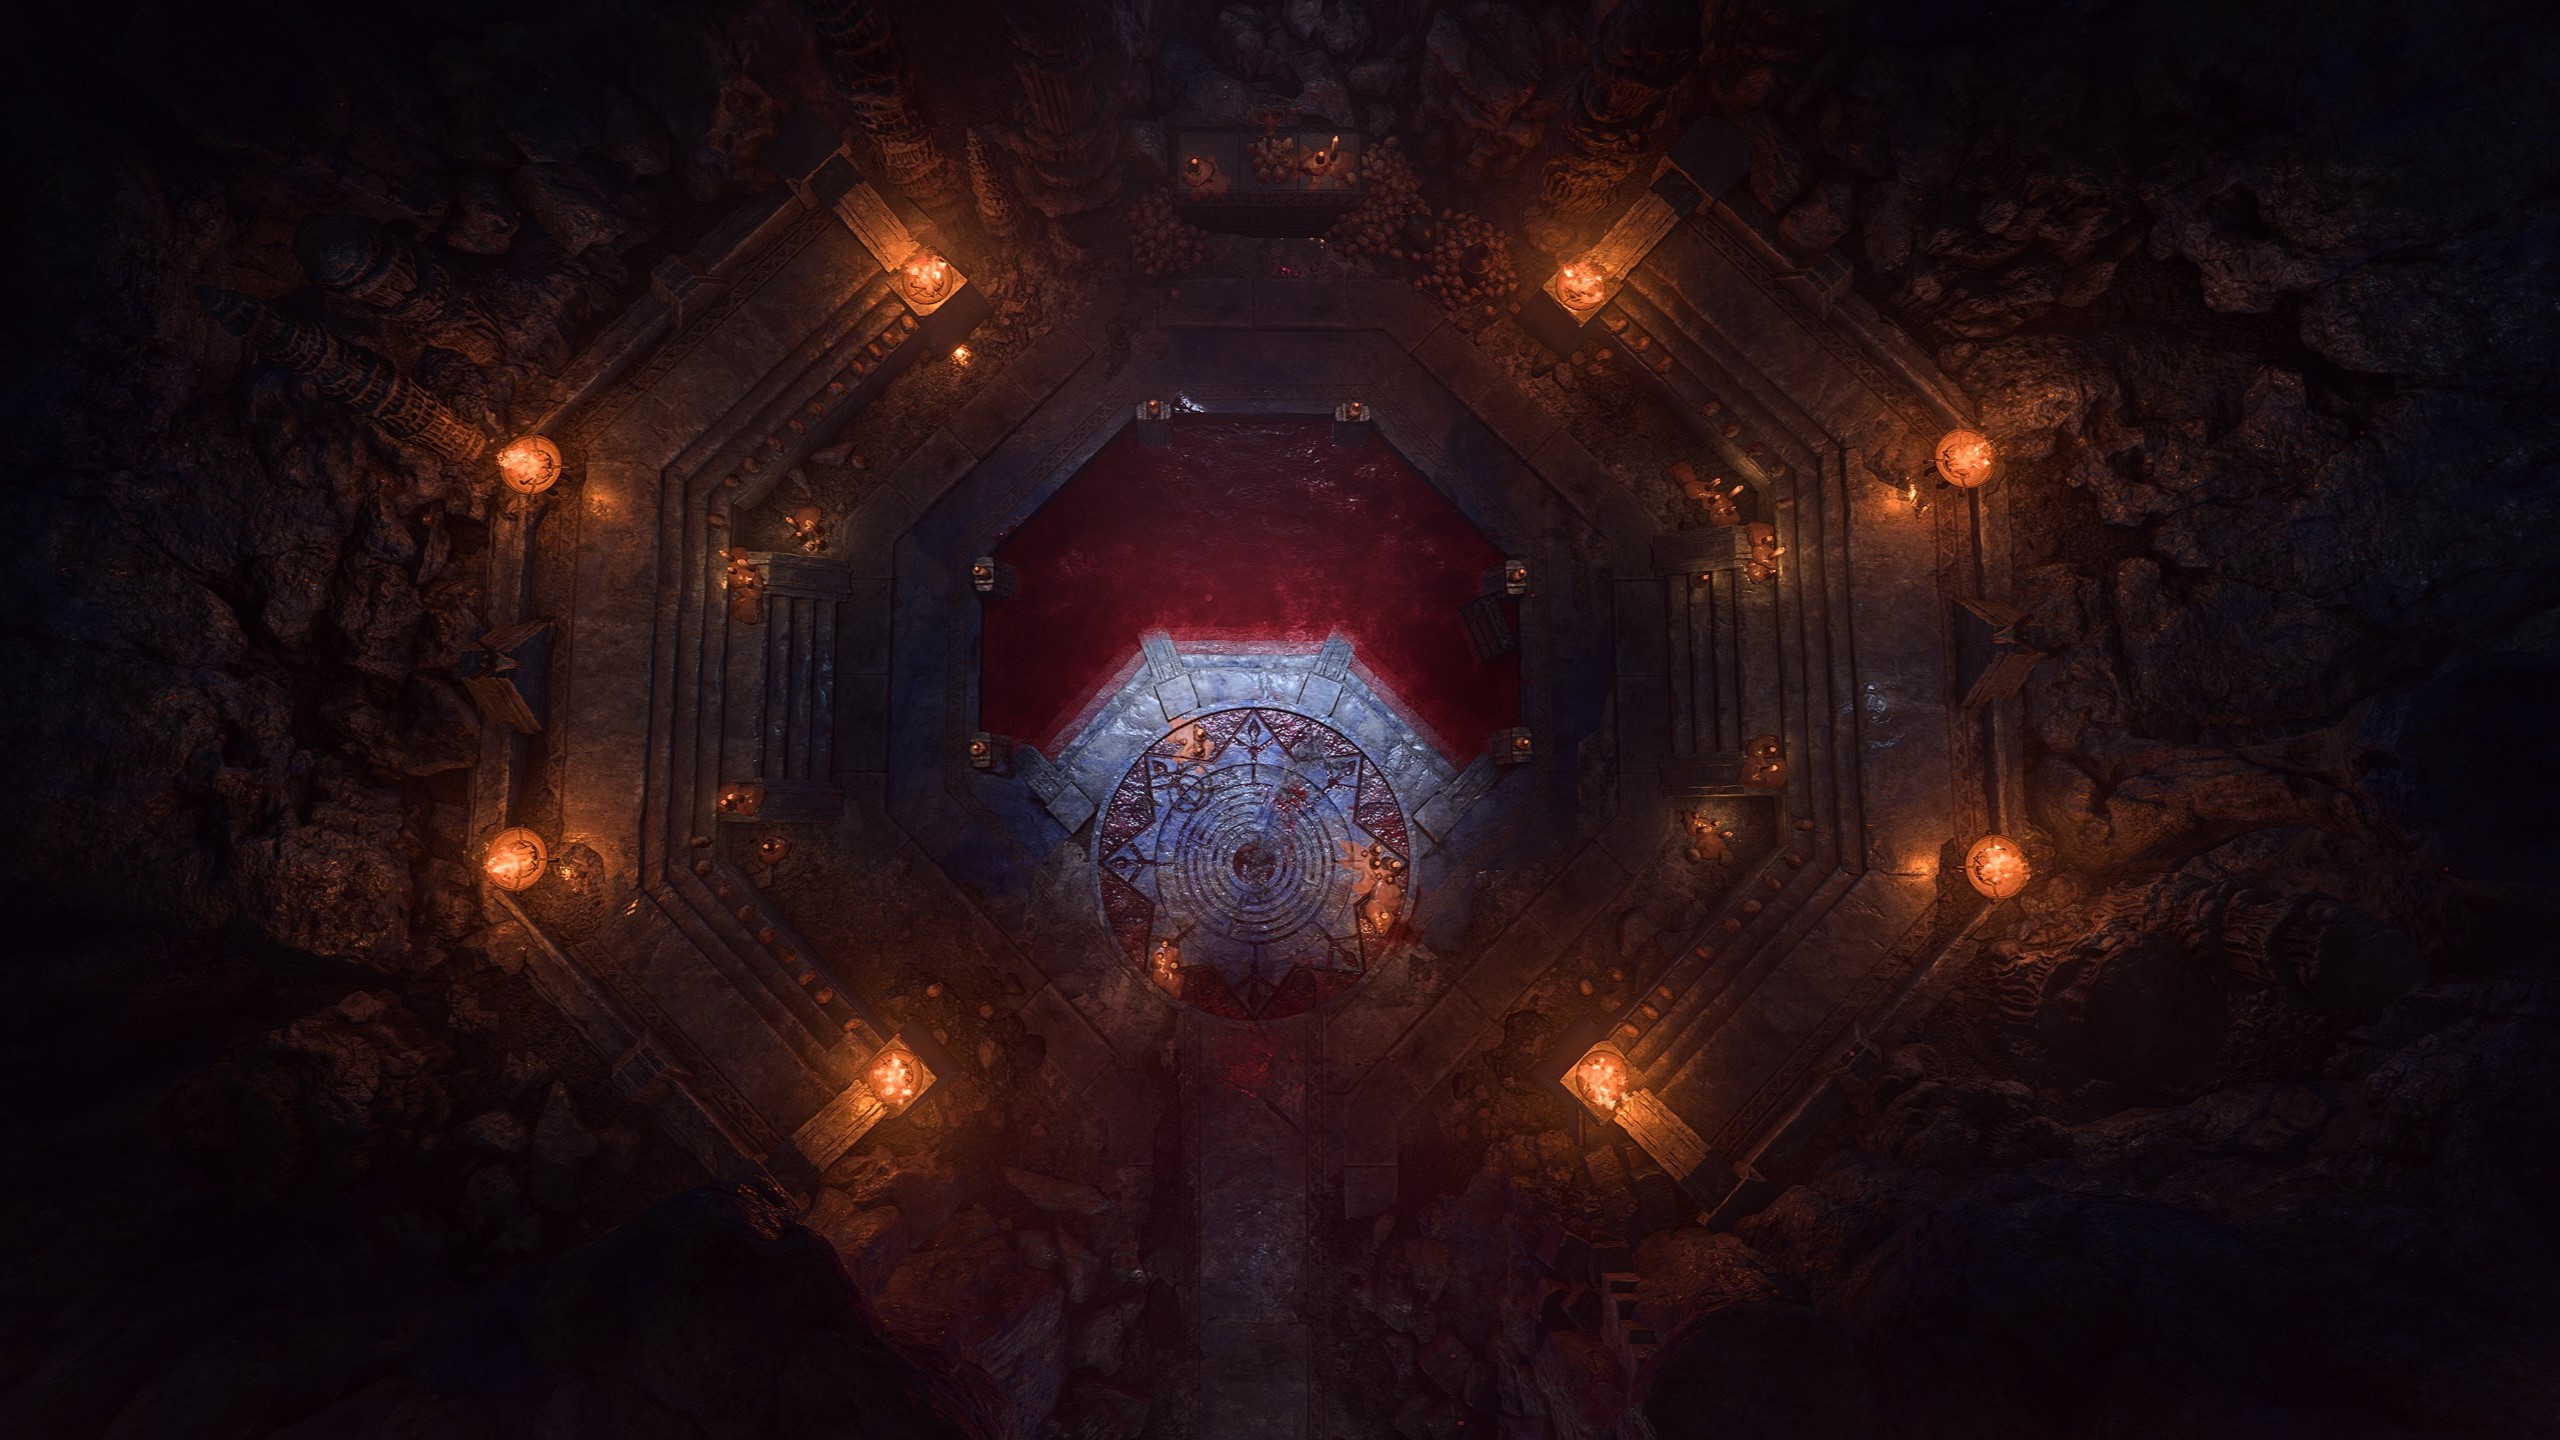
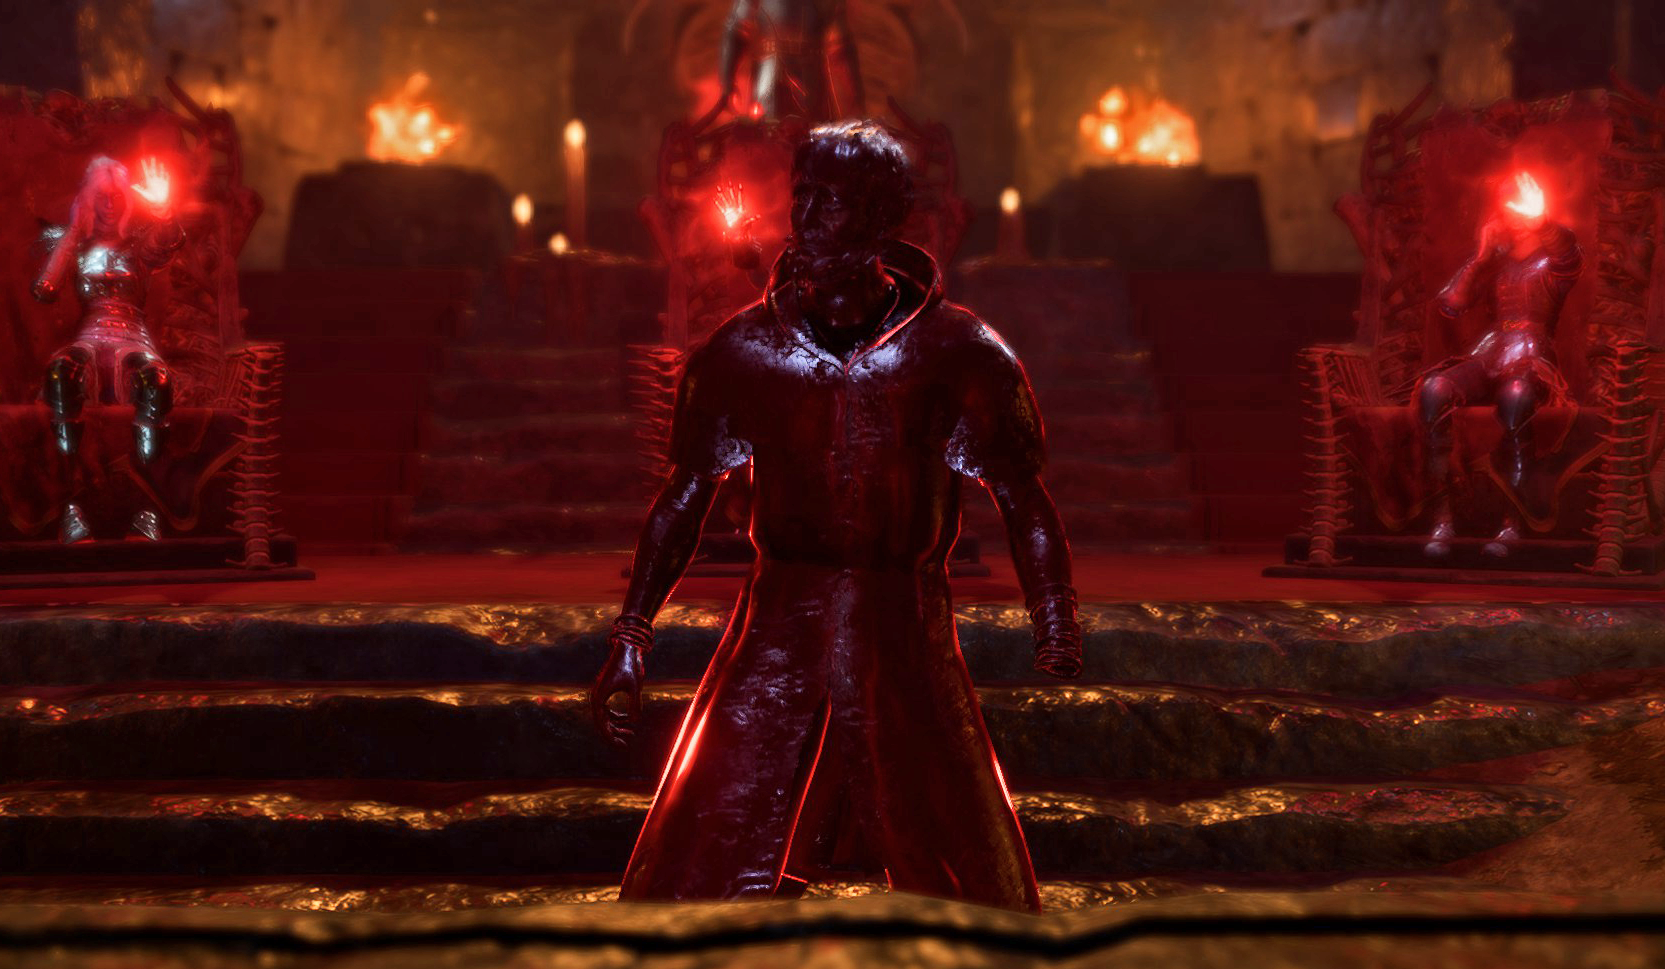
The central hall of the crypt resembles a court hall, with a high stone dais along the far wall with a judge's throne, three seats a bit below for the members of the Tribunal, and a stone pulpit for aspirants. Bright-red carpets cover the dais, hanging down from it to pave around the three seats, and laying a path to the pulpit, imitating streams of blood. Just behind the pulpit is a small basin used directly in the judgement process.
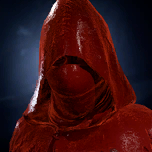
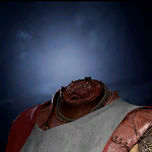
In the Judicial Seat at the far end of the hall sits 


At X: -1282 Y: 496 a small staircase begins, which leads to a perch on the eastern side of the Tribunal chamber. This way can provide stealthy access to the Abattoir (see below). The symmetrical perch on the opposite side is partly ruined, with nothing significant around.
Abattoir[edit section | visual editor]

To the south of the Tribunal chamber is the Abattoir, hidden behind a movable wall section. The entrance is locked, requiring ![]()
If the party does not instigate a fight during judgement, Sarevok and the three judges move to the Abattoir (the ghosts teleport instantly, while Sarevok walks by foot, which gives an opportunity to attack him while his minions are at a distance).
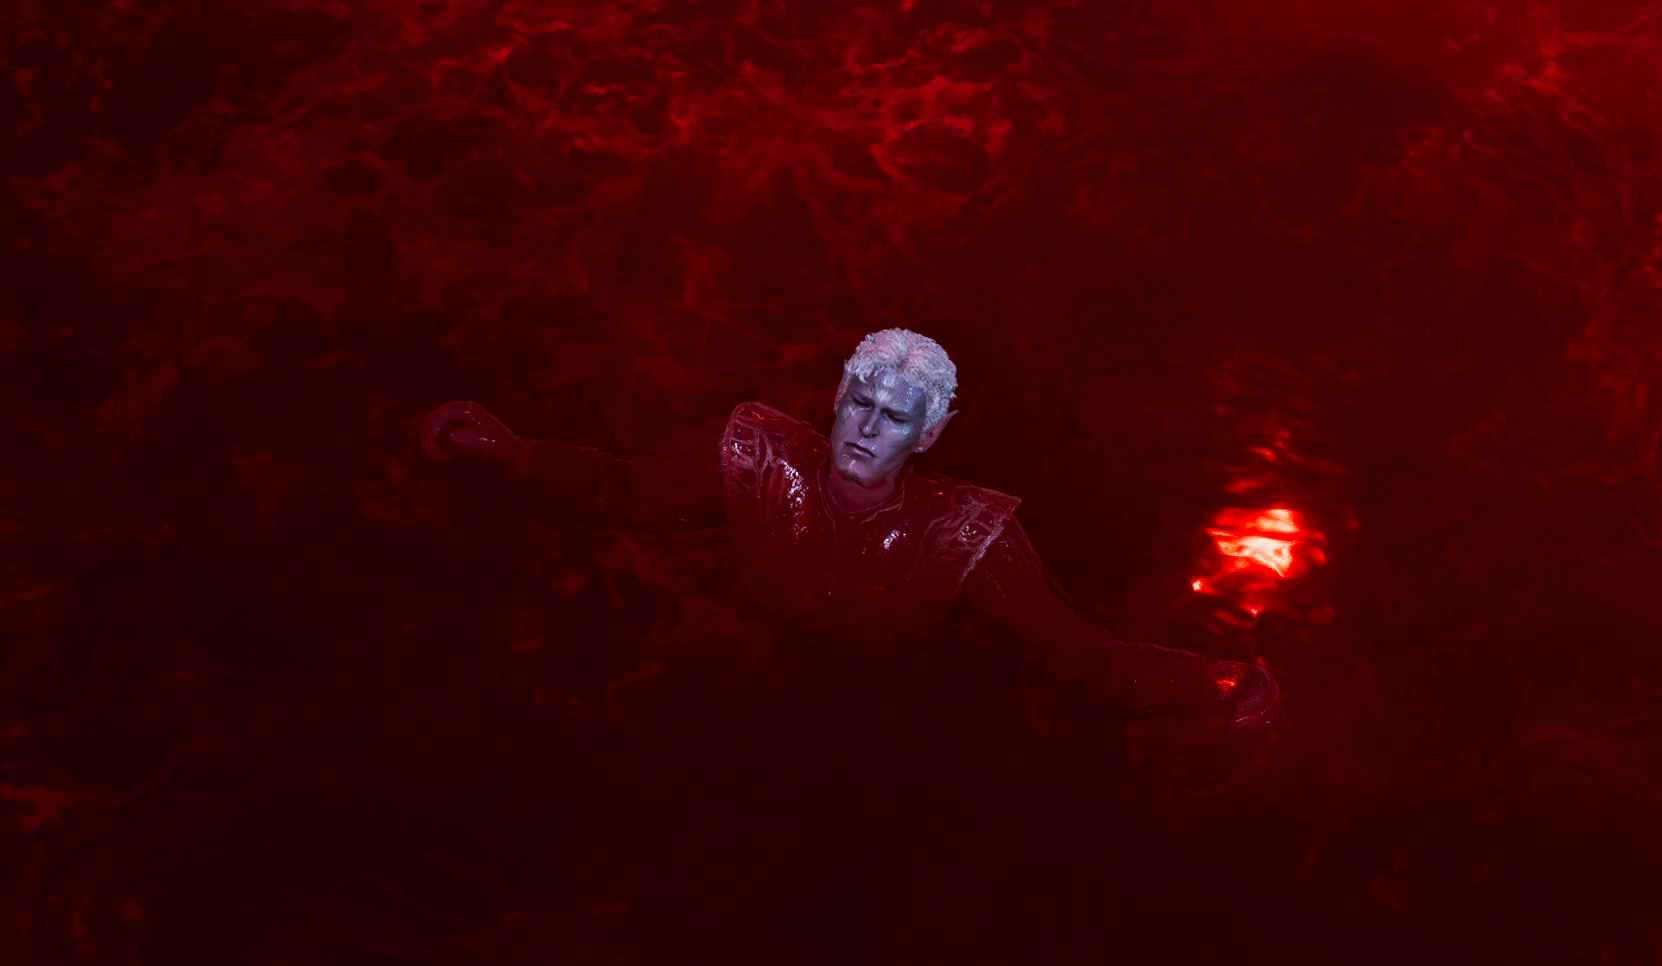
The abbatoir is a cavern with an octagonal stepped stone perch lining up the walls, coming down to the deep pool, filled with blood to the brim. In the middle is a round ritual ground with chains for victims and vales for blood to fill the basin. The victim prepared for the next contendent for the Unholy Assassin title is none other than 
Once the party enter the Abattoir, twelve 
At X: -1248 Y: 464, behind the stone slab is a locked Small Gilded Chest (requires ![]()
Prison and private chambers[edit section | visual editor]
The northern part of the crypt is a small prison behind the doors at X: -1259 Y: 524. Near the door is an unlocked wooden chest containing a book titled ![]()
![]()
Inside one of the cells lies the beheaded corpse of 
![]()

Between the main hall and the prison, a door leads east to Sarevok's personal quarters. Inside is Sarevok Anchev's samll office. An Opulent Chest and a Heavy Chest here contain gold, a random gem and alchemical ingredients. Inside the desk is ![]()
Several pieces of Camp Clothing are in the wardrobe and on the floor near the bookcase.
Involvement[edit section | visual editor]

The Murder Tribunal chamber is a location where both ![]()
![]()
If the party approach the pulpit openly, dialogue with
Sarevok and the Bhaalspawn Echoes summon a ghost of a recent murder victim, based on the set of severed hands the party have on them. Most commonly, it is 


![]()
If the interacting party member passes the trial, Sarevok opens the door to the Abattoir and 'suggests' they kill ![]()


The party can also choose the dialogue option to start the fight with Sarevok. Choosing any incorrect option or failing the ability check also spills into a fight. If the party intend to fight Sarevok, it is advisable to prevent his reaching the Abattoir, lest the Tribunal ghosts appear and join the battle.
The dialogue with Sarevok changes significantly if the interacting player character is the Dark Urge. Sarevok then explains what exactly happened between the Dark Urge and Orin when both were devout followers of Bhaal. The Dark Urge's past history does not prevent them from being judged by the Tribunal, though it does add an option to bypass the trial by succeeding a
However, if the party indeed return and report to Sarevok (regardless of the Dark Urge participating in the current playthrough), he says they actually cleared the way for himself and attacks.
Inspirations and oathbreaking[edit section | visual editor]
Meeting Sarevok grants the ![]()
![]()
Refusing to kill Valeria grants one or more of the following inspirations:


If Valeria is killed, and the player becomes an Unholy Assassin, one or more of the following inspirations are earned:

If Sarevok is killed (regardless of whether the Unholy Assassin title was instated), Dark Urge characters earn the ![]()
Gaining the title of Unholy Assassin is considered an oathbreaking action for ![]()
Related locations[edit section | visual editor]
Related quests[edit section | visual editor]
Characters[edit section | visual editor]
Notable[edit section | visual editor]


Other[edit section | visual editor]


Creatures[edit section | visual editor]


Loot[edit section | visual editor]
Sold by Echo of Abazigal:
Related literature[edit section | visual editor]
Notes and references[edit section | visual editor]
- ↑ Grimlark himself is in the Temple of Bhaal. More of his Bhaal-inspired poetical creations are in the Undercity Ruins and the Abandoned Cistern.
- ↑ This key does not inlock Valeria's chains.
- ↑ Shedding light on their family connection can be useful when dealing with Orin herself.
- ↑ This only breaks the Oath if the Paladin character is the tried party member, and if the party indeed killed the victim. The Deception options do not break the Oath.
- ↑ Dolor only appears if he was not killed previously.