Ad placeholder
Western Beach

| Rivington | ||||
| Western Beach | → | South Span Checkpoint | ||

Overview[edit section | visual editor]
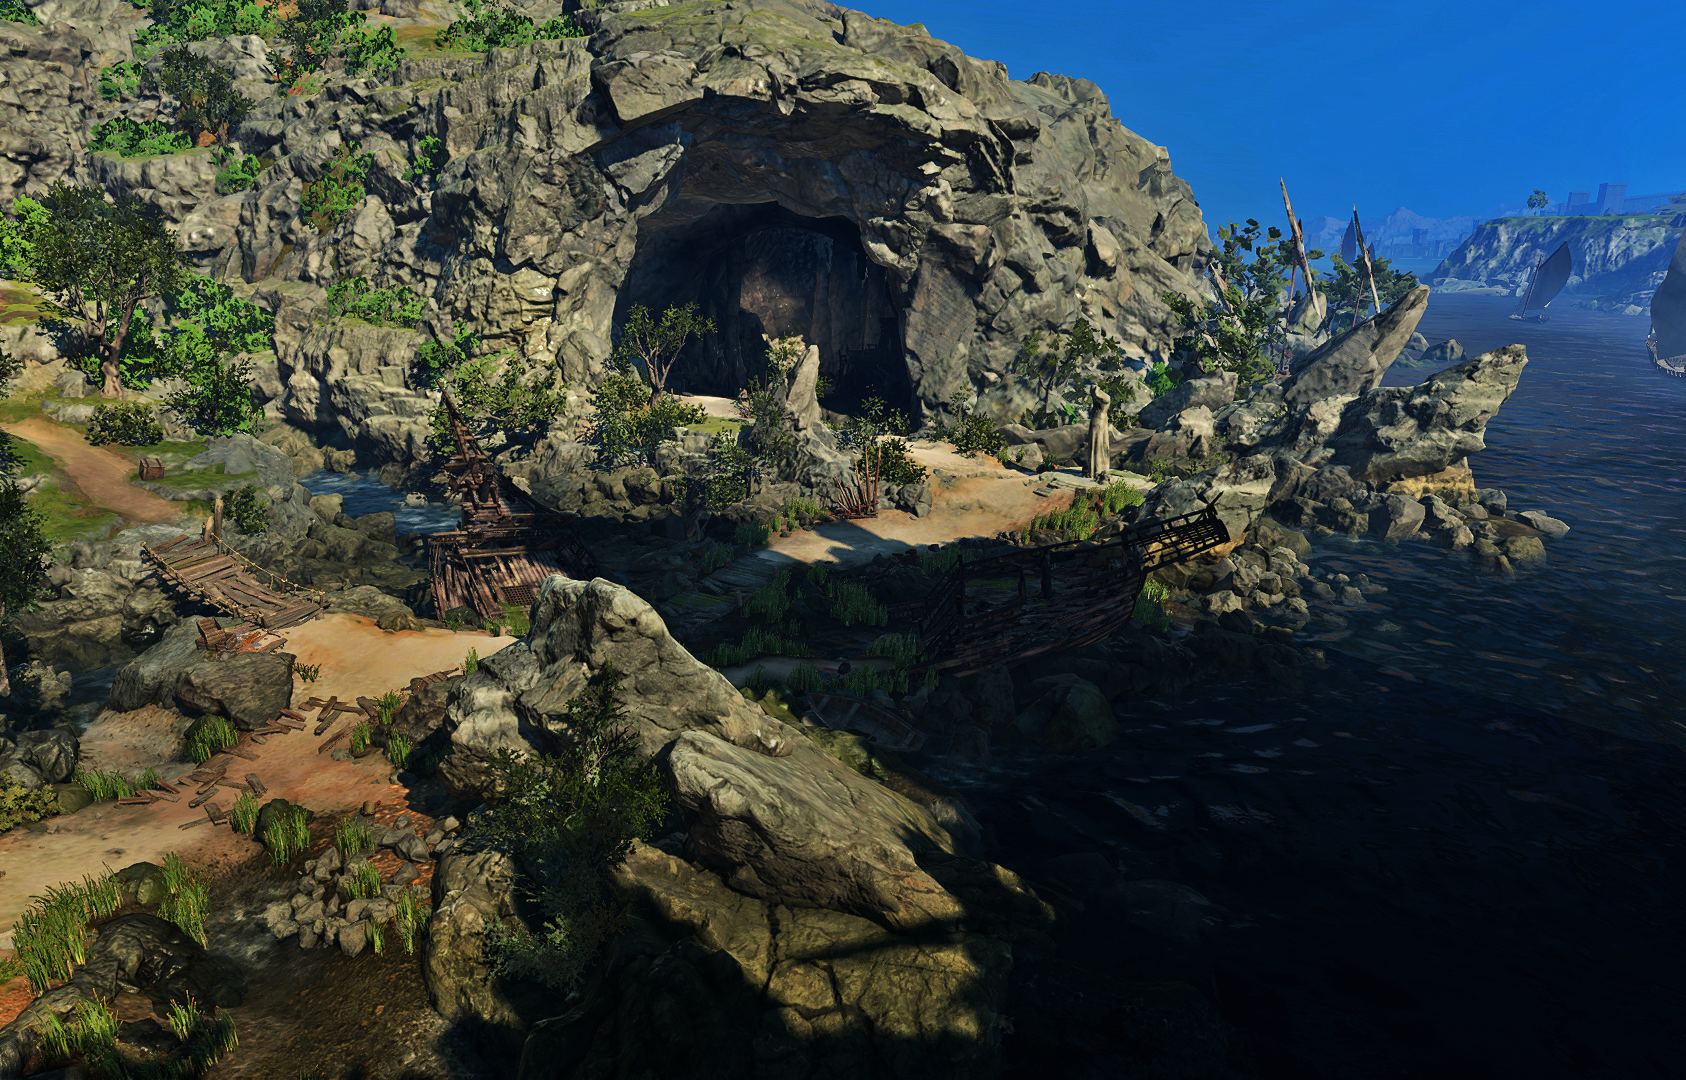
The beach is an unnamed location accessed by travelling west down the paths from both sides of the South Span Checkpoint, and then following along the shore of the River Chionthar. The steep slope descends from the grounds of the Gur Camp and the Sword Coast Couriers to the south from the checkpoint, and from the Open Hand Temple to the north of it.
The slope consists of numerous rocky ledges connected with winding paths and patches of knotted roots, and has several entrances into cave which can be used to access some locations in Rivington.
The northern end of the beach butts against the high rocky ridge; a tunnel leads through it to a secluded bay which is being used for smuggling operations by the 
Eastern slope[edit section | visual editor]

This part of the western beach runs down to the river shore from the Gur Camp and the Sword Coast Couriers. There are several points of interest here, including the entrances leading into caves under various locations in Rivington:
- At X: 58 Y: 48 is the exit from the cave area under Rivington Well. It is initially blocked with a winch mechanism and must be opened from inside to be used in both directions. If none of the party members succeed a passive

- At the beach near the water end there are two buried treasures: the one at X: 67 Y: 88 requires
- At X: 30 Y: 29 is the exit from the cave leading to the Angleiron's Cellar. When the party first approach the cave mouth, a passive


- The cellar can be explored only if the deep gnomes of the Clan Ironhand survived the events of Act One and Act Two. If they were killed in Grymforge or perished in Moonrise Towers Prison, the cave mouth is laden with unmovable boulders, and the cave is inaccessible.
- At X: 46 Y: 67 a


- The rocky ledge at X: 32 Y: 45 provides a convenient point to traverse to the scaffolds surrounding the Wyrm's Crossing bridge - either by jumping, flying, or using any means of spatial movement like

- At X: 3 Y: 71 (under the Wyrm's Crossing bridge) is the exit from the cave under the Open Hand Temple. To get close and enter, several boulders need to be moved aside. Near the cave entrance, some Valuables lay on the ground.

Western slope[edit section | visual editor]

The northern part of the beach runs mostly along the Open Hand Temple grounds. This part of the Western Beach also has its points of interest.
- At X: -51 Y: 72 knotted roots allow the party to ascend to the path which eventually leads either up to the South Span Checkpoint or down to the old remains of a shipwreck. The roots end up on a small ground with a defaced statue, where a

- The path down leads to a wrecked ship at X: -90 Y: 85, where on the foredeck a trapped Traveller's Chest can be found. It requires

- Near the broken statue at X: -118 Y: 103 a veritable obstacle course starts. The path here is covered with a

- At X: -141 Y: 73 the party can find the


- However, Dying Stone Lord Thug is one of the characters who might be chosen by

- If this is the case, the dialogue with the Thug is longer and more meaningful. Throughout the dialogue, the player character rolls a passive


[edit section | visual editor]

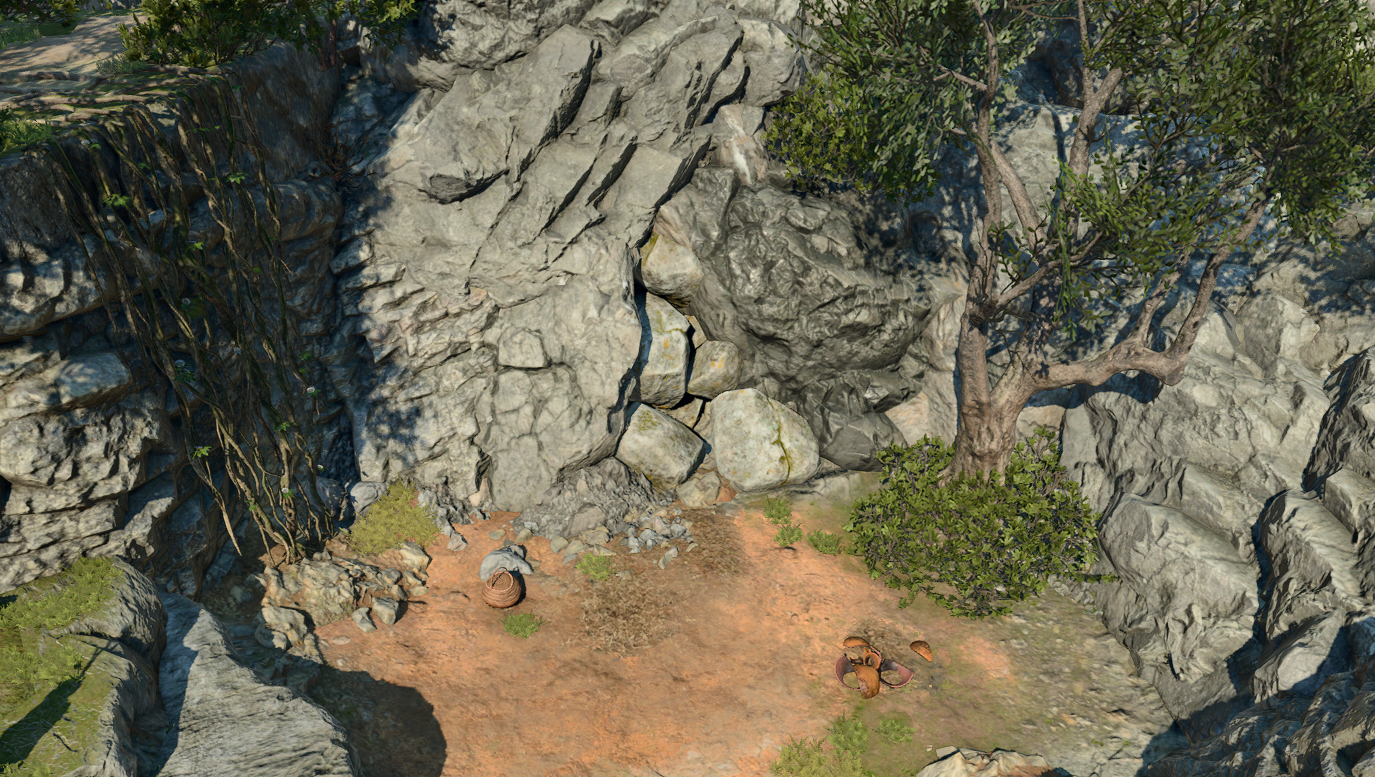
At X: -233 Y: 84 is an opening to a passageway under the rocky ridge. Inside, the straight path forward is littered with tripwires (each requires 
![]()
![]()
The safest way is to bypass the tripwired path using the wooden platform nearby (presumably used by the guards). The backpack left there contains minor loot. At the foot of the ladder lies a beheaded corpse; a
Although not all victims of a fierce fight are disfigured or decapitated, none of them are available to interrogate via ![]()
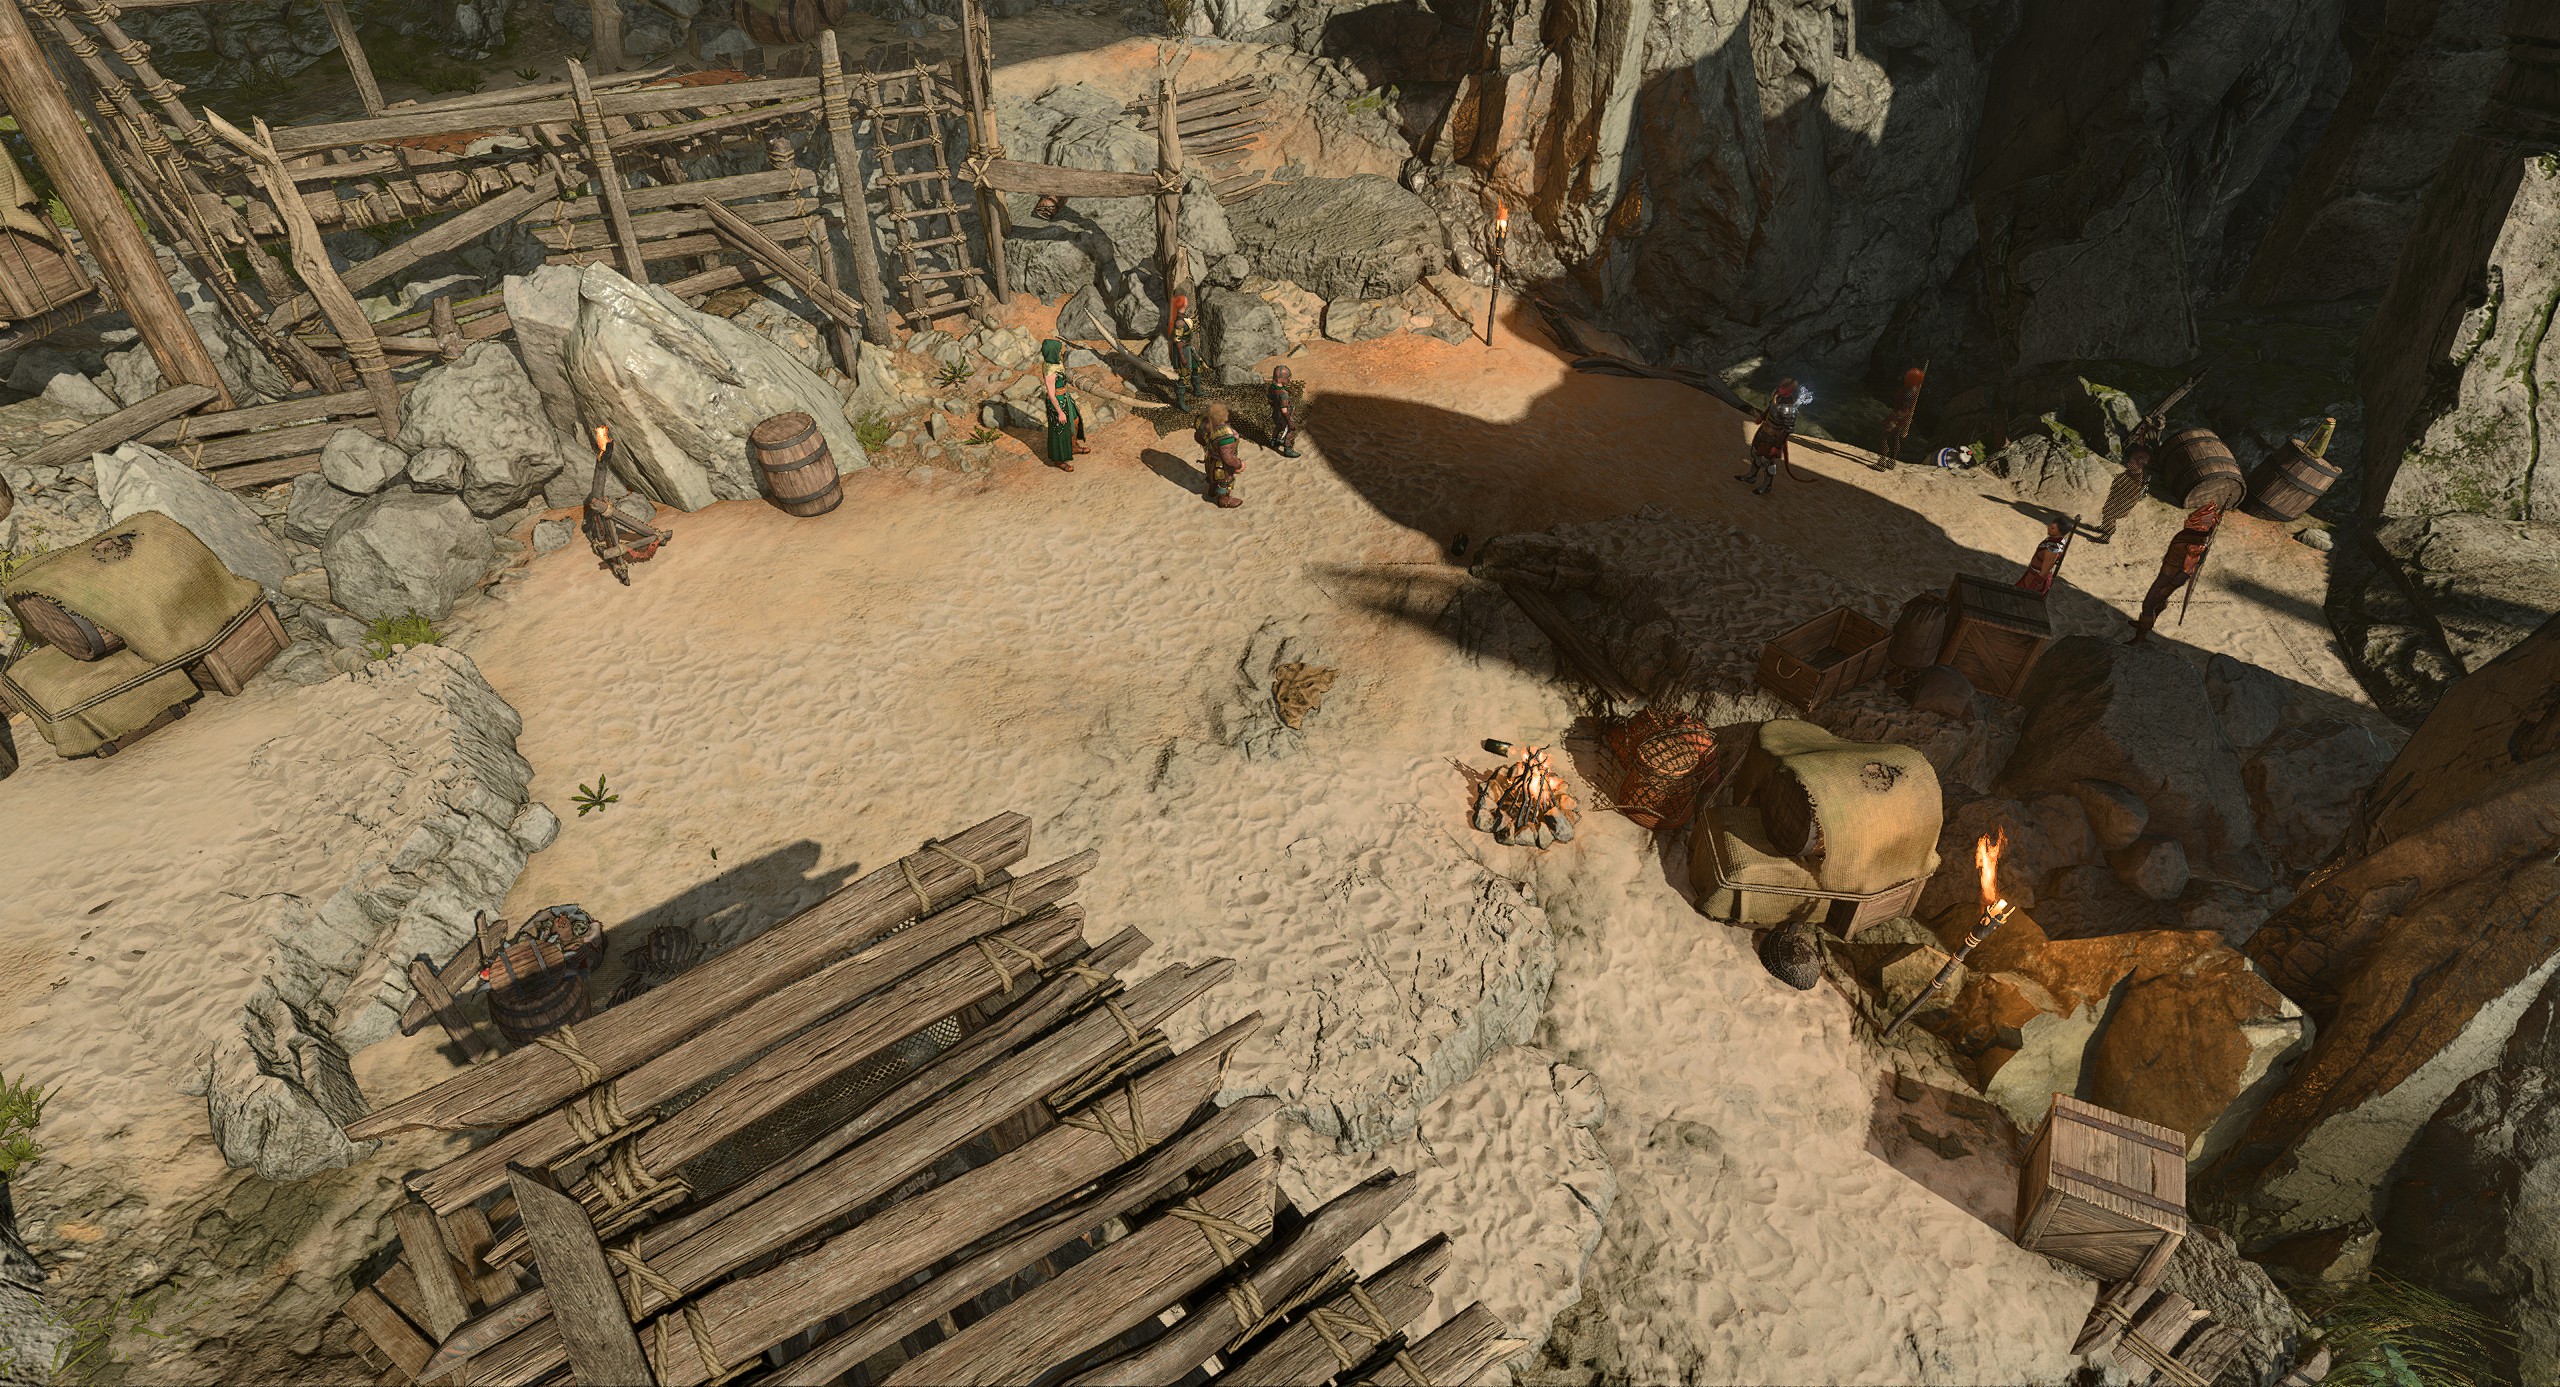
When the party first approach the bay, they see a ship moored there and recognize it as previously seen at Moonrise Towers. On the shore they witness an argument between the Stone Lord's thugs and the members of The Guild, who have tracked the thugs down to the place. Regardless of the party's actions, a fight between two groups starts.
If the party comes to the spot openly and quick enough, they can participate in the dialogue between the two groups leaders, 

If the party is hiding or remain far enough from the action, they can watch from a safe distance. Otherwise, they are engaged in the battle against the Stone Lord's men, with the Guild gang as neutrals. The party can then pick a side, confronting both gangs,[3] or resolving the fight in initial balance of forces.
If the party supported the Guild or remained neutral, and Farlin survives the fight, a dialogue with her starts automatically. She awards the party with 665 ![]()
![]()
Depending on the party's choices, some of the following inspirations may be earned:


If ![]()
After the battle is resolved, the ship from Moonrise can be explored. Despite Farlin's claims that its cargo now belongs to the Guild, she does not object to looting the ship. At coords X: -214 Y: 131 on the deck is the ship's storage, where two ![]()
Smugglers' cave[edit section | visual editor]
At X: -234 Y: 85 is the entrance to the cave which is used by Caïros and his crew to smuggle cargo from Moonrise into the city.
Inside a trapped chest at X: -1339 Y: -859 contain the ![]()
At the southern end of the cave a series of cragged rocks lead to the small dock with a rowboat. It cannot be used to travel to the city. A ![]()
![]()
![]()
Related locations[edit section | visual editor]
Related quests[edit section | visual editor]
Characters[edit section | visual editor]
The Guild[edit section | visual editor]


Stone Lord's men[edit section | visual editor]


Other[edit section | visual editor]


Loot[edit section | visual editor]
Related literature[edit section | visual editor]
Notes and references[edit section | visual editor]
- ↑ This can be determined with right-click on the character, choosing to 'Examine' him. If the Thug is actually disguised Orin, the character is level 12 and Orin's passive features replace those in the infobox on his page.
- ↑

- ↑ Supporting Caïros in the dialogue results in fighting both gangs.
- ↑ Speaking with Farlin's corpse if she died does not start the quest. The corpses of the Stone Lord envoys do not answer the Speak with Dead spell.
- ↑ The two inspirations for characters with the
- ↑ 6.0 6.1 6.2 Available to
- ↑ Upon interrogating Velicia's corpse, she confesses that she actually is a Harper who infiltrated the Guild to dig up information on the Stone Lord
- ↑ Lies at X: -215 Y: 120. Can be used as a Shield