Ad placeholder
Open Hand Temple Underground Area

| Rivington | ||||
| Western Beach | ||||
| ↑ | ||||
| Open Hand Temple | ← | Open Hand Temple Underground Area | ||

Overview[edit section | visual editor]
The area beneath the Open Hand Temple consists of two distinctive parts: the temple cellar with a crypt, and adjacent large natural cave.
The temple cellar can be accessed from the temple kitchen through the hatch at X: -62 Y: 3.
The caves under the temple have their own entrance from the Western Beach through the cave mouth at X: 5 Y: 74. The party may need to move aside several boulders to enter the cave.
Eventually these two areas connect with a movable wall at X: 28 Y: -1007, which is opened with a lever on the wall or by pressing hidden buttons (see below). Otherwise, a series of jumps from the cliff at X: 35 Y: -1034 can be made to reach the cellar library (this route can be used in the opposite direction as well).
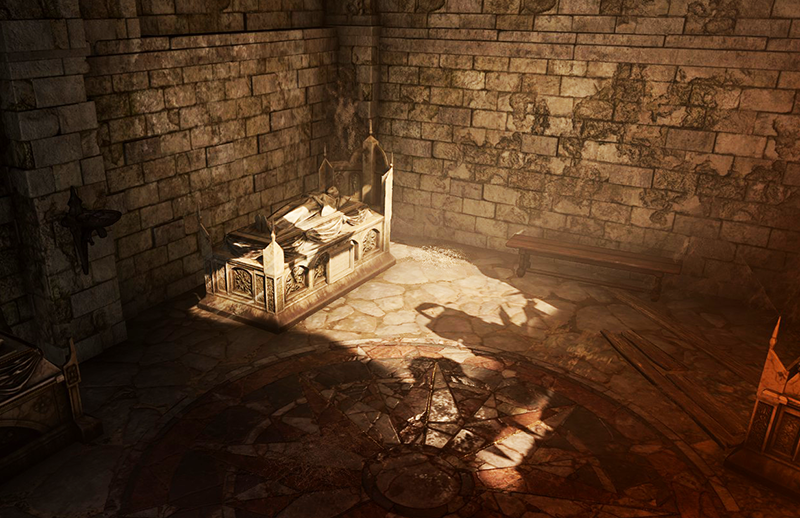
Cellar[edit section | visual editor]

The hatch ladder initially leads into the storage, which in turn opens into a small prayer hall - presumably used for conducting the last rites for the passed out. The small altar is smeared in blood - this is the place where the temple's high priest 
The prayer hall has two doors in its western and southern walls. To the south is a small library. There are a fair amount of lootable objects here:
- The bookshelf at X: 16 Y: -1024 contains several random scrolls
- The display case nearby contains a


- The barrel behind it contains several healing potions of random quantity and grade.
- The bookcase at X: 10 Y: -1018 contains a


Behind the farmost bookshelf is a wall breach which can be used to reach the cave beyond.
The room to the west of the prayer hall is a temple crypt. If the party have taken up the ![]()
![]()

In the central room are two buttons on the northeast and southeast walls, hidden behind movable Heraldic Signs. Both can be revealed with a successful 
Opening the hidden door from the either side grants the inspiration ![]()
![]()
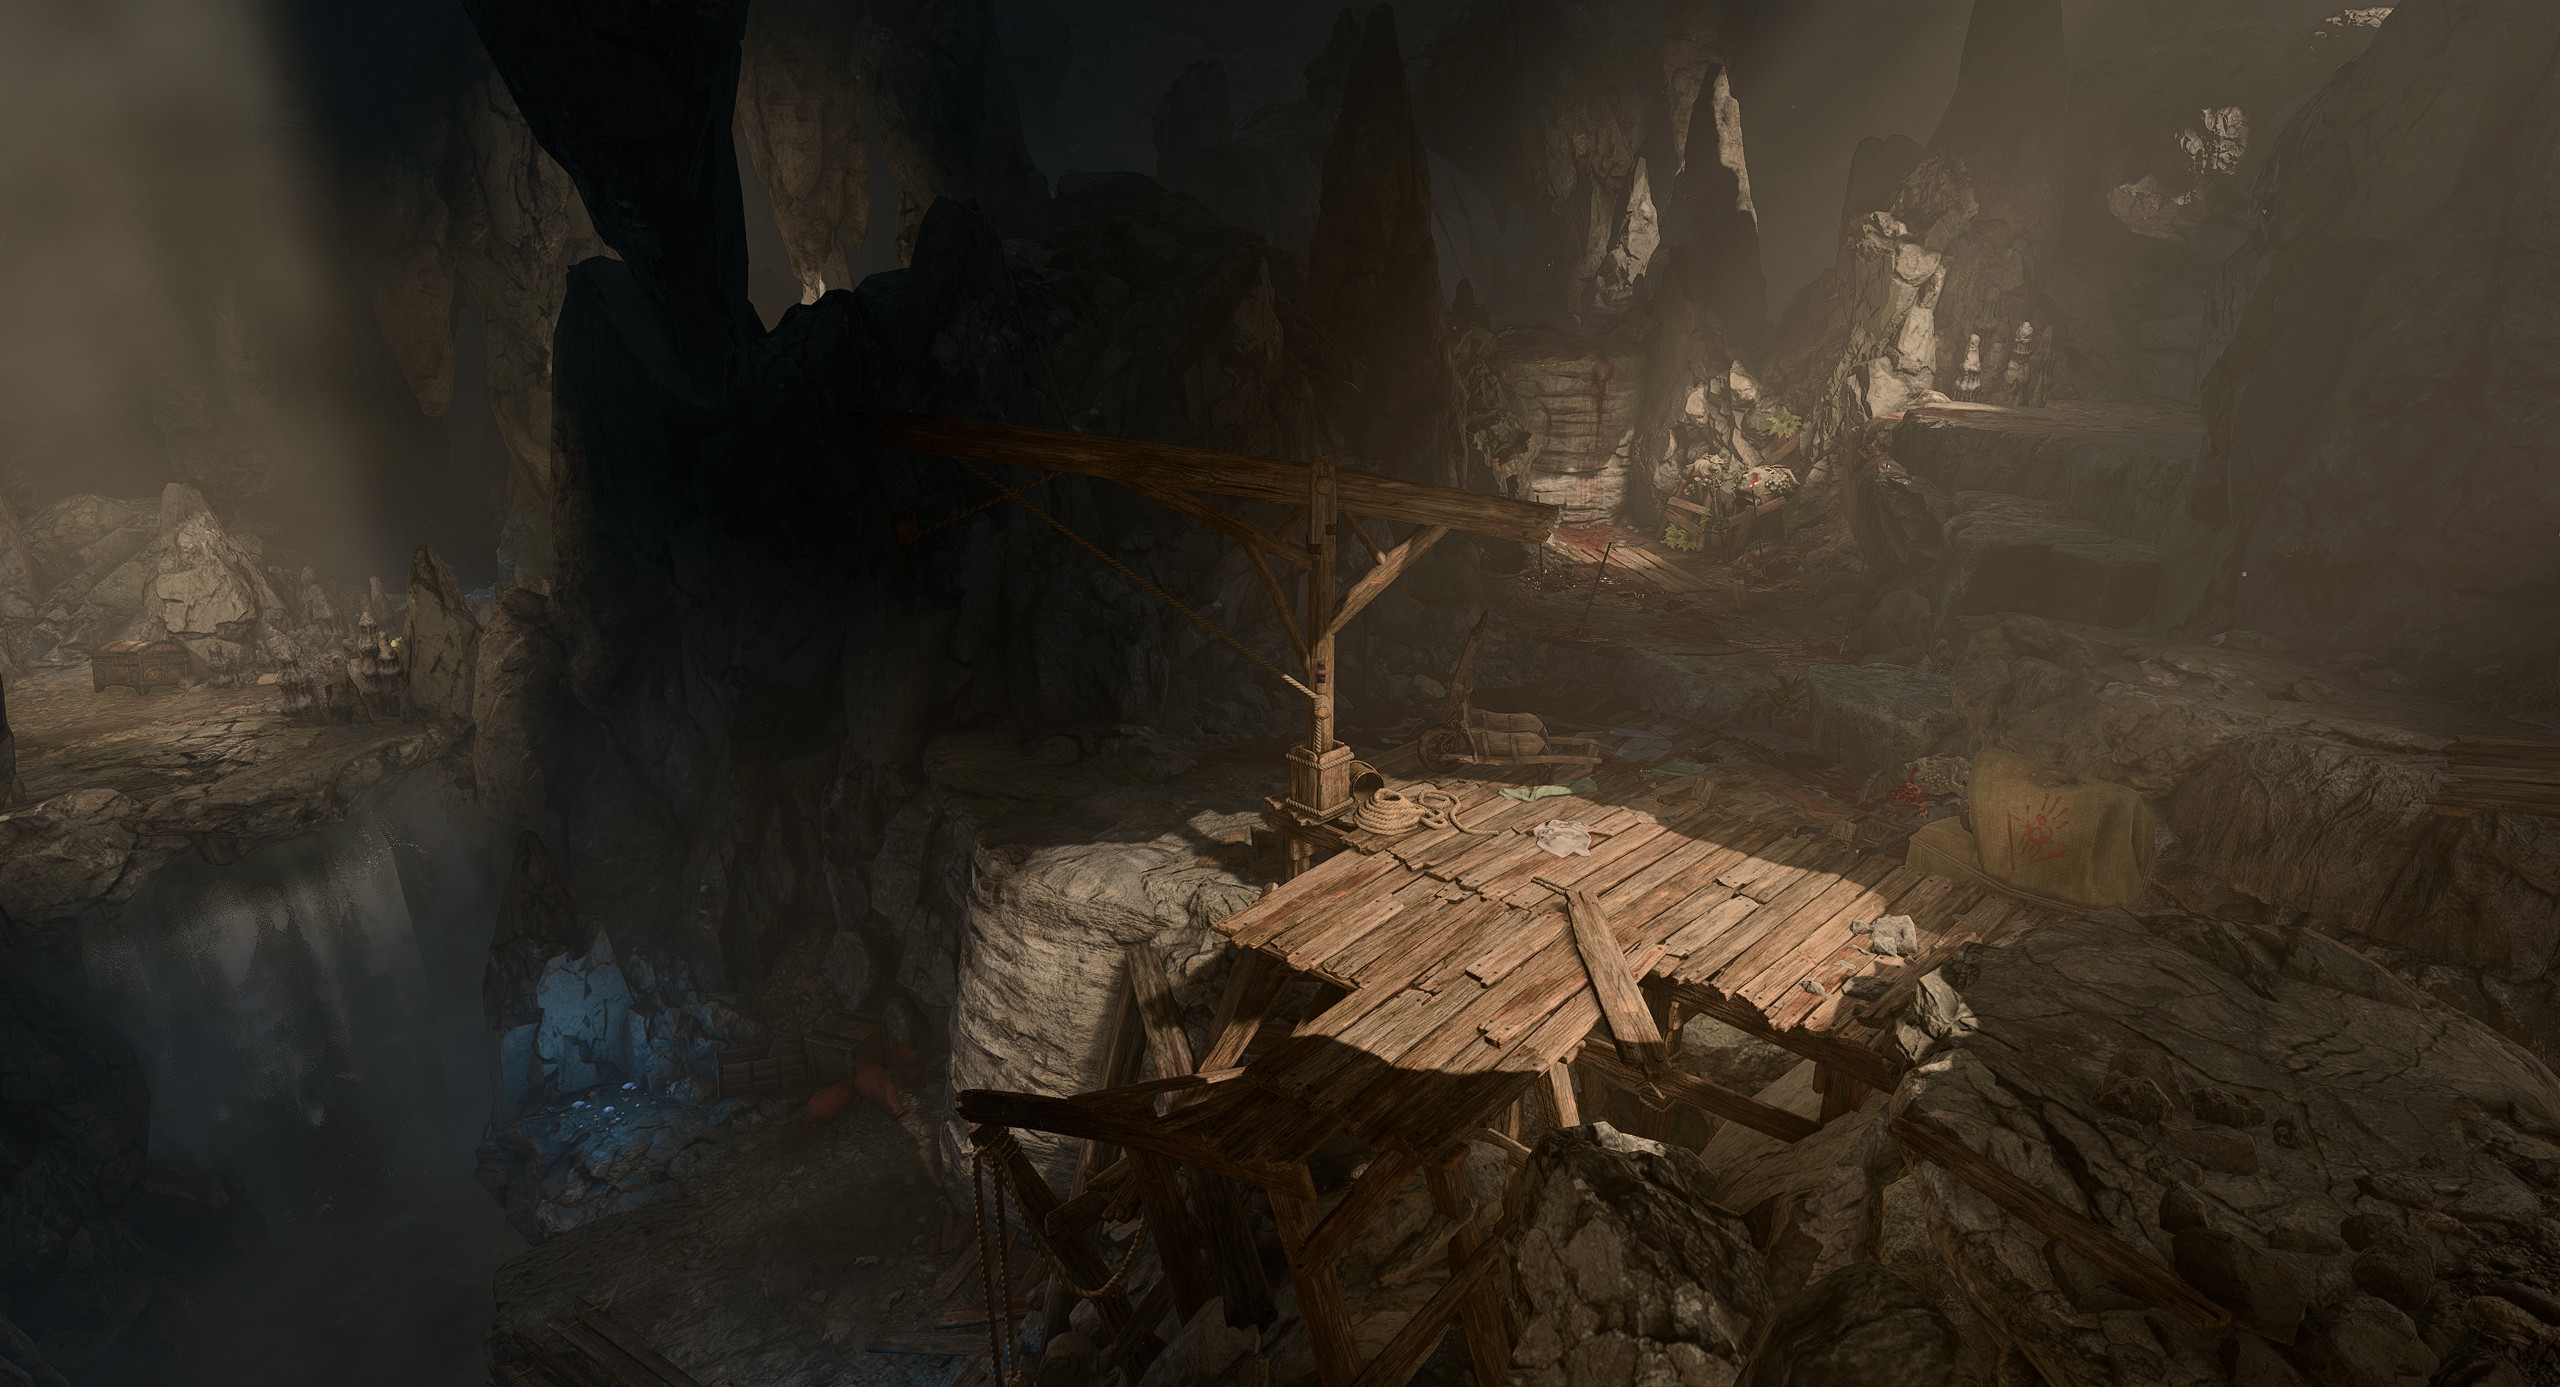
Cave area[edit section | visual editor]

When entering the cave from the temple cellar, the party come out on a stone ledge. In the middle of the cave is a large natural indenture, where three men are bantering about someone named Dolor, his weapons, and about searching "his place" located at the Flophouse.[2]. They become hostile on sight. During the fight, they are revealed as doppelgangers. One of them, 
![]()
![]()
After defeating them, the party can loot the part of the stone ledge behind the wooden doors at X: 42 Y: -1028, which has been turned into a makeshift storage, and move on to the place where the shapeshifters were wandering.
At X: 65 Y: -1029 lies the body of 
![]()
![]()
![]()
At X: 67 Y: -1017 is a hole, highlighted by a ![]()
![]()
Further in the cave at X: 89 Y: -1044, the bodies of several tiefling refugees can be found in a makeshift camp. None of them can be spoken via ![]()
In the far end of the cave at X: 83 Y: -1004 is an unlocked wooden chest between two vents emanating the ![]()
Related locations[edit section | visual editor]
Related quests[edit section | visual editor]
Characters[edit section | visual editor]
Cellar and crypt[edit section | visual editor]


Corpses in the cave area[edit section | visual editor]


Doppelgangers[edit section | visual editor]


Loot[edit section | visual editor]


Related literature[edit section | visual editor]
Footnotes and References[edit section | visual editor]
- ↑ If the party have interrogated the corpses of


- ↑ Source: Wyrm/WYR_OpenHand_AD_ShiftersIdle
- ↑ If the party refused to suffer the Monk's Manifestation curse during the

