Objectives and journal entries may vary pending story decisions and outcomes.
Follow Ketheric.
"We battled Ketheric Thorm. Before we could finish him, he fled somewhere below the tower. We need to follow him."
Escape Balthazar's lab.
"Ketheric learned that the weapon he's searching for and the artefact we carry are one and the same. We've been teleported to a laboratory where Balthazar plans to remove us from the artefact's protection. We need to escape."
Search the Colony for Ketheric.
"We pursued Ketheric beneath the tower and found ourselves in what appears to be a mind flayer colony. We need to find him."
"We escaped Balthazar's laboratory and found ourselves in a mind flayer colony. We need to search for Ketheric."
Kill Ketheric Thorm.
"We found Ketheric, along with a Bhaalist named Orin and a Banite called Gortash. They brandished a triad of magical stones that seem to give them control over an illithid elder brain. Orin and Gortash have taken the brain to Baldur's Gate aboard a nautiloid - leaving Ketheric to face us."
Obtain Ketheric Thorm's Netherstone.
"Close to death, Ketheric transformed into an apostle of the dark deity Myrkul - and was defeated all the same. We should search his body for the stone he used to control the elder brain."
Quest Complete
"The gem we found on Ketheric's body is a Netherstone - one of three used to control the elder brain. Orin and Gortash carry the other two. If we want to cure ourselves and save the Sword Coast, we'll have to hunt the pair through Baldur's Gate and claim each of their Netherstones in turn."
If the party worked with Balthazar and sent the Nightsong to Ketheric Thorm and Isobel was kidnapped or killed, then the party stands judgment before the Absolute and is taken to Balthazar's Necrotic Library after Ketheric Thorm realizes the party possess the Mysterious Artefact. When the party awaken, they are trapped in Profane Wombs and must escape before Balthazar can complete the ritual. After escaping, Balthazar must be defeated. He is joined by several undead servants. If the party killed Dror Ragzlin and Minthara, then their undead corpses are among them.
If the party saved or killed the Nightsong, then Ketheric Thorm fights the party on the rooftop and, before his hitpoints are fully depleted, a tentacle bursts out from the tower and causes him to disappear.[1] The party must cross a thin bridge from the rooftop to the Hollow Tower and follow him down into the Mind Flayer Colony. In this case "jumping down the tower" is actually a change of areas; no damage is incurred on landing, so preparations such as Feather Fall are not necessary.
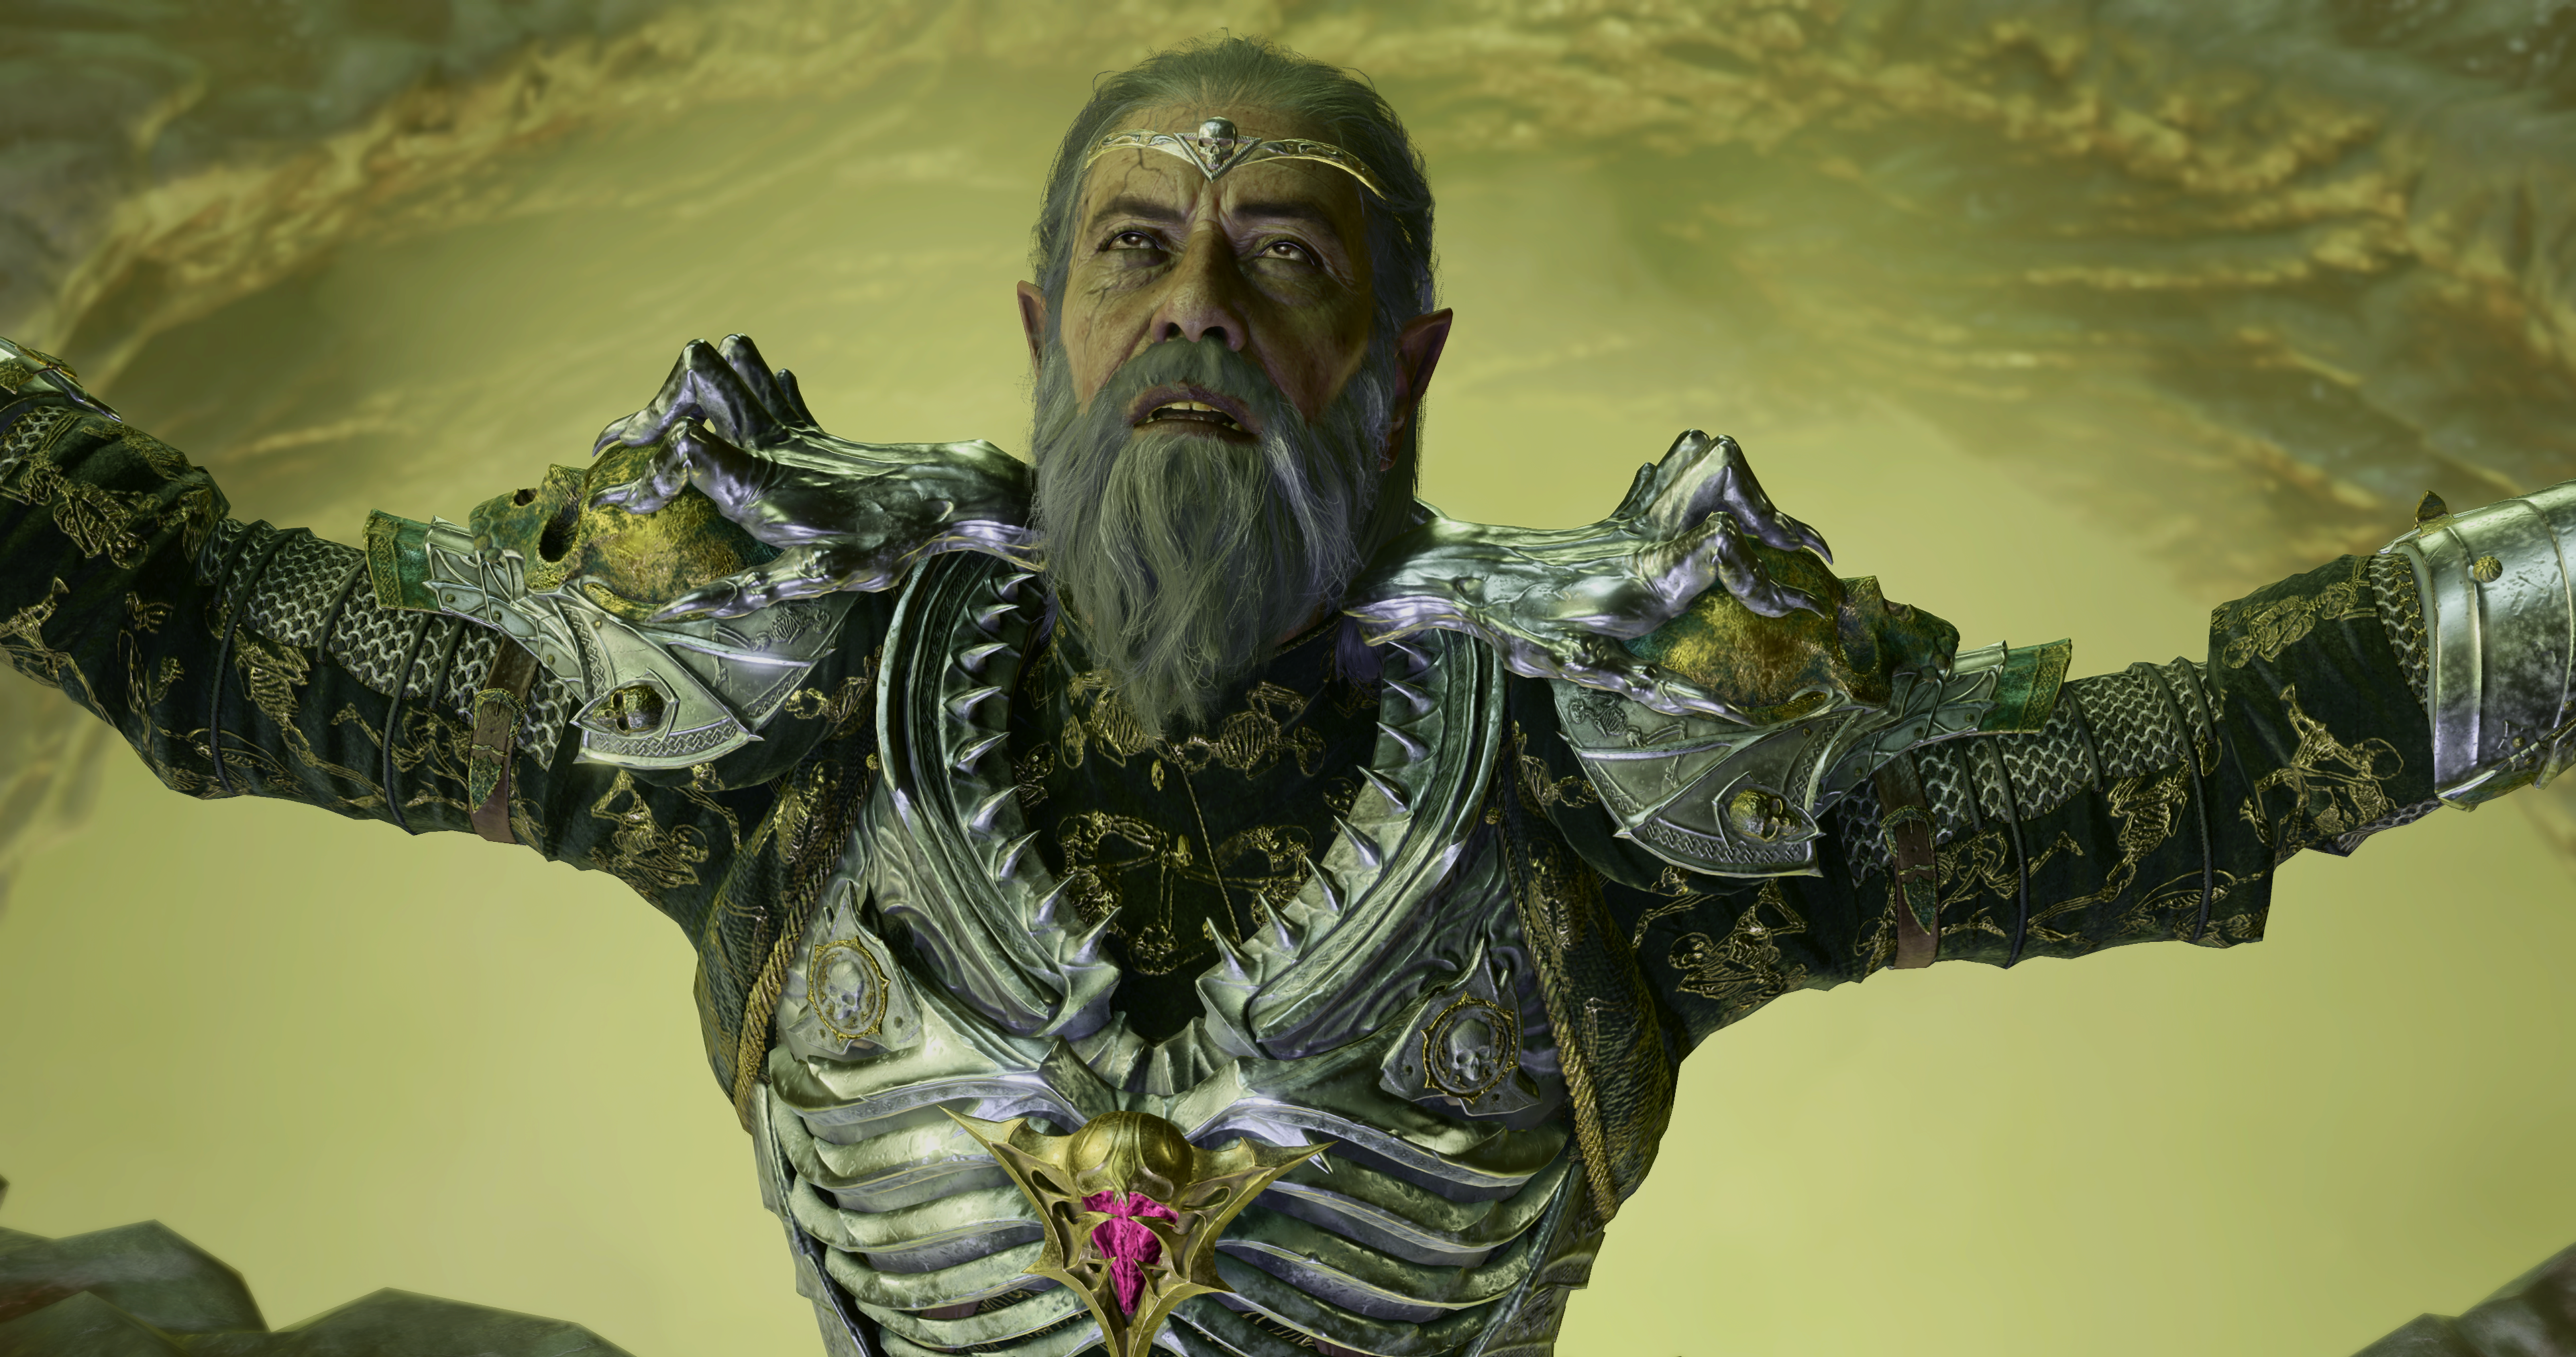
Thorm becomes the Apostle of Myrkul.
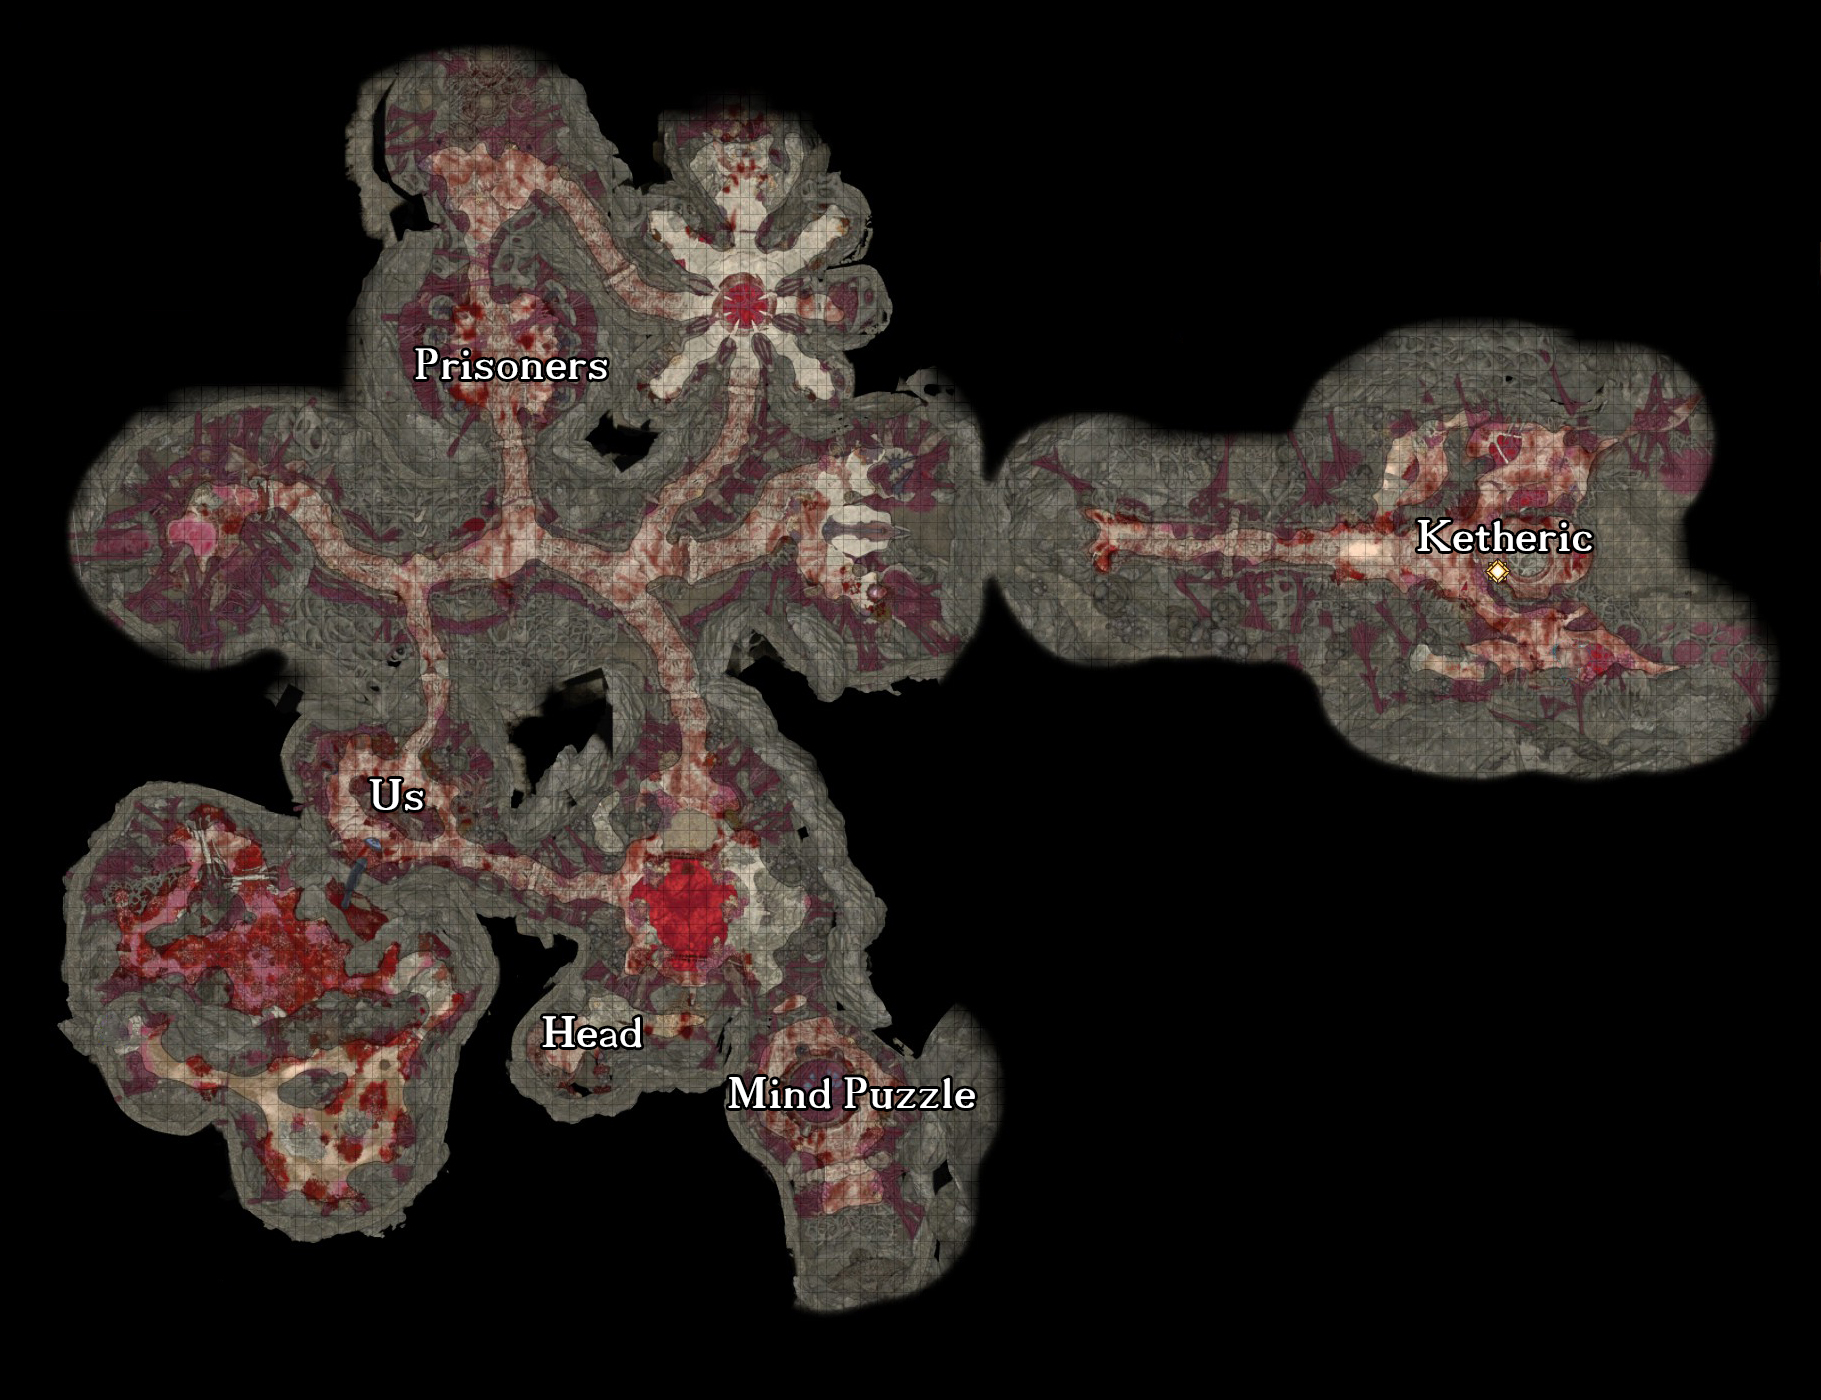
The main objective of this quest is to reach the Necrotic Apparatus northeast of the Necrotic Laboratory, as the party must use this apparatus to descend to the heart of the colony where the last battle with Ketheric Thorm is fought.
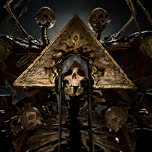
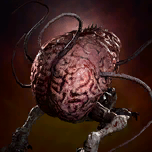
Once the party locate the Neural Apparatus on the eastern end of the Colony, they must descend to face Ketheric Thorm. Next to the Apparatus is a restoration pod which can be used to grant all active party members the benefits of a long rest before the final confrontation. After descending and opening the door, a cut-scene plays which reveals that Thorm is accompanied by two collaborators - Gortash and Orin the Red - as well as the captive Grand Duke, Ulder Ravengard. The trio use their Netherstones to control an Elder Brain with a Netherese crown. If Gale is present, he must be talked down from sacrificing himself by detonating his Netherese Orb, otherwise the game ends early with an ominous note that mass-ceremorphosis has occurred all over the Sword Coast.
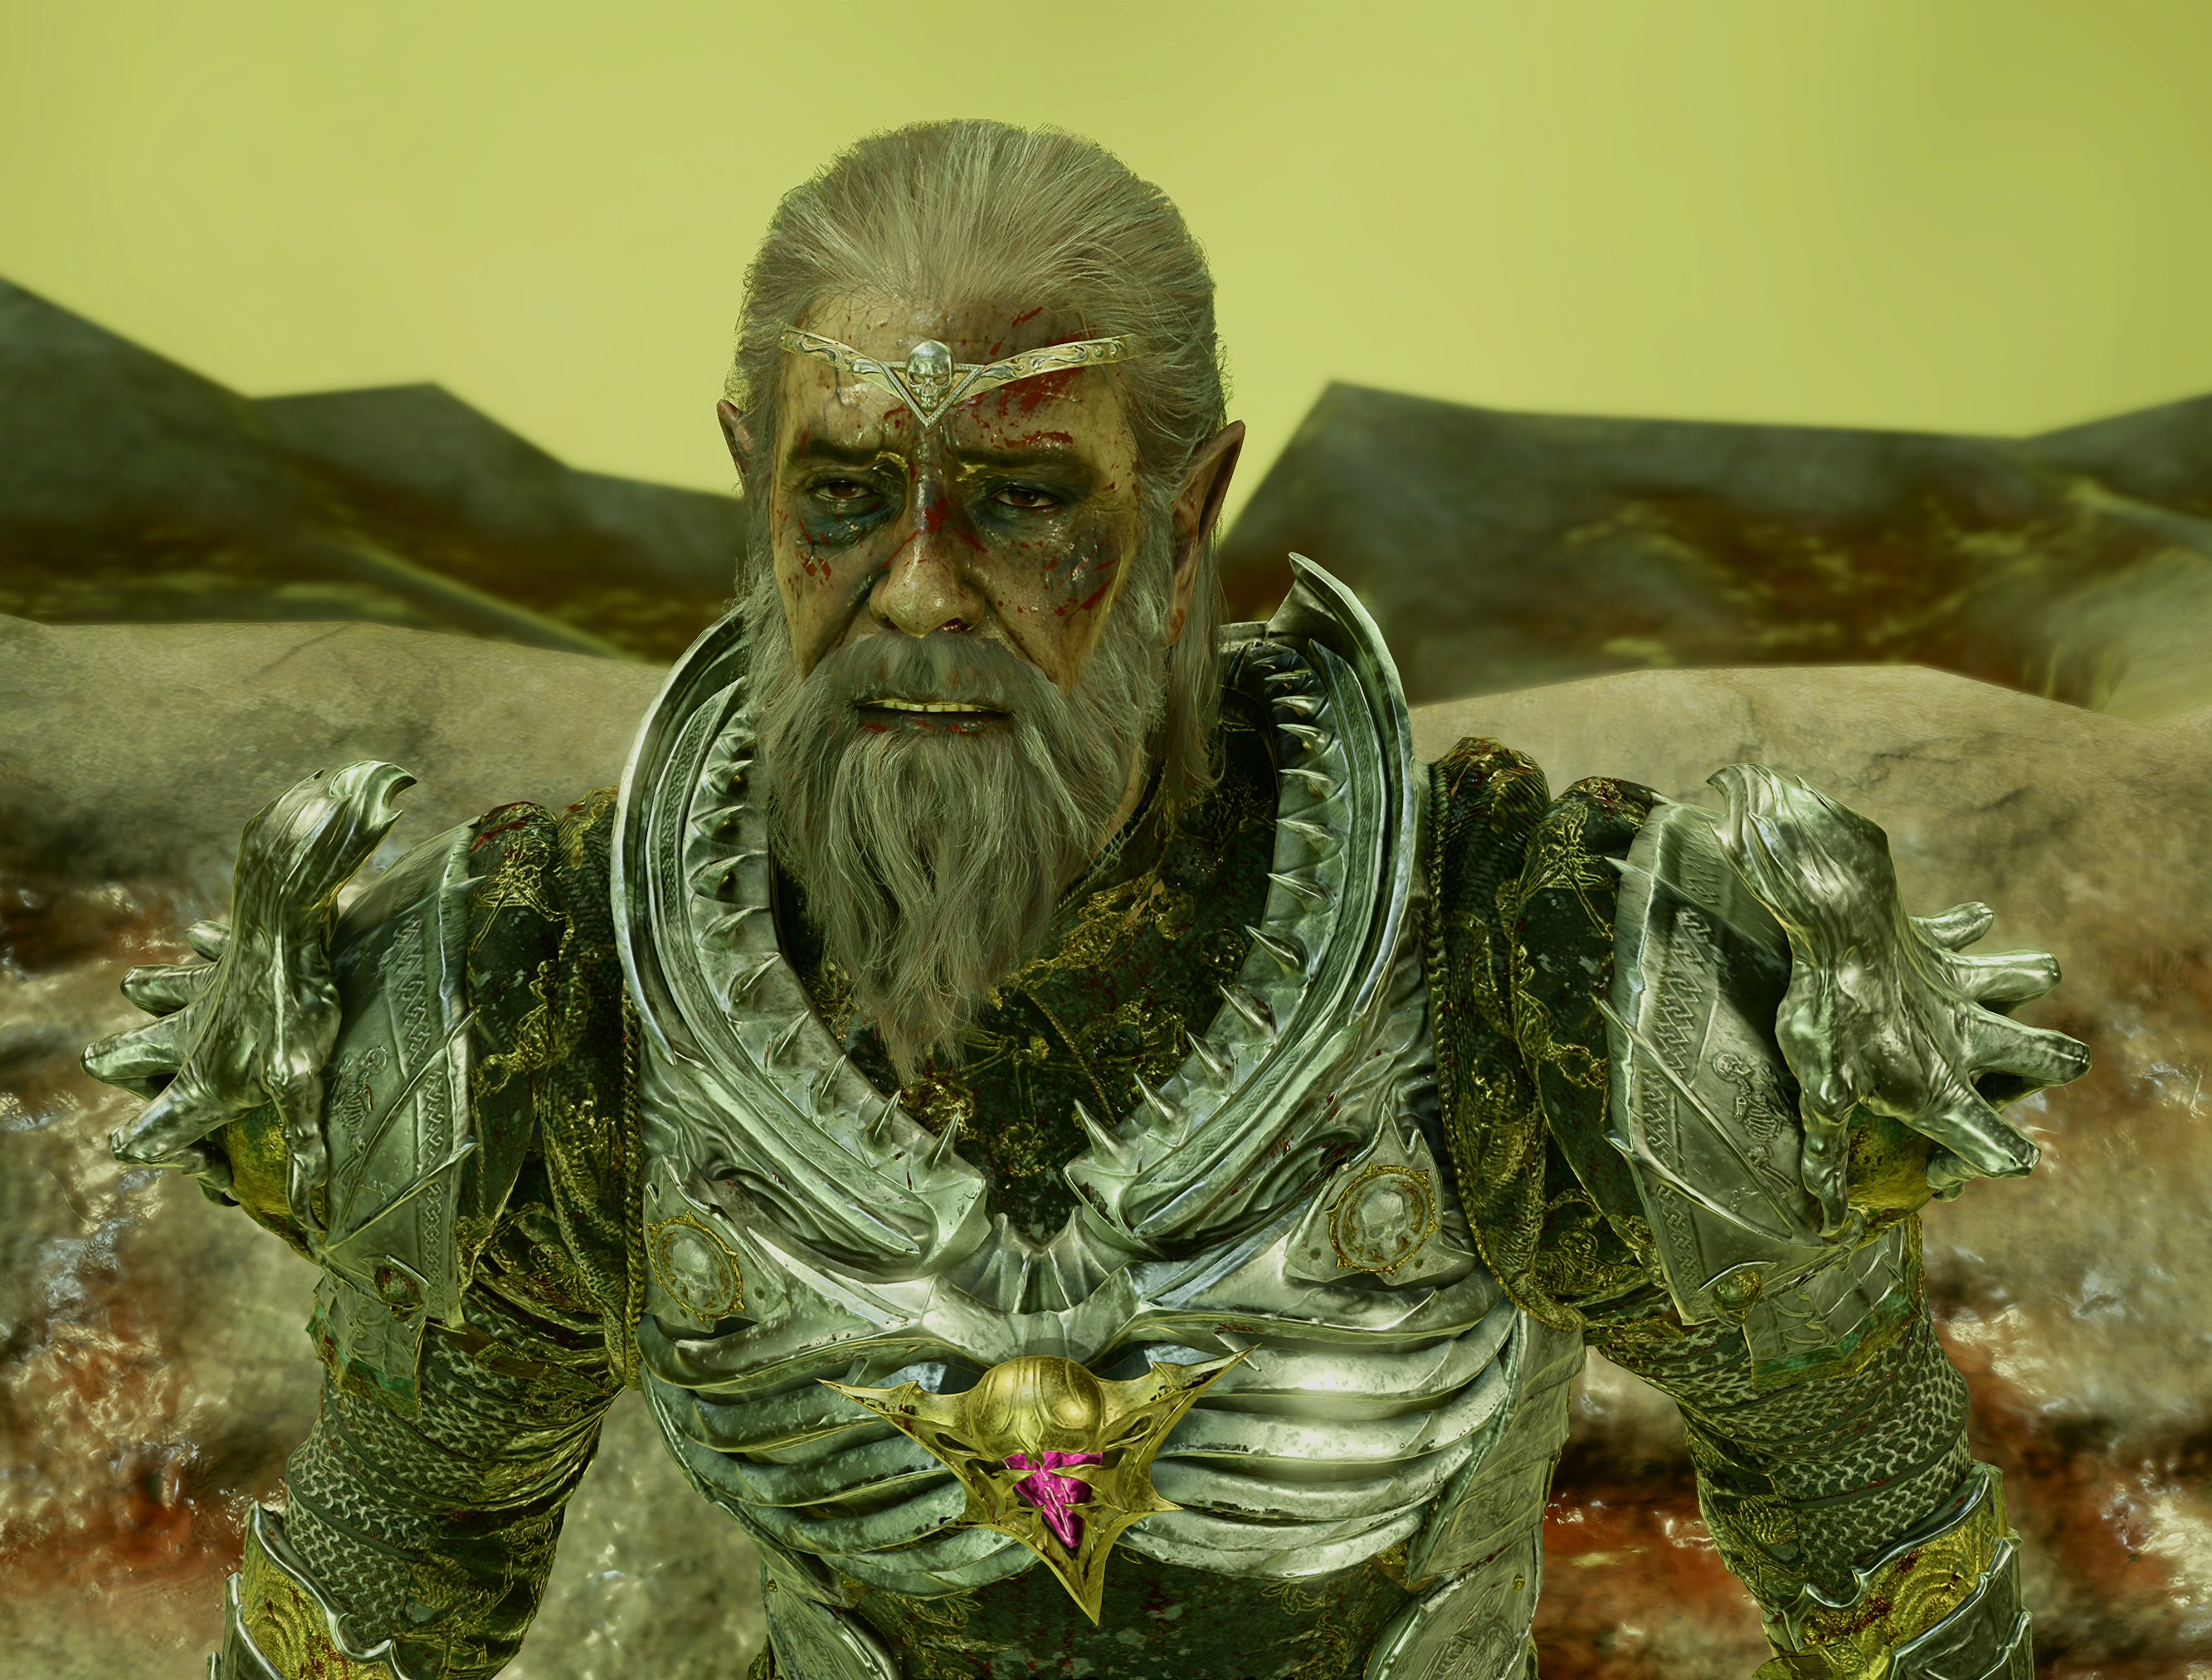
A defeated Ketheric Thorm, realizing his impending death, mourns the loss of ever being reunited with his daughter, Isobel.
Approaching Ketheric Thorm by passing the short flight of three step causes him to threaten the party. If Aylin was captured or freed earlier, she is chained there and can be freed with the help action.[2] An Invisible character can reach her without Ketheric noticing the party, but the help action immediately starts the cutscene with him. During the conversation, there is one last chance to speak to him. By using a DC 18 PersuasionCheck, he can be talked down. This results in him throwing himself into the pit and transforming into the Apostle of Myrkul, which must then be defeated. Otherwise, Ketheric first fights the party to his end. Additionally, if Isobel was kidnapped, she is also there and fights on her father's side against the party. After Ketheric Thorm is defeated, he falls into a pit and transforms into the Apostle of Myrkul. Defeating the Apostle results in Myrkul abandoning Ketheric Thorm, and he finally dies. The party must take his Netherstone and go to the portal to return to the ground floor of Moonrise Towers.
If Us was recruited on and survived the Nautiloid, it is later captured and moved to the Morgue in a cage near Chop. The party can stealthily lockpick the cage's door with a DC 14 Sleight of HandCheck or attempt to persuade Chop to free it. The party can use a DC 14 Illithid WisdomCheck, a DC 14 PersuasionCheck, or a DC 18 IntimidationCheck. Failing the check makes Chop hostile.
Off to the side of the Necrotic Laboratory is a Slack-Skinned Head. Connecting a brain jar to the machine allows the mind within to speak. While most of these jars contain the stories of Gortash's victims, the Waking Mind belongs to a Githzerai who knows they are trapped. It offers to bestow a portion of its knowledge in the form of the permanent Githzerai Mind Barrier buff on the interacting party member if they agree to free it.
The locations of the minds are as follows:
Butchered Mind - in the Morgue on a shelf at X: 678 Y: -68
Closed Mind - in the Barracks in Ironfingers' room at X: 716 Y: 34
Fresh Mind - on a box near the elevator to the Thorm fight at X: 750 Y: -8
True Mind - right in front of the machine at X: 696 Y: -116
Waking Mind - in the Necrotic Laboratory behind the door locked by the mind puzzle at X: 749 Y: -138
Willing Mind - on the shelf next to the machine at X: 693 Y: -115
Additionally – if they were retrieved earlier – the Dark Mind and Slave Mind from the Prologue can be used here.
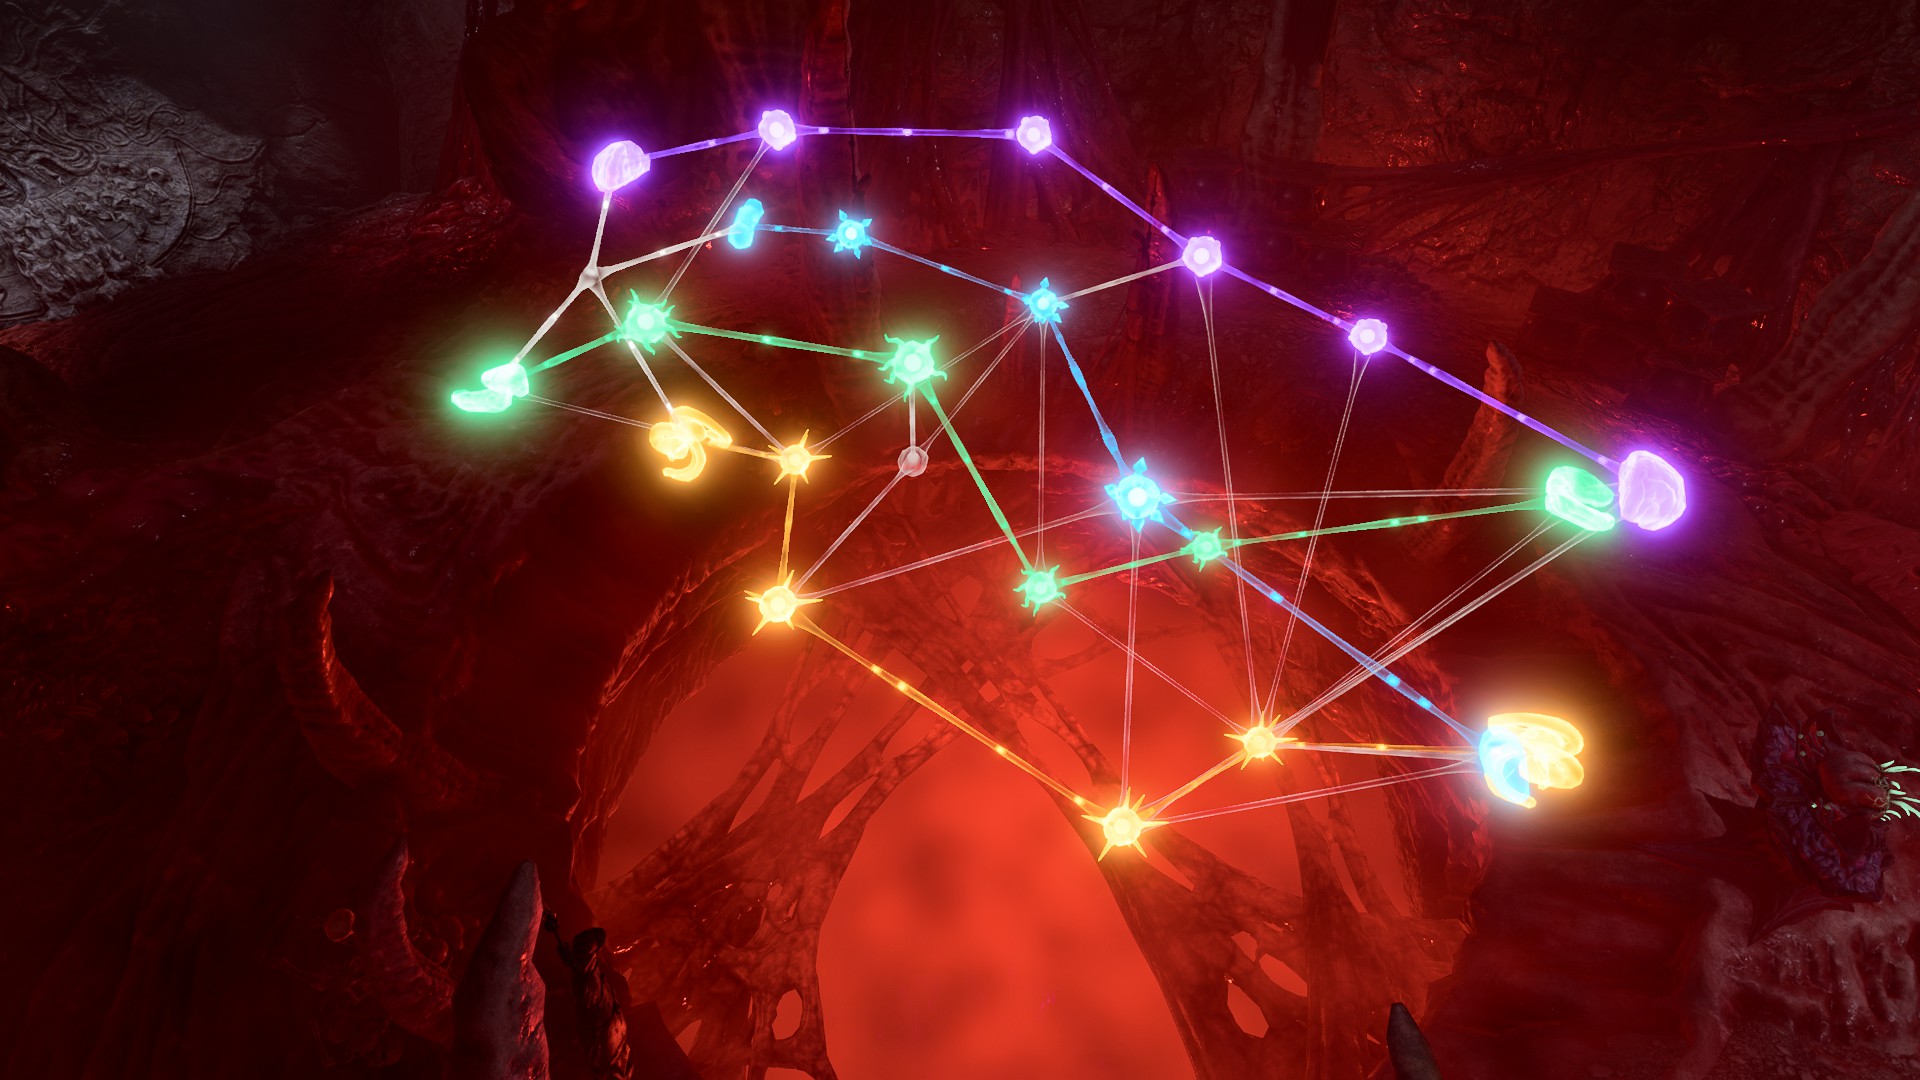
The Mind Puzzle is at the southern end of the Necrotic Laboratory at X: 737 Y: -112. A party member can choose to connect with it to start the puzzle. The puzzle involves connecting the various senses on one side to the corresponding sense on the other side of the nodes. Completing the puzzle opens up a locked door which contains the Waking Mind and the Blade of Oppressed Souls. There is also a Desecrated Relief which sheds more light on the Grand Design.
Within the Tadpoling Centre, a number of prisoners not yet infected can be set free, along with the consequence of also releasing a number of Mind Flayers. This is part of Find Zevlor. North of the prisoners is the captured Mizora, Zariel's asset, who can be freed as part of Wyll's companion quest, The Blade of Frontiers.
Kressa Bonedaughter is in the Barracks, giving a speech to Hairy Henry, Ironfinger, and Maghtew Budj. If the party approach her, she calls them out as most likely intruders. She can be talked down with a DC 21 DeceptionCheck or fought against. For Dark Urge characters, there is unique dialogue with Kressa that reveals more about their past life, but unless they are disguised a fight is unavoidable with her for this specific Origin.
↑ This event always occurs. Even if Ketheric Thorm is killed in combat (for example, by laying several Smokepowder Bombs around him, then retreating and detonating them), this event is scripted so that Ketheric abducts the Nightsong and retreats to the Mind Flayer Colony.
↑ If the cutscene with Ketheric is started by freeing the Nightsong by a single party member ahead of the group, then there is an error in the cinematic where the entire party is depicted standing together in front of him.


