Avenge the Hag Survivors is a Quest in Act Three of Baldur's Gate 3. It can be started by speaking with Mayrina or the other hag survivors in Old Garlow's Place.
"We disposed of a hag spy named Jatlo. Cold comfort for the hag's victims, who believe her to be in the city, and who want her gone."
"We disposed of a hag spy named Jatlo. The hag's victims are led by a determined woman, Mayrina. Mayrina told us of her suspicion that this very same hag is likely to be found in Baldur's Gate, that her people won't know peace until she's destroyed."
Confront Auntie Ethel.
"We learned that Captain Grisly is none other than Auntie Ethel. She fled to the cellar - time to end this."
Fulfill the deal with Auntie Ethel.
"We learned that the woman named Quenora was merely a disguise for Auntie Ethel, the swamp hag. Rather than cross her, we agreed to an alliance. We stay out of her business, and in return she lends us her aid in our final conflict with the Absolute."
Kill the hag once and for all.
We shattered our alliance with the hag by attacking her."
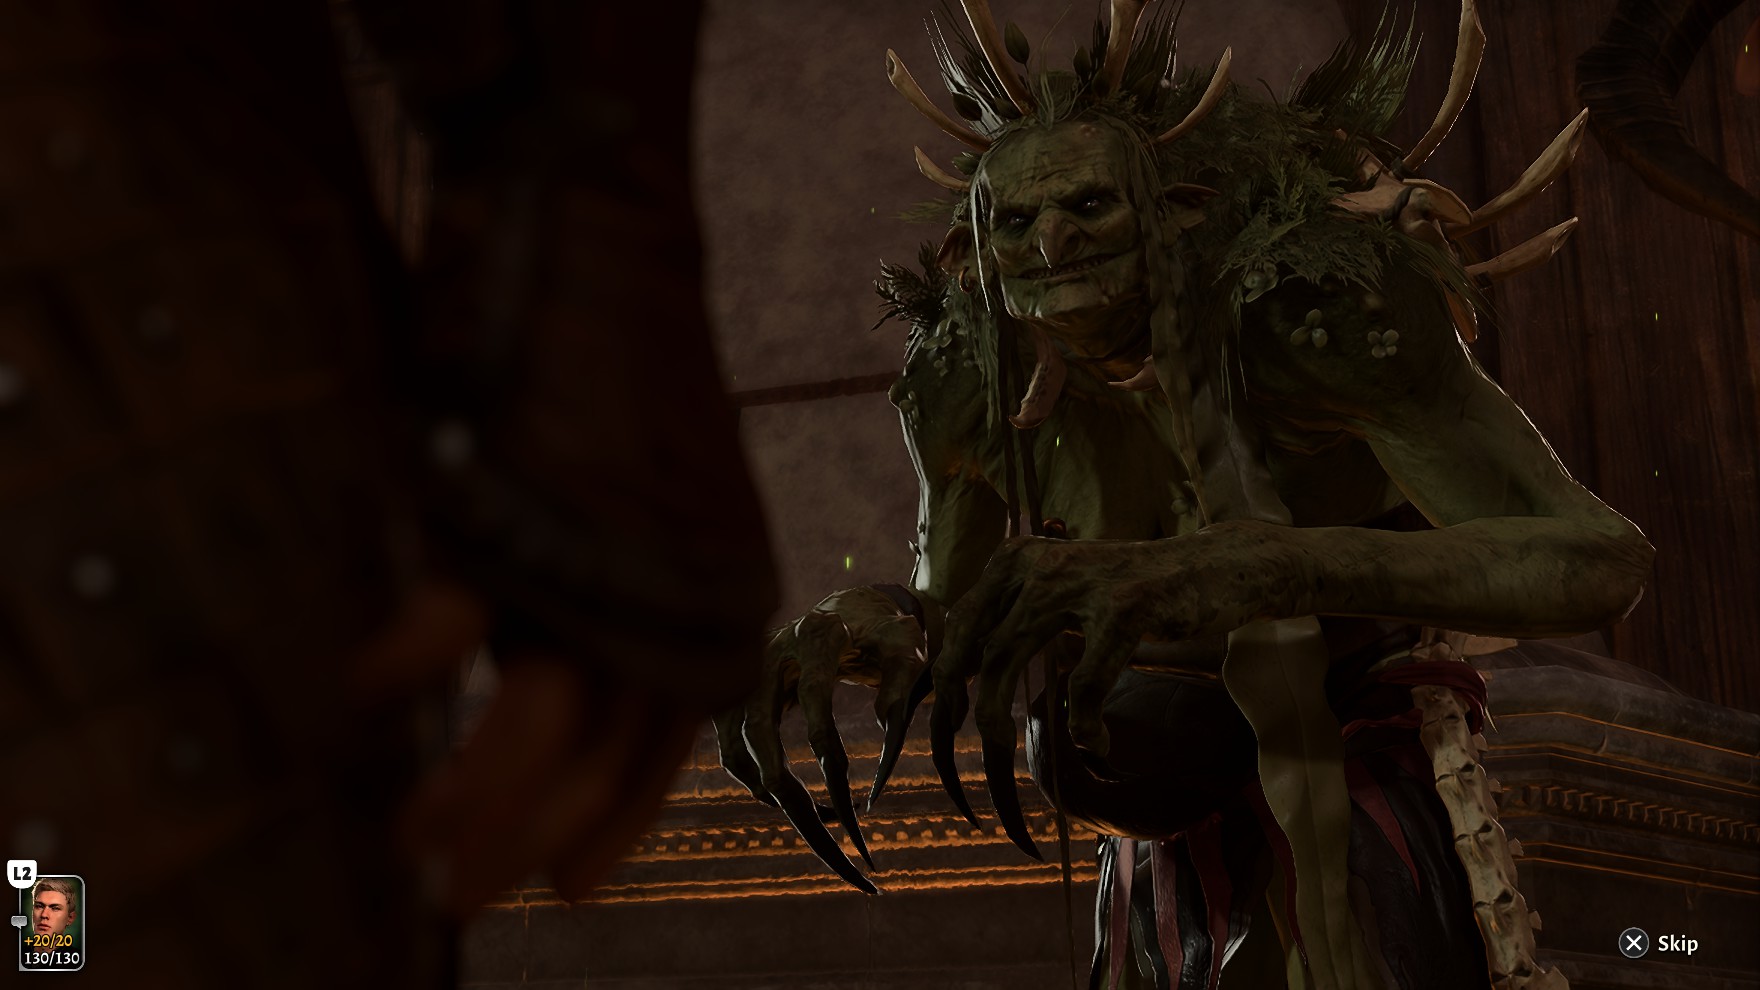
"Hunting the hag into her lair, we stand face to face. In order to prevent Ethel from resurrecting we must burn her pearlspore bells using fire. This hag's power has grown. So has ours. Time to show her that."
"We learned that Auntie Ethel can resurrect by being close to mushrooms called pearlspore bells. We'll need to burn those mushrooms, reducing them to embers if we're to have any hope of defeating the hag."
"Auntie Ethel is unconscious. This matter is unresolved; a hag's memory is long, and she'll hunt us like some crazed hound if we don't kill her now."
Tell the survivors the good news.
"We defeated Auntie Ethel. We ought to give her victims the good news - this time of fear and doubt is at an end."
"We came across an abandoned house. Lot of squatters there, kindly people gripped by despair. Evidently they're the victims of Auntie Ethel's many cruel plots and plans."
Quest Complete
"The hag victims couldn't forgive us for hurting their leader Mayrina - now we share the same resentment they reserved for the hag."
"Rare to see such good cheer from a group of people so down on their luck. Still, good cheer is what we received in abundance when we told them of Ethel's defeat at our hands."
"The squatters in the abandoned house have gone."
"We left the Lower City before telling the hag's victims about our success. Still, they're free of her torment now, it may just take them time to realise that, and longer to accept it."
"We left the Lower City, and cannot return to put a stop to Auntie Ethel's designs."
"We left the Lower City behind. No way of ending Ethel once and for all now. However, we kept our end of the deal with Auntie Ethel, and the swampy old schemer will join us in our final battle with the Absolute."
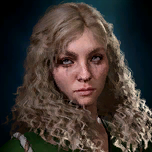
After Help the Hag Survivors is completed, Mayrina explains that she is in Baldur's Gate hunting a hag. A hag was the one who cursed her to become a sheep, because the hag knew that she was onto her. She had found the hag through the case of a missing girl, who she believed the hag kidnapped. She implores the party to help. If agreeing, the party can start by speaking with the girl's mother, initiating Save Vanra. If this quest is already started, then the party can mention they have heard of Vanra.
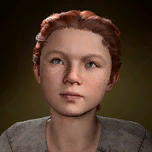
Upon speaking with Lora, Vanra's mother, the party is directed to investigate the Blushing Mermaid and speak to Captain Grisly. If Lora has not been spoken with, then Grisly says she is too hungover to talk. Conversing with Grisly about Vanra's disappearance, she claims that Lora has gone mad and is dangerous, threatening her customers. She states that Vanra is not real, and is a delusion whom Lora cooked up. Believing Lora to be a threat, she intends to put a hit out on her, and offers 3000 gold to the party if they are willing to take her out. If choosing the dialogie option "Absolutely not - I refuse to do your dirty work." then Captain Grisly drops the act and reveals herself to be Auntie Ethel.
Grisly's true identity can also be exposed by finding a note in the Blushing Mermaid which contains a report on Old Garlow's, using terms like "Auntie." The note is inside a rosewood desk in the same room as Grisly at X: -123 Y: -93. Afterwards, the party can confront Grisly on the note they found. If doing so she instantly drops the act.
After Ethel's identity has been revealed, she tells the party that she ate Vanra, and the girl sits in her belly, slowly transforming into a new hag. She tells the party that she would fight them, but she does not want to exert herself while she is "pregnant" - demanding they instead walk away and let her make a new hag. The party can tell her off, ask her to make a better offer, or walk away as she asks.
If telling her off, she warns the party not to tangle with her and that Vanra will die if they do, while she will resurrect again. Then, she disappears to her lair and most of the guests of the bar transform into hostile redcaps. If agreeing to walk away, Ethel disappears, but the bar guests do not turn hostile. If attempting to deal with Ethel by stating "make me an offer," then Ethel only deals with the party if they did not kill her during Save Mayrina. Otherwise, she says that they lost that privilege when they killed her.
If killing Lora and agreeing to stay out of Ethel's business, she agrees to fight alongside the party in the final battle and is added to Gather Your Allies. She also provides 6000 gold for "her favorite mommy-killer." She adds that this deal only remains in effect if the party stay away and do not go after her.
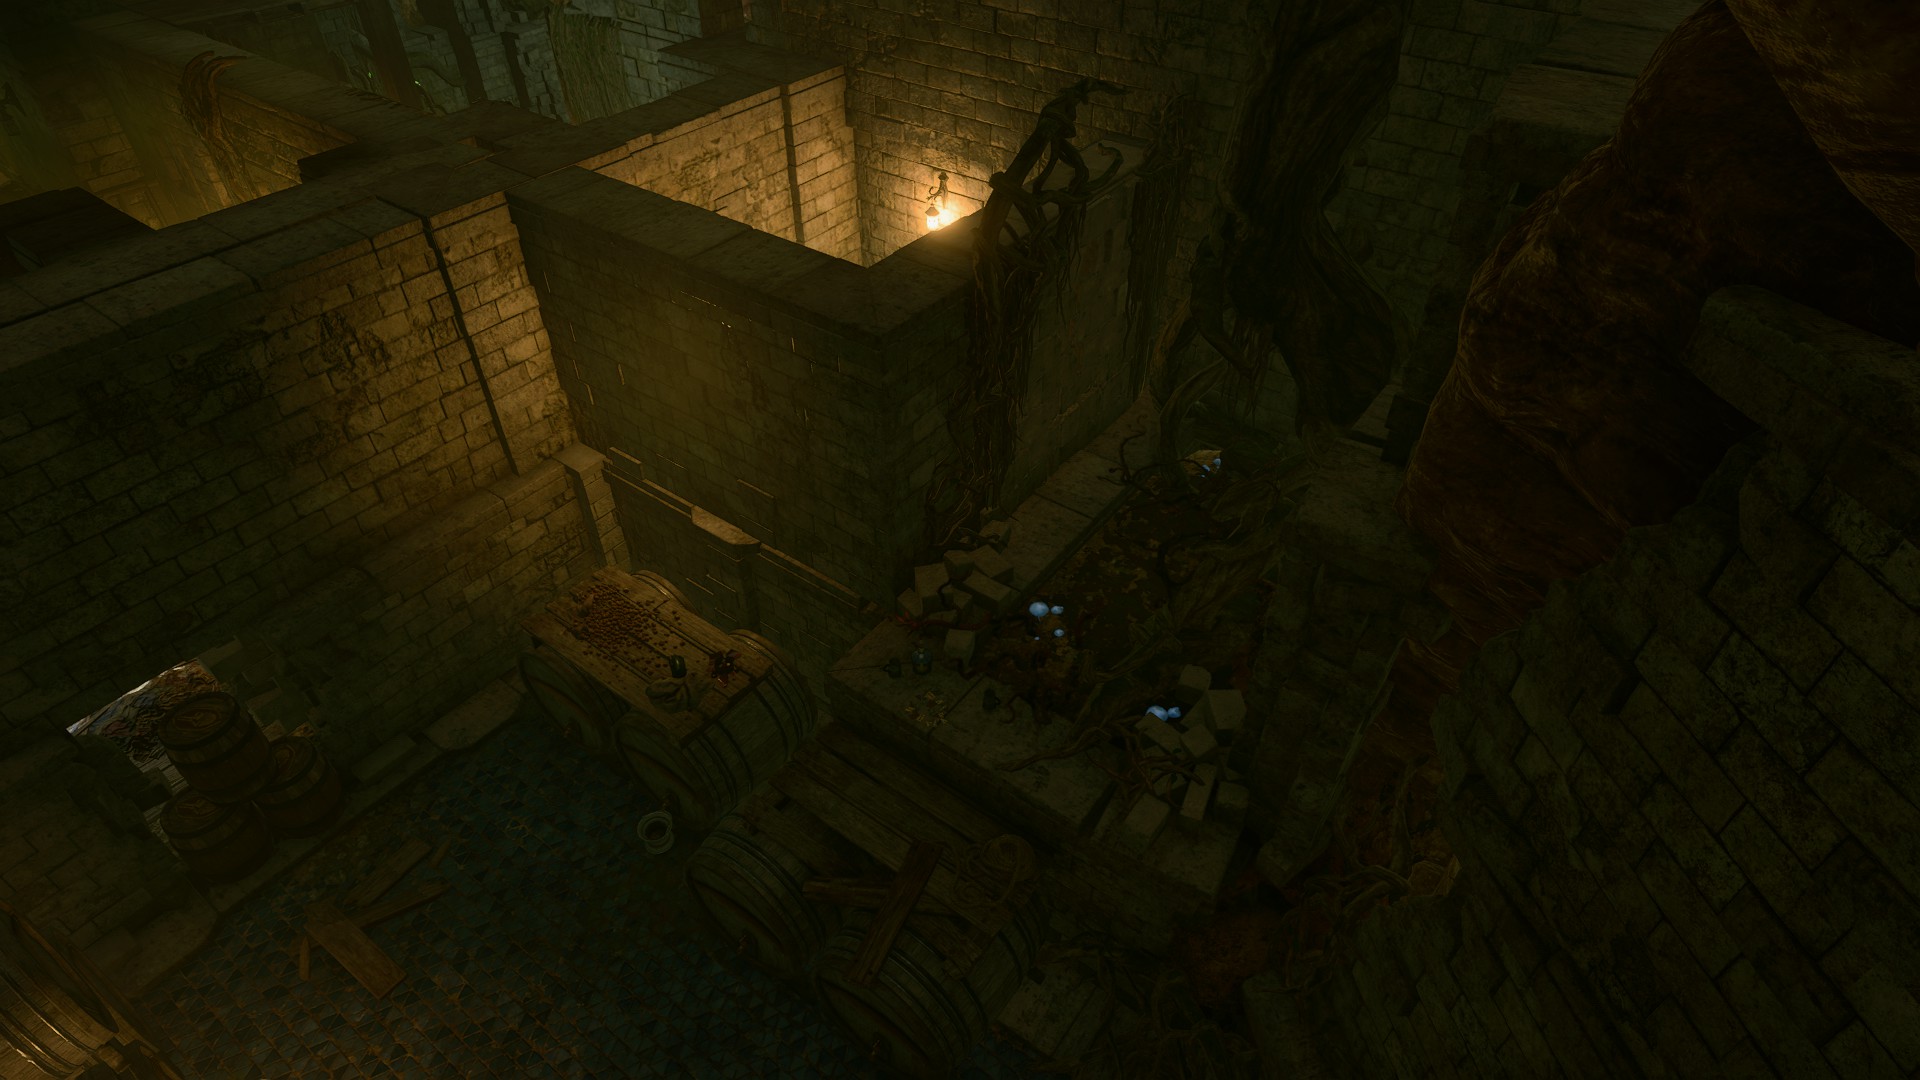
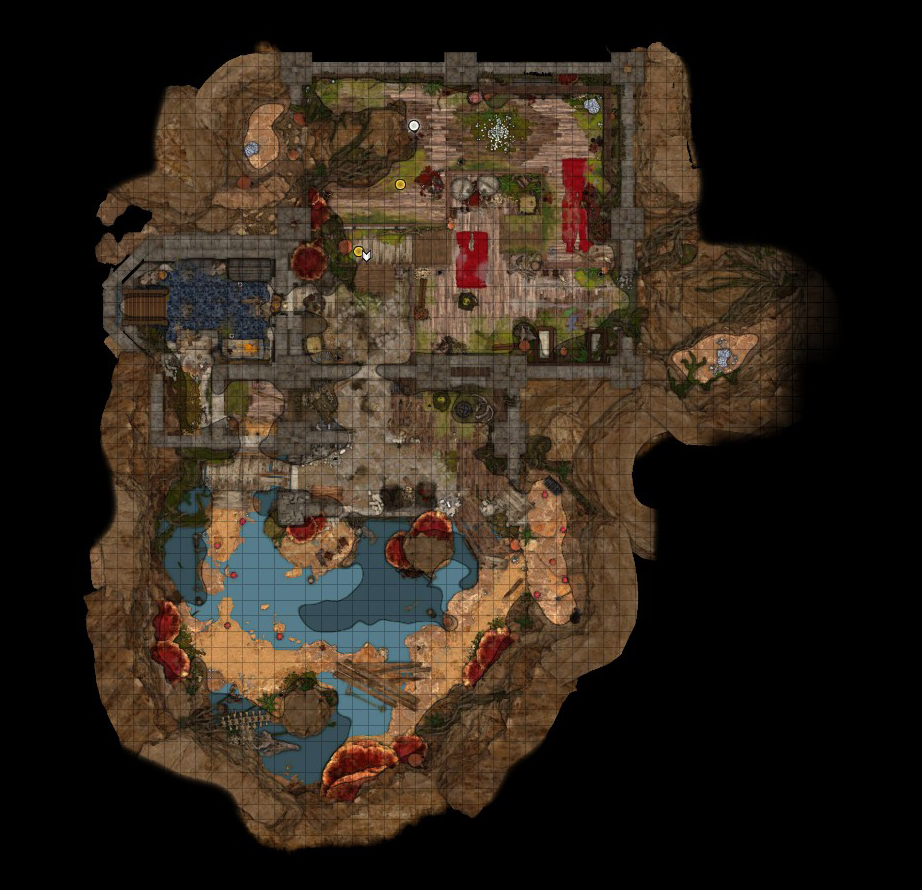
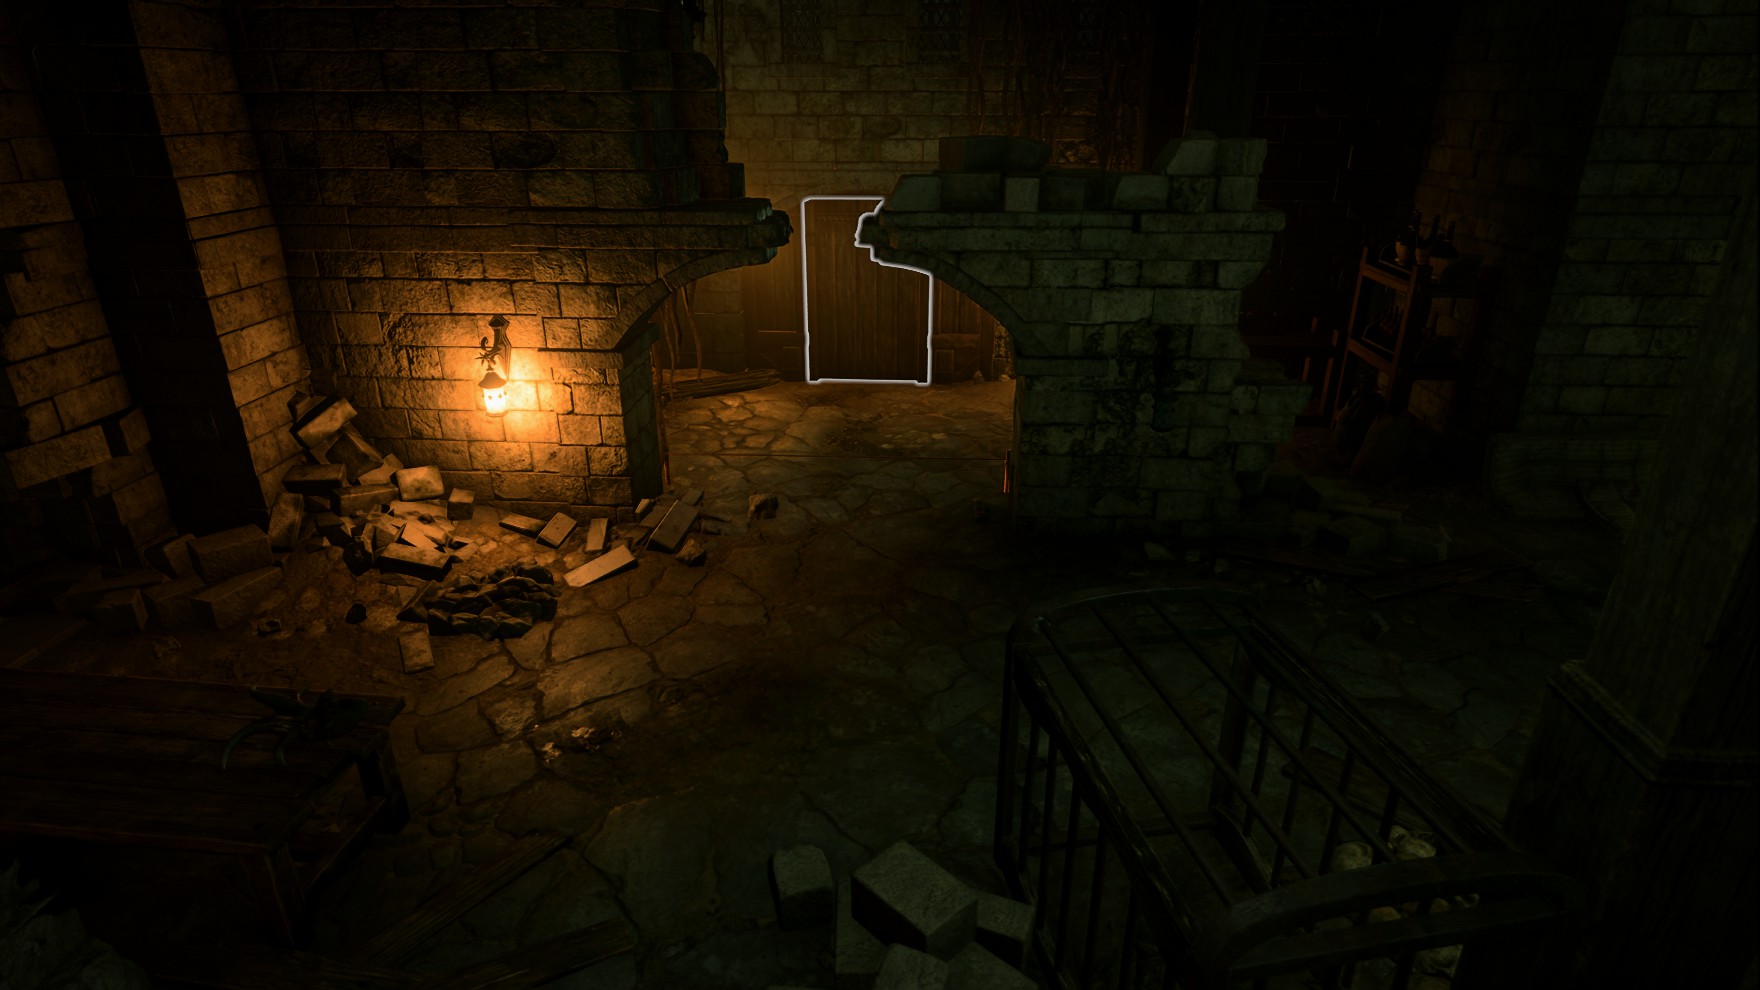
The Hag's basement can be found by entering either the old oak door near the entrance to the Blushing Mermaid or the cellar door down the stairs in the same room Grisly was wandering. Jumping up on top of the alcohol barrels and moving towards the small passage starts an Investigation check. Passing it reveals that the wall is an illusion which the party can walk through. The the party must climb down a ladder, and walk through a set of double doors which can be unlocked with Auntie Ethel's Lair Key or by lockpicking.
The wooden wall door.
To the south of the double doors are several explosive traps, as well as four masked victims who instantly become hostile if they detect the party. After fighting the Masks (or after fighting Ethel), the party can find a buried chest at X: -2354 Y: -145. If instead moving east towards a door in the wooden wall ( DC 20 Sleight of HandCheck, then it can be avoided to fight the hag's victims. Above the cages near the door is a wooded platform which has a Mind Flayer Parasite Specimen next to a Gnarly Cauldron, some Worg Fangs, and a trapped Heavy Chest ( DC 20 Sleight of HandCheck), which can be unlocked by Ethel's Key. There are also several Peculiar Flower traps in this room.
Ethel's lair lies behind the Wooden Wall, which can be lockpicked, but it inflicts Hideous Laughter on the lockpicking character upon succeeding if not resisted. It can also be opened with or without the Mottled Key, which is carried by the Mask Of Terror. Inside this door, a successful DC 15 PerceptionCheck reveals a lever which can be pulled to provide a shortcut when leaving back to the Cellar Door. There is a stack of three alcohol barrels hiding this door from the other side when first entering the basement. Blowing up these barrels opens the secret door allowing to bypass the trapped rooms. By proceeding this way the party can begin the final fight without having to get past her mind controlled victims.
There are several Pearlspore Bells in this room; attacking them or moving past the second stairs makes Auntie Ethel appear. If Ethel's identity was not revealed before, then this area is empty, unless attacking and destroying one of the Pearlspore Bells. If her identity was revealed before, Ethel becomes hostile immediately after appearing and a fight begins. To defeat Auntie Ethel the three Pearlspore Bells must be destroyed.
Hag's Bane can be crafted using Alchemy. It requires one Essence of any kind and the Ashes of Dried Fey Flower found in the safe during Help the Hag Survivors. When fighting against Ethel, throwing the Hag's Bane at her gives her the Nauseous condition and she throws up Vanra. Using the potion must be done before Ethel is defeated, otherwise Vanra dies if the hag is killed.
Ethel can be killed in the same turn after she vomits Vanra even if all the Pearlspore Bells are not destroyed. If this happens, the quest remains uncompleted. Grisly and the other mask wearers remain hostile and are not freed, even if they were knocked unconscious during the fight. If Ethel dies while the Pearlspore Bells remain, she gains the condition Fungal Resurrection. Once the Bells have been destroyed and Ethel is dead, the victims immediately cease hostilities.
Throwing the Hags Bane potion on Ethel then focusing the attacks on the mushrooms and Ethel allows keeping her masked victims alive; after the fights ends they are no longer hostile and can be spoken with.
If Hag's Bane has not been crafted, then it is still possible to save Vanra by cutting her out of Ethel's stomach. This is achieved by toggling non-lethal damage and defeating Ethel with fists or melee weapons. It is recommended to avoid double attacks (such as Flurry of Blows) and damage riders (such as Caustic Band, Strange Conduit Ring, or Callous Glow Ring), as these can kill Ethel after knocking her out. After Ethel is knocked out, there is an option to cut Vanra free of the hag.
Using the Hag's Bane or cutting out Vanra successfully completes Save Vanra.
Grisly will recount her experience with Ethel if she is saved.
As in her last hag den in Act One, Ethel has a number of enthralled victims trapped with their masks. Most of these individuals are too far gone to properly save, and mutter about their curses if Ethel is slain. However, the real Captain Grisly can be saved. Grisly, like the other servants, is forced to attack the party if they fight with Ethel. However, if Grisly survives, she is freed from Ethel's influence and removes her mask. Speaking to her, she is immensely grateful to the party for liberating her, and states that the "Maid's as much as the party's home as hers."


