Ad placeholder
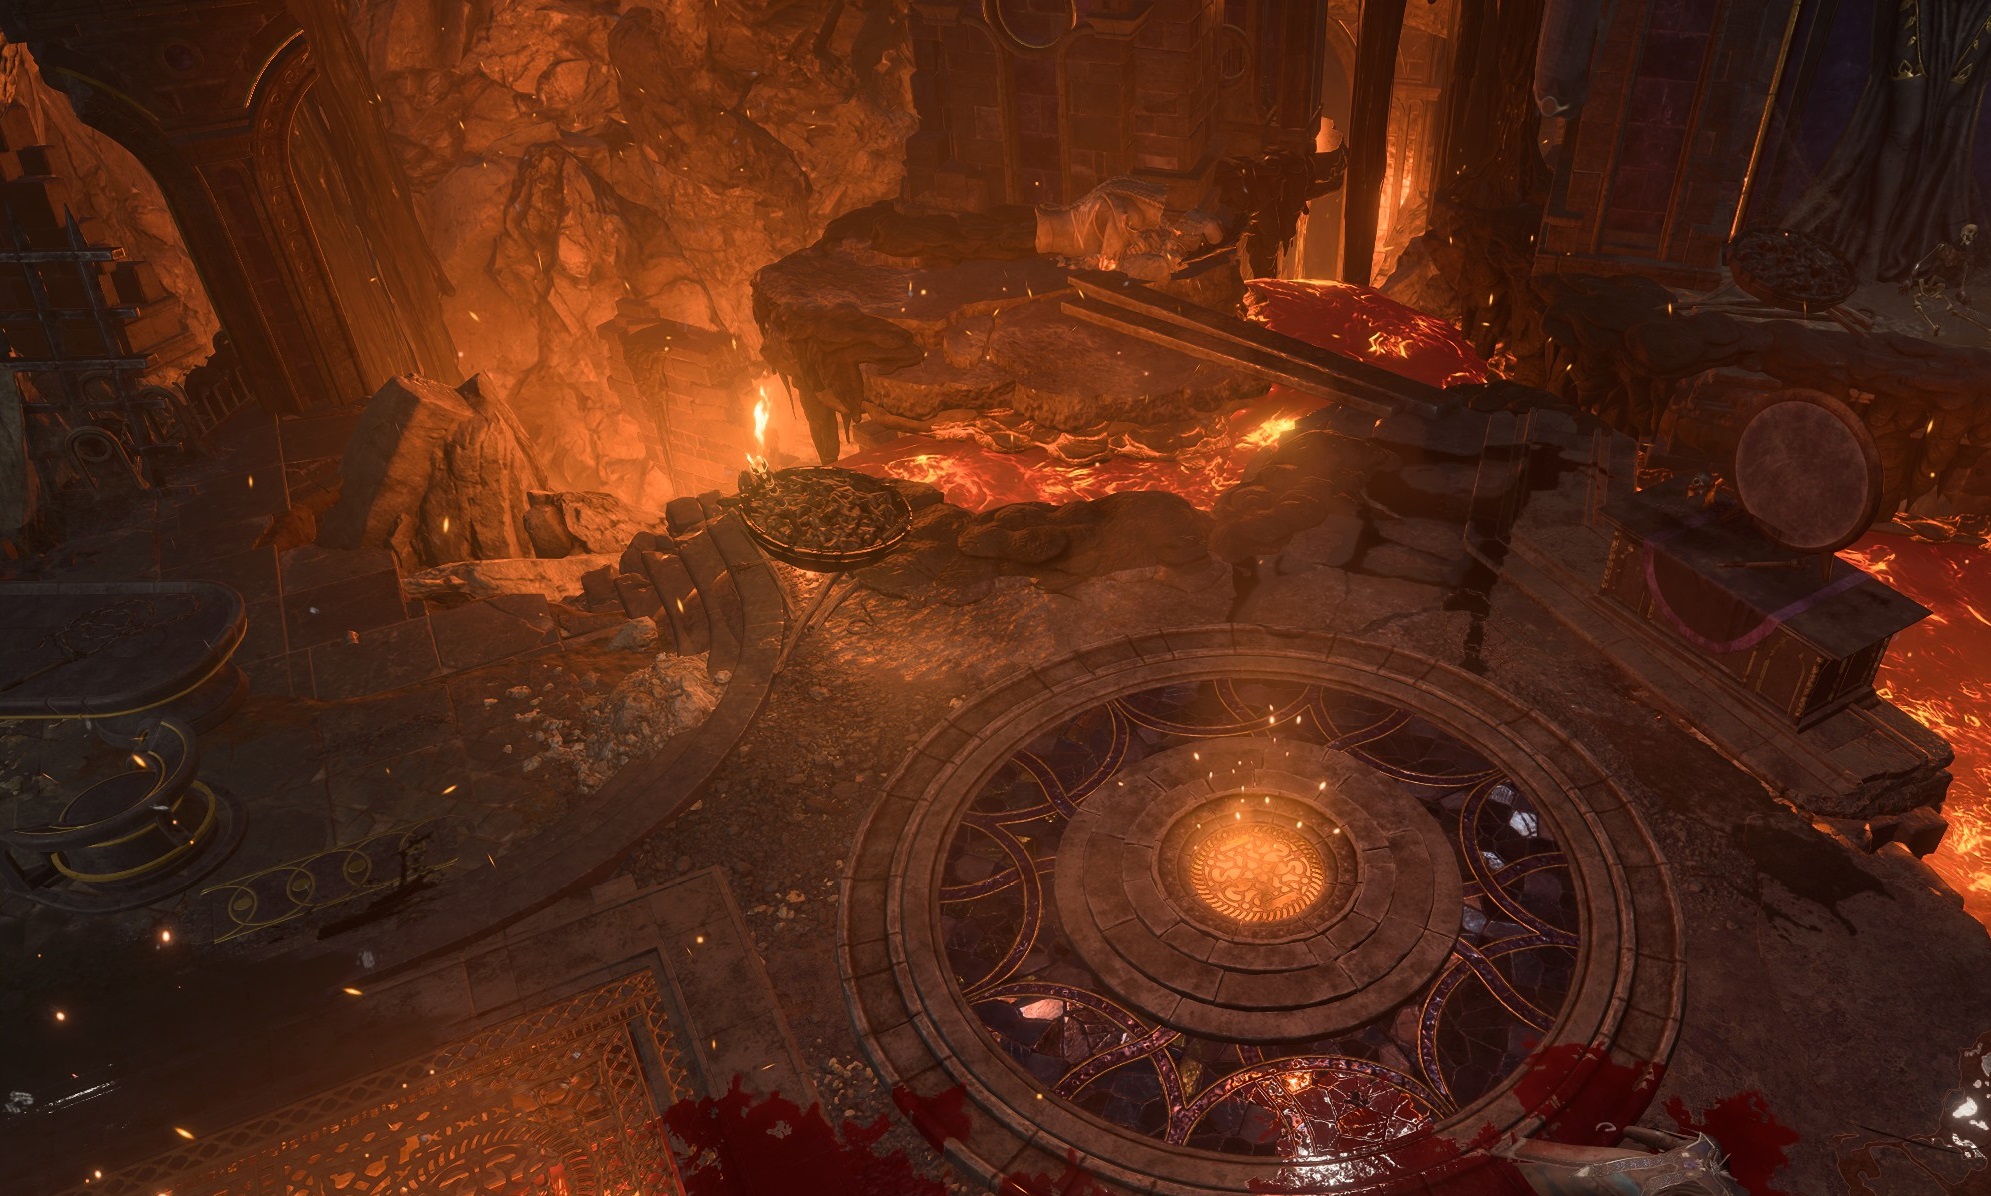
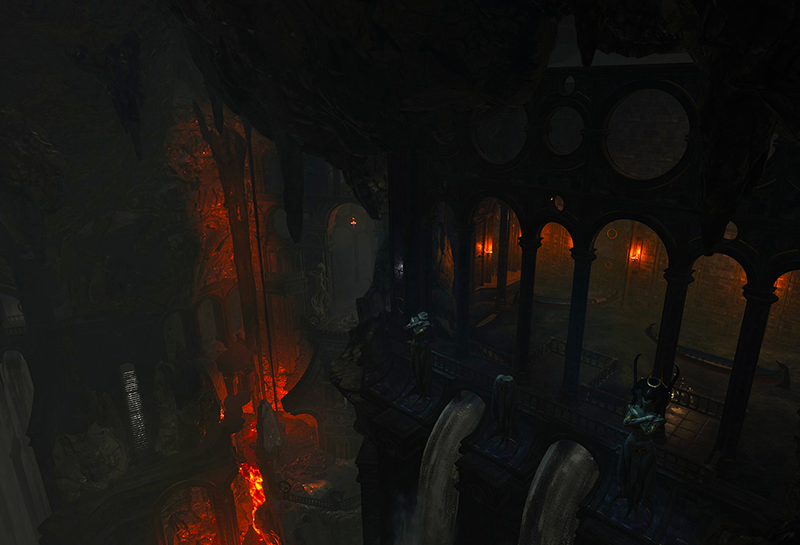
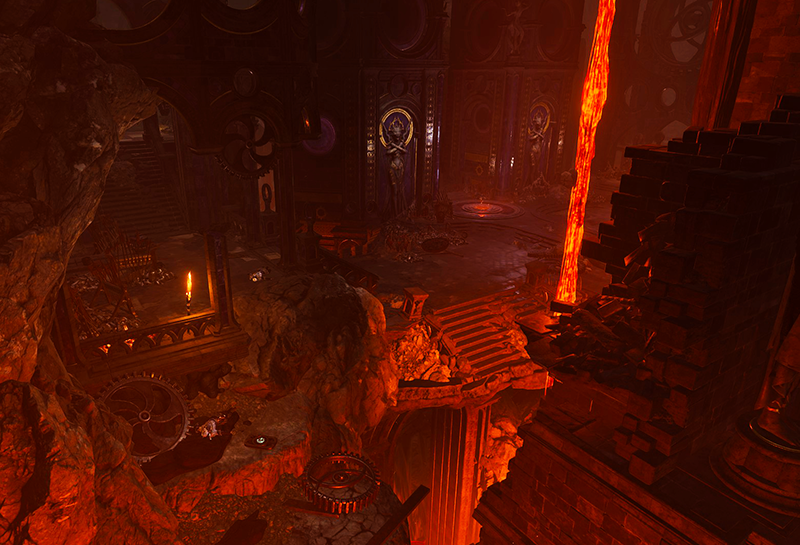
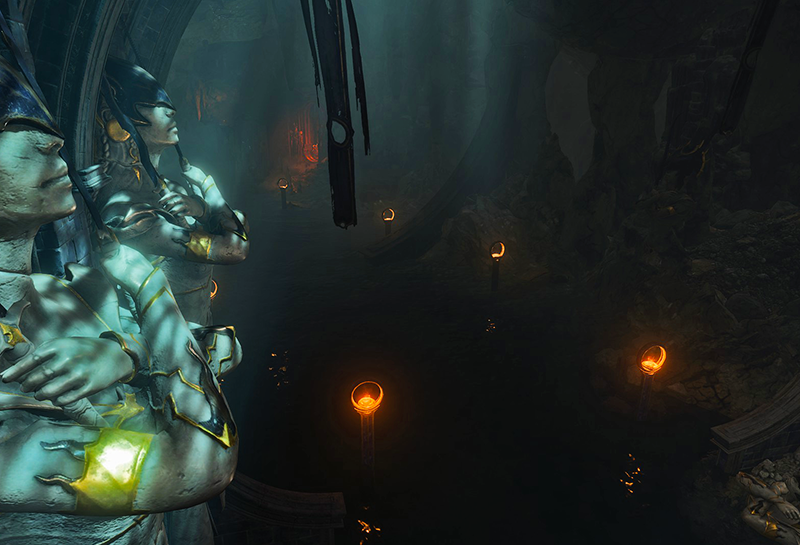
Grymforge

| Decrepit Village | ||||
| ↑ | ||||
| Grymforge | → | Shadow-Cursed Lands | ||
| ↓ | ||||
| Abandoned Refuge | ||||

Overview[edit section | visual editor]
Built by worshippers of the goddess ![]()


By the time the party arrive, the tension is palpable: Nere is close to death under a sudden cave-in, and the only enslaved gnome capable of clearing the rubble has fled her captors. Both factions of the duergar clan are more than willing to free their leader and employer, dead or alive - each for different reasons.
Access[edit section | visual editor]
The normal way to reach Grymforge initially is using the skiff from the beach docks of the Decrepit Village in the Underdark at X: -7 Y: -210. After having ventured to Grymforge the first time, fast travel to two waypoints is also possible. You can also get there by going through the Shadow Cursed lands, starting from the Githyanki side and going back. Additionally, if you go to the shadow cursed lands and go to camp, in some situations it seems to put you directly in the connector to Grymforge without having to find the entrance through the shadow curseed lands.
As a medium-sized location, reaching the region at Level 4 gains the party 75 XP, or 150 XP at Level 5.
Duergar encampment[edit section | visual editor]
Accessible immediately upon arrival to Grymforge, this is the main base of operations for the local duergar mercenaries of the clan Flameshade. It actually occupies less than half of the ruined city and spans from the entry docks below to the point of excavations initiated by
Morghal and Orgarth[edit section | visual editor]


![]()
![]()
If 
Also, throughout the dialogue the player character learns of the duergar ability to suss out illithid tadpoles nested in the others' brains, despite not being infected themselves. Identifying the player character as a True Soul, Morghal demands a fee for letting the party in, but quickly relents if she is challenged.
Finally, the player character can admonish Morghal and Orgarth for enslaving the deep gnomes, which can lead to a fight (possibly with the whole duergar camp).
Once granted access to the duergar encampment, the party may freely use the Underdark Duergar Boat (the one they used to reach Grymforge) or the Zurkhwood Skiff also moored at the dock to sail freely between Grymforge and Decrepit Village. Fast travel is also possible after finding the waypoint just up the stairs.
Kith and Gergerann[edit section | visual editor]


If and when the party speak with Kith for the first time, he asks for their assistance. Any party member can examine the statues, rubble and general area through three skill checks: ![]()
![]()
![]()
- The History check narrows the age of nearby statues as ancient but still newer than other surrounding ruins;
- The Investigation check informs the player character that the walls did not crumble from the burden of age - they were smashed by something very large;
- The Perception check relates that the intruding creature came from the Hells, as it left sulphuric crystals on the debris.
The talking party member may pass the skill checks in any order, even stopping and starting it anew, until finally choosing the option to report results to Kith. If the party pass all three skill checks, he gifts the interacting character with a piece of ![]()
![]()
![]()
Stonemason Kith also serves as Trader. If any party member chooses to trade with him before helping to evaluate the ruins, the history dialogue is locked out for the party.
Brithvar and Kur[edit section | visual editor]


As such, Brithvar can be convinced to lead a mutiny against Nere, causing half the duergar who remained unconcerned to fight against Nere once the drow is freed. However, like Morghal before him, he senses the player character's tadpole, describing it as 'brain-stench', and the party must first convince him of actually working against the Absolute. If a 
If Brithvar is successfully convinced, he offers to free Nere from under the rubble and then kill him, then splitting the money the drow owes to the duergar. The player character can ![]()
![]()
Once the Scrying Eye is dealt with, Brithvar suggests a possible solution to freeing Nere. He relates how one of the 
If Nere is freed, he moves to kill the deep gnomes, but can be stopped by the interacting party member. Brithvar also interjects, demanding payment from the drow. He does not hesitate to confess conspiring behind Nere's back, and the player character must decide whether to support or fight any side. Regardless of any alliance, the player character also must decide the fate of the enslaved gnomes (if they sided with Nere or survived his wrath). If Brithvar is killed, 
Allowing Nere to kill the slaves, as well as siding with Nere in the conflict afterwards, are oathbreaking actions for ![]()
After dealing with Nere, Brithvar and the surviving duergar leave Grymforge for good (with or without the remaining gnomes) upon the party taking a long rest or fast-travelling into another region. Until they leave Grymforge, all interactable objects except the Absolutists' corpses are red-outlined; touching them is considered a transgression.
Resolving the conflict between the duergar factions and subsequent decisions may earn the following inspirational events:


After dispatching Nere and the other Absolutists, the party can explore the chamber filled with ![]()
Although Brithvar is marked on the location map as a trader, he does not have a trading option in dialogue; he can be only be traded with via the icon in the lower-left corner of the dialogue screen. He arguably has no useful items to buy, nor does he have enough gold to sell anything of value to him.
Near the point where Brithvar and Kur stand initially, any party member can descend into a hidden area beneath the ground level. It is accessible by means such as ![]()
![]()
![]()
![]()
Sergeant Thrinn and the gnome slaves[edit section | visual editor]
Sergeant
When first encountered, Thrinn is bare-footed. If the interacting party member has the ![]()

![]()
![]()
When a party member approaches the cave-in, Nere speaks to them via their tadpole, asking to free him as soon as possible, as he is trapped with poison geysers around. After the connection with the drow fades, the timer for ![]()
To act on the information as offered by Brithvar, the party must convince the gnomes to play along. This requires various skill checks, or, if the party spoke to Thulla, they can appeal to her sending them to help. Eventually the party can find out about ![]()
![]()
If
On the stone table across Greymon's trade post is a ![]()
Murmath and the spiders[edit section | visual editor]


![]()
![]()
![]()

In the far corner behind the cages are several spiders. If they are approached, the party can use ![]()

![]()
![]()
![]()
From the Metal Crates around the cages some elixirs and ammunition (Uncommon to Rare) can be looted.
Magmar and Pistle[edit section | visual editor]
The wards 

![]()
![]()
Idling the time, Magmar and Pistle enjoy debasing the enslaved deep gnome 
If the party free Skickpit, they must deal with Magmar and Pistle by attacking or annoying them in dialogue. Another option is poisoning their beer by combining the stained cask at the bottom of the stairs at X: -616 Y: 391 with a ![]()
![]()
Brathwen and Viss[edit section | visual editor]


Speaking with the two, the party can ask if they have looted the corpses. A ![]()
![]()
![]()
![]()
If checks to obtain the trinket fail, Brathwen can be traded with to buy the ring, or it can be stolen from him. Also, there are up to seven or eight gnome corpses, which the duergar shove into the lake waters one by one until cleared out. However, the corpse with the ring always remains as last.
If Brathwen and Viss are convinced to abandon their duty, both gladly depart and disappear from the game. Despite being novices of the Absolute, they do not appear later to join the fight if the mutiny unfolds.
The door at X: -600 Y: 393 leads to a room with a concealed section in the far end, where the deep gnomes prepared a stash in case they manage to escape their enslavers.
The Deep Rothé and Skarjall's crew[edit section | visual editor]
Halfway through the gallery which runs along the dock are three 

![]()

If no sources of ![]()
![]()
![]()
In Rotting Baskets around this place are a fair amount of mushroom-derived alchemical ingredients, prepared as forage for the rothé.
At the end of the gallery, at X: -668 Y: 442, 


![]()
The player character can try to inquire into why Skarjall wants to clear the way so badly. A 
![]()
The player character can choose to cane the Deep Rothé or to speak to them via ![]()
If the rubble is cleared, Skarjall (if he survives and is non-hostile) immediately starts another dialogue. Even if the party did not find out about the Adamantine forge from him, Skarjall reveals the truth himself and attacks the party to prevent any challenge for the forge.
If the Deep Rothé were convinced to attack the duergar and survive, the player character may talk to them again and ask they bash open a clearing as a return service.
Other points of interest[edit section | visual editor]
At X: -677 Y: 356 the cragged rock leads down to a small ground among the cliffs, with a large Harpers' sigil drawn on earth. A sequence of checks (
Also, three wooden chests remain in plain sight. If approached, the chests turn out to be 
![]()
![]()
![]()
![]()
![]()
At approximately X: -655 Y: 420 several skeletons in the same armour can be examined. A ![]()


![]()
![]()
![]()
Descending another cragged rock at X: -696 Y: 400 leads the party to a locked and trapped chest with ![]()
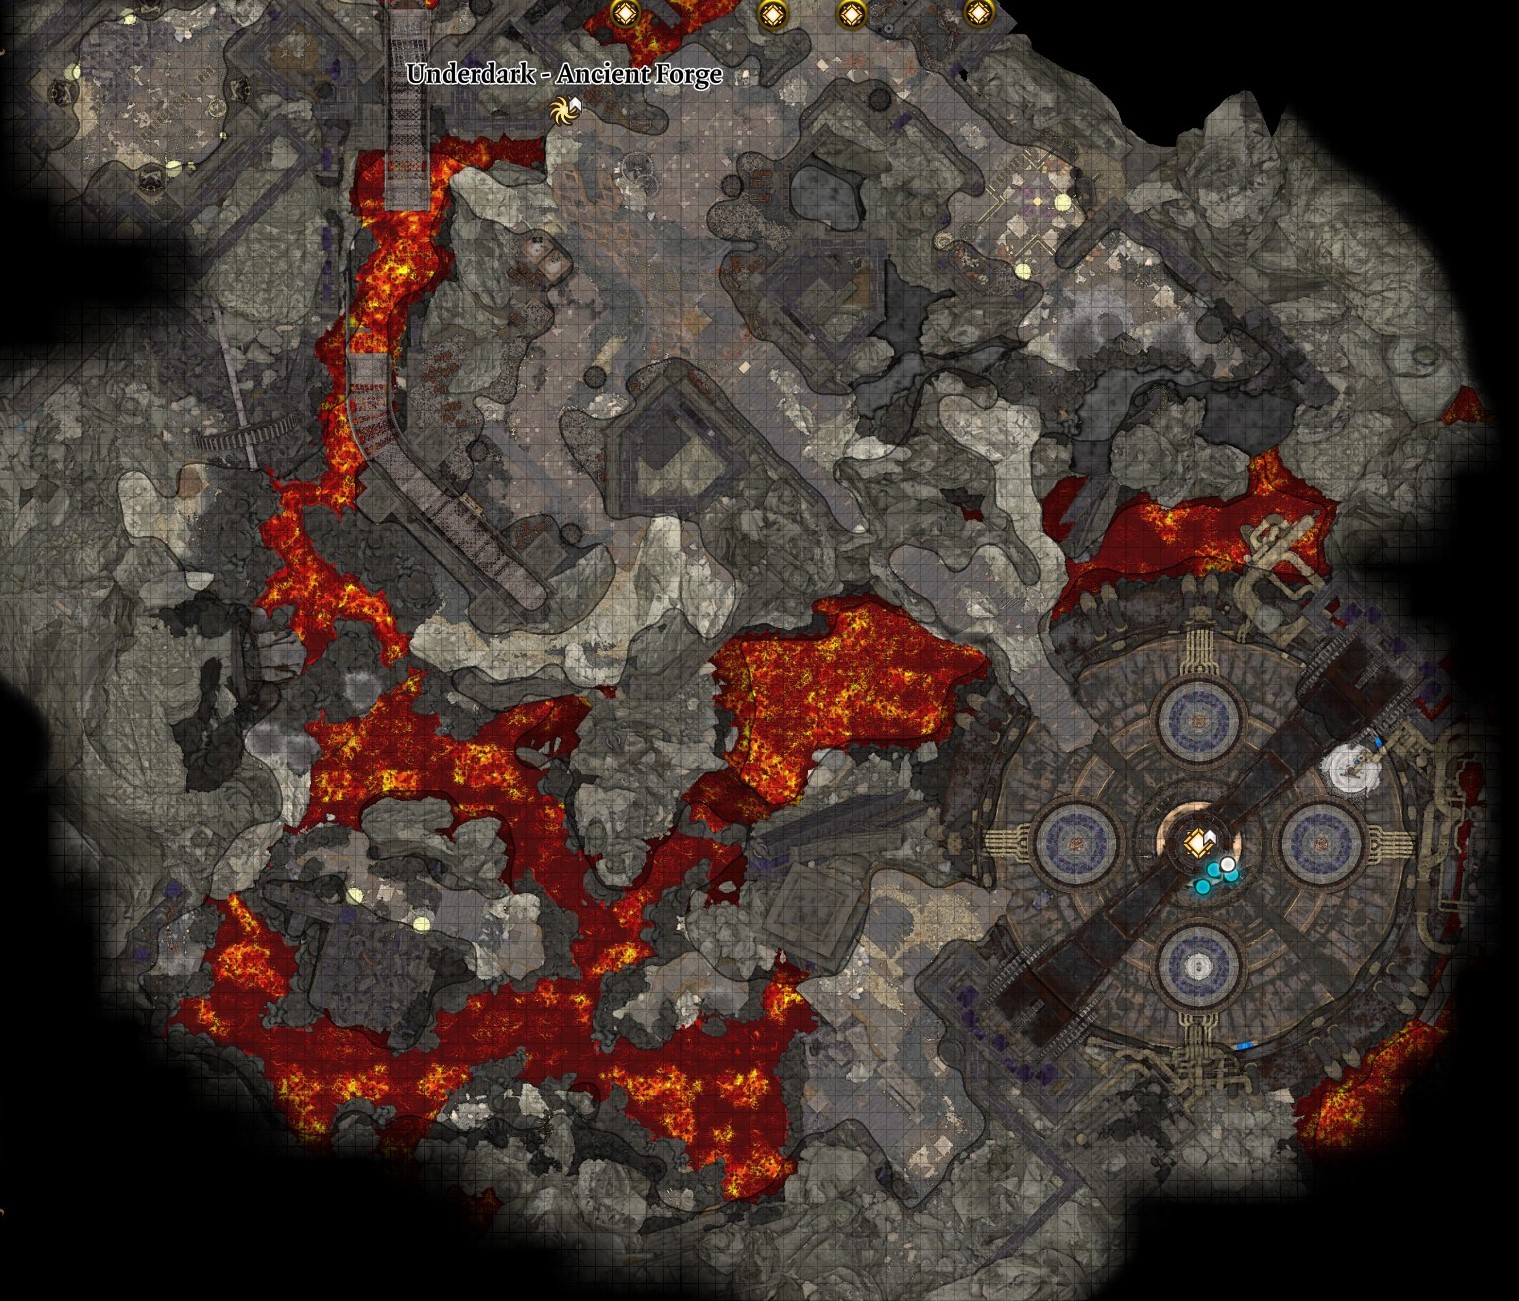
Uninhabited parts of Grymforge[edit section | visual editor]
This area primarily occupies the north-eastern region of the location map, starting at the far end of the docks, and consists of two levels which are not connected by stairs or other means of level-changing. It is almost uninhabited, save for several creatures, and can be accessed through several points:
- Passing through locked double doors at X: -603 Y: 409 - lower level
- Jumping at X: -622 Y: 346, near the point where Brithvar and Kur stand initially - upper level
- Using the lever-controlled iron platform at X: -639 Y: 408 - upper level
- Using means of spatial movement at heavily trapped remains of a bridge at X: -633 Y: 431 - upper level
Two latter points are available after completing the ![]()
Philomeen's safeplace (lower level)[edit section | visual editor]
This area can be reached from the docks by lockpicking the doors at X: -603 Y: 409. Inside is a mess hall with the remains of a repast, which any party member through a ![]()
At the far corner of the mess hall a movable wall section opens the passage which leads to the still abandoned part of Grymforge. A movable stone near another set of double doors reveals a hidden stash. Behind the doors, at the top of the stairs, three 
![]()
![]()
Upon walking and jumping further along the rocky cliffs, the party can come across locked doors marked as 'Contemplation Chamber', which can easily be walked around through the wall breach behind the corner. Inside ![]()
![]()
If the ![]()
Behind the place where Philomeen initially stands the party can find a ![]()
![]()
![]()
Trapped gallery[edit section | visual editor]
After completing the quest ![]()
![]()
![]()
![]()
![]()
![]()
It is possible to reach the stairs leading to the double iron ladder by blowing up the cave-in at X: -672 Y: 448 with a bomb.
Westward, a long gallery starts with a veritable obstacle course made of various Traps: Gargoyle Statues at the each end, three pairs of Trapped Beacons at the sides, and multiple Marble Plates along the way: round between beacons and rectangular across the way (the latter are easily discernible). Triggering any Marble Plate sets off all the traps still left armed. The gallery ends with a locked wrought-iron gate.[2] A lever behind the gate disables all traps on the gallery.
It is possible to reach the crumbled stone perch behind the gate from below (approximately from X: -650 Y: 353) via spatial movement (![]()
![]()
![]()
Behind the gate the player character can also take the ![]()
![]()
Two iron ladders descend from the gallery. The southern (single) leads to the small ground with multiple crates with common weapons and also some random potions, while the northern (double) leads to a movable iron platform hanging on chains and controlled by two levers nearby: the southern launches the platform forward or backward, while the other lever controls its height. The platform can be used to cross the chasm ahead, or simply as a bridge to reach a cast-iron path in the middle.
Merregon's Hideout[edit section | visual editor]
Moving the platform forward can transport the party to the upper level of the Abandoned Refuge. The double doors just across the platform are locked (the ![]()
![]()
The broken stone railing at X: -592 Y: 428 allows the party to descend to the lower level of the area using means like ![]()
![]()
![]()
The upstairs doors upstairs are also locked, but can be unlocked with a ![]()


![]()
![]()
A skeleton at X: -558 Y: 409 can be looted for one of the forging moulds necessary to craft an item further in the Adamantine Forge.
To the south from the outer doors, the open balcony continues to a small ground that is adjacent to the point where Brithvar initially stands. On the stone table here is a ![]()
Abandoned Refuge[edit section | visual editor]


Grated path and the way to the Forge[edit section | visual editor]
The cast-iron grated path that runs high in the middle between two parts of Grymforge can be accessed via the moving iron platform described above. At the beginning of the path the party can pick up the third forging mould. The path runs to the south, making several wavery bends up, until it abruptly ends above the lava surface. At this point, the party must jump down onto another movable platform controlled by the two levers at the aforementioned tilted stairs. Like the previous platform, one lever controls the height, while another moves the platform forward [4]. The way to use the platform is variable, but the target remains the same: deliver at least one party member to the Abandoned Refuge area and activate the Ancient Forge waypoint nearby.
Also, it is possible to traverse from the two-levers point down to the opposite cliff (with a huge cogwheel as a waymark), using spells like ![]()
![]()
To the far south of Grymforge, through a series of contraptions and ruins, the Ancient Forge Waypoint is located, which can be accessed either by navigating the grated path described above, or using abilities such as ![]()
![]()
![]()
![]()
The Abandoned Refuge features large heaps of long-abandoned armour and helmets strewn about. Near the waypoint, another forging mould lies in plain sight. Small stairs lead to a resemblance of a study, where a ![]()
Across the study, a two-storied grated construction stands, seemingly connected to the collapsed path which can be used to reach the area from Grymforge. There the sixth, and last, mould can be seen. Approaching it, the party is attacked by several 
![]()
![]()
After the battle is resolved, the party can walk around the construction at X: -607 Y: 256 and proceed down, closer to the lava stream - there, at X: -646 Y: 253 they can smash a Mithral Vein to obtain a piece of ![]()
![]()
Proceeding further through stone arch allows the party to finally reach the Adamantine Forge itself.
Adamantine Forge[edit section | visual editor]
If the party venture further south-east, down the crumbling stone bridge, they see the forge, hammer and anvil of the legendary Adamantine Forge, capable of smithing mythical ![]()
At approximately the middle of the bridge, at X: -572 Y: 256, is a sidewalk to the east, leading to an area that much resembles a library. There, between bookcases, another Mithral Vein is clearly visible. However, when the party approach the room, they are attacked by a pack of 
![]()
![]()
![]()
Only two pieces of Mithral Ore can be obtained. By obtaining the ore and forging moulds, the party can finally use the ancient, but still operational mechanism to craft two adamantine items of their choice - and meet the magnum opus of a long-forgotten Sharran blacksmith Silouv Yali: the mighty automaton 
Crafting an item in the forge grants the ![]()
![]()
Lava Lake[edit section | visual editor]

From the forge platform in its upper position, the party can jump to reach the side cave half-full of molten lava at X: -570 Y: 229. The lava here is unlike all other places where it is close: boiling and bursting, popping bubbles that leave ![]()

The elemental itself is aggressive and attacks on sight. Defeating it makes the way to the amulet much easier because the boiling, bursting, and popping bubbles which leave Fire surfaces behind cease after its death. However, fighting it can be troublesome, because it restores full health each turn while it is standing in lava. ![]()
![]()
Killing the elemental grants the ![]()
![]()
In the middle of the cave is a rocky 'island', where a locked Adamantine chest stands. Inside the chest lies the ![]()
![]()
If the ![]()
![]()
History[edit section | visual editor]
The original Grymforge fortress was built in an unknown age by a group of Sharran followers. Those Sharrans used the fortress for approximately eight hundred years, after which it was abandoned. Grymforge was not re-inhabited until ![]()
After this, Grymforge served as a base of operations for Ketheric and his Justiciars. The Sharran priestess Sister Ansar converted Silouv Yali to the Sharran faith, a gnome well known for his wizarding talents. He toiled to redesign the fortress's forge so it could smelt ore to produce adamantine for making weapons [5]. After a sequence of experiments, he managed to find a way to put this idea into practice. As well, he created ![]()
![]()
![]()
While Ketheric's forces worked to destroy Moonhaven, a settlement of Selûne worshippers, as well as nearby temple, a Selûnite resistance in his hometown of Rethwin, led by the leader of local Masons' Guild 

![]()
Raphael sent the orthon 
Waypoints[edit section | visual editor]
The following ![]()
Connected locations[edit section | visual editor]
The following Locations are connected to Grymforge:

Related quests[edit section | visual editor]
Characters[edit section | visual editor]
Cultists of the Absolute[edit section | visual editor]


Deep Gnomes[edit section | visual editor]


Duergar mutineers[edit section | visual editor]


Traders[edit section | visual editor]


Animals[edit section | visual editor]


Other[edit section | visual editor]

Available for Speak with Dead[edit section | visual editor]

Creatures[edit section | visual editor]


Loot[edit section | visual editor]
Quest items[edit section | visual editor]
Character interaction rewards[edit section | visual editor]
Craftable in the Adamantine Forge[edit section | visual editor]
Sold by Corsair Greymon[edit section | visual editor]
Other[edit section | visual editor]
Other notable items, looted of found in the area


Hidden treasure[edit section | visual editor]
- Buried chest at X: Y: , near a Mithral Vein
- Harper Cache, found at X: -700 Y: 371
- Stash under the Loose Stone at X: -602 Y: 421
Related literature[edit section | visual editor]
This list does not include items that can be also obtained in other regions.


Gallery[edit section | visual editor]


Notes and references[edit section | visual editor]
- ↑ The timer to free Nere also starts upon speaking to


- ↑ Prior to Patch 7, the gate was impossible to lockpick and had to be destroyed physically
- ↑ If Shadowheart is romanced by a cleric of

- ↑ The "height" lever has only two positions, one of which is significantly lower compared to the grated path level, and the another is significantly higher. This should be taken into account if transporting the whole party on the platform
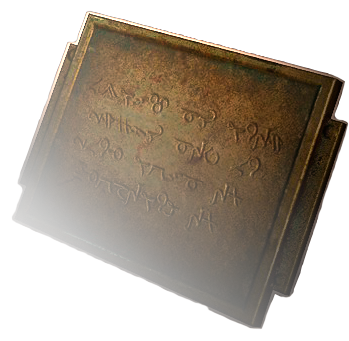
- ↑ The inscription on the plaque at the entrance to the platform implies that the forge itself probably existed even before Silouv Yali's experiments, as its wording melted away "several centuries" ago. Ketheric Thorm reinhabited Grymforge just over one hundred years ago
- ↑ This is the Gauntlet of Shar, which can only be reached after travelling to the Shadow-Cursed Lands in Act Two.
- ↑ Carried by Elder Brithvar
External links[edit section | visual editor]
