Ad placeholder
The Blushing Mermaid

| Lower City | ||||
| Bloomridge Park | ||||
| ↑ | ||||
| The Lodge | ← | Blushing Mermaid | → | Crimson Draughts |
| ↓ | ||||
| Flymm Cargo | ||||
“* No magic decanters (the only BYOB we endorse is Break Your Own Bones)
* You don't have to tip, but it does help us verify you aren't an asshole
* Adventurers, leave your cares at the door - this is where you let your hair down, alright?„
Overview[edit section | visual editor]

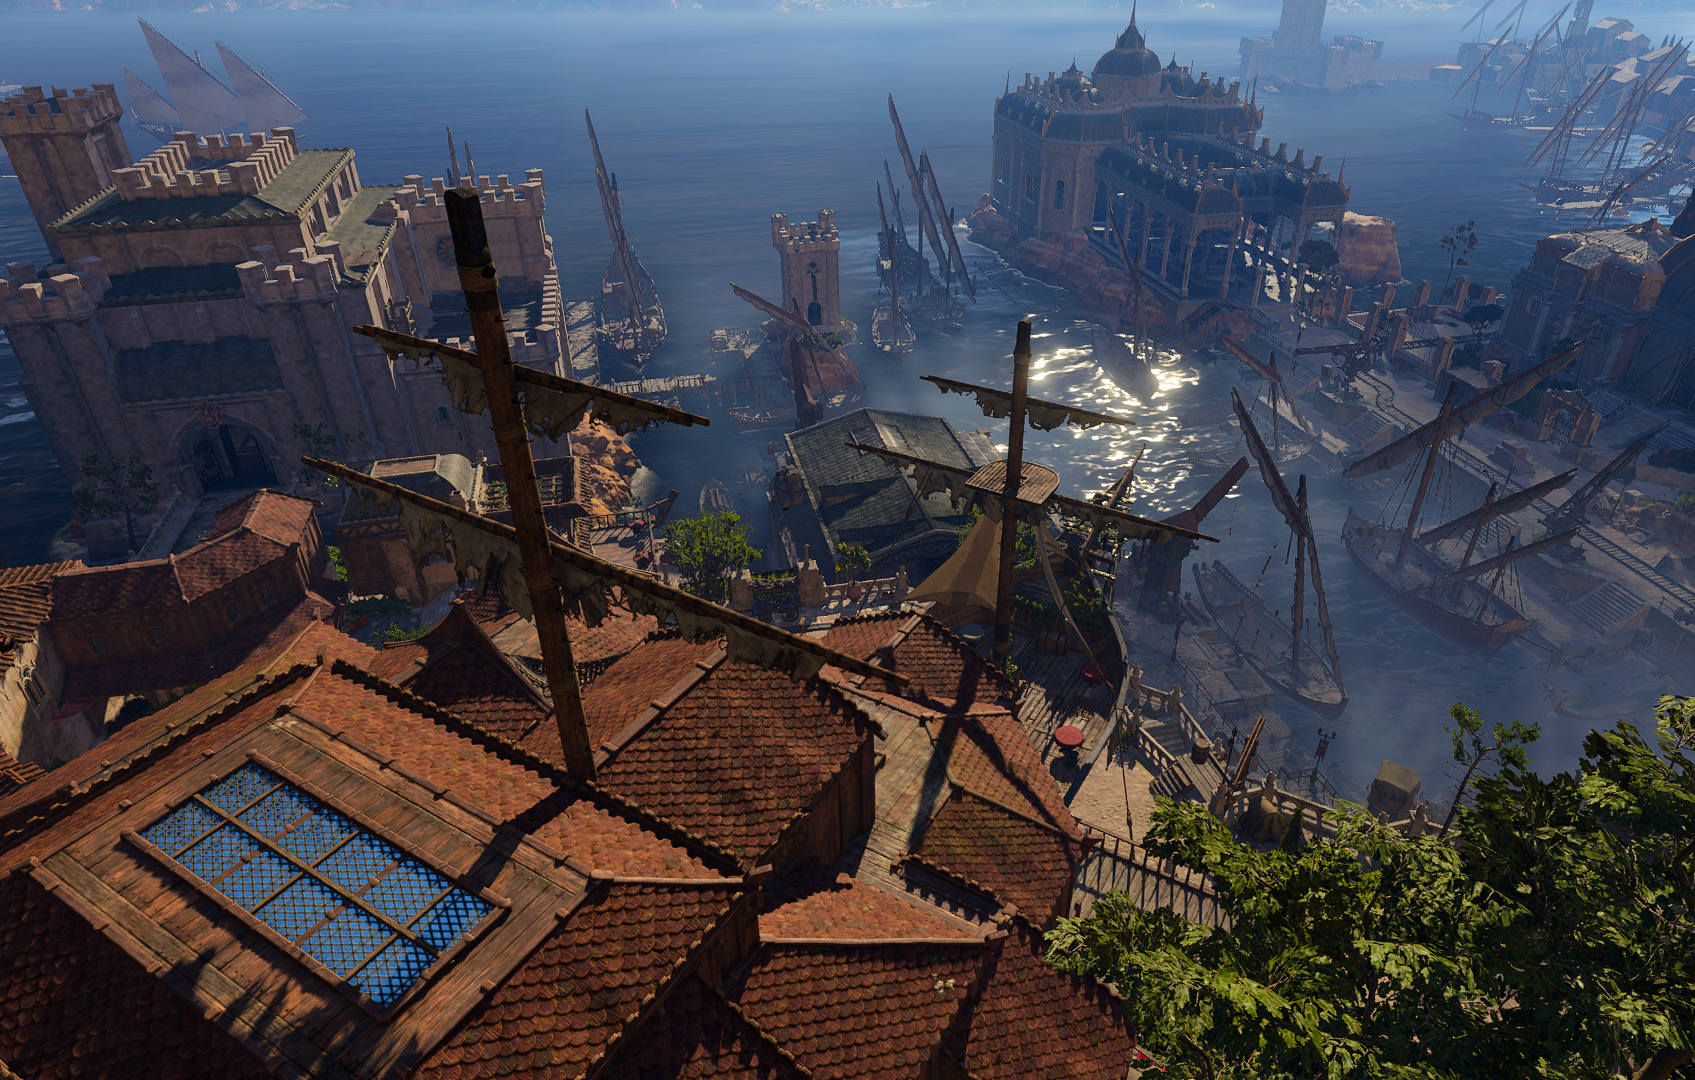
The Blushing Mermaid is a tavern in the Steeps district of Baldur's Gate, located to the south of Bloomridge Park and looking upon the Grey Harbour embankment. The building resembles an old seaship hulk, with its foredeck serving as outer terrace, and its stempost almost shooting out into the bay.[1]
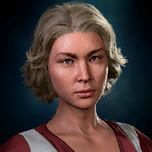
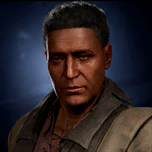
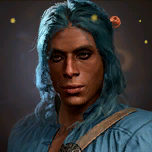
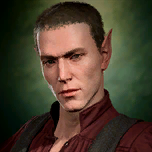
Ownership of the place is in the hands of 
![]()
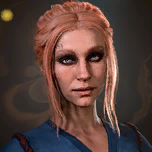
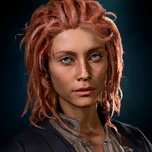
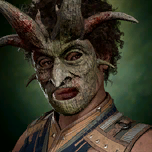
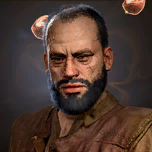
Captain Grisly claims the Blushing Mermaid is indeed her old pirate ship dragged onto the beach and refashioned into a tavern.
Compared to other eateries and places of recreation in the city, The Blushing Mermaid is described as a lower-class establishment, mainly focused on serving drink and entertainment. Some citizens who live close to it complain to the Flaming Fist, reporting the tavern patrons as a constant source of noise, trouble-making and vandalism for the whole neighbourhood.[3]
The only entrance into the tavern is from its "deck" at X: -142 Y: -98, which continues into wooden terraces lining the building from both sides.
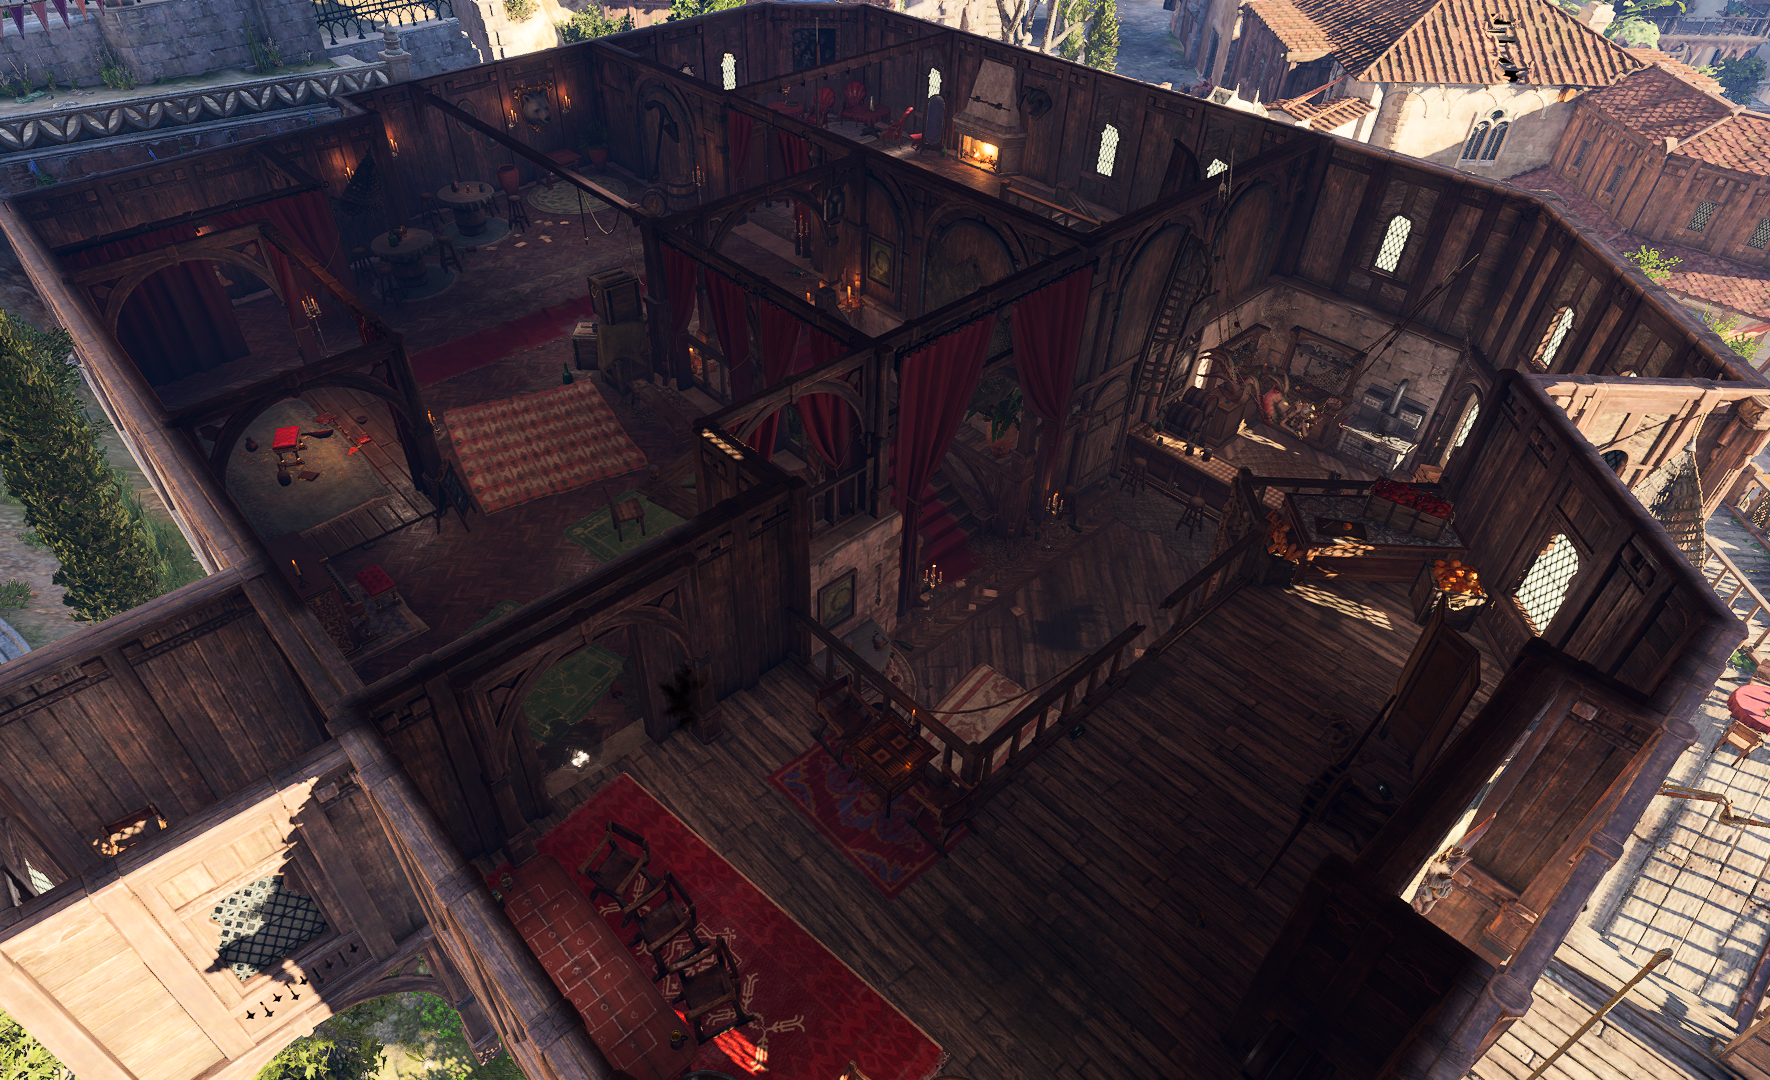
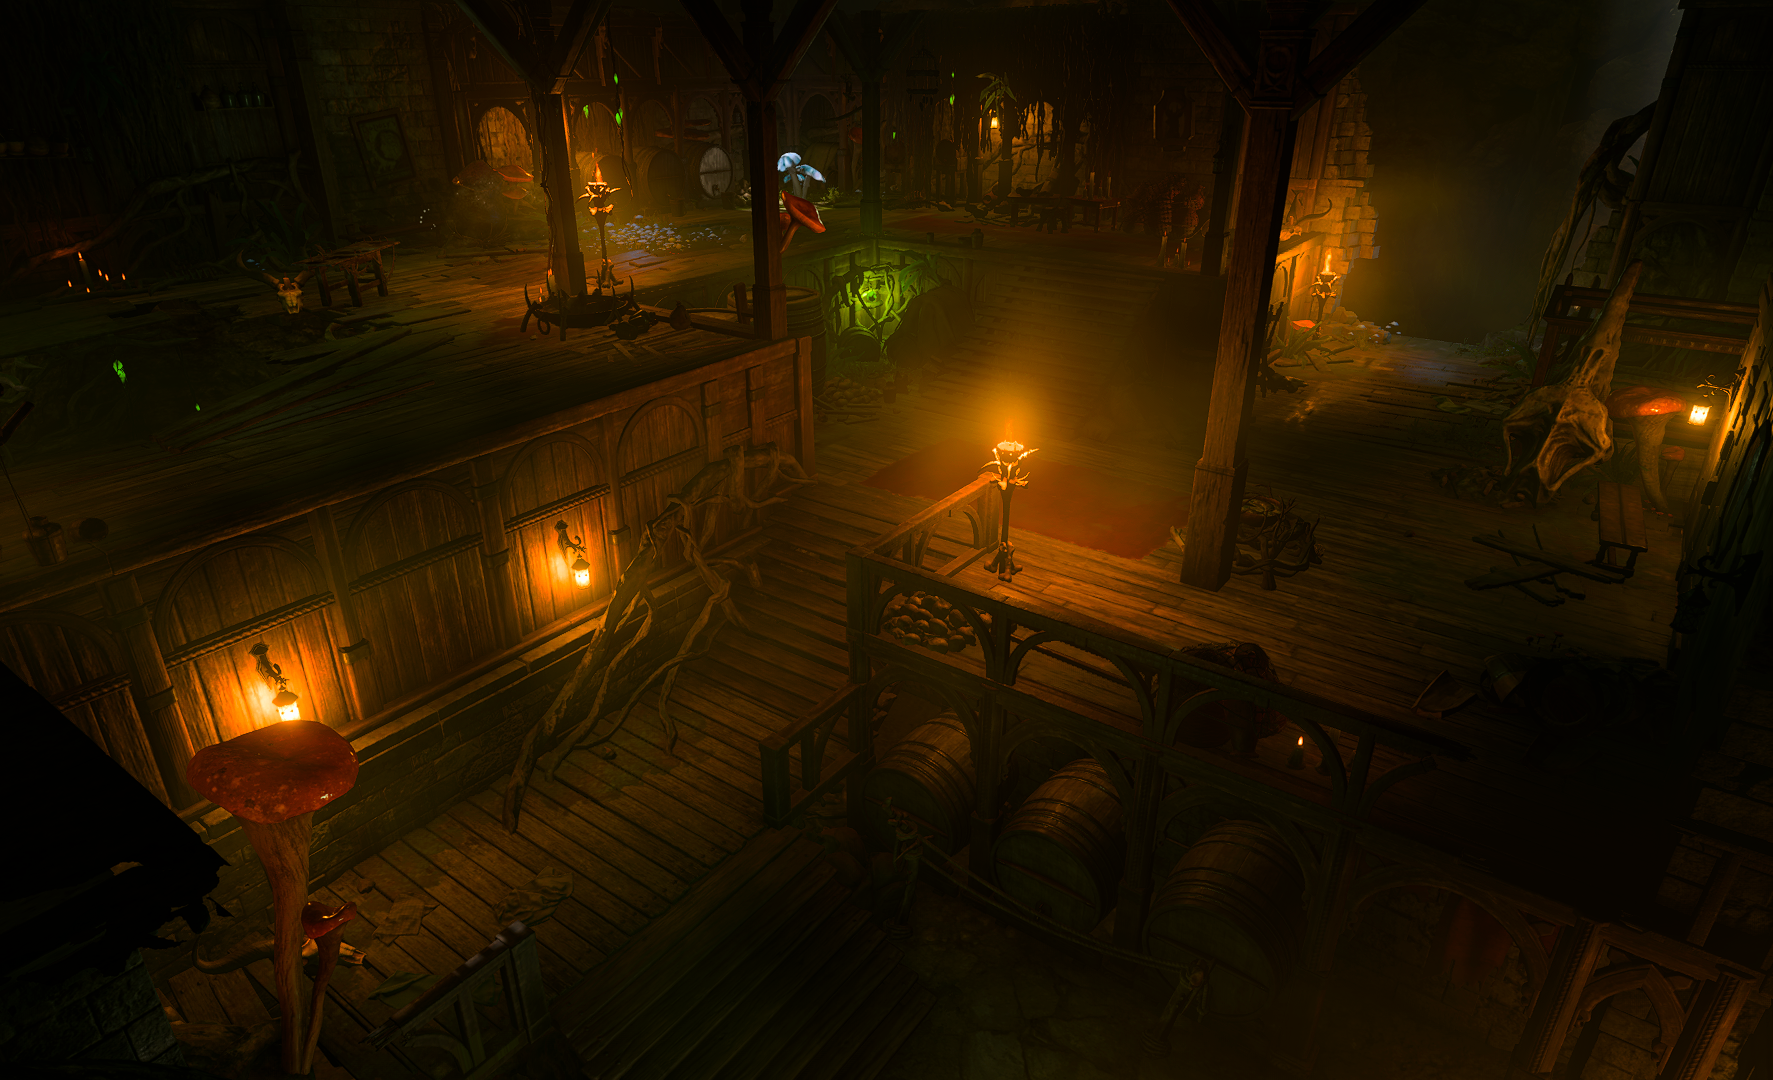
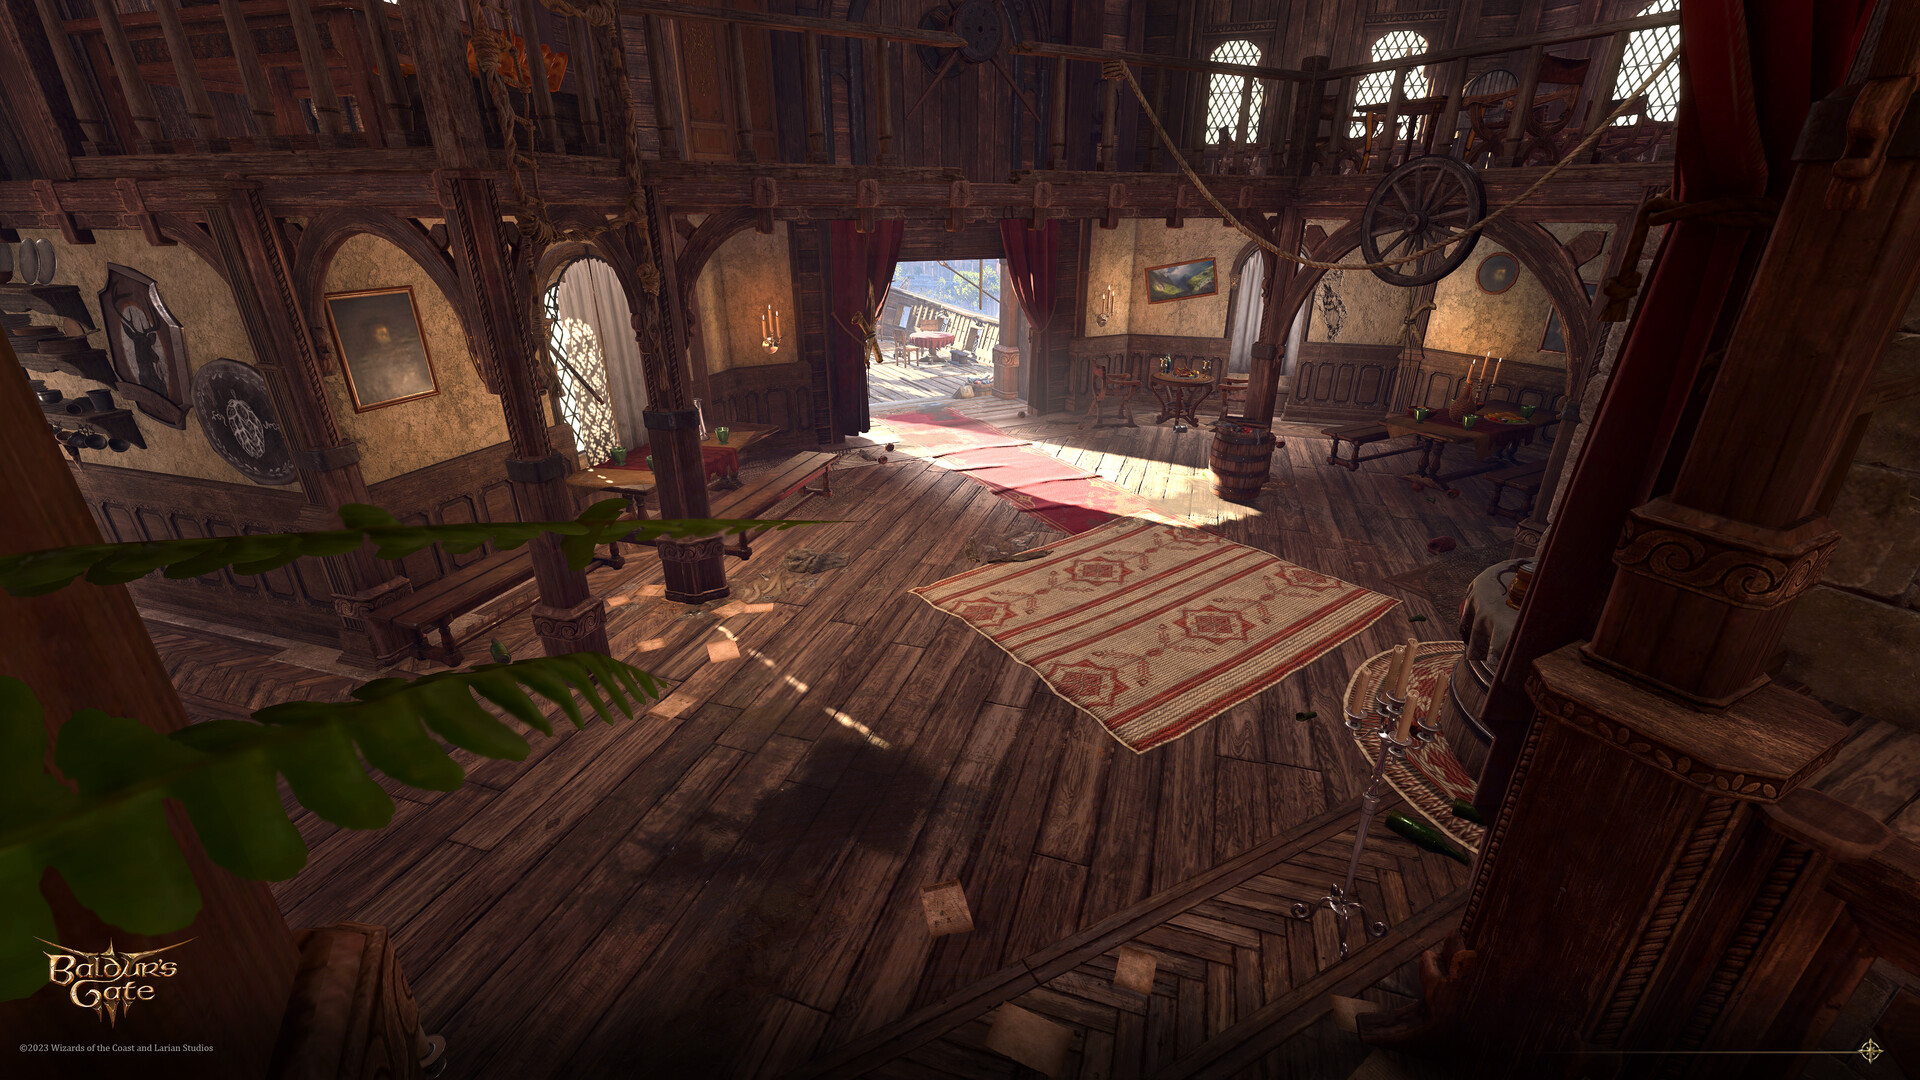
Inside, The Blushing Mermaid has a single split-levelled hall with a bar counter near the entrance, and the area for clientele on the upper level. Part of the upper level is separated by curtains, forming a makeshift captain's stateroom. The tavern has a basement as well, which serves as storage. A carved wooden statue of a mermaid hangs above the main bar, its tail painted to resemble rosy flush.
Tavern Layout[edit section | visual editor]

Outer decks and the ground floor[edit section | visual editor]
Outside on the ship foredeck and terraces are several patrons of the tavern. Some of them are drunk and lie ![]()

![]()
![]()
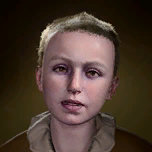
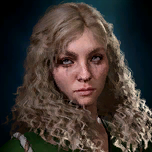
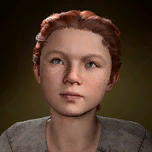
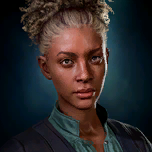
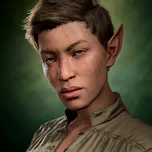
Nesha can be pickpocketed for a ![]()
![]()
On the embankment under the Mermaid's foredeck 
The lower level of the tavern hall hosts a few tables and a bar where the bartender 
Upper floor[edit section | visual editor]

Upstairs is the entertainment area, featuring more tables along the walls, a stage with a small dressing room aside and a large open space in front of it. Several patrons are having a good time here, with two of them are already drunk and ![]()

![]()
The gallery behind the stage is apparently given to gambling, with several lined tables standing there. In the far end of the gallery 
To the right of the main room is a separated area, part of which is seemingly designed for private entertainment: several lavish armchairs, a dancing pole and a copy of ![]()
Roof[edit section | visual editor]

The roof consists of several levels with skylight windows covering various parts of the tavern. At X: -128 Y: -105 a 
![]()
![]()
![]()
![]()
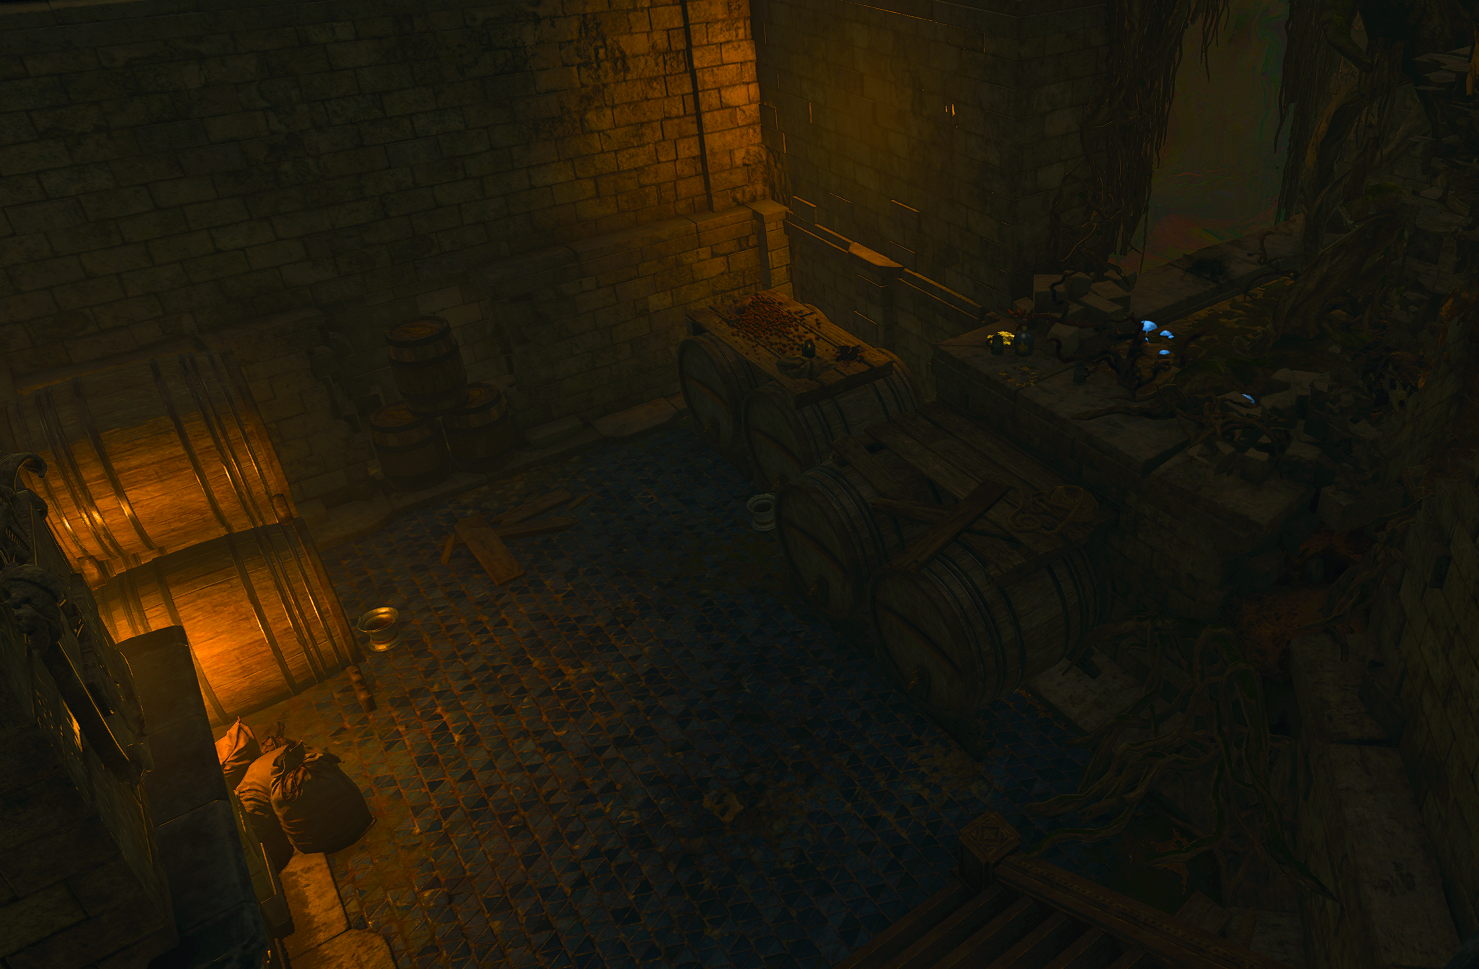
Storage[edit section | visual editor]
The basement is mostly filled with ![]()
Involvement[edit section | visual editor]
The actual state of the tavern directly depends on the party's decisions throughout the quest ![]()
- If the party let

- If the party did not permit the hag to keep


In the second case, exploring the Blushing Mermaid is much more eventful.
After the ![]()


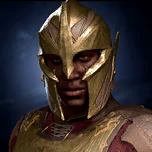
Captain Grisly is in the separated part of the hall, ranting aloud about her heavy hangover. As becomes clear later, she actually is the hag in disguise.[5] If a party member speaks to her, she may offer money for killing Lora. If the party has already explored the tavern basement (see below) and ask about it, Ethel sheds the disguise and retreats, leaving the party to deal with her "crew": six Tipplesome Patrons loitering inside the Blushing Mermaid turn out to be Redcaps and immediately attack. Of them, 
![]()
After the fight with the redcaps is resolved, the party can talk to Gannet once more. This time speaking to him may reveal that he is under the effect of memory-tampering charms.[6]
Chasing the hag[edit section | visual editor]

The party can chase Auntie Ethel to her lair, which is located under the Blushing Mermaid. In the storage area a successful
Behind the illusory wall is another storage space with an unlocked wooden chest containing gold and alchemical ingredients. A locked metal door leads to the main part of the basement. It can be unlocked with the ![]()

![]()
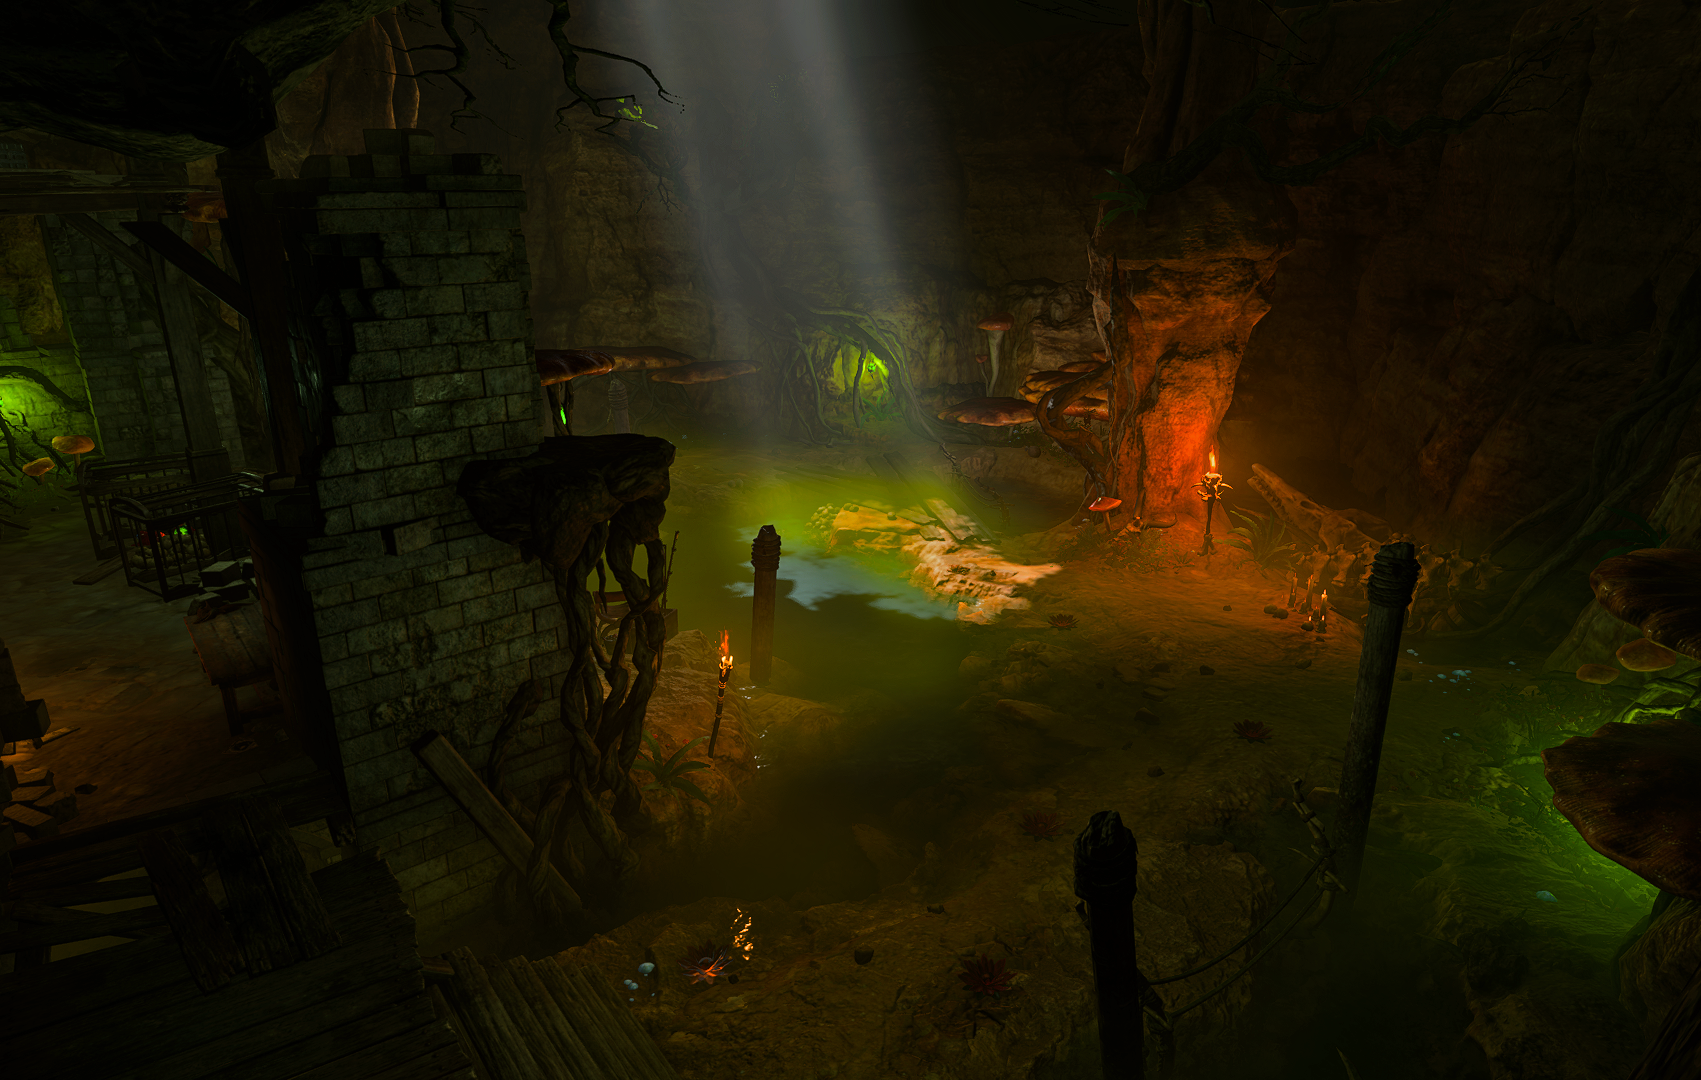
The first part of the basement resembles the Overgrown Tunnel back in Act One. Four new victims of the hag – the 


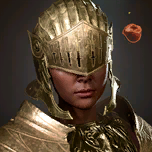
The masked guards are hostile to party members who are not wearing Ethel's ![]()
![]()
![]()
If the party strikes a deal with Ethel and fulfills it by killing Lora, the masked guards remain neutral to the party. They do not react to the party picking up any valuable items in the cave, looting containers, and / or disarming traps.
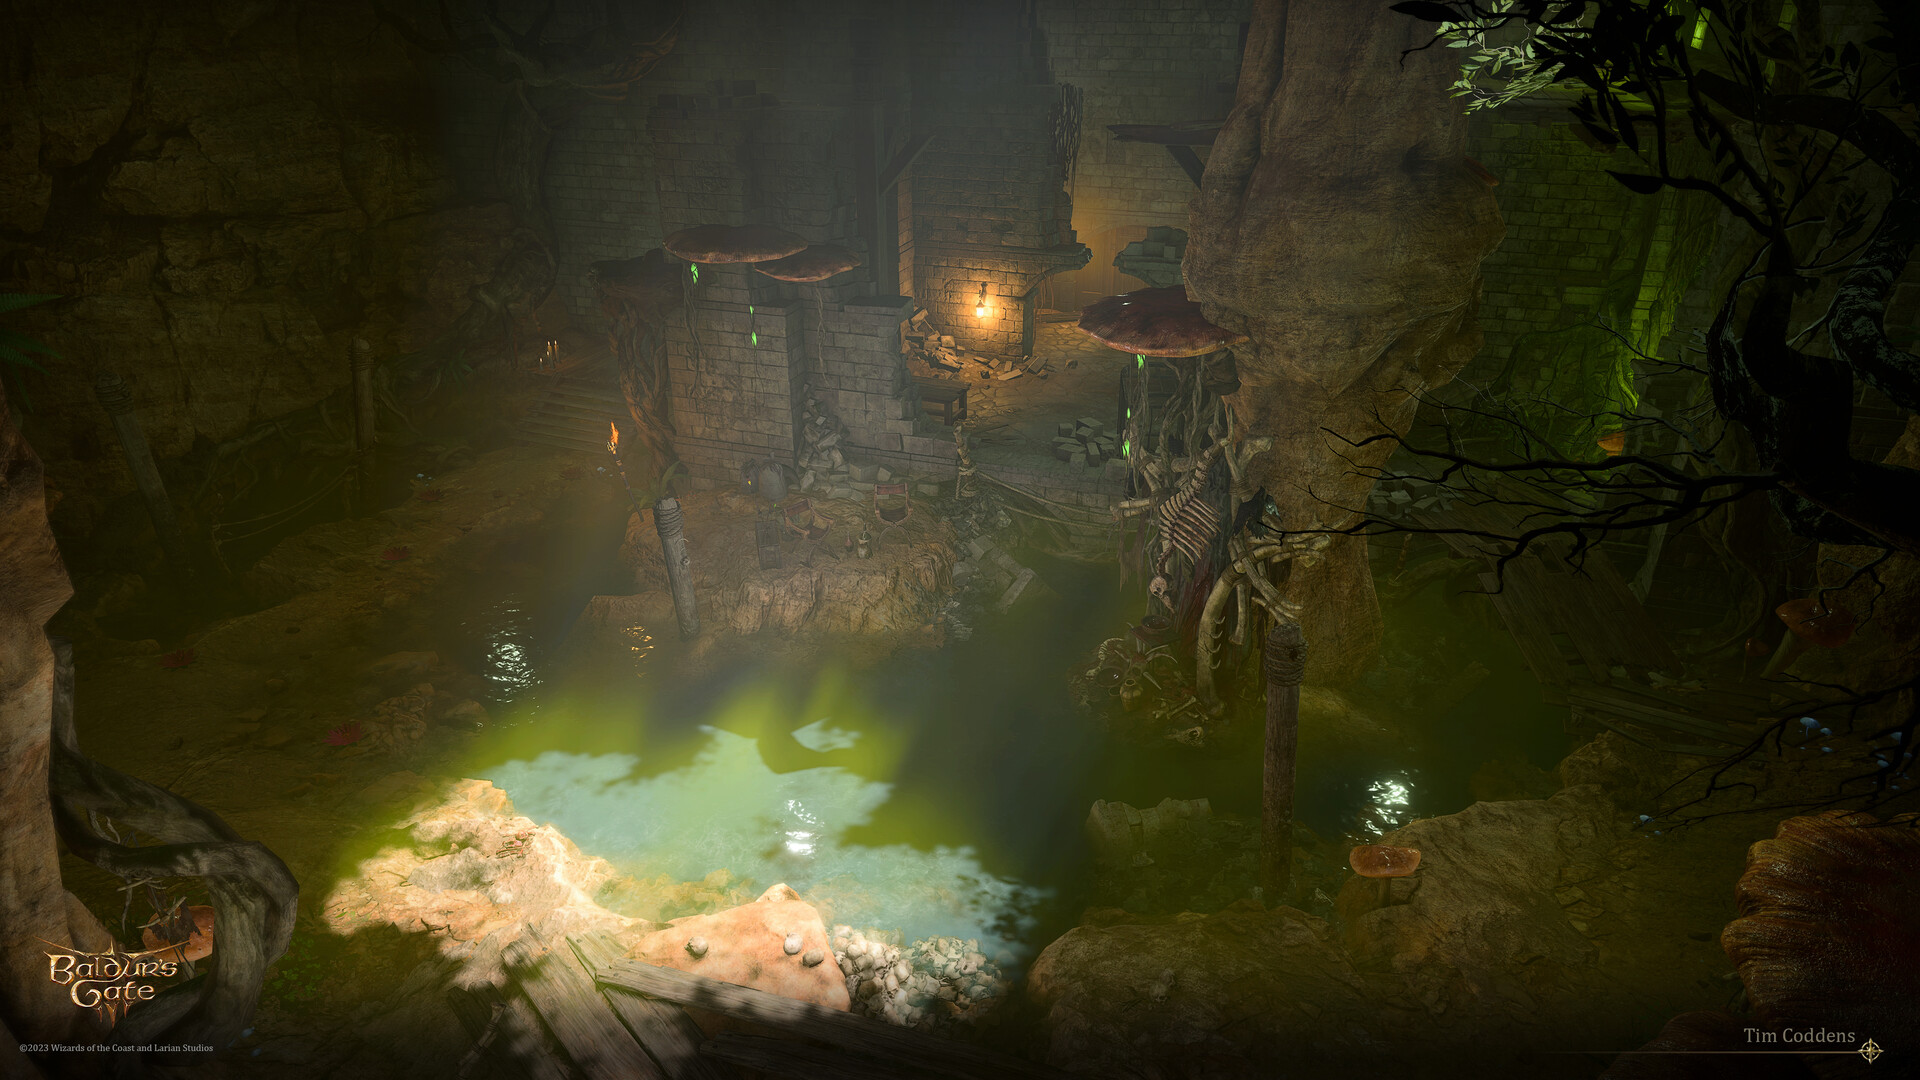
To the east from the entrance is a stone-paved ground which lead to the trapped area by the doors of the hag's lair proper; two vents and a tripwire set them off. As with the Overgrown Tunnel, on the shelves are bottles with ![]()
![]()
![]()
![]()
![]()
![]()
![]()
![]()
At the far end of the swamped area is a series of giant mushrooms which can serve as a ladder to a rocky ridge hugging the far wall. The ridge features several Peculiar Flowers as well. At its end is a locked and trapped Heavy Chest which holds gold and / or random precious gems and alchemical ingredients. The chest requires ![]()
![]()
![]()
![]()
![]()
Ethel's Lair[edit section | visual editor]

The Hag's Lair is behind the locked door which requires ![]()
![]()
The lair itself is a split-level room where multiple stairways, ladders and barrels can be used to move up or down. Next to the entrance, a
In the far corners of the room grow three Pearlspore Bells. A Barrelstalk in the middle of the room's upper level grants ![]()
The party can confront 
If the party did not dispatch the masked guards in the swamp area, Ethel summons them as minions when the fight in the lair starts. However, sparing enslaved Captain Grisly throughout the fight and thus freeing her grants ![]()
![]()
![]()
Tactics on fighting Auntie Ethel can be found on her page. Possible outcomes of the fight are listed on the ![]()
Encounters in the tavern and around[edit section | visual editor]
There are several NPC vignettes inside the tavern and around it.
- In the middle of the ground floor two friends


- In the entertainment area on the upper floor


- To the east


- A drunkard named


- Behind the tavern two commoners,


Related locations[edit section | visual editor]
Related quests[edit section | visual editor]
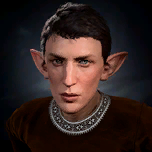
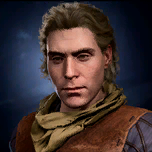
Characters[edit section | visual editor]
Auntie Ethel, her mask-charmed victims, Redcaps and Vanra appear only if Mayrina was saved from Auntie Ethel in Act One.
Notable[edit section | visual editor]


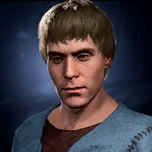
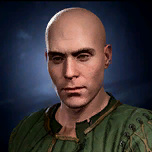
Patrons[edit section | visual editor]


Redcaps[edit section | visual editor]


Outside the building[edit section | visual editor]


Loot[edit section | visual editor]


- Multiple alchemical ingredients, including rare ones[9]
Hidden Treasure[edit section | visual editor]
- At X: -145 Y: -82 (requires

- At X: -2355 Y: -145 in the swamp area of the basement (requires
Related literature[edit section | visual editor]


Gallery[edit section | visual editor]
-
The tavern interior (by Rick van den Berg)
-
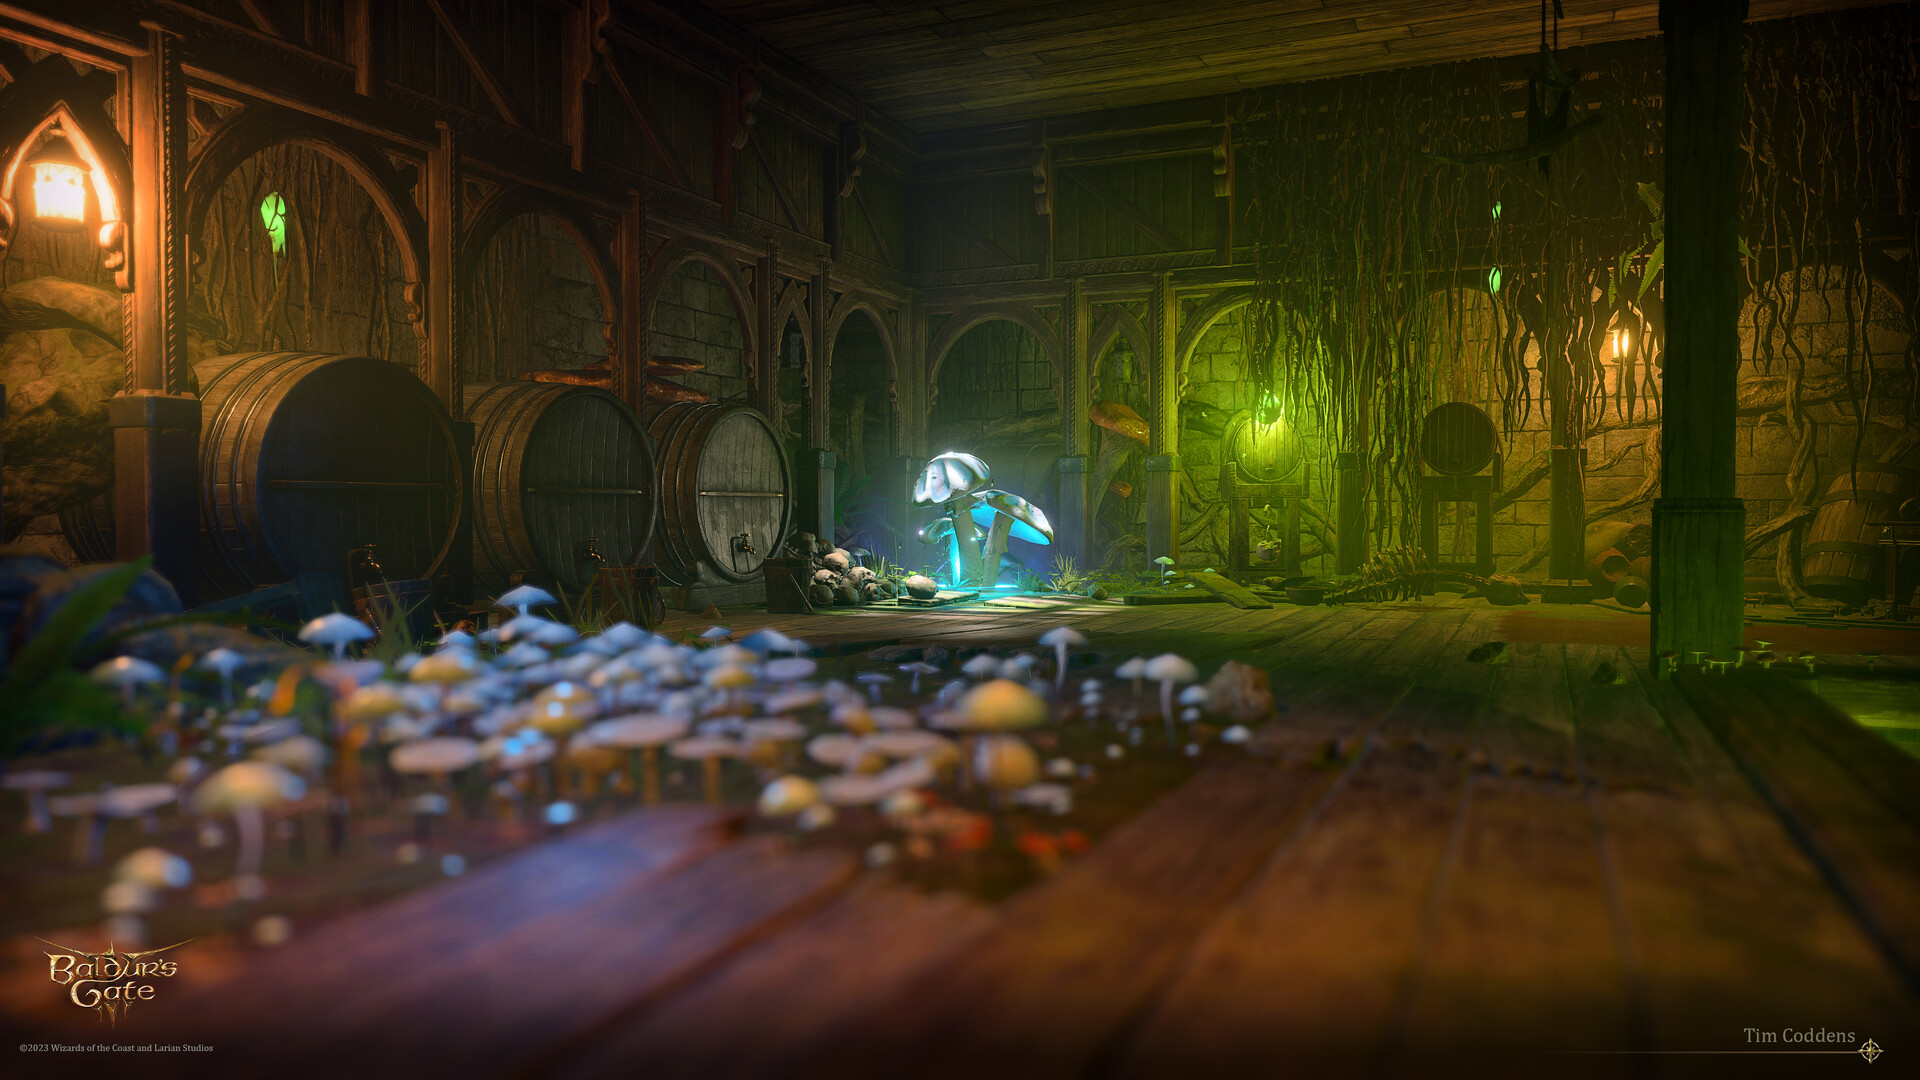
The swamp area of the basement (by Tim Coddens)
-
The Pearlspore Bell in hag's lair (by Tim Coddens)


External links[edit section | visual editor]

Footnotes and references[edit section | visual editor]
- ↑ The Blushing Mermaid in Baldur's Gate 3 appears to be a composite figure made of two taverns from the first Baldur's Gate game: The first is the extremely rowdy

- ↑ As mentioned in

- ↑ Referring dialogue file is /LOW_BasiliskGate_CrimeComplainer003.
- ↑ Nesha is the final target in Dolor's

- ↑ Party members who attempt to pickpocket the false captain find she carries several precious gems, alchemical ingredients, a

- ↑ The effect of these charms resembles those cast on

- ↑ Of these three bottles, only "A Mother's Loathing" is recommended to drink, as it is the only one giving positive effect.
- ↑ 8.0 8.1 Carried by Captain Grisly
- ↑ 9.00 9.01 9.02 9.03 9.04 9.05 9.06 9.07 9.08 9.09 9.10 Only if Mayrina was saved from Auntie Ethel in Act One
- ↑ 10.0 10.1 Dropped by Auntie Ethel
- ↑ 11.0 11.1 Carried by Nesha Leesha
- ↑ Dropped by Auntie Ethel, if it was not looted from her in Act One
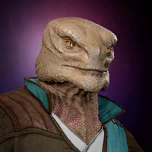
- ↑ Carried by Vin Dorgo

