Ad placeholder
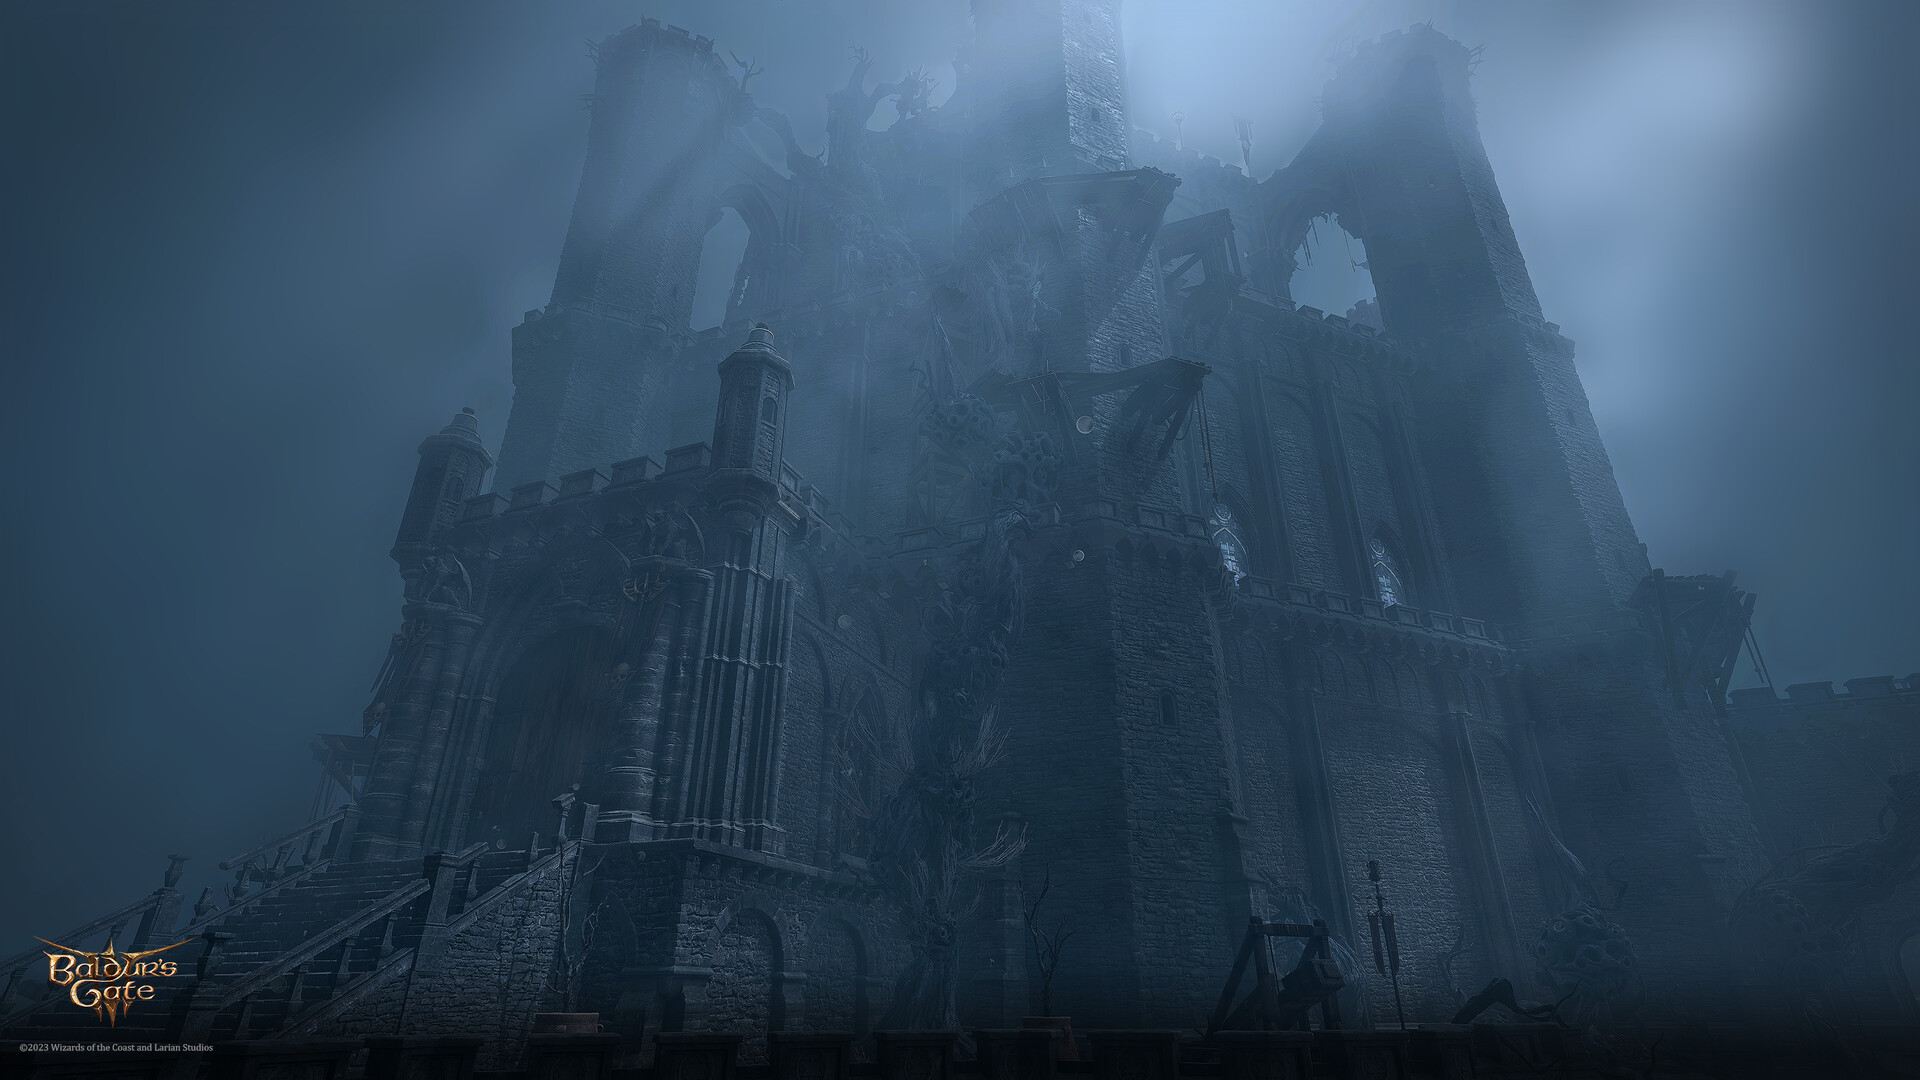
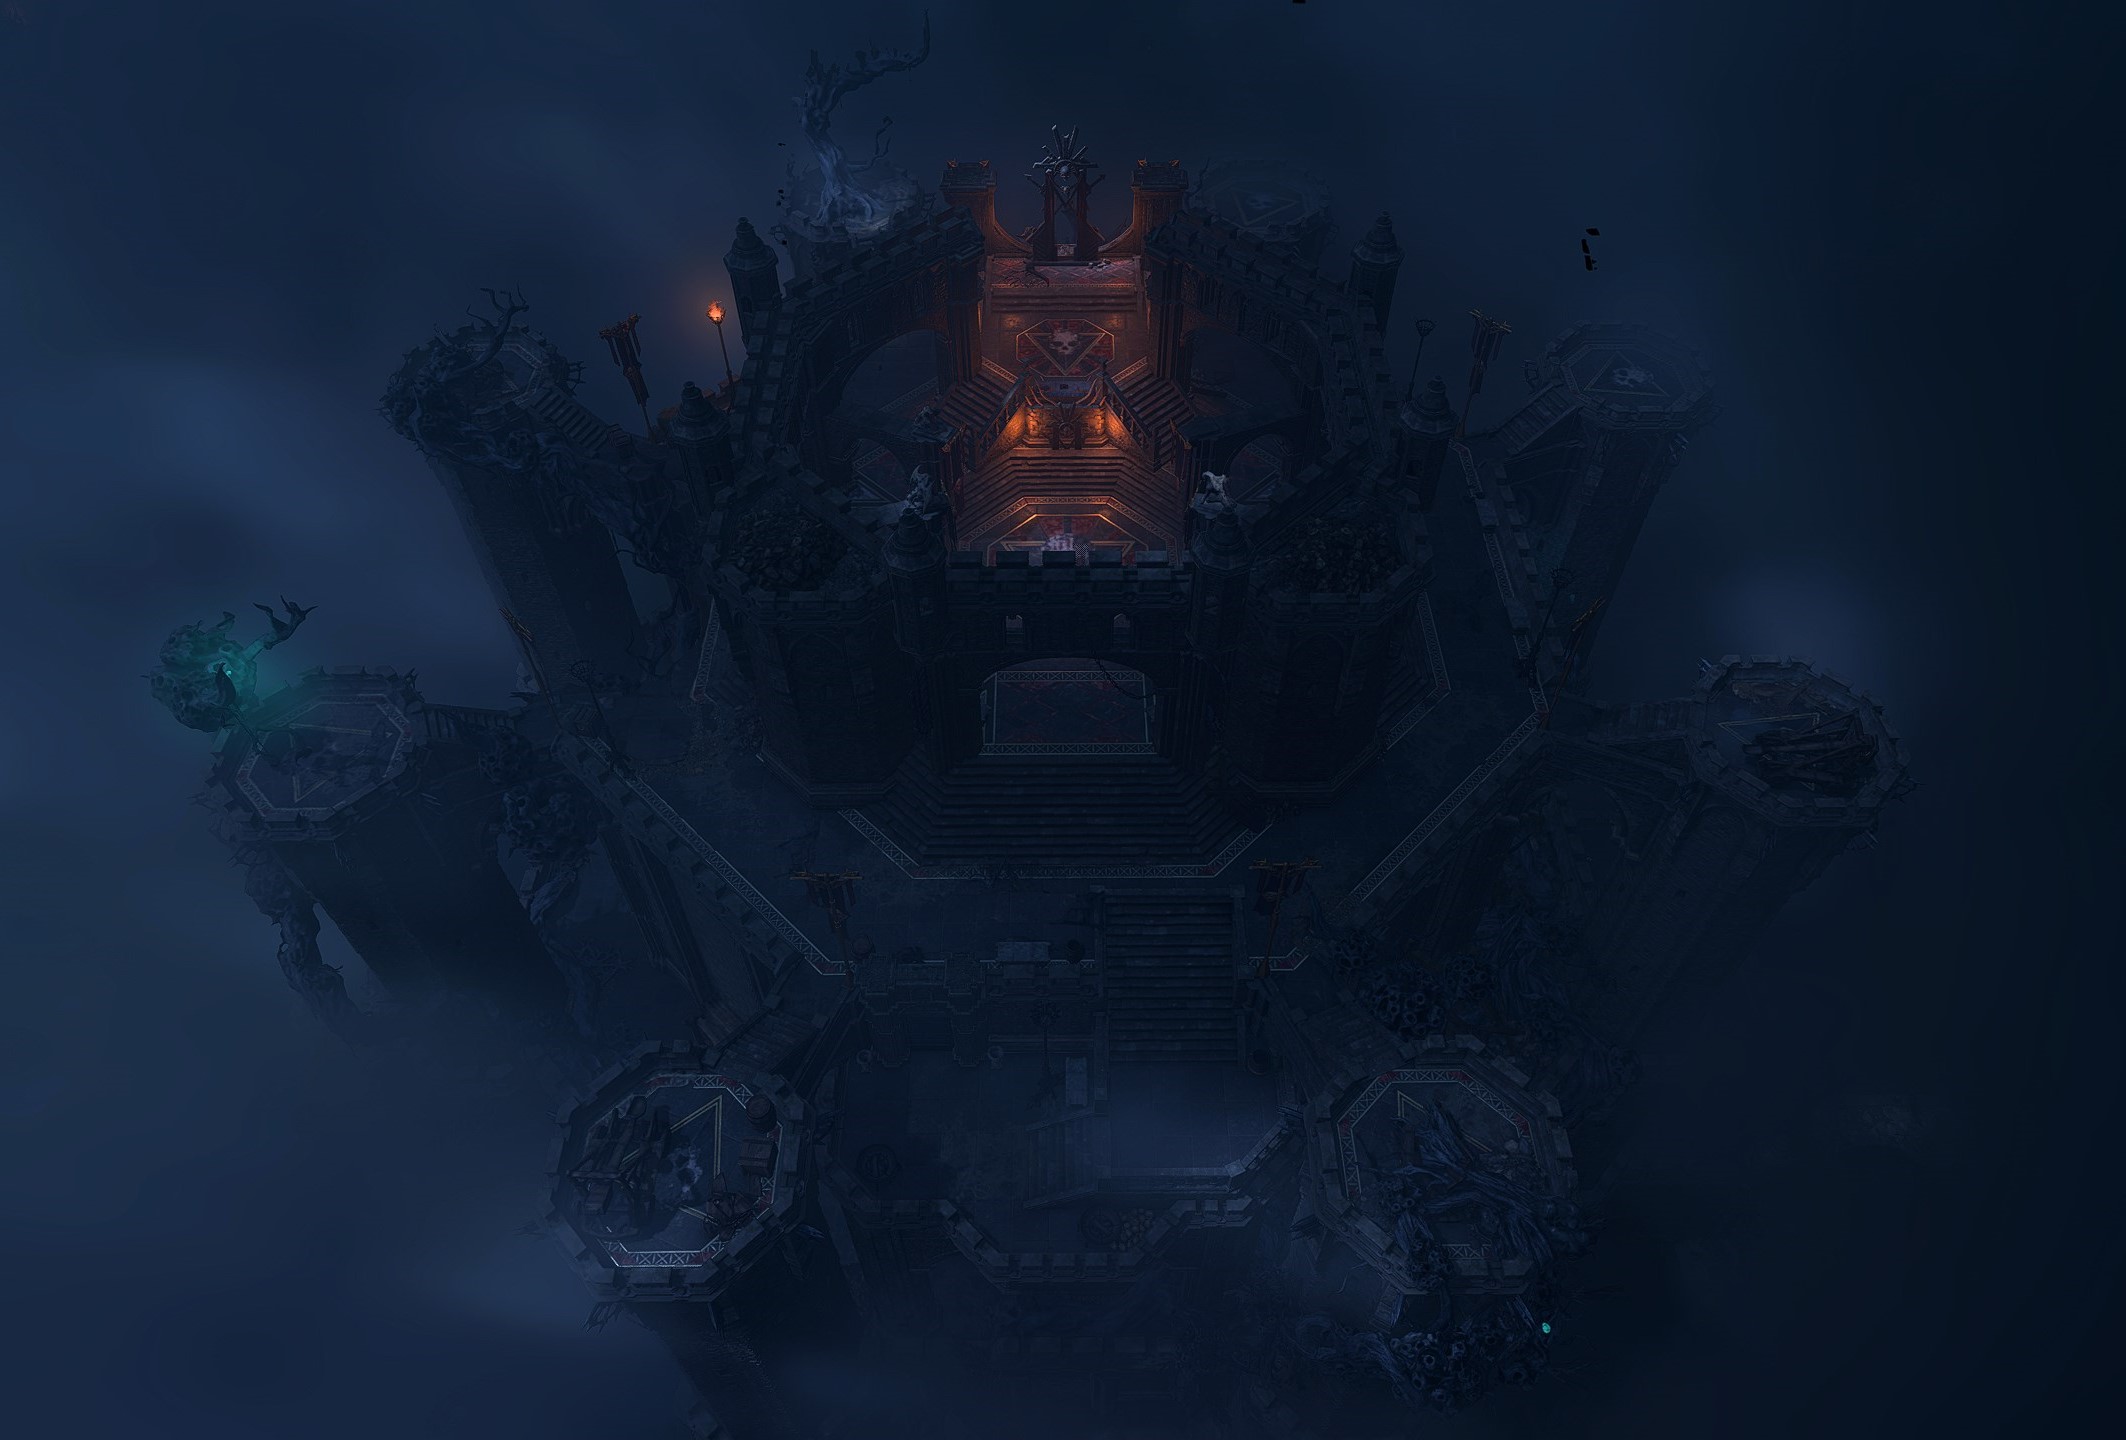
Moonrise Towers

| Shadow-Cursed Lands | ||||
| Reithwin Town | ||||
| ↑ | ||||
| Moonrise Towers | ||||

Overview[edit section | visual editor]
Moonrise Towers has always been the main seat of the Thorm family and its head, 
![]()
![]()


Entrance[edit section | visual editor]
The main entrance to the towers is at the end of the bridge from Reithwin Town. At the far end of the bridge, the Moonrise Towers Waypoint is located within the Shadow-Cursed area. There are no other Waypoints inside the stronghold proper. Upon the party's approaching the bridge, the 
Immediately after the bridge lies a small tower on the eastern side. It has a locked door which requires a 
![]()
![]()
The stairs to the entrance are guarded by 


Provoking a fight with Malik and Merim earns 


Several 
If the party did not have a Long Rest since they have entered the Shadow-Cursed Lands and until reaching Moonrise Towers, then 
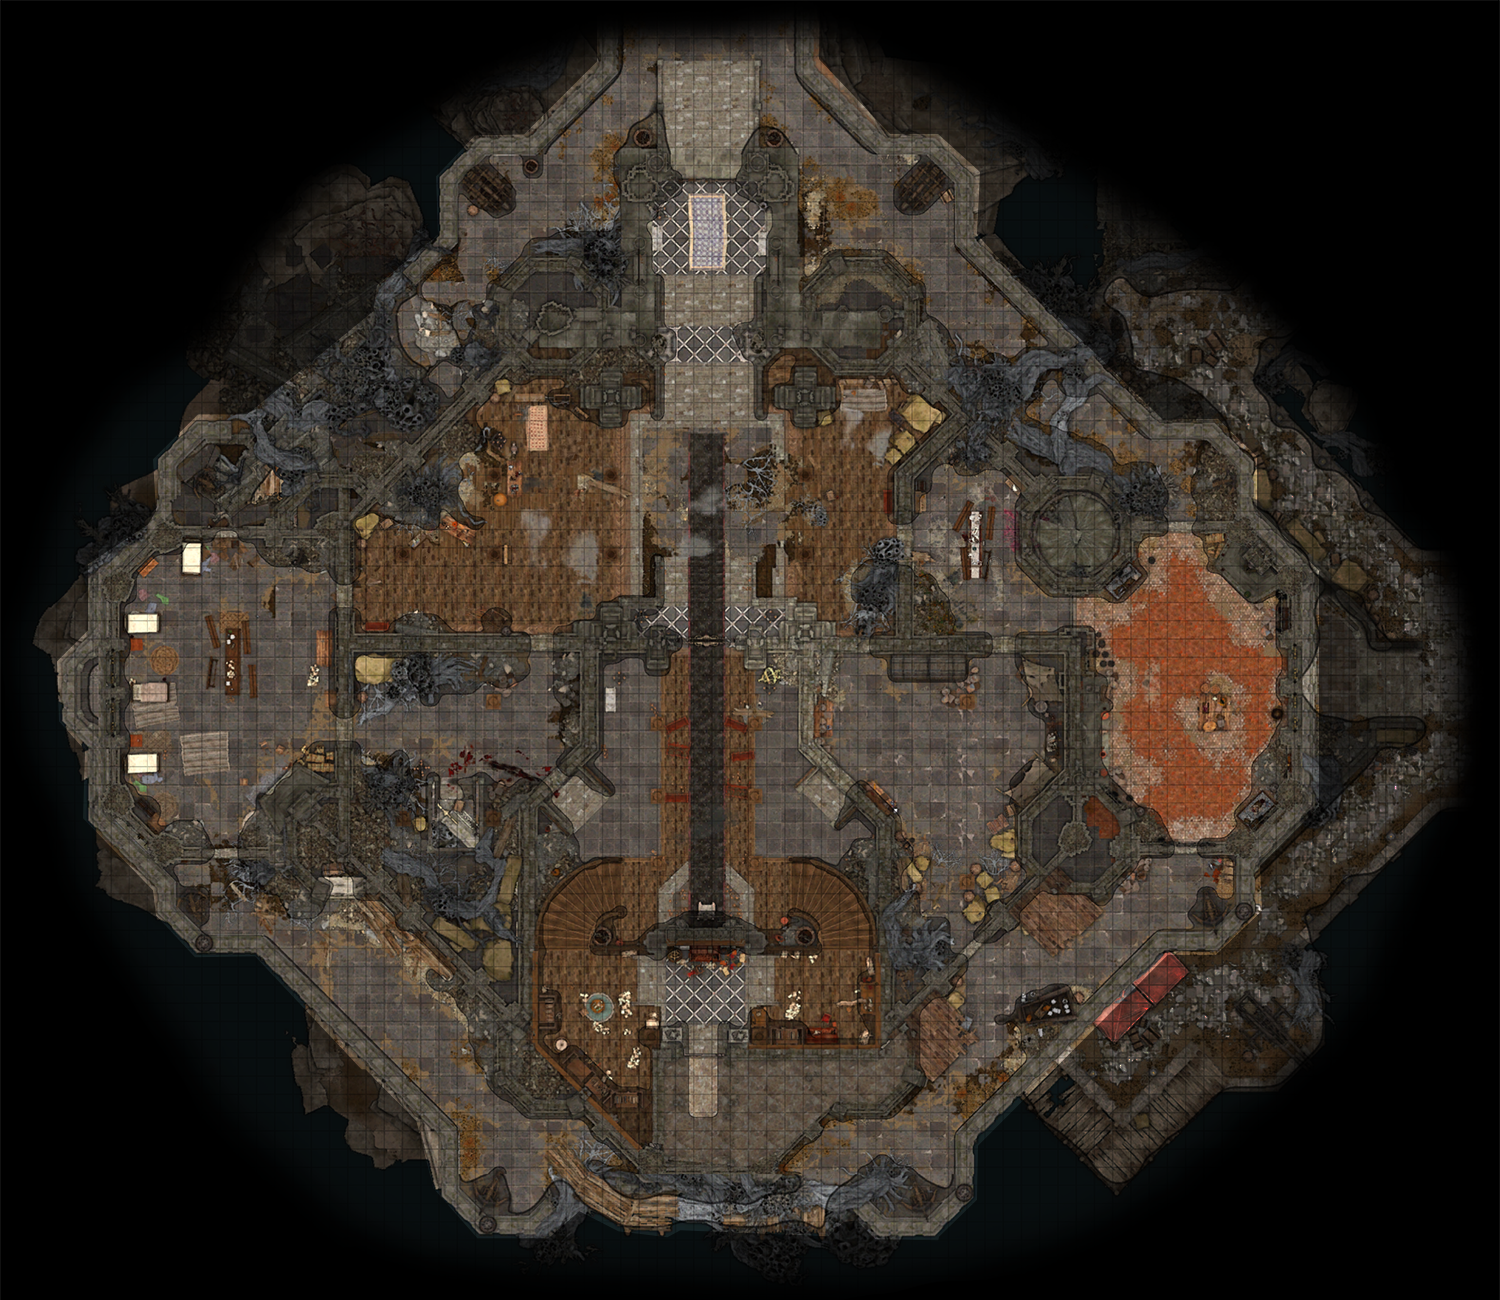
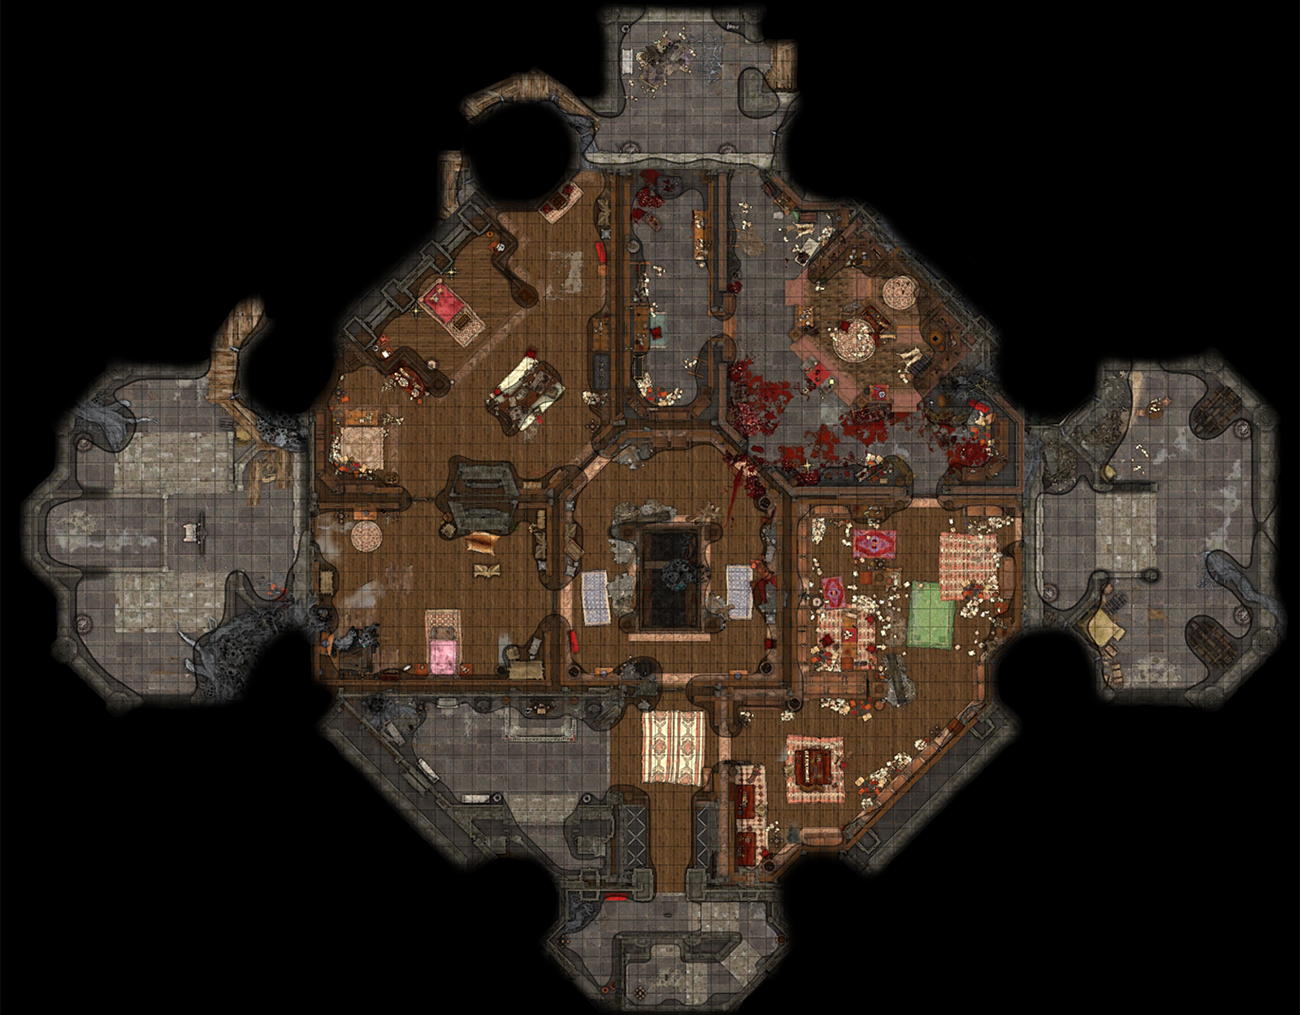
Main floor[edit section | visual editor]

Lobby[edit section | visual editor]

Between the entrance and the door to the throne room[1] is a vast lobby connected to a small mess hall, a kitchen, the sanguine laboratory to the east, and dormitories and an antechamber with a stairway leading to the Moonrise Towers Prison to the west. Both wings have doors to the rear balconies, partly destroyed, but connected by wooden footways and roots, allowing the party to explore the main floor in a circle. Two 


In the western part of the lobby are several Absolutist pilgrims, 


Two traders are stationed on the western side of the room: 

Lann Tarv is a bugbear merchant (or "bugbear quartermaster", as Z'rell calls him). Idling away the time, he throws cleavers at a training dummy. He calls the party members "weaklings" and challenges whoever speaks to him to prove they are worthy. If convinced through dialogue options with skill checks, Lann Tarv provides a substantial discount while trading.
He sells a number of valuable items, including the ![]()
![]()
![]()
![]()
If 
![]()
![]()
Proving the party's worth to Lann Tarv through any available dialogue option earns the following inspirations:


Roah Moonglow, a halfling merchant, can be found deeper in the western part of the lobby. Unlike Lann Tarv, she greets the player character warmly (if a bit ironically). The dialogue with her may vary depending on whether the party have already met her in the Goblin Camp and whether they know that Roah belongs to the Zhentarim. If the party are unaware of the latter, any character might uncover it by passing a
Roah's stock in Moonrise differs from the one she might have had in the Goblin Camp. This time, she has several unique items to trade in addition to her previous assortment, like ![]()
![]()
![]()
Agreeing to trade with Roah Moonglow grants the ![]()
![]()
Dormitories[edit section | visual editor]
At the far western corner of the main floor is a dormitory, occupied by 


![]()
Just past the dormitory's exterior door is a cracked wall at X: -183 Y: -206 containing a wooden chest. It is marked on the map if the party have taken on the side quest ![]()
A small antechamber adjacent to the dormitories has a staircase leading down to the Moonrise Towers Prison, with bloody traces on the floor marking the way unmistakably.
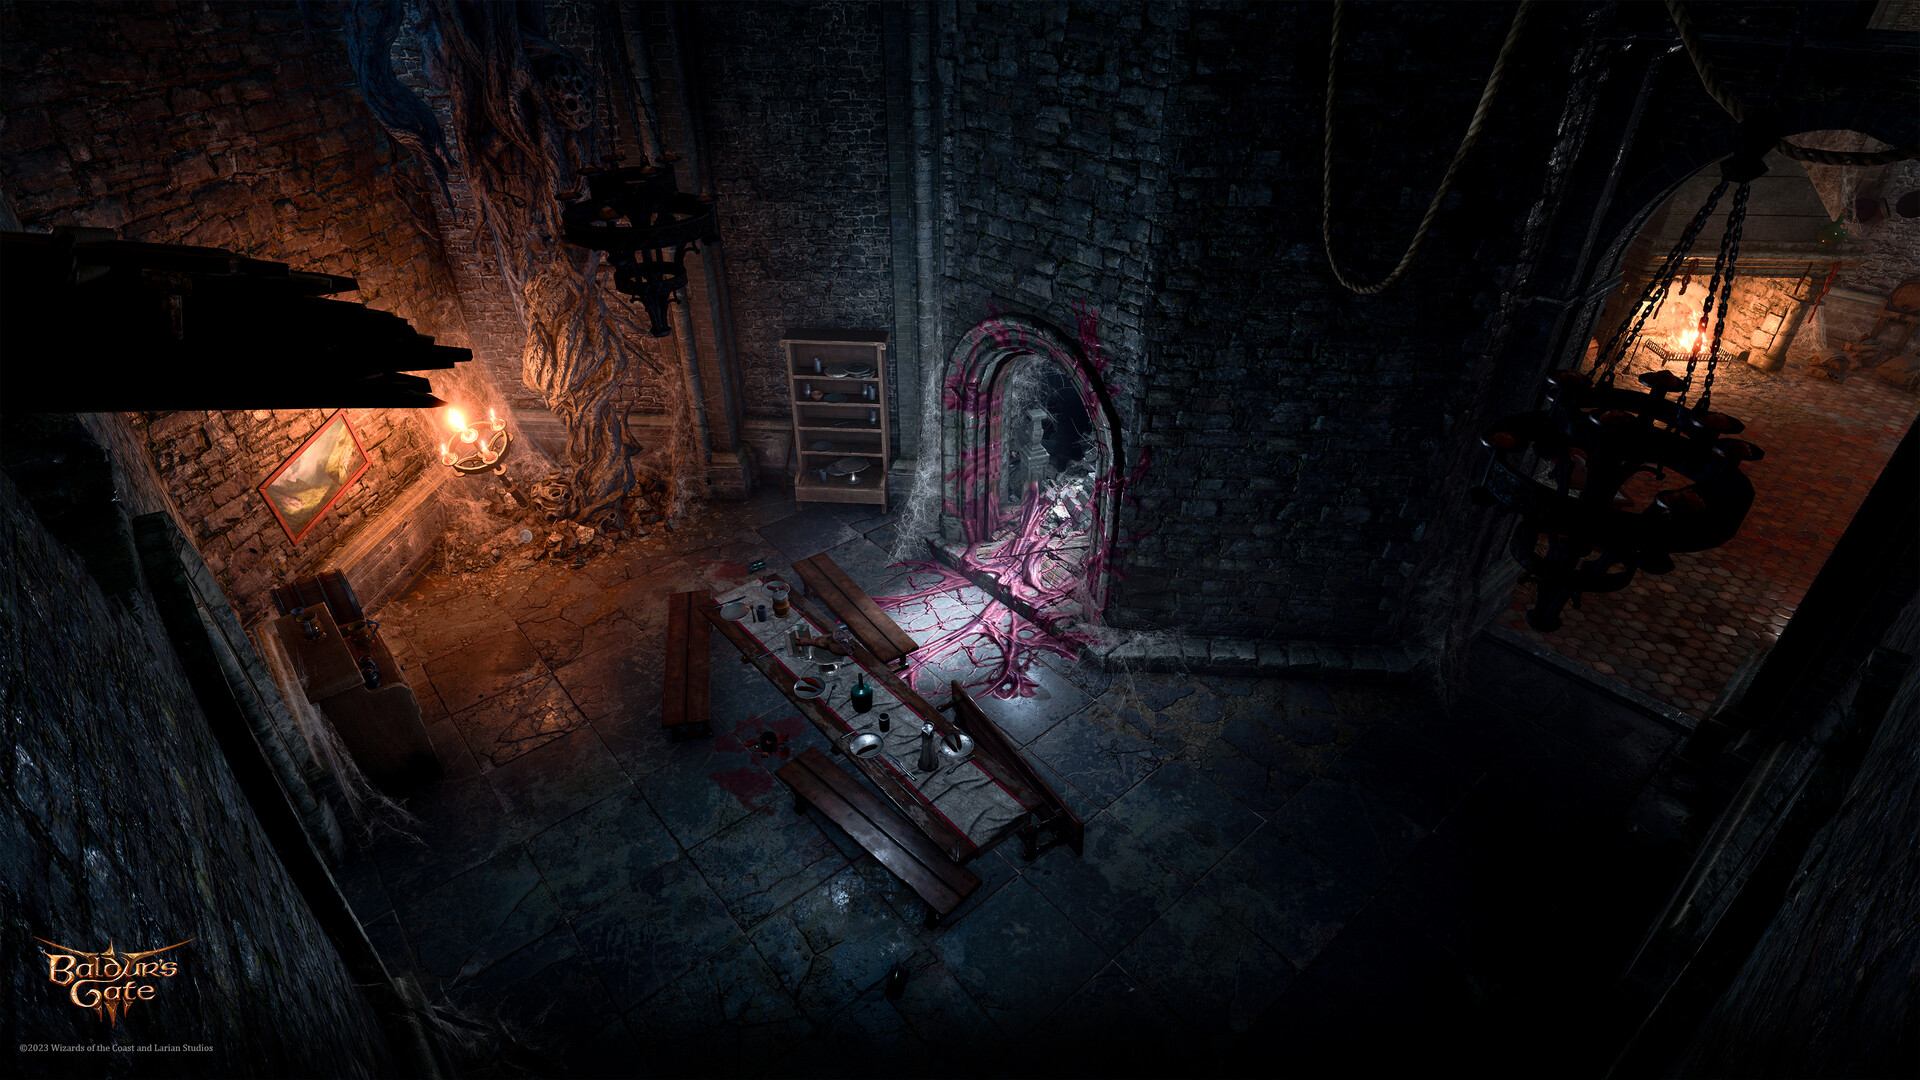
Mess hall and kitchen[edit section | visual editor]

The eastern part of the lobby is empty, save for three goblins: 


At X: -139 Y: -162, a ladder can be used to access the rafters (see the section below), and nearby is a door leading to the mess hall, which has some free Camp Supplies. The wall breach across the door is curtained by a mucal mesh similar to the fleshy remnants at the Nautiloid wreckage in Act One. A successful
At the far end of the mess hall, another door leads to the kitchen. There, 


Linsella can be spoken with, where she boasts her ability to control Barnabus. However, her mental leash wavers while she is distracted by the conversation, which gives the player three options: help Linsella reassert control, sever the connection (requires a
Choosing to sever Linsella's control earns 

Resolving the situation may grant one or more of the following inspirations:


Reinforcing Linsella's mental efforts to influence Barnabus is considered an Oathbreaking action for paladin characters following the Oath of Vengeance.
If Linsella dies, her body can be looted for a ![]()
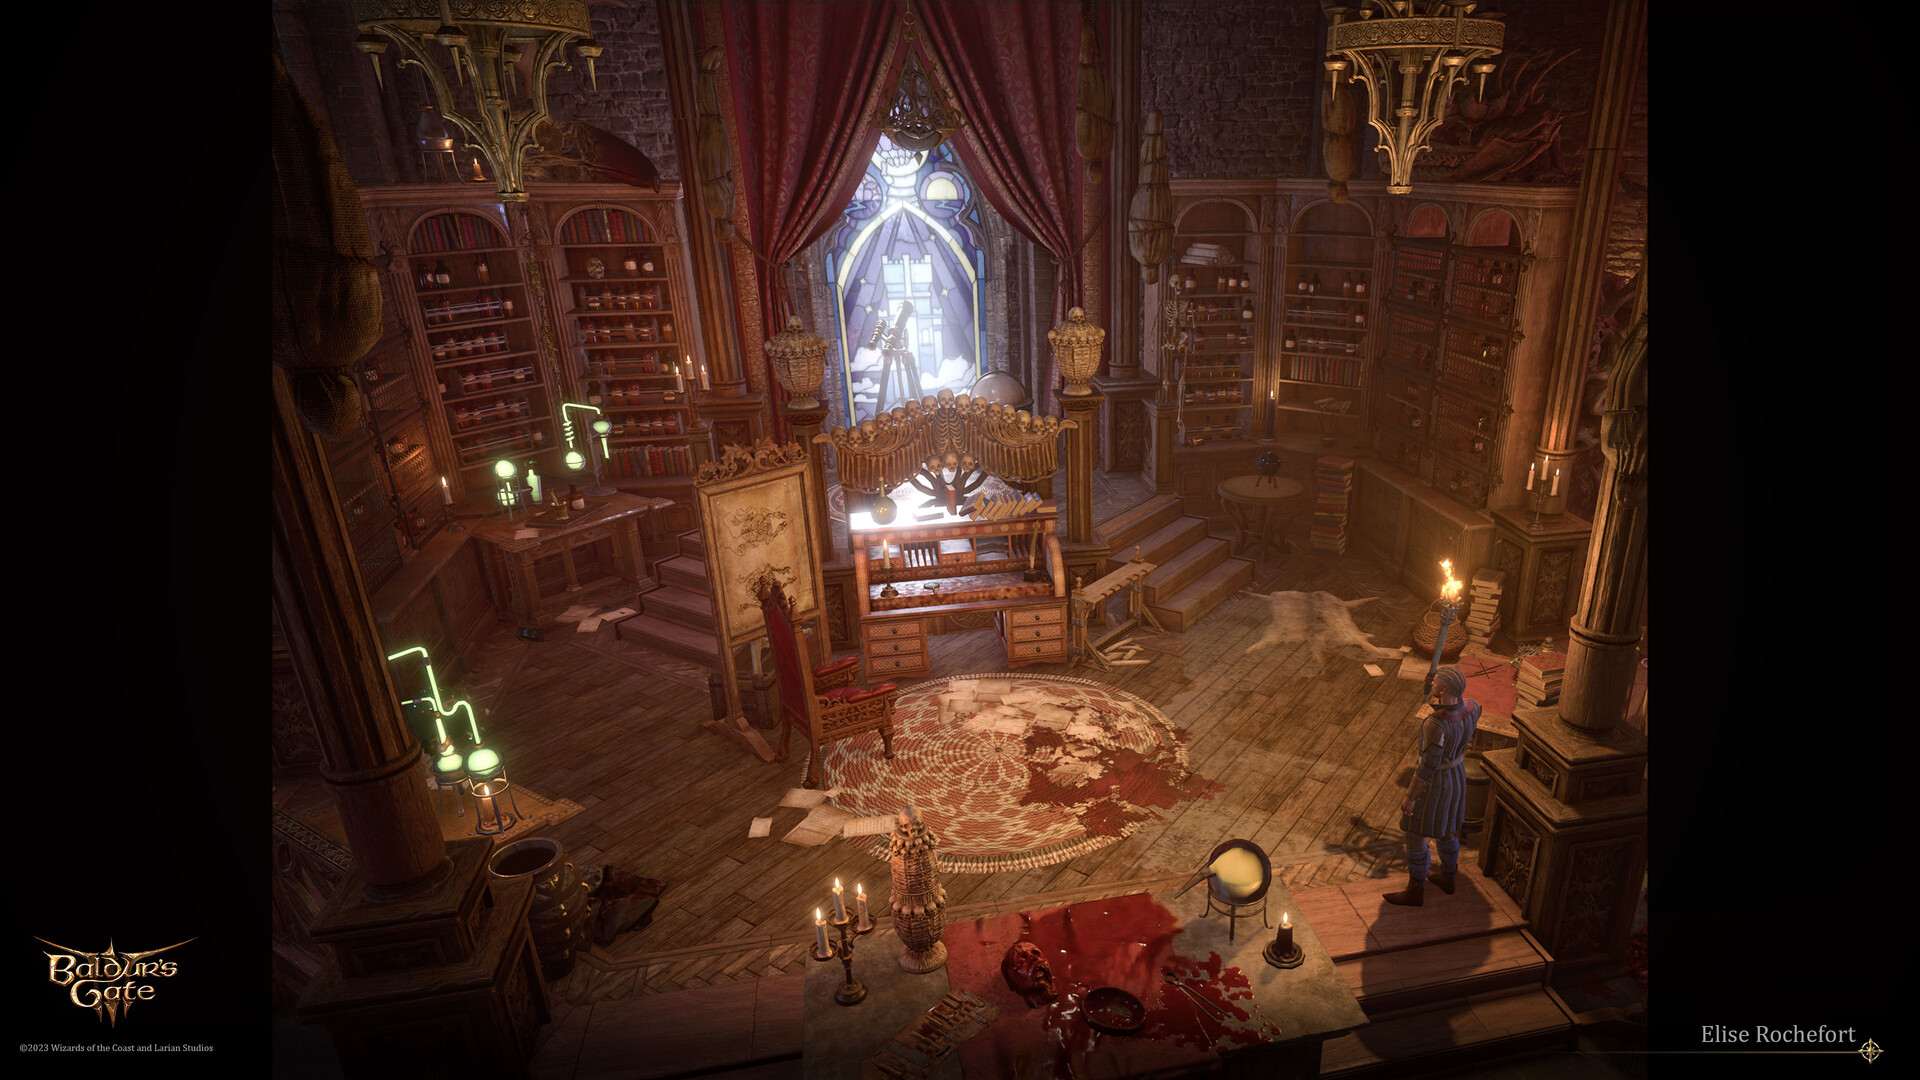
Sanguine laboratory[edit section | visual editor]

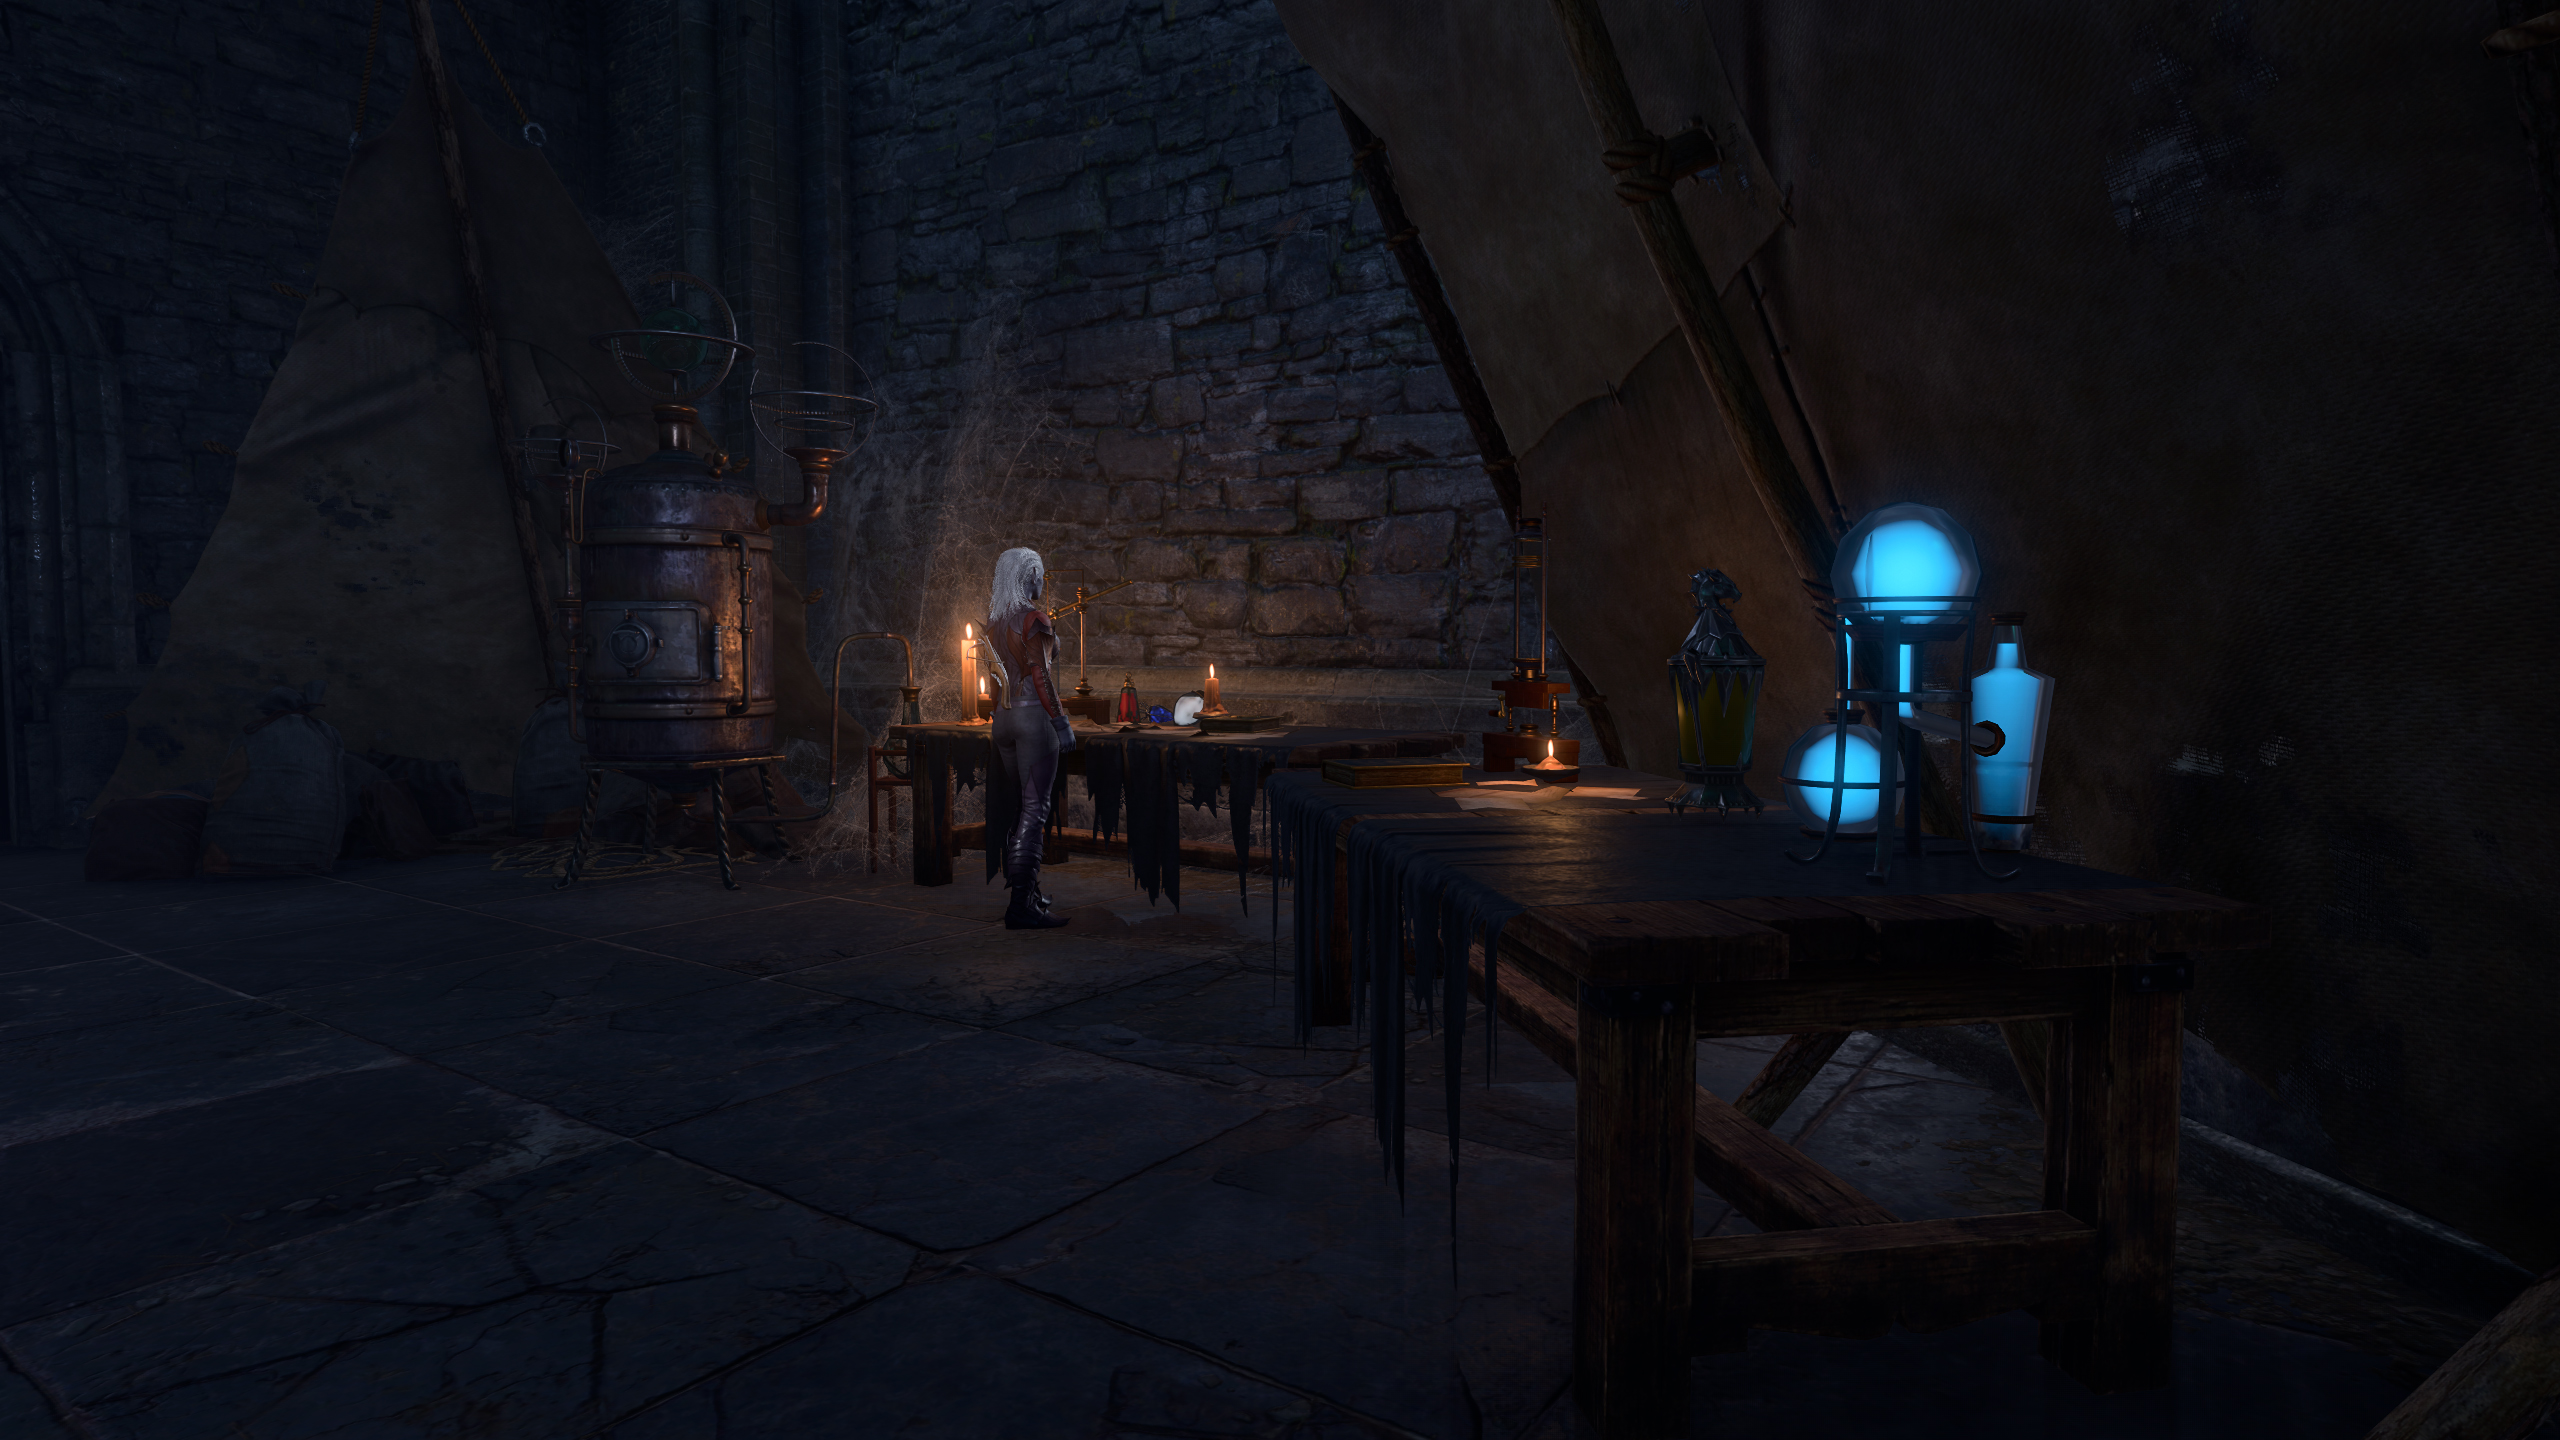
Near the door between the mess hall and the kitchen is an entrance to a sanguine laboratory where the drow alchemist 

Araj Oblodra offers the player character a unique potion based on a sample of their own blood; its type and effects depend on the race (for 

Donating blood to Araj awards the ![]()
![]()
After resolving both requests, Araj Oblodra can be interacted with as a regular trader. She sells several valuable items, including the ![]()
![]()
![]()
Chests and sacks around her small study contain a fair share of various alchemical ingredients, but are red-outlined to pick up while she is present. However, closer to the end of Act Two, Araj Oblodra flees Moonrise, leaving all these belongings behind, including a ![]()
If the party reached Moonrise Towers with the 
Behind the sanguine laboratory, on the outer balcony at X: -133 Y: -229, the cat 
![]()
Talking to her grants the following inspirations:

If the player character is the
Murdering Steelclaw while playing as the
Rafters[edit section | visual editor]

Just to the east of the ladder in the lobby is a Cracked Wall, where the source of the "suspicious sounds" noted by Mig might be uncovered. A
If the player character interacts with this mass, they can reach inside, prompting a series of skill checks. If multiple checks are failed or they choose to submit, the party is pulled into the wall and dragged down to the Oubliette. Failing any check gives the interacting party member the ![]()
On the western side of the rafters (X: -179 Y: -198), above the room leading to the prison, are some roots which can be climbed to access
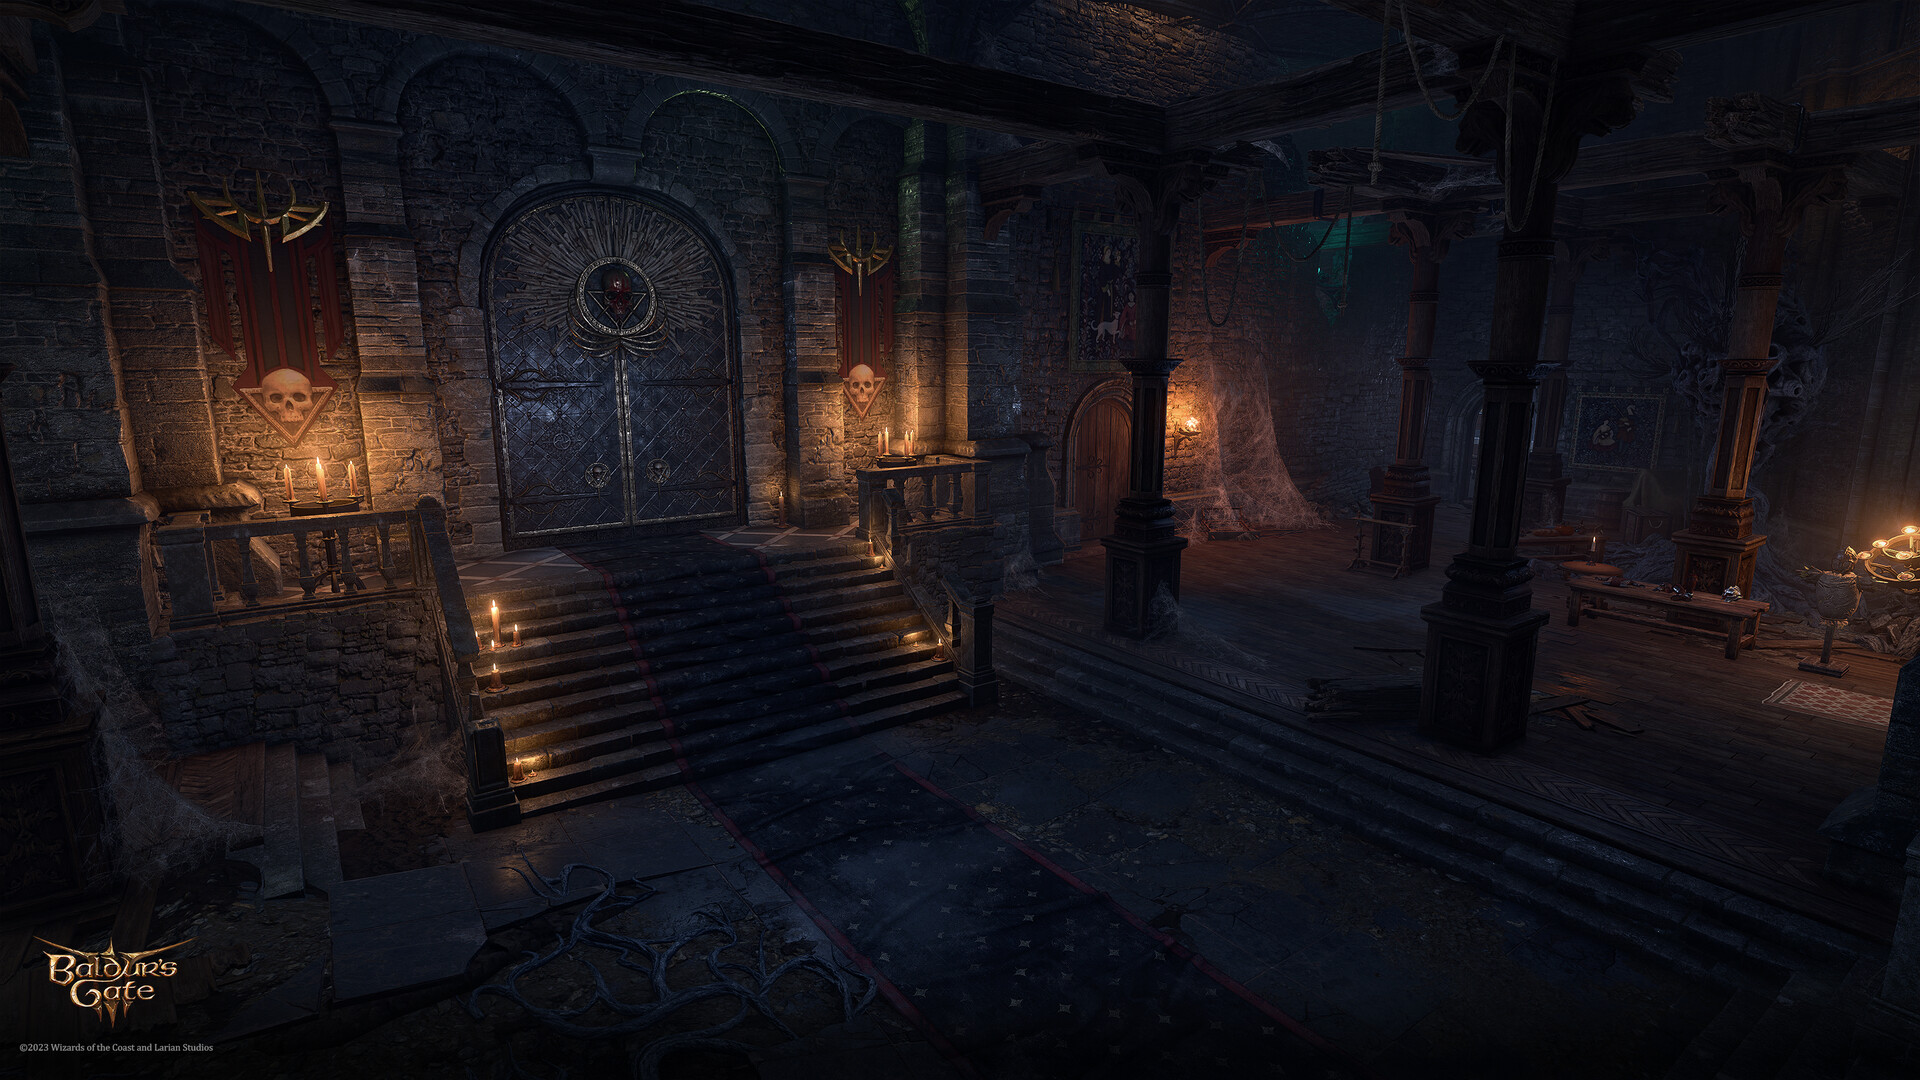
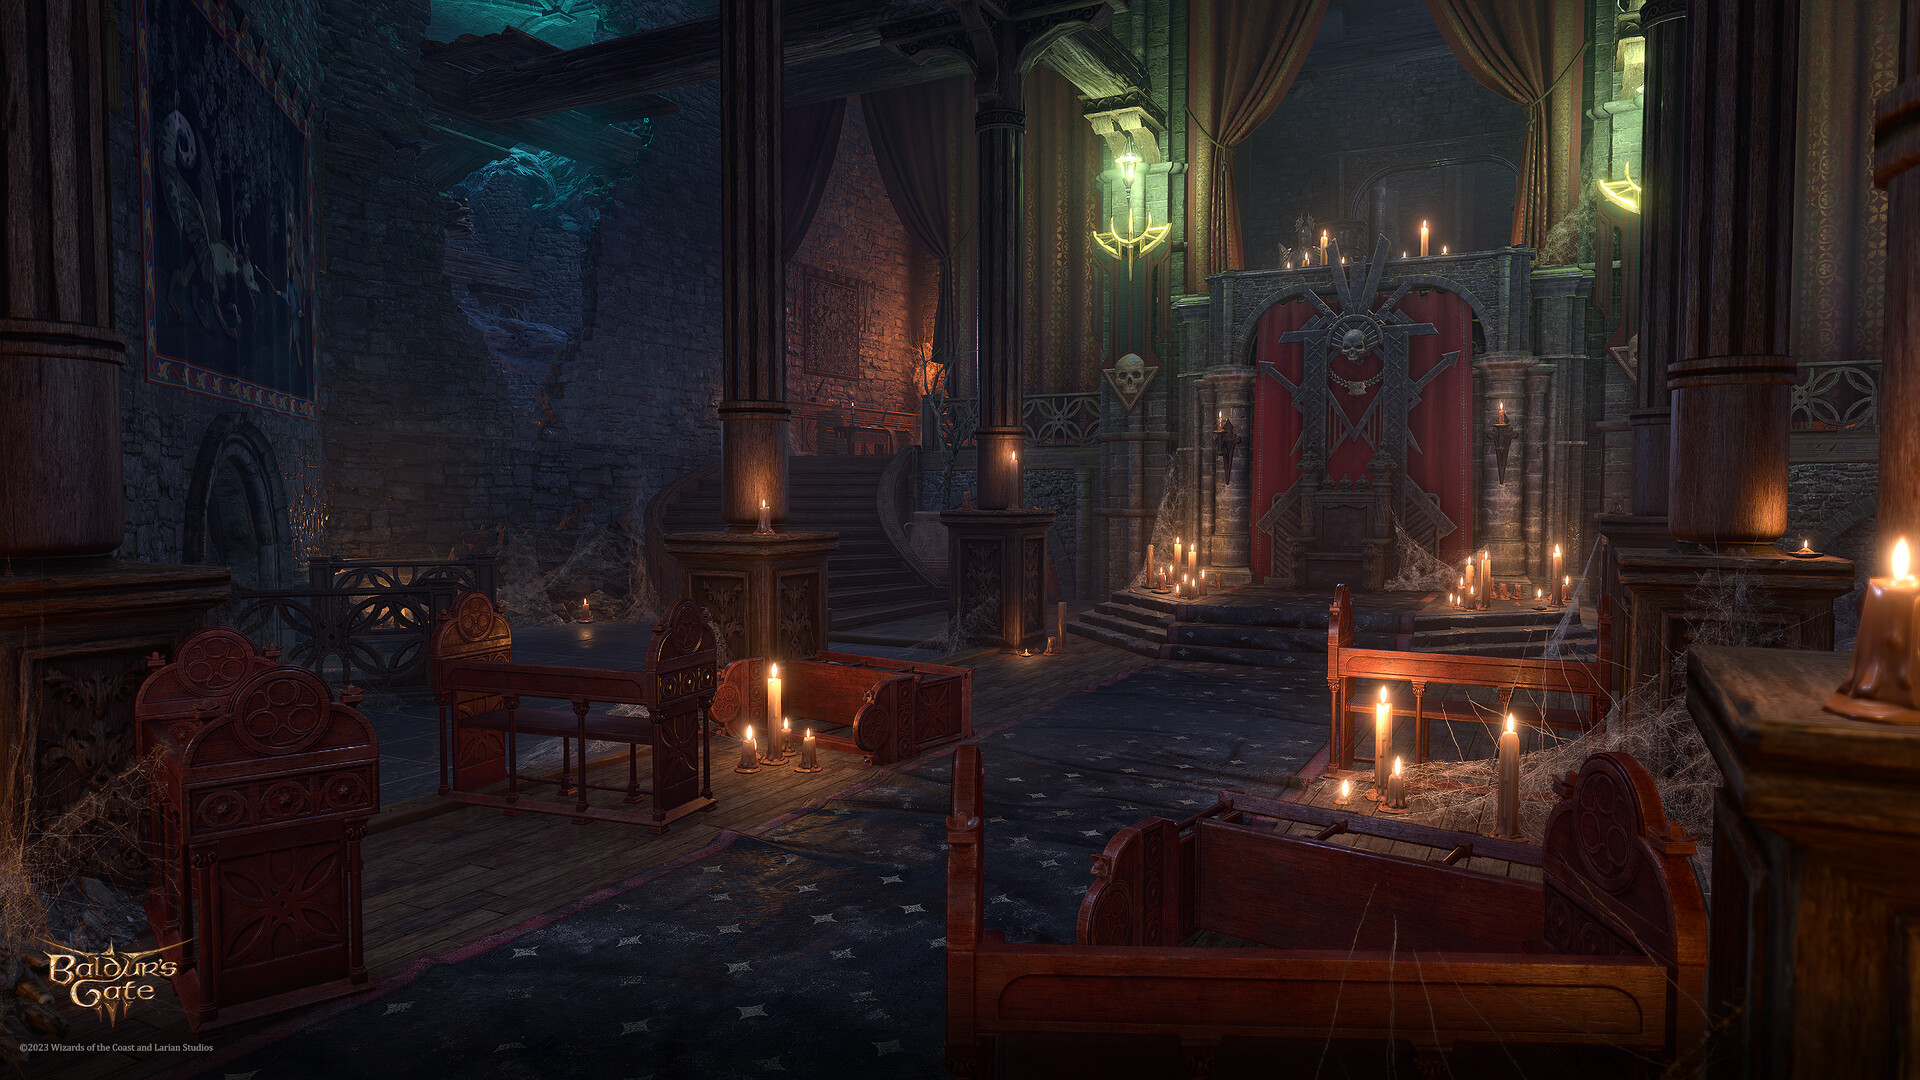
Throne room[edit section | visual editor]

The throne room occupies the central part of the main floor.
Upon the party's first visit to the stronghold, they see


If 


On the party's approach, a cutscene is triggered involving Ketheric, the accused, and Z'rell.
In the Dark Urge's case, Ketheric first greets the player character cryptically, resulting in yet another attempt to remember their true self (but without any flare-ups of their Urge this time).
Otherwise, Ketheric may ask the player character for their opinion on the matter before he delivers his judgment. He condemns Minthara (if present) and the goblins to death, and kills Drenn with his bare hands after she attacks him. Afterwards, he commands Z'rell to deal with the remaining goblins before suggesting she have the player character do it, and then leaves the scene. The conversation continues between all remaining participants, and the player character is presented with dialogue options to kill or spare the goblins, with variants depending on the character's class; the Dark Urge has several options if they choose to kill the goblins.
Both decisions can change approval with certain companions. Also, depending on the outcome, the following inspirations can be earned:

If

- She Cannot Be Caged!
- Rescue Sazza from the Emerald Grove, Goblin Camp and Moonrise Towers in one playthrough.
Killing the goblins through Illithid mind-control is considered an Oathbreaking action for paladin characters following the Oath of Vengeance or Oath of the Crown.
The door on the east side of the throne room leads out to the sanguine laboratory, and the west door leads to the prison antechamber. Behind the throne is a double staircase leading up to the first floor of Moonrise Towers.
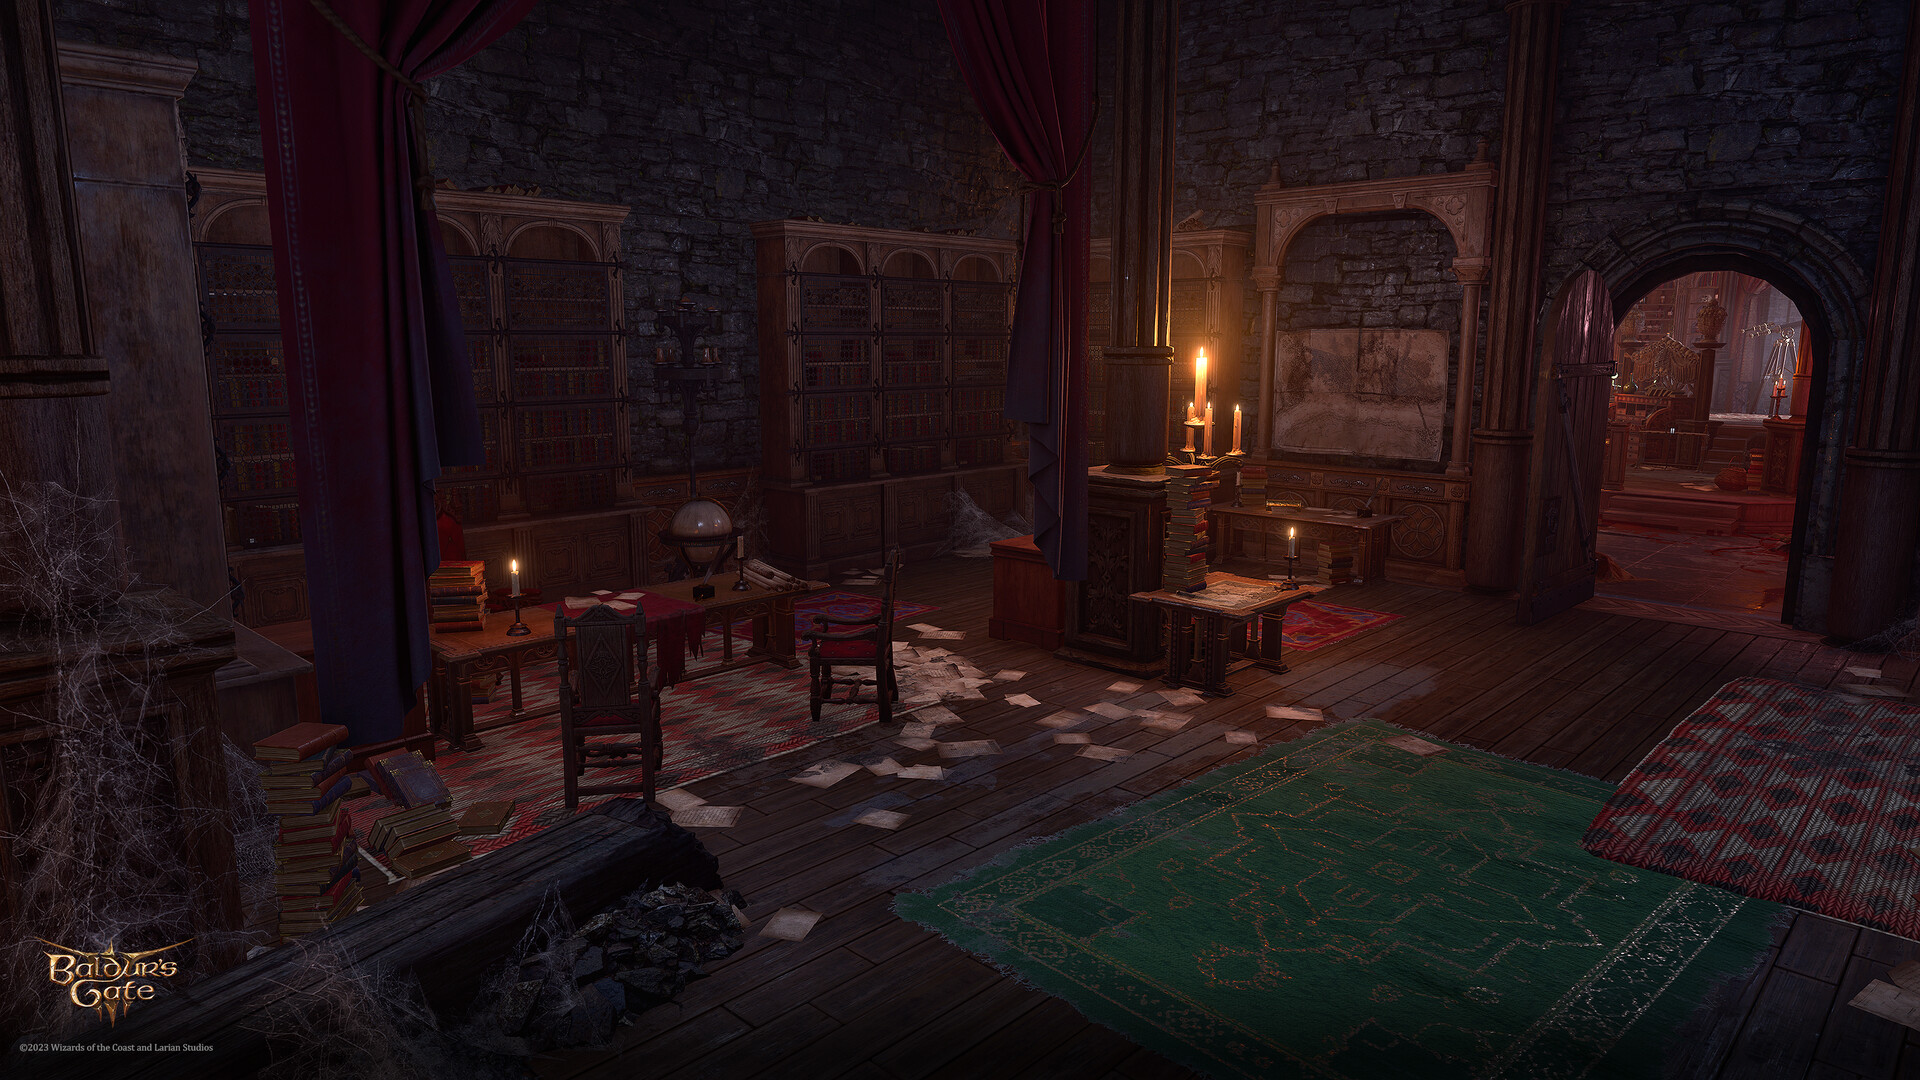
First floor[edit section | visual editor]

The first floor of Moonrise Towers begins with a small corridor. An archway to the east leads to a large ornate door, and a door to the west leads to the library. A smaller door at the end of the corridor leads to the hall between the personal chambers of Ketheric, his necromancer 

The ornate door leads up to the roof and is guarded by 

![]()
Upon reaching the first floor for the first time after Ketheric's trial, Z'rell also stands here talking to Radija. Dialogue with her starts automatically when the party approach her, and the half-orc probes the player character's mind twice: first to find out the goblins' fate, then to measure their devotion to the Absolute. She also boasts the power acquired from the Absolute and might kill Glourik if the player character asks her to demonstrate this power.
If the player character chose to spare the goblins, Z'rell demands an explanation. Successfully vindicating themselves requires passing a 

When searching the player character's mind for proof of devotion, Z'rell can be distracted by using other emotions. The particular options depend on the character's class and whether they are currently romancing any companions. Appealing to romantic feelings towards any of them brings minor approval from the companion in question, if they are in the party.
Z'rell orders the party to aid the general's necromancer, Balthazar, in retrieving a 'relic' crucial for Ketheric's plans. To help the party, she tells the player character to take a ![]()
While the party speak with Z'rell, they can gain the following inspirations:
After receiving the key to Balthazar's chambers, the party can search his room freely despite Z'rell's warning. Neither the guards nor the Scrying Eye normally enter it. The room can also be reached by a system of wooden footways and roots clinging to the tower's outside walls, leading up to the balcony behind the necromancer's chambers. There are a few opportunities to gain inspiration for exploring the off-limits parts of the first floor:

Z'rell's study[edit section | visual editor]

The party can freely explore this area. After the player character reports to Z'rell about their judgment passed on the goblins, she returns to her study and remains seated there until Moonrise Towers is assaulted (or until the 
![]()


Balthazar's chambers[edit section | visual editor]

Balthazar's room occupies the northeastern corner of the floor. It would have much resembled a library, if not for the number of corpses and gory remains littering the corners and hanging from the ceiling.
The central part of the room is a dais with several desks, where the party can take the promised functional ![]()
![]()
In the bookcase near the room entrance is a ![]()
![]()
Near a torture rack is a bookcase with several "Protruding Books", spotted with a ![]()
![]()
- "Galvanic Interrogations" triggers the two gargoyle heads above the bookcase, which turn the two corpses on the floor into zombies.
- "Conventional Medicine" activates two spike traps from the floor in front of the bookcase.
- "Poisons and Venoms" fills the room with a poison cloud, closing and locking the doors until it dissipates.
Hints on which labels activate traps can be found in the books ![]()
![]()
Interacting with the "Musty Tomes" row allows access to an Ancient Altar next to the shelves. The altar is interactive, allowing insertion of certain items. Ostensibly, a ![]()

Successfully inserting a head or heart into the altar unlocks Balthazar's secret room beyond the bookcase. Inside is a ![]()
![]()
There is also a small work table covered in dead pixies and broken Moonlanterns from Balthazar's experiments. If Gale is present, he can use the ritual circle to create a ![]()
![]()
Unlocking Balthazar's secret study may grant the following inspirations for the ![]()
The metal door at the far end of the room is locked and requires a ![]()

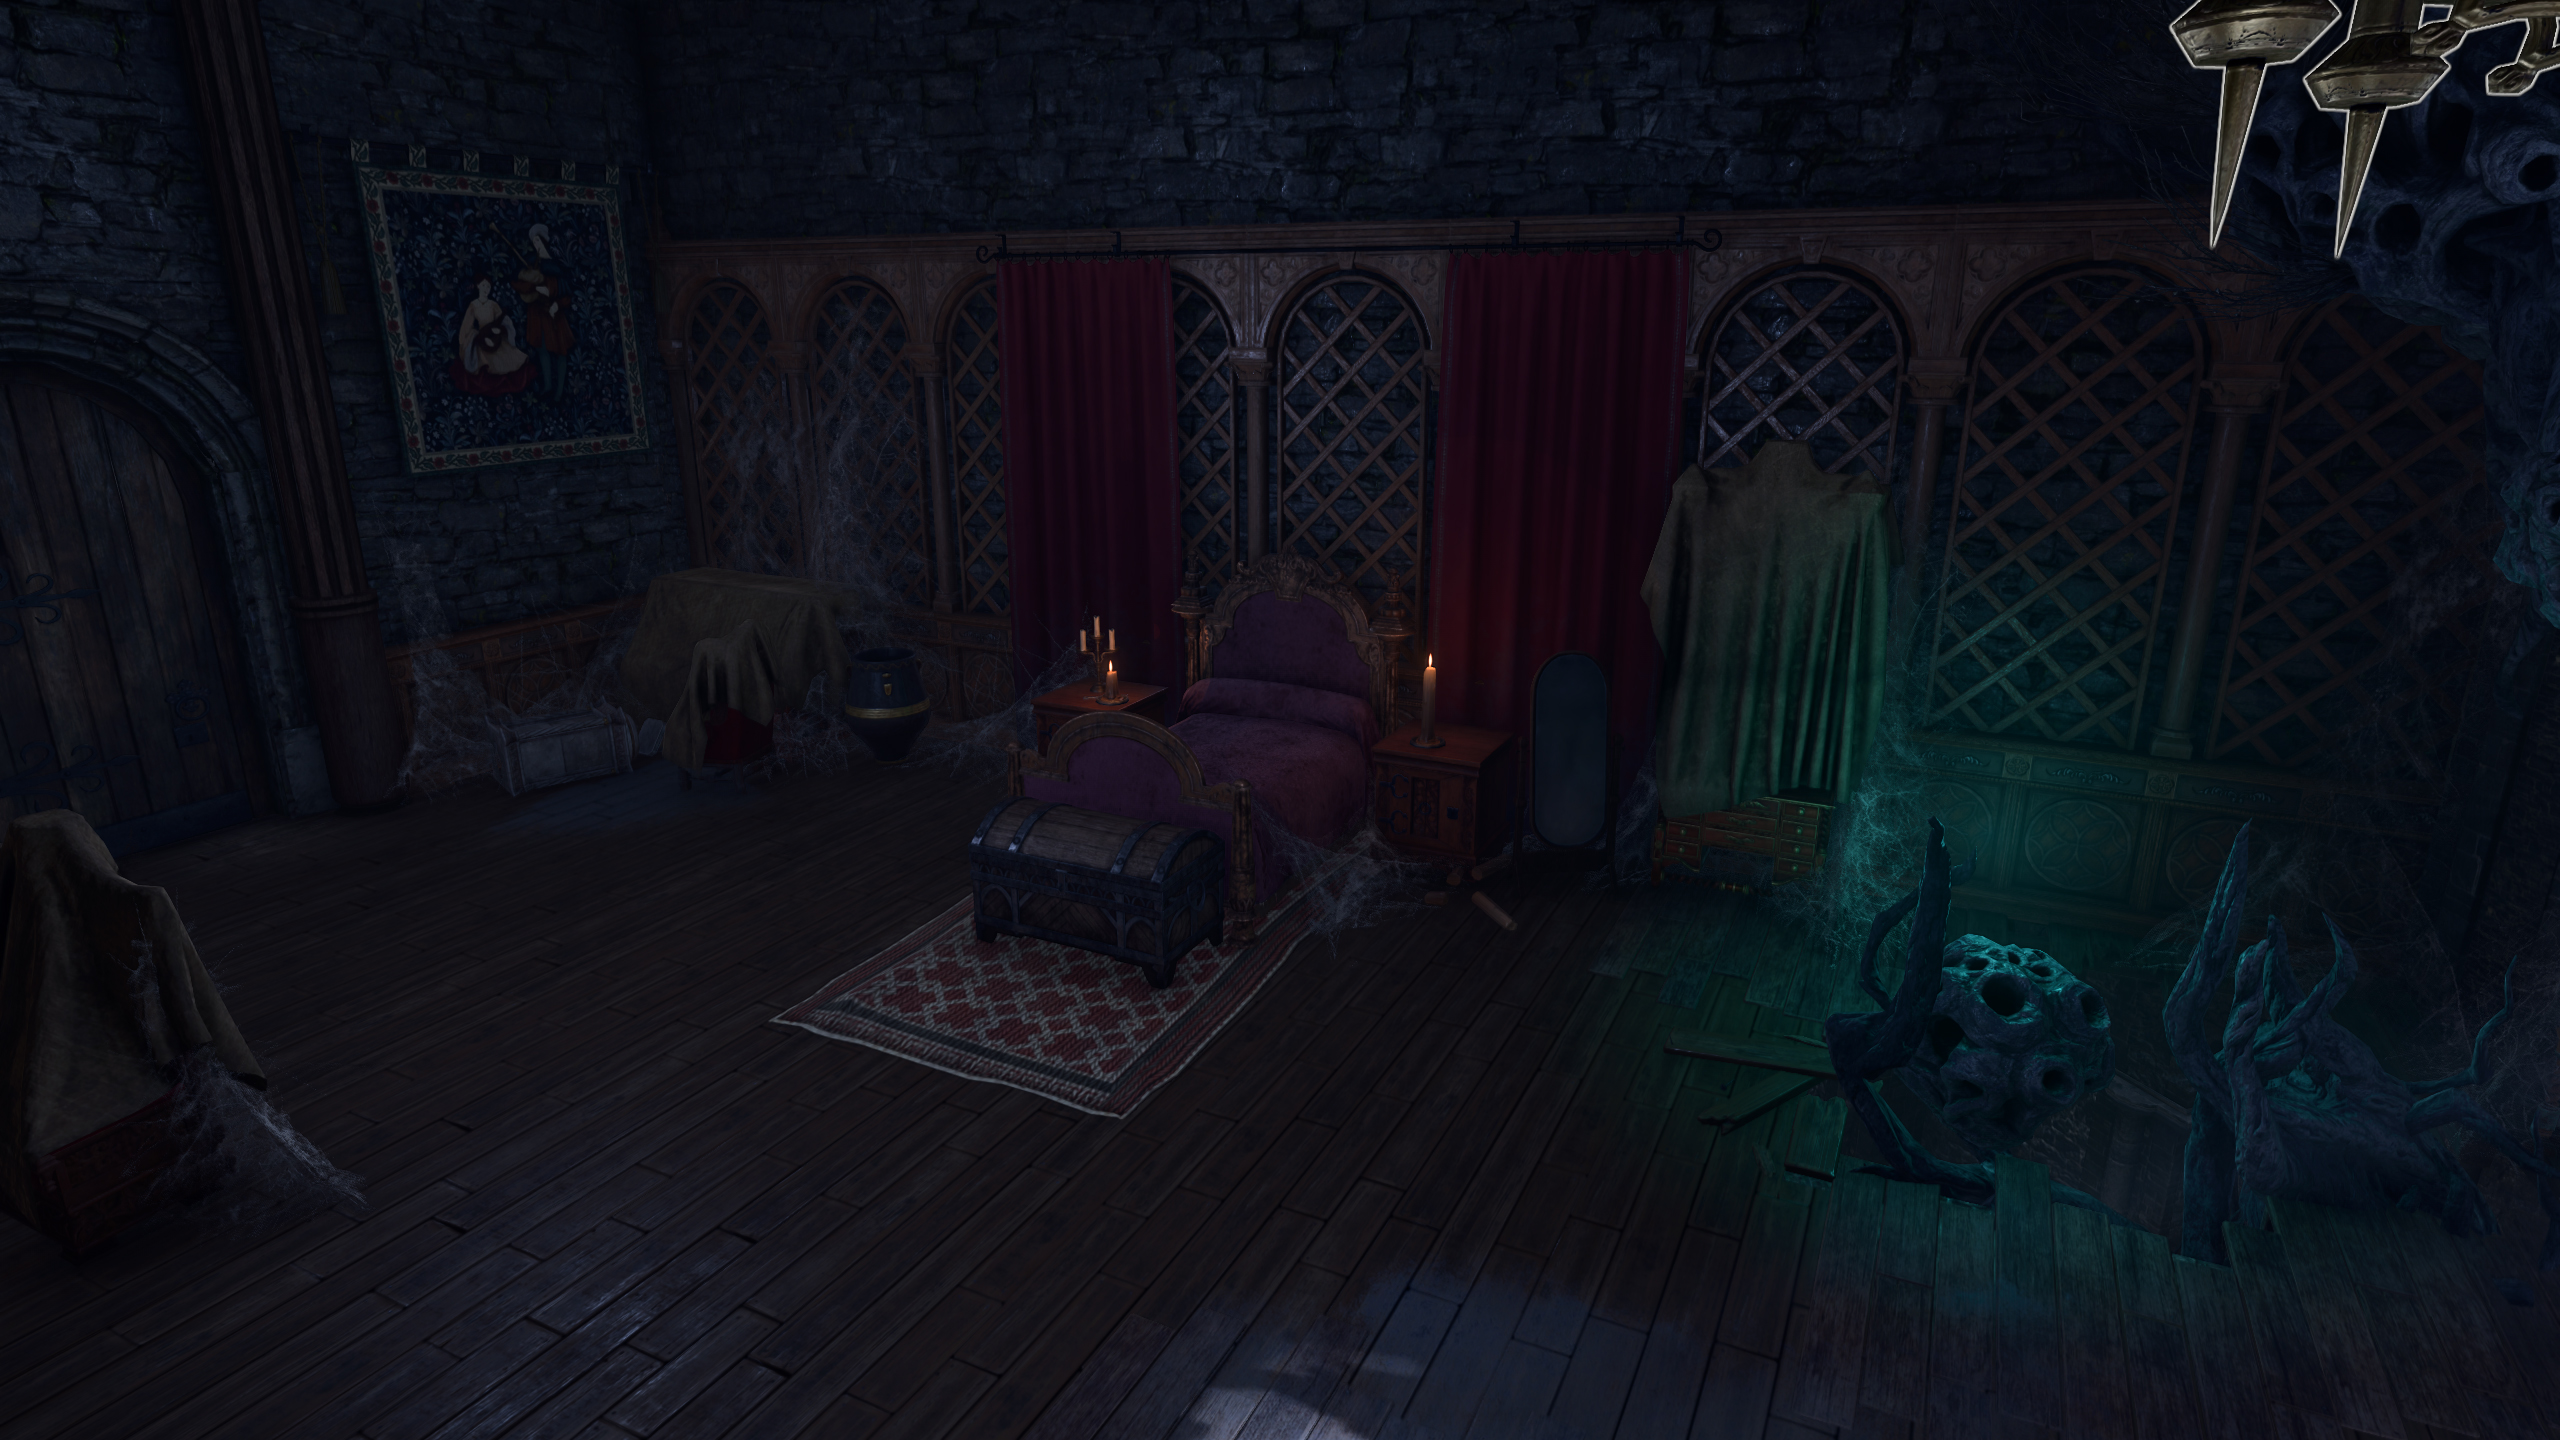
Isobel's room[edit section | visual editor]

This room belonged to Isobel sometime in the past[7] and is accessible either through the first floor's patrolled centre hall, or from Ketheric's neighbouring chambers, or by climbing up the roots from the rafters above the main floor at X: -179 Y: -198. Inside the chests and cabinets are several items related to Selûne: a ![]()
![]()
![]()
![]()

The chest at the foot of the bed is actually a 
![]()
The balcony from Isobel's room features a stone throne in the centre, adorned with the symbol of the Absolute. To the north of it is a Heavy chest with ![]()
Ketheric's chambers[edit section | visual editor]

This room can also be entered in several ways: through the first floor's patrolled centre hall, through Isobel's room (

![]()
![]()
Once placated, Squire allows the party to explore and loot the room freely, not paying any attention to lockpicking the red-outlined doors or even fighting the Mimic in the adjacent room. Speaking with her again, using ![]()
There are several items of interest within Ketheric's room. Beneath loose planks near the bed (visible with a ![]()


In the Opulent Chest at the foot of the bed (![]()
![]()
In the western corner of the room is a Myrkulite ritual circle. On the table nearby is a scroll titled ![]()
![]()
![]()
![]()
Unlocking sorrowful facts of Ketheric Thorm's past grants the following inspirational events:

Moonrise Towers Prison[edit section | visual editor]

The prison can be accessed from inside the towers, as well as from outside, from the docks (see below). Both ways lead to a large square antechamber with open pathways on each side: one leading to Heavy Oak Doors to the docks, one to the torture room, and the last to the prison proper. The stairs back up to the main floor are guarded by 
If 

Heavy Oak Doors leading to the docks are guarded by 

From inside of Moonrise Towers, the prison can be accessed down the stairway from a room on the southwestern side of the main floor. Several imprisoned tiefling refugees and deep gnomes are held in its cells, guarded by 


The prison has five cells and an inner tower (the Warden's office) in the centre. Behind the fifth cell is a rocky cliff which leads to a vast cave behind the prison proper, with a speleal opening to the river where a chained boat is docked. A side tunnel starting at X: 560 Y: -603 can be used to descend into the Oubliette (or to come up out of it).
Exploring the Moonrise Towers Prison and its adjacencies, as well as fulfilling the quests related to this location, may grant the following inspirations:
- Exploring the prison and interacting/fighting with the prison guards:
- Dealing with tortured Minthara:
- Helping the other captives escape:

Rescuing all the imprisoned tiefling refugees and deep gnomes grants the following achievement:

Notably, saving 


- Leave No One Behind
- Save every tiefling refugee you can throughout the game in a single playthrough.
Moonrise Towers Rooftop[edit section | visual editor]

The way to the rooftop is past the Ornate Door on the first floor, guarded by 
After holding the trial in the throne room, Ketheric Thorm moves here, leaving Z'rell orders not to disturb him under any circumstances. The general's retinue is also on the rooftop, consisting of 
However, the party can sneak through the door and past Ketheric's guards to explore the area. A variety of methods can be used to get to the rooftop early, primarily among them ![]()
![]()
- If the party chose to side with the forces of the Absolute and both helped to retrieve


- If the party decided to save or kill Aylin, Ketheric must be confronted here (for the first time). He is accompanied by


If Ketheric is spoken with here without saving or killing Aylin (regardless of the current state of the ![]()
Behind the overstory where Ketheric stands initially, from the locked Heavy Chest, a ![]()
Meeting Ketheric on the rooftop grants the inspirational event ![]()
![]()
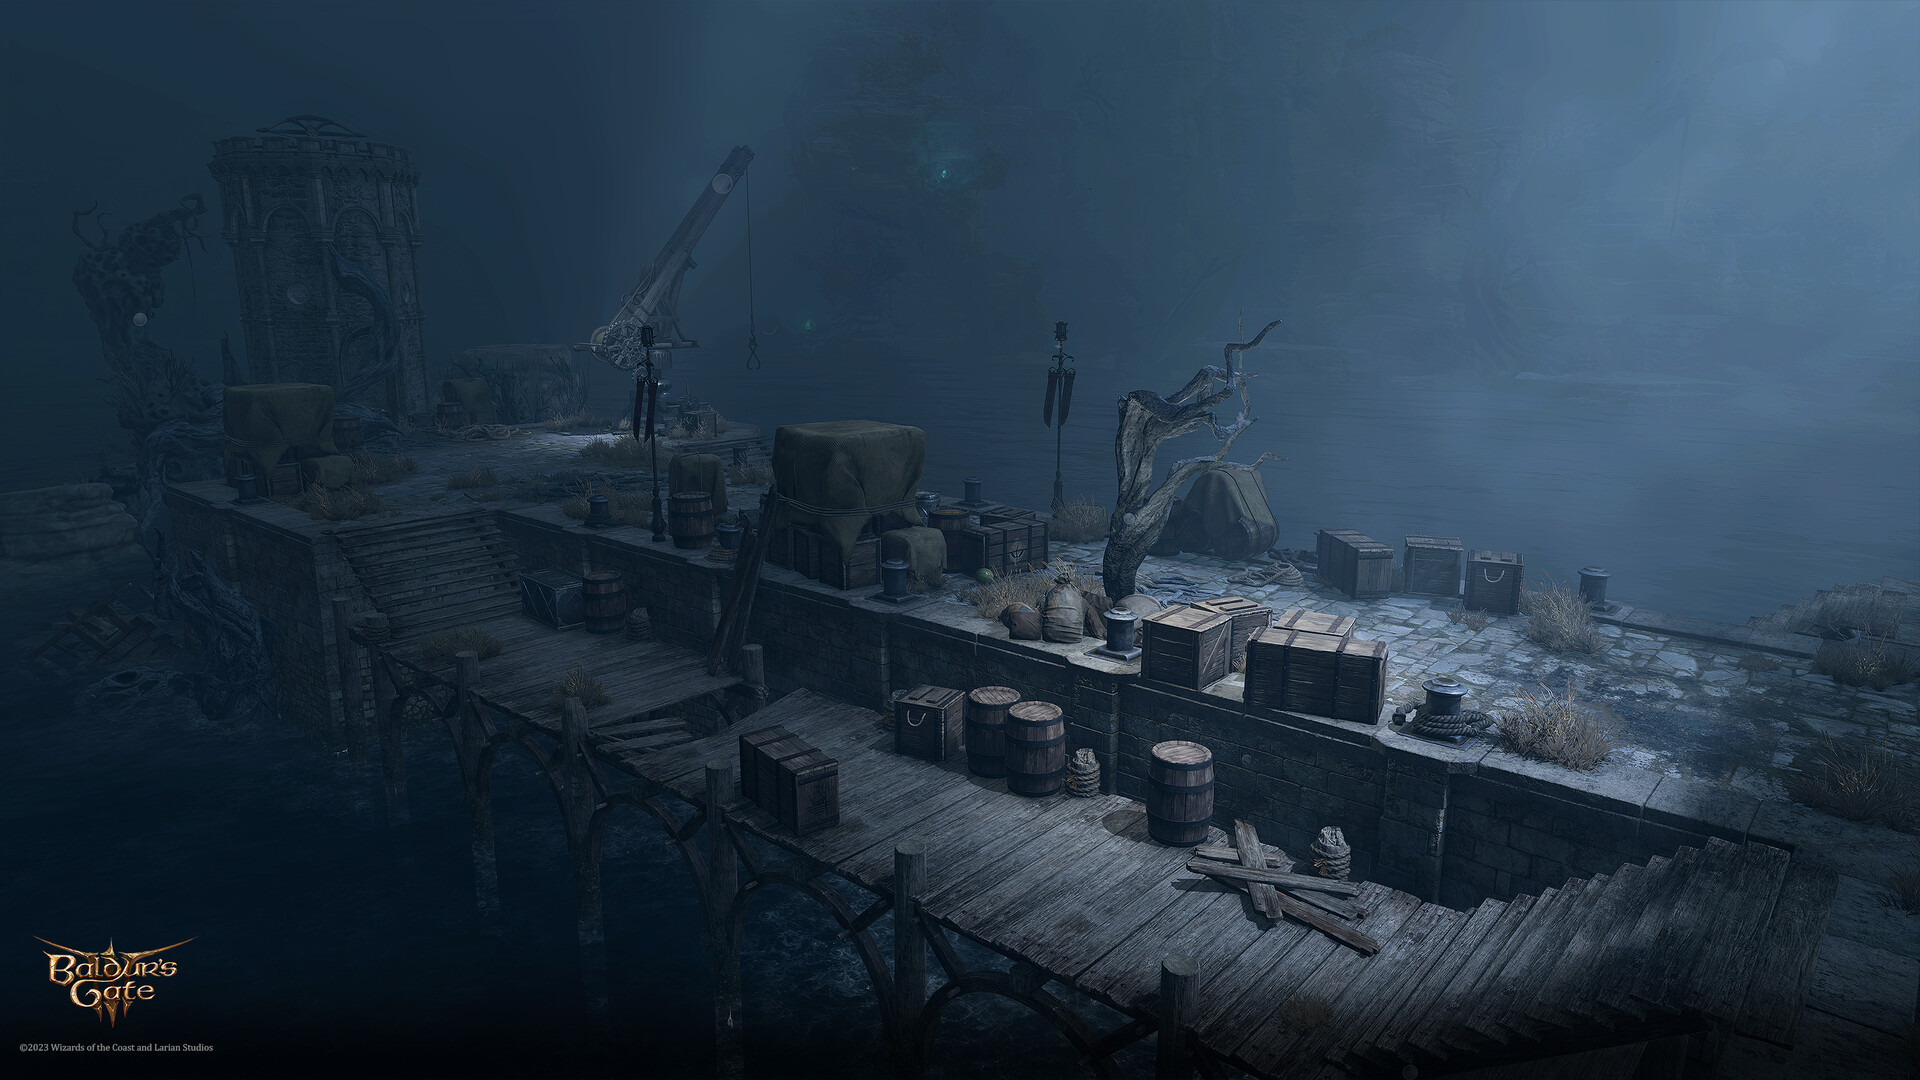
Docks[edit section | visual editor]

The docks are accessed through Heavy Oak Doors in the prison. Also, if the party approach from the Shadow-Cursed Lands, they can walk under the bridge to Moonrise and then to the east, jumping over a destroyed bridge at X: -100 Y: -149.
If the party choose this way to access Moonrise Towers for the first time, they are greeted by 
From the entrance to the prison, the stone-paved sidewalks run along the Moonrise Towers' walls to both sides. Along them are several crates with Zhentarim sigils (on which some of the companions comment). A cat hole at X: -122 Y: -215, used by Steelclaw to hunt down her most favourite prey, leads to the balcony behind the sanguine laboratory.

Ships are loaded with mysterious cargo here, which can be investigated on the docks. Several followers of the Absolute guard this area: 


Renan and Bel patrol the pavements, also walking down the wooden berth along the pier to approximately half of its length, while Arden patrols the far end of the docks, near the unused, ruined lighthouse. Marls stands in the middle of the dock, guarding the special cargo with Zhentarim symbols on it.
When the party first visit the docks, they see a ship there. This very vessel can be seen later, near the smugglers' cave in Rivington.
Talking to ![]()
Provoking Marls to commit suicide is considered an Oathbreaking action for paladin characters following the Oath of Devotion, Oath of the Ancients, or Oath of the Crown, but not for paladins following the Oath of Vengeance.
Of all crates in the docks and around the side pavements, only those marked with the Zhentarim sigil may contain some useful items. Also, a total of three ![]()
![]()
History[edit section | visual editor]

“I was an architect in life, a builder of tombs and temples, but mostly of towers. My proudest work reached for the stars and sought to dry Selûne's tears. It was a monument to life and to virtue.„
Originally, Moonrise Towers[9] was a symbol of devotion to the goddess ![]()

After both Melodia and Isobel's deaths, Ketheric turned to ![]()
Eventually, Morfred let slip in a drunken stupor what he thought, revealing his true attitudes before 

Those of Ketheric's forces who survived the resulting massacre in the Gauntlet of Shar (except 
However, before Ketheric could be brought to justice, he unleashed the Shadow Curse based on Shar's ![]()
At the same time, not long after Isobel's death, the necromancer ![]()
During the fifteenth century, Myrkul himself finally appeared before Ketheric, fulfilling Balthazar's promise to grant his greatest desire: to return his beloved Isobel. For this, Ketheric sacrificed his body and soul and became Myrkul's Chosen. He joined 
Waypoints[edit section | visual editor]
This location contains the following Waypoint:
Related locations[edit section | visual editor]
Related quests[edit section | visual editor]
Characters[edit section | visual editor]


Traders[edit section | visual editor]


Loot[edit section | visual editor]
Looted or obtained as a quest reward[edit section | visual editor]


Lann Tarv's shop[edit section | visual editor]
If convincing Disciple Z'rell to help, Lann Tarv also sells:
Roah Moonglow's shop[edit section | visual editor]
Araj Oblodra's shop[edit section | visual editor]
Related literature[edit section | visual editor]
Books and notes found in other parts of Moonrise Towers are listed on their corresponding pages.
Main floor[edit section | visual editor]


First floor[edit section | visual editor]
Balthazar's chambers[edit section | visual editor]


Isobel's room[edit section | visual editor]


Ketheric's chambers[edit section | visual editor]


Z'rell's study and elsewhere[edit section | visual editor]


Notes and references[edit section | visual editor]
- ↑ Labelled "Absolute's Door".
- ↑ If Astarion is left in camp, Araj refers to some rumours about the party and asks that he be brought to her.
- ↑ After finishing both tasks, the player character is granted an audience with the Absolute in Ketheric's presence, which takes place on the rooftop (see the section about the rooftop).
- ↑ To gain this inspiration, a room must be entered from outside for the first time in a playthrough. Rooms already visited from inside do not count.
- ↑ If solving the puzzle without mistakes, Sage characters are granted both inspirations; otherwise, only the second one is received.
- ↑ Using the True Soul option in the dialogue still leads to a fight, but only the Winged Horror in dialogue is considered an enemy. Once killed, the others remain neutral to the player character.
- ↑ It is called "Isobel's room" in the description of the
- ↑ Isobel may die during the abduction battle or at the hands of the Dark Urge. In this case, the audience scene is also triggered, but Ketheric reacts to the party's actions much more sternly.
- ↑ As per the following books and notes found within the game: Diary of Ketheric Thorm, Vol 1, Vol 2 and Vol 3, Halfred's Note, Madeline's Ledger, Mason's Log and The Waning Moon: Consignments; as well as dialogues with Aylin, Elder Rothé, Halsin, Infernal Mason, Jaheira, Ketheric Thorm, Stonemason Kith, Madeline and Yurgir.
External links[edit section | visual editor]
