Ad placeholder
Water Queen's House

| Lower City | ||||
| Grey Harbour Docks | ||||
| ↑ | ||||
| Water Queen's House | → | Lustrous Lass | ||

“Queen Umberlee, the sea Herself,
I dash myself upon the rocks of your favour,
And to spare me the wrath of your sahuagin.
Let me drink the brine of your glory deep into my lungs,
Turn my skull to shell, my ribs to reef,
To earn your blessing,
„
Overview[edit section | visual editor]

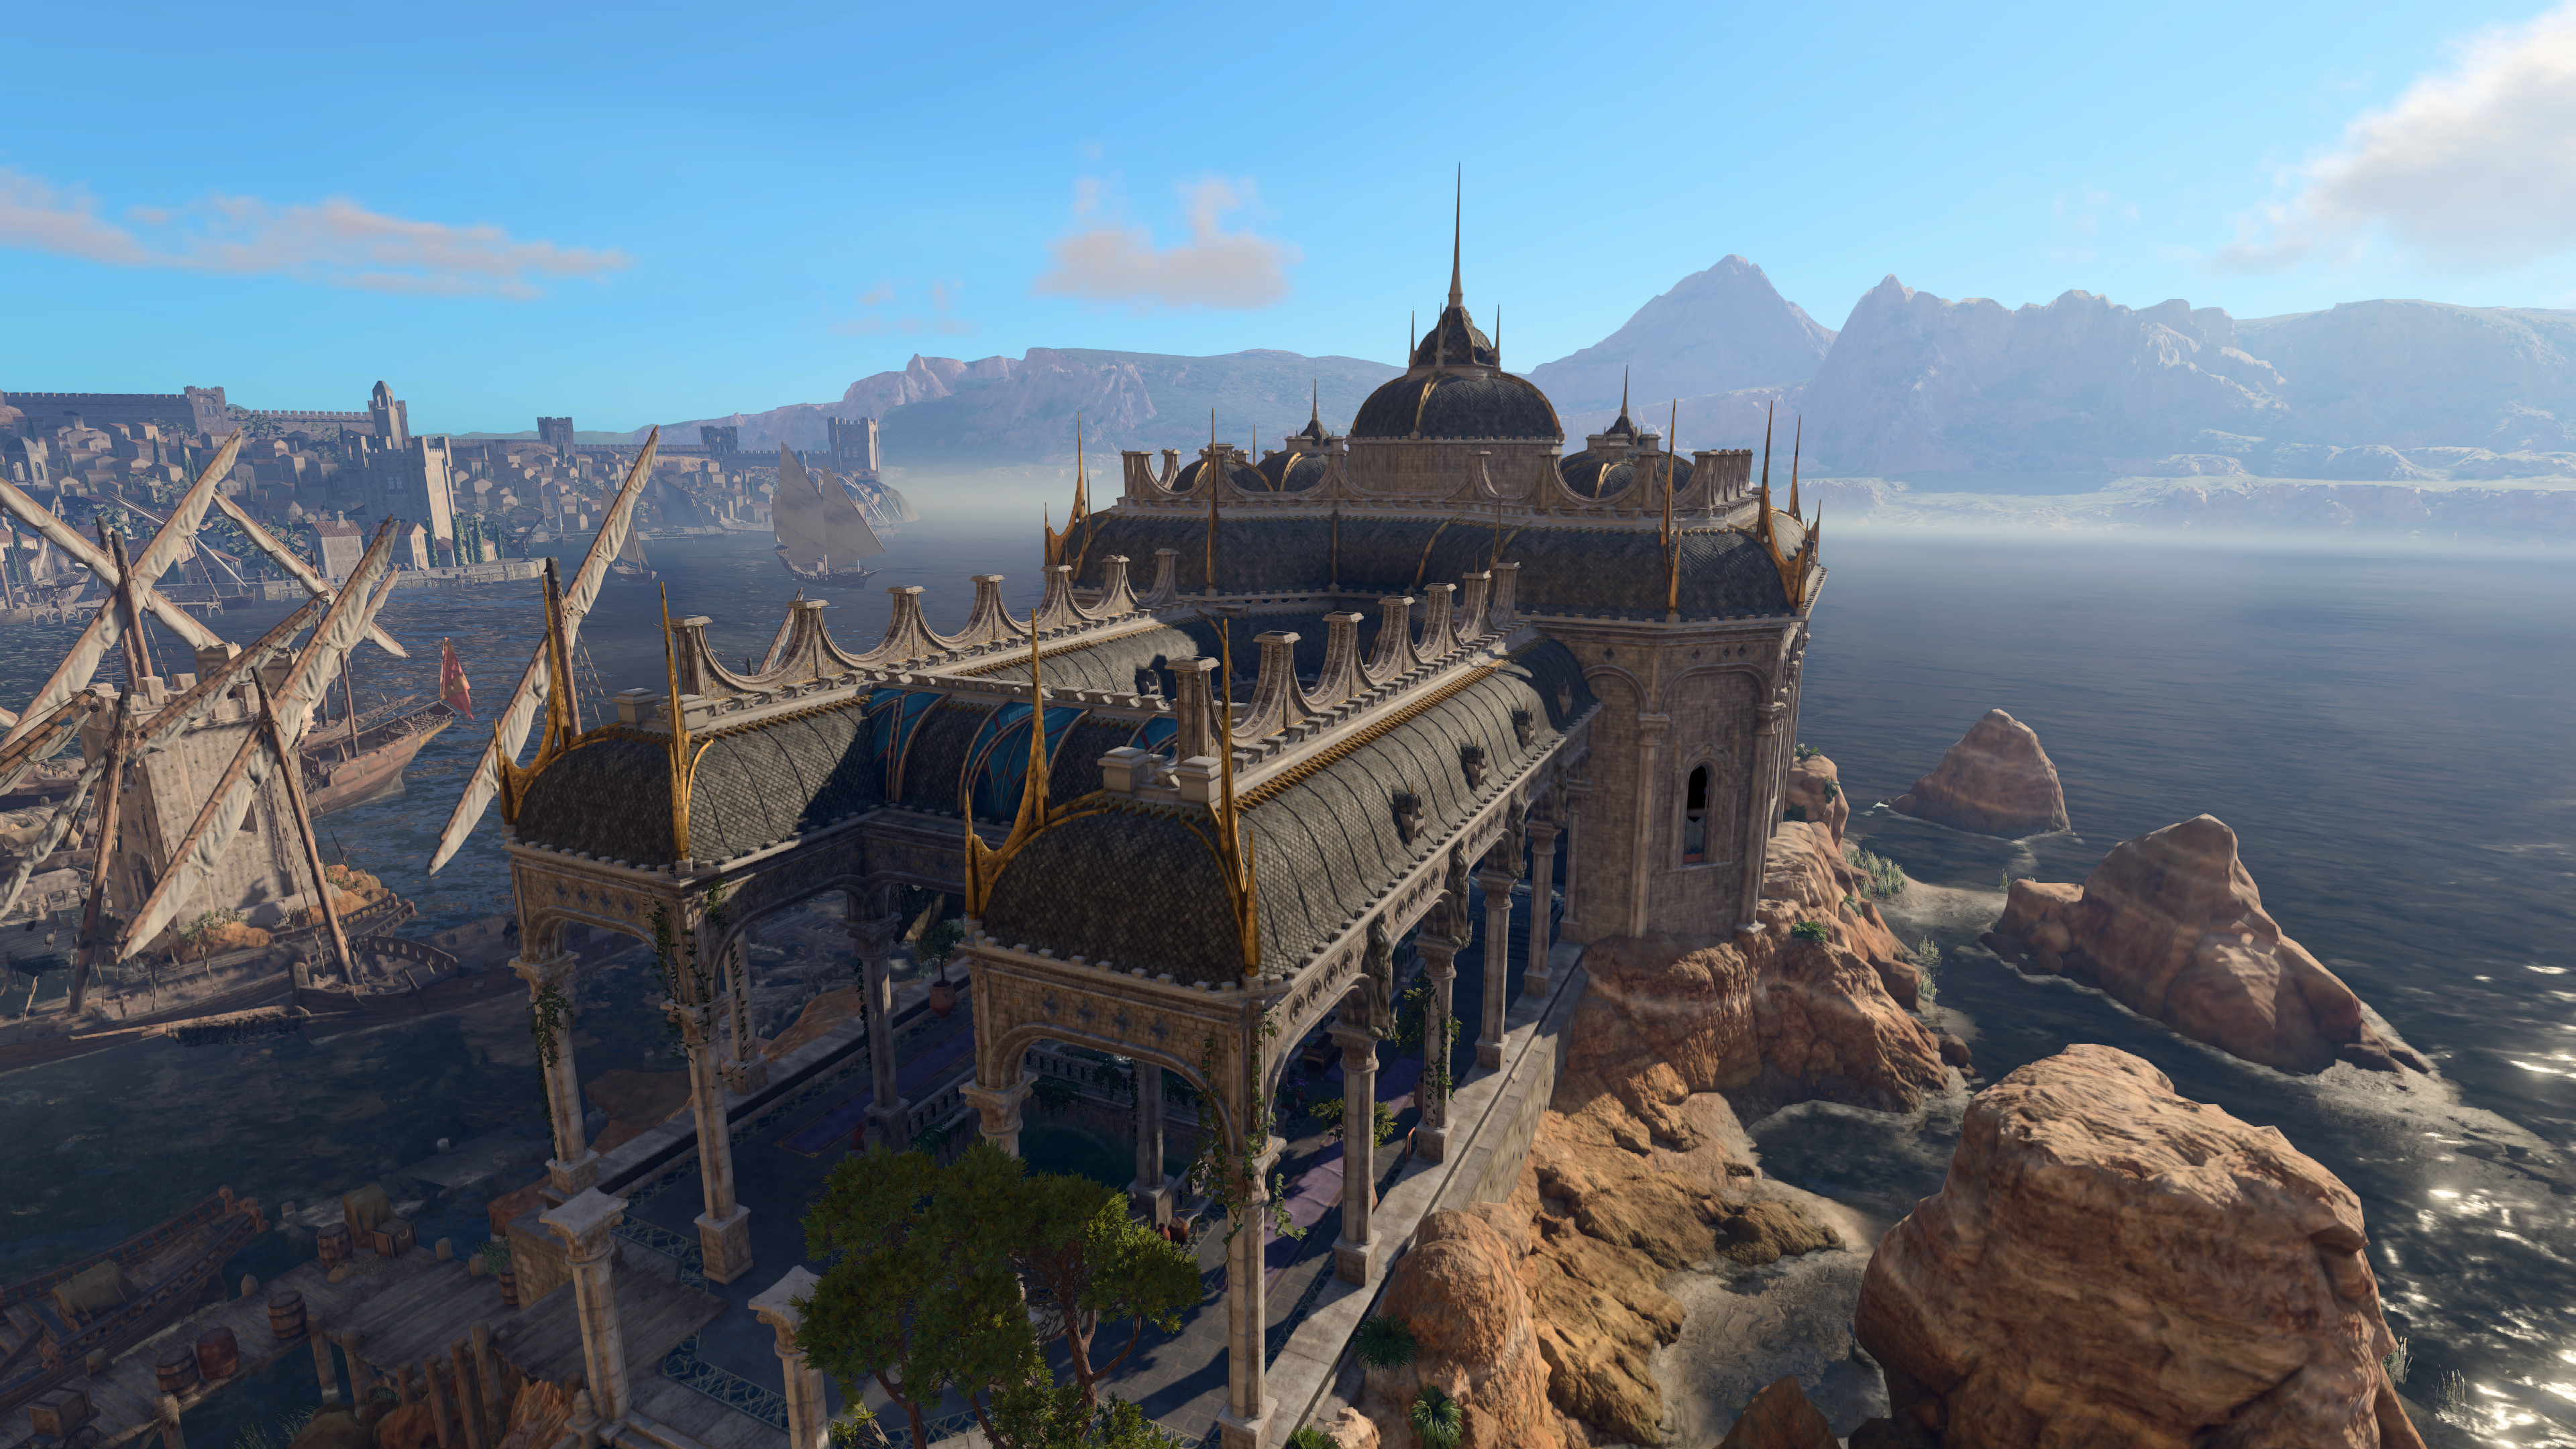
The Water Queen's House is a temple dedicated to the deity 
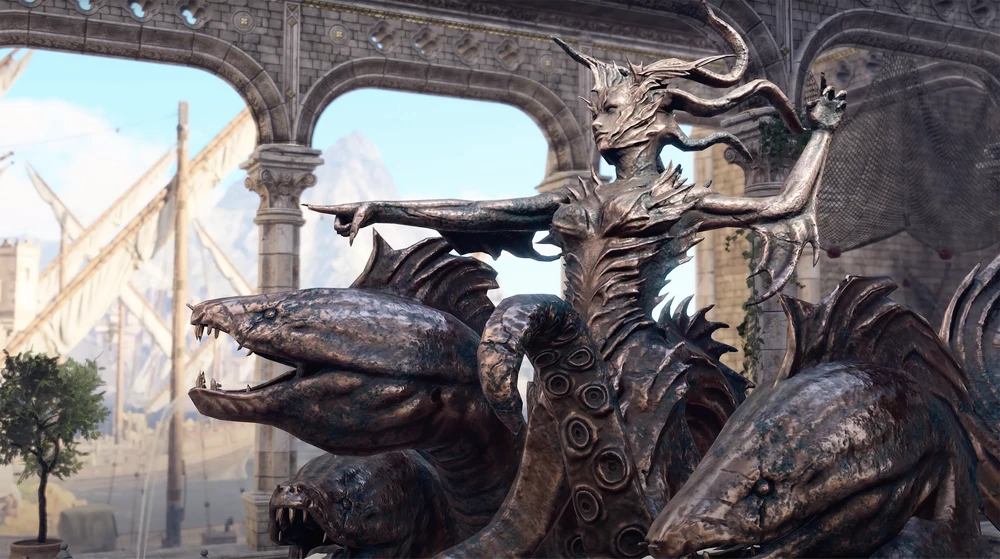
The temple consists of two parts: the portico lined up with a colonnade, used for offering and worship by commoners, with a fountain depicting The Bitch Queen[1] herself in the middle, and the actual two-storied building with a cellar in the rocky foot of the cape, used by the clergy. It has only one way of entering through the portico at X: -228 Y: -201. The cellar of the temple is accessible through the passageway in the backside of the cliff at X: -254 Y: -265.
Umberlee's followers ("Umberlants" as official term, and "waveservants", by the common speaking) in Baldur's Gate are led by 
Building layout[edit section | visual editor]
Portico entrance[edit section | visual editor]

The portico gallery encircles the aforementioned fountain and serves to the commoner worshippers of the Sea Queen. It features an altar for those who want to pray at X: -222 Y: -223. Several worshippers are in this area, praying, discussing the donations, or simply fancying the sea sights.
An Offerings Chest for donations is on the opposite side at X: -233 Y: -226, guarded by 
![]()
![]()
Interacting with the chest is not a crime, but taking any of the items out of the chest is. Stealing from the chest (or from the treasure pile in the Water Queen's Cellar (see below) angers Umberlee, causing her to cease blessing future party member donations (existing ones are not cancelled).
Donating to the chest grants the ![]()
![]()
Following the way underneath an archway brings the party to the main building.
The southwestern corner of the portico approximately at X: -240 Y: -202 can be used to access the Steel Watch Foundry territory through a series of jumps (spells like ![]()
![]()
Main building[edit section | visual editor]
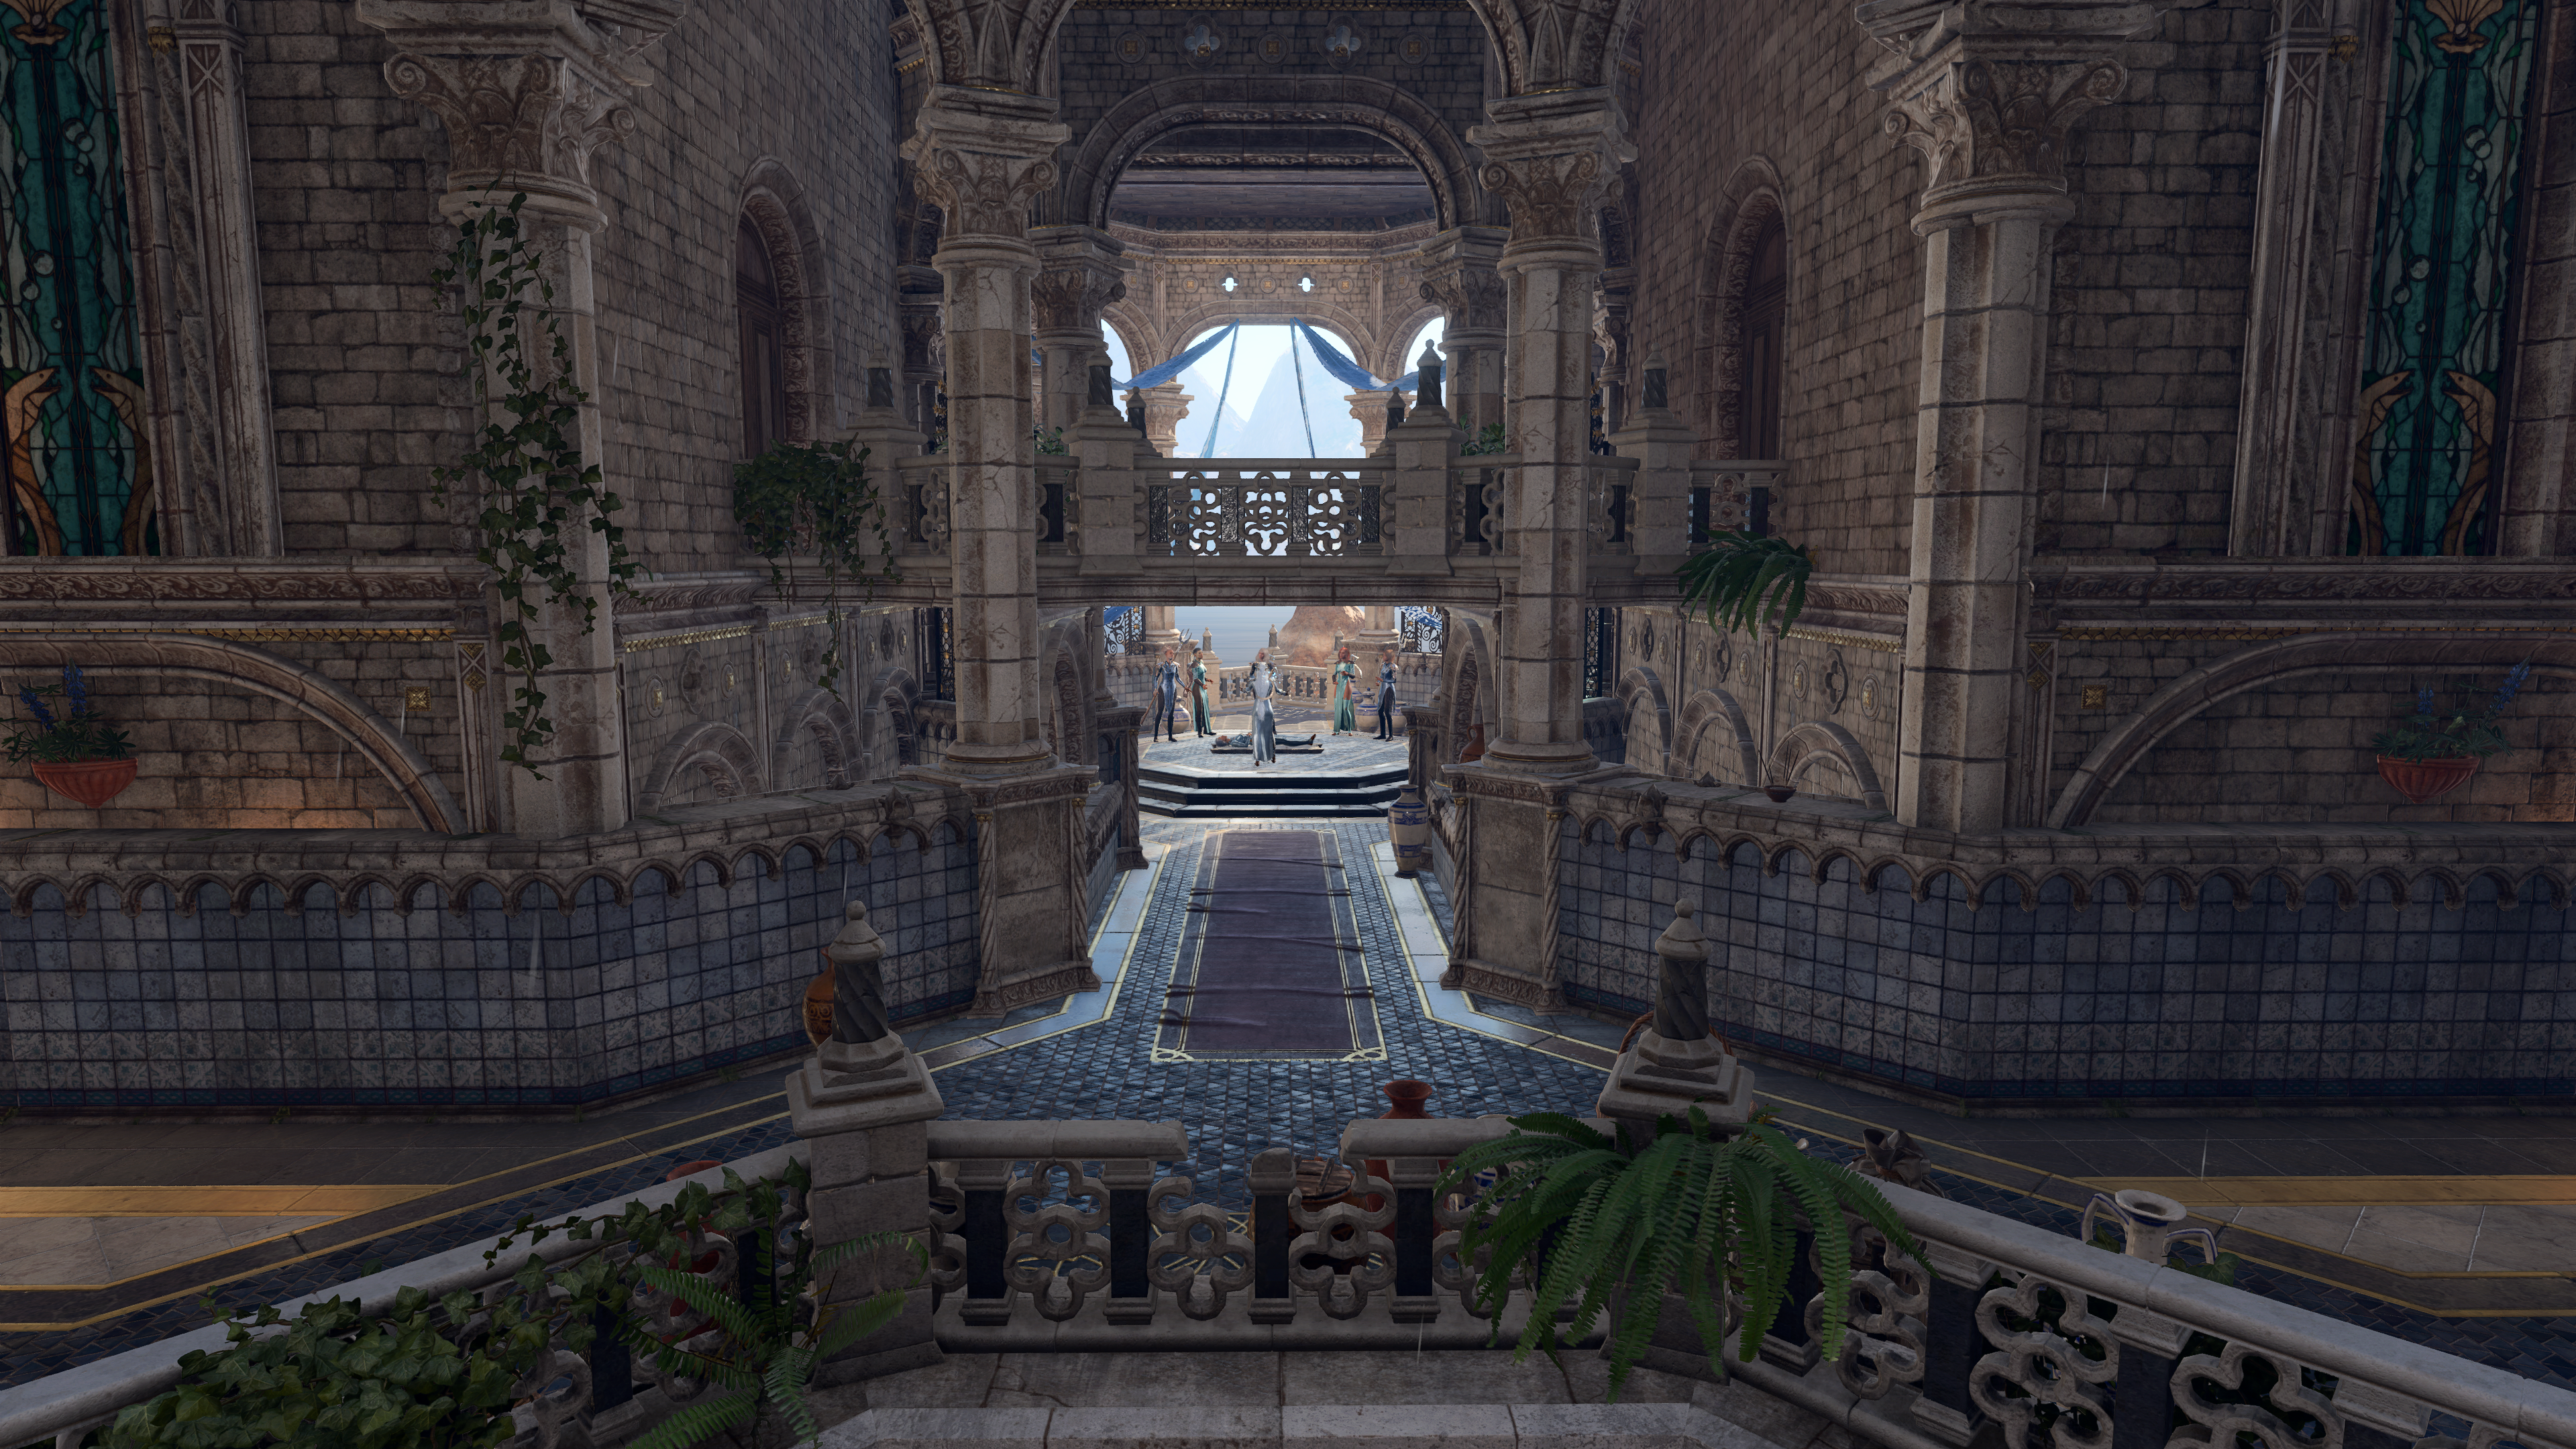
In the separate nave at the back of the temple the head priestess Allandra Grey is leading a funeral ceremony for the deceased 
To the west a short stairway lead down to a kitchen area where two Untaken (i.e., novice clerics) are preparing drinks and food for the funeral. Some Camp Supplies and the book ![]()
To the east, a stairway leads up to the first floor of the temple, while to the south another leads outside the temple onto a balcony and then to a small beach patch, where there is a passage to the temple cellar.
Upper floor[edit section | visual editor]

The upper floor consists of an entry office room and Allandra Grey's private quarters, connected with a bridge seen from the outside. Inside the entry room 
- A Traveller's Chest and a small Gilded Chest on a desk at X: -213 Y: -245 contain gold, alchemical ingredients, and random precious gem.
- Two Opulent Chests keep gold, random precious gems, and (possibly) Valuables, random spell scrolls and / or potions.
Through the door and across the archway is another room. Inside is 
![]()
![]()
![]()
![]()
Southern exit[edit section | visual editor]

To the south of the temple a small stairway leads down. At X: -245 Y: -277 a 
![]()
![]()

Going past the group, a passageway can be spotted inside the rocks which leads to the Water Queen's Cellar.
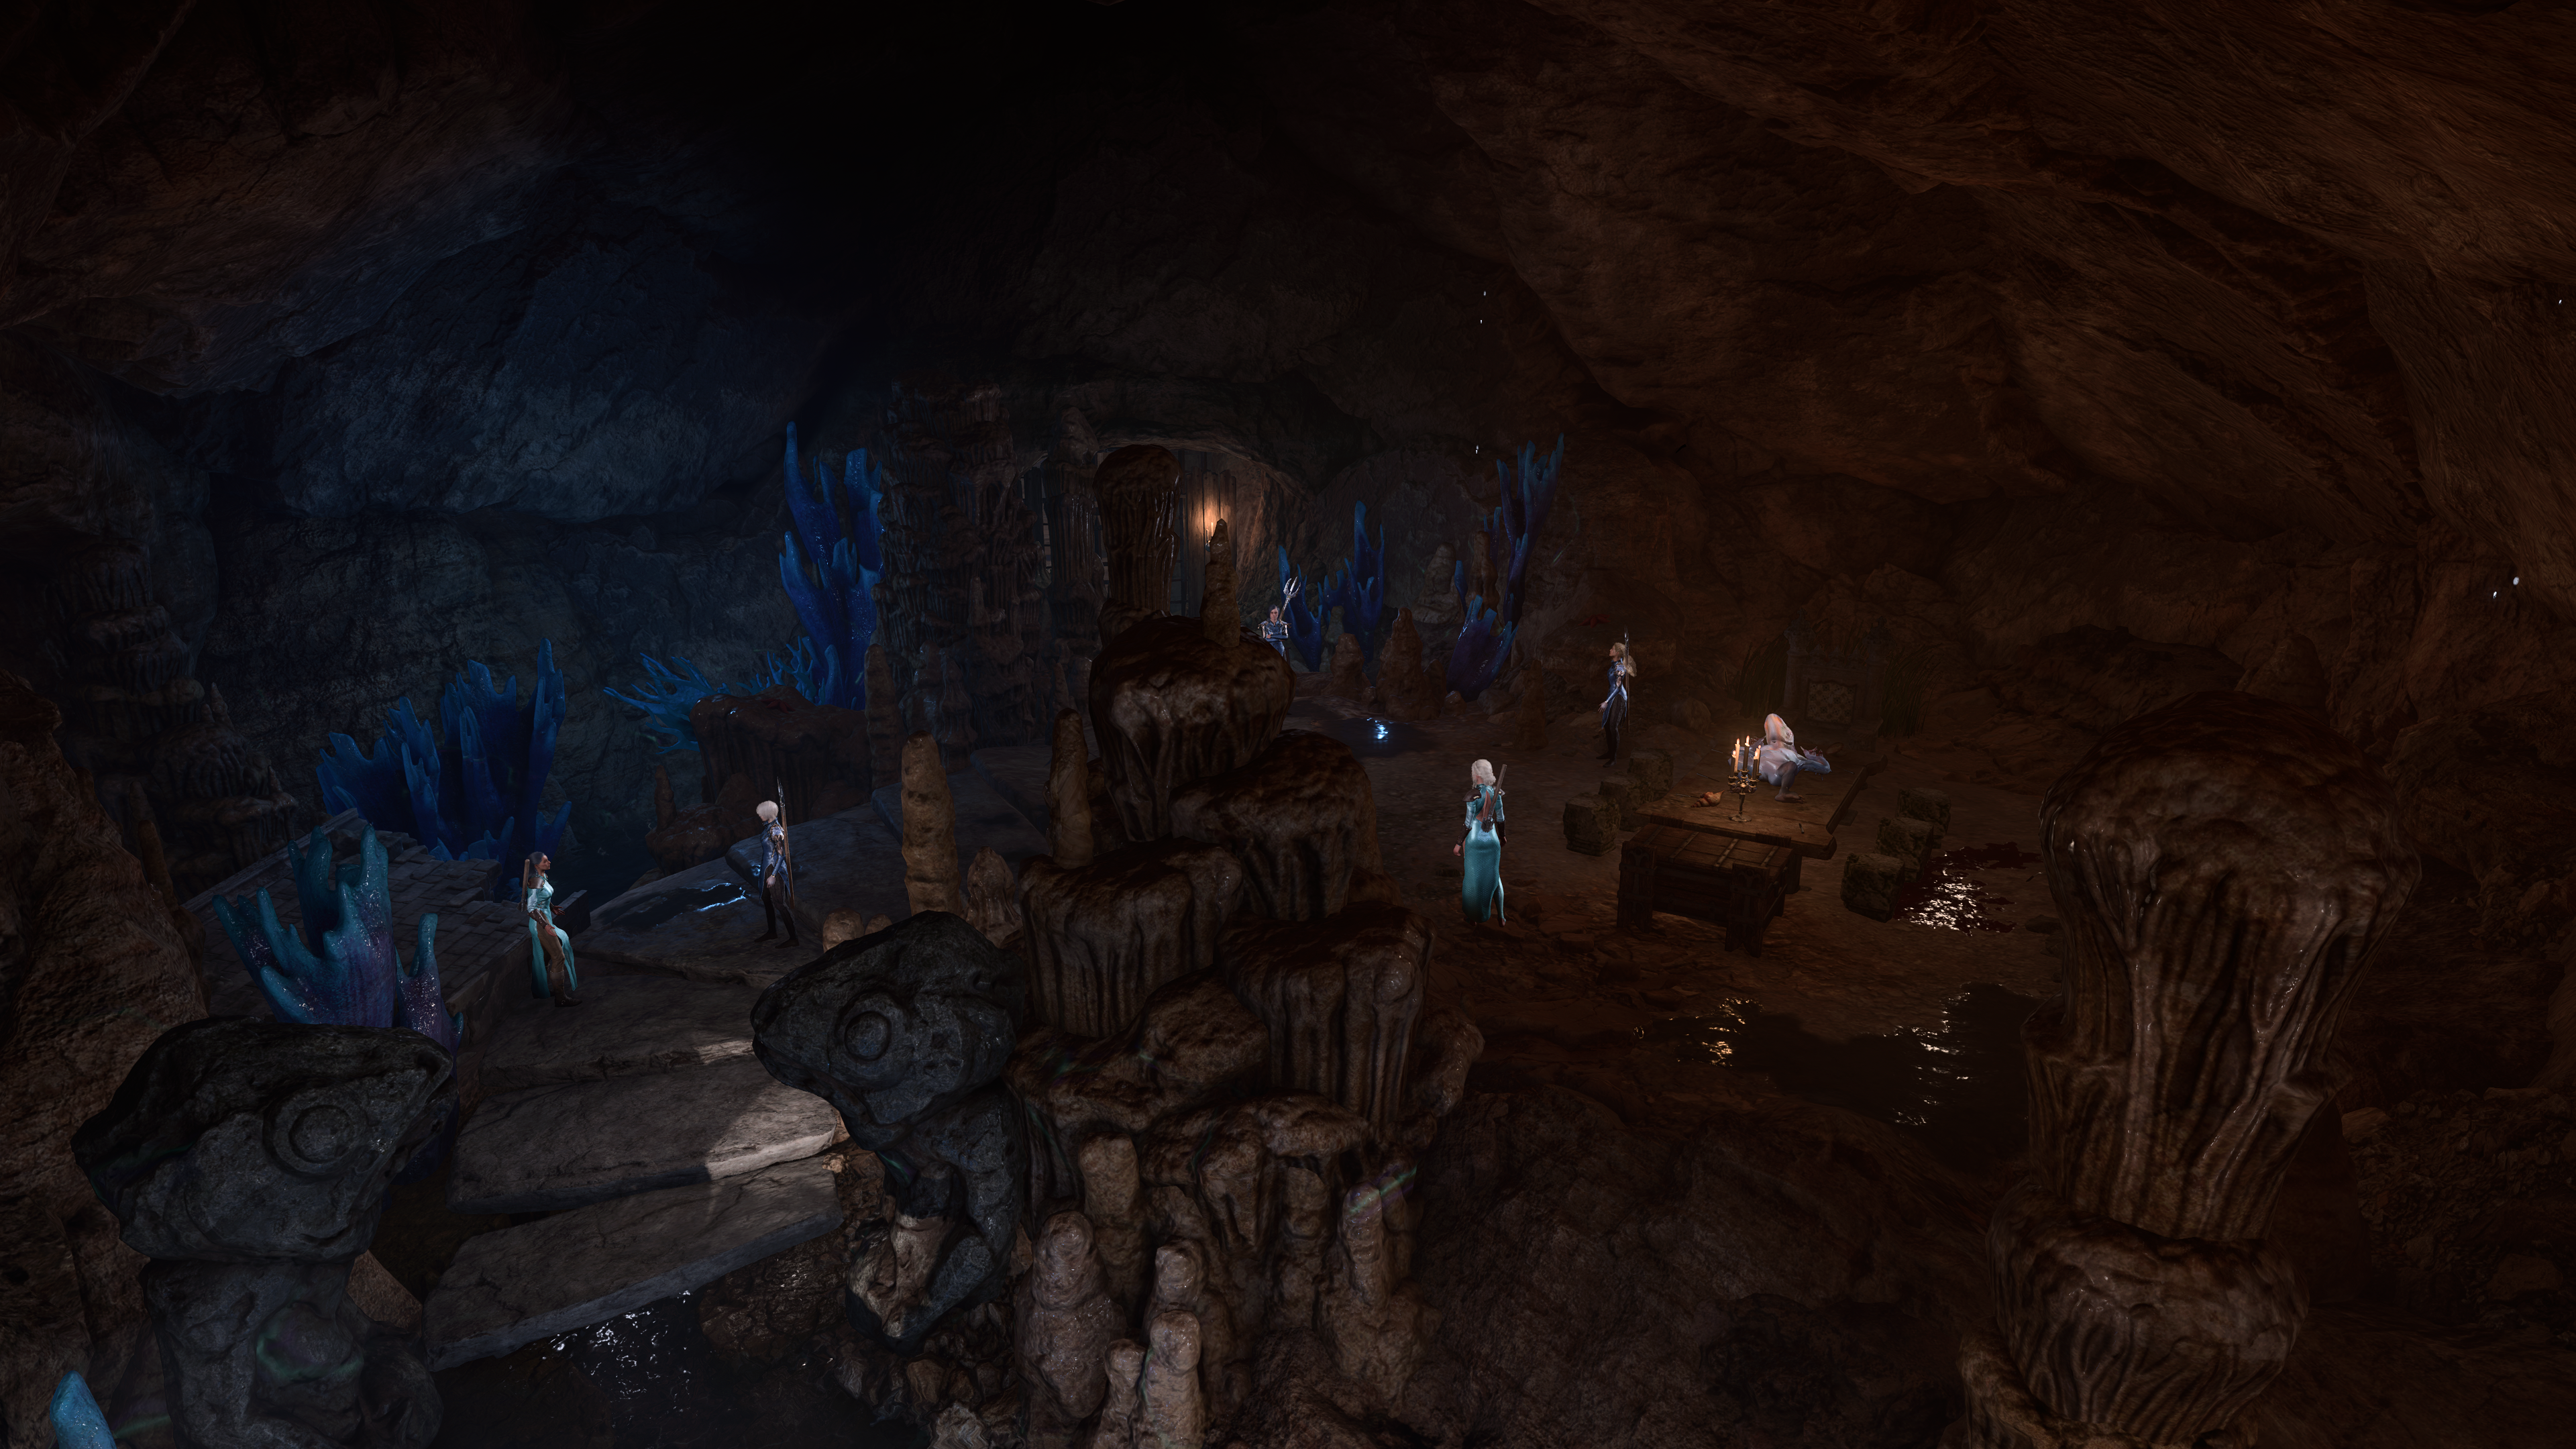
Water Queen's Cellar[edit section | visual editor]


“You dare steal from the very sea that birthed you? Enjoy these breaths - they shall be your last.„
The Water Queen's Cellar is a cave located underneath the Water Queen's House. It can be accessed through a passageway at X: -254 Y: -265 from an aforementioned patch of sandy beach behind the temple.
The cellar is considered a private area of the ![]()
Several Umberlants standing on the stairs and next to a table on the higher ground are discussing the recent death of Holli Dylford and apparently preparing a funeral repast, with a dead 
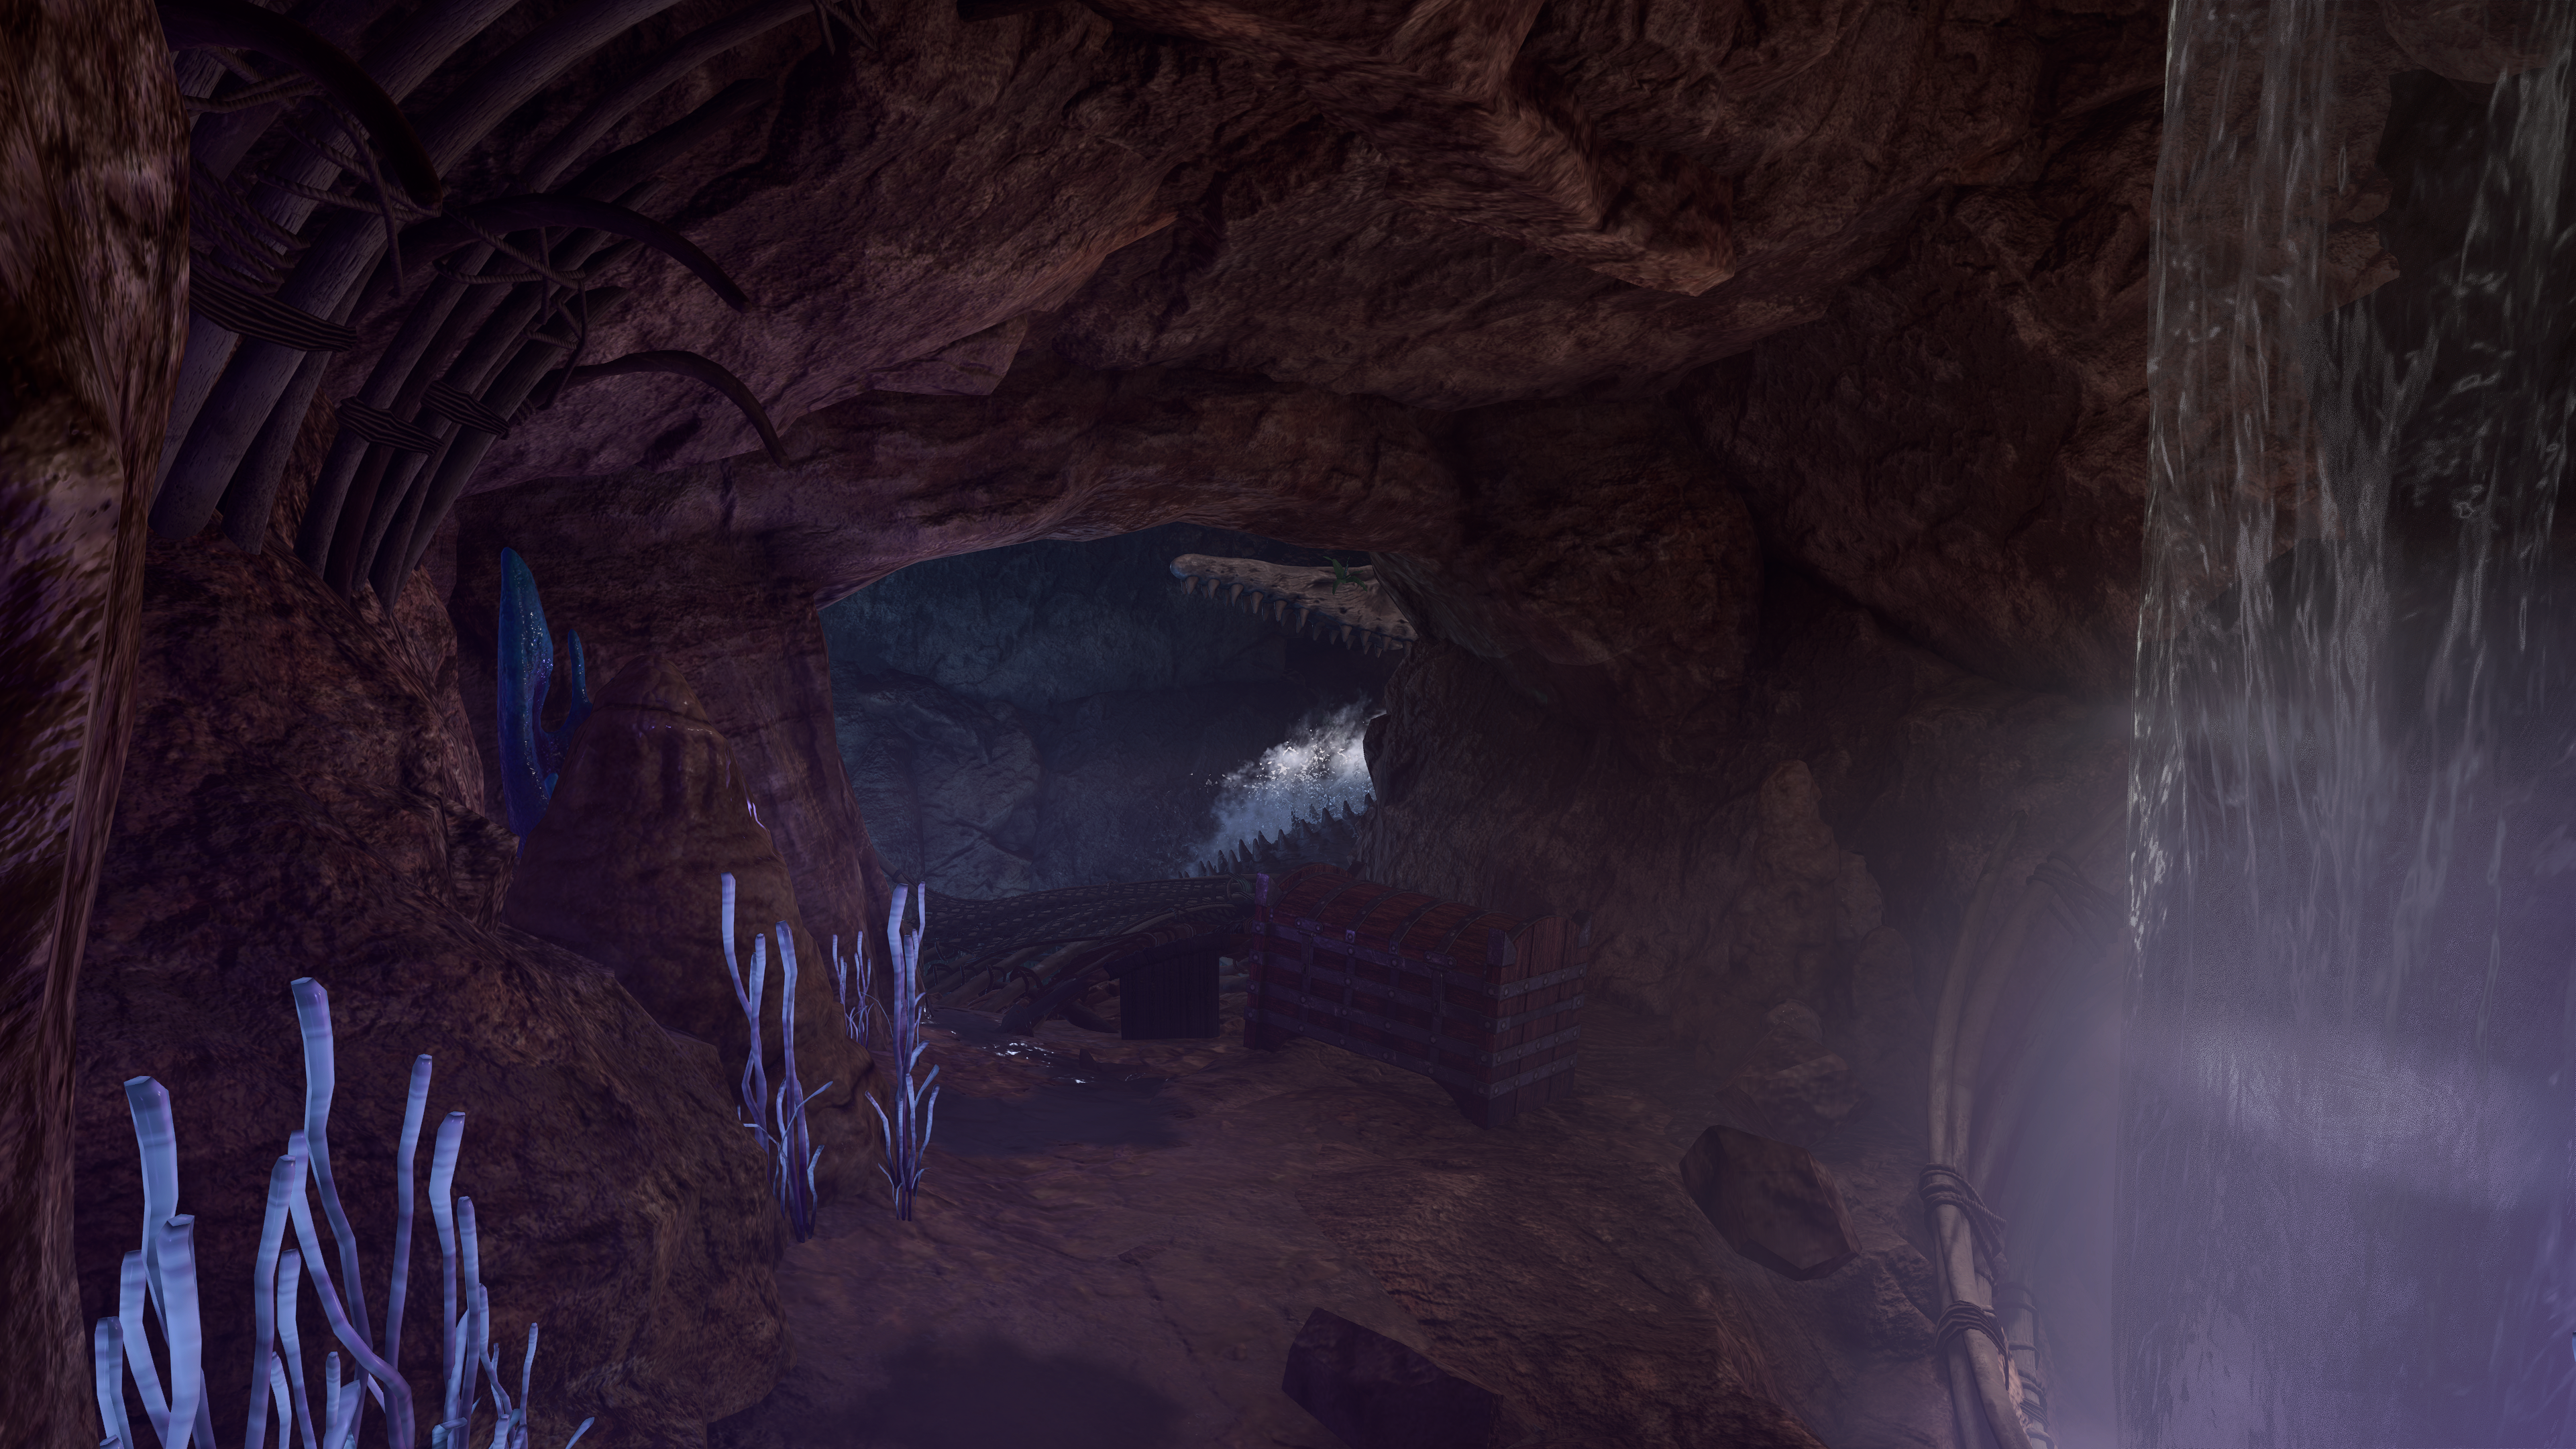
Treasure room[edit section | visual editor]

The back of the cellar is separated with an unlocked iron gate. Behind it is a room with a treasure pile containing 
![]()
![]()
![]()
In the far corner are another three dead Kuo-Toa. The corpse of 
![]()
Hidden cavern[edit section | visual editor]
At X: -1840 Y: -78 in the far end of the cellar passing a 
Involvement[edit section | visual editor]
Upon the party's approaching the temple, 
Speaking with Allandra Grey allows the party to learn about the fate of deceased Holli Dylford. The priestess also ask the party of their offerings to the funeral ceremony. Choosing any answer except "I brought nothing" grants one or both of the following inspirations:


When speaking of the offerings to the funeral, Cleric characters can use either the generic class line or the line reflecting their particular deity.[5] Monks and Barbarians also have unique lines. The aforementioned inspiration (if available) is granted regardless. The full list of possible formulations is on Allandra's page.
If the party agree to investigate Holli's death, the quest ![]()
![]()


Refusing to help Allandra find Holli's murderer is considered an oathbreaking action for Vengeance Paladins if they are the one interacting with the priestess.
If the party successfully finish the quest and sides with the waveservants, Allandra Grey moves up to her office. In this case, party members can get to her office without being stopped by the guards.
Waypoints[edit section | visual editor]
This location has the following ![]()
Related locations[edit section | visual editor]
Related quests[edit section | visual editor]
Characters[edit section | visual editor]
Notable[edit section | visual editor]


Umberlee's followers[edit section | visual editor]


Civilians[edit section | visual editor]


Creatures[edit section | visual editor]


Loot[edit section | visual editor]
Related literature[edit section | visual editor]
Notes and references[edit section | visual editor]
- ↑ One of the official titles of Umberlee, along with the "Wavemother", the "Queen of the Depths", and the "Stormgoddess of the Seas".
- ↑ All followers of the Water Queen in the game bear the actual titles used in the

- ↑ According to

- ↑ This is another option to earn the inspiration if it was not obtained through donating to the chest in the portico gallery. If the party member gets the inspiration from speaking with Allandra, Umberlee's blessing is not granted, though both the blessing and the inspiration can be obtained separately.
- ↑ Allandra responds to these with a specific line for most deities and also has a unique answer for clerics of


- ↑ Though it is not mentioned in the game, Holli had the title of a Seawind and has the correspondent archetype within the game files.
- ↑ Can be outside or in the cellar when bringing donations from the Offering Chest in the Water Queen's House to the cellar.
- ↑ His body is in the temple's cellar if he was surrendered to Allandra Grey in the end of

- ↑ Carried by by Allandra Grey
- ↑ In the mailbox of Vonayn's Home in Lower City X: 52 Y: -118.
External links[edit section | visual editor]

