Ad placeholder
Cloister of Sombre Embrace


“The Mother Superior raised all of this from nothing, in secret. It took years. Soon it'll be mine. And with Lady Shar's blessing, it will become even greater.„
Overview[edit section | visual editor]

The Cloister of Sombre Embrace is the regional base of operations for the devout followers of ![]()

The cloister lies deep beneath the cover named the House of Grief, nominally a healing establishment located in the Steeps district of Baldur's Gate city. It is available only through a secret passage inside this building. The House of Grief allows devotees to raise funds for the cloister and gather information which may prove useful for strengthening Shar's influence in Baldur's Gate and beyond.
The Cloister of Sombre Embrace gathers new followers to the church of Shar, providing them with full cycle of training and lodging. Most apprentices are not allowed to leave the cloister walls unless ordered or deemed ready for a field work. It also serves as a prison for those who are considered a sufficiently valuable asset for various purposes of The Lady of Sorrows.
Access[edit section | visual editor]
The only way to enter the Cloister is to open the movable brick wall in the Mapping Room of the House of Grief at X: -272 Y: 13. A passive 
Also, having Shadowheart present allows access to the hidden area without any checks.
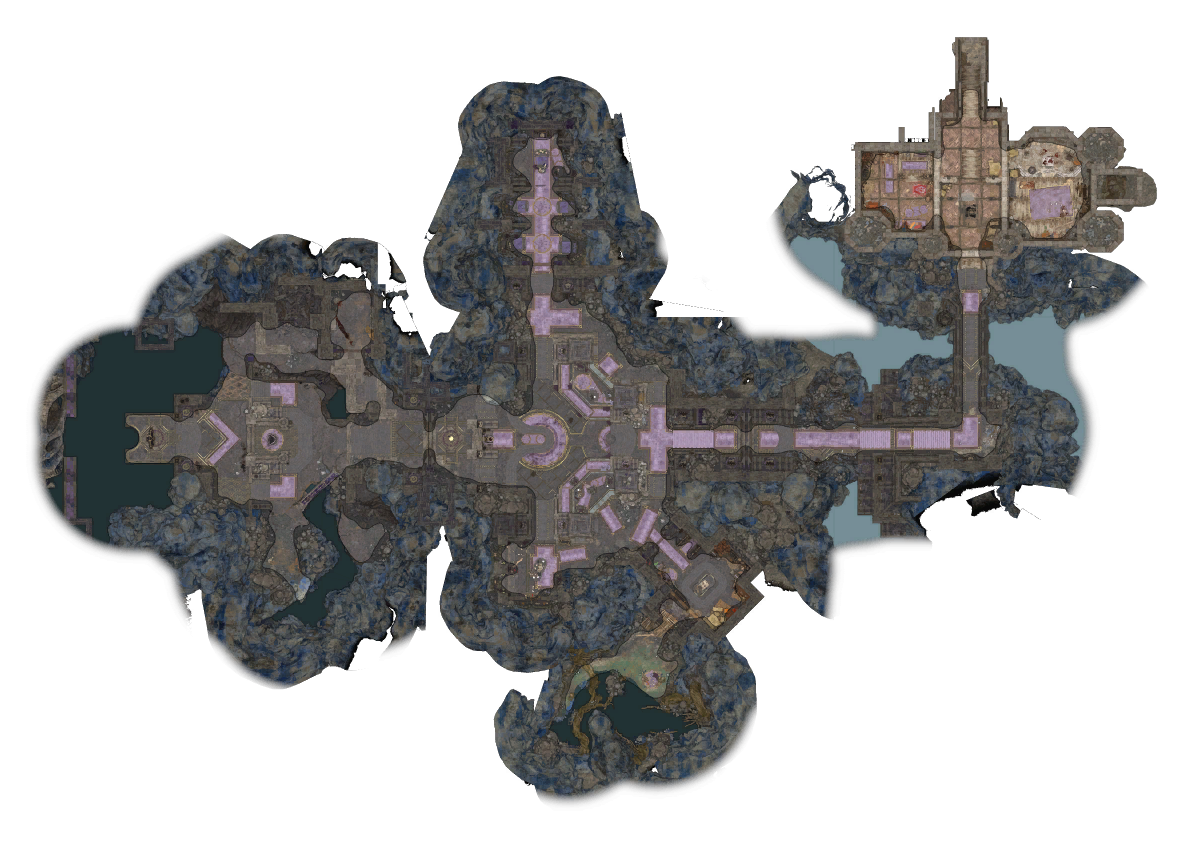
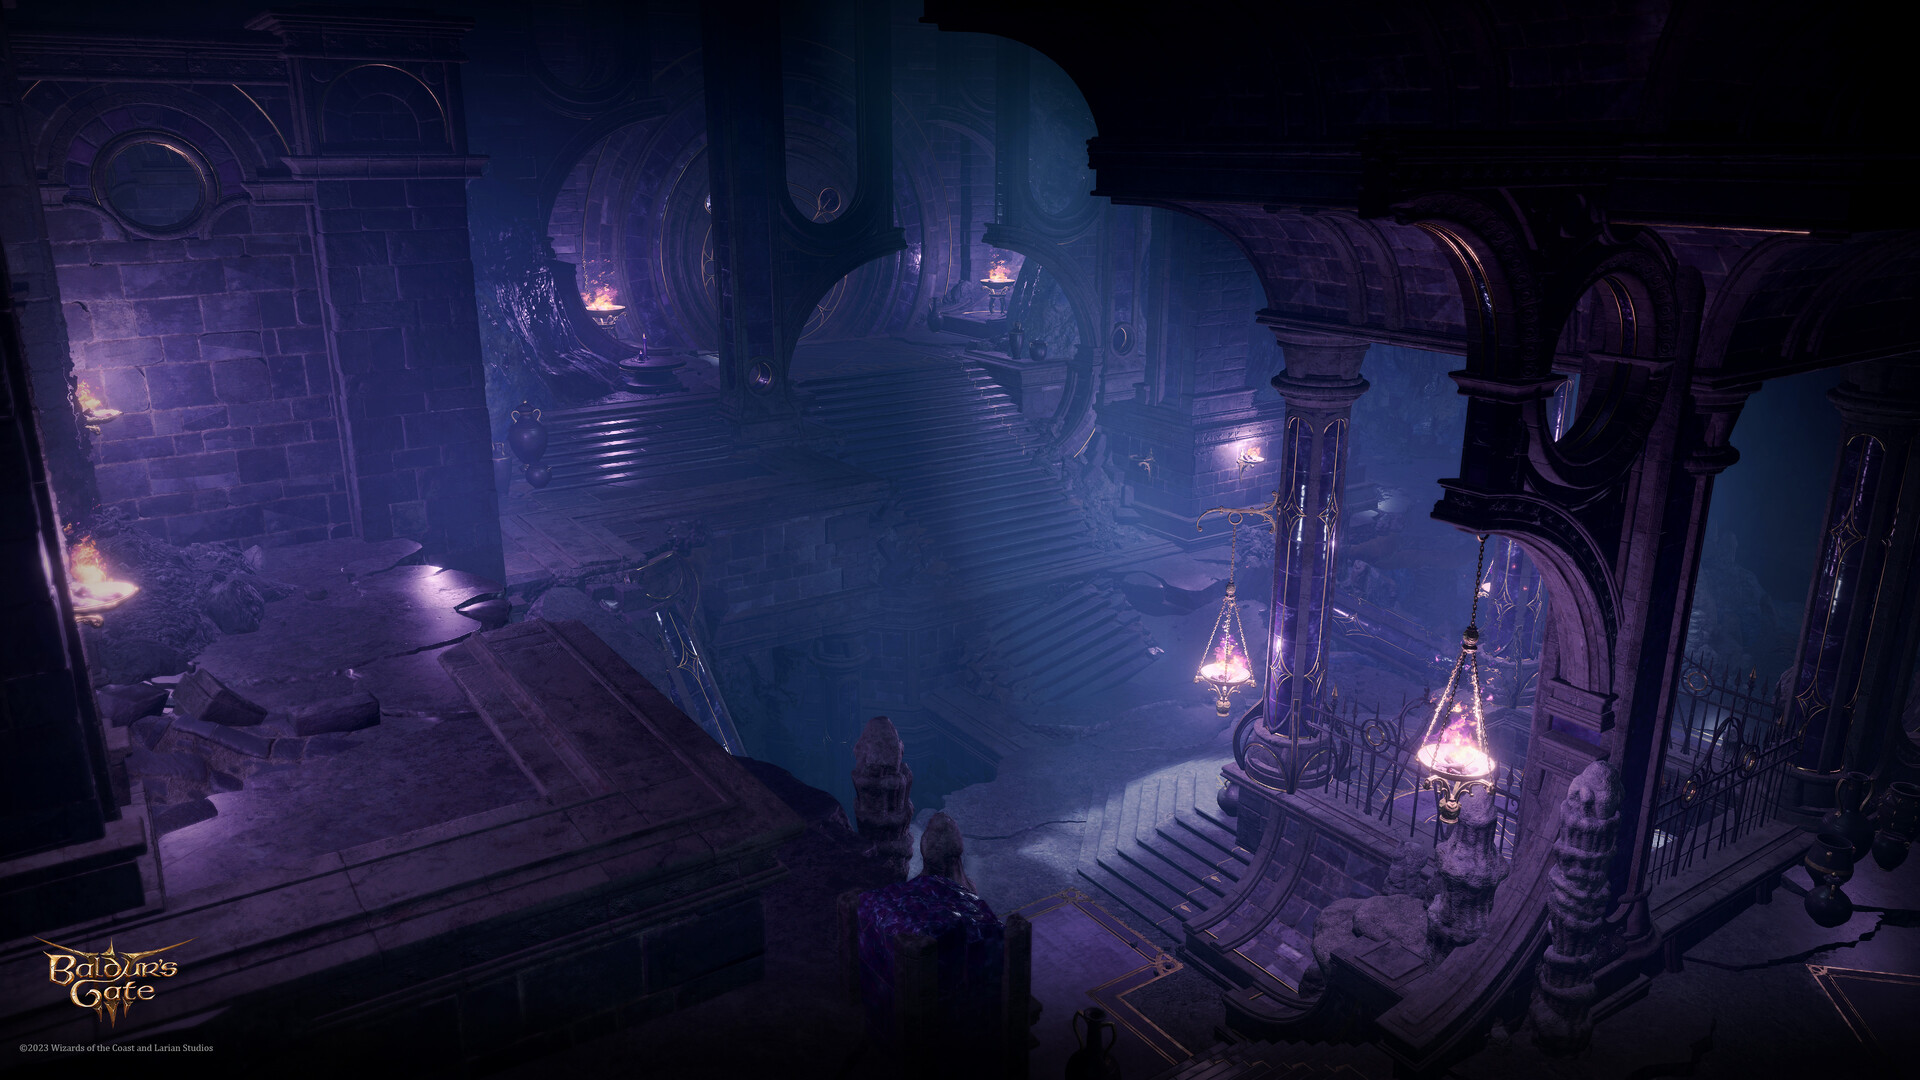
Cloister layout[edit section | visual editor]

(by Jef Simons)
Training areas[edit section | visual editor]
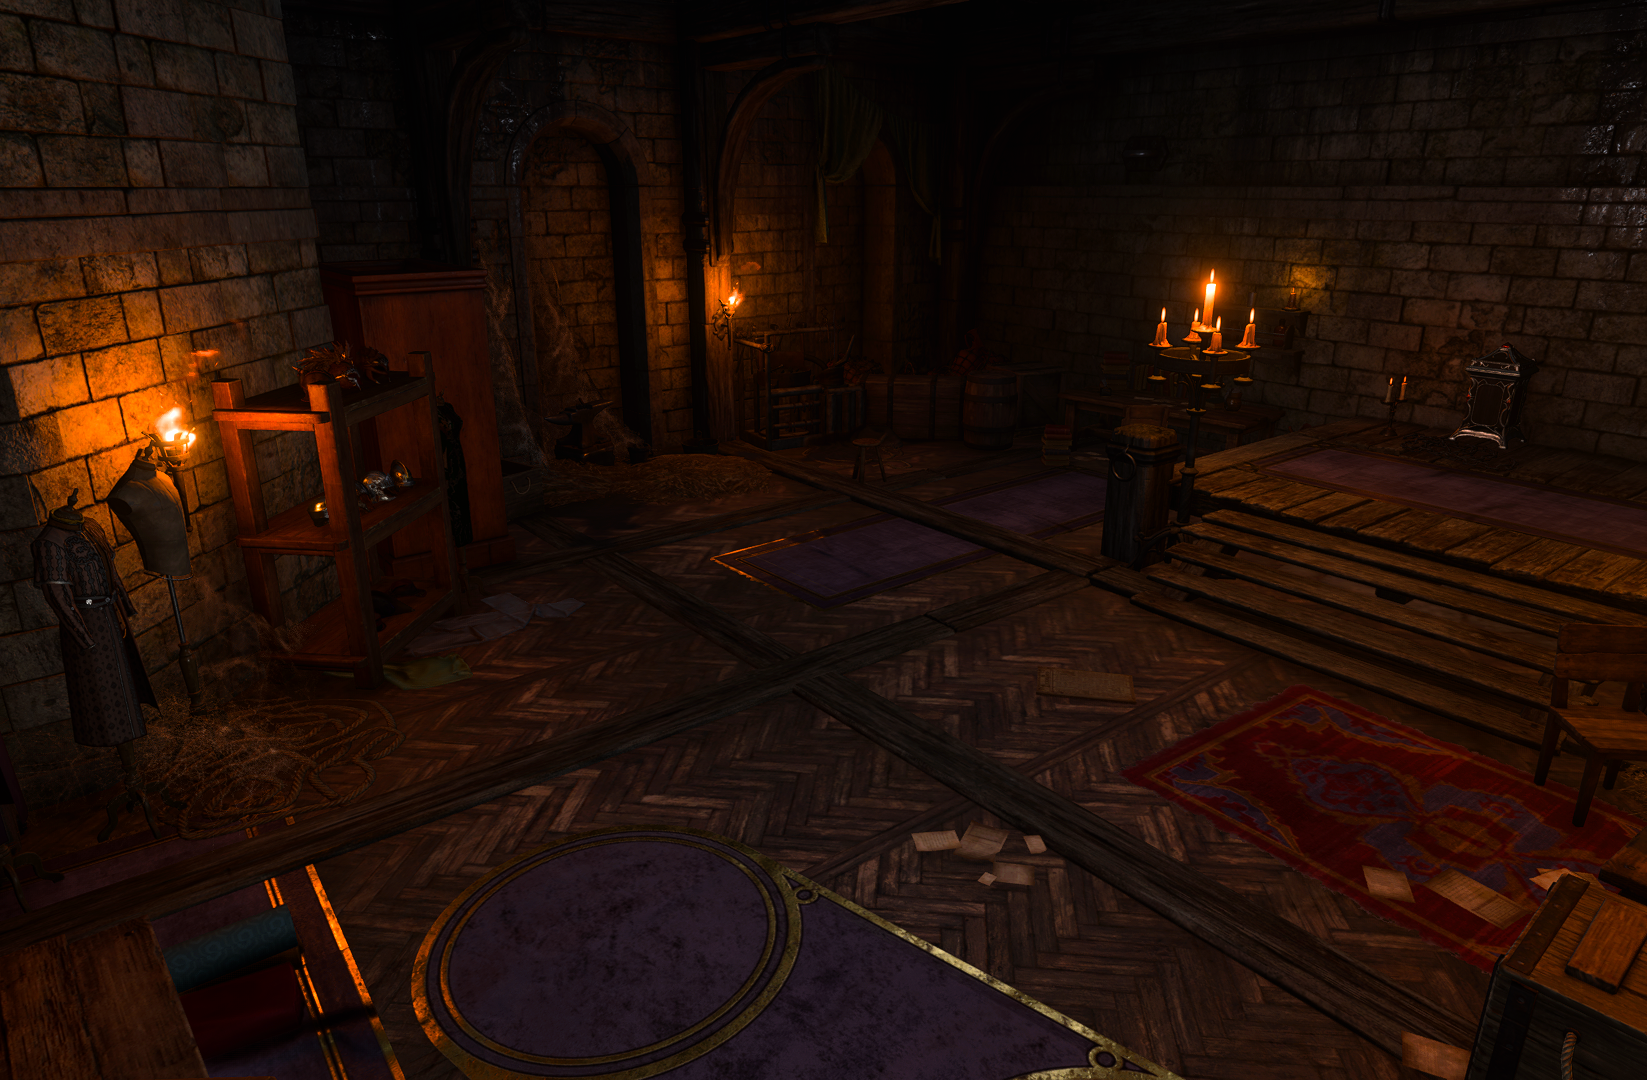
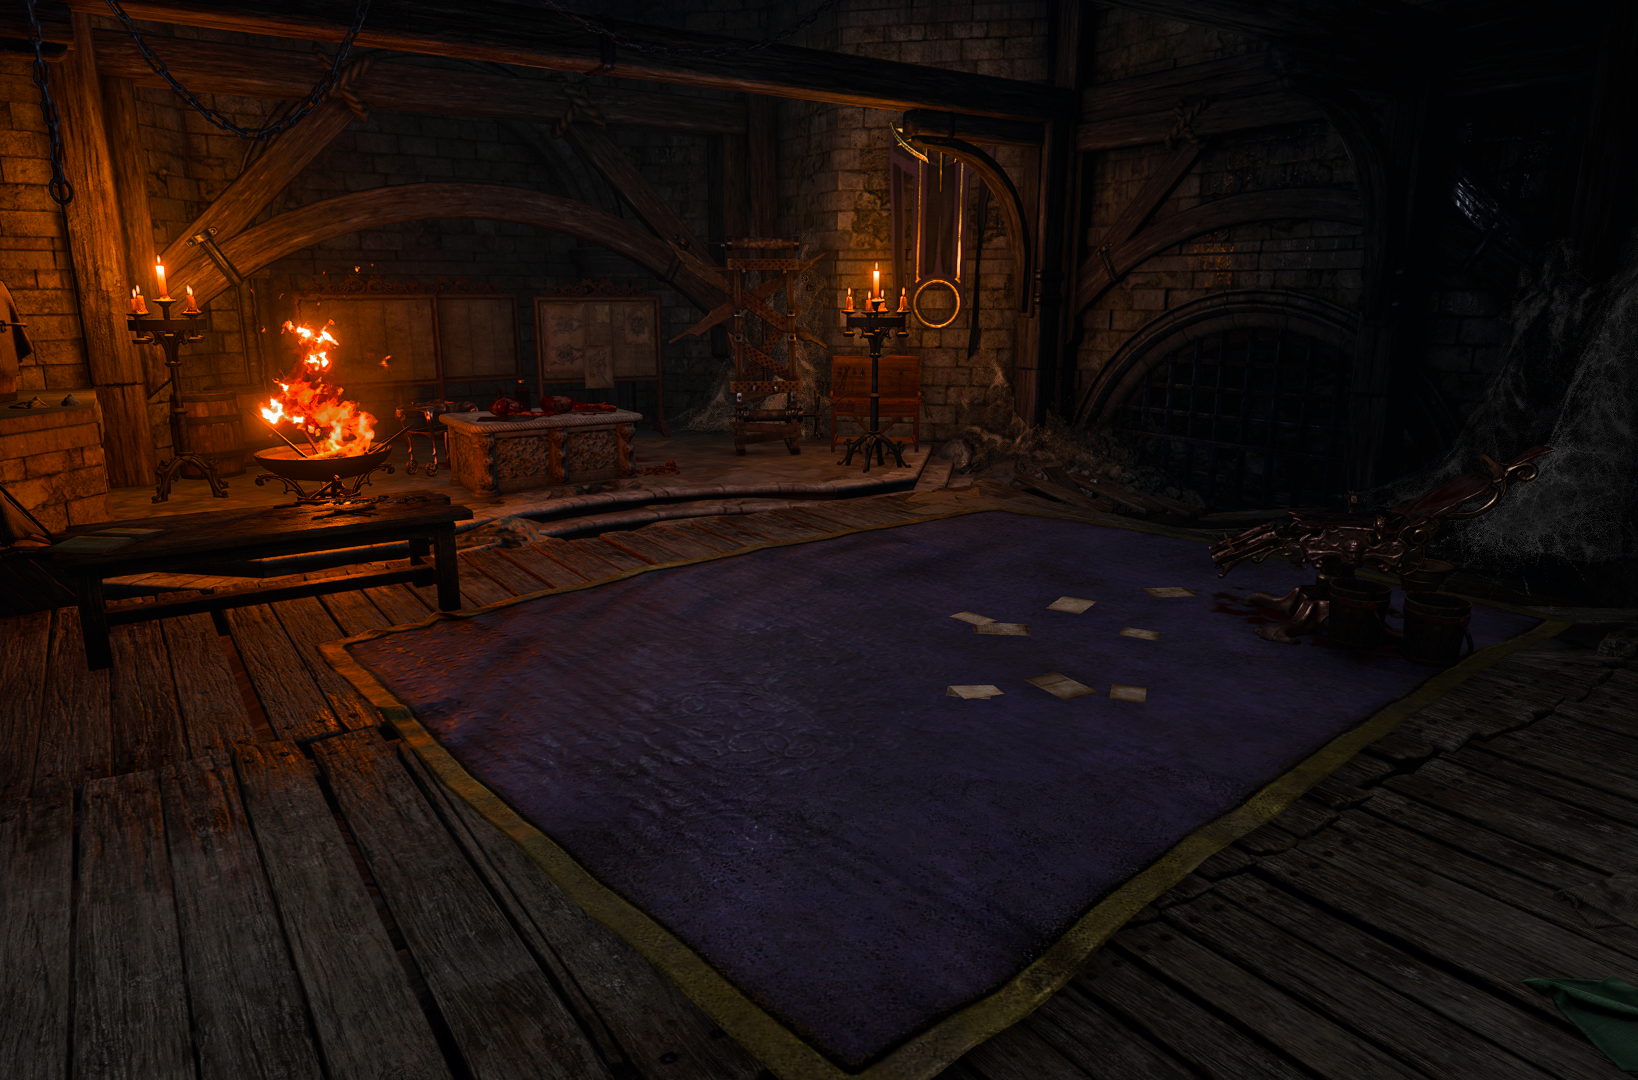
After descending down through the exposed passageway, the party first comes to what seems to be the House of Grief cellar. It consists of a small antechamber adorned with Sharran symbols, and two medium-sized locked rooms, called Infiltration Training and Interrogation Training. The doors to both open with a ![]()

The Infiltration Training area is filled with various disguises on mannequins and shelves. 
![]()
![]()
![]()
![]()
The Interrogation Training room is a torture chamber. It does not keep any remarkable loot except several pieces of ![]()
Interacting with various items within both rooms prompts comments from party members, but only if Shadowheart is not present or is detached from the rest of the party.[1]
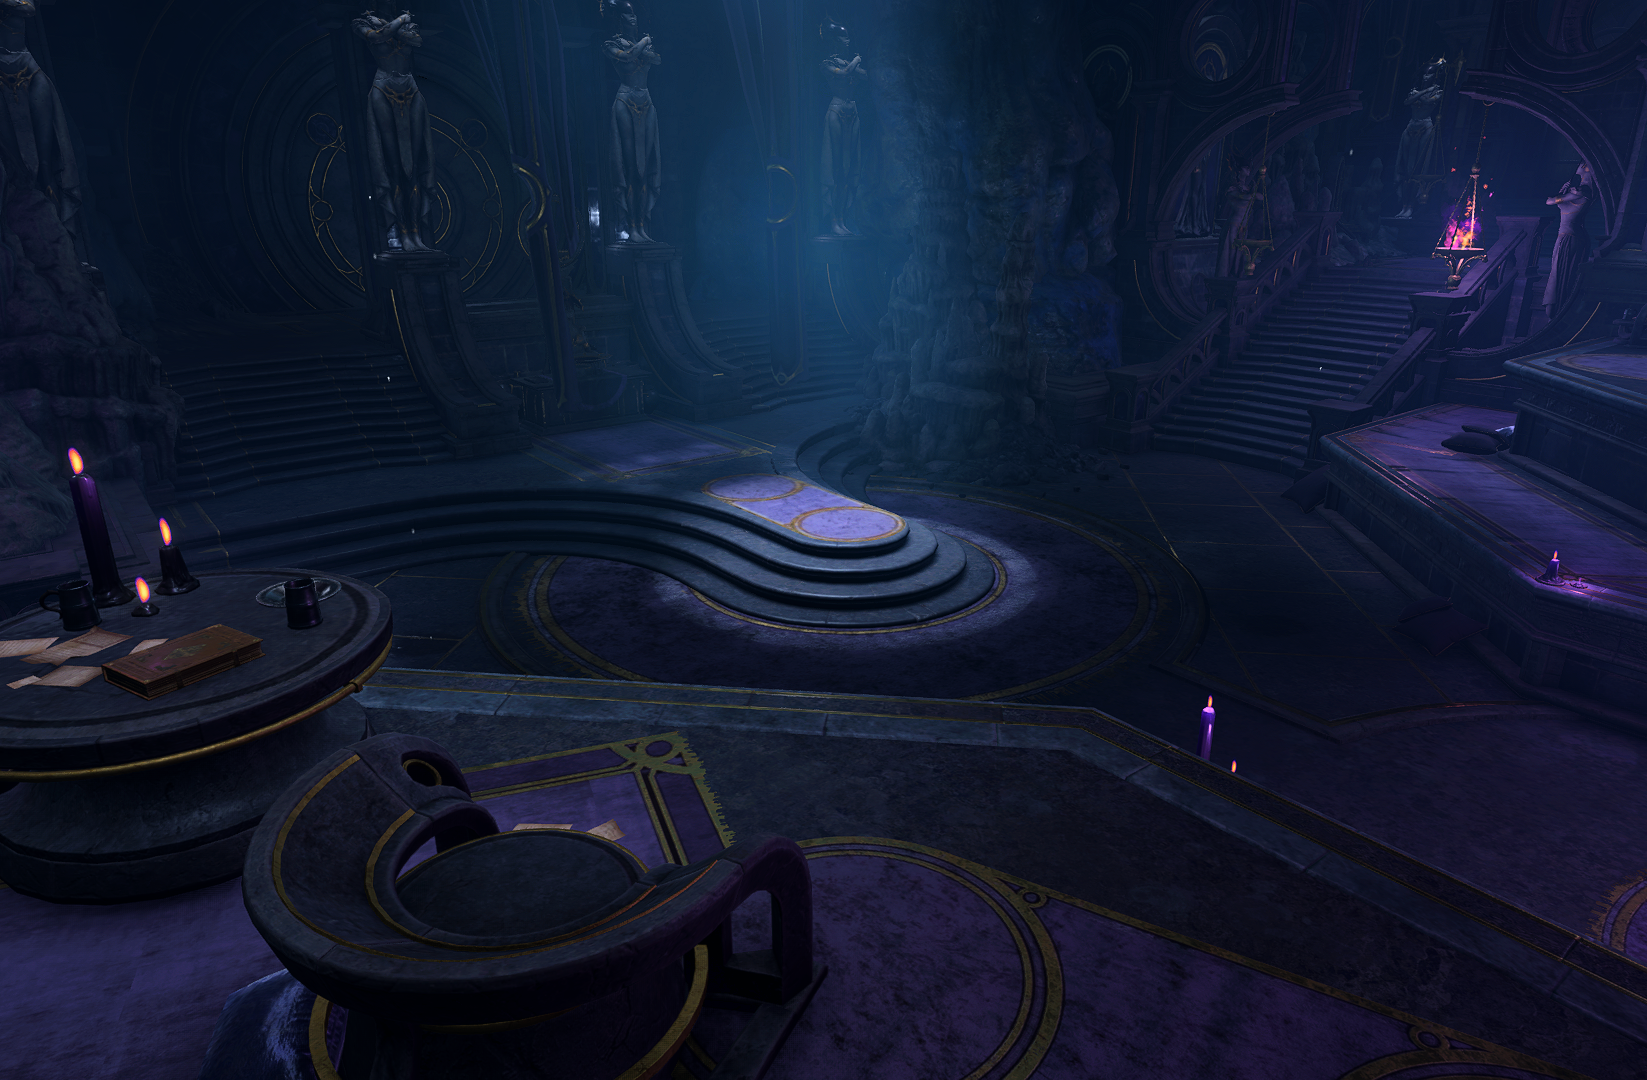
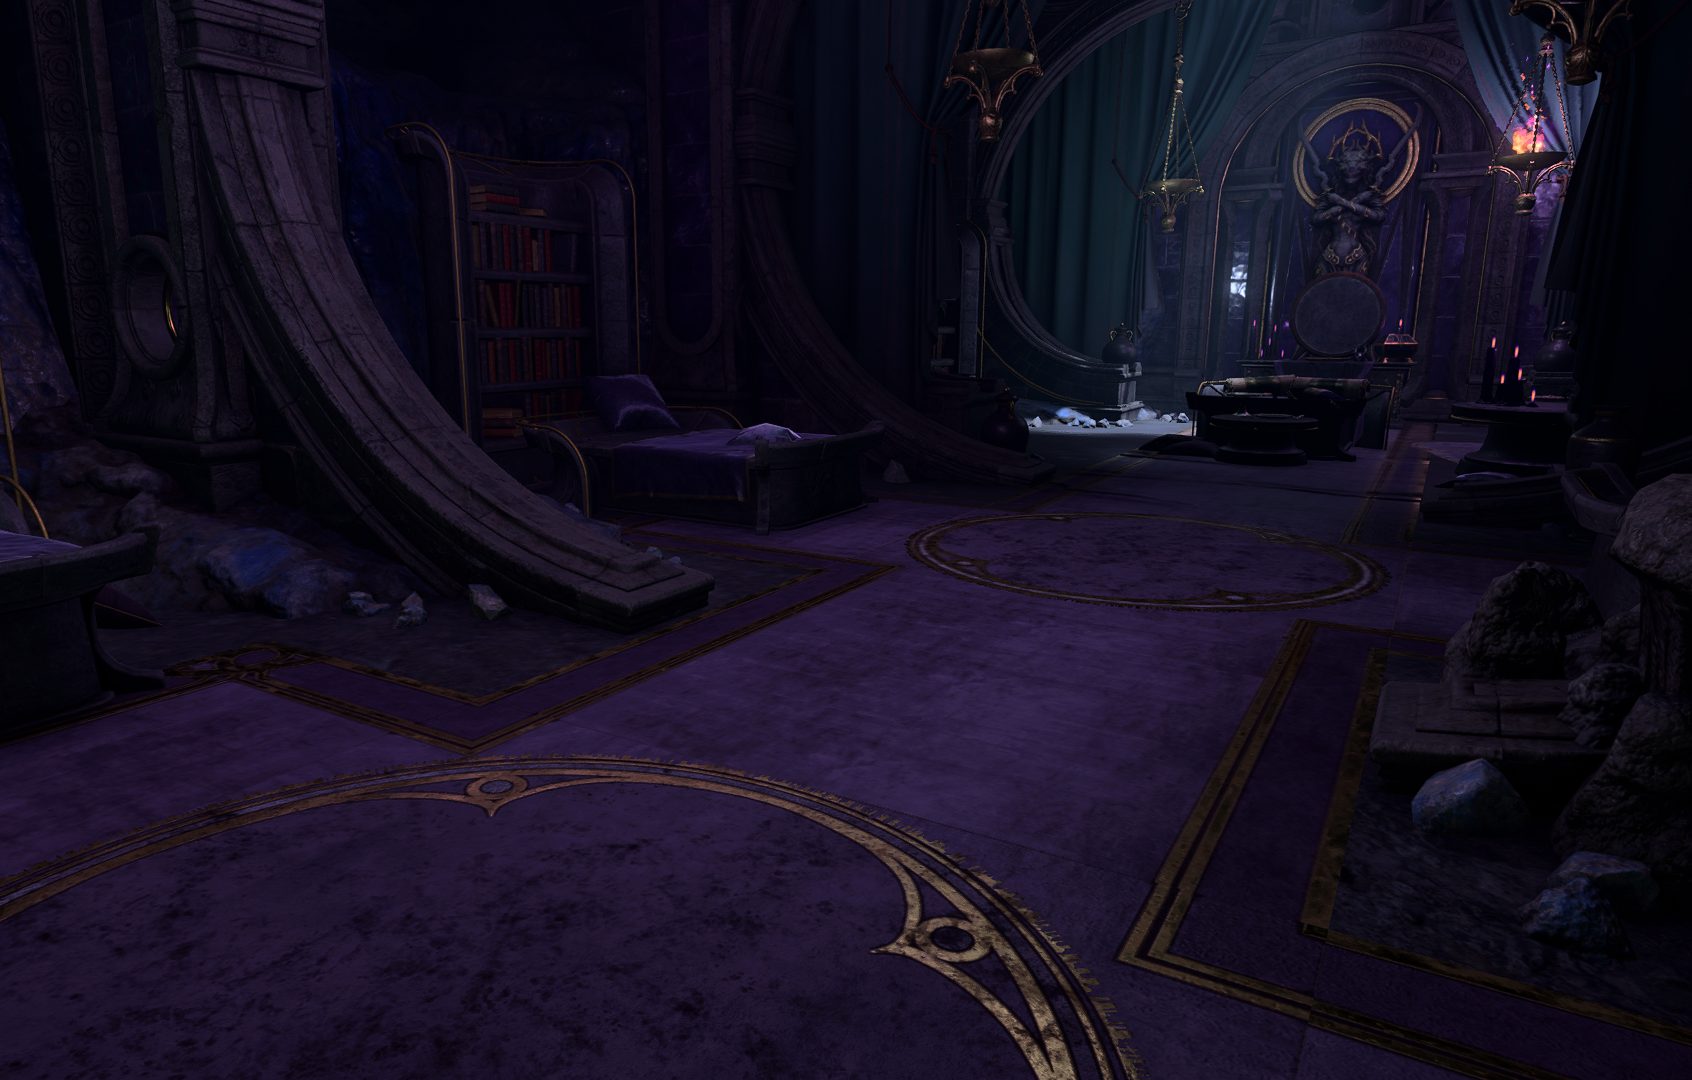
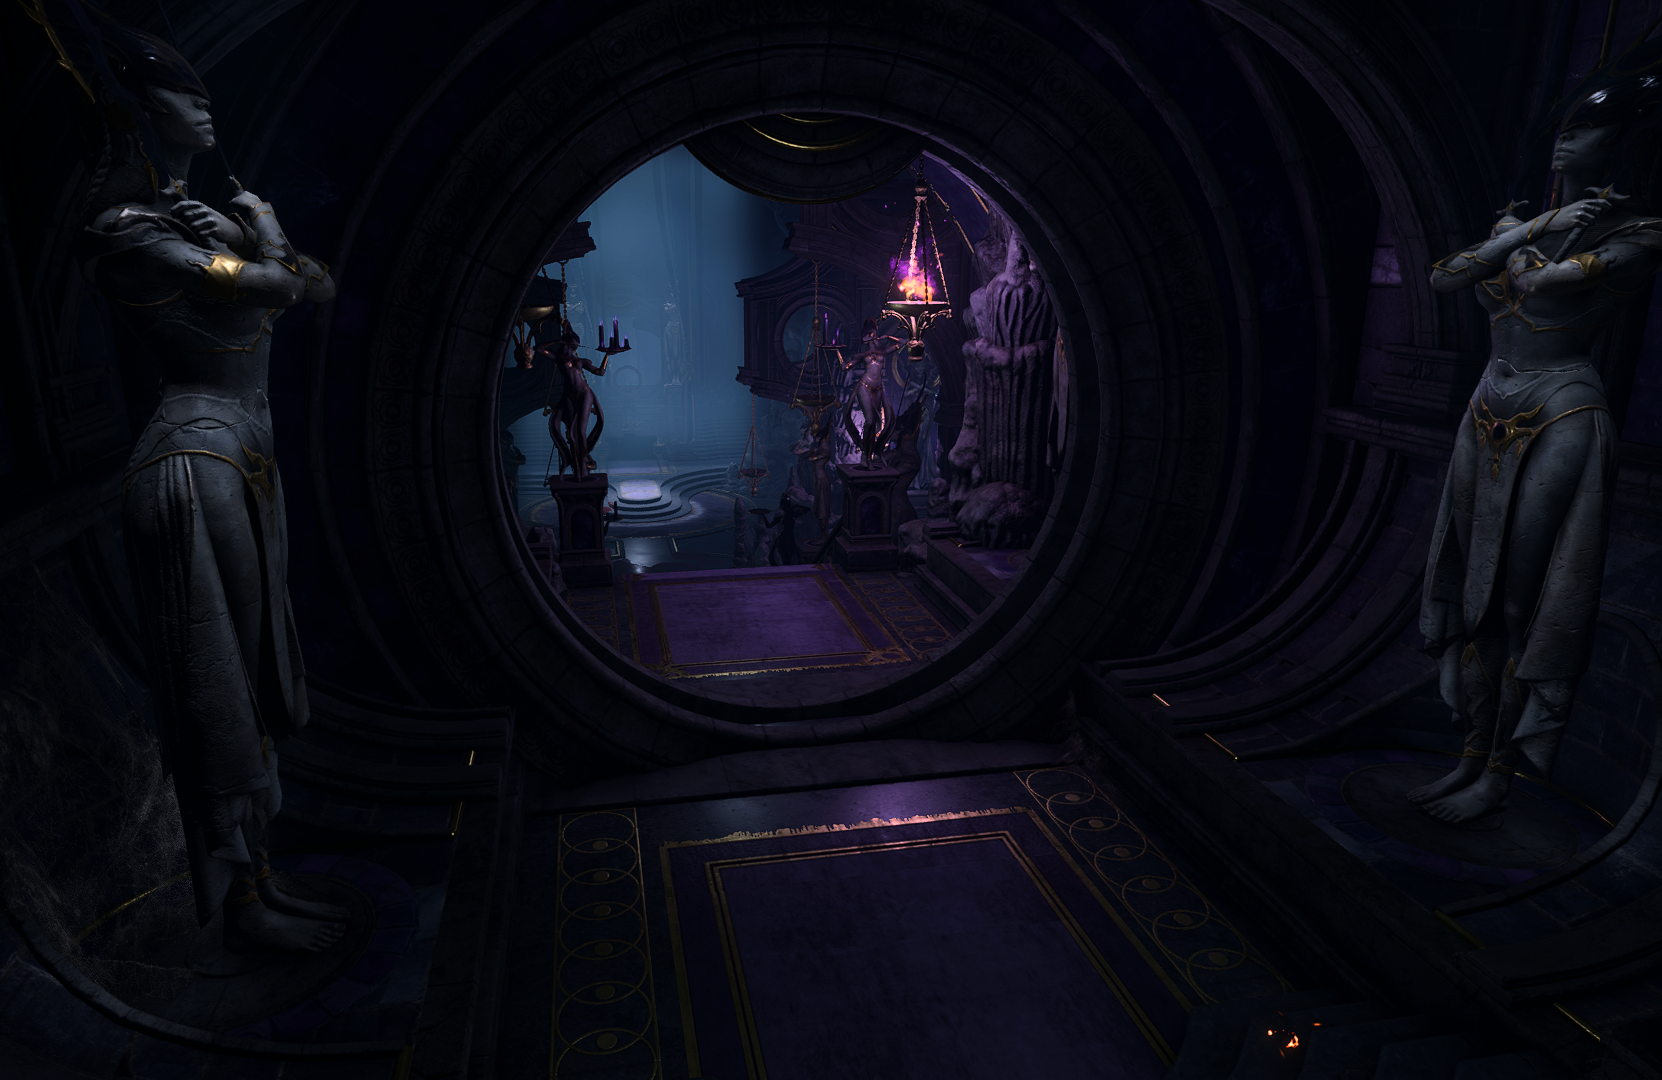
Main chamber and adjoining rooms[edit section | visual editor]

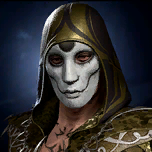
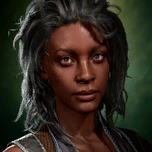
Past the training rooms, a massive cavern starts. In its middle, a long path leads to the main chamber of the cloister. There Mother Superior
The main chamber features a deep sunken area in the center, surrounded by a gallery with a steeped climb. From the gallery three lesser rooms are available: the dormitories to the north, the library to the south and the armoury to the south-east.
The doors to dormitories are initially closed. Inside, 
![]()
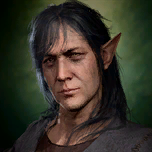
The farmost part of the dormitories is Viconia's private quarters. At X: -398 Y: -1591 is a Jewellery Box, unlocked with ![]()
![]()
At X: -406 Y: -1595 is a bookcase with several tomes containing background information on Shadowheart's upbringing up in the cloister, recorded by Viconia herself.
The library on the opposite side of the main chamber features numerous books and documents describing Sharran doctrine. At X: -396 Y: -1672, behind the column, is a locked opulent chest with gold, random valuables and arrows inside. It requires

Armoury and Night orchid cave[edit section | visual editor]
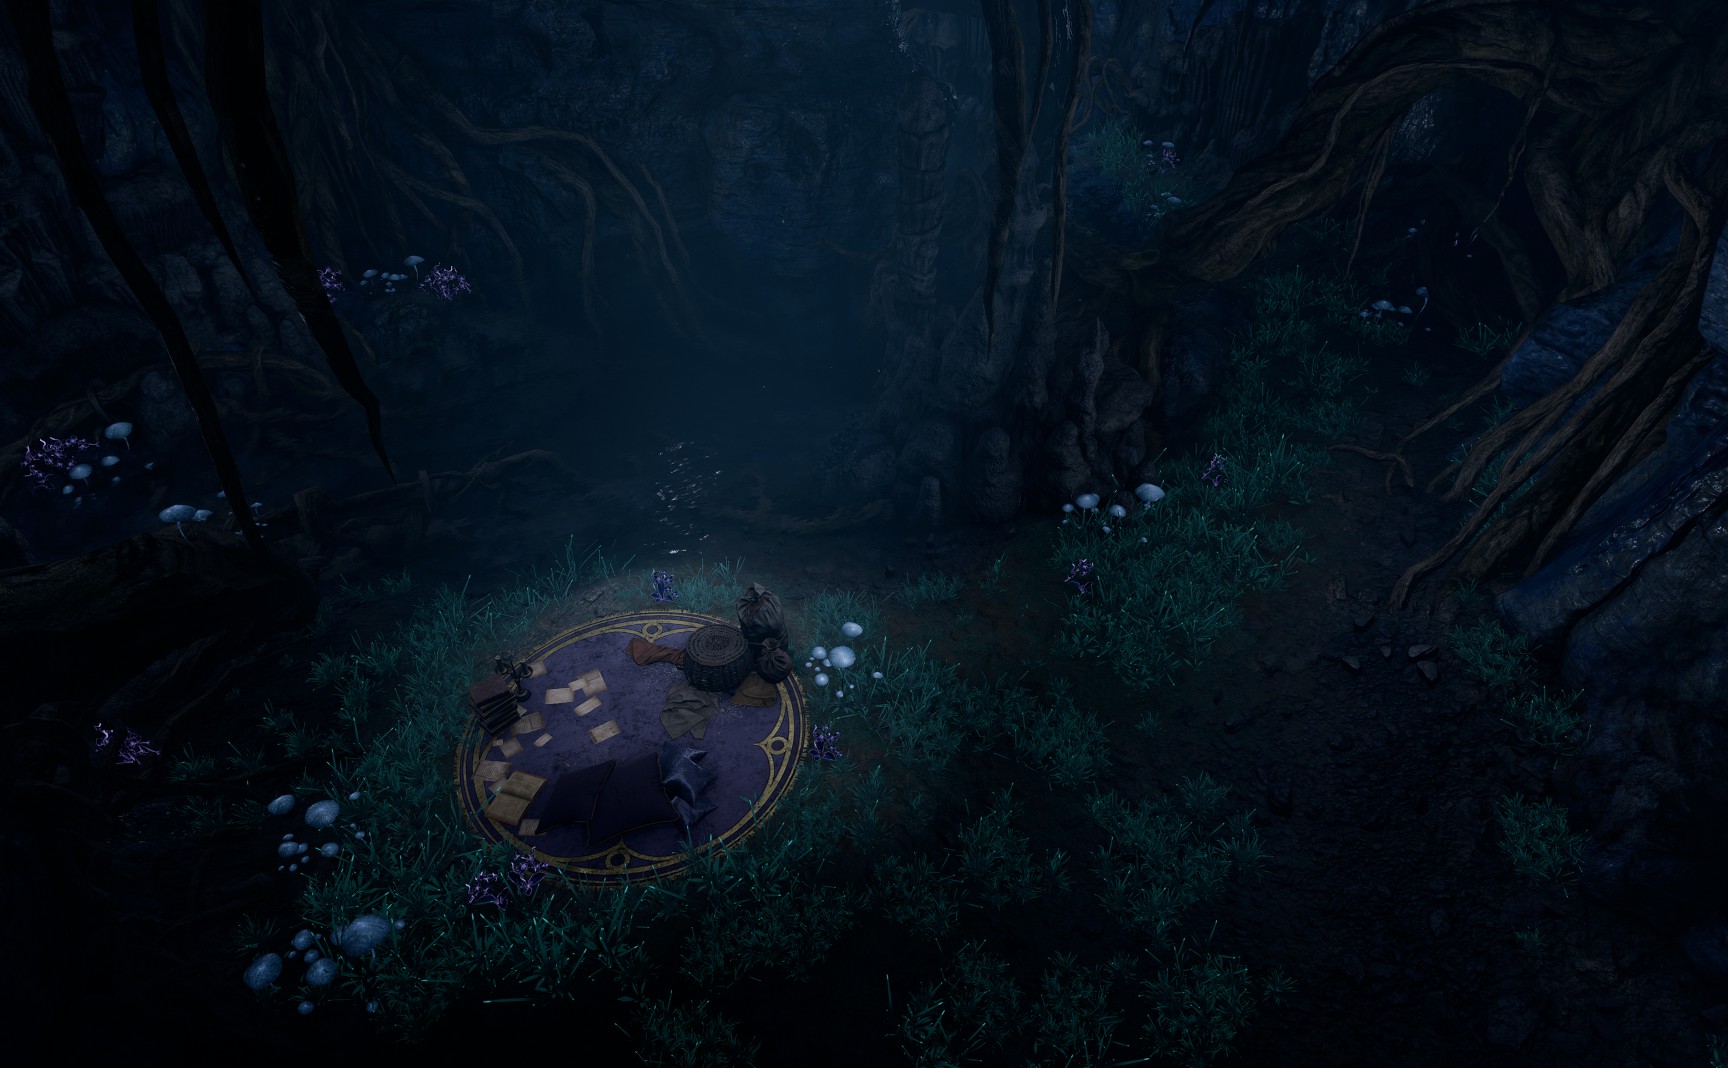
To the south-east of the main chamber is an armoury, containing common weapons and pieces of armour (there are also several Uncommon items), as well as Camp Supplies. At the far end of the room a ![]()
On the lake shore is an abandoned picnic site, supposedly left by Shadowheart as a child. Some documents here give a hint on how to open the door to the heart of the cloister - the Chamber of Loss.
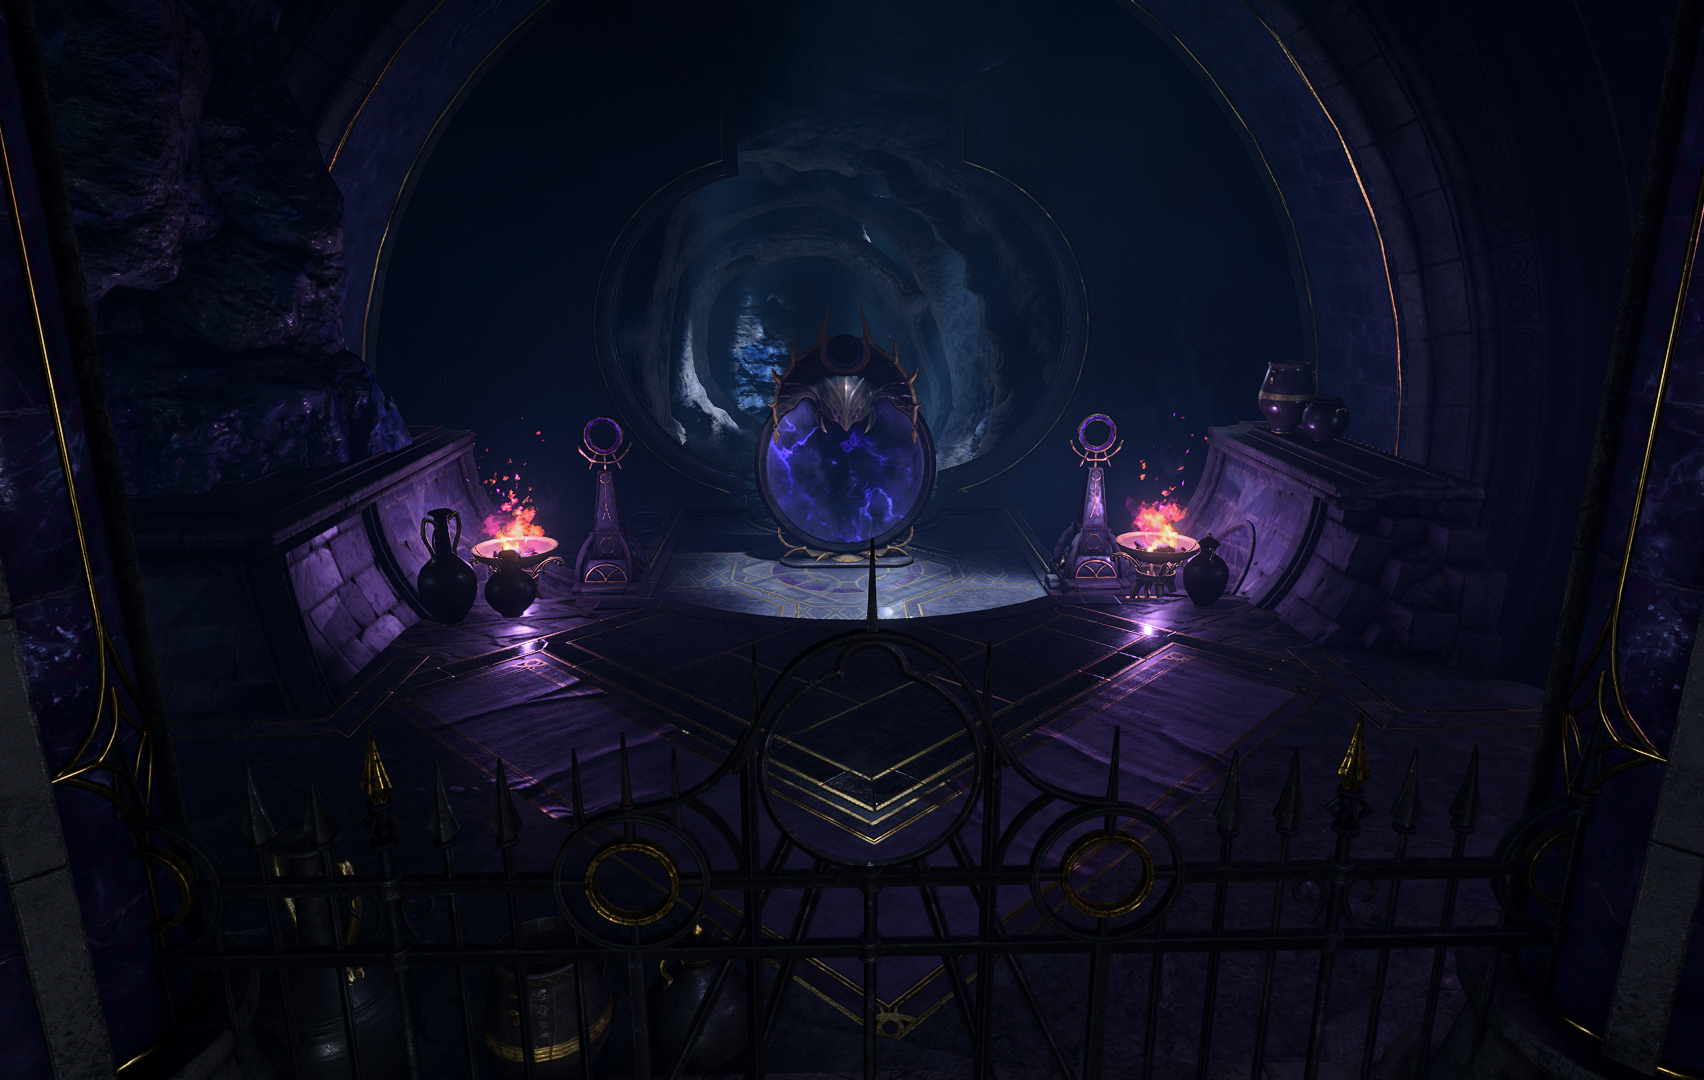
Threshold of Loss[edit section | visual editor]

At X: -420 Y: -1651 a large locked door called the Threshold of Loss blocks the entry to the rest of the temple. If Shadowheart remains loyal to Shar, the door opens on its own. Otherwise, it can be lockpicked (requires ![]()

![]()
In the center of Chamber of Loss are two large discs, each one with a prisoner chained to it. Interacting with any of them starts a cutscene which completes the ![]()
On the northern side of the chamber are several prison cells. In the only one available to explore lies a decapitated githyanki corpse. Aside it a
An intact Mirror of Loss is at the far western end of the chamber, at X: -474 Y: -1650. The Mirror can be used to gain a permanent bonus to one ability of every party member who interacts with the mirror, and also a +1 to Charisma – in exchange for a temporary penalty. As every character (including hirelings) may use the mirror independently, it can offer a sizable stat increase for the entire party.
The mechanics of obtaining this boost, as well as all necessary checks and special features, are listed on the object's page.
In the ruins along the southern edge of the cave at X: -453 Y: -1674 lies a skeleton with a ![]()
Companion interactions[edit section | visual editor]

(by Jef Simons)
The Cloister of Sombre Embrace is the focal point of ![]()
![]()
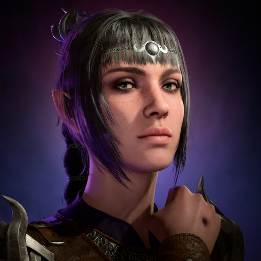
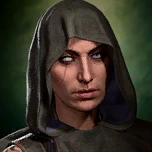
If the party gain access into the cloister without Shadowheart present, they meet no hostility (unless they killed the staff in the House of Grief). However, some areas will remain inaccessible for them. Once they reach Viconia de Vir in the main chamber, a cut-scene starts. In this scene, Viconia demands the party bring Shadowheart to the Cloister, which starts the ![]()
If Shadowheart is present, her dialogue with Viconia depends on her choice between the two rivaling deities. Regardless, it inevitably spills in a fight against Viconia. The main difference between two paths is that if Shadowheart remained loyal to Shar, she has an option to expose Viconia's disobedience to their goddess, and sway some of the cloister clergy to her side. If Shadowheart succeeds, most Sharrans ally with her and the party in the upcoming battle. Regardless of initial conditions, surviving the battle against Viconia grants the ![]()
![]()
The party can also choose to surrender Shadowheart to Viconia and thus earn the latter's support in the battle against the Absolute within the ![]()
If the party defeat Viconia, knocking her out in the end, they have an option to kill her or to allow her to leave the cloister. The latter choice is considered an oathbreaking action for Vengeance Paladins and Ancients' Paladins.
After the battle is resolved, Shadowheart must cross the Threshold of Loss and finish her personal quest. The prisoners chained to the discs in the Chamber of Loss are revealed to be Shadowheart's parents, 

If she remains loyal to Shar, completing the quest also updates the ![]()
Regardless of the outcome, Shadowheart can find ![]()
Related locations[edit section | visual editor]
Related Quests[edit section | visual editor]
Characters[edit section | visual editor]
Notable[edit section | visual editor]


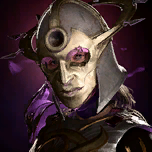
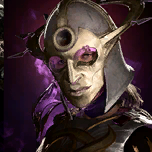
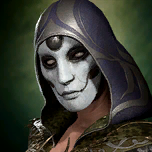
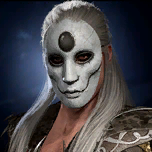
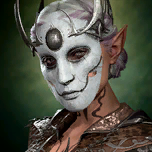
Followers of Shar[edit section | visual editor]
Justiciar Crusaders[edit section | visual editor]


Sharran Fidelians[edit section | visual editor]


Sharran Sentries[edit section | visual editor]


Sharran Novices[edit section | visual editor]


Loot[edit section | visual editor]
Related literature[edit section | visual editor]


Gallery[edit section | visual editor]
-
The infiltration training room
-
The interrogation training room
-
The corridor to the Cloister proper


Notes and references[edit section | visual editor]
- ↑ Exploring various interactive items anywhere further around the cloister has the same priority. Shadowheart's comments vary depending on her loyalty either to


- ↑ If Shadowheart swayed to Selûne, Nocturne indeed disappears after a long rest. If she remains loyal to Shar, Nocturne stays in the dormitories and can be traded with until the endgame.
- ↑ This is the only place where the party can pick up no less than eight flowers for free.
- ↑ The

External links[edit section | visual editor]
