Ad placeholder
Devil's Fee

| Lower City | ||||
| Szarr Palace | ← | Devil's Fee | → | Forge of the Nine |
| ↓ | ||||
| Bonecloak's Apothecary | ||||
“Management is not responsible for: missing body parts, enslaved loved ones, trapped souls, or ancient world-destroying curses.„
Overview[edit section | visual editor]
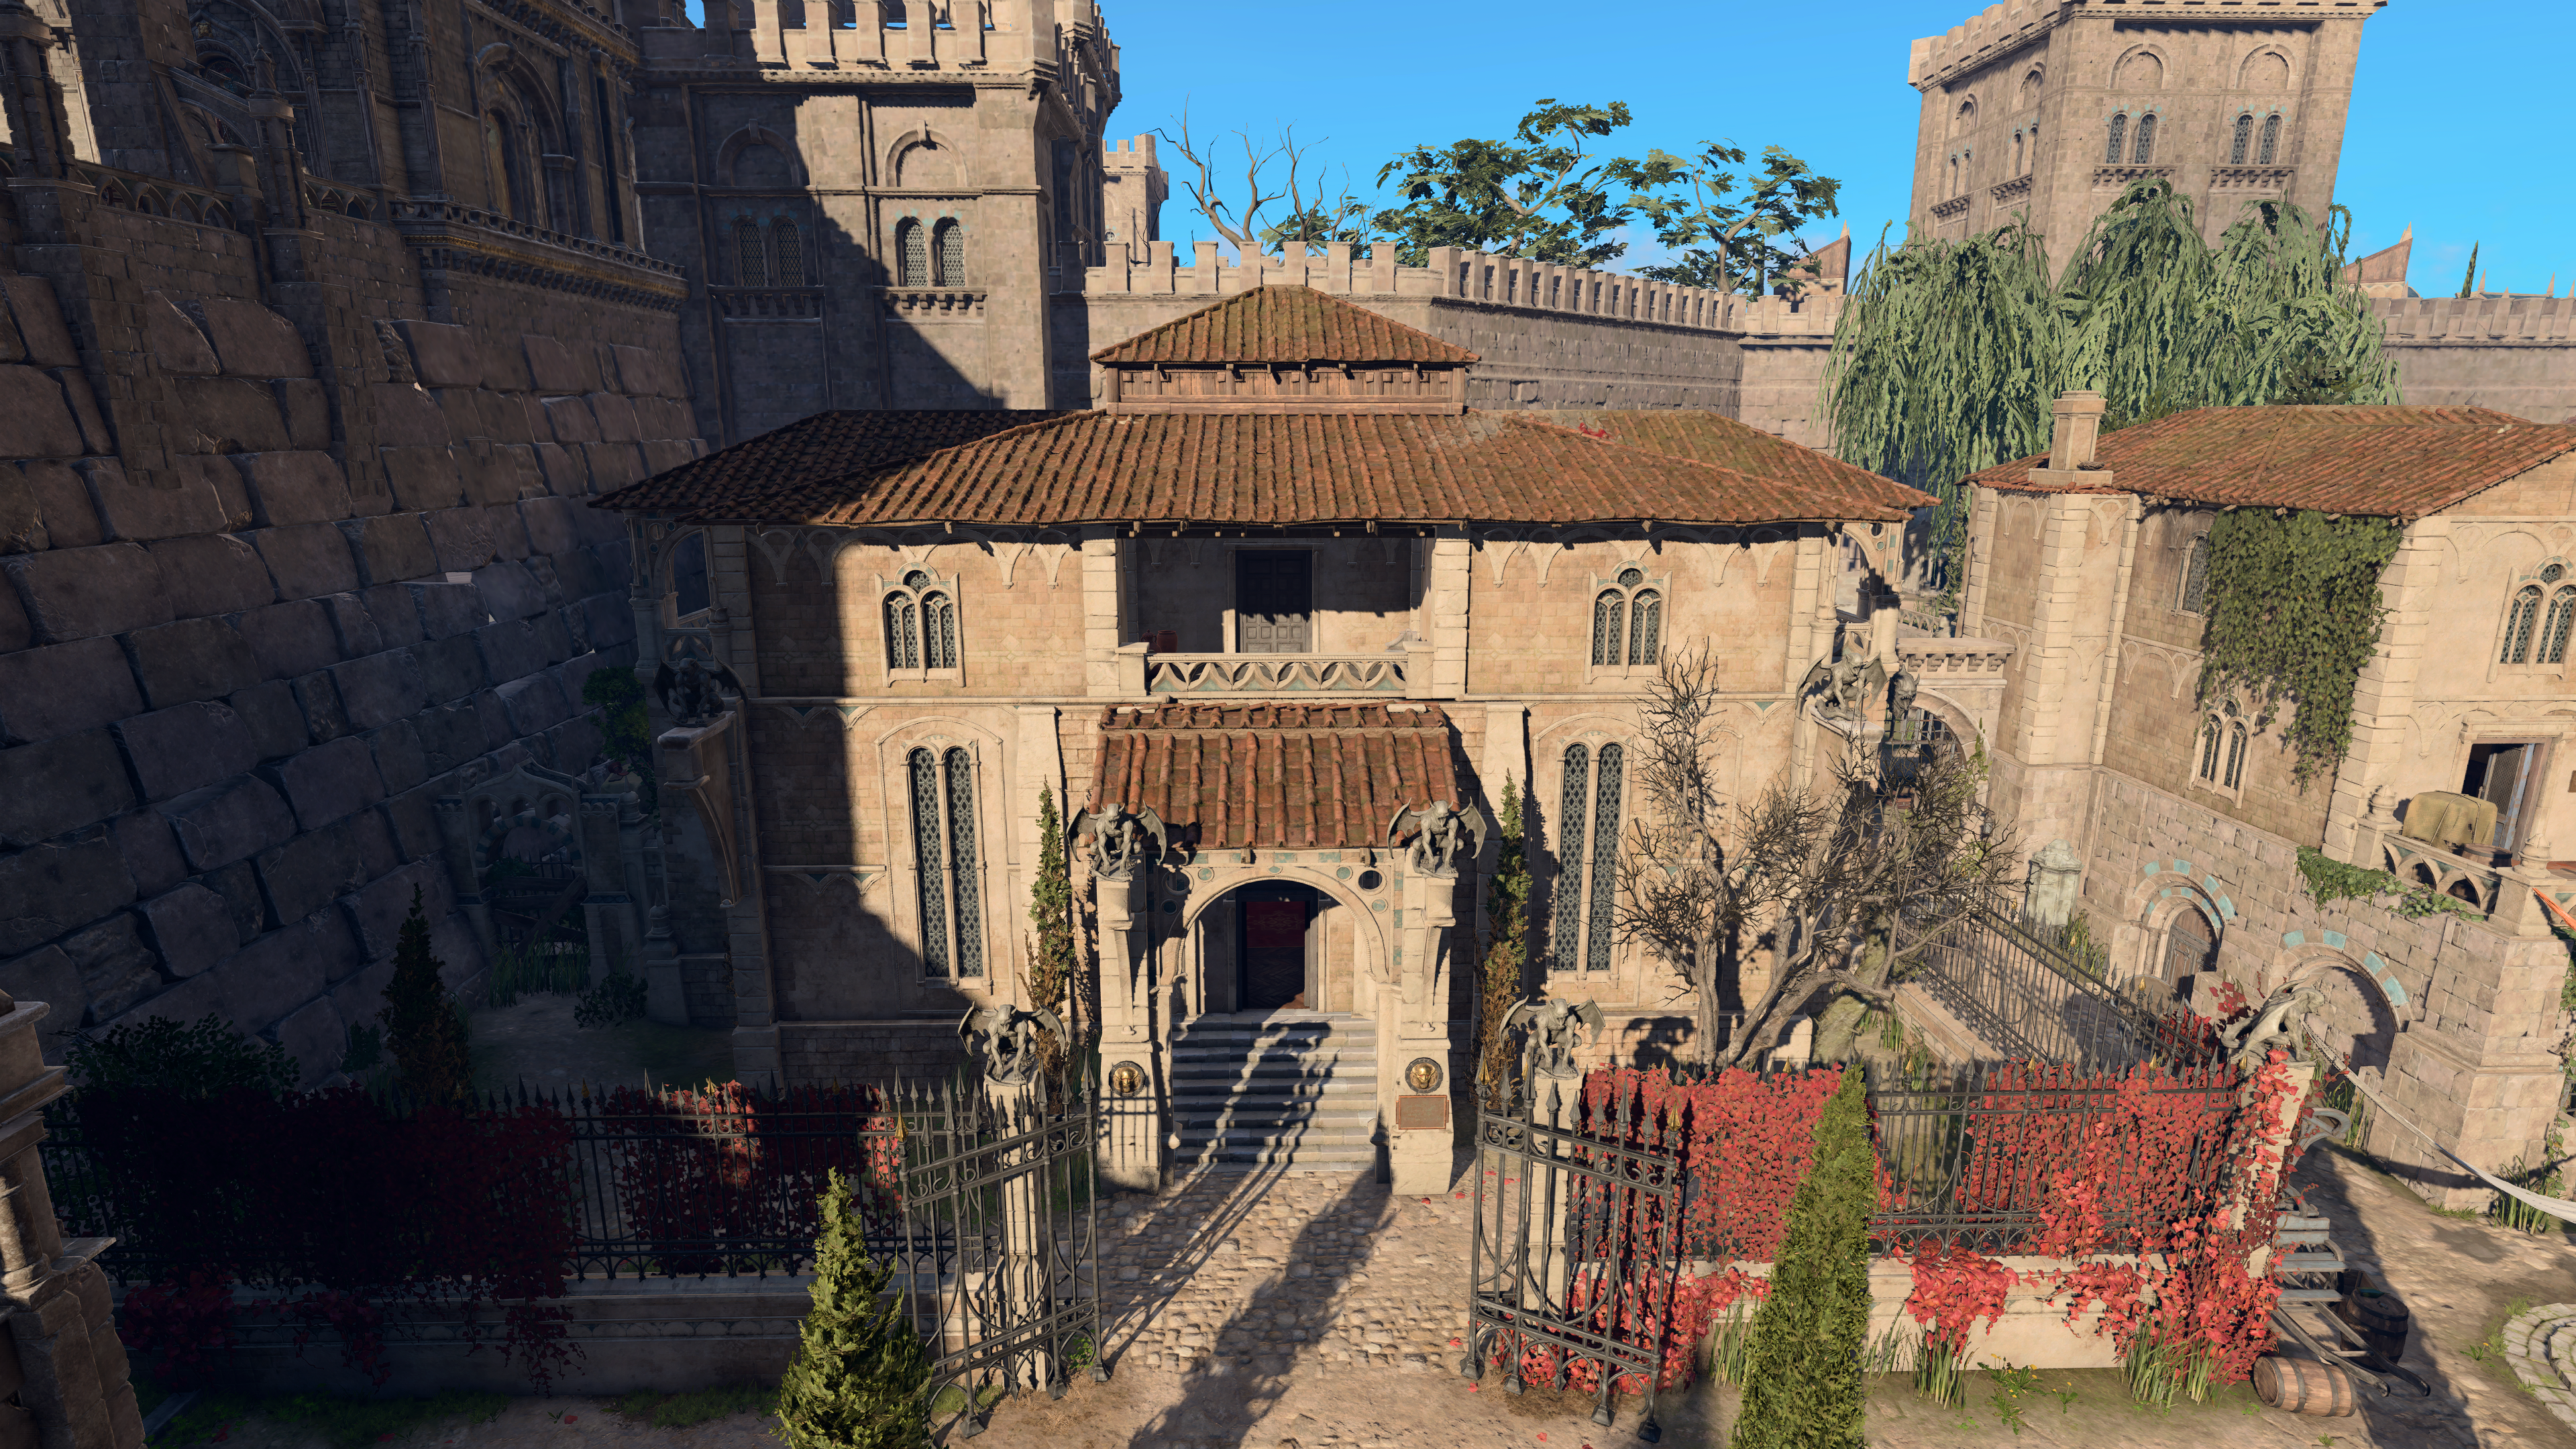
Devil's Fee is a store specializing in all sorts of devilish artifacts and curios. It is located in the Heapside district of Baldur's Gate, ensconced between the Forge of the Nine and the southern tower of the Szarr Palace, with the entrance just behind the Bonecloak's Apothecary.
The store occupies a large detached two-storied building and has a small fenced palisade and a basement, adjacent to the Forge of the Nine's cellar.
The Devil's Fee is owned and managed by 
![]()
Access[edit section | visual editor]
There are multiple ways to get inside the Devil's Fee:
- The main entrance at X: -39 Y: -13; leads into the main trade hall of the store
- Balconies on the first floor with doors at X: -39 Y: 0, X: -52 Y: 3, and X: -26 Y: 3. All are available via using spatial movement like


- A Cracked Wall in the cellar of the nearby Forge of the Nine at X: 391 Y: 770; leads into the Devil's Fee basement. From it, the main trade hall is accessible through the hatch.
Building layout[edit section | visual editor]

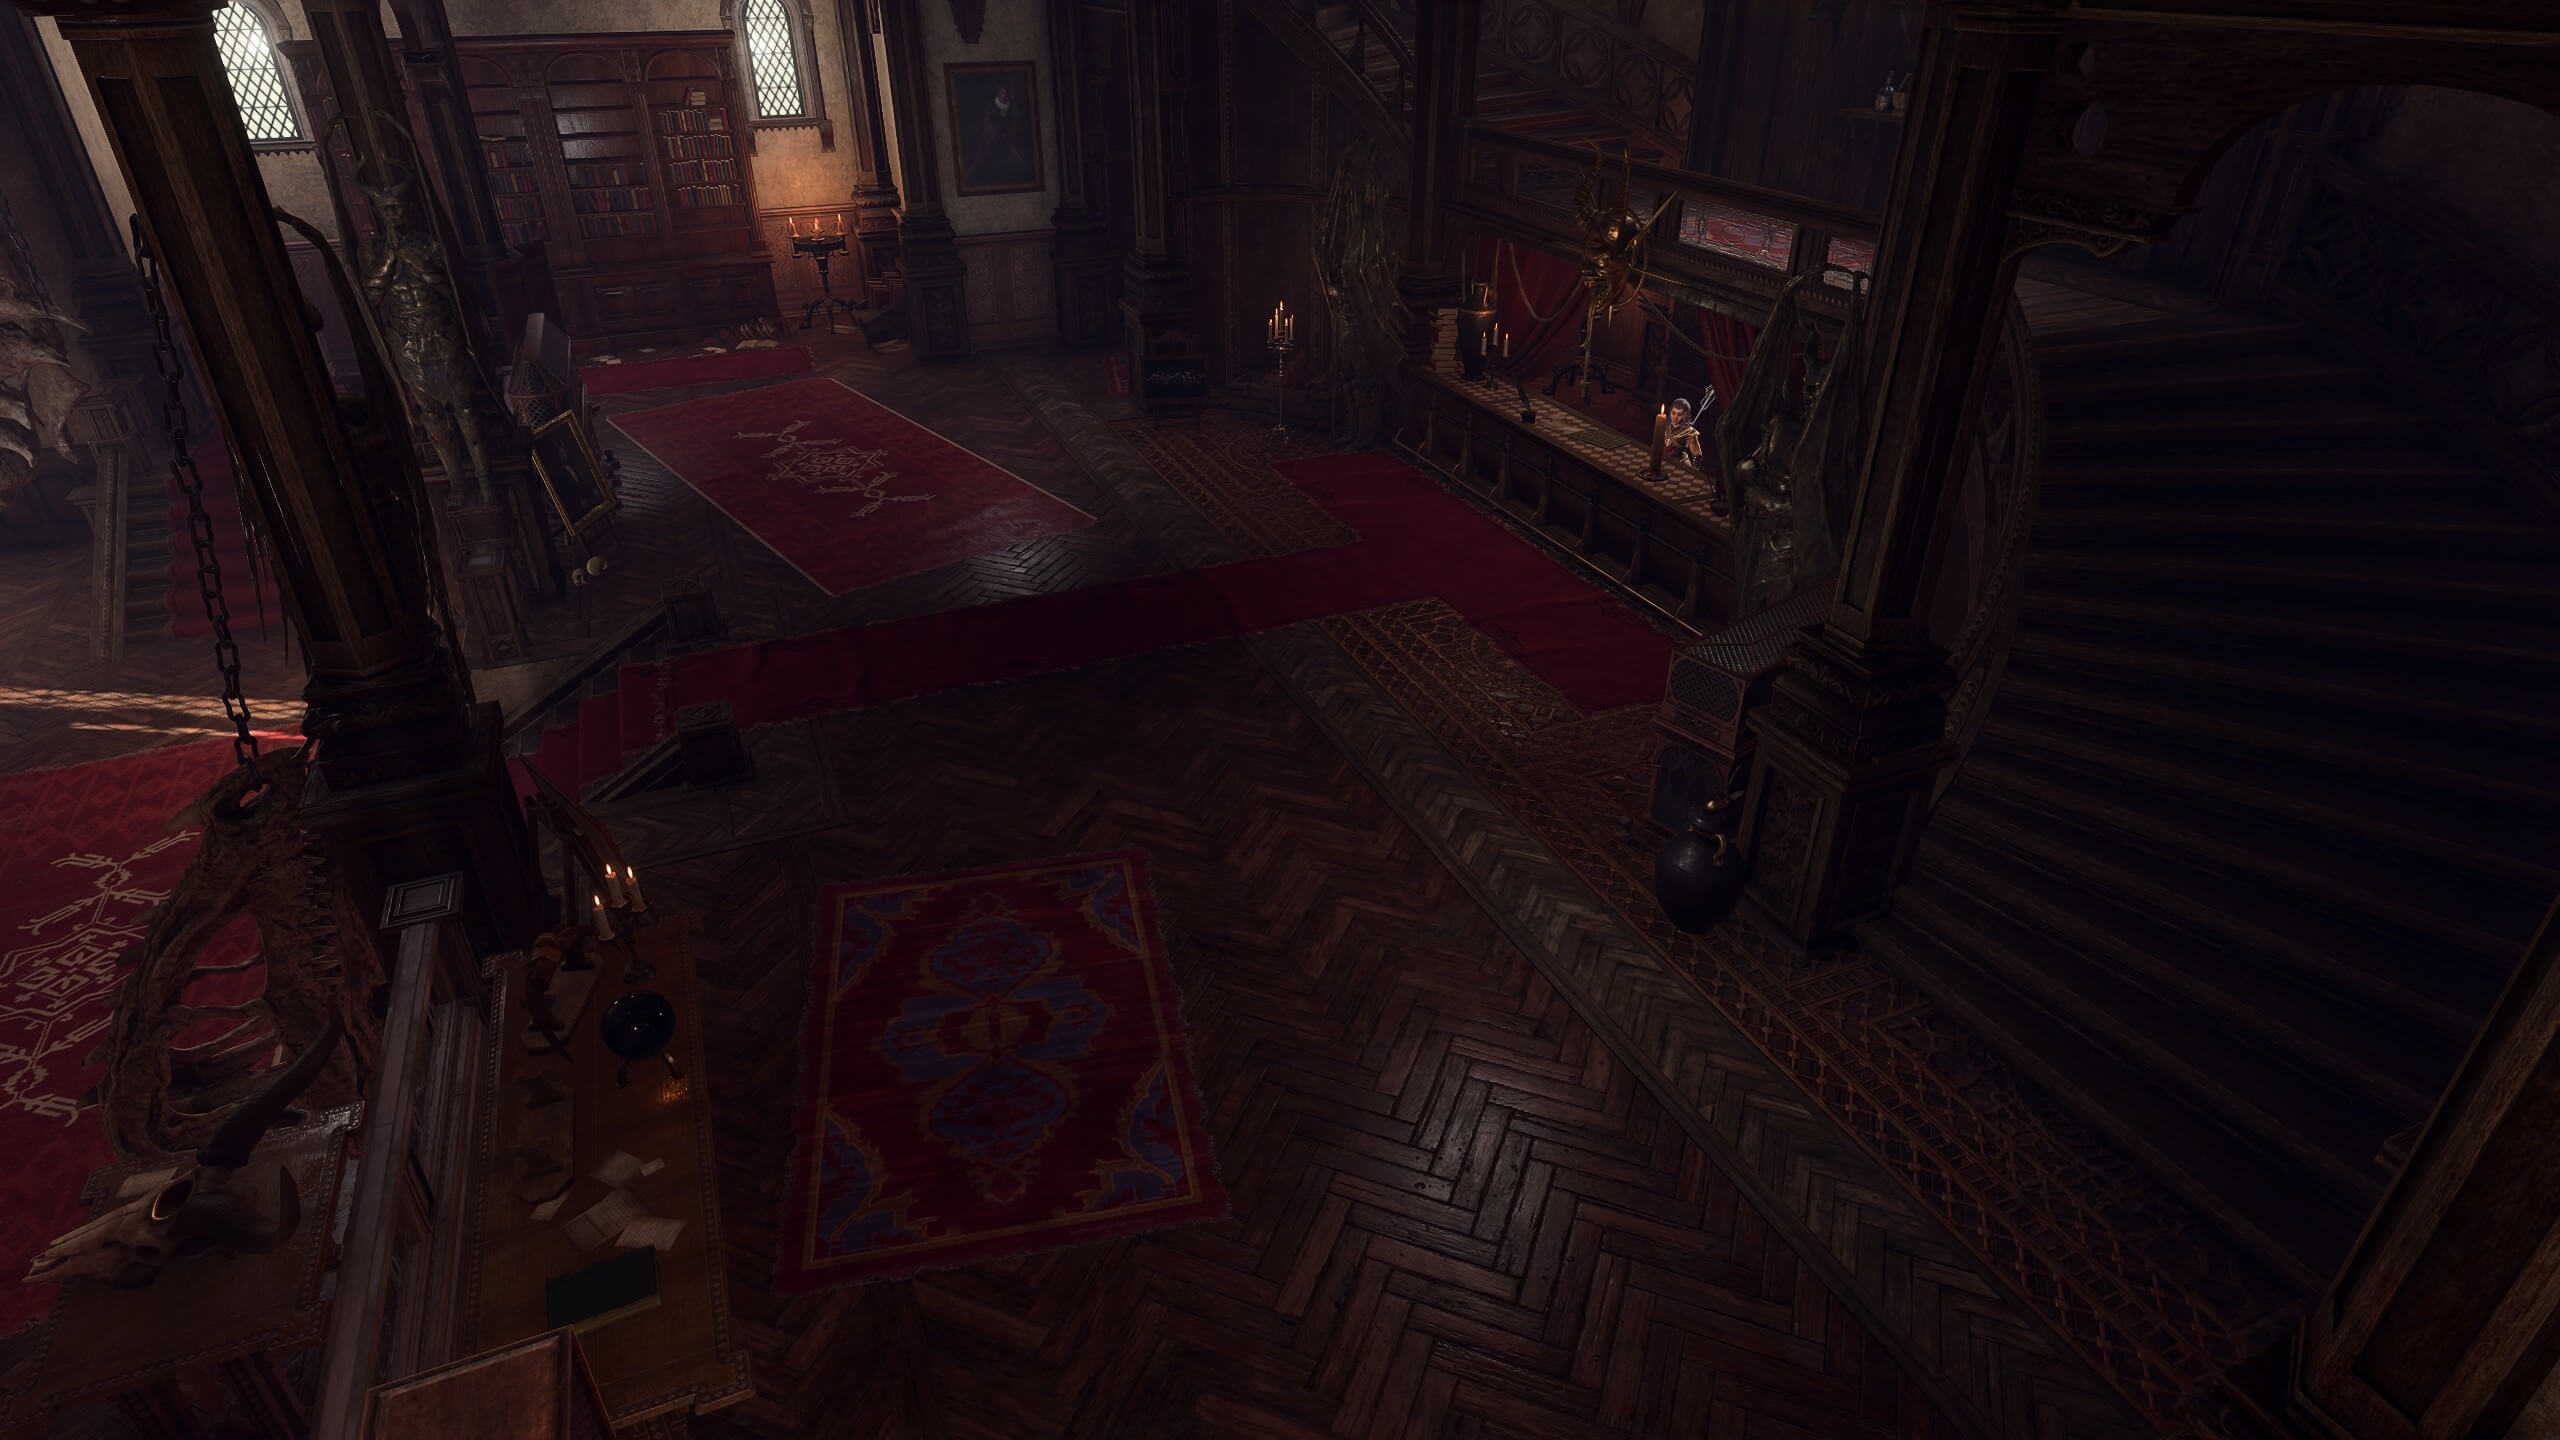
Ground floor[edit section | visual editor]
The main entrance to the store leads into a vast trade hall. While exploring it, several objects are highlighted with a 
- A Monster's Skull at X: -43 Y: 3 is identified as belonging to a

- Another skull at X: -47 Y: 2 is recognized as taken from a
- Two gems inside the display case at X: -25 Y: 7 are identified as Infernal Diamonds from
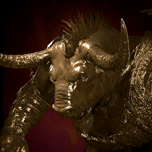
- A Monster's Horn lies on a table at X: -32 Y: 7 and is identified as a horn torn off a
Interacting with any of these items prompts a comment from interacting party member, either deeming it as a skilful fake (fail) or being astonished of the real hellish relic on a display (success). If 
Identifying correctly at least two of these items grants the ![]()
![]()
On the table with the cornugon's horn stands the Orb of Infernal Visioning. The orb can be interacted with to observe a vision of 
![]()
Several display cases around the shop are red-outlined, but contain gold, valuables, Very rare spell scrolls, as well as random elixirs and / or arrows of Uncommon and Rare grade. One of them at X: -46 Y: 7 is not locked, while others require
At the back of the room is the counter where Helsik holds shop. Behind the counter on a shelf stands a small bust, spotted after a
Upon entering the store two plaques can be read on either side of the door:
- The left one reads Catch a glimpse of the delights of the Nine Hells - from a safe distance, of course.
- The one on the right runs as Crooks and swindlers beware - steal from the Devil's Fee, and it won't be the Flaming Fist who come knocking.
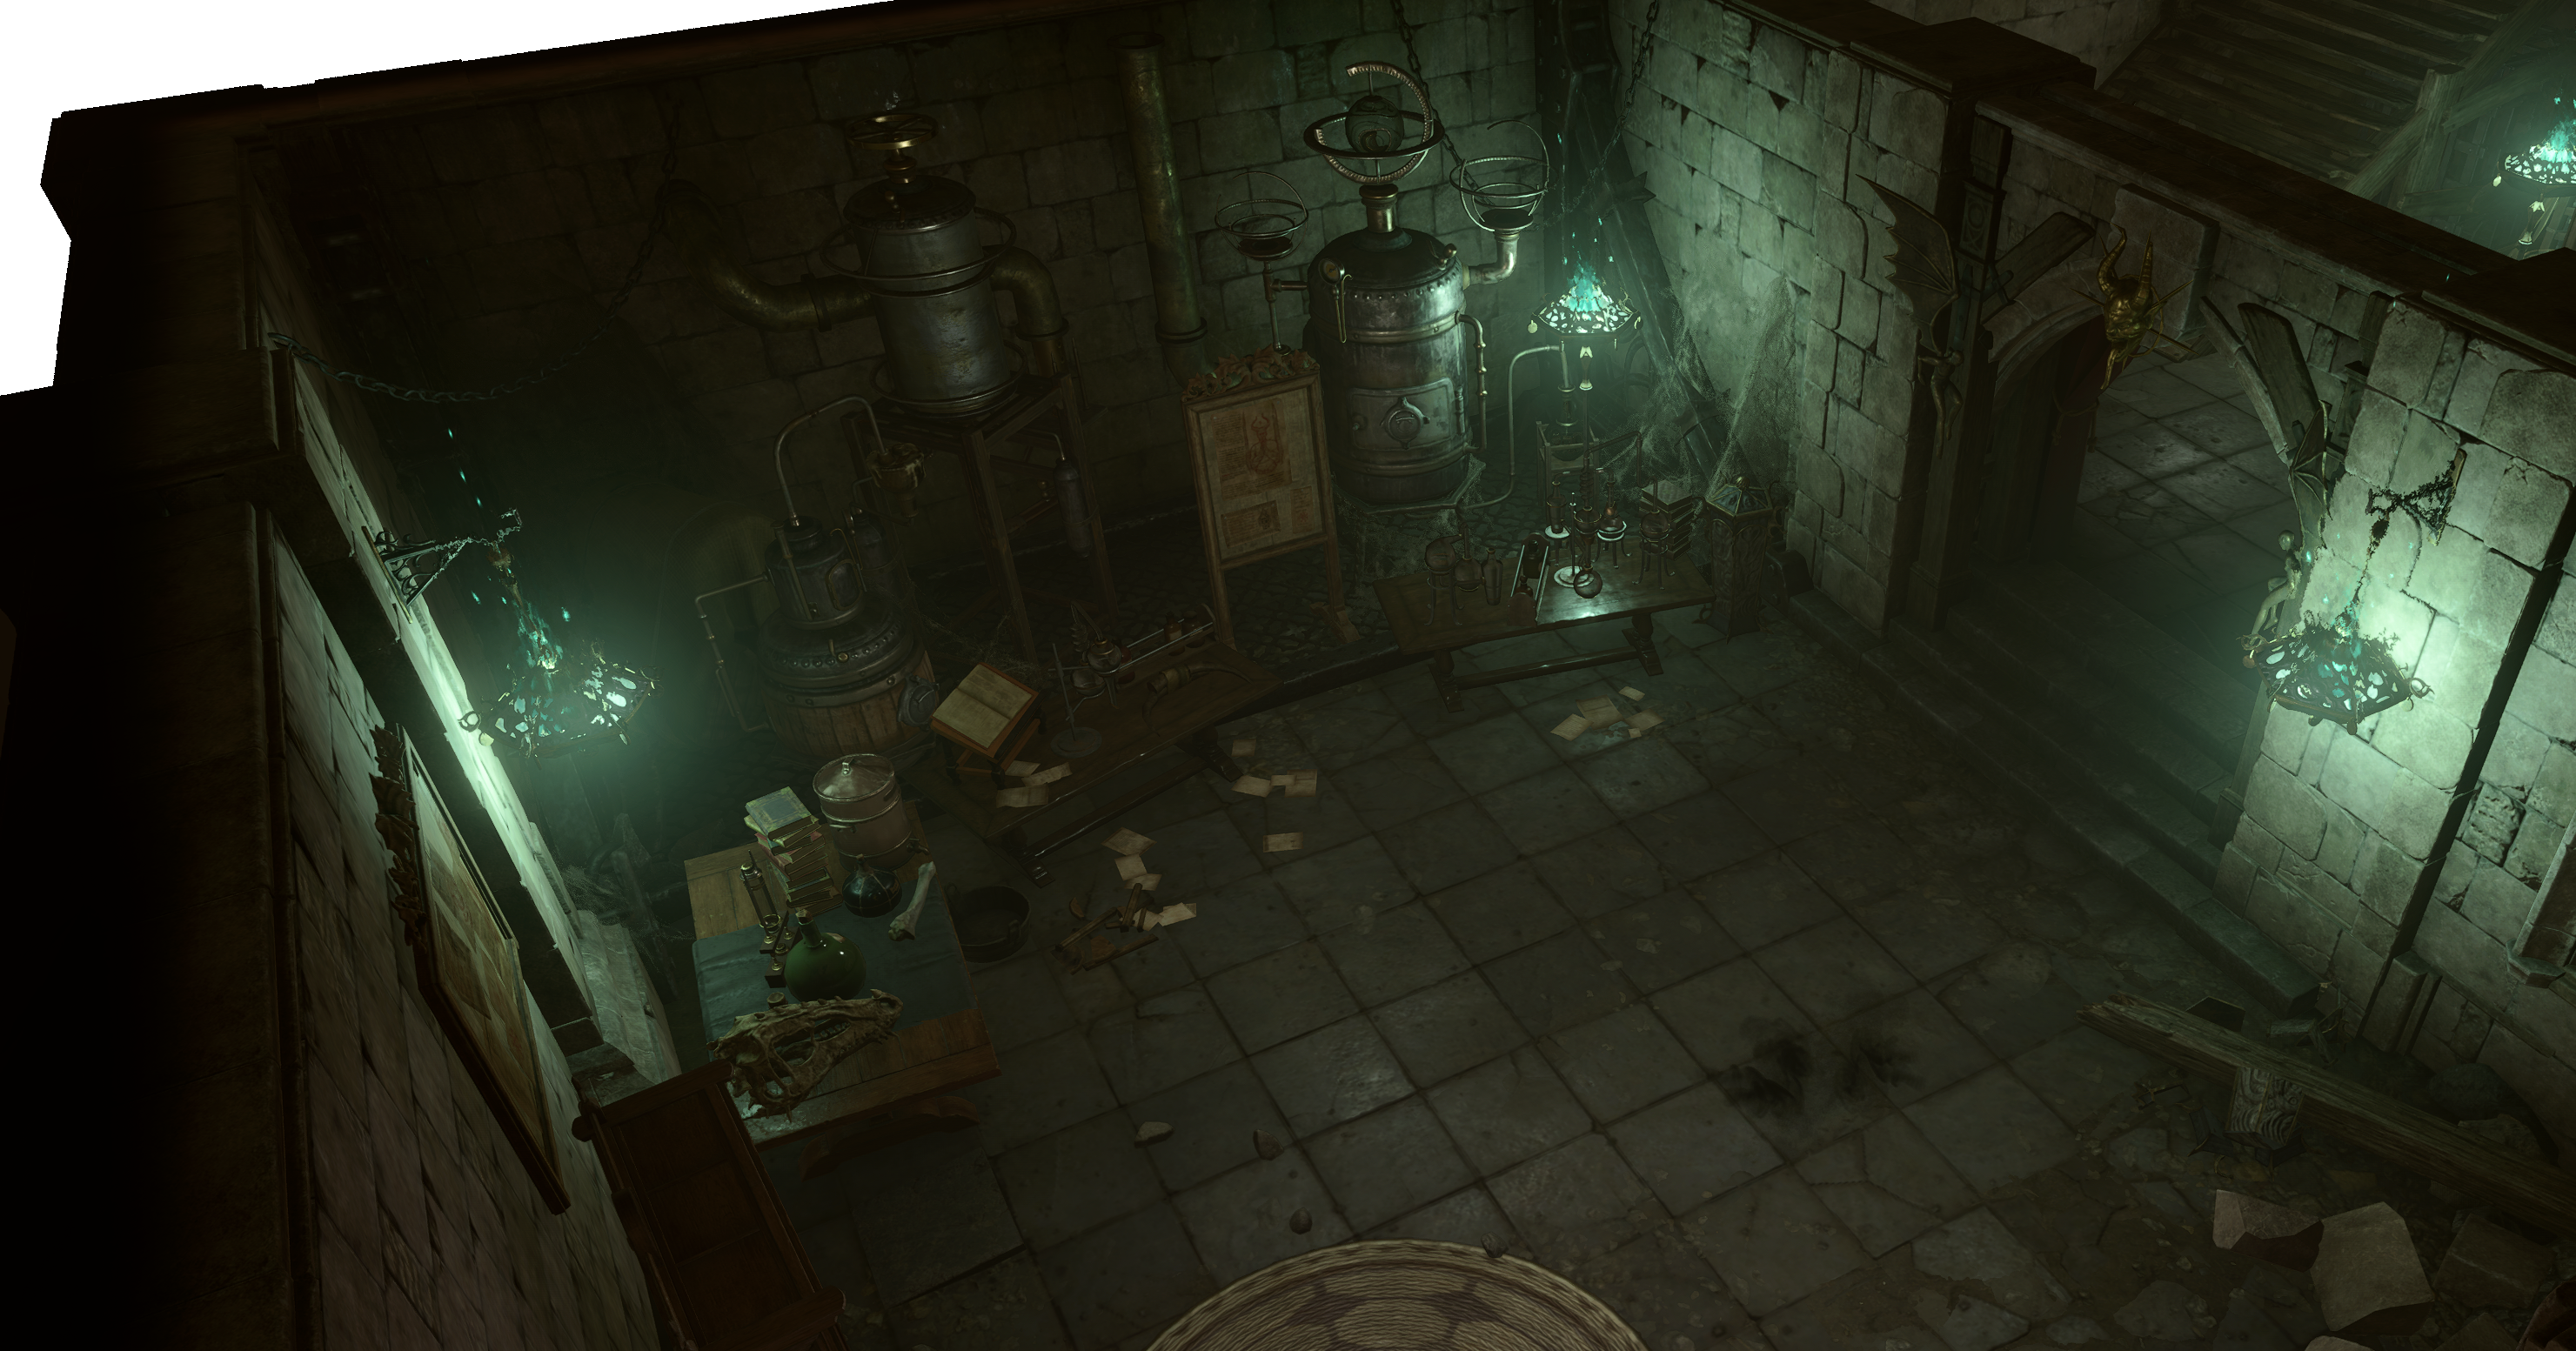
Basement[edit section | visual editor]
.png)
The Devil's Fee has a basement which can be accessed either through a hatch behind the counter on the ground floor, or by breaking down a wall in the cellar of the Forge of the Nine.
The basement consists of two rooms, one of which serves as a storage room and an office and contains an Opulent Chest with random rare alchemical ingredients. The chest requires ![]()
The other room serves as a laboratory. On a workbench here at X: 379 Y: 767 lies another Monster's Horn. Unlike items in the trade hall, it does not prompt a Perception check, but still can be identified if interacted with. The locked Big Pot near the table requires ![]()
Upper floor[edit section | visual editor]

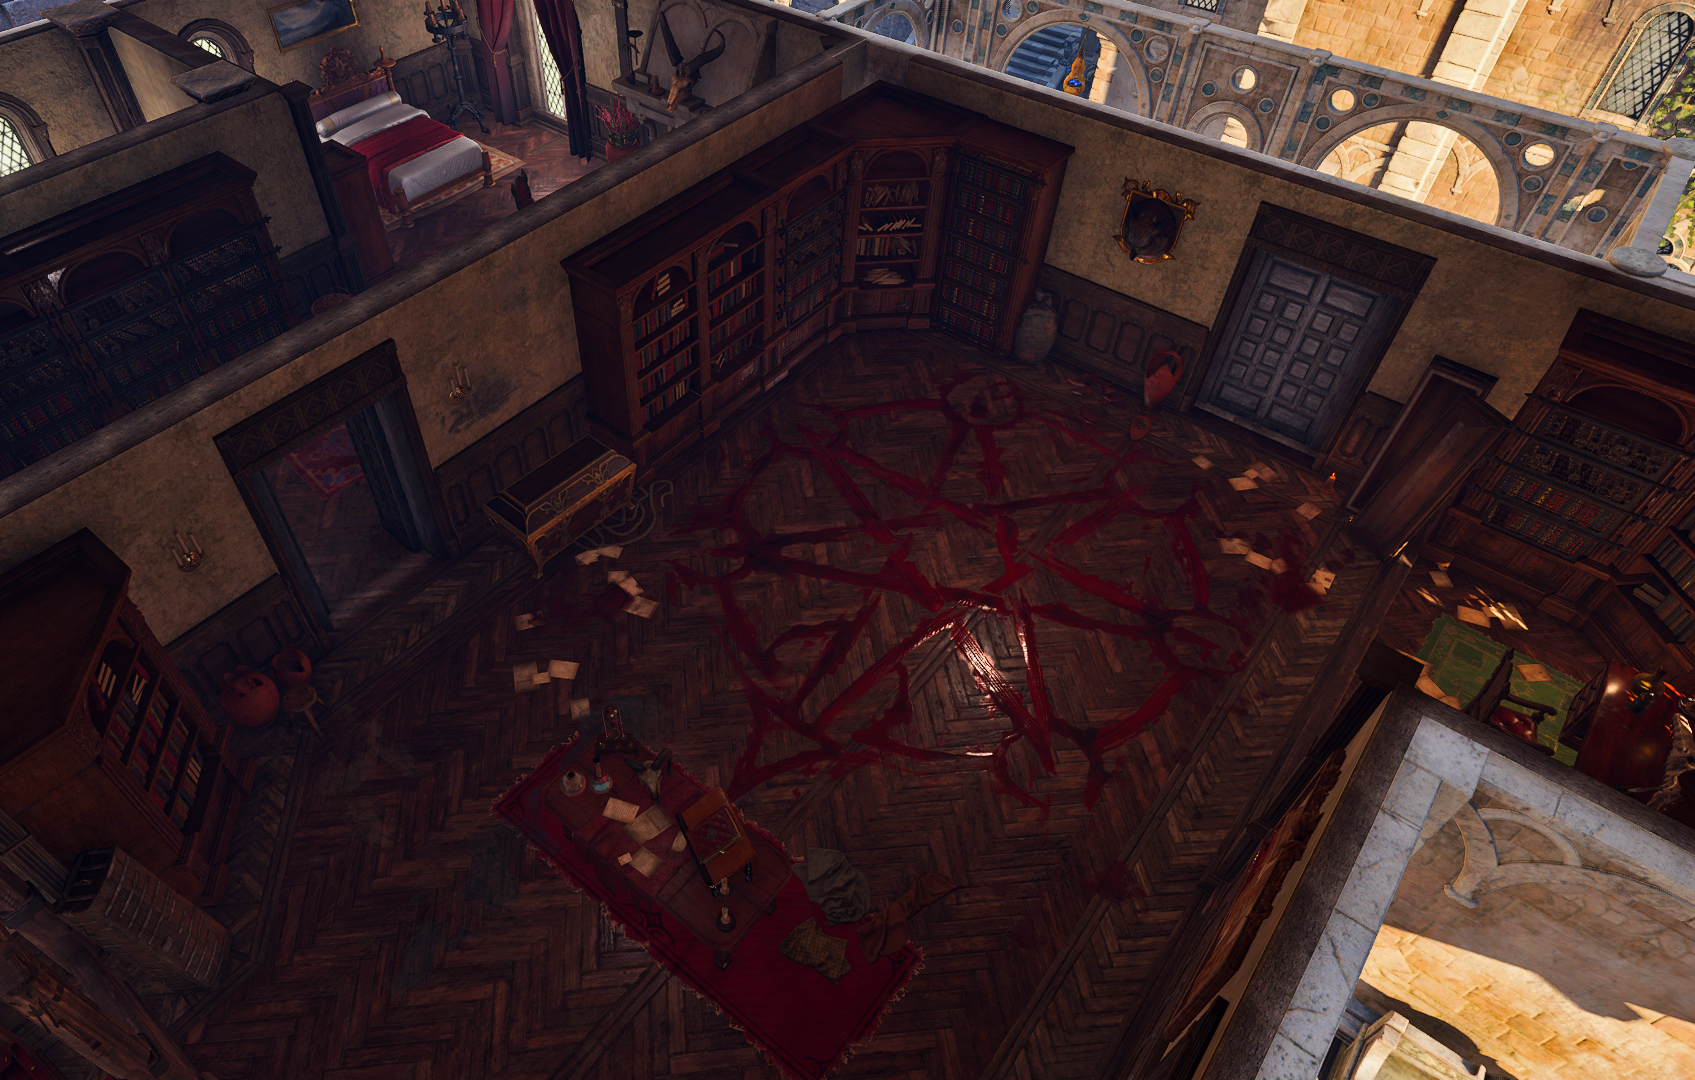
The upper floor consists of a large salon, which concurrently serves as a ritual room, and of Helsik's private quarters. The stairs leading to it start near the counter.
The stairs landing in front of the entrance is protected by an Explosive glyph trap (![]()
The locked door behind the trap opens with ![]()
If the party successfully bargain with Helsik to aid them with reaching the House of Hope, she gives them the key to the room and disarms the trap.
In the far part of the room a heptagram (a seven-point star) is drawn in blood on the floor. On a nearby table is ![]()
The side chamber serves as Helsik's bedroom and contains a locked Gilded Chest, which can be opened with the ![]()
![]()
![]()
At X: -28 Y: 18 a ![]()

Roof[edit section | visual editor]

![]()
On the western roof ridge, at X: -50 Y: 7 a ![]()
![]()
Also, the western roof ridge is a convenient point to move to the Szarr Palace ramparts, if the party want to bypass the charmed guards in the Central Watch Tower.
Outside the building[edit section | visual editor]
There are several NPC vignettes around the Devil's Fee.
- There is a group of children just outside the Devil's Fee fence.


- Afar the entrance is


Involvement[edit section | visual editor]
.png)

“Here's the grimoire and necessary components. Take this key, too. It unlocks the ritual room upstairs. There's a blood circle already drawn. Don't ask whose blood.„
The shop proprietor Helsik initially sells various Alchemy ingredients, Grenades, and Dyes but the party can unlock access to her "Curated Selection". She can also provide a way to reach the Hells to those who can afford the payment for the services. However, to pick up this trace, the party must first find a clue revealing Helsik as a diabolist. This can be done in several ways:
- Finding and reading the


- Stealing or looting the


- Finding and reading the

- Finding and reading the
- Helping the orthon

- Successfully identifying at least two of the hellish curios displayed in the trade hall of Devil's Fee
- Looting either a Coin of Mammon or a piece of Infernal Marble in the shop (see below)


Once any of this is done, all quests concerning the party's dealings with Raphael and / or freeing Prince Orpheus, and the map quest marker move to the Devil's Fee. If the party talk to Helsik afterwards and appeal to the clue(s) they have found, Helsik offers them her real stock as well.
If the interacting party member is the 
![]()
![]()
The party can choose the way to access the ritual room with the heptagram in Devil's Fee: they can negotiate with Helsik to give (or sell) them the supplies and instruction to open a portal to the House of Hope, or to break in the first floor and open the portal self-dependently.
If the party arrange the deal with Helsik, she gives them access to the ritual room and ![]()
![]()
The Ritual Pouch and the Grimoire Bound in Imp Skin can also be pickpocketed from Helsik or looted from her corpse. However, if the items are stolen by one party member while another party member is attempting to purchase them, Helsik rejects the party from the shop and casts ![]()
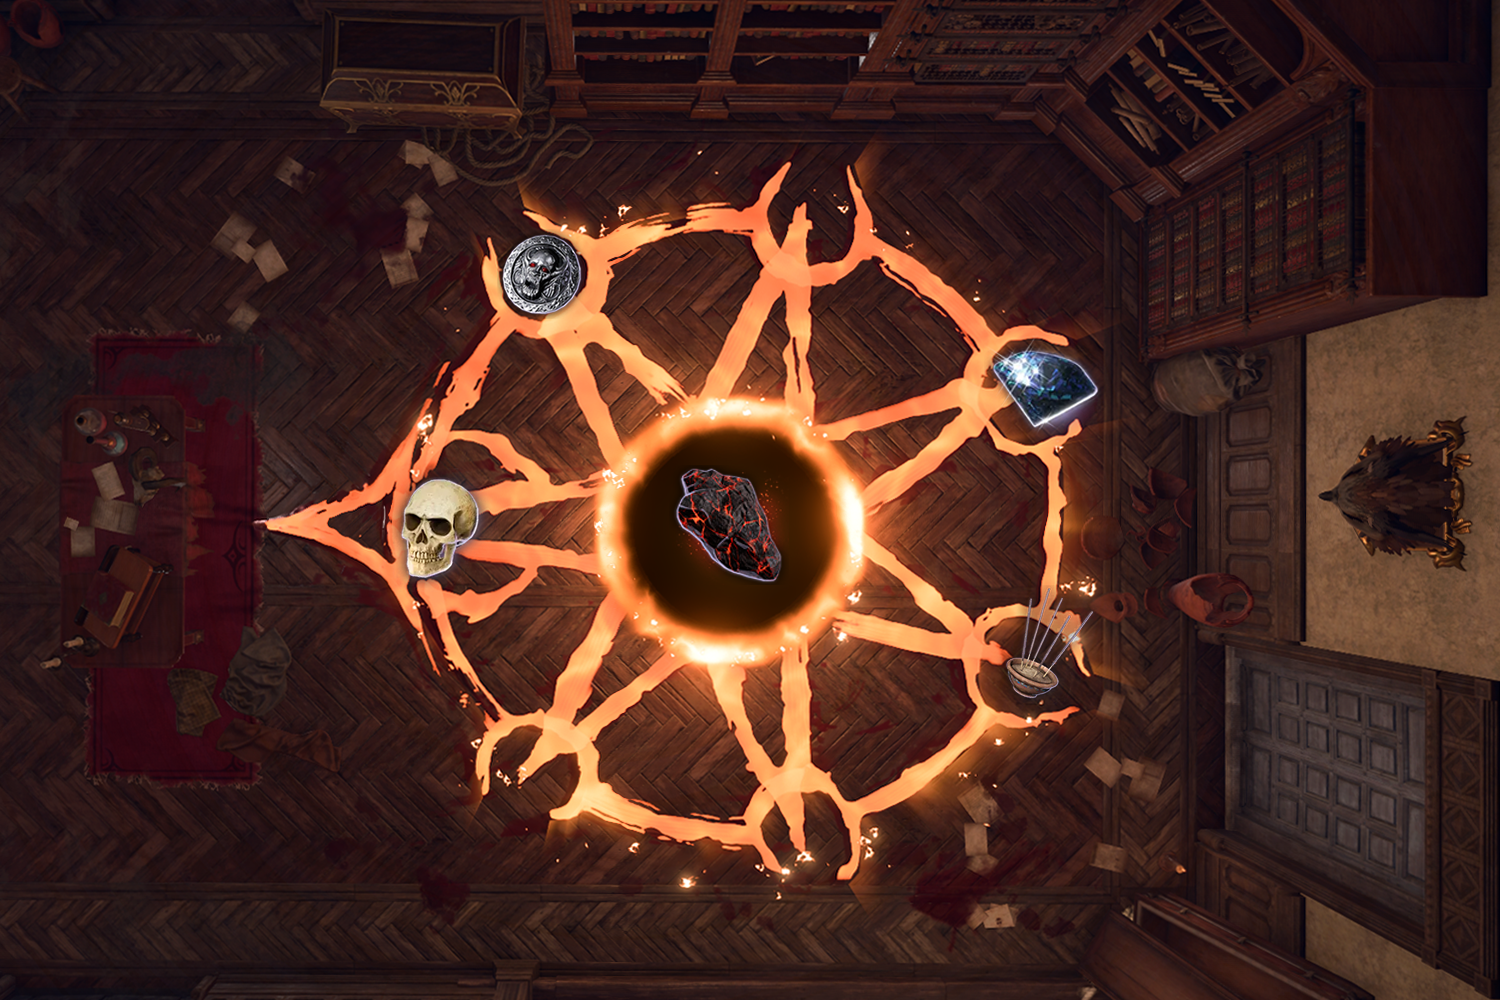
However, all necessary elements can also be gathered in the ritual room and / or Helsik's adjacent bedroom:
- A


- A piece of

- A

- A

- A bowl of

- The instruction on placing the items onto the correct places is in the Grimoire Bound in Imp Skin, which can be pickpocketed from Helsik (although not strictly necessary for opening the portal).
After placing all five items on correct places, the bloody lines of the heptagram start to burn, and the center is now marked as Portal to the House of Hope. Placing the items at the wrong locations does not destroy them; they can be picked up and rearranged correctly.
Entering the House of Hope through the portal grants one or both of the following inspirations upon arrival:


Related locations[edit section | visual editor]
Related quests[edit section | visual editor]
Characters[edit section | visual editor]

Outside[edit section | visual editor]


Creatures[edit section | visual editor]
These creatures are spawned if the party provokes a combat with Helsik.


Loot[edit section | visual editor]
Sold by Helsik[edit section | visual editor]
These items are available only if the party knows about Helsik's dealings as a diabolist
Sold by Tara[edit section | visual editor]
In exchange for ![]()
Other[edit section | visual editor]
Related literature[edit section | visual editor]


Notes and references[edit section | visual editor]
- ↑ The case is locked and impossible to lockpick. It can be opened with Helsik's Key, but even after unlocking it, the diamonds cannot be looted (which is likely a bug).
- ↑ The correspondent dialogue file
LOW_DevilsFee_AD_CrystalBallhas also several other lines for both cases, but these are not played as of current game version. - ↑ If the party trigger the glyph trap, the gargoyle mocks them on being roasted. After 'feeding' it also changes the reaction, now sounding discontent with being wet and cold. In case if none of party members have an appropriate liquid in the inventory, two bottles of wine are on a shelf under the stuffed head, halfway to the first floor. Also bottles of both wine and water are in the ritual room.
- ↑ Helsik carries another
- ↑ In order to progress Tara from here to her next location, the party must first acquire the hat from atop the entrance awning of Sorcerous Sundries (via Telekinesis or an Arrow of Roaring Thunder) and reverse pickpocket it onto her, then buy it back from her, and then take a long rest.
- ↑ This tongue twister is a cultural reference to the 1988 Tim Burton film Beetlejuice, where a similar phrase pronounced aloud three times summoned the main antagonist.
- ↑ Only if they have been retrieved from the House of Hope and given to Helsik. Since Patch #7, Helsik no longer sells them after the quest

External Links[edit section | visual editor]