Ad placeholder
Elfsong Tavern

| Lower City | ||||
| Candulhallow's Tombstones | ||||
| ↑ | ||||
| Armbrust's Home | ← | Elfsong Tavern | → | Stormshore Tabernacle |
| ↓ | ||||
| Baldur's Mouth | ||||

“Welcome, traveller. Remember, this ain't the Blushing Mermaid, it's the Elfsong, so behave yourself.„
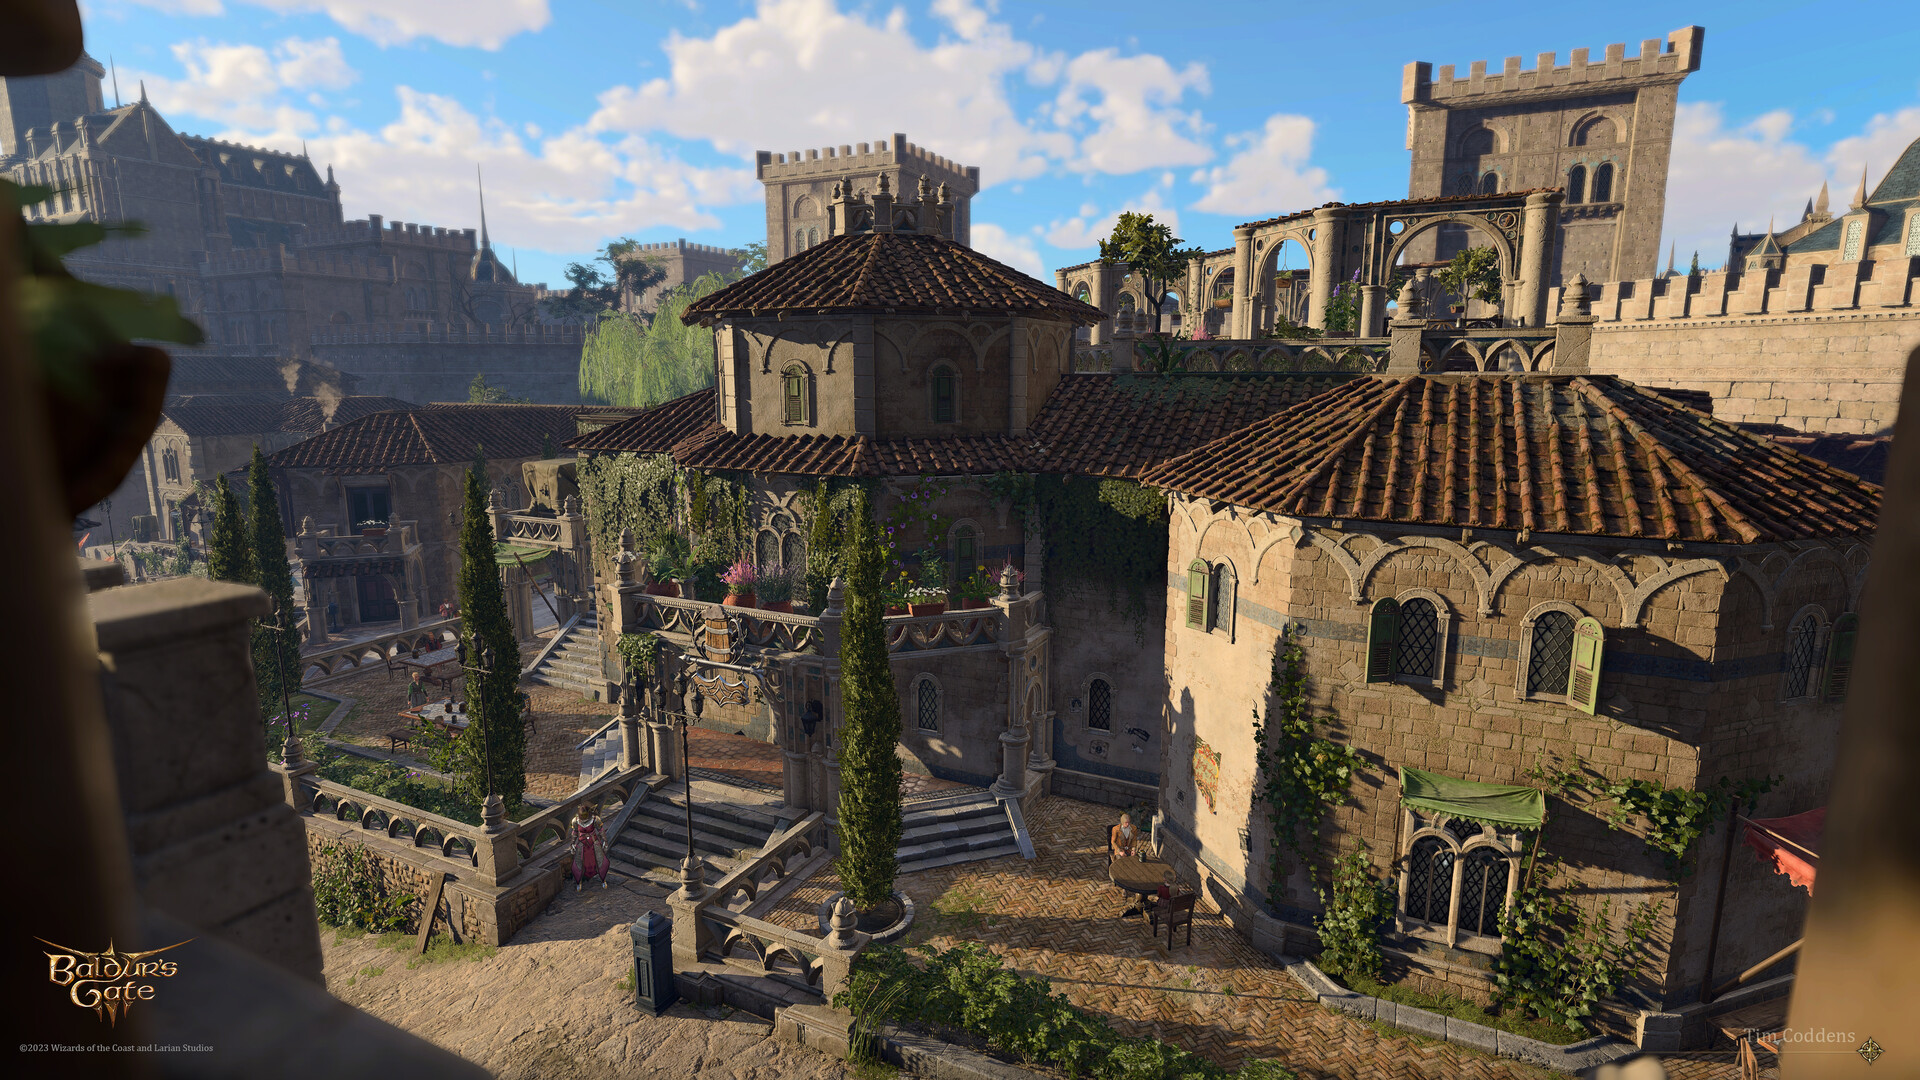
Overview[edit section | visual editor]

(by Tim Coddens)
The Elfsong Tavern is a well-known inn, pub and lodging house in the Eastway district of Baldur's Gate. It is located across the Baldur's Mouth publishing house, and down the street from the Stormshore Tabernacle.
The tavern occupies a large two-storied building. It has a basement and vast terraces outside the main entrance. The tavern roof is accessible as well and apparently serves as a place for relaxation, offering a beautiful vista on the bustling city streets.
Access[edit section | visual editor]
The tavern has three entrances on the ground level:
- The main entrance at X: 56 Y: -23, across the bulk of the Baldur's Mouth building
- Two side entrances from the terrace at X: 76 Y: 1; these lead to a partially roofed outside area where patrons are standing and drinking
- The back entrance at X: 49 Y: 11; this leads into the tavern kitchen
Also, the tavern basement is connected to the Knights of the Shield Hideout, from which it is possible to enter the Lower City Sewers.
Finally, the double doors up the outer staircase at X: 44 Y: -9 lead to the lodging quarters on the first floor, but this entrance is available only if the party rent the room as their city Campsite (see the respective section below).
History[edit section | visual editor]
Management of the tavern has fallen down to Alan Alyth from his mother, although ownership of the place itself is in the hands of the Hlath family.[1]
The name of the establishment has a specific origin:[2] the tavern is haunted by the spirit of a long-dead Elven woman who occasionally serenades its patrons. If the party rent a room from Elfsong Tavern, likely this song can be heard in the background.[3] As the song has become the tavern trademark, it is forbidden to perform any other within the establishment grounds.[4]
In the recent past the tavern served as the base of operations for a secret society known as the Knights of the Shield, which operated in information dealing, political manipulation, and smuggling. The society's headquarters was located in the secret part of the tavern's basement. For a certain period of time the organization was run by the 

Building layout[edit section | visual editor]
Ground floor[edit section | visual editor]

(by Tim Coddens)
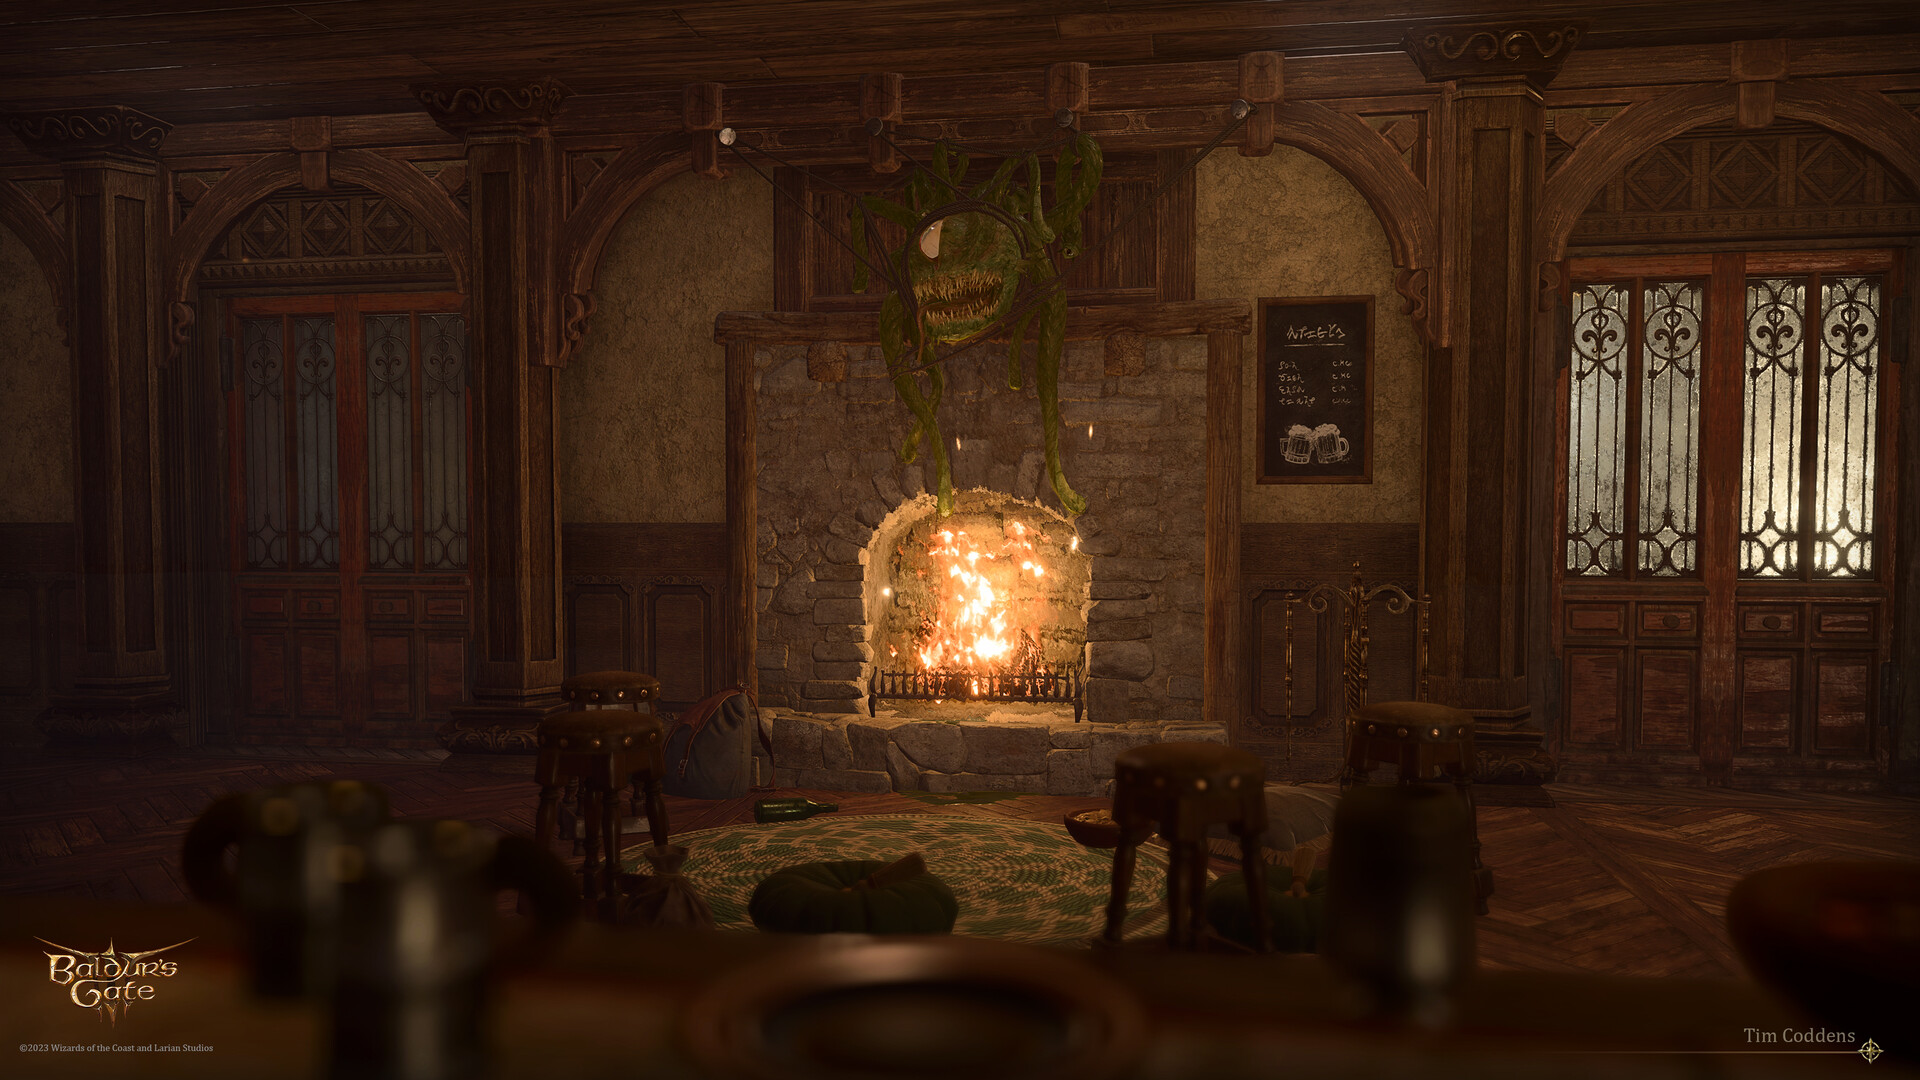
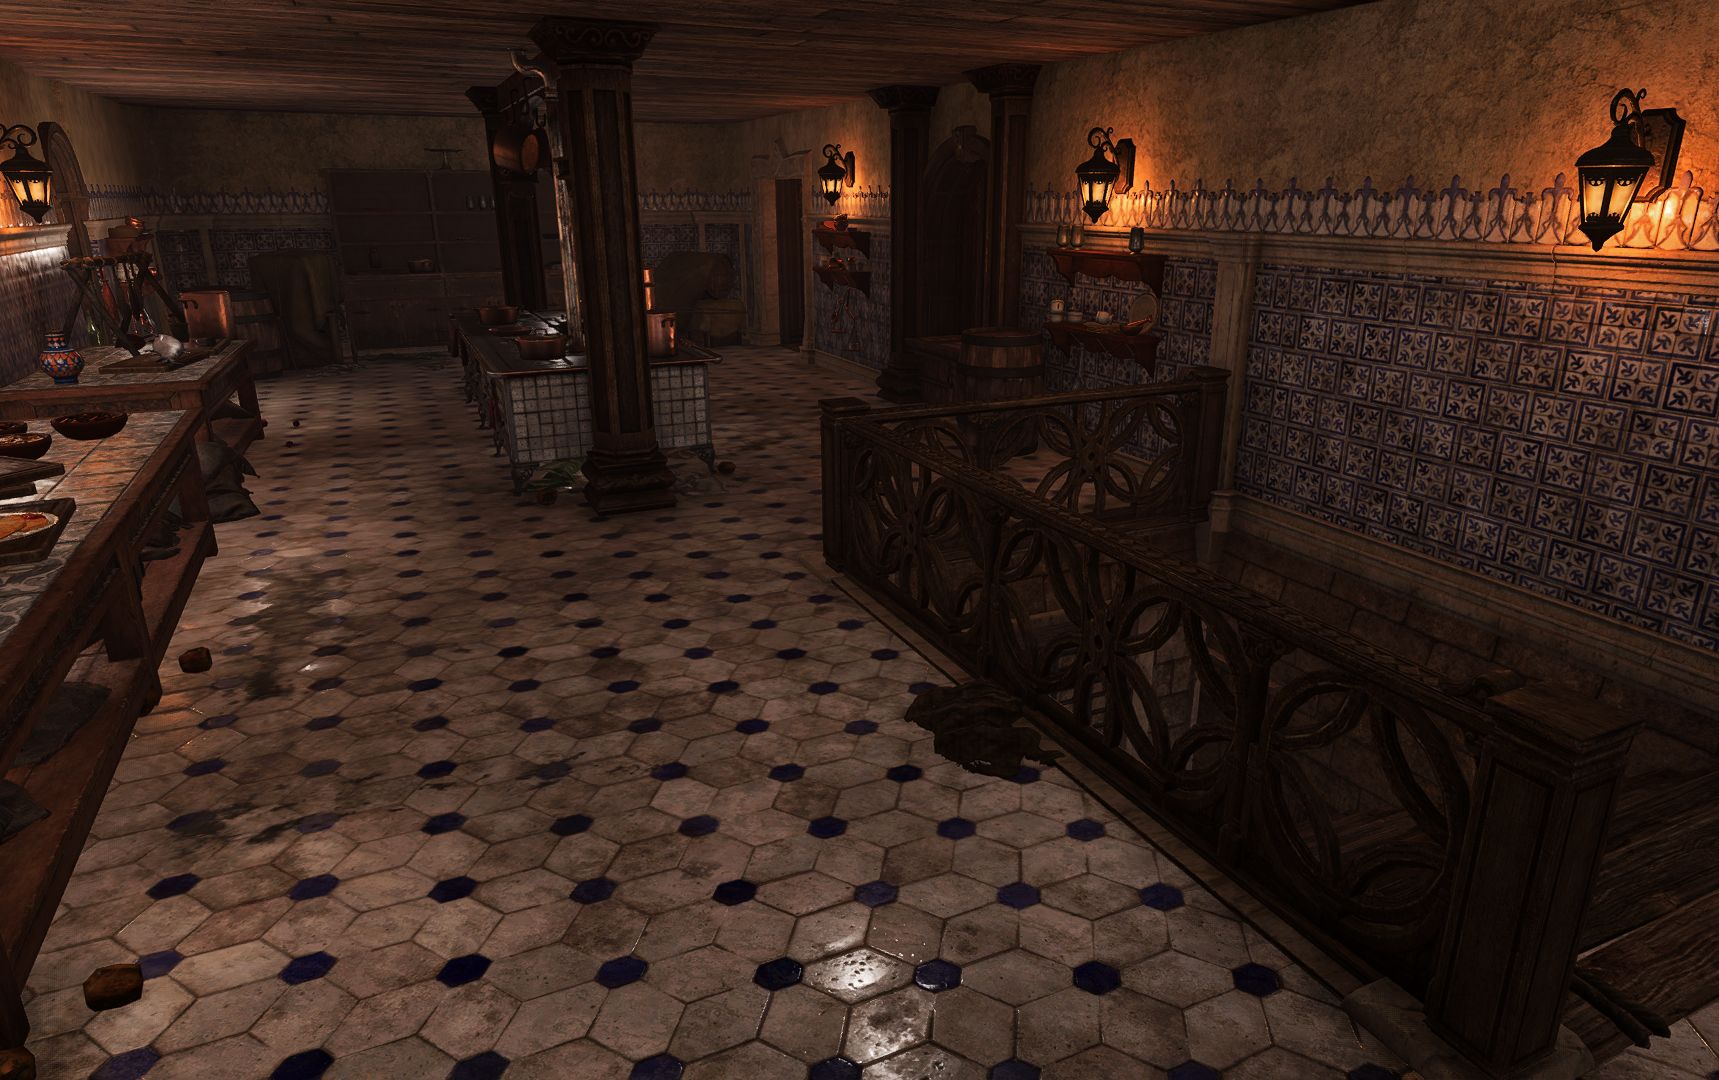
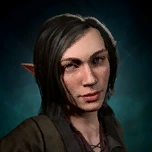
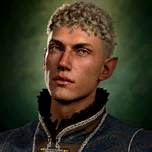
The main area of the Elfsong Tavern features a bar and a large number of tables. On the sides of the room are separate alcoves surrounded by curtains. The party can ask the bartender 
![]()
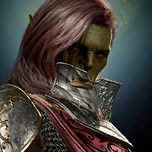
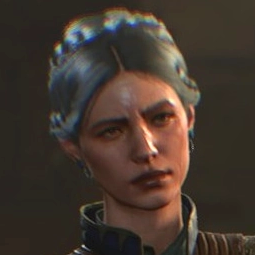
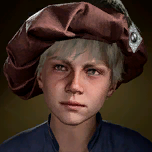
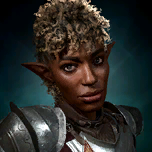
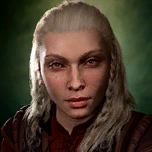
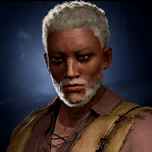
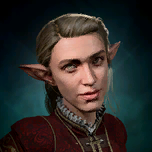
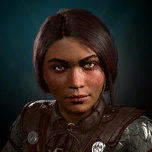
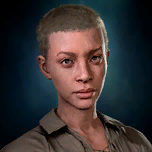
Among the Elfsong staff 
![]()
![]()
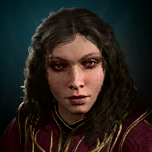
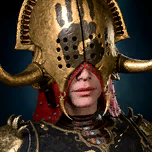
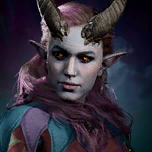
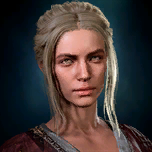
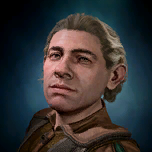
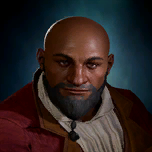
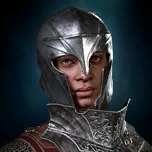
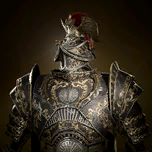
The tavern enforcer 
Many patrons are in the main room. Some of them form vignettes, which allow the player character to change their Approval with companions and / or have the party gain inspirations. Certain characters leave the tavern and cannot be found anymore once 
- The dwarf


- Raphael's envoy


Below some of the NPC vignettes around the taproom are listed.
- Playwright


- The adventurers


- Around a table in the center of the tavern


- The couple


- The halfing

- The gnome


The ![]()
Laff Riot[edit section | visual editor]

(by Tim Coddens)
The separate room where 

The jokes which help the party win the contest, as well as the additional options, are listed on the Harvard Willoughby's page. Most jokes (even losing ones) grant approval/disapproval from various companions.
Depending on the outcome, one of two mutually exclusive following inspirations can be gained:

Kitchen and Cold room[edit section | visual editor]

In the northern end of the tavern is the kitchen, where 


![]()
Behind the back door another kitchen worker 
At X: 48 Y: 2 is a storage room, containing mostly minor food items, barrels and wine racks. A locked wooden chest can be found right next to the door which can be unlocked with the ![]()

Basement[edit section | visual editor]

(by Tim Coddens)
The kitchen has a stairway which leads down to the basement. The basement consists of a main area where no less than 30 
![]()
![]()
In the back are two separate rooms. The larger one in the center is filled with large wine barrels, while the smaller one on the side is filled with wine racks. The cellar can be looted for a number of Camp Supplies, mostly various types of wine.
Inside the smaller room at X: -868 Y: 544 is a hidden button. It is highlighted with a
First floor[edit section | visual editor]
Next to the entrance of the kitchen are stairs which lead to the first floor. If the party visit the tavern for the first time before progressing the ![]()
On the first floor is a small hallway with two doorways, the southern one to Duke Stelmane's private parlour. Its entrance is fenced with a Flaming Fist investigation sign. 
The other on the western side leads to "Rented Rooms", which can be later leased to the party. Until the party arrange it, the room cannot be explored, and party members will comment on attempts to enter it.
Next to the doorway leading to the Rented Rooms is a ladder which allows to move to the rooftop area.
Roof[edit section | visual editor]

The rooftop area can be accessed through a ladder next to the entrance of the rented rooms, and also by jumping from outside the tavern on the western side. 

If
A ![]()
![]()
Involvement[edit section | visual editor]
The Elfsong Tavern plays a major role in progressing several quests (if they are active), and has as well some which are started and finished within its walls.
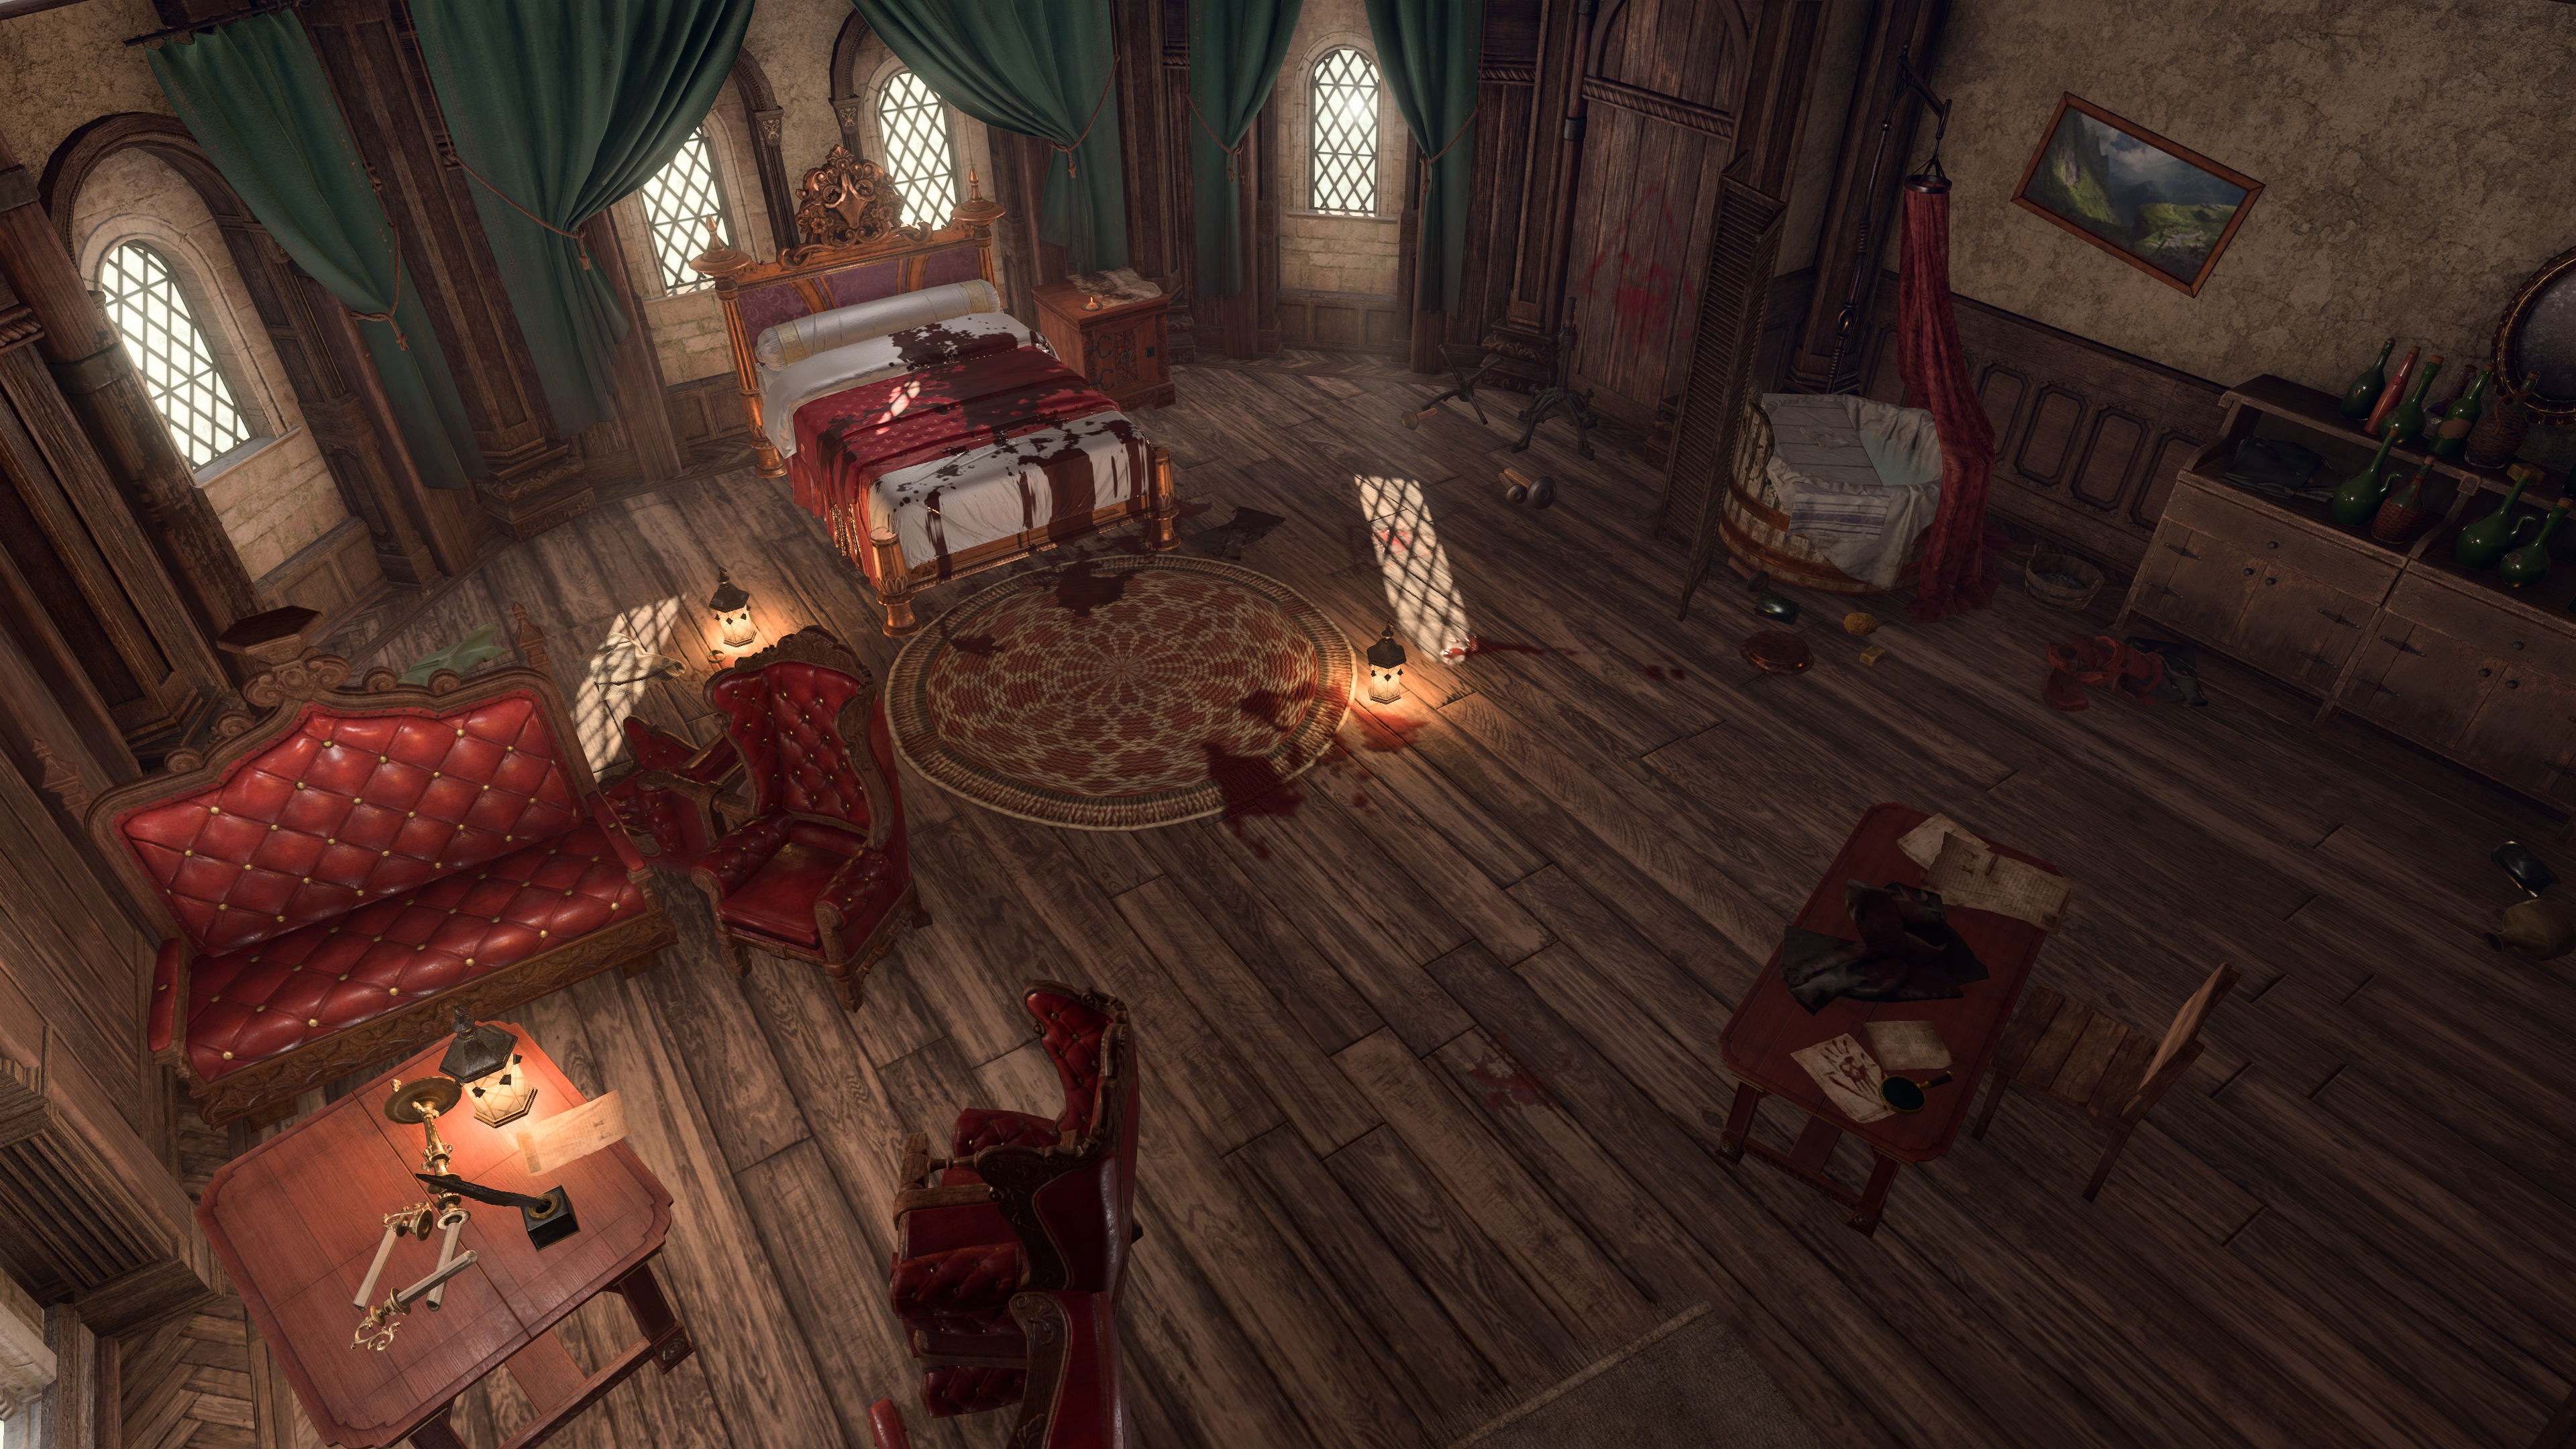
Investigating the murders[edit section | visual editor]

The parlour on the first floor of the tavern is the crime scene of the Duke Belynne Stelmane's murder. When the party first visit the room, ![]()
![]()
If the interacting party member is the 
Near the cupboard with a mirror on the western side of the room, a ![]()
![]()
![]()
![]()
If the party progress the quest too far (i.e., start an independent investigation or begin killing the listed victims themselves) Devella leaves the room and can be later met at the Facemaker's Boutique.
Following the Emperor's trace[edit section | visual editor]

When the party approach the location for the first time, the Emperor comments the exploration of various parts of the tavern, and encourages the party to ![]()
All possible interactions in this location, as well as any loot gained there, is listed on the location page.
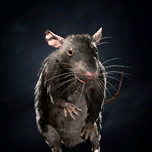
Pest problems[edit section | visual editor]
Speaking with ![]()
![]()
New campsite[edit section | visual editor]

(by Tim Coddens)
The party can rent the whole upper floor from the proprietor Alan Alyth as their Campsite. Afterwards, these rooms become the new camp location while the party is in the Lower City or Lower City Sewers. Moving to this new campsite cannot be reverted.
Alan Alyth normally charges 
Renting the room grants one or more of the following inspirations:


While camping in the penthouse, Supply Packs for long resting can be purchased from the Dumbwaiter at night. Also, an Opulent Chest near the Dumbwaiter contains several random Rare grade potions.
Related locations[edit section | visual editor]
Related quests[edit section | visual editor]
Characters[edit section | visual editor]
Staff[edit section | visual editor]


Patrons[edit section | visual editor]
This is the list of named NPCs. There are several characters inside and outside the tavern, named simply "Patron". They cannot be spoken to, but react to the party's actions (like aggression, theft, etc.) as any other around.
Inside[edit section | visual editor]


Outside[edit section | visual editor]


Laff Riot contest[edit section | visual editor]


Flaming Fists[edit section | visual editor]


Beggars[edit section | visual editor]


Other[edit section | visual editor]


Loot[edit section | visual editor]


Related literature[edit section | visual editor]
Notes and references[edit section | visual editor]
- ↑ As mentioned in

- ↑ The first Baldur's Gate video game and the tabletop D&D adventure Baldur's Gate: Descent into Avernus both include a description of the Elfsong Tavern, and explain the origin of its name.
- ↑ The Elfsong, performed by Mariya Anastasova, hints at the plot of Baldur's Gate 3 and the ultimate fate of Balduran. Its written version can be found in a desk inside the rented room. However, one of the old issues of the Baldur's Mouth Gazette which can be found around the city, claims that the song has recently "changed its tune". Therefore, the original version of the Elfsong was probably different.
- ↑ If

LOW_Elfsong_Alfira). - ↑ Oloric is also a character in the tabletop adventure

- ↑ The dialogue option to nudge Dez to agree is available only to Rogues, which significantly narrows the chances to earn the inspiration.
- ↑ This quest is a direct reference to the Baldur's Gate 1 game, where the party receives the quest

- ↑ This inspiration is not given if the party ask Alan for details of murder and then appeal to it to get a discount.
- ↑ 9.0 9.1 If she survived the events of Act One and Two.
- ↑ Only shows up if her husband
- ↑ 11.0 11.1 11.2 Leaves and cannot be found anymore if

- ↑ Only shows up if either the party have not spoken with
- ↑ 13.0 13.1 13.2 A member of the Flaming Fist patrol circling the tavern, accompanied by a Steel Watcher. Cannot be spoken with.
- ↑ This commoner walks around the tavern, greeting the party whenever their paths cross. His one-liners change if the


External links[edit section | visual editor]